
August 26, 2024 · Updated August 16, 2026
By Alexander Grabovetskiy — Master Woodcarver · Founder, School of Wood Carving · 10 min read
Do I have to dry wood before carving?
Dry wood before carving is the safe answer, not a law. Wood only starts to shrink once it drops under about 30 percent moisture, so a soaked block keeps moving while you work. Spoons and green bowls get carved wet on purpose. A relief panel that has to stay flat for a century cannot.
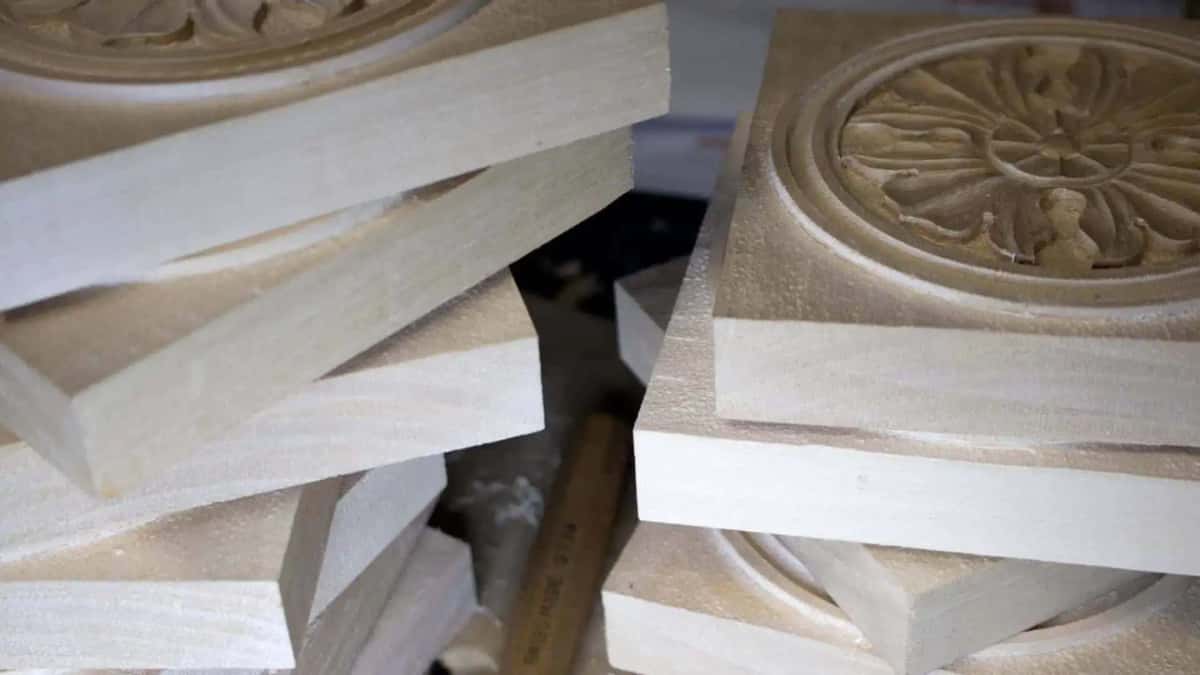
I buy South Carolina basswood, and stock like this sits for years.
This question comes up in the livestreams. Somebody holds up a block and wants permission to start today.
So here is the plain truth after more than forty years at the bench. Wet wood will let you carve it. It feels soft and friendly under the gouge, and you think you found a shortcut. Then it dries in your warm house, it gets smaller, and the leaf you spent forty hours on opens a split.
- You do not have to dry wood. What you must accept is how wet wood behaves after the tools go away.
- Shrinking begins near 30 percent moisture. Above that number a drying block is only getting lighter, not smaller.
- Indoor work is happiest near 8 percent moisture, outdoor work near 12.
- A board shrinks twice as much around the rings as toward the center, and almost nothing along its length. That difference tears it, and bowls or spoons are often better carved green.
What happens if you carve wet wood?
Wet wood carves easy and then punishes you for months. Those fibers are packed with water, so they mash under the edge instead of slicing cleanly. Fine detail closes up behind the tool.
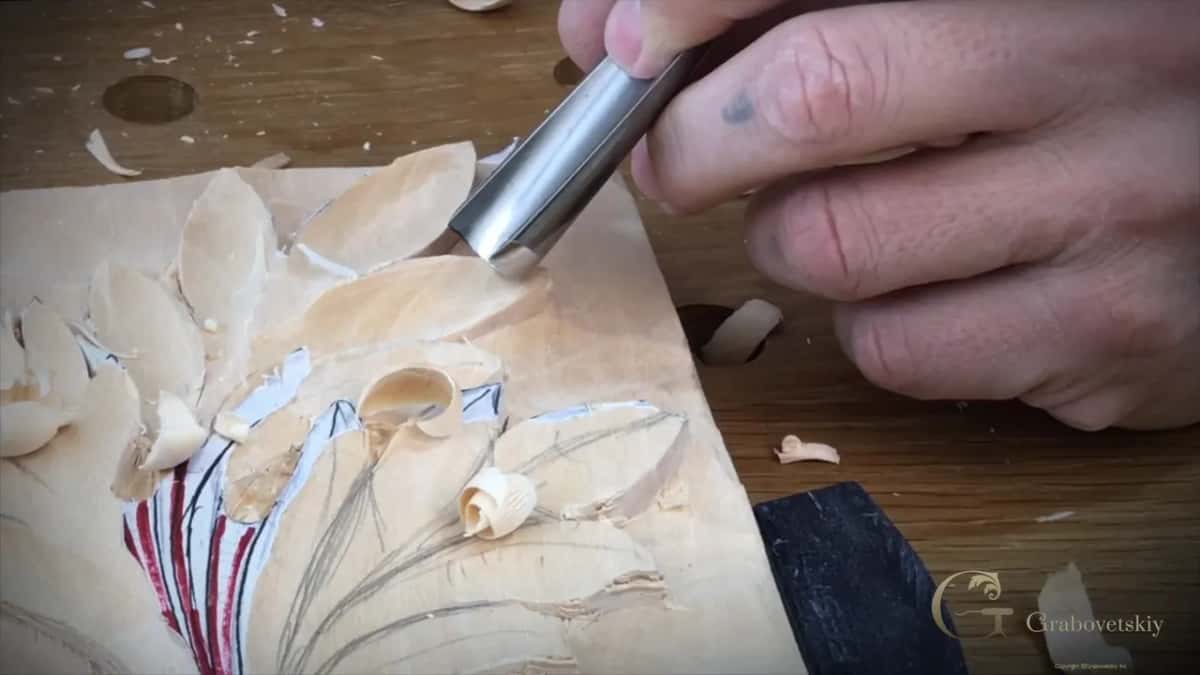
Notice the shaving is one long ribbon and the red pencil line is still readable underneath it.
In my Carving Grape Onlay course I say it out loud while I am working along the grain. I do not have to be too careful because my piece of wood is kind of dry and that is good. Dry stock lets a sharp gouge slice instead of tear. That is the difference you feel in the first ten minutes.
The slower damage comes later. Water leaves through the ends first, so the outside of your block shrinks while the middle is still fat. Something has to give. It gives as a check on the end, or a hairline that walks across your background, or a panel that cups off the bench. For the timing side of this, how long wood takes to dry for carving covers the calendar in detail.
How dry does wood need to be before carving?
Match the wood to the room it will live in, not to a number on a chart. Indoor carvings settle near 8 percent moisture. Anything going outside settles closer to 12 percent moisture.
Those targets come from the Wood Database page on wood and moisture, which puts most heated rooms between 30 and 60 percent humidity, or 6 to 11 percent moisture in the wood. Get the block in that band and it is done moving.
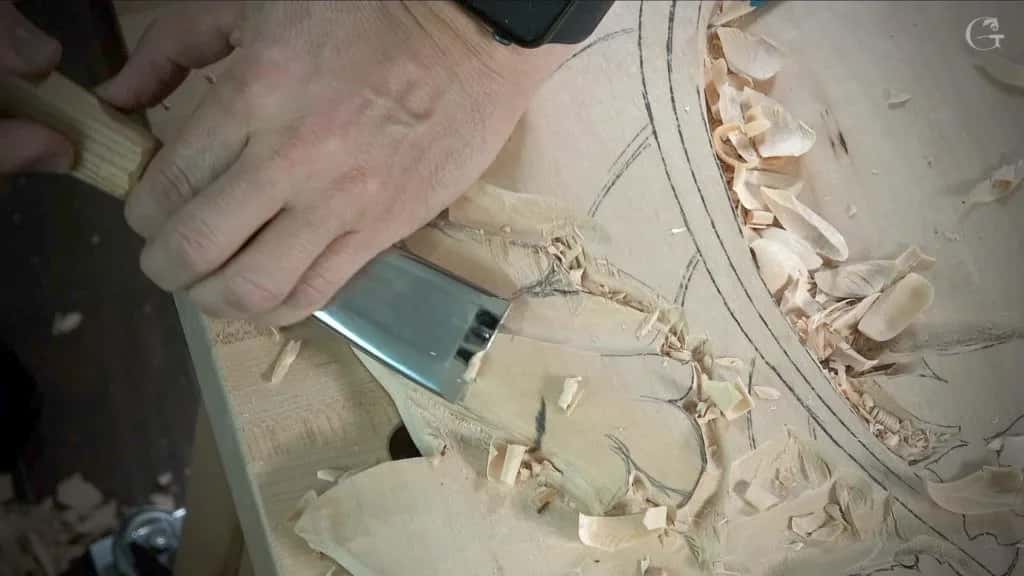
Wood that dried for years throws chips like these.
| Stock you meet | Roughly where the moisture sits inside it | Carving feel | What it does after you finish |
|---|---|---|---|
| A fresh green log | Thirty percent, and sometimes past two hundred percent | Soft like cheese | Shrinks hard and splits along both ends |
| Air dried stock | Near twelve percent after patient waiting | Crisp slicing | Settles slowly and keeps every carved edge sharp |
| Kiln dried lumber yard board | Six to eight percent the day you buy it | A bit brittle | Swells again inside a damp shop |
| Shop stored basswood | Whatever your own room has been holding | Very steady | Barely moves once the carving starts |
That top row is not an exaggeration. Chapter 4 of the USDA Wood Handbook puts green wood anywhere between about 30 percent and more than 200 percent moisture. Green American basswood measures 81 percent in the heartwood and 133 percent in the sapwood. More than half that block is water you are about to lose, which is why beginner carving stock comes to you already dried.
How can you tell wood is dry without a moisture meter?
Weigh it, look at both ends, and give it one test pass with a gouge. A meter is nice. Hands and a scale get you there without one.
See which way the rings curve and you know which face cups.
Step 1, put the board on a kitchen scale and write the date on it
Put it on the scale today, then again in two weeks. Still losing weight means still drying.
Step 2, read both sawn ends before you read the face
Ends tell the truth. Fine radial checks mean it dried fast and hard, and a clean end with tight rings is what you want.
Step 3, press a thumbnail into the end grain
Green basswood dents like a bar of soap. Dry basswood pushes back. Crude, and it works.
Step 4, take one pass with your widest gouge
A wide number 3 sweep at 25 mm tells you everything in one stroke. Wet stock leaves fuzz standing along the edges. Dry stock leaves a surface that shines back at you.
Step 5, leave the board in the room where the carving will hang
Two weeks, stickered so air moves. The board and the room stop arguing about moisture, and only then do you start.
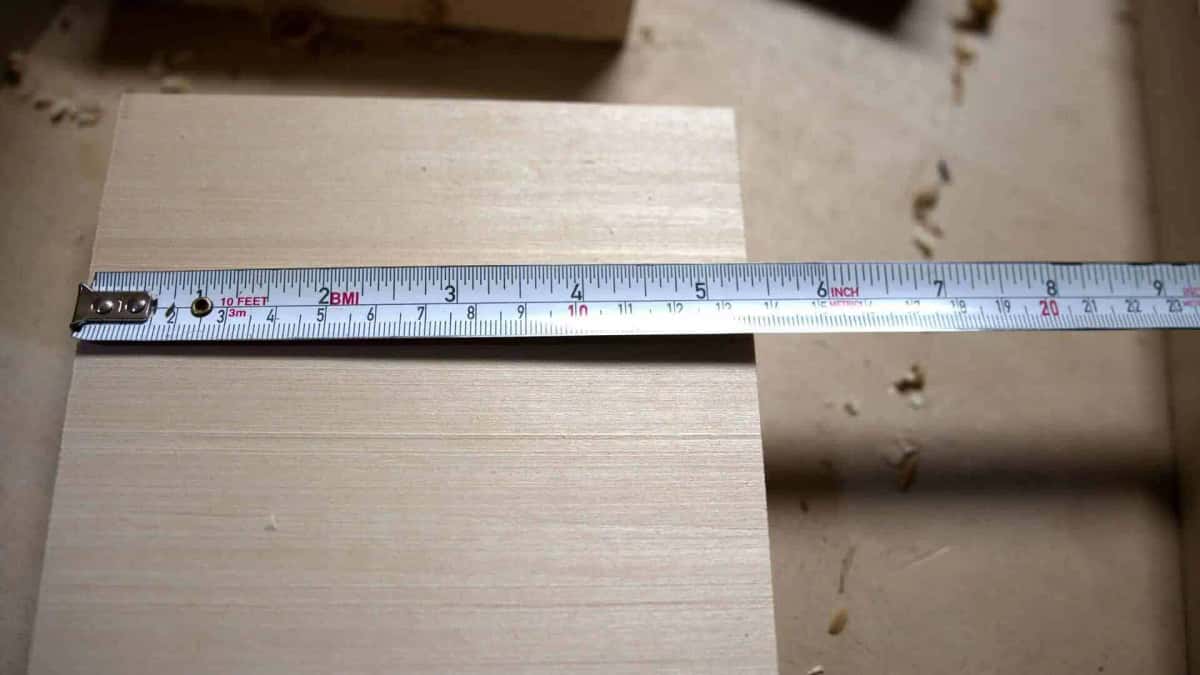
Write the width down today and measure again in a month.
One more shop trick. A dried board floats where a green one of the same species often will not, because water outweighs most carving wood, though lignum vitae sinks anyway. Whether dense wood floats covers it.
Why does a drying board crack instead of just getting smaller?
Wood shrinks by very different amounts in three directions, and the fight between them is the crack. Nothing about drying is even. That unevenness is the whole problem.
Here is the same argument at the bench, with boards you can watch move.
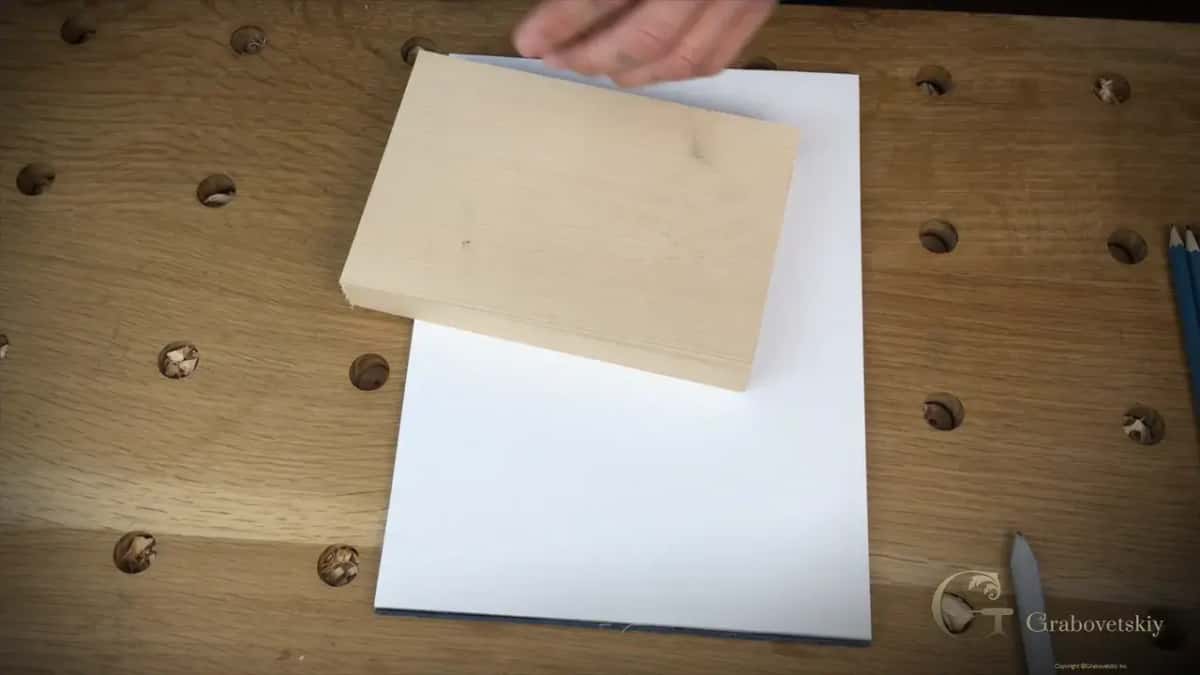
Color and quiet rings, both decided before the paper goes down.
The full Wood Handbook measures it species by species. American basswood shrinks 6.6 percent toward the center of the log, 9.3 percent around the rings, and 15.8 percent by volume, all the way from green to bone dry. Along its length it shrinks 0.1 to 0.2 percent, which you will never notice. So one face of a panel pulls in half a centimeter while its length holds perfectly still. A lot of stress lives inside that quiet piece of basswood in our wood database.
Denser species fight harder. European beech moves more than basswood on the Wood Database, while black walnut sits calmer at 5.5 and 7.8 percent. Our red oak guide lists 63 lb per cubic foot, a green weight, and that is why a fresh oak blank feels like a brick. Oak is hard in the tool too, which is what the Janka hardness scale puts a number on.
Does the way the log was sawn change how much a board moves?
It changes it more than the drying method does. Where your board sat inside the tree decides how it behaves for the rest of its life.
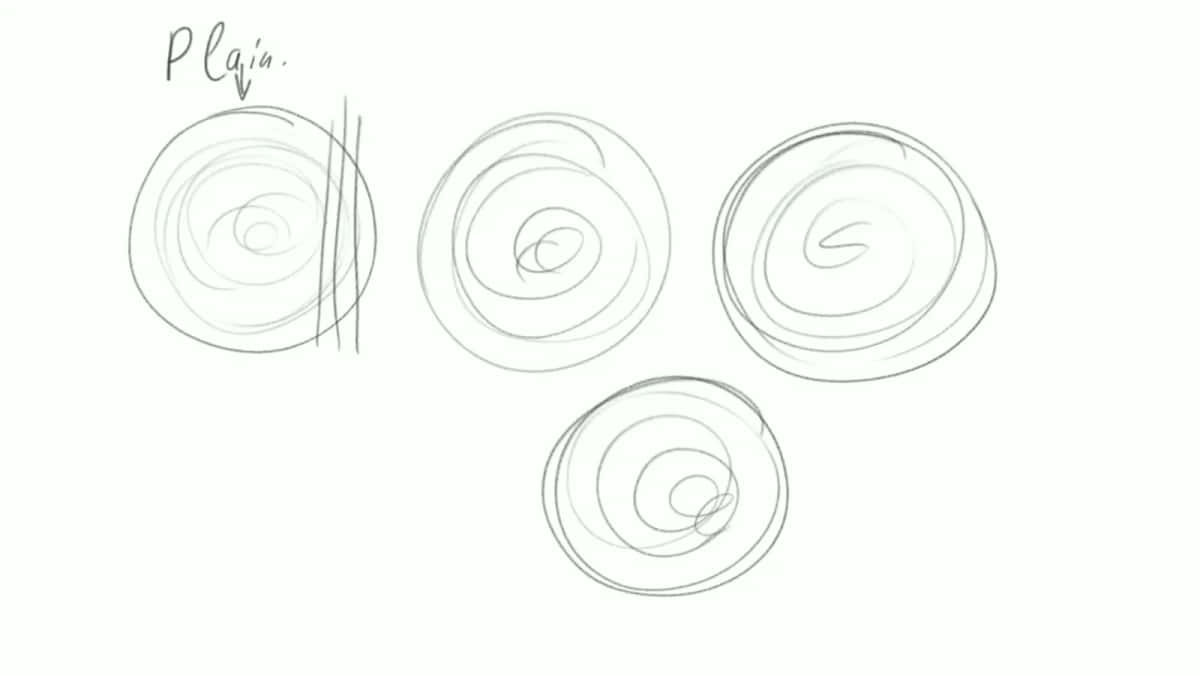
I drew these four in an April 2020 livestream, because words alone were not landing.
Here is how I said it that morning. Closer to the center you get in the log, the less movement is going to happen, and closer to the outer part of a log, a lot more movement is going to happen. That is why I buy quarter sawn first and rift cut second.
Any board shows it on the end. Rings running straight up through the thickness are quarter sawn, and calm. A wide flat crown of rings is plain sawn, and it will cup toward the bark side every winter. Carving in the direction of the grain is the next thing that board will teach you.
When is green wood the better choice?
Green wood wins whenever the finished shape is thin, round, and free to move. Bowl carvers and spoon carvers work wet on purpose, and they are right to.
A hollowed bowl has no thick core left to fight the surface, so it dries in one piece and goes slightly oval. Nobody minds an oval bowl. Green stock also gives way to a hook knife with far less effort. Wood Carving Illustrated has run green projects for years.
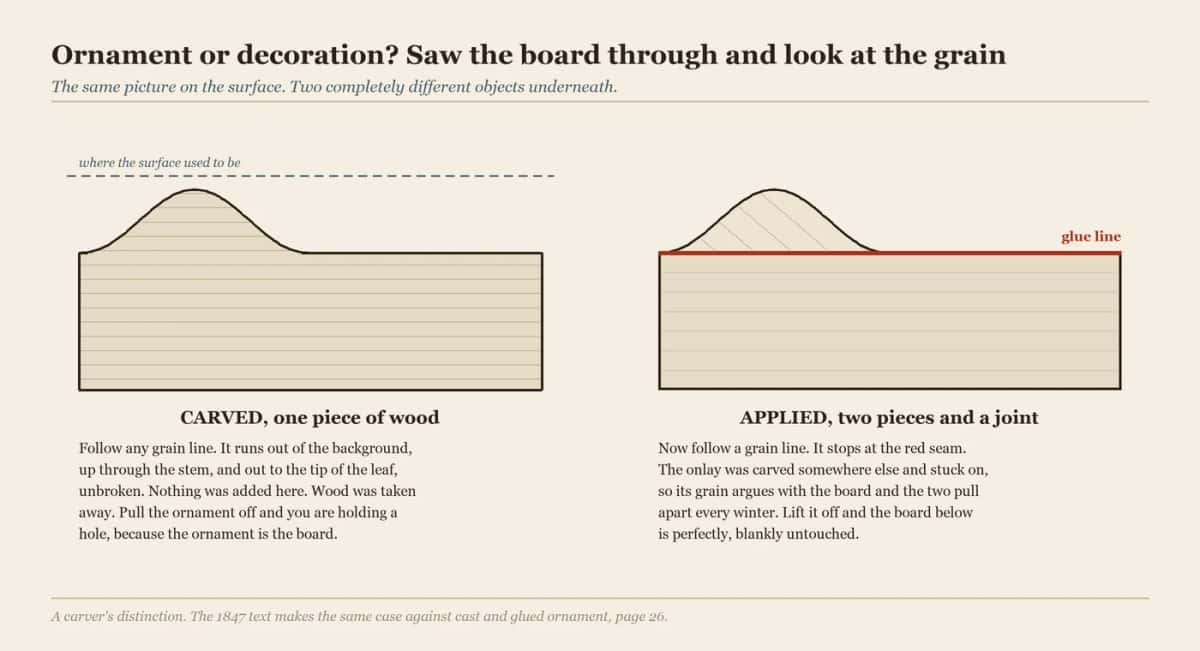
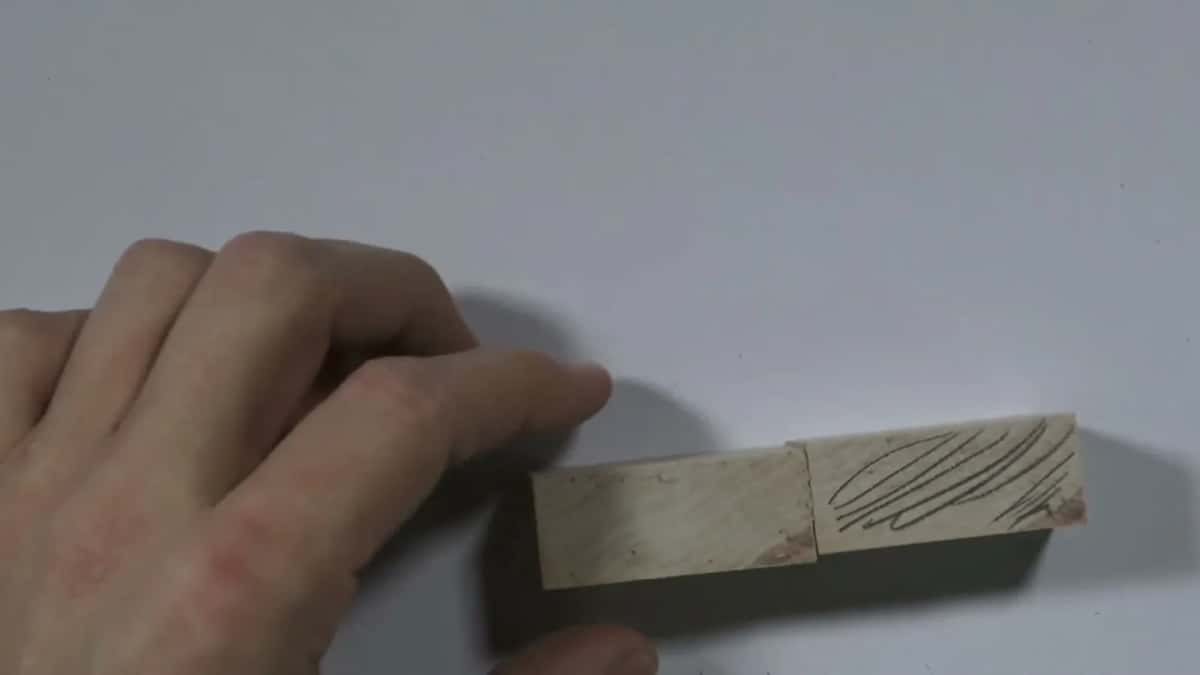
Follow one grain line across the left drawing and it never stops. On the right it dies at the red seam.
Where green wood loses is flat relief. An acanthus panel holds its shape by stiffness alone, and it has to stay flat on a cabinet door for a hundred years. Carve that wet and you are carving a shape that will not exist next summer.
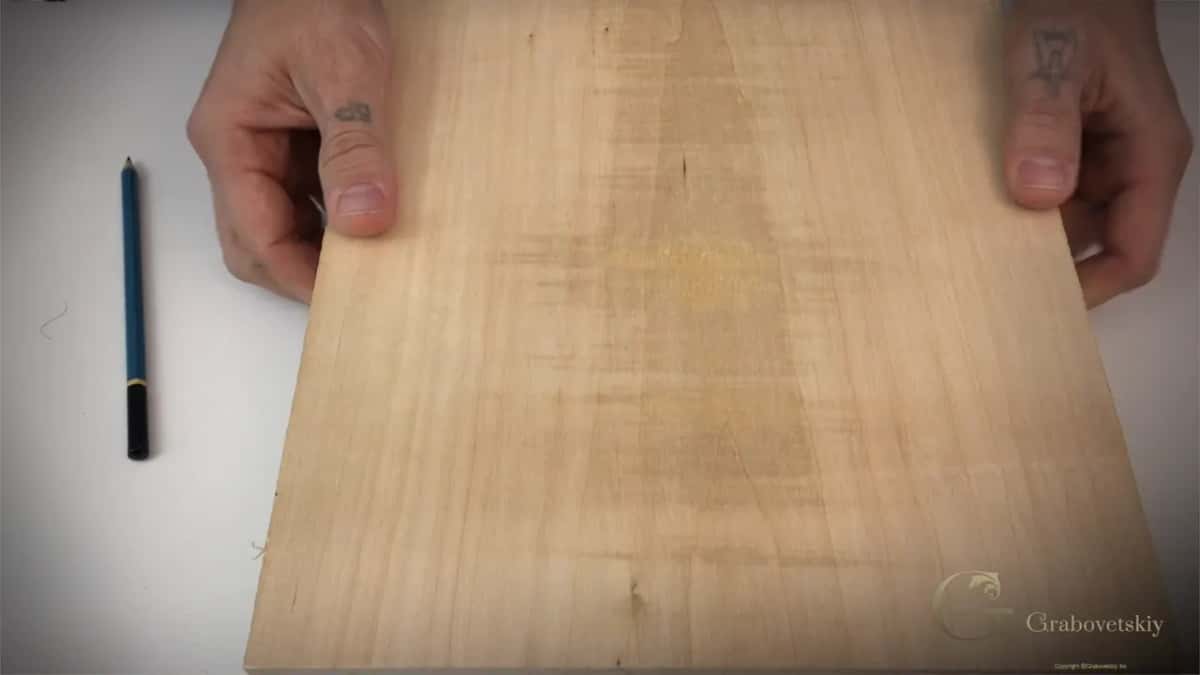
Palms flat on the board is how you feel it rocking.
Can you stop a big carving from cracking?
I do it two ways on every large panel I take on. The first way is the glue up. My second way surprises people.
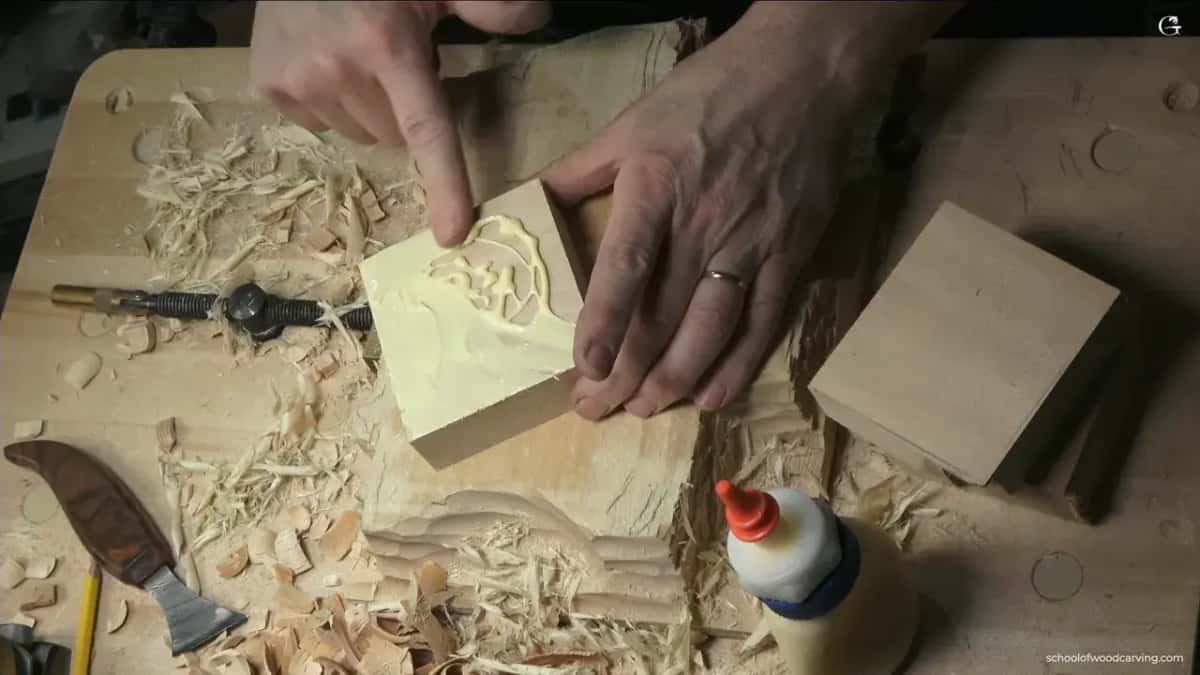
The orange capped bottle at the edge is ordinary yellow wood glue.
When I glue boards together I flip every second one so the rings run the opposite way, which makes a wave through the thickness instead of one big pull. Then I stagger the seams like brick laying, and no glue line ever goes near an opening in the design.

Half this leaf is now air, and air cannot pull hard enough to split anything.
The second way is the carving itself. Deep excavation breaks the long fibers that would otherwise pull against each other, so a carved panel is calmer than the flat board it started as. In that same livestream I put it plainly. If it is going to shrink in this area, it is not going to crack.
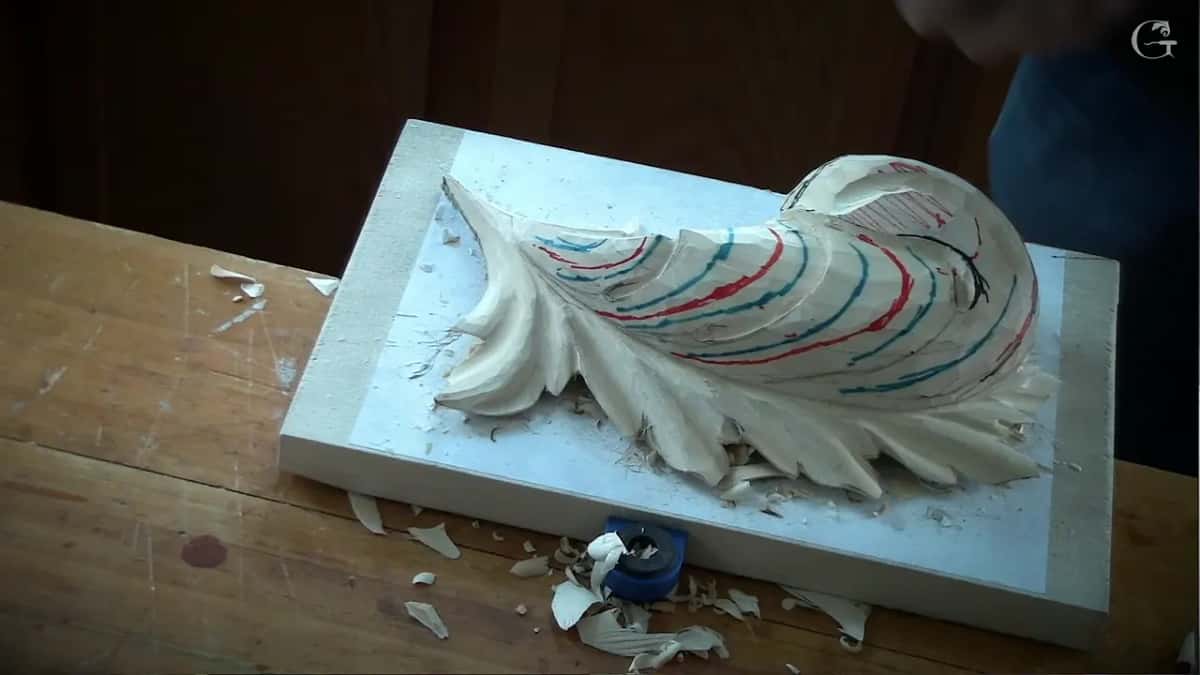
The stock under this leaf is six inches thick and made from three glued layers.
None of this replaces drying. It only buys room, because wood never stops answering whatever is the moisture in the air and the humidity and so on. Wood is a sponge that used to be alive, and it never forgets how to drink. For the drying itself we keep drying green wood at home, the oven method, and the microwave shortcut there, plus the general case in letting wood dry before carving.
Wood has not changed since the earliest carvers worked this out with no meters at all. They stacked boards and waited. We can wait too.
If you would rather learn this at a bench than from a page, everything I know about reading a board is in the beginner carving course, with three thousand lessons behind it. Shall we carve?
Frequently asked questions
Can I carve a branch I cut from my own yard today?
Go ahead, for a spoon or a small figure. Seal both ends with wax first, and expect a check somewhere. For anything flat, stack that branch off the ground and forget it for a year.
Is kiln dried lumber ready to carve straight from the store?
Most of the time it is, and it often arrives near 6 to 8 percent. Give it two weeks in your own shop anyway. A kiln dried board that sat in a damp warehouse will drink your room humidity back up before you notice.
Does the one inch per year rule actually work?
It is a shop rule of thumb, not a measurement. One year of air drying per inch of thickness, stacked under cover with stickers between the layers. Dense species run longer, and your local humidity has the final word.
Why did my basswood crack after I finished the carving?
The block was almost certainly still wet inside on the day you started. Its surface felt dry, the core was not, and your warm house finished the job that winter. Weighing the board on two dates would have caught it.
Should I seal a carving to stop it moving?
A finish slows the exchange down, and it never stops it completely. Shellac, oil and wax all breathe. Sealing the end grain while a board dries is genuinely useful, because ends lose water fastest and that is where checks begin.
Do I need a moisture meter to carve seriously?
A pin meter costs less than one good gouge and takes out the guessing, so it is worth owning. You can still work without one. Weigh, wait, read the ends, take a test pass, and the board tells you what a meter would.
Filed under
- advantages of dry wood for carving
- benefits of seasoned wood for carving
- best wood blanks for carving
- best wood to carve
- carved wood projects
- carving techniques for dry wood
- carving tools and dry wood
- detailed carving with dry wood
- drying wood for carving
- Drying Wood for Carving
- ease of carving with dry wood
- effects of moisture on wood carving
- how to choose wood for carving
- moisture content in wood carving
- preserving carved wood from mold
- reducing cracks in carved wood
- seasoned versus green wood for carving
- weight of dry wood for carving
- Wood Carving Basics
- wood carving finishes with dry wood
- wood for carving blocks
- wood types for carving