
Alexander Grabovetskiy, woodcarver, School of Woodcarving · Published 2017
How do you carve a design into a kitchen cutting board?
Quick answer: Draw the design straight onto a basswood board, outline it with a chip carving knife held straight upright, then carve the curls around it. Color the wood with boiled walnut shells, lighten the high spots with Dutch reed, and finish with food-grade mineral oil.
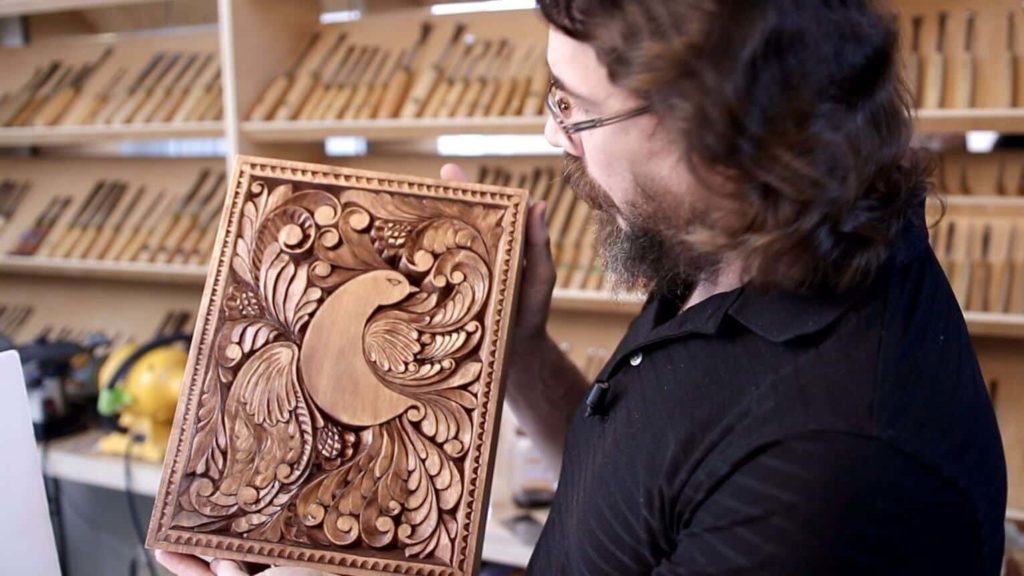
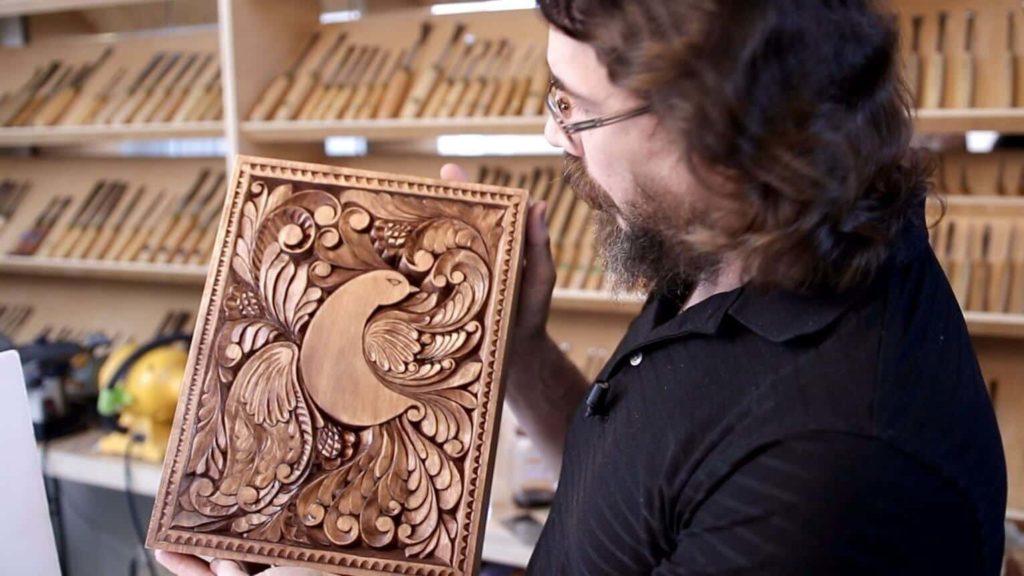
A cutting board has two sides. One is decorative, and the other one is for cutting your food. Many of you, once you've done it, probably won't even use it. It can be just a standalone piece of art, and you can even frame it if you want.
The board here is basswood, about 10 inches by 13, and a full two inches thick. Yours does not have to be that heavy. 20mm (about 3/4 in) will do, though a thicker piece is more stable and won't warp as much.
What is curly wood carving
Curly carving is an ancient European style built almost entirely out of curls, and different nations gave it different names that all translate to the same word. Carvings like it survive from the 8th, 9th and 10th centuries all across Europe.
About 20 years ago I carved a piece in exactly the same style. It's just like a dish.
Almost all of it comes off one knife. A gouge joins in on this project, the first time it appears in the beginner path, but 99 percent of the work is still the knife.
The course picks up where the first cuts course stops, so its sixteen workshops are numbered 3 to 18, and an assessment closes it.
What wood do you use for a carved cutting board
Basswood, or lime wood, is what I'm using. Riemenschneider carved in Germany in the Middle Ages, and he used lime wood, the same wood exactly that we use today. All his work has a brownish color.
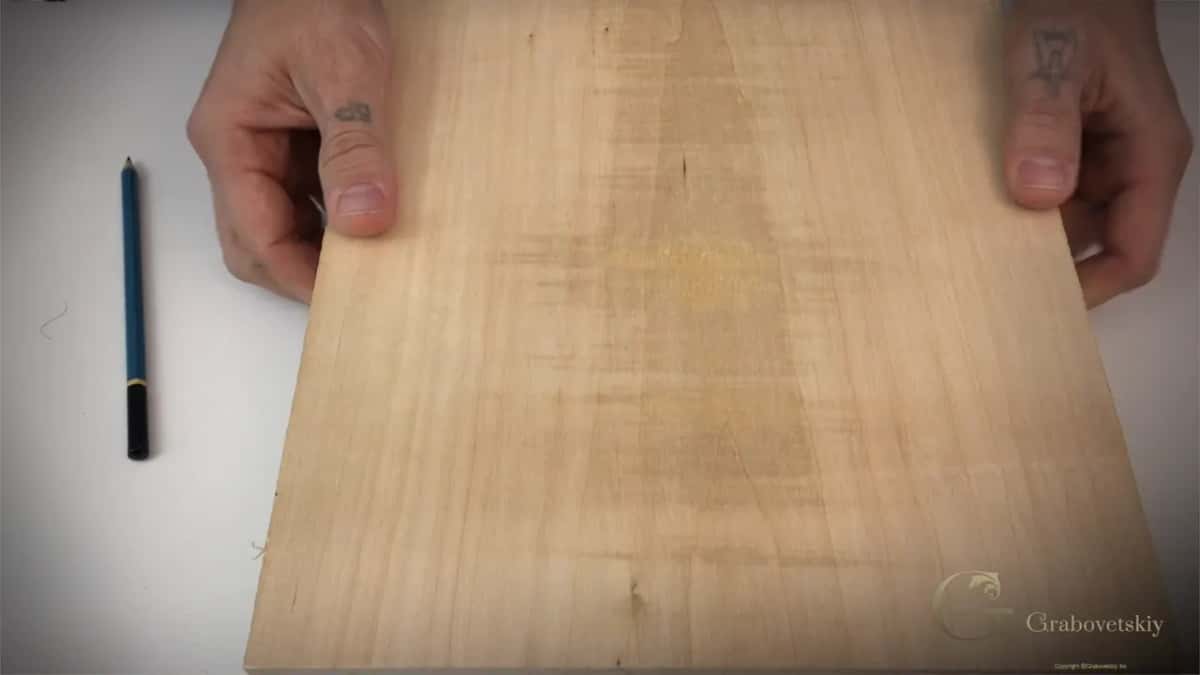
My block is two inches because I kind of like a thick one. It warps less. My board in Workshop 9 has a micro crack inside, so I keep an eye on it and watch what the grain does.
What tools do you need for this project
One knife and one gouge. It's a number 12 chip carving knife, but any knife made for chip carving will still work.
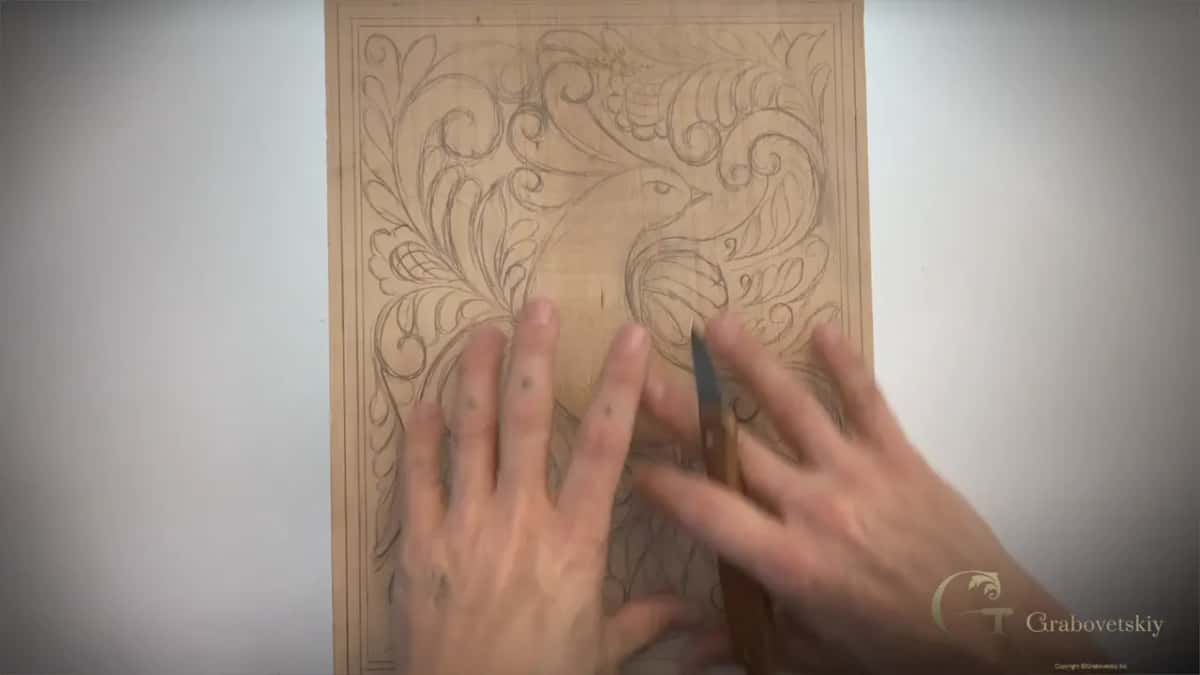
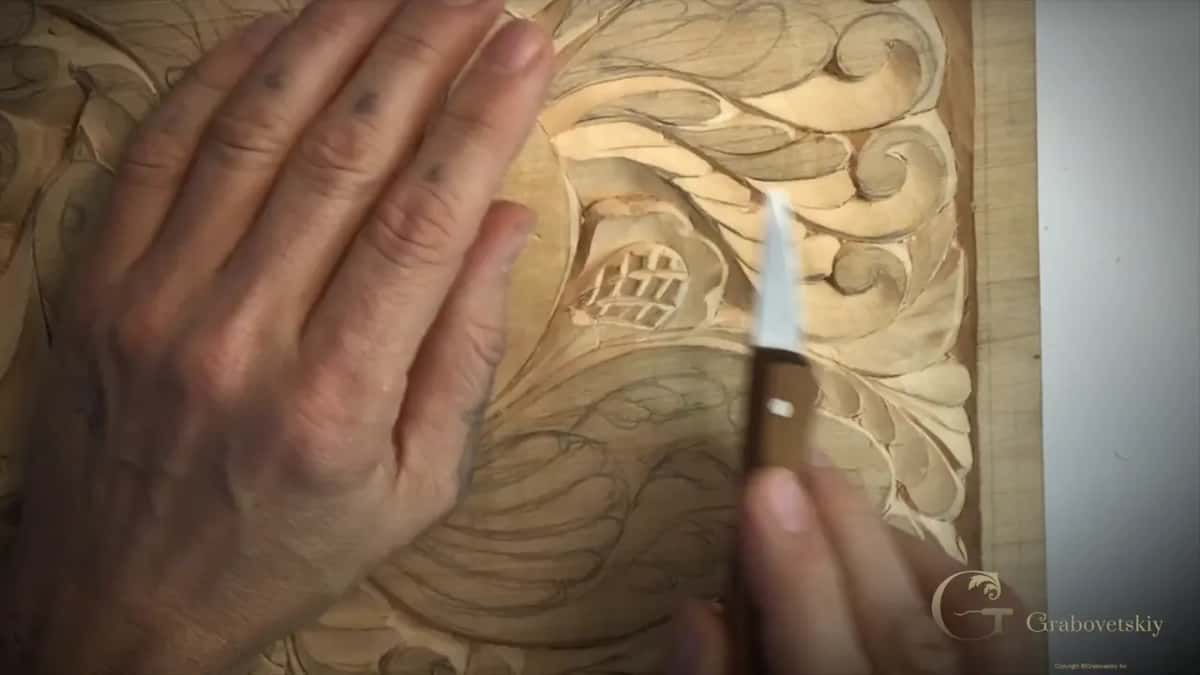
Everything you learned about the three angles carries into this board. Straight down at 90 degrees, angled from the right, angled from the left. The upright one outlines the bird.
Hold the handle tight and keep your supporting hand out of the blade's path. I have cut myself that way before. Keep the knife really sharp, too. I strop mine in Workshop 5 on leather with some green paste, about 20 strops each way. Sharpening has a course of its own.
I don't hang my hand in the air. As I say in Workshop 7, I lay it solidly on the wood to support myself. You can also steer with a finger instead of turning the board, but it's not as accurate. Rotation is probably the better choice, and I can see some waviness in mine.
Why one knife, when there is a wall of gouges behind me
Somebody wrote and asked me exactly that. Why teach a one knife technique when people already own other tools? I answer it in Workshop 14.
Every tool has to be handled properly, and you have to learn them one at a time. In ancient times the only tool people had was a knife or just a straight chisel.
Learn the knife and every other tool turns into a toy. It's much easier to use the others once you handle the knife correctly. I still use a knife a lot when I carve flowers and fruit, and in Workshop 11 I tell you my own teacher taught me first with the knife.
Most of the carving on this board you could do with a straight number 1 carpenter chisel, using one point of its edge. The knife gives you more flexibility, though. The first cuts course is where the three knife angles come from.
Where do the border lines go on a carved board
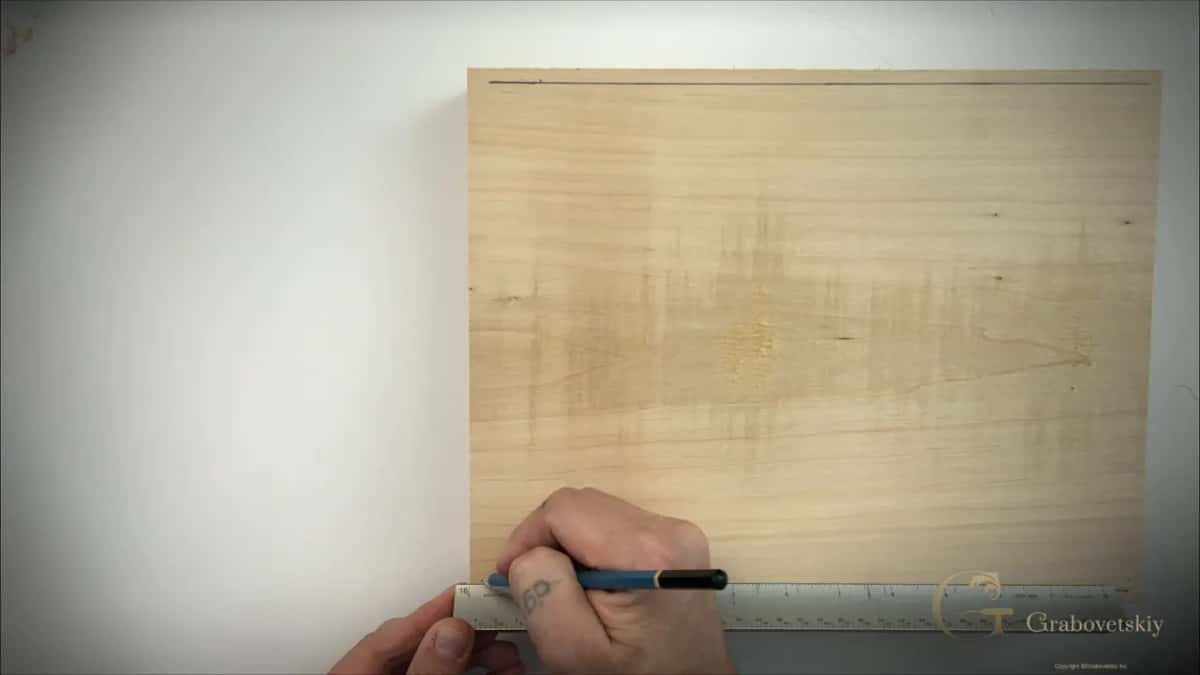
Three lines, drawn in from the edge. About a quarter inch, another quarter inch, then one eighth of an inch. The third one is the first line the knife follows, at one angle all the way around the board.
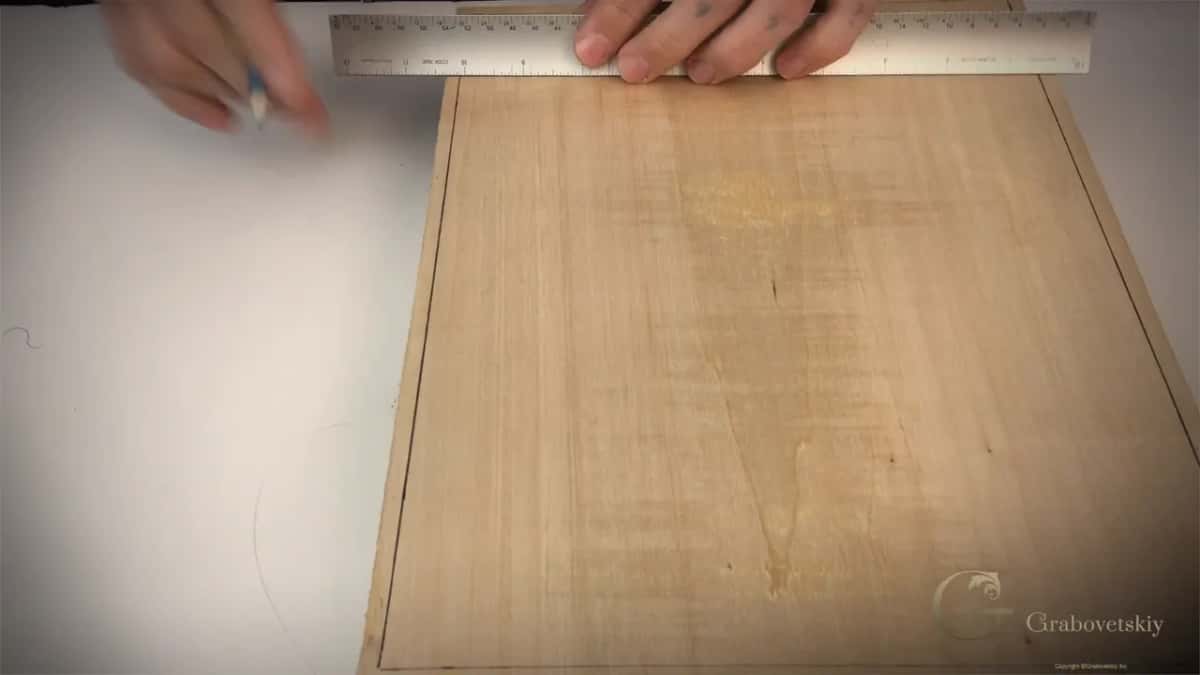
A ruler is fine. I use a scale. But 2,000 years ago you would not have one like ours, so here is the other way: place your middle finger against the side of the board, set the pencil right on the line, and follow that edge. It gives you a really good line.
Do you have to be able to draw to carve a design
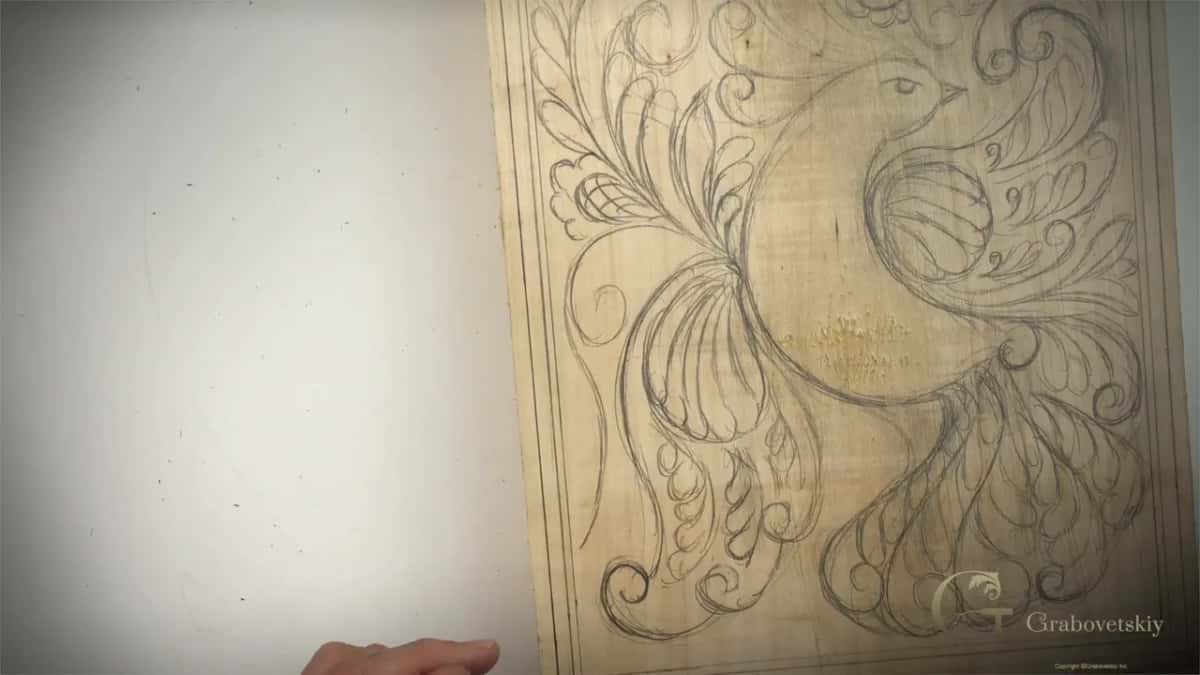
I design these straight onto the wood with a pencil and an eraser, changing my mind on camera. You watch the whole thing happen, including the parts I do not like and rub out.
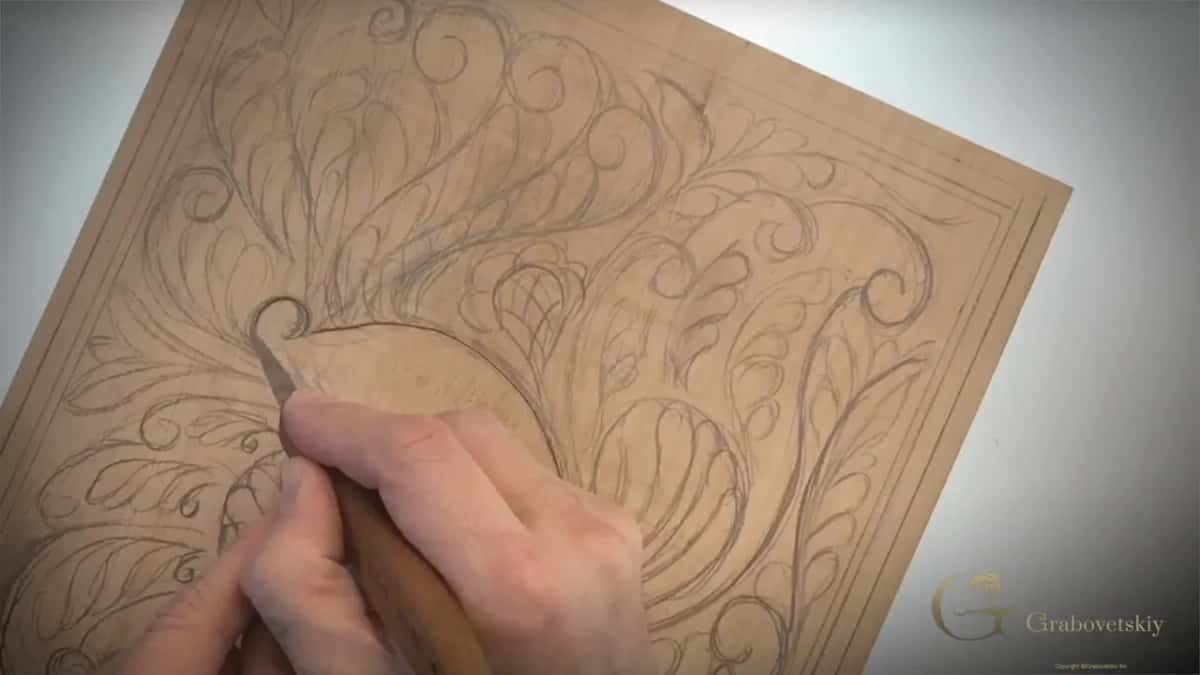
Start with the main movement, not the details. One long line that says where the body of the bird goes. Then the tail. Wings after that, then the eye. When the bird reads as a bird, fill the space around it with curls, a few leaves, a flower where a hole opens up.
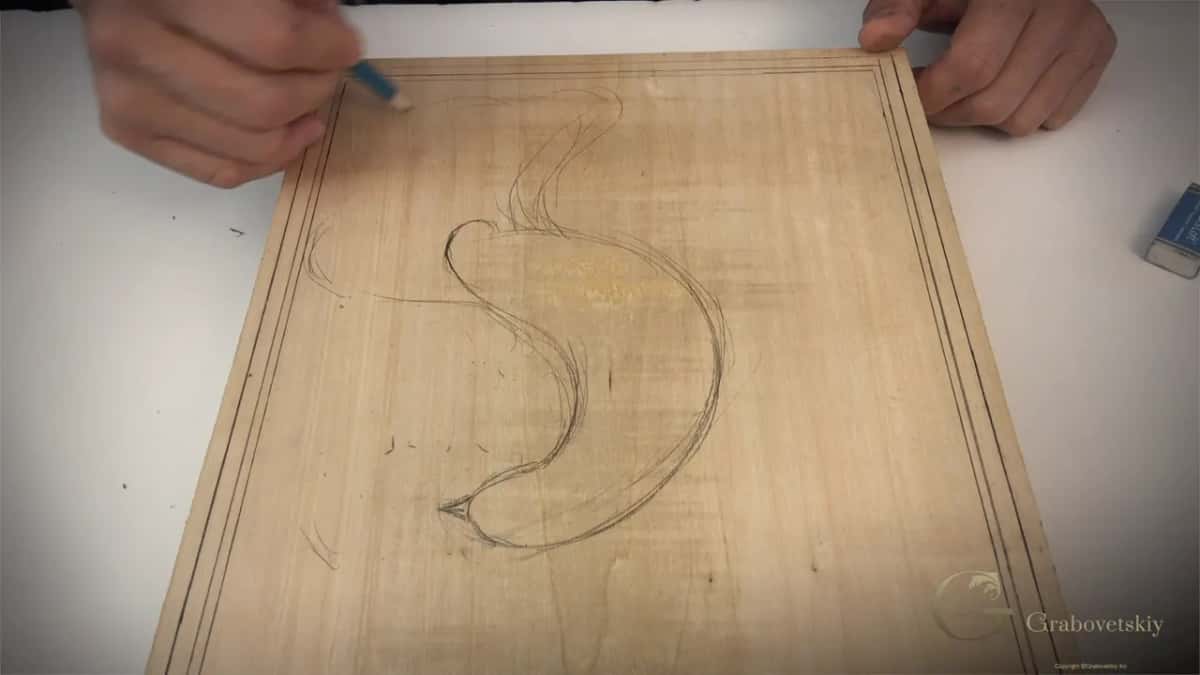
Everything has to flow, with no T-stops. It should still be a really nicely flowing design. Ancient carvers loved to stylize everything, so follow that same rule and let the shapes curl.
I'm not sure if you're able to catch that on the camera or not, all those moves, but once it's done, it's going to look really, really nice.
I made a picture of my drawing, and it is a download in Workshop 3. Make it bigger or smaller, depending on the board you have. Just get an idea of filling the space.
Why does everything have to flow into one line
Everything on the board has to be flowing together, and no line should just die somewhere. Don't take it too philosophically. A line from a curl either goes on into the second line, or I repeat the same line, and it still looks organic to the original curl.
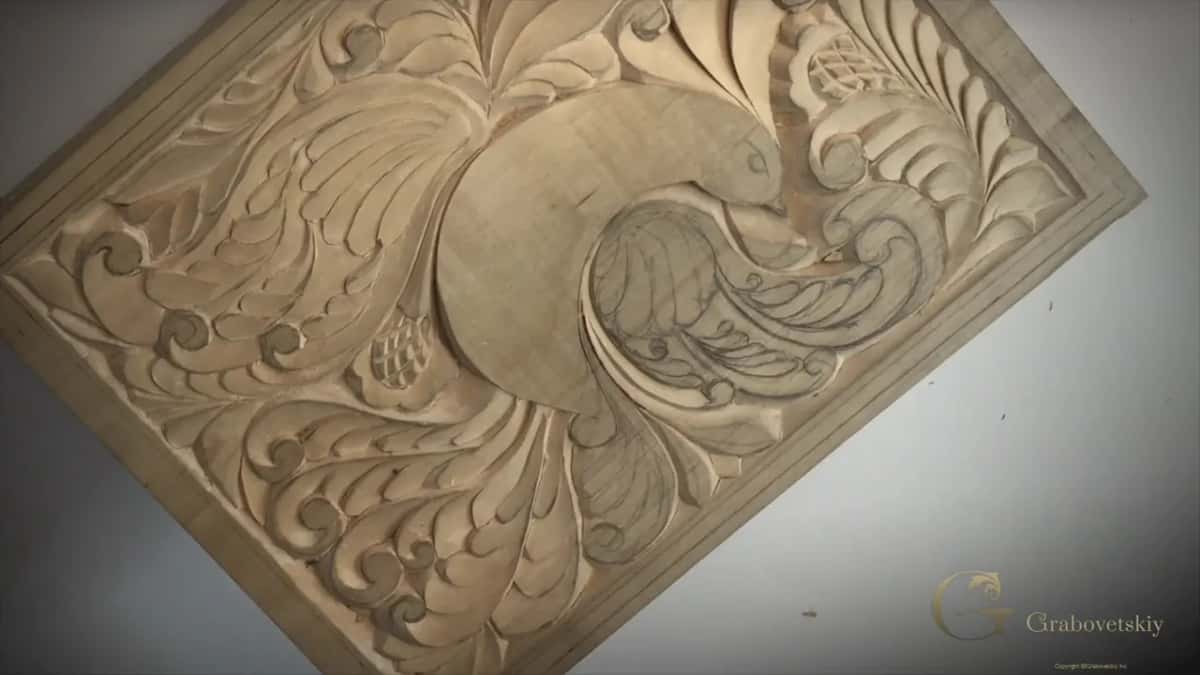
Get it right and the lines are in harmony. When it is wrong it does not look natural, and a lot of times you only catch it days later.
What goes wrong has a shape and I call it a bubble. It sticks out of the flow line and looks like it doesn't belong to the main flow. It happens when you draft really quickly, which I do.
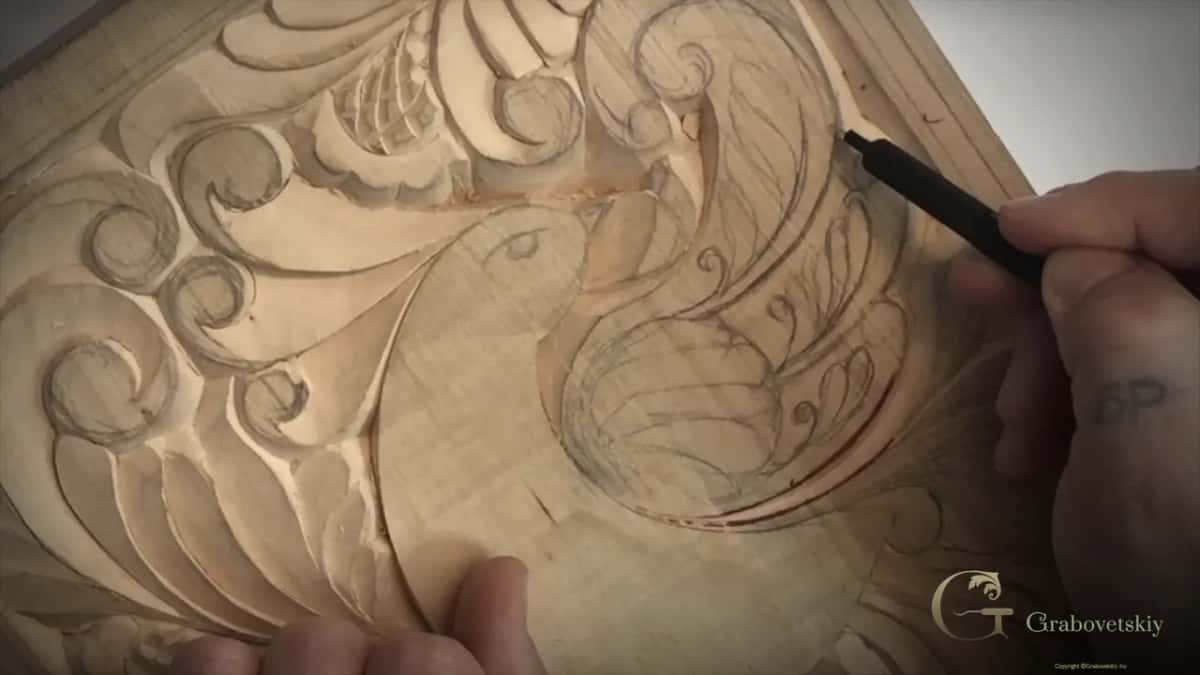
The fix is an eraser. Rub the bubble out, draw the line again so it repeats the curve outside it, then carve it. A whole course sits on this.
What is the first pass on a carved design
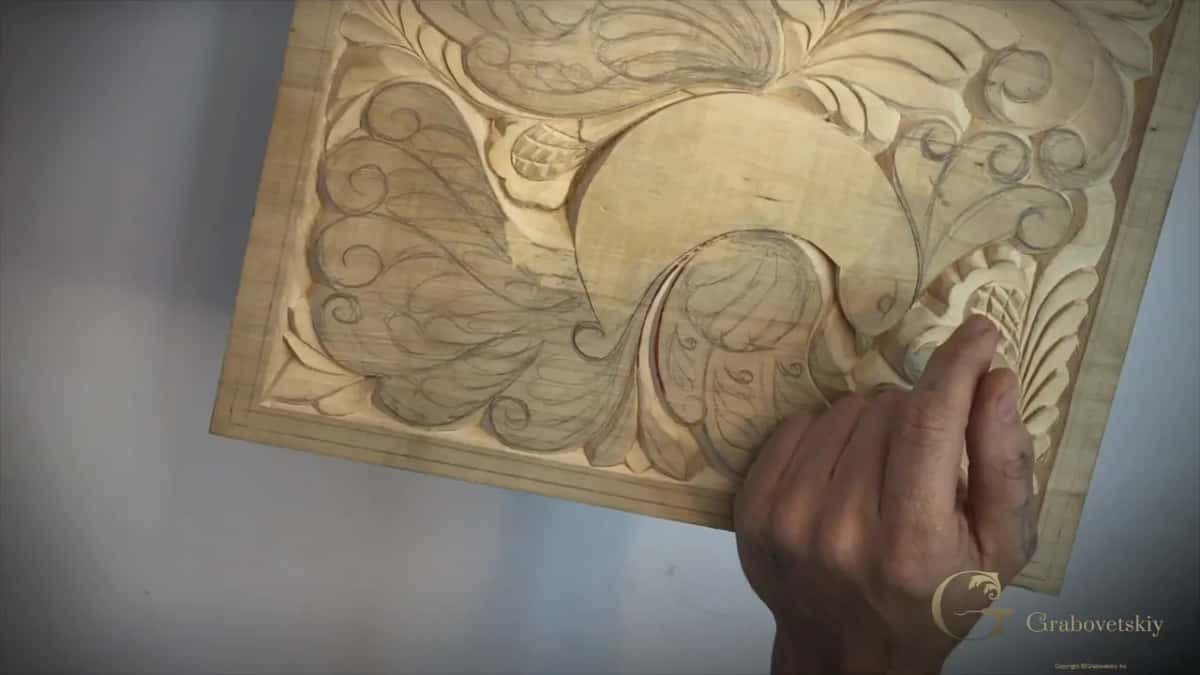
Straight down at 90 degrees, following the outline of the body, going slowly and never forcing the blade. A slight angle will not ruin it, but the upright pass looks better.
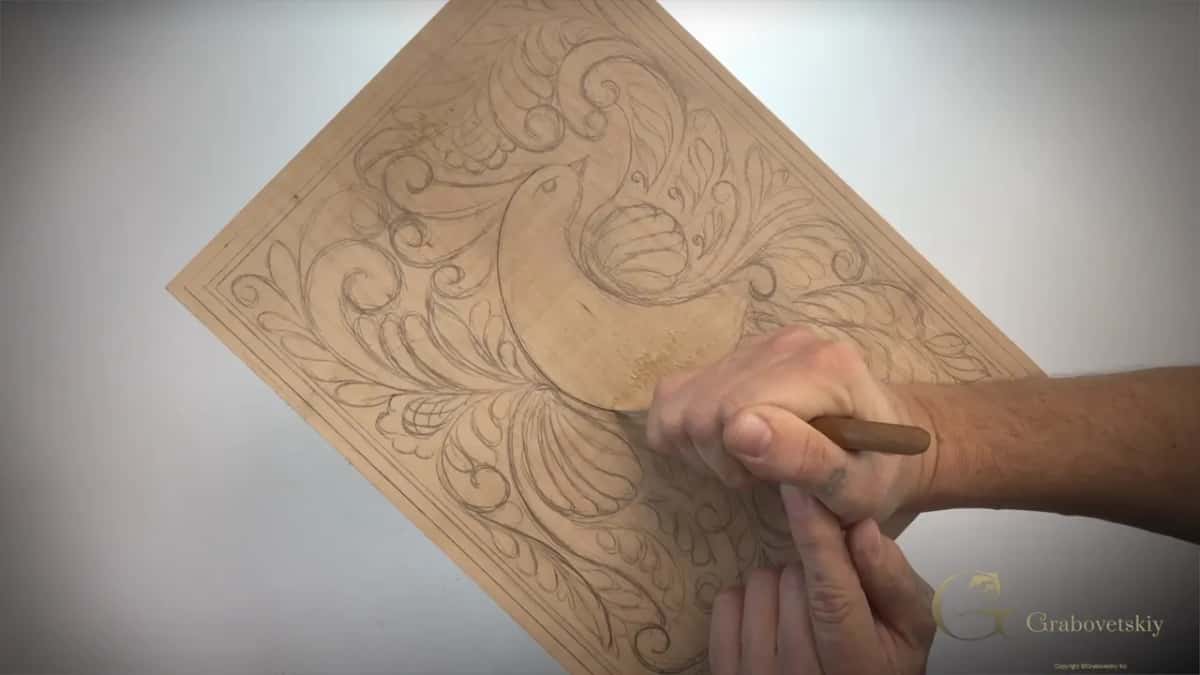
Depth is your choice. The straight down outline is what creates a beautiful shadow line around the bird, and Workshop 6 shows it. Put your knife at a point that is convenient for you to start. It doesn't really matter where.
Then rotate. Rotate again. On a curl you will turn that board again and again.
Where does the curl shape come from
People call it a volute now. In some cultures it is called Solomon's cucumber, and yes, I mean King Solomon. Look at the whole element really close and it looks like a cucumber.
That element was already in use in ancient Israel, when Solomon built the temple, as I tell you in Workshop 4. Greek carvers knew the word volute. A carver in Germany or Scandinavia did not, and called it what it looked like, which was a curl.
How do you carve the curls without breaking them
Carve the first line straight down, then add a second line beside it about 3/32 of an inch (2.4 mm) away, angled in to meet it. Only one side is beveled, so it is not a true V cut.
Between two details, start the pass with a slight bevel to match the one next door, then finish it upright. Don't press too hard at the very end. It's easy to break pieces from the area between those two passes.
Keep going back with the cleaning pass, two or three times if it takes that, until every chip flies out on its own. If a chip is not flying out, that means the pass needs refining.
Why stay a sixteenth of an inch deep
It trains your hand to feel how deep to go. A Chippendale door panel, or a French or Belgian one, is sometimes only a quarter inch deep, or even 3/16 (about 5 mm), and the carving still has to look three dimensional inside that.
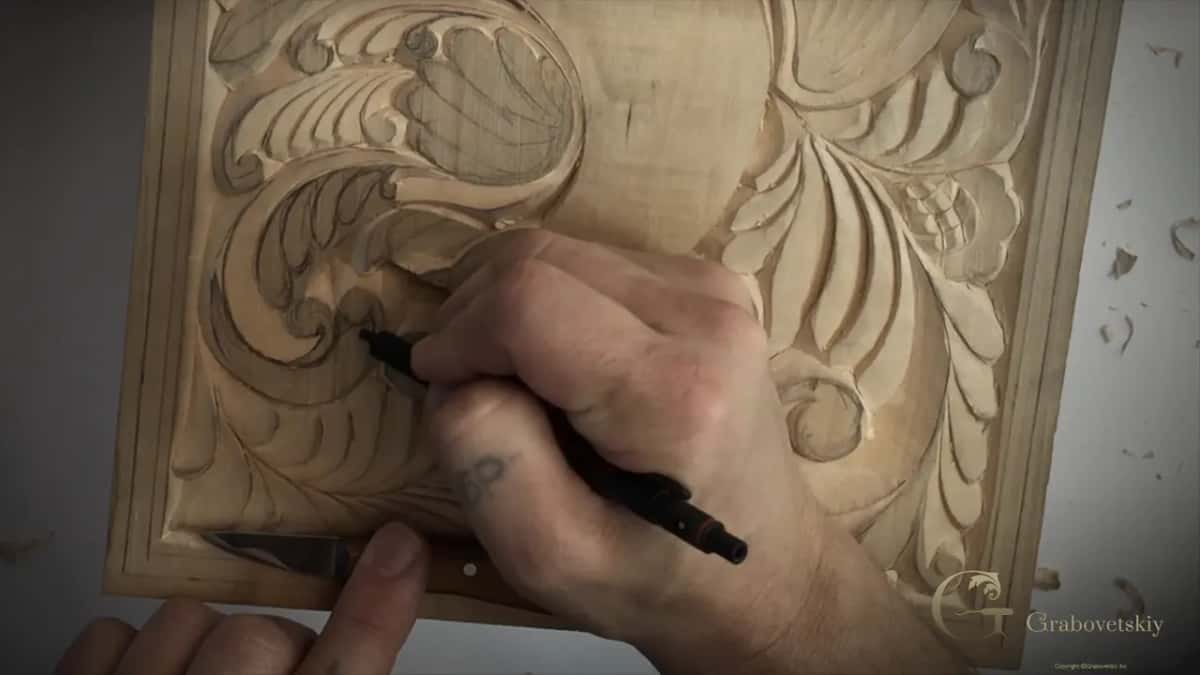
So the small details on this bird go no deeper than a sixteenth of an inch (about 1.5 mm), and the wings no more than an eighth (about 3 mm). I could go even less. It still looks carved, and that is the exercise.
Take the corners out first, the little triangles. That sets your low point, and then you blend everything toward it.
The finish helps too. Once it is on, those lower areas get a little darker, and that creates a feel of depth. The furniture panel course is where this training gets spent.
Why do the ridges come back a day later
You pressed the fibers down with the blade, and a day later they stood back up. Wood is a sponge, only harder, and a fiber crushed under the blade opens again after a couple of days. It's just the nature of the wood, as I say in Workshop 12.
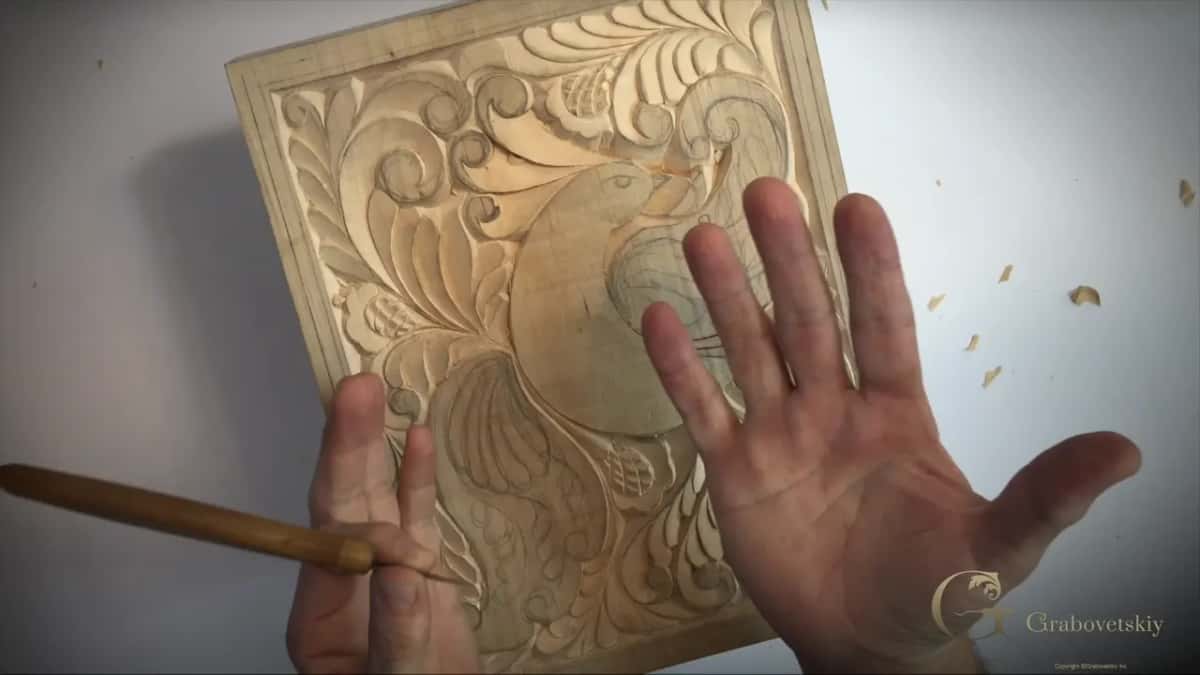
Once you carve it, it looks really nice and curly. A day later you come back and see ridges. You did nothing wrong. Take the knife back over it.
There is a second reason to wait and it has nothing to do with wood. Your eye adjusts. Live with a cracked mirror in your house and after a couple of days you stop paying attention to the crack. When you carve, your eye adjusts the same way to what you see.
Leave it three or four days, even a week, as I do in Workshop 15. Work on a different carving. Come back and you see all the spots you have to fix, and you find them much quicker. Questions like this one are what the techniques Q and A exists for.
If you look at your work, let's say, and you think it's done and you like it, you are not an artist anymore.
My teacher said that to me once. The true artist still doesn't like what he sees before him.
How did carvers sand wood before sandpaper
Dutch reed does it, a plant that grows by rivers and swamps and is abrasive enough to take wood off. Nothing like 180 grit. Much finer than that.
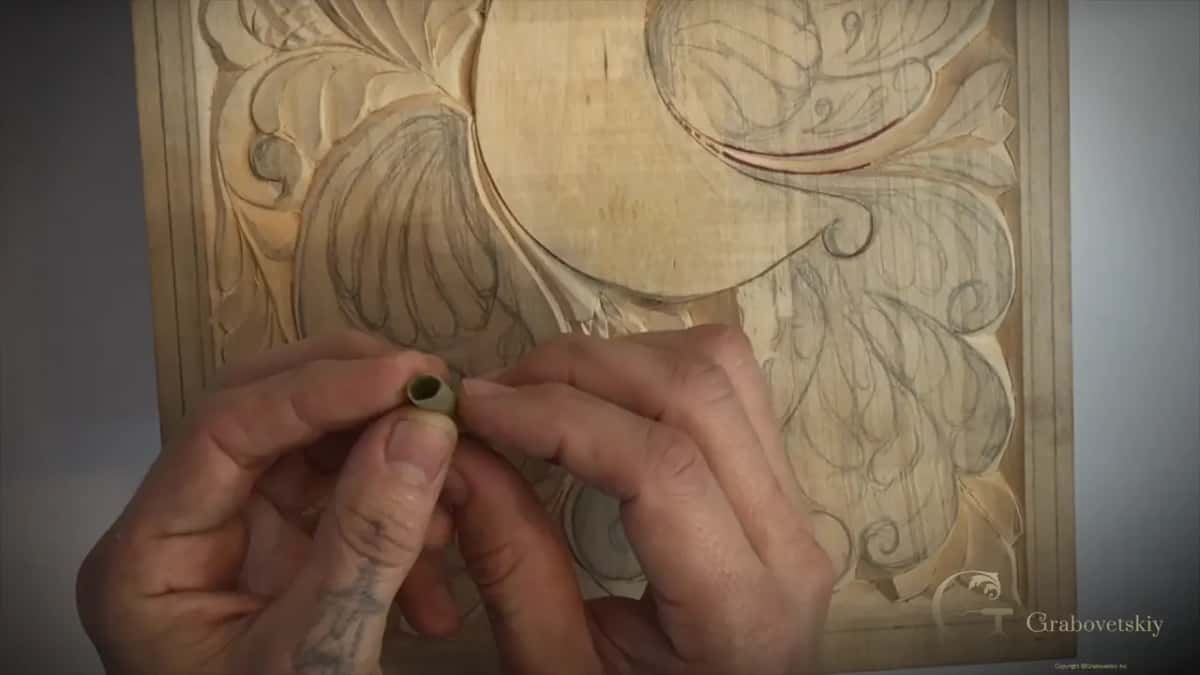
Cut a section about an inch and three quarters (4.5 cm) long, or use the whole tube for tight spots. It works either way, and the tube gets right into the small spots.
Even on the famous work of Grinling Gibbons in England, the man who restored it found marks from the same plant I am holding, and I show you what it is in Workshop 10. Workshop 8 has another old way. Most commonly they would take another piece of wood and smooth the grain with it.
Why not sand a carving
Sanding presses the fibers together, and then the finish stands them back up. Put a water based finish over a sanded surface and the grain rises, so you sand it again, and again after that.
On flat furniture that is easy enough. With a complicated shape like this one it is not easy at all.
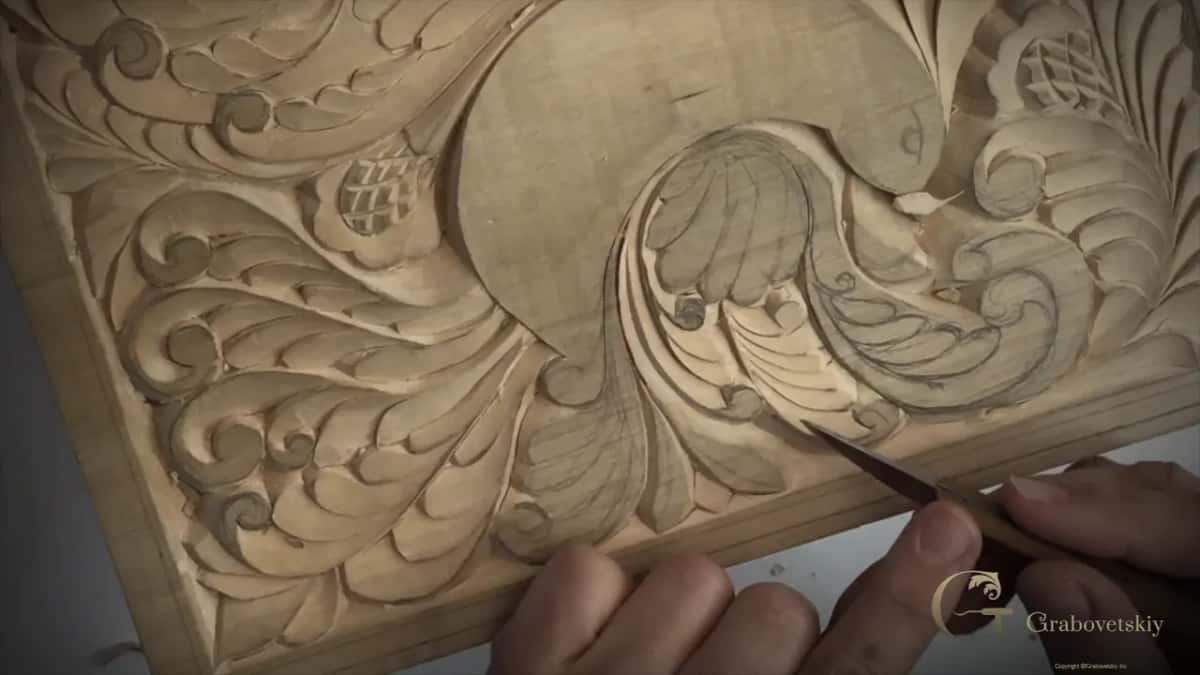
A knife pass leaves the grain where it lies. Almost nothing rises later.
Then there is the look of it. Tool facets across a surface say a hand did this and not a machine, which is the entire point of the object. The Dutch reed earlier in this course is there so you know what the old carvers reached for. I showed it, and at the end I used it once more to go around the edges, with a slight sanding of 400 grit. Not much.
When does the gouge finally turn up
Near the end, in Workshop 16, and first for the border. One gouge, a number 8, 10mm (about 3/8 in) across, and it is the first gouge in the whole beginner path.
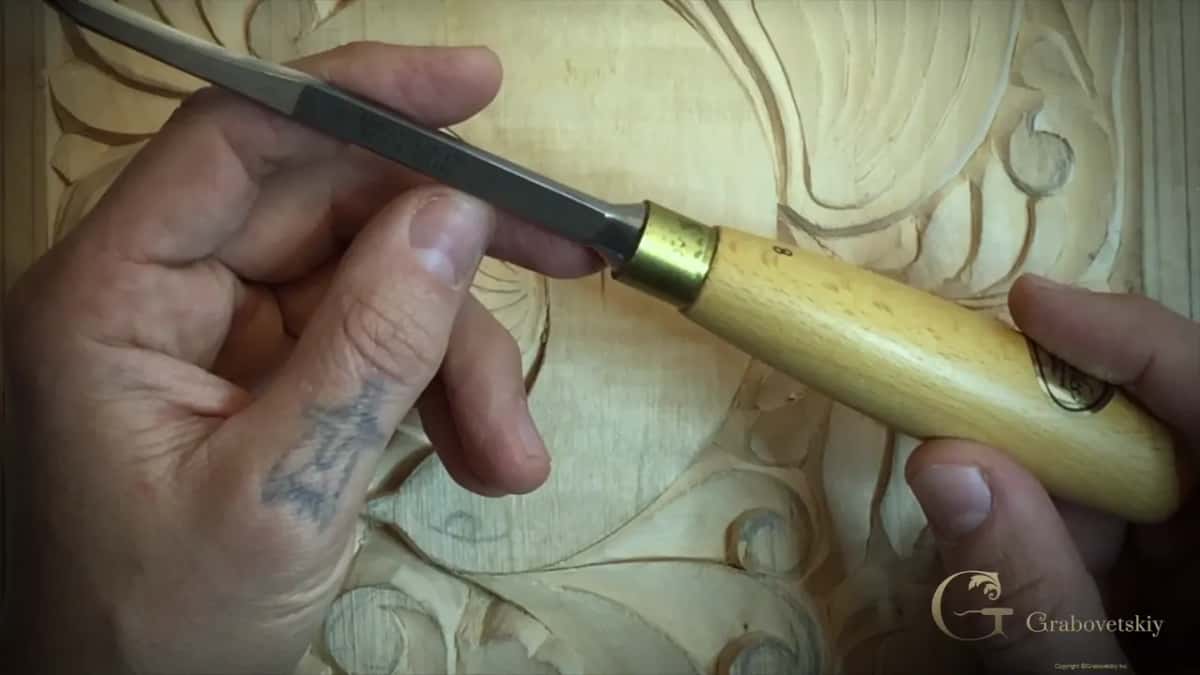
Mine is an Ashley Iles, made in England, and one of my favorites. Anything near that number and that size does the same job.
Number 1 is a chisel, absolutely straight. In the UK, number 2 is a skew chisel, double bevel, with a skew. In most countries gouges begin at 3 and run to 9, and a 9 is a half round, the point where a true gouge stops. After that you are into veiners, V tools and the odd specialty shape.
Hold it with your hand close to the end of the blade, close enough that you can still see what you are doing, and the other hand steering. Then walk it round the perimeter, pass beside pass, until the border reads as a frame. Do not force it. If a chip will not fly out, come back with the knife and recut it. The tools course covers the rest of the family.
Can you stain wood without chemicals
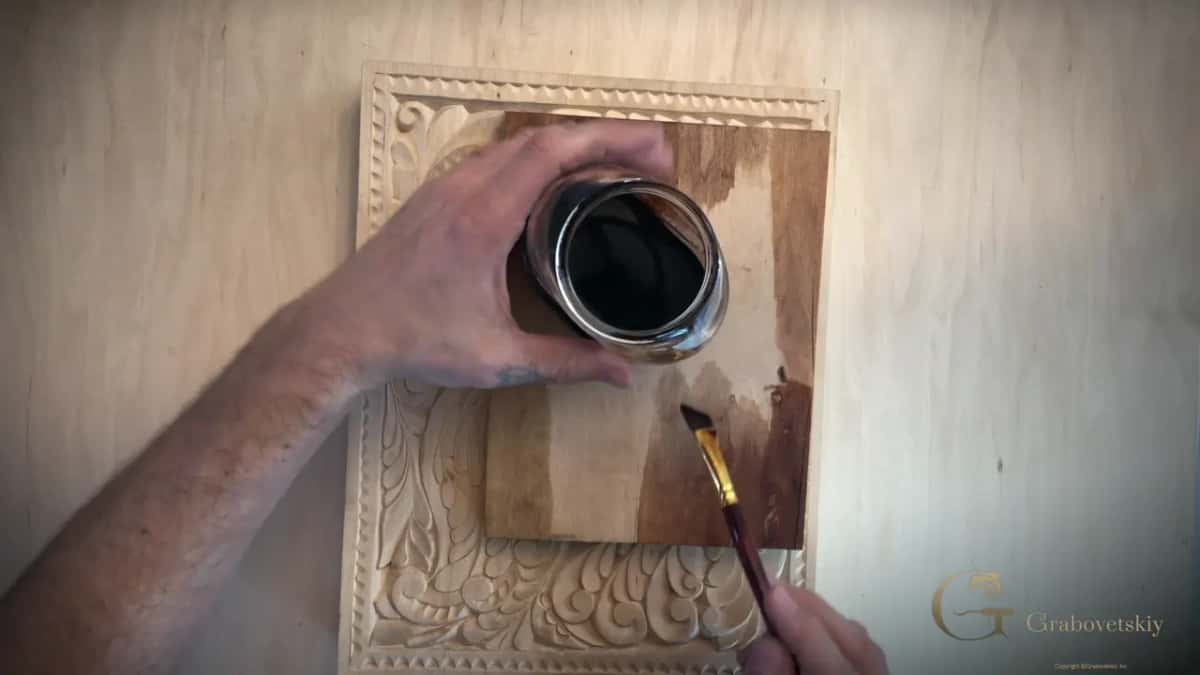
Boil what your kitchen throws away. Boiled onion husk makes a dark stain with a red cherry cast. Walnut shells make probably my favorite, the true walnut color, and that is what went on this board. I show both in Workshop 17.
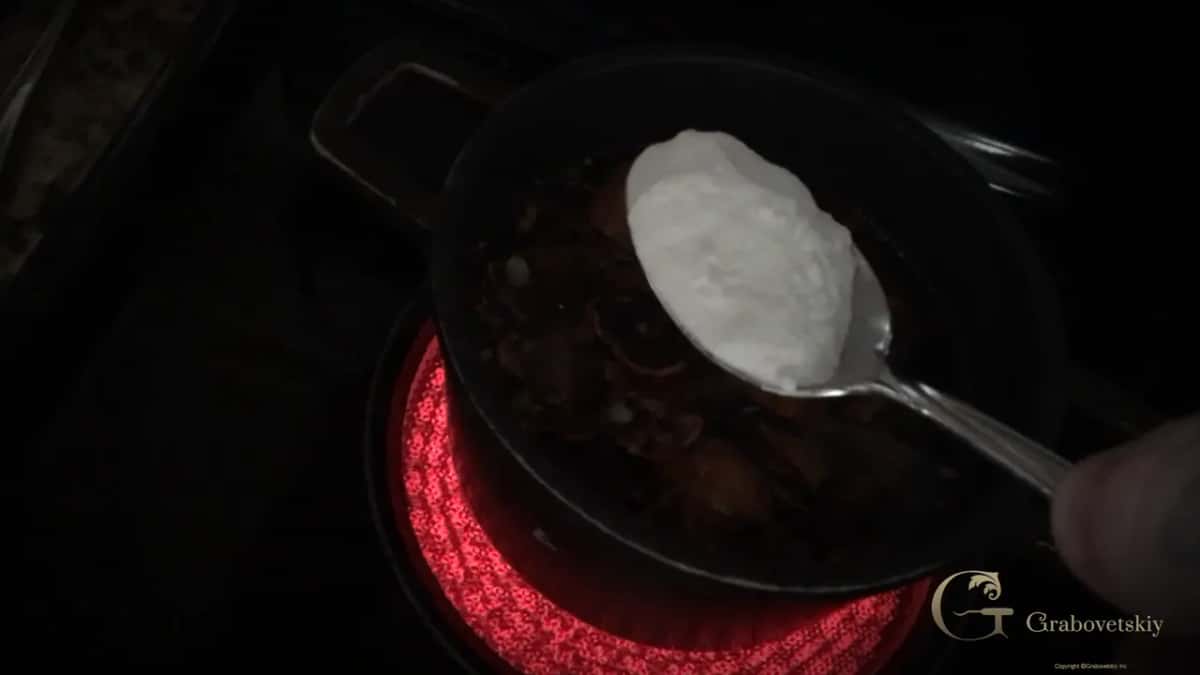
My wife saves the onion husk for me whenever she cooks. It goes in a pan with water and about a teaspoon of baking soda, though you don't have to add the soda. After ten minutes you have a yellow brown. Keep it going and the red comes up, and four hours gives you the color you saw.
The shells get the same treatment, and you do not need many. Both are safe on a board that will hold food, and both are old ways of coloring wood.
When I was in a Russian jail, I had to make some furniture and some marquetry and so on. But sometimes I didn't have any veneers to do real marquetry.
Birch plywood and homemade stains are what I had then. We didn't have any walnut, so we used pine bark with a little baking soda. I would draw a picture, make my separation cuts with a tiny one millimeter gouge, and build the color up inside. People didn't even know it's not true marquetry, and that is a longer story than this page holds.
Work fast on an open area. The stuff behaves like a dye, so if you stop halfway across the bird you get a line that is hard to get rid of. Applying a second coat over the first only deepens it.
Which homemade stain should you cook
I have cooked three of them. The onion and the walnut are both food safe, and those two went on this board.
| What goes in the pan | Color | Worth knowing before you start |
|---|---|---|
| Onion husk | Dark, with a red cherry cast | At ten minutes it is still only a yellow brown, so keep the pan going |
| Walnut shell | True walnut, and the one on this board | Surprisingly few shells |
| Pine bark | Reddish, near enough the onion | What I cooked in prison when there was no walnut to be had |
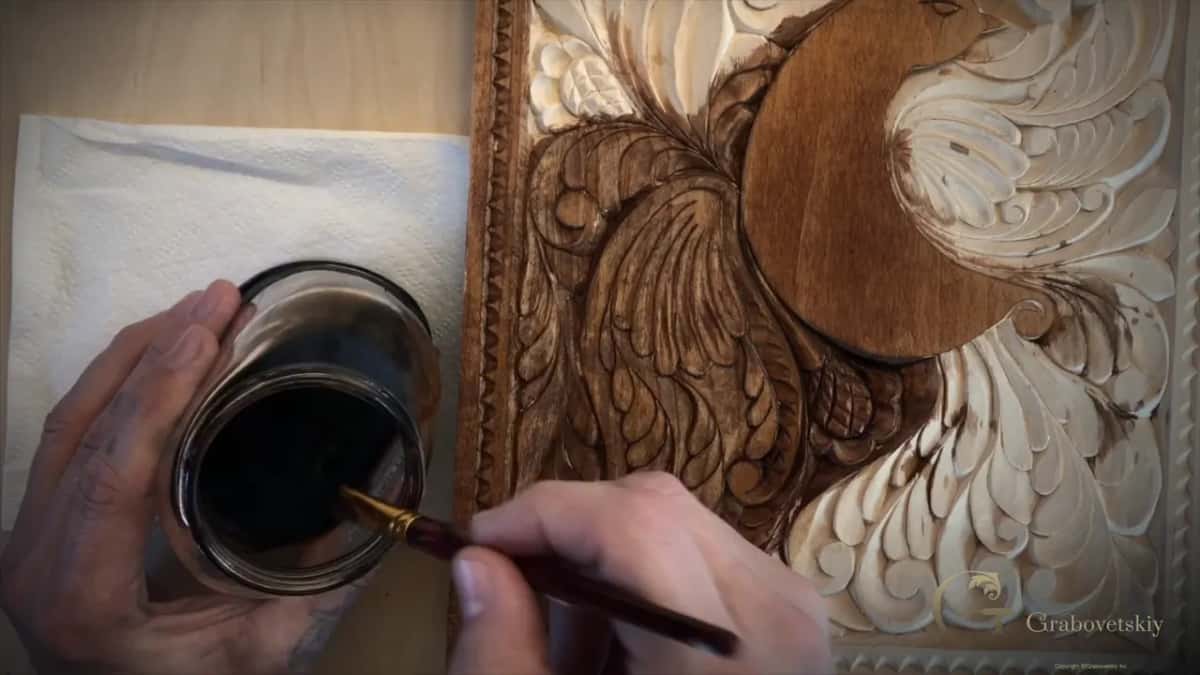
Four hours in the pan for the husk and for the shells, and the method for the bark is exactly the same. Each one boils in water with a little baking soda.
It goes on like a dye, so be careful with it. You can also brush one stain over another. I took a smaller brush and put the onion husk stain inside some of the areas, over the walnut, to make the color difference.
What finish is food safe for a cutting board
Food-grade mineral oil, sold as butcher block finish. A pharmacy sells normal mineral oil for less money, and it's still food safe. I got mine at a local Home Depot. Any lumber yard has it, or you can order it online, and one bottle is going to last me forever.
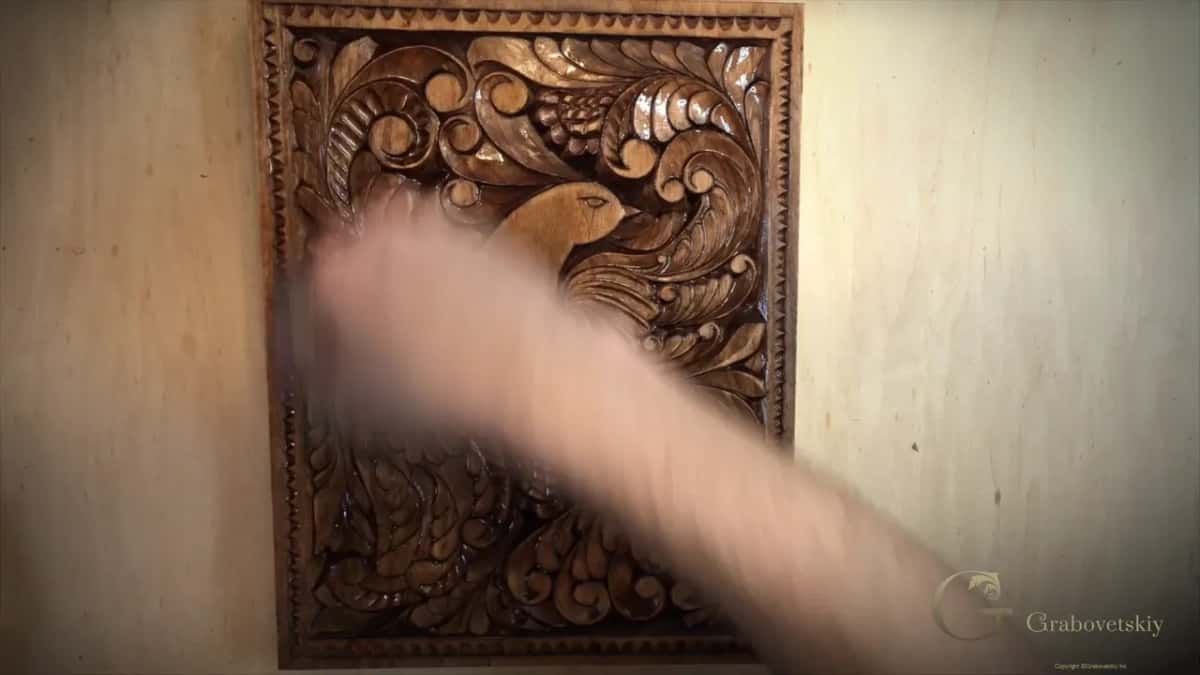
I pour it on in Workshop 18, and I don't try to save on it. Boiled linseed oil works as well. Oil and beeswax are the two finishes we know the old carvers used. A two-inch board sucks the first coat right inside, and it takes about three, four coats to get the sheen even. Wipe the surplus off after 20 minutes, then leave it about a week.
Beeswax is food safe too, and it is not water resistant, so a waxed board cannot go near the sink. That is why the oil wins here.
Want it to look old? Iron soaked in vinegar, brushed into the hollows over the natural stain, turns them nearly black. On bare wood it does almost nothing.
Can you really cut food on a carved board
You use the other side. Somebody asked me this online and it is a fair question. The carved face is the decorative one, and the plain back is where the food goes. I posted this board on Reddit, and I tell that story in Workshop 13. One person asked the same thing, and I answered that decorative cutting boards are common in European cultures.
You could finish it with the same stain all around if you want to use it. Mine stays decorative, so I left the sides bare, and I made it for the class rather than for my kitchen.
How long does a carving like this take
There is no end to it, and that is the honest answer. I could keep going. A thousand more ways to refine this board, add detail, make it more unique.
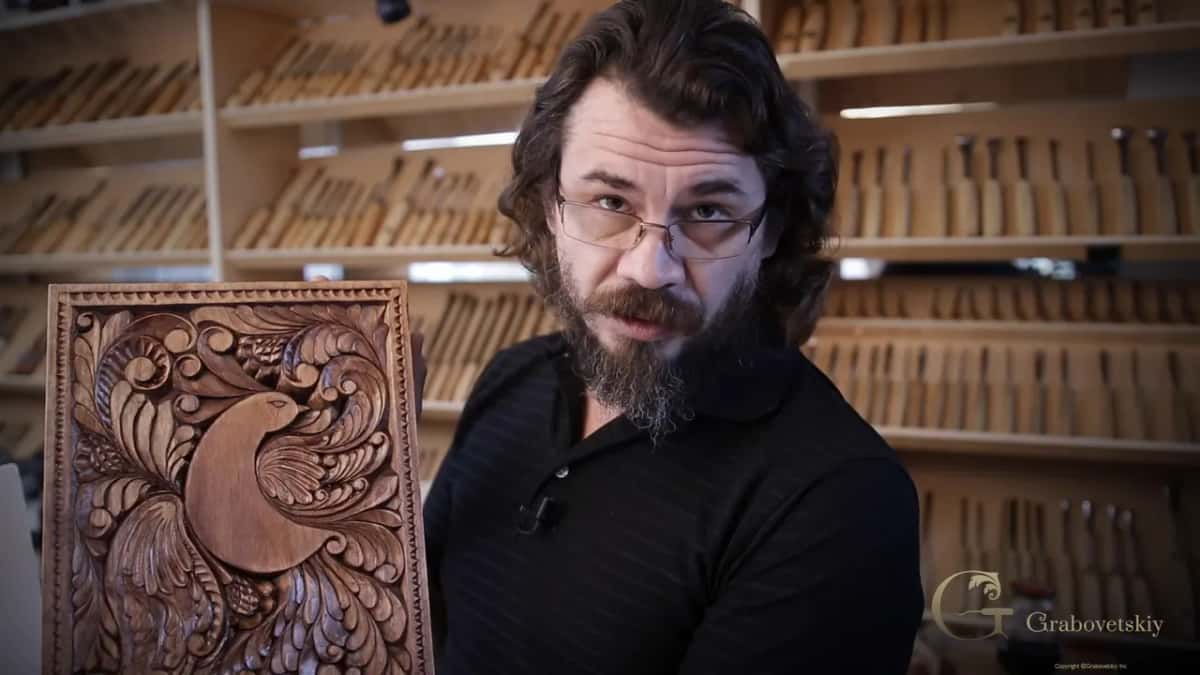
Thousands of years ago people carved in this style without piling on detail, and I think this board is fine just like it is. When it is done, a flower rosette is a fair next step, or a tray somebody will actually use.
What to remember before you start
- One knife carries this whole board, and a single gouge joins it.
- Basswood, or lime wood. A thicker board warps less.
- Lay the three border lines down before anything else happens.
- Main movement first. Details last, and rub out whatever bothers you.
- Outline upright, and rotate the board as the shape turns.
- Boil walnut shells or onion husk and you have color with nothing chemical in it.
- Three or four coats of the butcher block oil. Then a week of leaving it alone.
Browse the courses, find where you are on the map, or start here. Find a basswood board and one knife. Shall we carve?
How it's done
- Mark the borders. Run three pencil lines in from the edge of the board, a quarter inch, another quarter inch, then an eighth.
- Design on the wood. Sketch the main movement of the bird first, hang the tail and wings off it, then fill the space with curls.
- Outline upright. Follow the body of the bird with the blade held upright, slowly, turning the board as the shape turns.
- Split the outline. Add a second pass 3/32 of an inch away, beveled on one side.
- Color it. Brush on the shell stain and let it dry overnight.
- Lighten and feed it. Go over the high edges with the reed or a light pass of 400 grit, then work in several coats of the butcher block oil until the sheen stays even.
Frequently asked questions
Can a beginner carve a cutting board like this?
Yes, and this is a beginner project on purpose. Almost every pass is one of the three you already know from the first knife lessons. The gouge joins here for the first time, and it does the smallest share of the work.
What size board should I use?
Around 10 inches by 13 works well, and mine is a full two inches thick because I kind of like it. Anything from 20mm up will carve fine. A thicker piece is just more stable and won't warp as much.
Is a homemade stain really safe on a board that touches food?
Onion husk and walnut shells, boiled down, are food safe, and that is why I put them on a kitchen board. Egyptians and Babylonians colored wood with natural colors, thousands of years before anybody had a chemical stain.
What to carve next
More on this: Tilman Riemenschneider, who carved limewood in the Middle Ages, Equisetum hyemale, the plant sold as Dutch rush or scouring rush, Grinling Gibbons, who finished his carving the same way