
August 27, 2024 · Updated August 16, 2026
By Alexander Grabovetskiy — Master Woodcarver · Founder, School of Wood Carving · 20 min read
How do I dry green wood for carving at home?
Drying green wood for carving at home is a two stage job. I coat the end grain, sticker the boards outside in the shade for months, then bring them indoors to finish slowly. Most guides on how to dry green wood for carving stop after the first stage, and that is exactly where boards split.
You found a log. Somebody took down a maple in the neighborhood, or the walnut in your yard finally came apart in a storm, and now there is free wood sitting in your driveway and you want to carve it. Then you read six pages that all tell you the same thing, one year per inch, wax the ends, be patient. So you wait a year, you bring the board in, and three weeks later it has a split running right through the middle of the piece you were going to give your daughter.
That happened because the advice is only half of the job. Here is the other half.
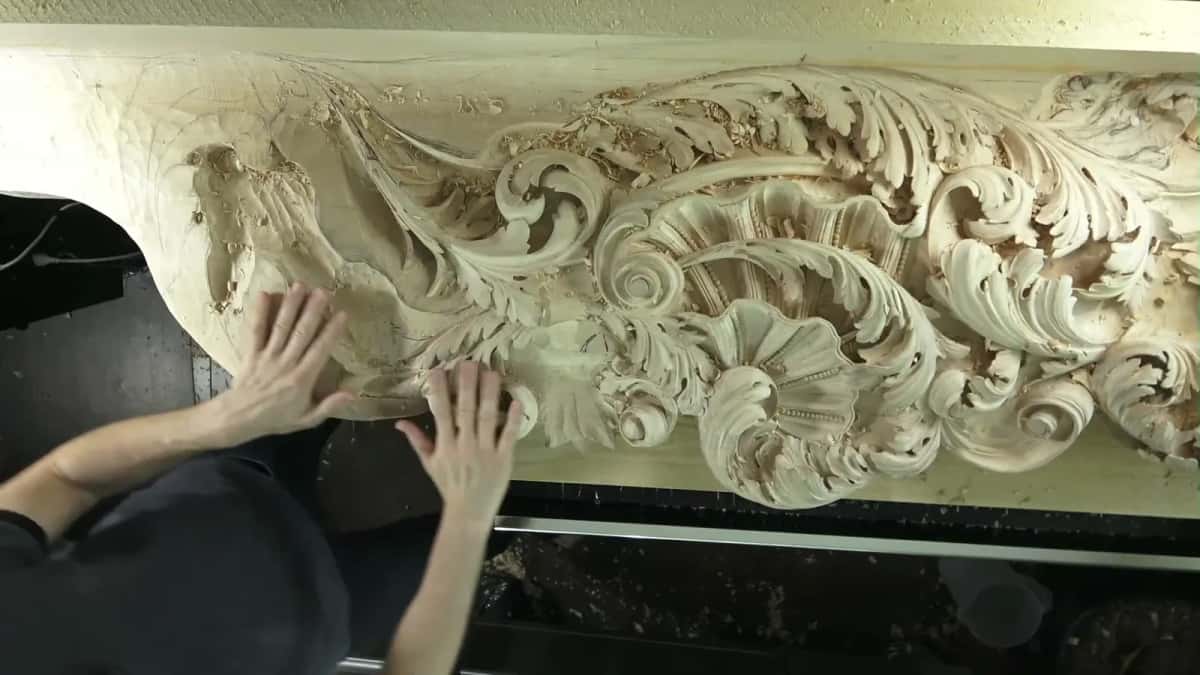
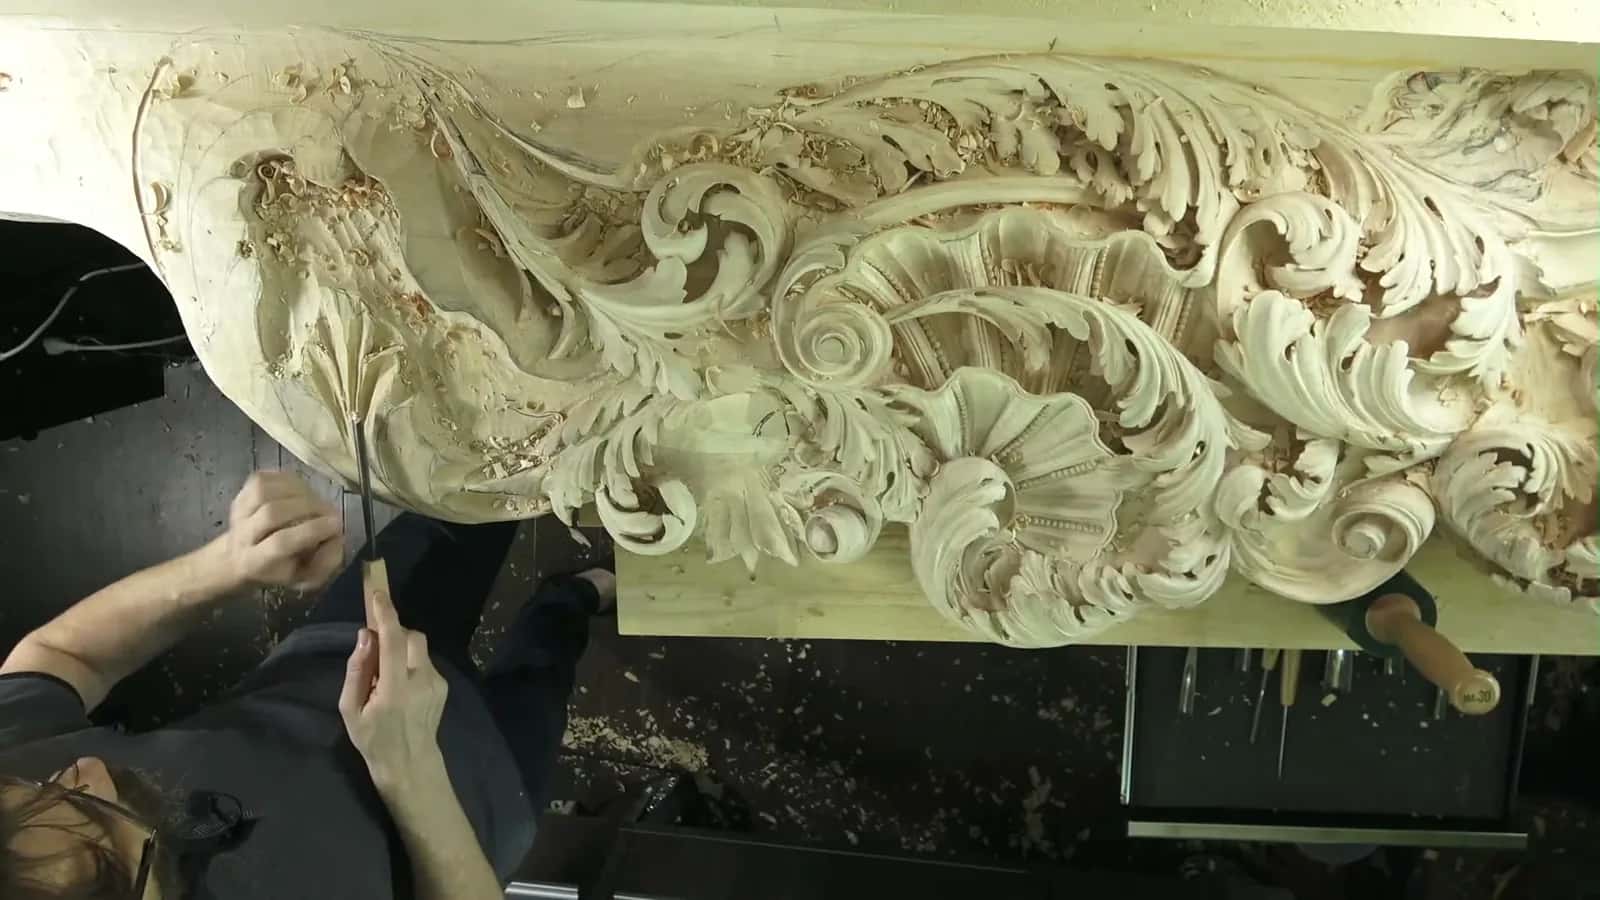
Big and thick, and in all these years it has never once split on me.
Five things that decide whether your board survives
- Coat the end grain the same day you get the log. Splits start there.
- Outdoor air only takes a stack down into the low twenties, and no number of extra years pushes it further than that.
- Buy a meter.
- Finish the job indoors, in the room the piece will actually live in, or the board splits in the heat weeks after you thought it was safe.
- Quartersawn barely moves. Rift is fine. Plain sawn curls away from the heart.
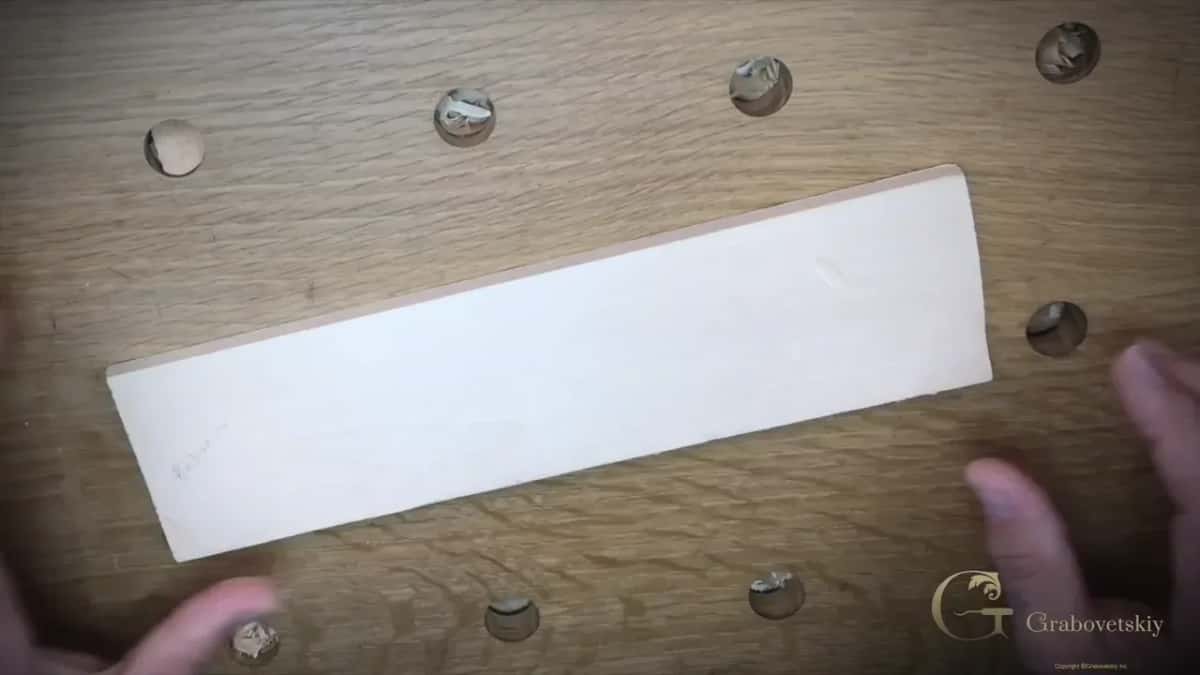
This is the target. Flat, dry, dull to look at, and it will stay that way for fifty years.
How do I dry green wood for carving at home?
You dry green wood at home in two stages, outdoors first and indoors second, because outdoor air alone cannot take a board dry enough to carve. That second stage is where the whole thing is won or lost. Most people skip it.
Step 1, carve the log into oversized blanks
Do this the day you get it, while it is still soft and easy. Split or saw the log lengthwise so the pith, that soft spongy center where the very first growth rings are, ends up outside your blank or split down the middle of a piece you do not care about. The pith is going to crack. It always cracks. Let it crack somewhere that is not your carving. Leave every blank a good inch fatter in every direction than the piece you want, and read up on how long curing really takes if you want the long version. You are going to lose some to checking and some to flattening later.
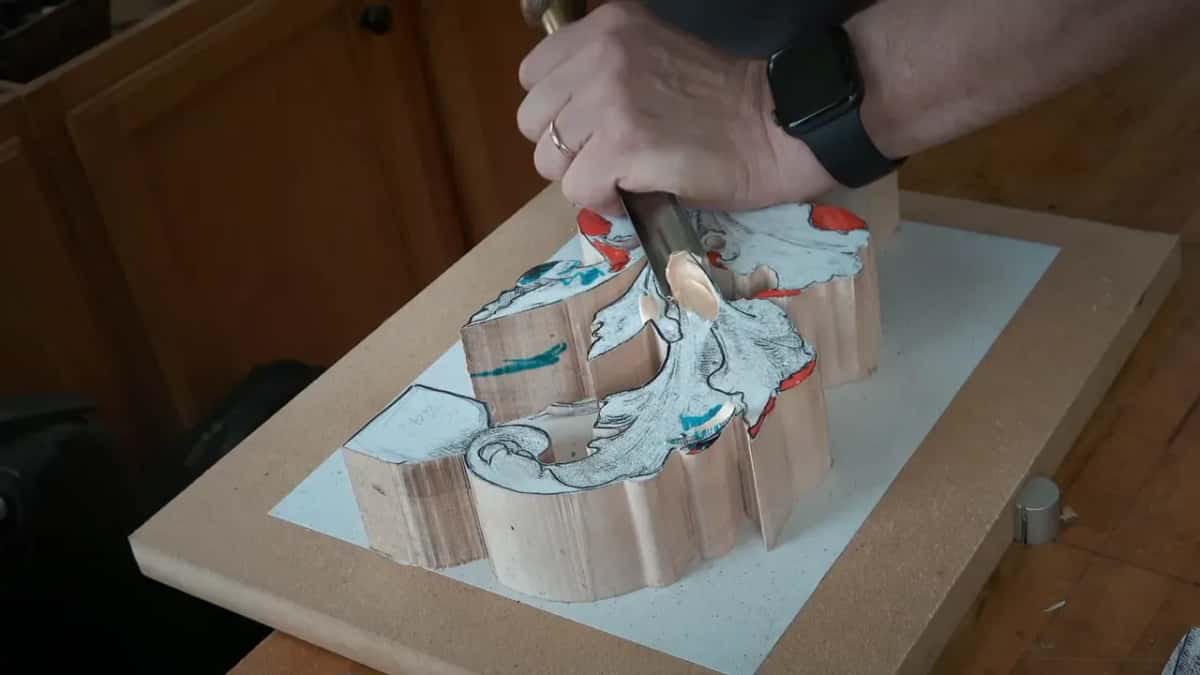
The first real hollow. From here the board stops behaving like a board.
Step 2, seal the ends and only the ends
Water leaves through end grain roughly ten times faster than it leaves through a face, so the ends dry, shrink, and tear themselves open while the middle is still soaking wet. The USDA Forest Products Laboratory calls end coating on green lumber an effective preventative measure against exactly that. Use a proper green wood end sealer if you can get it, and Missouri Extension names a commercial wax emulsion such as Anchorseal for the job. Cheap latex paint works, three heavy coats. Melted paraffin works. Ohio State makes the point that end coating matters most on species that check easily. Do not paint the faces, because the faces are how the water is supposed to get out.
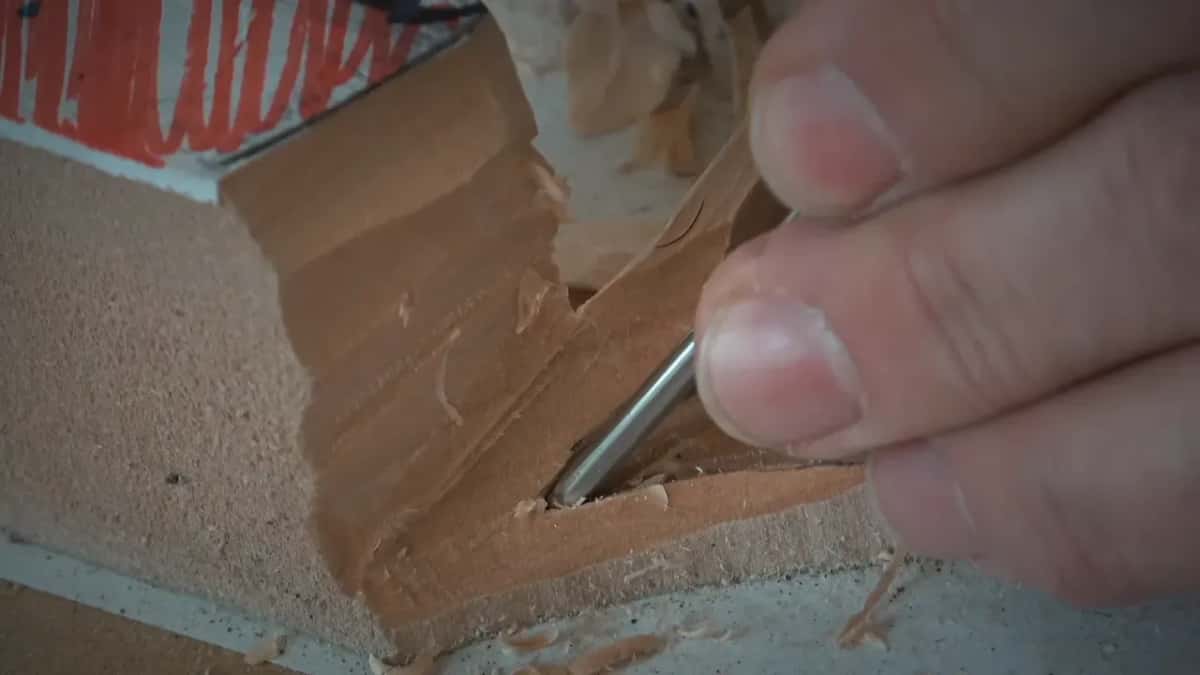
Dry basswood gives you a curl like this. Wet wood gives you mush.
Step 3, sticker the stack outside in the shade
Lay the blanks flat with dry scrap sticks between every layer, one stick every 16 inches or so, all of them lined up vertically above each other. Oregon State is firm that those stickers should be dry themselves and stacked in line, and the federal wood lab devotes a whole publication to how a yard stacks lumber. Get the bottom of the stack at least a foot off the ground. Put a piece of plywood on top with a couple of concrete blocks. Shade, not sun. Wind is fine. Rain landing on the top layer of the stack is not fine at all.
Step 4, wait, and then stop trusting the calendar
You have probably read that wood dries an inch a year. Rough rule. The Forest Products Laboratory went and measured what actually happens, and the spread turned out to be enormous. One inch stock needed 15 to 30 days to reach that band, for a light species in a good spot. A slow species stacked up north at the wrong time of year took 200 or 300 days. Ten times the spread. Species, thickness, where you live, and what month you stacked it all move the number, so a calendar cannot tell you when it is done. A cheap pin moisture meter can.
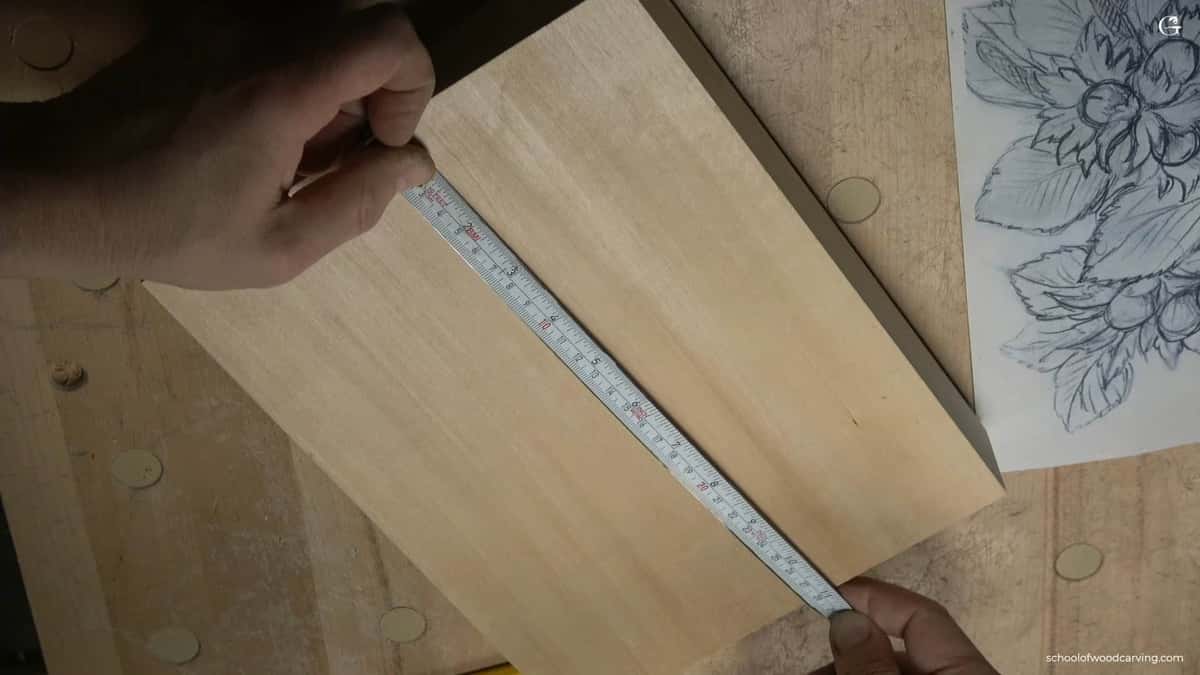
Measuring is cheap. Guessing costs you the board and the month you spent on it.
Step 5, bring it inside and let it finish
Now the part the other pages leave out. Outdoors, a stack stalls near that upper number and stays there, because the wood has come into balance with outdoor air. Furniture indoors lives closer to 6 to 8 percent. The same handbook publishes a recommended number for every region of the country. So a board that sat outside for two years is still far too wet for anything destined for a heated wall. Carry it indoors and it starts losing water again, fast. Nobody sees that crack coming. Bring it in, sticker it again in the room the finished piece will live in, and leave it for another few months. Two meter readings a week apart that say the same number means it is ready. One reading means nothing.
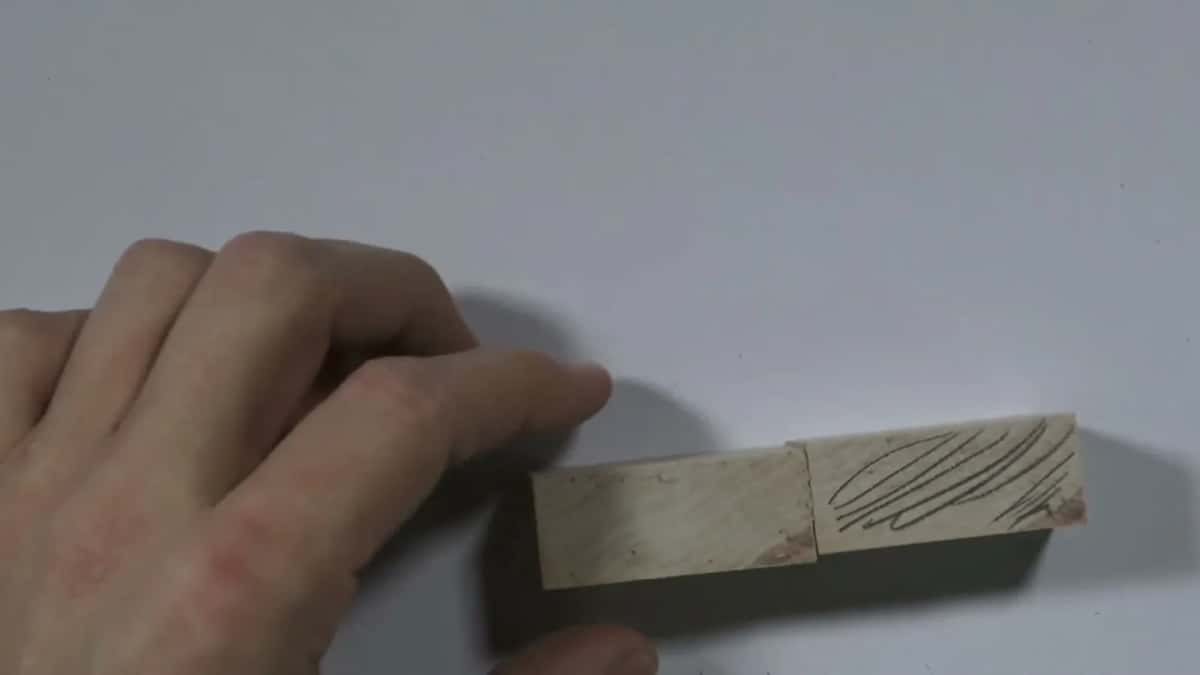
Flip the board and look at the end. Four seconds.
Why does drying wood crack, and can I stop it?
Wood cracks while drying because it shrinks far more across the growth rings than along them, so the board pulls against itself. You cannot stop wood from moving. Nobody can.
None of that shrinking starts until the wood drops below what wood science calls the fiber saturation point, and every species has its own shrinkage numbers. What you can do is send the movement somewhere it does not matter. That decision gets made before you seal a single end.
Stand the blank on end and read the rings, which sit there as arcs. As the water leaves, those arcs try to straighten out, and that lifts the edges on the side that grew nearer the bark. That is why a flatsawn board cups away from the heart, every time, in every species. It takes four seconds to look. I have watched people skip those four seconds and lose a month of carving. If yours has already gone that way, I put the whole story of warping and cupping on the blog.
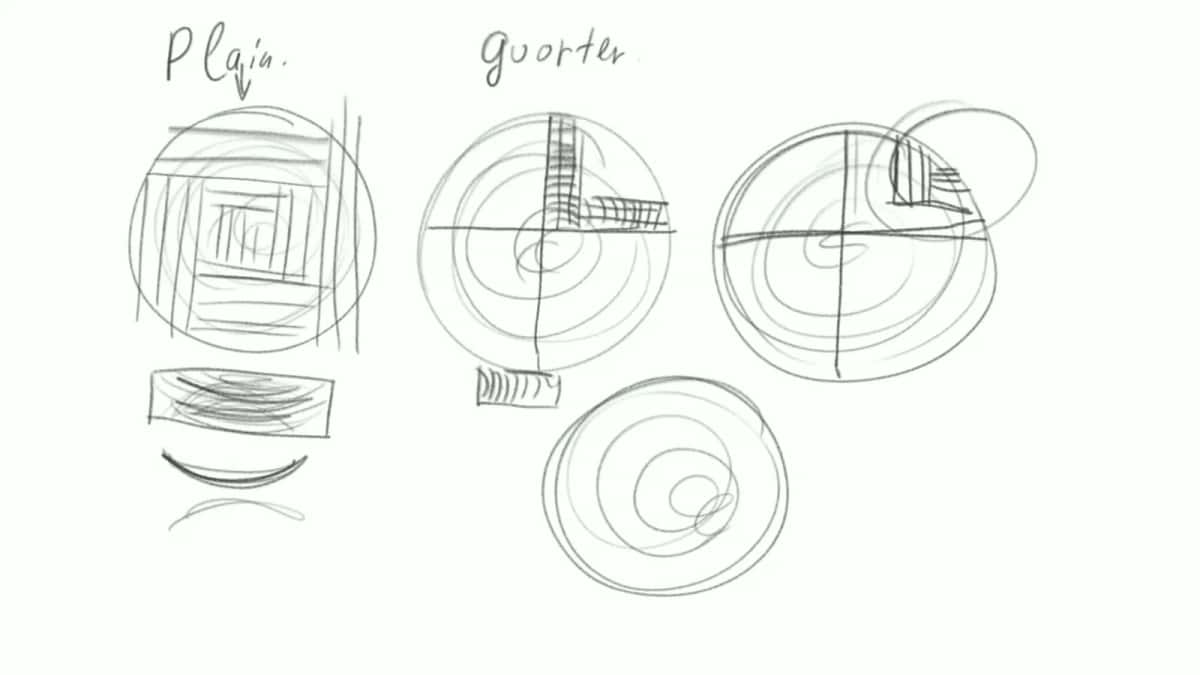
The board sits under its log here, with the curve it wants to take.
The other thing that splits a drying board is speed. Wood does not crack because it is dry, it cracks because the outside got dry while the inside was still wet, and the dry shell could not stretch over the wet core. Everything on the list above is really just a way of slowing the surface down so the middle can keep up. Shade instead of sun. Sealed ends. A stack that breathes but does not sit in wind all day.
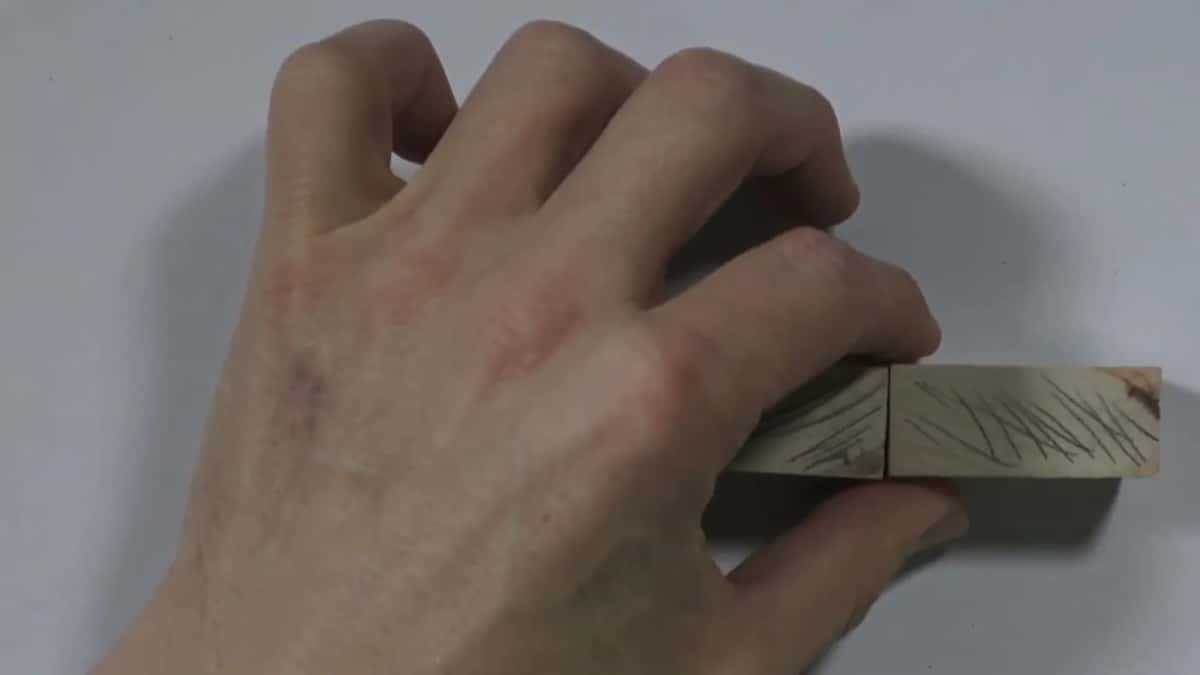
Those arcs are trying to straighten themselves out, and that is your cup.
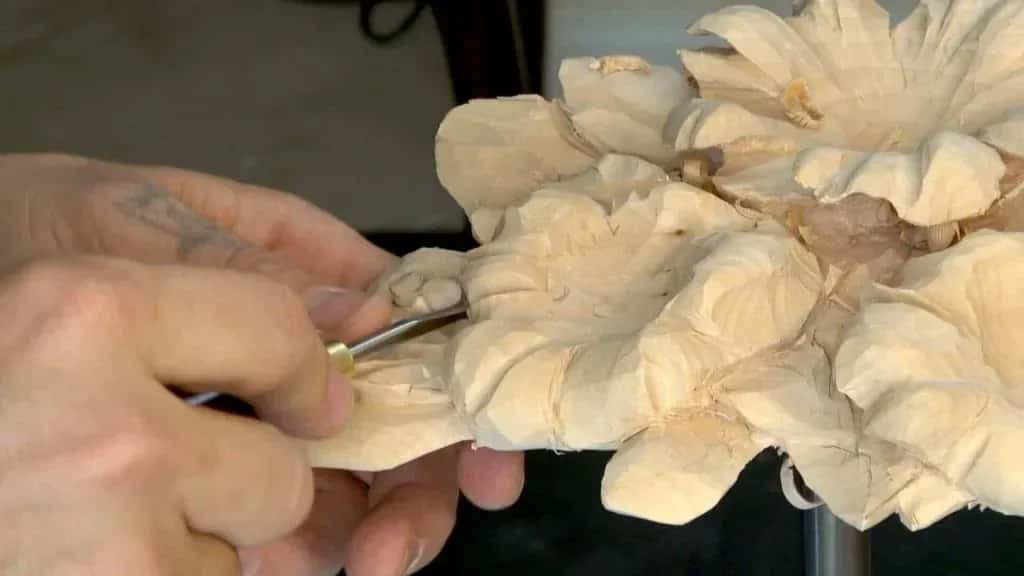
Downhill, always. Cut uphill and you tear the fibre, and torn fibre drinks water faster than sliced fibre does.
Which board should you be drying in the first place?
Quartersawn stock moves least, rift is acceptable, and plain sawn and live sawn move the most. Taking the log apart yourself means you get to choose, and that choice does more for you than any drying trick.
Closer to the center of the log, the rings are tighter and the wood barely moves. Heart pine held up the big manufacturing buildings of 19th century America for exactly that reason. I carved a table about 12 feet long out of reclaimed heart pine for a client who demolishes those old factories on the East Coast and sells the posts on as flooring veneer. It broke a lot of my gouges. You almost cannot drive a nail into it.
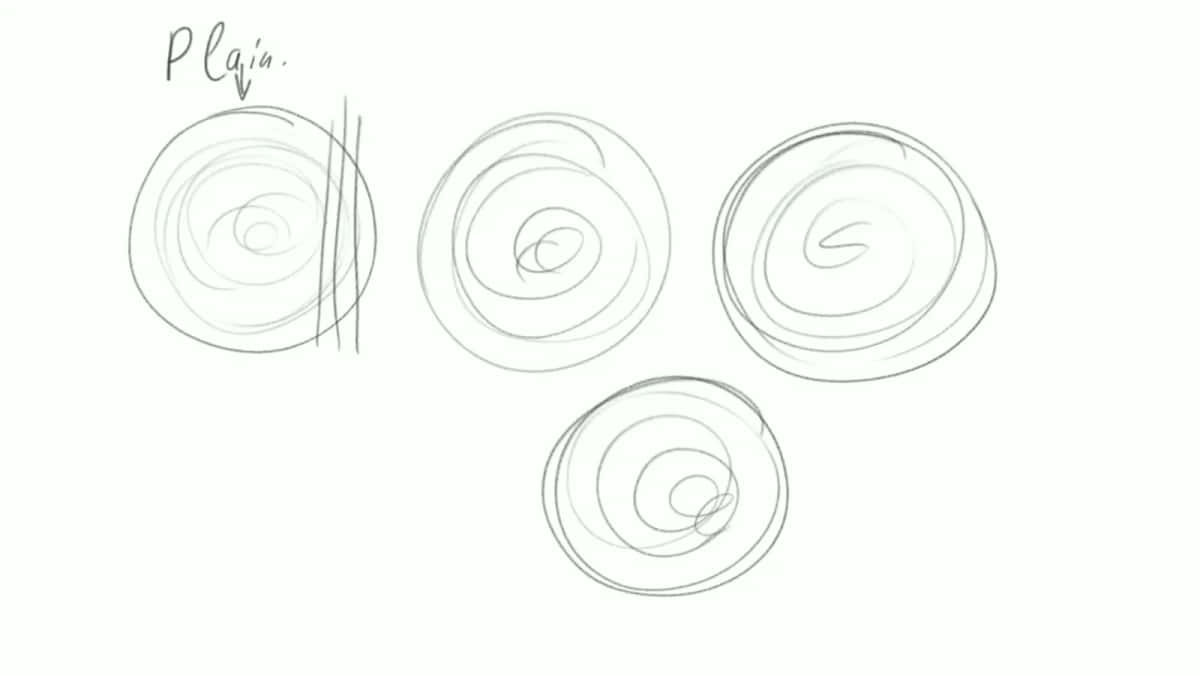
Four logs on the paper. Only one of them earns a circle.
Where your board sat inside that log decides almost everything about how it behaves later. So, the whole thing on one page.
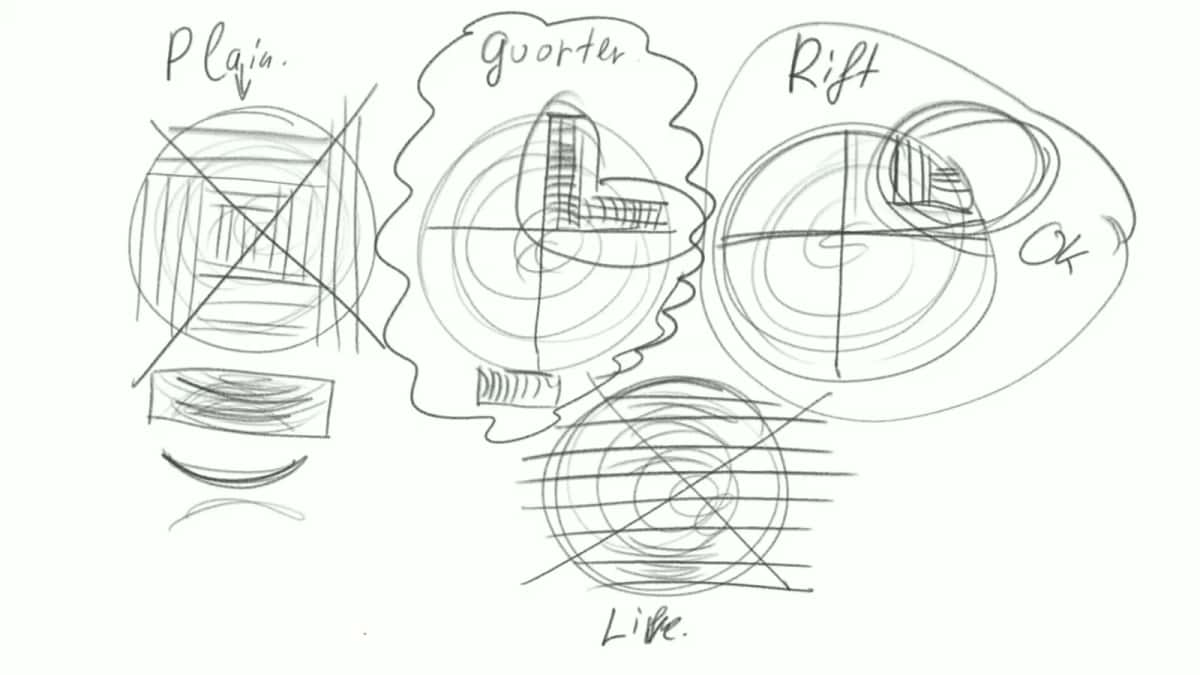
Quarter is circled, rift gets an OK, and the other two are struck off.
When I buy wood I buy quartersawn or rift, and nothing else. Not because plain sawn is bad wood, but because I am not willing to spend three weeks carving a panel that is going to argue with me later. Same reasoning applies to how thick a blank you should start with, to which way the grain runs through it, and to flattening and squaring the rough board into a blank.
Is kiln dried or air dried wood better for carving?
Air dried wood carves better and kiln dried wood is drier, which is why I air dry and then finish indoors rather than choosing one. A kiln is a stove. The lumber yard has a big one and they fry those boards, because a board sold this month is worth more than a board sold in two years.
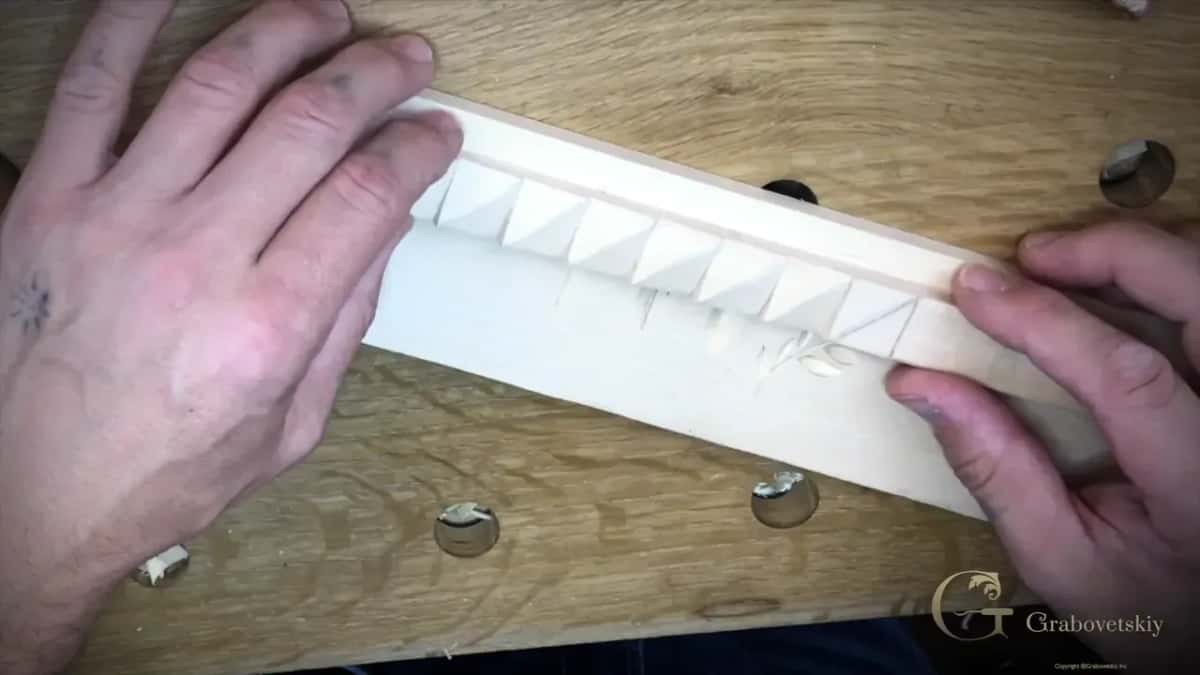
Small repeating work like this shows every bit of movement, which is why I keep thin work off doubtful stock.
| What you compare | A kiln, which is a big stove | Air drying |
|---|---|---|
| How much time it really takes | A few days | Months outside, and then months more indoors |
| Final moisture | Six to eight percent, and done | Twenty five outdoors |
| How the wood feels under your gouge | Harder, brittle | Softer, and kinder to an edge |
| What goes wrong | Honeycomb and collapse, hidden inside the board | Stain, bugs |
| What each of these roads really costs you | Mostly your own money | Shop space, plus patience that gets measured in years |
Air drying was always my preferred method, and there is a reason beyond the feel of it. When you cut a tree those fibers are still alive, and they drink water back in fast. The longer that board has been off the stump, the less it takes back. So some of my boards have sat in my shop for over ten years, and a few of them for twenty four or twenty five. I have French limewood in there, rift cut, and you can still see the flames running through it. Tiger limewood, you could call it.
I will not buy limewood out of Washington State, by the way. Too much rain there, and the roots drag color up from the soil, so you open a board and find gray streaks through it. Carolina basswood almost never does that.
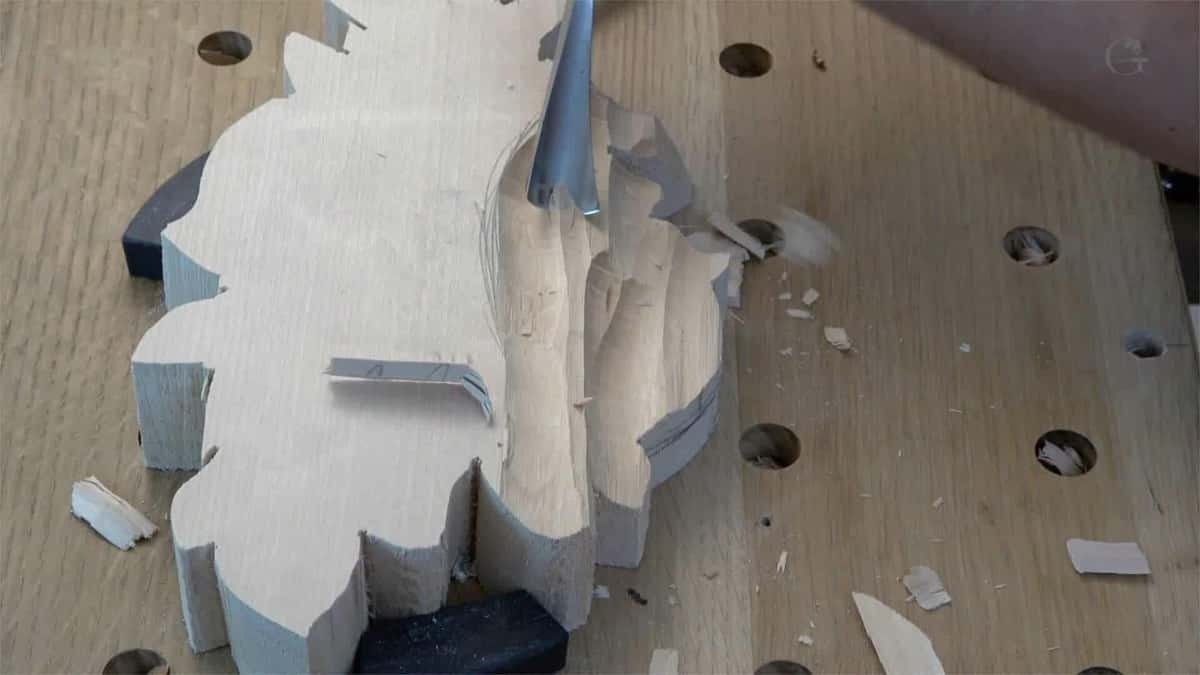
Bandsawn wide of the line on purpose, because the waste is what buys you the finished piece.
What did people do before moisture meters?
They used winter. Where I grew up the temperature went to 30 below, 40 below, and one winter of my childhood it hit 53 below zero.
The whole talk this article came out of, filmed live in April 2020.
You put the board outside in that. All the water the board drank over the summer freezes, and freezing water expands, and it shoves itself clear of the wood. The board comes back genuinely dry. A freeze dry, if that is the words for it. I am not going to pretend this is a technique you can use in Georgia in July, and I would not pick it over a stack and a meter today. But it tells you something true about what drying actually is, which is water leaving, by whatever road it can find.
Can I just carve it green instead?
Yes, and green wood carves beautifully, but it will move after you finish and there is nothing you can do about that. Spoon carvers and bowl turners work green on purpose, and they are not wrong.
A green blank slices like cheese and saves your shoulders. Lift one and you can feel the water in it, which is a separate question I have answered over on whether dense wood floats. The trade is spelled out plainly in the general literature on wood drying, and Missouri Extension covers what goes wrong when hardwood dries too fast.
The catch is that the piece is not finished when you put the gouge down. Your blank keeps drying for months, and it will shrink oval, twist a little, and sometimes open a check across the grain. For a spoon nobody minds. Put that same behavior into a relief panel that has to sit flat inside a frame on somebody's wall, and you have a real problem. Want to try it? Rough it out green, then let the piece dry before you touch any of the detail work. The two kitchen shortcuts, microwave and oven, both get their own section below, and neither one is something I would hand a piece I cared about.
Can you dry green wood for carving in the microwave?
A microwave will dry a small blank, and it is the only method on this page that heats the water inside the wood rather than the air around it. That sounds clever until you look at the bill.
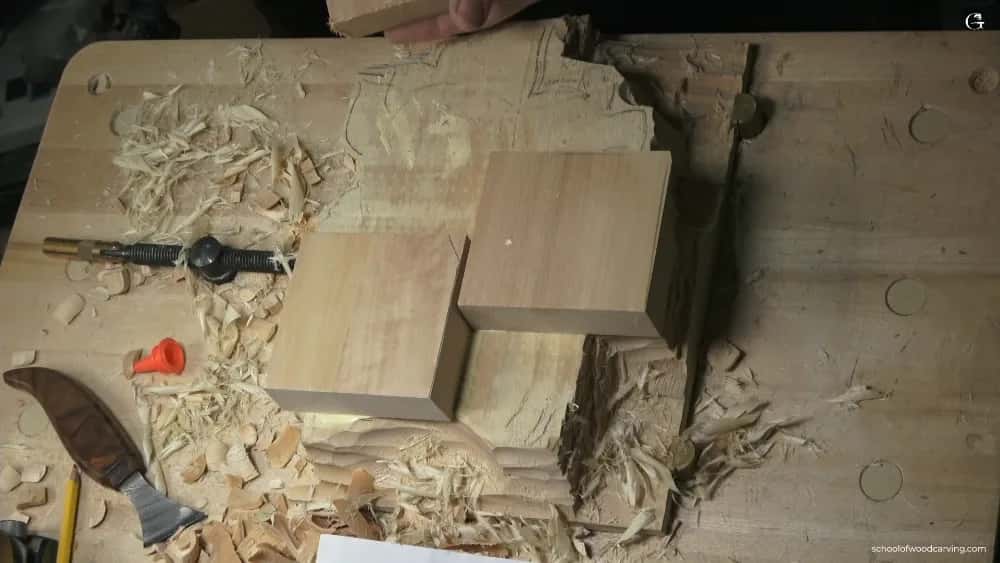
Blocks about this size are the entire range of what a kitchen appliance can honestly handle.
The heating comes from the water molecules being rattled by the field itself, and industry does use this on timber, in radio frequency vacuum kilns that heat the charge with microwave radiation under controlled pressure. Your kitchen has neither. Penetration depth is the other wall, and it is why microwave work stays small. A spoon blank, fine. A carving panel, never. Even a small course piece, the size of the hazelnut board in this hazelnut project, sits past what one reaches.
The damage happens where you cannot watch it. Water turns to steam in the middle while the outside is already dry and stiff, the exact sequence the federal wood lab describes when the shell sets in a permanently stretched condition and the core pulls against it. Internal cracks. Honeycomb. The blank looks perfect on the bench and your gouge finds the hole three days later.
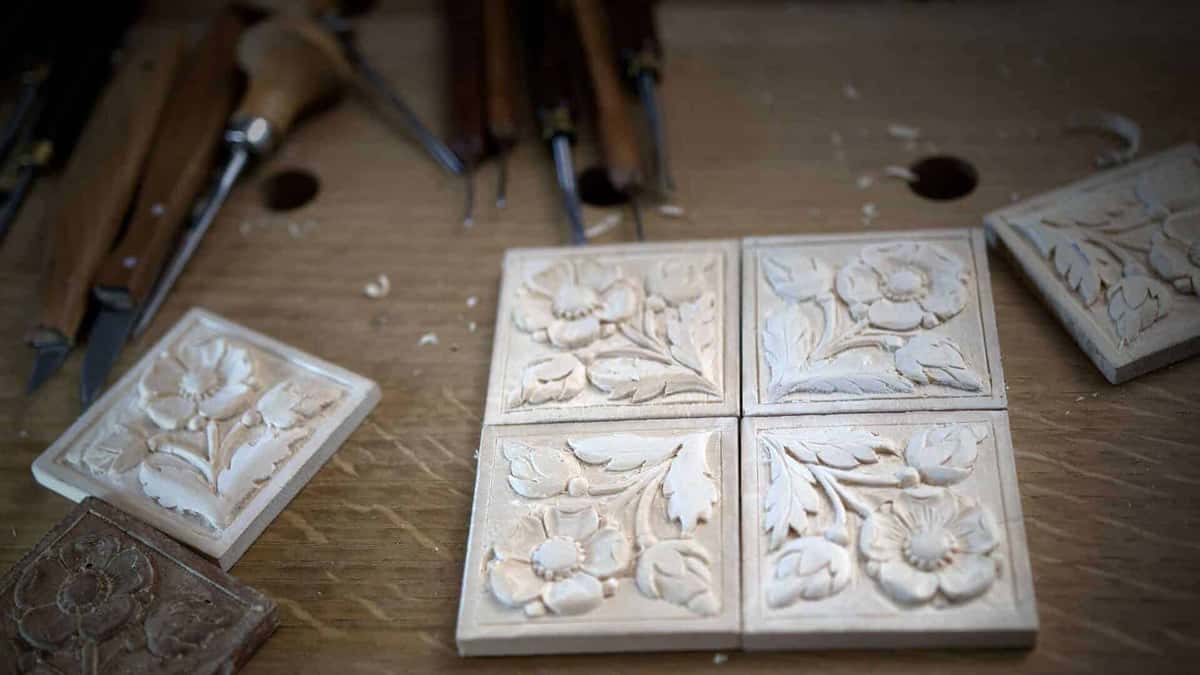
Every one of these came off a block a microwave could have handled. None of them came off a panel.
I am not giving you a power setting or a count of seconds, and the reason matters. Every published figure disagrees with the next one, and not one of them knows your machine, your species or your thickness. Weigh the blank instead. Moisture content is defined against the ovendry weight of the wood, so a kitchen scale is the only honest instrument in the room. Short burst, long cool, weigh, write it down, repeat. When two weighings in a row read the same, the water has stopped leaving. Anything that smells scorched went past drying a while ago. How fast that happens depends on the species, so look yours up in the wood database before you start.
Speed costs strength as well, and that part is permanent. Wood loses strength for good at temperatures below the boiling point of water. If the block fights you because it is hard rather than wet, that is a softening problem and not a drying one, and heat is the wrong answer.
Does drying green wood in the oven work for carving?
An oven dries a small block quickly, and it takes strength and stability out of the wood on the way through. Here is the part the other pages never mention.
When a laboratory needs to know precisely how much water a piece of wood holds, it puts the sample in an oven at about 103 degrees Celsius until the weight stops moving, roughly a day. Ovendry is where the word comes from. The sample never comes back. The lowest mark on a kitchen dial sits just under that laboratory setting. So an oven is not a gentle, faster version of the stack in your yard. It exists to take a sample to zero.
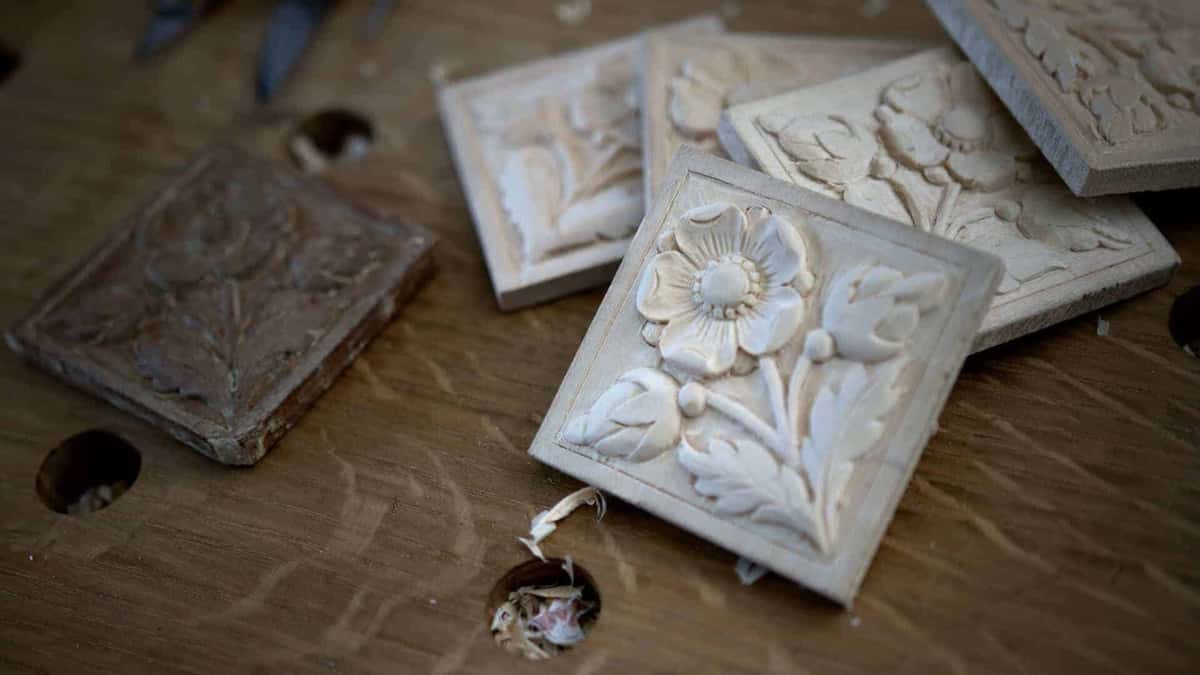
The dark one has long since settled, while the pale four still have opinions about the weather.
The federal handbook is short about what too much heat does, and lists collapse, honeycomb, or strength reduction. A second failure waits here, and only a carver ever meets it. Case hardening leaves the outside in compression and the middle in tension, locked, with the board still looking flat and healthy. That stress only appears once something releases it, and for us releasing it means the first deep pass with a gouge.
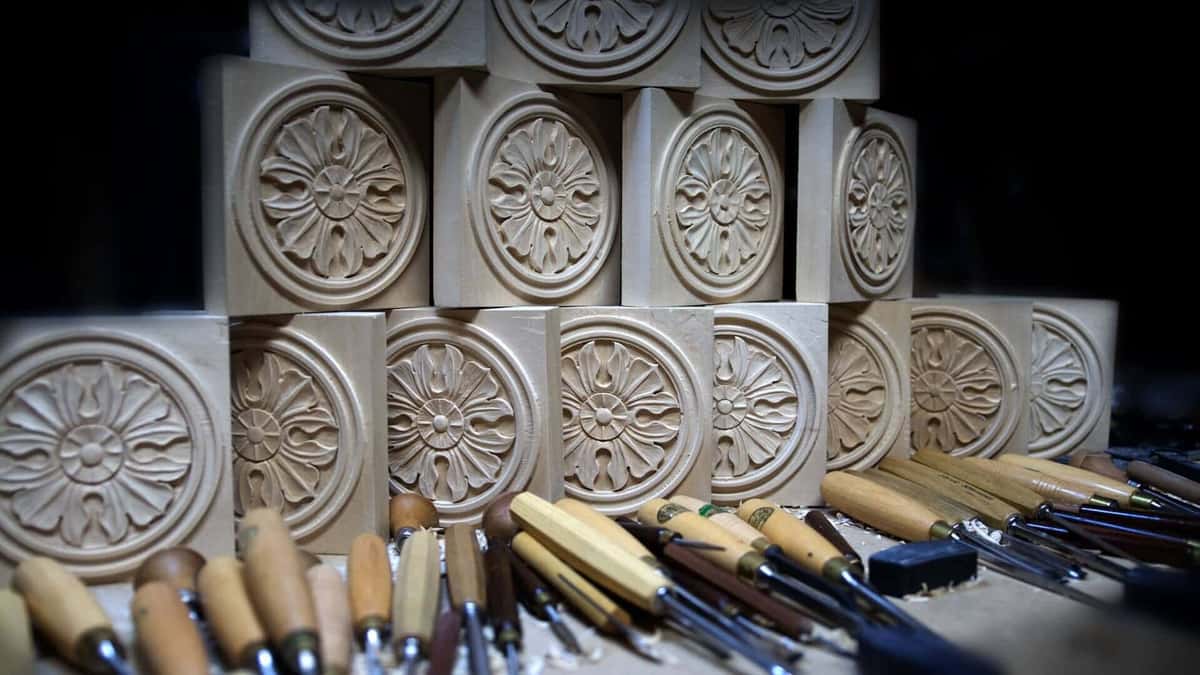
Fifty identical blocks, and the one that moves is always the one you noticed last.
Then the plain hazard. Wood held between 100 and 200 degrees Celsius long enough becomes charred, and the char then reacts with the air reaching it. A low oven running for hours in an empty kitchen is not a drying schedule.
One honest way to use heat does exist, and it comes late rather than early. The drying chapter notes that wood grows stronger as it dries and can take a higher temperature the drier it already is. Air dry the stack first. Then, if the last few points are all that stand between you and the bench, take those off in the oven with the door propped open, weighing between cycles and stopping when the weight holds steady. Much the same answer runs through whether to wait at all, and boiling water does something different again.
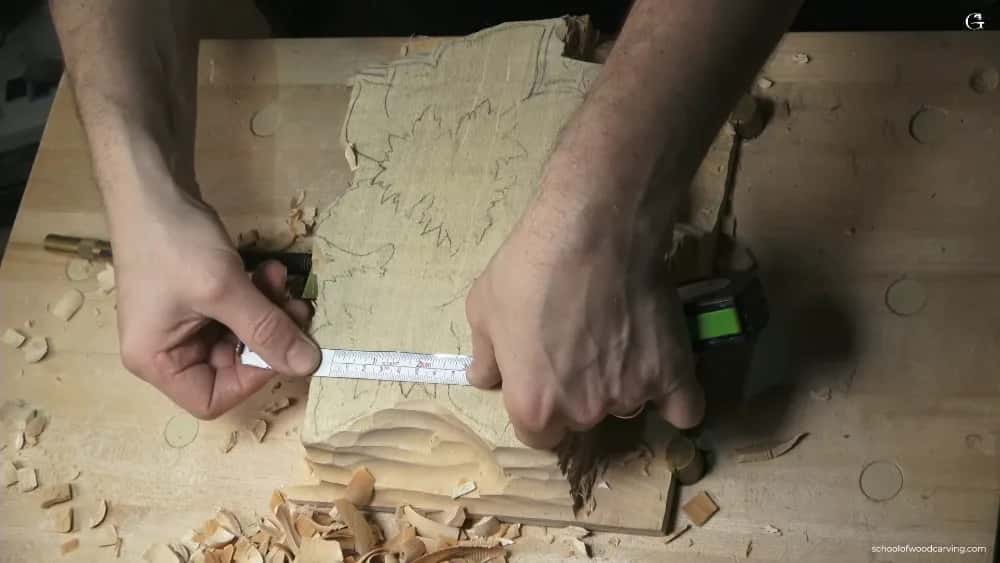
Numbers on the wood beat numbers off a forum, and both of these lines were measured twice.
So, the three roads laid side by side.
| What we compare | Microwave, run low, one burst at a time | Your own kitchen oven | A patient stack, outdoors and then indoors |
|---|---|---|---|
| The largest piece it handles | One spoon blank, and it will not go bigger | Blocks, not panels | Anything you can lift, a whole panel included |
| Where heat goes first | Into the water sitting inside the wood | Onto the surface | Nowhere much, since moving air does all the work |
| What tends to go wrong | Steam builds inside and tears the blank open | Case hardening and scorch | Fungal stain, a few bugs, and end splits if unsealed |
| The real price | Strength lost, plus a share of blanks | Weaker wood, real fire risk | Shop space, and years you will never get back |
| Where it earns a place | Never on a piece I intend to keep | Last stage only | For every panel that leaves here |
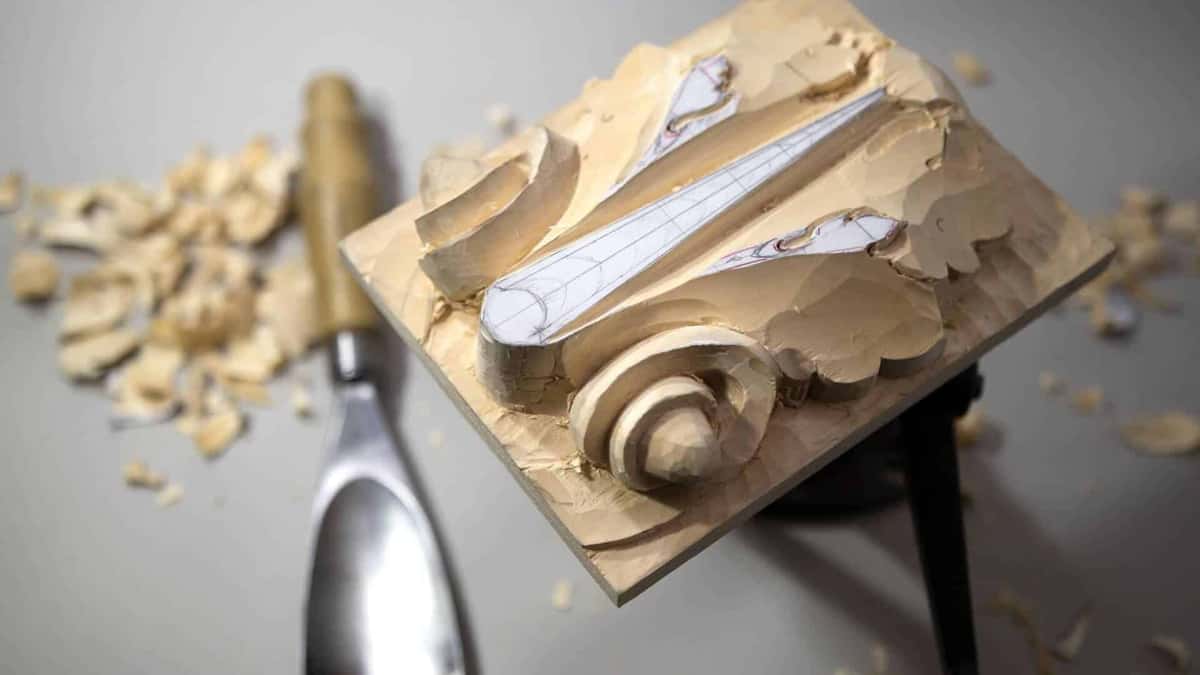
Small enough that somebody will try the oven on it, and big enough that the oven will win.
My panel is carved and it still moved. Now what?
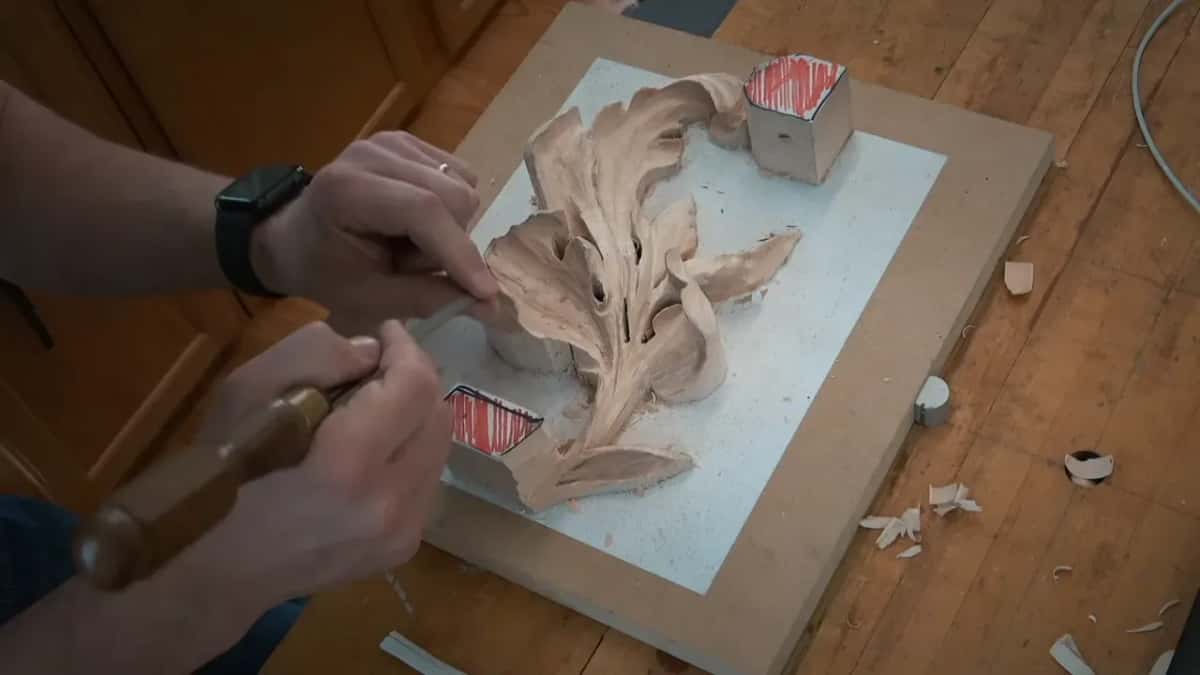
Halfway. Plenty of places now for the wood to put its movement.
Two things keep a finished carving flat, and both of them happen while you are still carving.
The first is depth. When I carve deep, I am breaking those long fibers, and a panel that has been excavated cannot pull the way a solid one pulls. Between two ridges of an acanthus leaf there is a cavity, and if the wood there moves a little it has nowhere to send that force. So it does not crack. Shallow work over a wide flat panel is much more fragile than the deep Baroque work that looks harder.
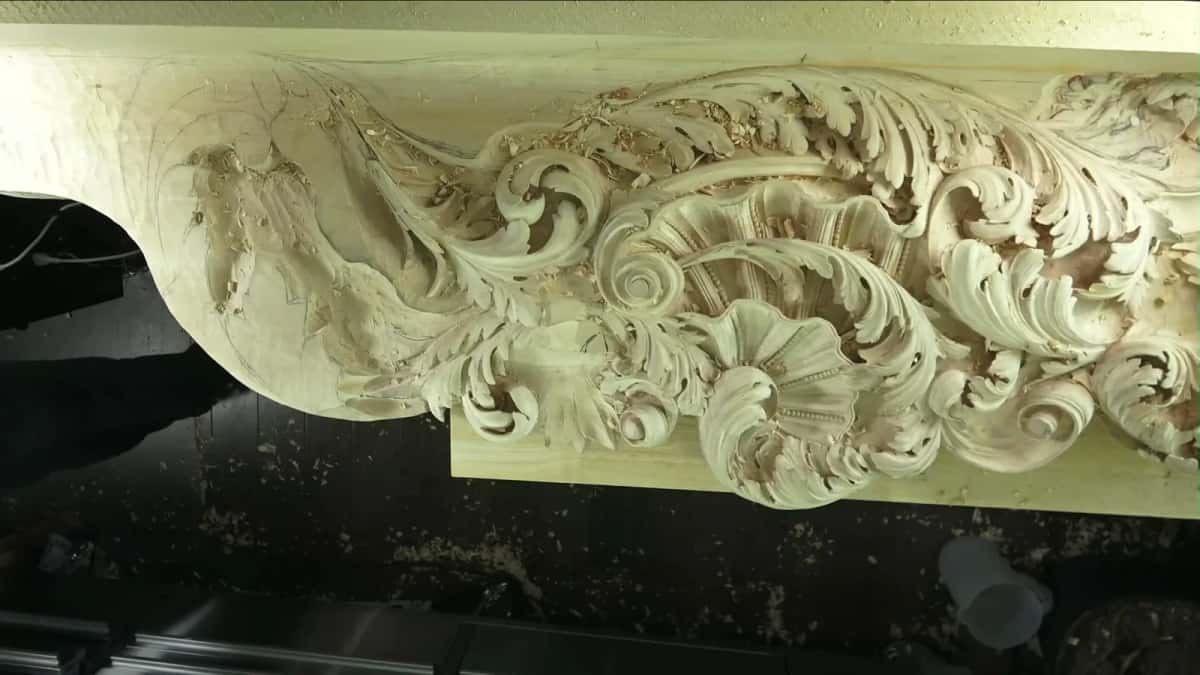
Glued up, carved deep, still flat.
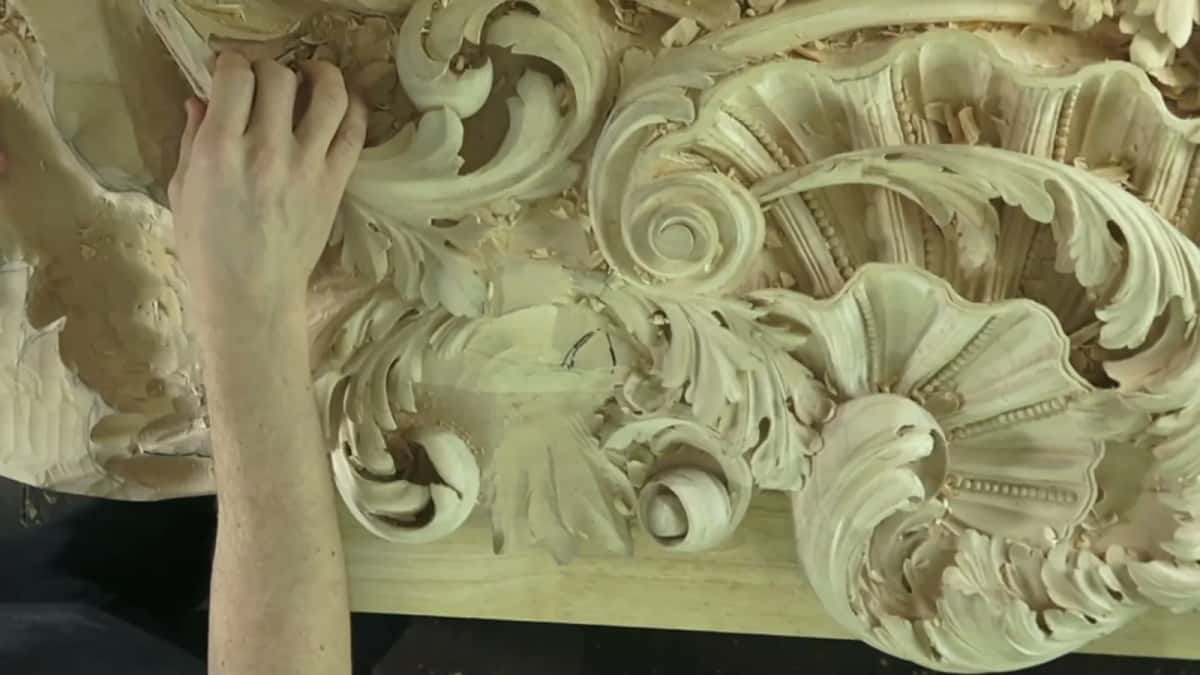
Excavate this deep and there is little left to pull with.
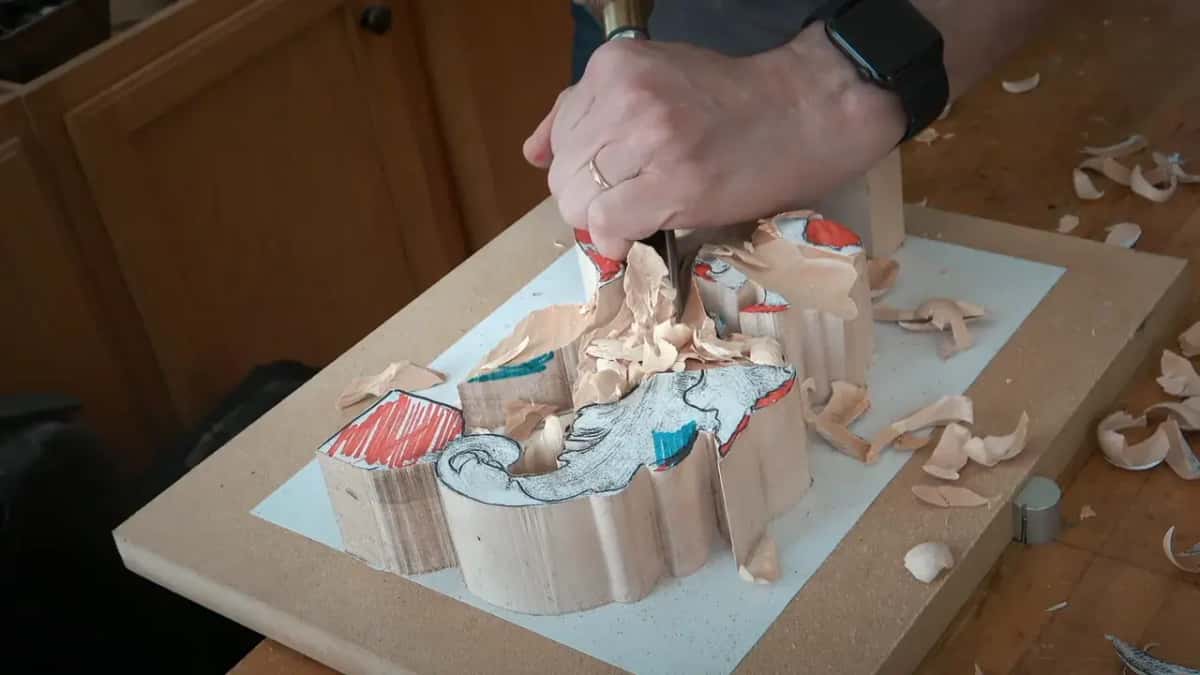
Chips everywhere. This is the stage that buys you a flat panel later.
The second is the glue up. A wide panel out of one board is a panel waiting to cup. Four narrow staves glued together, with the grain direction altered between them, fight each other to a standstill.
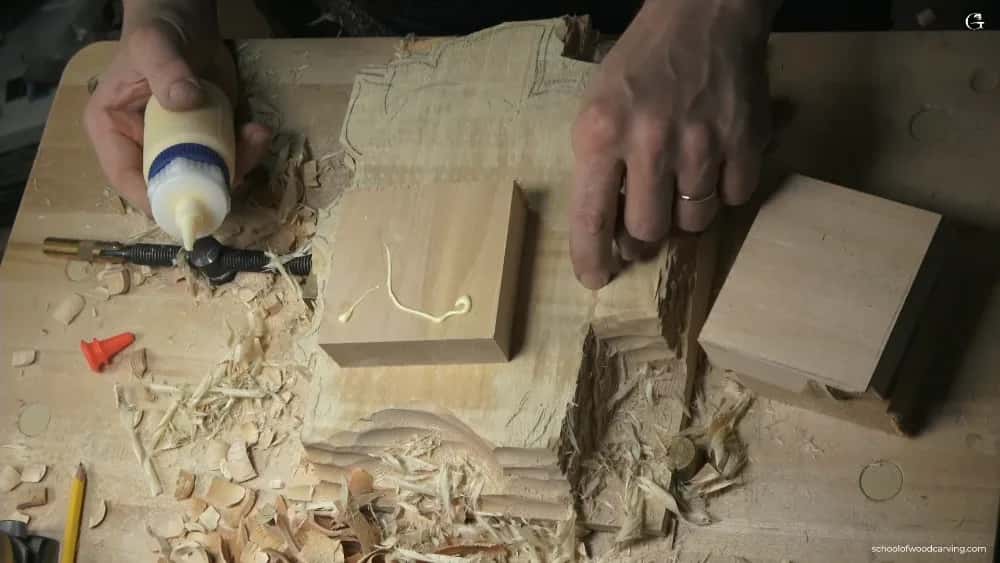
One bead, spread thin, and the two faces have to be dead flat before it goes on.
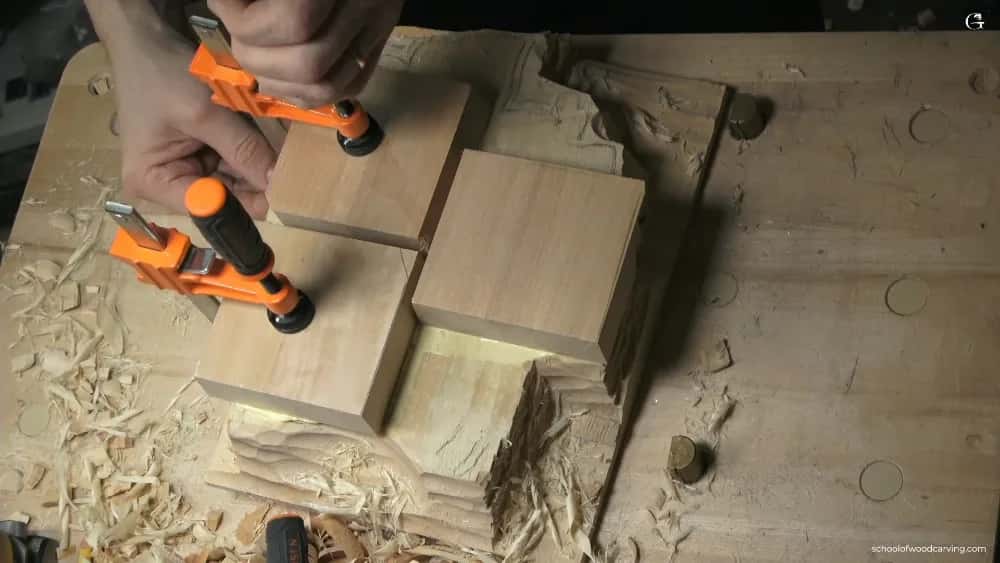
Light pressure, evenly. Squeeze it too hard and you starve the joint of glue.
People see the lion panels below and read them as one solid block. They are not. Look closely and the glue lines are there, and those panels have not moved at all.
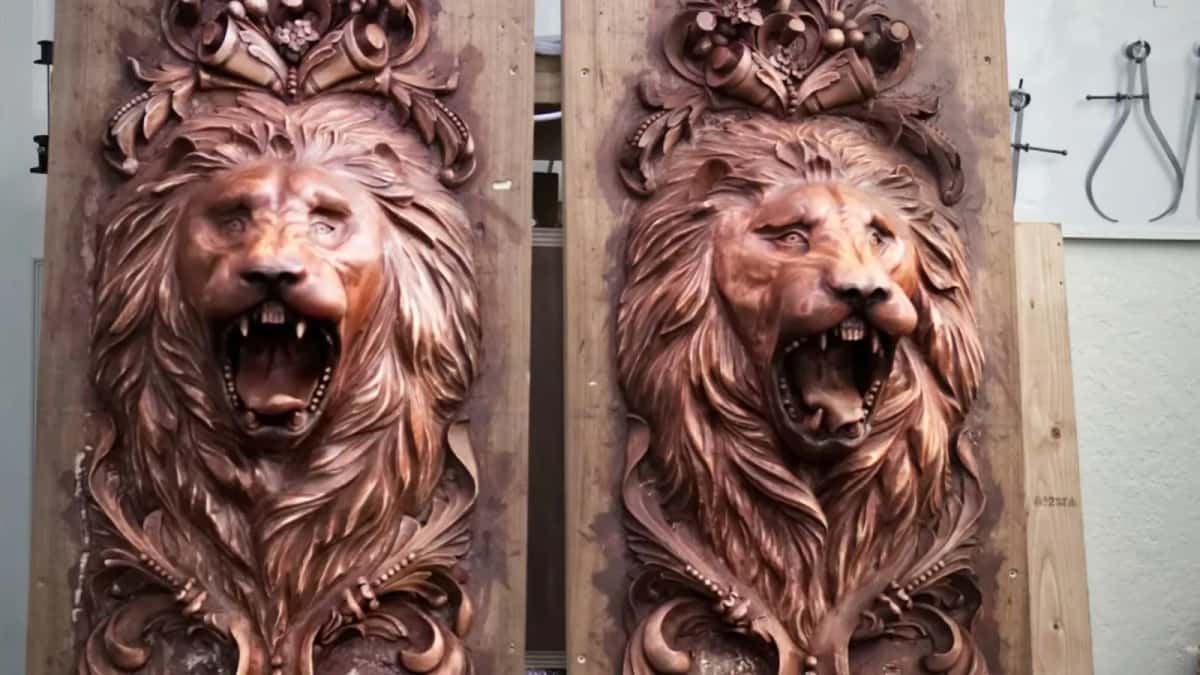
Looks like one solid block. It is not.
Now one honest word to finish on. Sometimes you do everything right and it still checks, because there was tension locked in that tree from the day it grew leaning into the wind, and no amount of care gets that out. Good wood has gone into my scrap pile. You will too. Then you cut the next blank.
If you would rather not learn this by ruining boards, that is what choosing the right wood in the first place is for, and why I keep telling people to start on properly dried basswood rather than on the log in the driveway. There is also a longer answer on drying times, one on whether you have to dry wood at all, and one on sealing the piece once it is carved.
Do you want to spend a year waiting on a log and find out you guessed wrong? Or would you rather have someone show you how to read that end before you ever pick up the saw? Over 3,000 lessons will show you how, and your tuition helps support orphans and widows.
Frequently asked questions
Does microwaving green wood make it crack?
Often, and the crack usually hides inside. Steam forms in the core while the outer shell has already dried stiff, and that pulls the middle apart without marking the surface. Keep the pieces small, let each one cool right down, and expect to lose a few.
Do I have to seal the ends of green wood?
Yes, assuming you would like to keep the wood. End grain lets water out roughly ten times quicker than a face does, so unsealed ends shrink while the core stays wet and they tear open. Three heavy coats of latex paint cost almost nothing and save most of the board.
What oven temperature dries green wood for carving?
Laboratories use about 103 degrees Celsius, but that is a test that sacrifices the sample. For a blank you mean to carve, use the lowest mark your dial has, prop the door, and weigh between cycles. Stop as soon as two weighings in a row agree with each other.
What moisture content should carving wood be?
Match the room the finished piece will live in. Wood indoors in a heated house settles around 6 to 8 percent, while air dried stock outdoors stops around 20 to 25. Carving at 20 percent and hanging the result on a heated wall is how a good panel splits.
Is air dried or kiln dried wood better for wood carving?
Under a gouge, air dried feels better, while kiln dried arrives ready to use. I air dry by preference because kiln heat can leave honeycomb and collapse inside stock that looks perfect from outside. Buying rather than harvesting? Kiln dried from a good yard is the practical answer.
Which wood should a beginner dry and carve?
Basswood, which is the American cousin of European limewood, and it is what I use for most of my own work. It carves cleanly in every direction and it forgives a dull edge. Walnut is my second choice. Skip construction lumber, because a 2x4 will frustrate you and kill your tools.
Filed under
- benefits of drying wood
- best type of wood for carving
- best wood blanks for carving
- best wood for carving
- carving with basswood
- choosing wood for carving
- does green wood shrink
- drying green wood tips
- drying hardwood for carving
- drying wood for carving
- green wood carving techniques
- how to carve green wood
- how to dry green wood at home
- is green wood good for carving
- maintaining detail in green wood
- preventing mold on green wood
- safe ways to dry wood for carving
- tips for carving green wood
- Wood Carving Basics
- wood carving blocks at home
- wood carving process