
October 25, 2024 · Updated August 17, 2026
By Alexander Grabovetskiy — Master Woodcarver · Founder, School of Wood Carving · 16 min read
Stabilizing Thin Wood Carvings Without Breaking Them
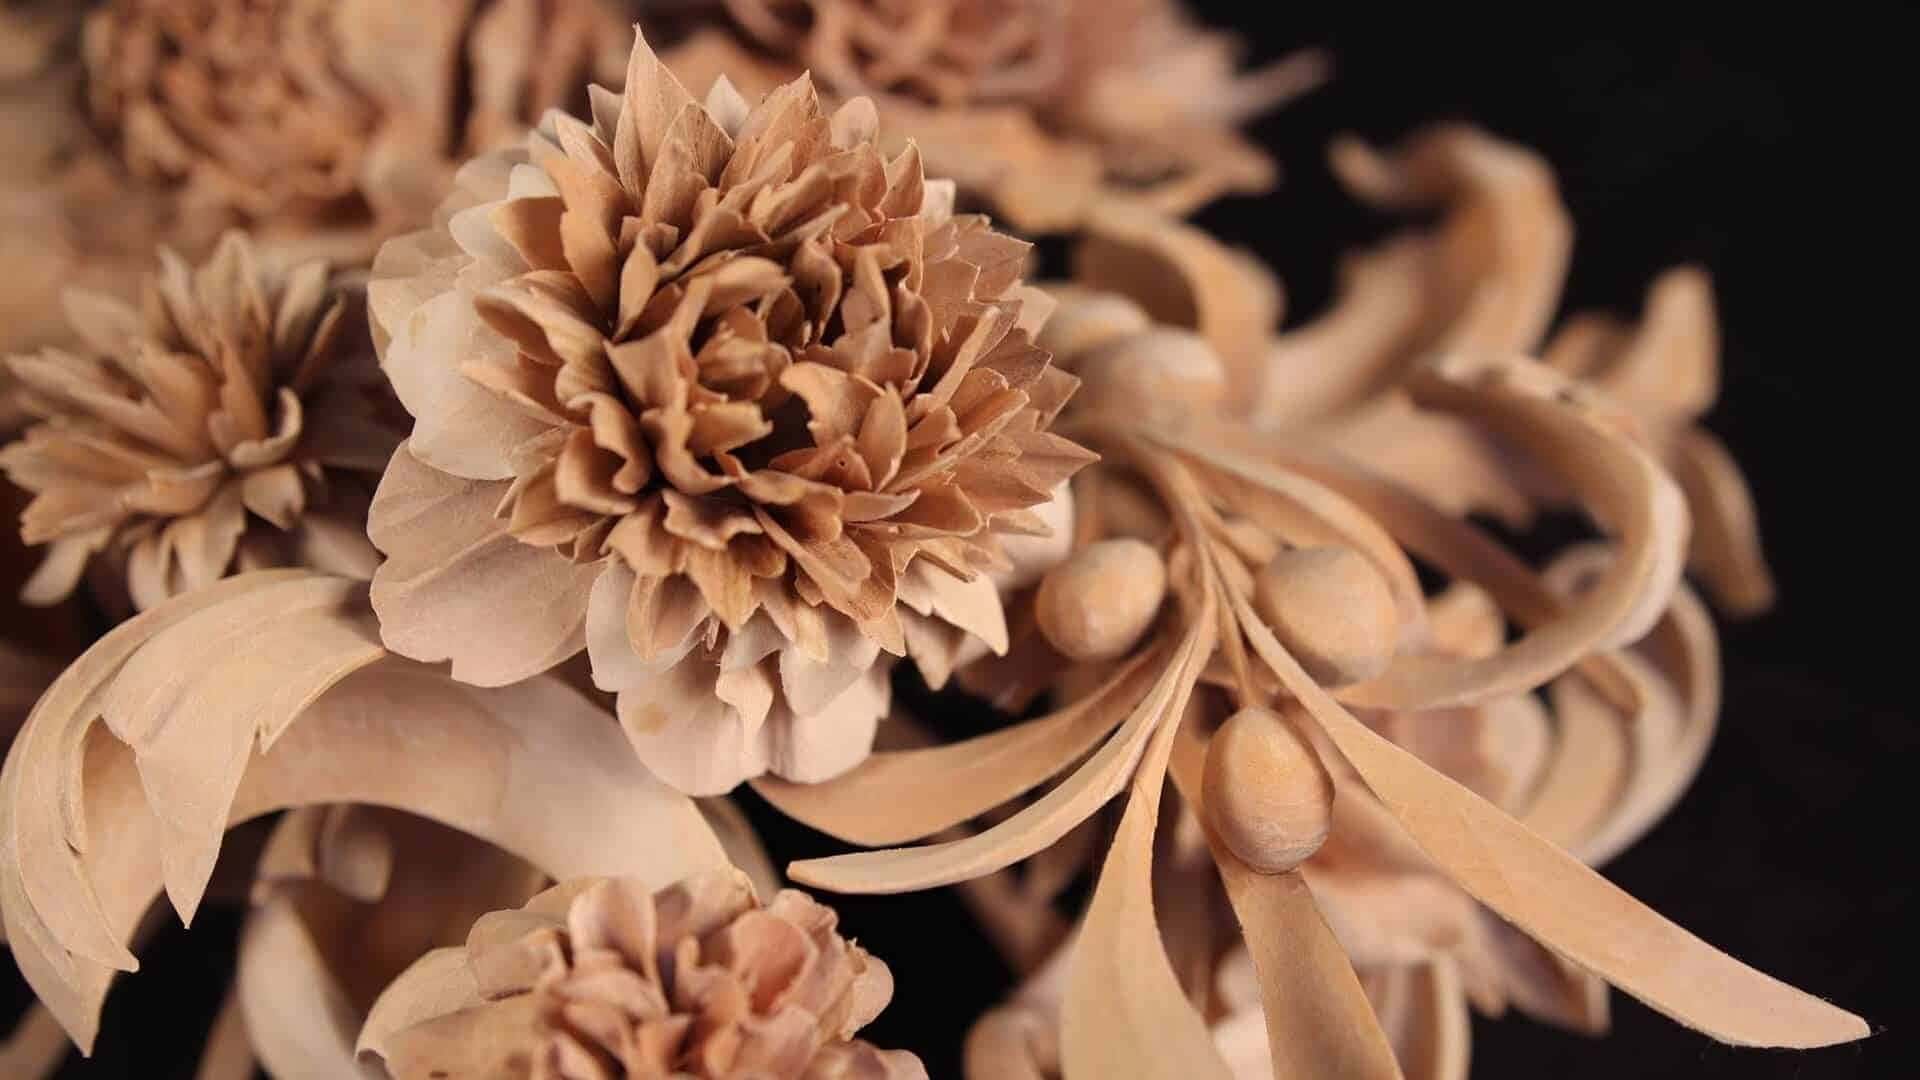
Stabilizing thin wood carvings is soaking a thin liquid down into the fibers so the wood acts more like resin than paper. Thin super glue, wood glue cut half and half with water, wood hardener, or penetrating epoxy all do it. Pick by the finish you plan next.

Starbond Super Fast Thin, the bottle that lives on my bench. Watery enough to pull itself through a petal.
I broke the same piece twice. Same panel, two livestreams apart, and both times my own hands did it. Years back a man wrote under one of my YouTube videos that he loves what I carve but the work is not practical, you can break it. He got the breaking part right. What he missed is that a paper thin leaf can be made much harder to break, and most of that happens early.
- Every stroke takes support away, so a leaf is weakest the day it looks finished.
- Relieve a small triangle before you shape it. Skip that and the next pass snaps it off.
- About 3 mm is my working floor on a wing or a petal.
- Watery glue, diluted wood glue, hardener and penetrating epoxy all soak in. Your finish decides which.
- Soft acoustic foam under the piece for back work. Bench cookies will break it.
- A raw carving that hangs on a wall wants none of this.
Why does a thin carving break right where you were most careful?
A carving grows weaker the closer it gets to finished, because every stroke you take is removing the wood that held the last shape up. In my Roman acanthus leaf course you can hear me say it as it happens. More material you remove, the more fragile it becomes. And it becomes really fragile.
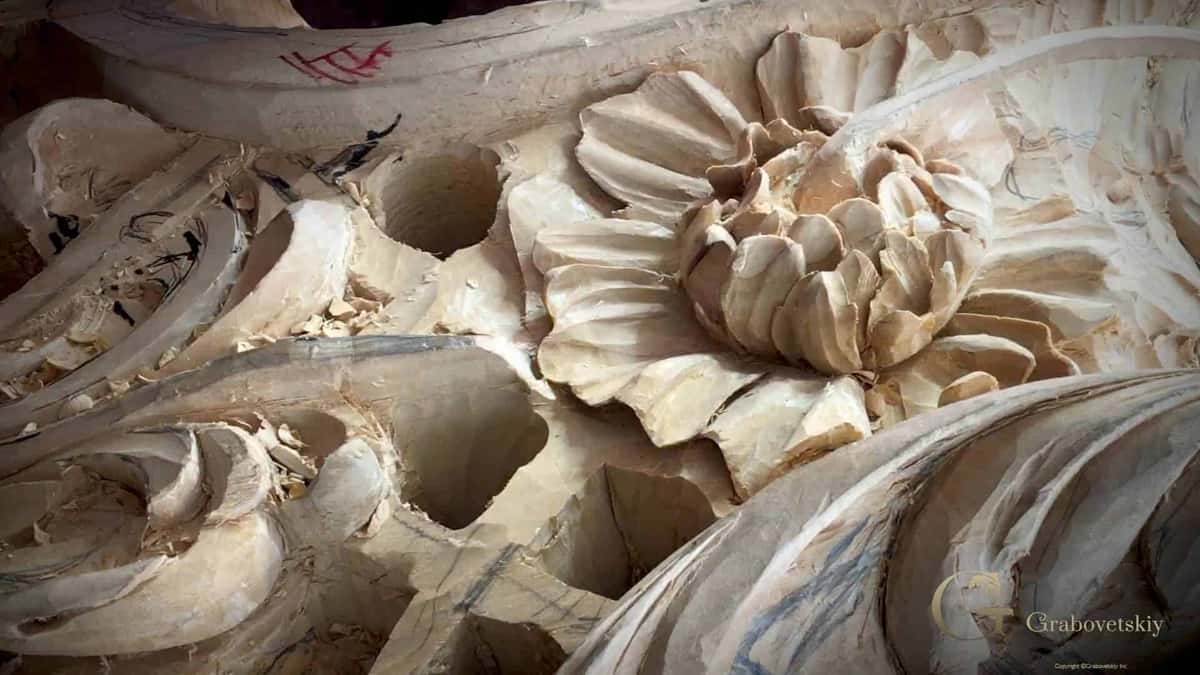
Think about what a finished leaf actually is when you stand back. A wide base on solid ground, a neck, then a tip standing in air. While the leaf was a block, the block carried the load. Once you hollow the underside and set the shadow the tip carries itself, and a minute of undercutting turns a sturdy piece into one you will not slide across a bench.

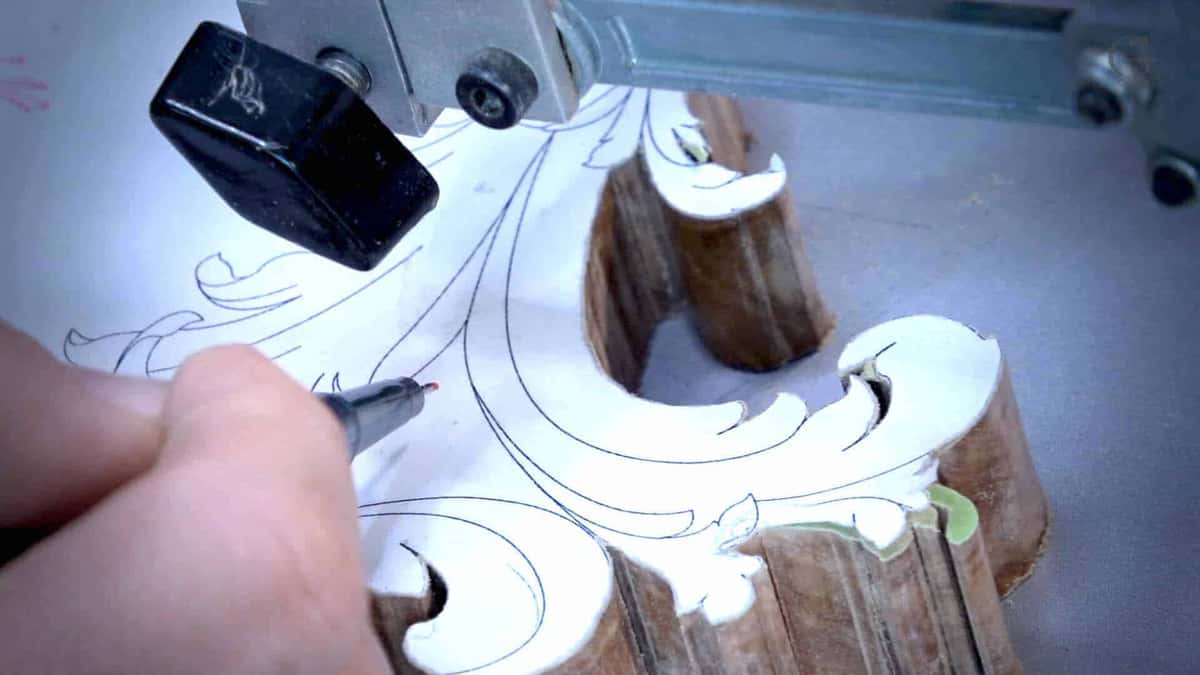
Look at the two ends of that ornament. The left end is a flat board I could drop. Holes are bored through the ground at the right end and the tips lift clear, so I carry that end in two hands. Same board, same day. Only the wood removed changed, and deep relief work lives on that edge.

What is relieving, and why does skipping it break a leaf tip?
Relieving means a straight down stroke on each side of a small detail, so the detail stops being joined to the wood you are about to move. In the Venice Room workshops I say one line whenever a small triangle turns up.
Every time when I see the triangle like this, like a small detail, you really have to relieve it, otherwise you are going to break it. Rushing that stage is on the list of common mistakes beginners make in wood carving.
A number 11 gouge, 3 mm wide, straight down on both flanks. Ten seconds of work. Then you shape around the triangle and it never feels the load.
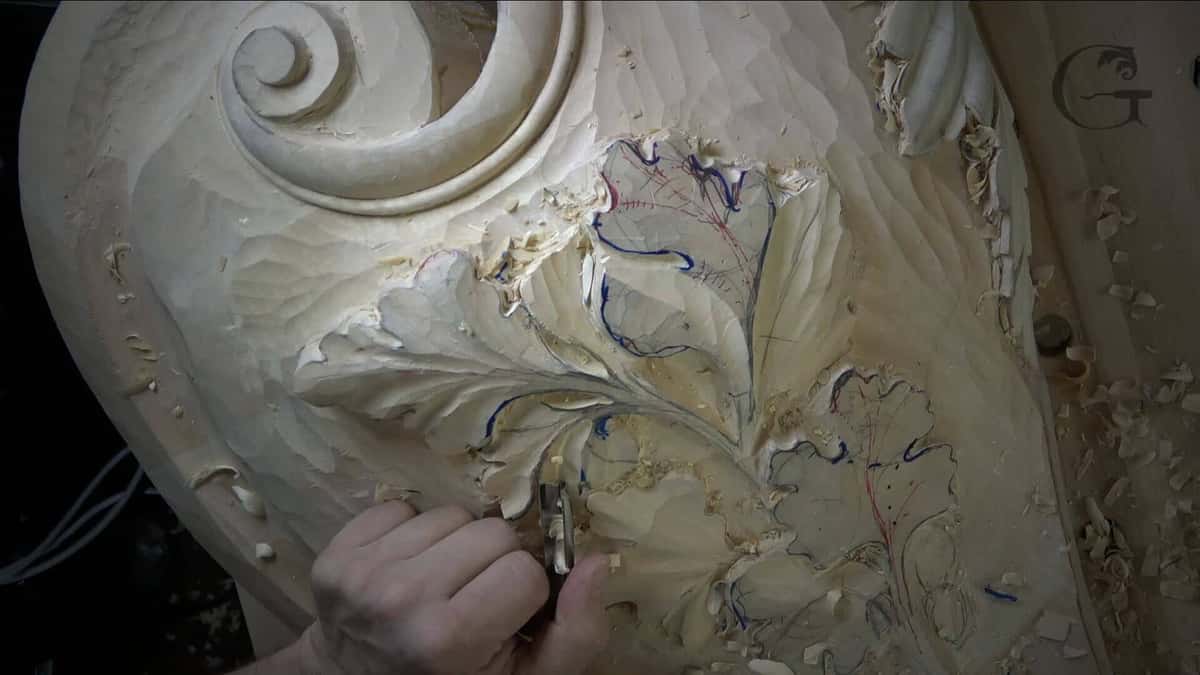
Skip it and the wood tells on you. In workshop 4 of that same room I broke a triangle underneath, on camera, then said out loud what I had done. I broke underneath because I did not relieve it. Plenty of material was left, so it cost nothing. My fault was rushing. For the ordering question, see what the first step in wood carving is.
How thin is too thin for a wood carving?
An eighth of an inch, about 3 mm, is the floor I work to on a wing or a petal, and below that the wood stops forgiving anything. I say the number on camera because people freeze up over it. Do not go more than one eighth.
On the Hashemi flowers panel some spots came in at three thirty-seconds.
American basswood at 3 mm still has fiber to hold onto, and its low Janka hardness is part of why. At half of that you are working paper.

Sheet 01 for the Grinling Gibbons panel. Material line reads basswood or limewood, and a note puts the swirl 1 inch off the base layer.
My oak leaf panel from a five day class at the Marc Adams School of Woodworking in Indianapolis had parts under a sixteenth of an inch. I dropped it. That was not weak wood, that was me.

The drawing carries the honest answer. My sheet for that Grinling Gibbons style class panel puts the swirl about 1 inch above the base layer, and that figure decides how much air sits under the carving. Air under a carving is the argument. We keep a page on the elastic modulus of wood for the numbers, and the USDA Wood Handbook is where they come from.

Gauge set before a single chip comes off, because you cannot put thickness back into a board.
Which way should the grain run on a leaf tip?
Along the tip, never across its neck, because a tip with the grain crossing its narrowest point has almost nothing holding one fiber to the next. Working that Venice panel I put it plainly. So along the grain, it should not be as fragile.
Turn the same leaf ninety degrees and a tip you could safely undercut lets go under a fingernail.

In my technique lessons I draw a donut and ask where to begin. Short grain first, then out toward the long grain. A second way of saying it survives a curve, and I use that one. Wood with more wood beneath it is supported. Wood running up to nothing lifts and tears instead of slicing.
Somewhere along a curve the two directions meet, and we call that the marriage line. Push straight through and the piece splits, so come at it from both sides. When I carve Grinling Gibbons style work there is no carving with the grain at all, and the only answer left is sharp tools. Direction gets a whole page to itself, handling different grain directions in wood carving, and picking the board sits on the best wood for carving.
What holds a fragile carving while you carve the back?
Acoustic foam, the soft ribbed grey kind sold for a recording room, because it lets you press on a pierced panel with no hard spot anywhere under the petals. You will not believe what the answer turned out to be. Foam. The soft grade, though.
I found it by accident. Two walls of my studio are covered in that foam to kill the echo on my microphone, so one afternoon I pulled a sheet down and laid a panel face first on it. Those ribs spread the load over every petal.
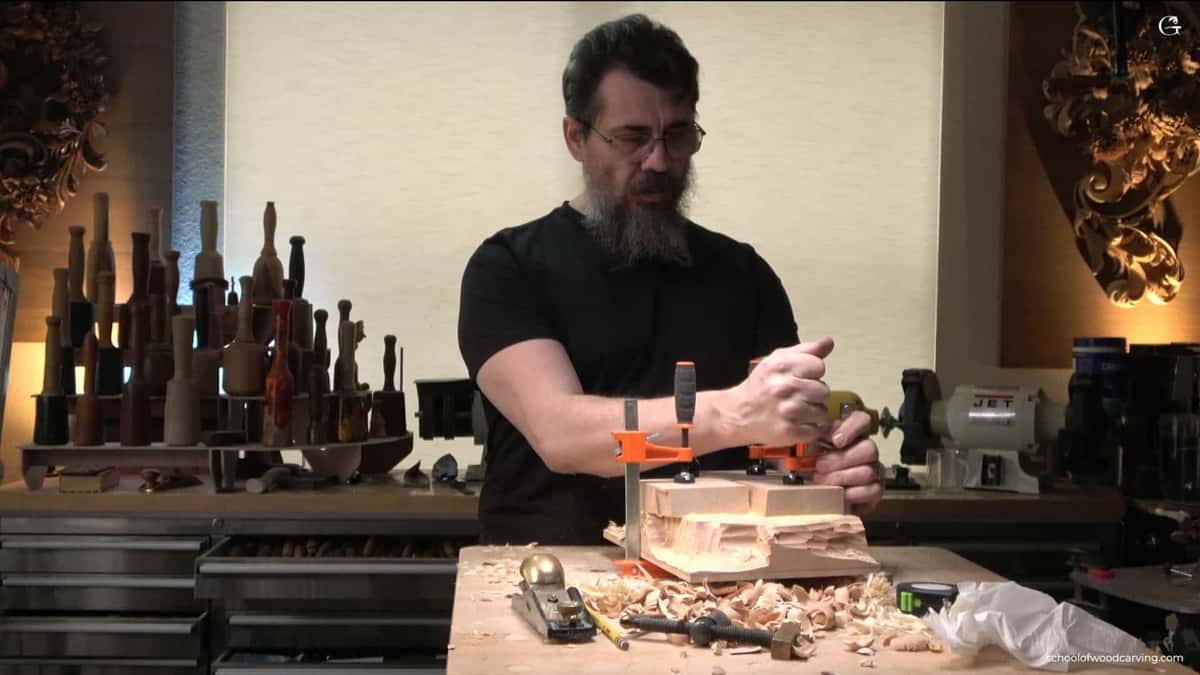
Nothing is pierced yet, so a hard clamp is still fine here. Once the back opens up, out comes the foam.
Bench cookies will not do this job. I own Rockler ones and Bench Dog ones and they are honest tools on a solid board, but under openwork you break it 100 percent. A hard rubber pad makes a hard point, and a hard point beneath a petal ends as a broken petal.

Two more habits. Clamp only where the wood is thick, at the rim or the ground, never across the carving. Then leave the big gouges in the rack, because big tools create a lot of force and will crack the piece through the foam. I keep a 5 mm Dockyard for back work.

My round mallet still comes out on a fragile piece, which surprises people. Weight is not the enemy. I let the mallet do the work instead of stressing my arm, so my taps repeat all afternoon.
Which consolidant should soak into thin wood?
The finish you plan next chooses it for you, and that single rule saves more thin carvings than any of these products do on their own. I have put all of them on real work. None is magic, and one of them is nothing at all.
| What goes on | How deep it travels into the fiber | Finish after | What it costs you in trade |
|---|---|---|---|
| Thin super glue | Right through a sixteenth inch leaf, fast | Paint, lacquer | About five years of life, and stain will not take |
| Wood glue thinned | Soaks in and stiffens the outer fibers | Paint only | Lasts far longer, but blocks any stain |
| Rotted wood hardener | Deep, and it dries in a hurry | Stain works | Two coats at least, sometimes three, and it smells like wood glue |
| Penetrating epoxy resin | All the way through, out the other side | Lacquer after | Expensive, bubbles, and cheap brushes get ruined |
| Thin shellac coats | Shallow, so you brush it on again and again | Anything works | Easy to repair later, and the weakest of these choices |
| Nothing at all | None, and the wood stays pure wood | Bare wood | My answer for a raw panel on a wall |
Start with the one I reach for most. Starbond thin is so watery that you touch a petal and watch it appear on the far side. Under paint it is wonderful. One honest catch: the lifespan of the super glue, I think it is about five years. That alone is why it is not the best way to stabilize wood, and cyanoacrylate has a plain page if you want the science.
Ordinary Titebond wood glue at fifty fifty with water is the cheap version, and it outlasts CA by a long way. Brush it on. It soaks inside the fibers and comes out more resin like, not resin, but a lot more stable. Both close the surface to dye.
When a piece must take color I use a wood hardener, the kind sold for rotten sills. It goes deep and dries quickly. I put it on twice and sometimes three times, and the wood still stains evenly.

Then there is the product that changed my mind. I asked a friend who builds upright basses how a top only three millimeters thick survives as an instrument, and he said he penetrates it with resin. That sent me to TotalBoat penetrating epoxy. Two parts mixed two to one, and a quart lasts me years because I am no epoxy man. It is expensive. It goes right through a leaf and out the back, impregnating every fiber of that oak panel.
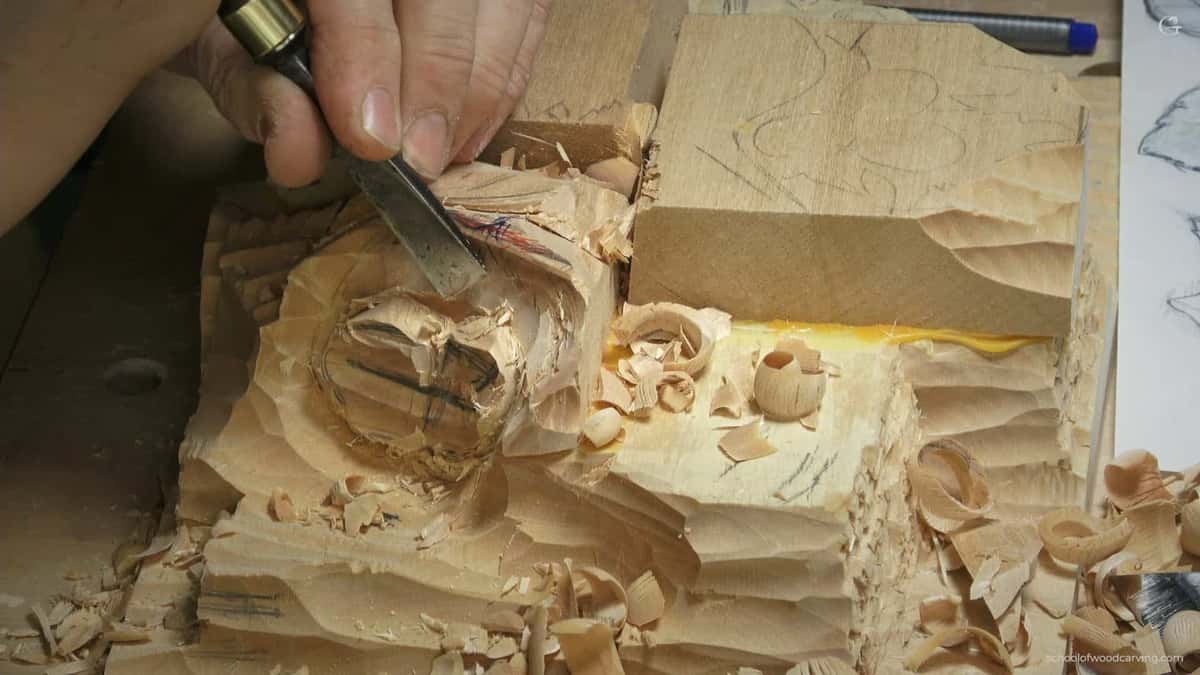
I filmed that as a livestream on the morning the landscapers came to mow my grass. You can hear all of it. What you also see is the panel, wet with resin, oak leaves still standing.
How do you stabilize a thin carving, one step at a time?
Name the finish, wet the whole thin area, chase the bubbles, then work the back on foam and spray the top. Five steps. People skip the first one.
Step 1, name the finish before you open any bottle
Paint or lacquer means anything in the table works. Stain rules out both glues and leaves the hardener as your only choice. Bare wood? Put the bottle away.
Step 2, wet the whole thin area, not just the tip
Buy cheap brushes, because epoxy finishes a good brush forever. Work the entire thin zone, neck and shoulder as well as tip, since a stiff tip on a soft neck moves the break somewhere new. The liquid came out the back.
Step 3, chase the bubbles out with a heat gun
Epoxy goes bubbly on a rough carved surface, and a heat gun waved across pops them in seconds. Do it while the resin is wet, because a cured bubble is a small crater you carve out later.
Step 4, lay the piece on soft foam and work the back
Face down on the acoustic foam. Small gouge, light pressure, a fingertip under whichever leaf you work. This is where the piece was going to fail, and where the soaking pays you back.
Step 5, spray the lacquer and pick the sheen on purpose
Fresh epoxy looks plasticky and mine bothered me at first. Two coats of Mohawk satin lacquer fixed that, and the panel now reads like an oil finish that shows every grain line. Satin is about a 15 sheen, the range runs near 25, and I keep dead flat for silent pieces.

Does a thin panel move with the weather?
A thin panel moves more for its size than a thick one, because there is less wood to resist water going into the fibers and coming back out. Wood answers whatever the moisture in the air and the humidity is doing, every day, forever. A consolidant slows that down, and switching it off is not on offer.
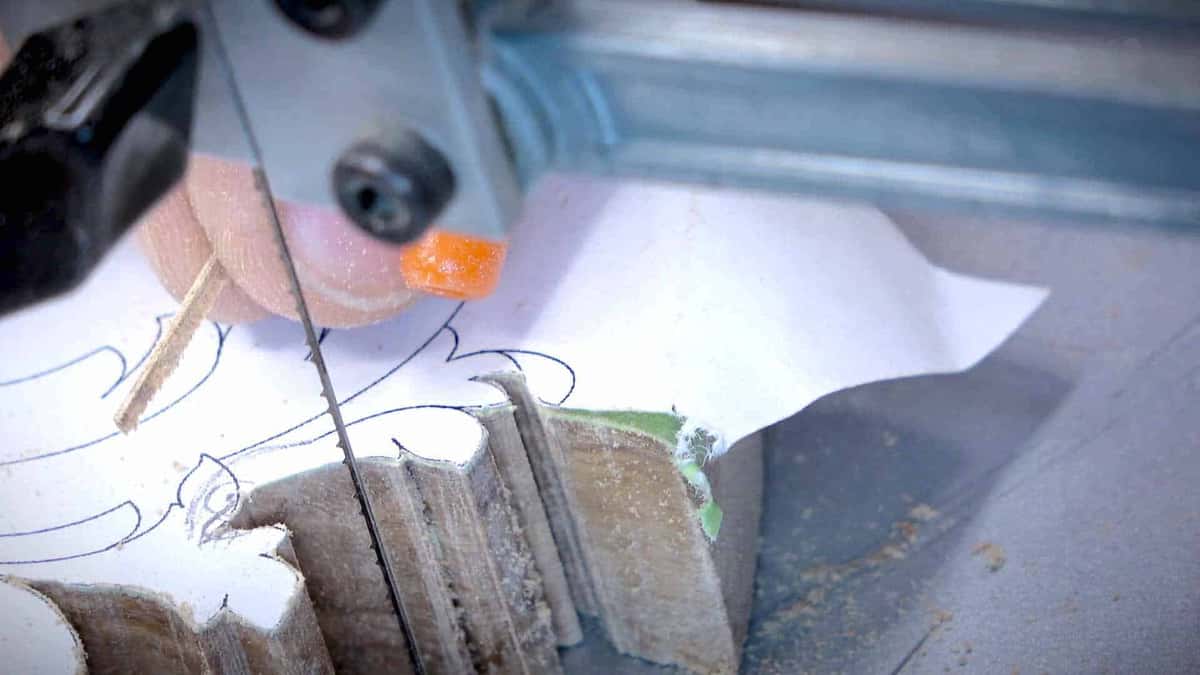
Olive wood on the saw table, and the thin spot here runs about a sixteenth of an inch.
Two things matter before a wide thin panel. Wood shrinks and swells far more across the grain than along it, which the shrinkage figures spell out species by species. And a board that never sat in the humidity of its future room keeps moving after you finish, so wood and moisture repays twenty minutes.
Heat and water together are a bigger lever than carvers expect, working on the lignin that holds fibers rigid. We took that apart on what boiling water does to wood, before any hot wet rag touches a thin panel. Softening a hard block has its own page on softening wood. Green stock is another job, and wood drying sits beside our own page on drying green wood at home, and damp or dry as you carve sits on wet or dry before carving.
How do you mount a thin carving so it survives the room?
Glue it down as an onlay on a solid ground, or hang it above the height a shoulder can reach, and most of the danger walks out with the ladder. A carving nobody touches needs very little protecting.
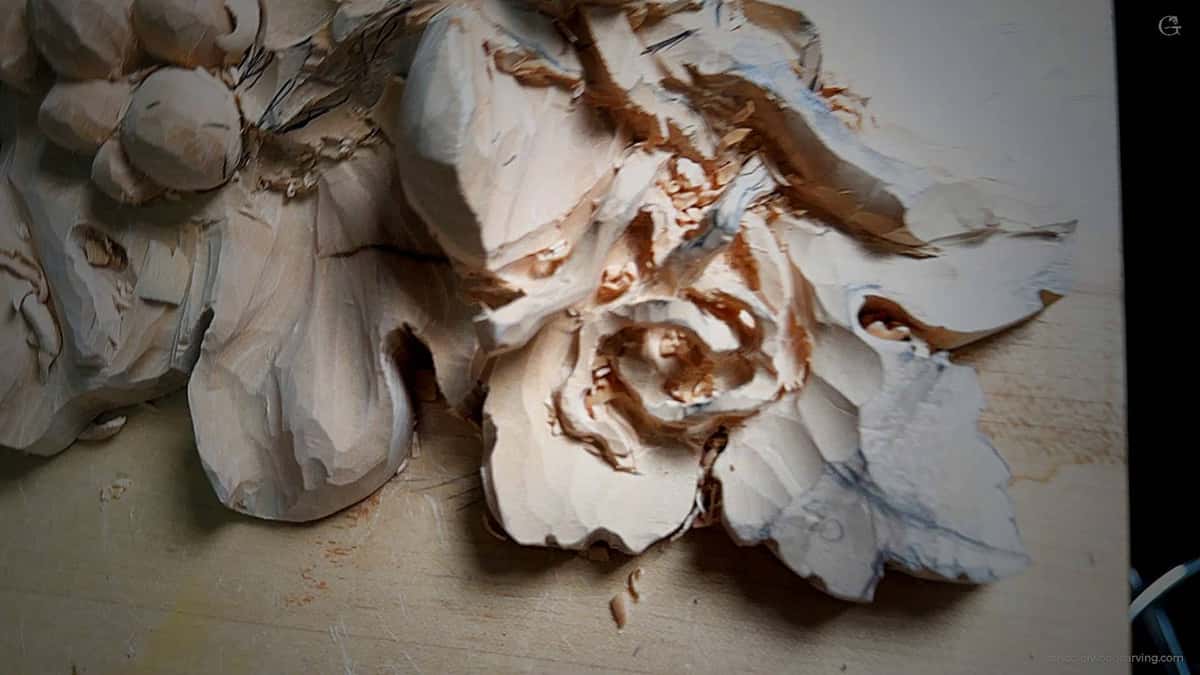
An onlay is the easy win. The thin part gets glued to a panel that carries the load, so it is fragile only for the days on my bench. Once it is down, a leaf tip cannot flex.
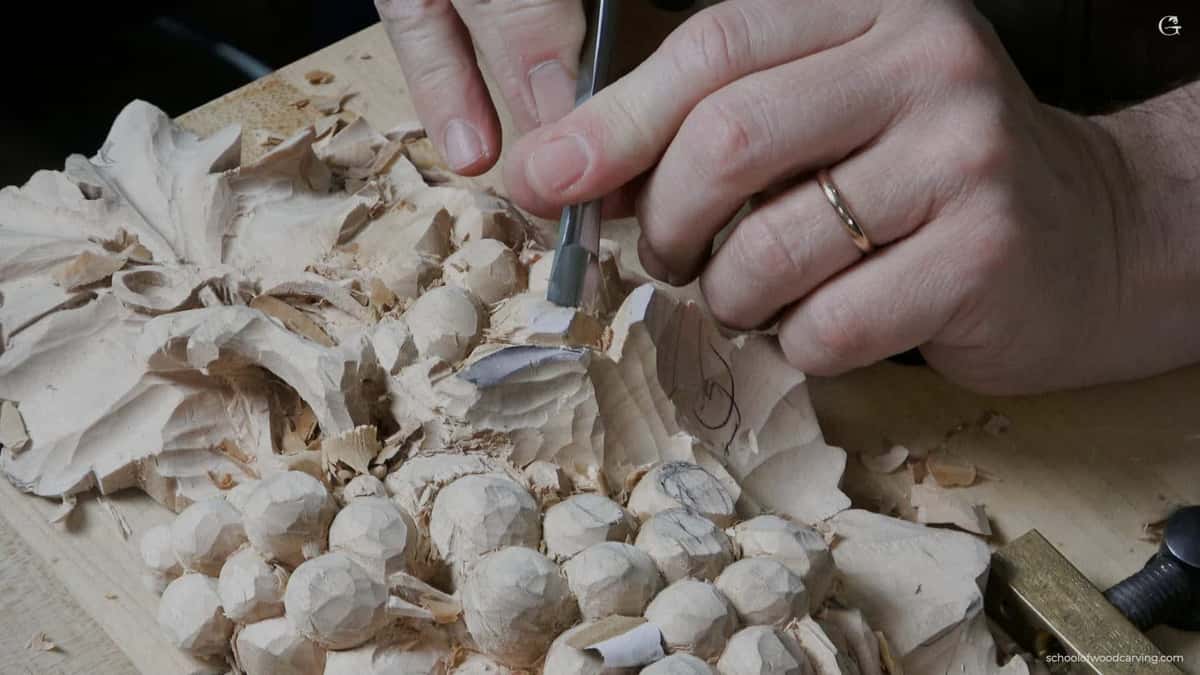
The pieces that need thought are the ones people walk past. I stabilized one carving because it would sit at about shoulder level, and there is a chance somebody is going to hit that. A panel hanging high is safe by geometry. I am not going to touch it, so there is no danger. Judging a board comes first, on knowing whether wood is good for carving, with the bench kit on what is needed to carve wood.
What do you do when a thin part breaks anyway?
Glue the piece back on and keep carving, because a break on something still sitting on your bench is a ten minute problem. I glue it back if I need to glue it back. That line shows up in my lessons more than once, and it is the one people remember.

One small bottle does the repair. For a hairline crack, thin CA does better.
Every carver breaks things. I hate that I made a couple mistakes and broke the leaf, I said on one Venice workshop, while gluing. Another day I broke an edge and told the camera what it meant. I just broke the edge, which means I am pressing too much. That is the useful part of a break. It reports on your hands.

A hairline crack is different from a clean break. Watery CA run into the split does more than clamping ever will. On the lily box I put that super glue inside of those cracks and carried on with the same layer. Mind your hands working small; the injury side belongs to the dangers of wood carving for beginners.
When should you leave a thin carving alone?
Leave it raw when it is going to stay raw, because a consolidant changes how bare wood reads and a panel on a wall is never handled. This is the part nobody puts in a tutorial.
If I would leave it just raw without any finish, I would not use that glue. I would just keep it like it is. Bare basswood has a softness under a lamp that resin flattens, and I keep that softness on a piece nobody will ever handle.
Be honest about what stabilizing buys you. You still can break it, and it is going to be a lot harder to break it. That is the whole promise. A wider margin for one clumsy afternoon, and nothing like armor.
My grandfather gave me my first chisel at six, and I took it straight to a brick and ruined it. Forty years later I still break things. The furniture I carved in prison with a 10 mm knife and a gouge made from a nail taught me nothing here needs to be perfect. Ask Fabio in Brazil, who asked whether Mohawk lacquer even reaches him. It is all on video inside the techniques and tips course, with the rough board stage on preparing raw wood for carving.
Frequently asked questions
Can you stabilize a carving after it is already finished?
Adding it later works, and I did it on a piece I had already dropped. Watery CA or penetrating epoxy still soaks into bare wood. What you cannot do is get through an old lacquer film, so a sealed area gets sanded back first.
Will a thin glue darken basswood?
It wets the surface, so the wood looks deeper the way water makes it look, and the grain shows more. Under paint or lacquer nobody notices. On a raw piece I leave the bottle shut, because the flatness it leaves bothers me more than the strength helps.
How long does watery CA hold a carving together?
My honest figure is roughly five years, which is why I call it my favorite rather than my best. Diluted wood glue and hardener both outlive it easily. For a commission that has to stand a century I reach for penetrating epoxy.
Can you stain a carving after you stabilize it?
Only after a wood hardener. Both glues seal the fiber and your dye goes on patchy or refuses to take, which you learn too late to fix. Hardener made for rotten sills leaves the wood open, so two coats still lets color in.
Does penetrating epoxy make a carving look like plastic?
Straight out of the bottle it did, and I nearly gave up on the idea. A pair of coats of satin lacquer took that away, and the panel now reads like penetrating oil with every grain line visible. Shoot lacquer before you judge resin.
What thickness should a pierced panel be before you carve it?
Leave yourself one eighth of an inch minimum in the thinnest planned area, and mark it on the side of the blank with a gauge first. My shop drawings carry the height above the base layer as a written number. Guessing costs you the panel.