
August 7, 2026 · Updated August 10, 2026
By Alexander Grabovetskiy — Master Woodcarver · Founder, School of Wood Carving · 18 min read
How to Carve a Rosette in Wood
Key Takeaways
- The ornament is a flower held in a ring, and our word for it is about 5,000 years younger than the thing.
- Depth of three millimeters is plenty. Deeper looks wrong.
- Basswood is the wood, and botanically it counts as a hardwood no matter what your hands tell you.
- Grain on a circle points every direction at once, so rotate the work.
- A relief cut taken before the finish cut is the thing that keeps a thin wall from chipping out.
Quick answer: A rosette is a stylized flower carved inside a circle, used as ornament on buildings and furniture. Most sit shallow, about one eighth of an inch deep, in a square blank of basswood. Lay out the circle, lower the background, model the petals.
Your petals came out uneven. One side of the circle is fat, the other is thin, and the background has a ripple in it you can see from across the room. I know that feeling, and not because I read about it somewhere.
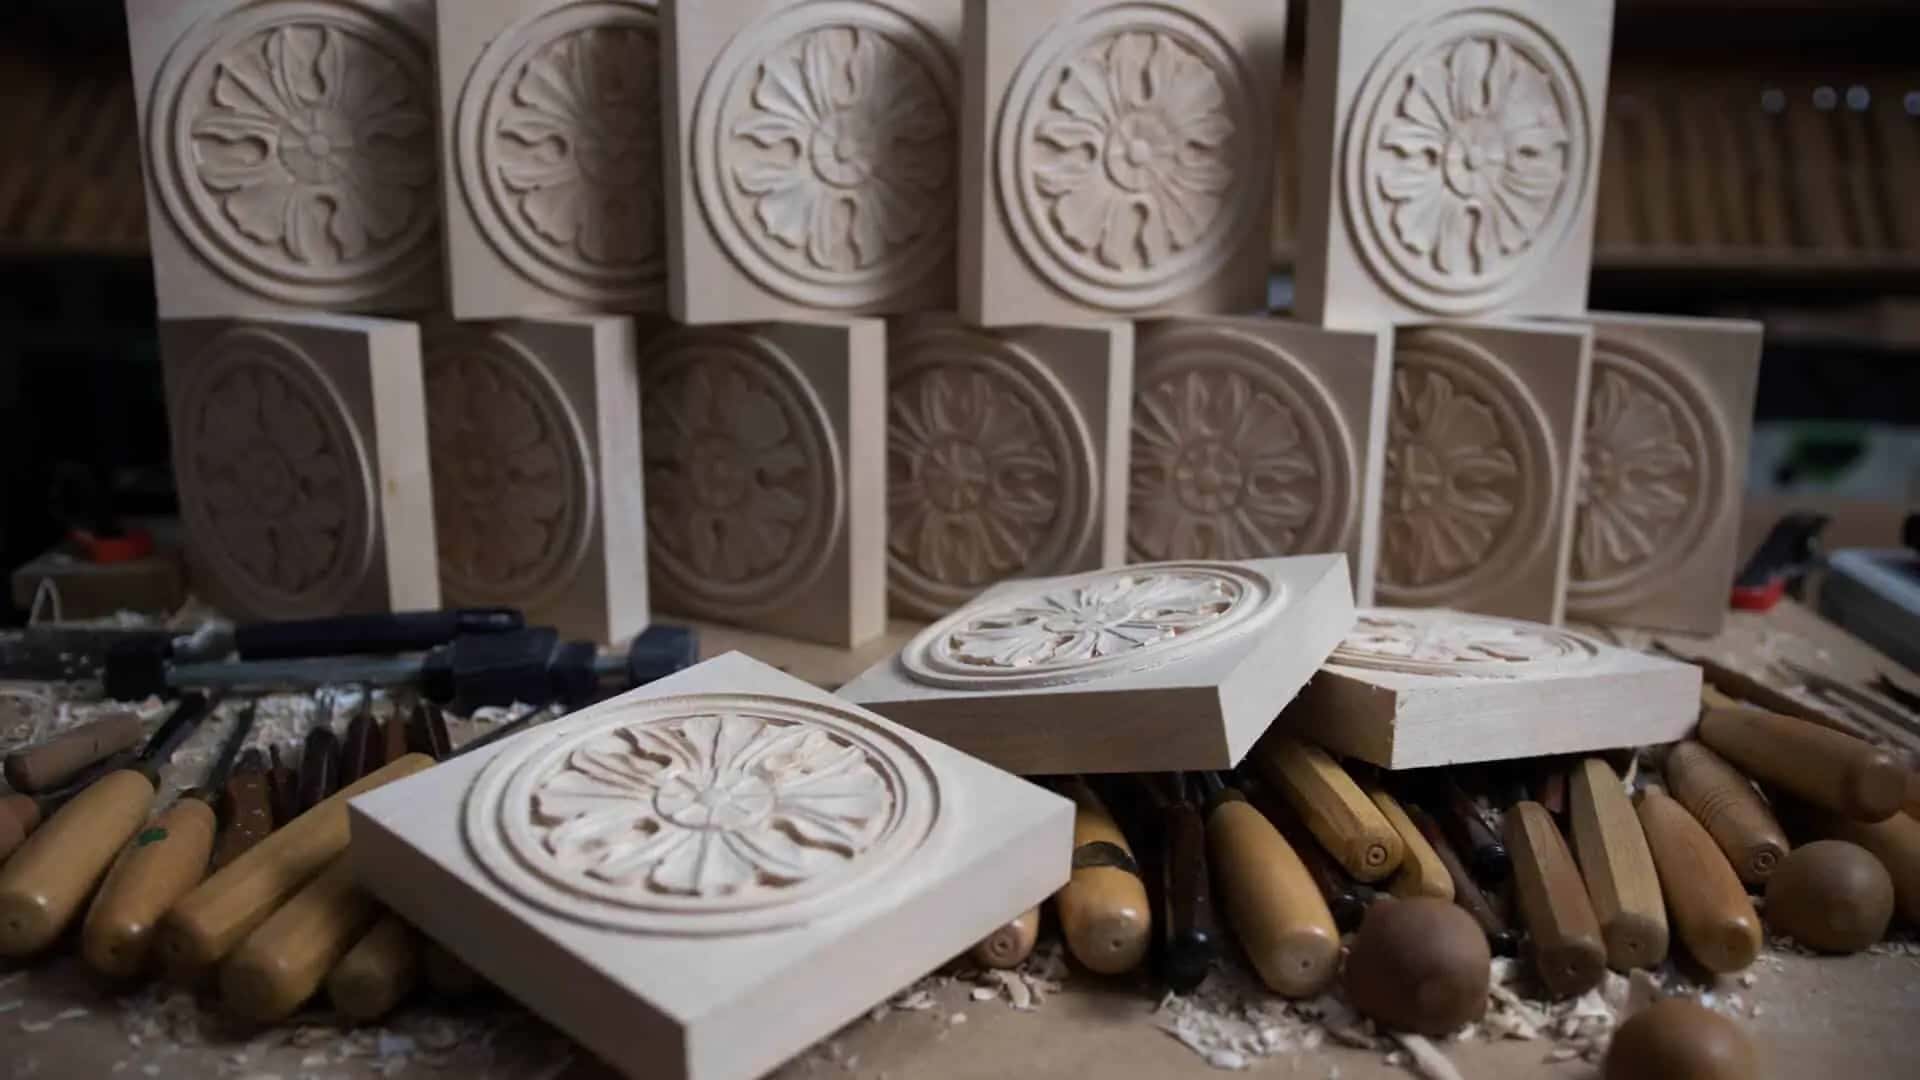
A few years back a client sent me a photograph and an order for fifteen rosettes. He sent no original piece to copy and no drawing, just that one picture and a size: five and three eighths of an inch square, with one inch of background under the carving.
Fifteen of them. All matching.
That job taught me more about this ornament than any book has, and everything below came out of it. The layout, the depth, the grain, the way to hold a square blank when you own no lathe, and the part nobody writes down: how you make the fifteenth one look like the first.
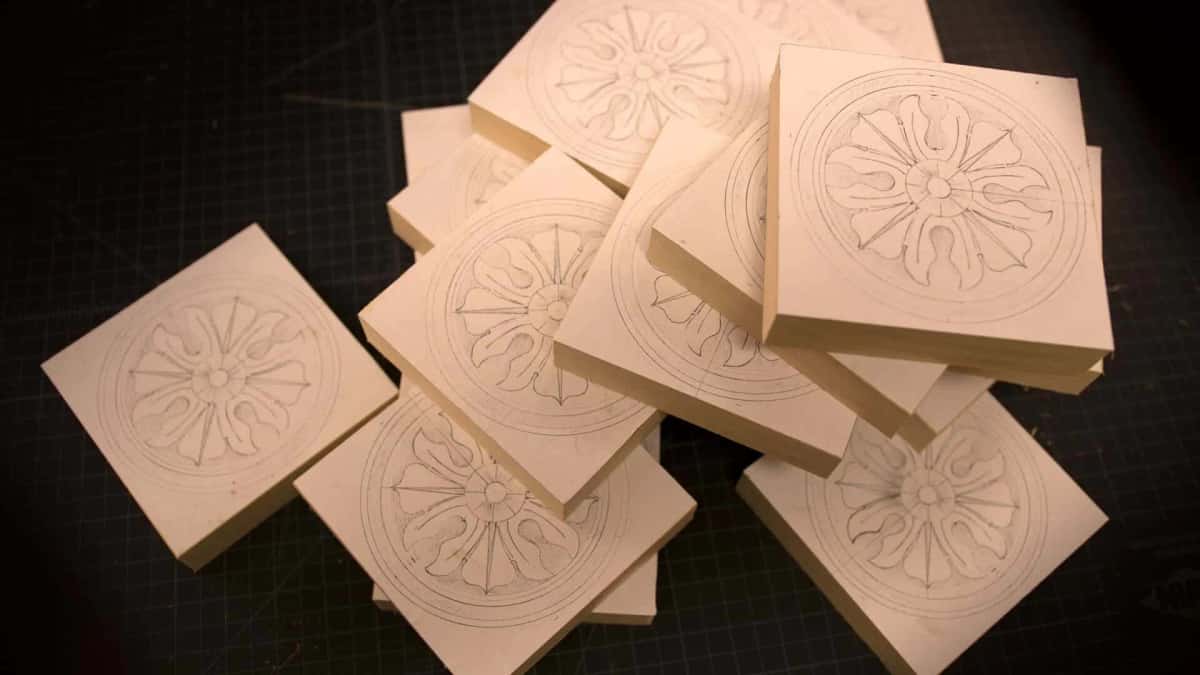
Sixteen blanks, patterns glued and ready. Fifteen were ordered. The extra one is insurance against my own mistake on a slow afternoon.
What is a rosette in wood carving?
A rosette is a flower shape carved inside a circle, and it is one of the oldest ornaments we have. Archaeologists find it on Mesopotamian seals from around 3000 BC. The Nimrud ivories in the British Museum carry it, carved in the ninth to seventh century BC. Walk into the National Archaeological Museum in Athens and you can stand in front of a gold diadem out of Grave Circle A at Mycenae, sixteenth century BC, covered in hammered rosettes.
Here is the part I like. Ancient ornament, modern word. "Rosette" arrived from French as a little diminutive of rose, and it first shows up in English in 1790. Carvers were carving this flower for five thousand years before anybody in England had a name for it.
They just called it a flower. Which is what it is.
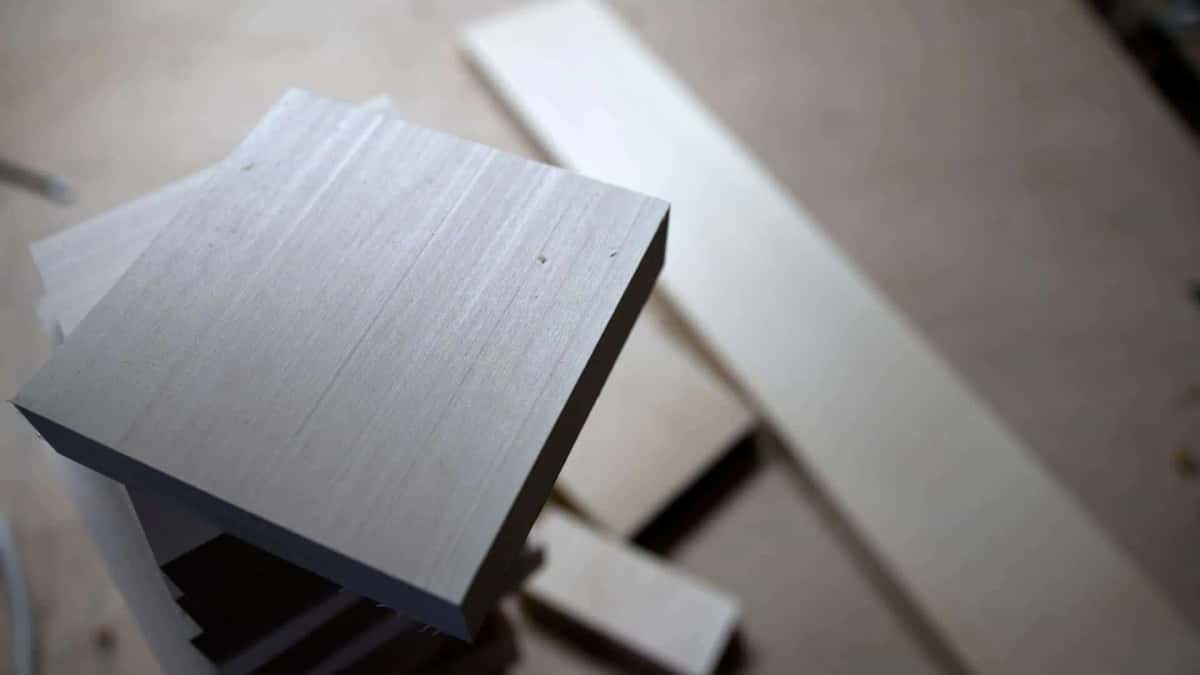
The blank has to be a true square. Otherwise every circle you draw on it lands off center, and you will not notice until the petals are half carved.
Is it a rosette, a patera, or a medallion?
Those are different words for slightly different things, and most people swap them freely. When you are matching existing woodwork or talking to a restoration architect, the distinction earns its ten seconds.
Name | What woodworkers mean by it |
|---|---|
Rosette | A flower shape sitting in a ring |
Patera | The classical term |
Medallion | Any framed disc, carved or left plain, round or oval |
Boss | A raised knob |
Corner block | What a trim carpenter calls this same square block |
Say rosette and nobody will correct you. Say patera to a restoration architect and watch their face change.
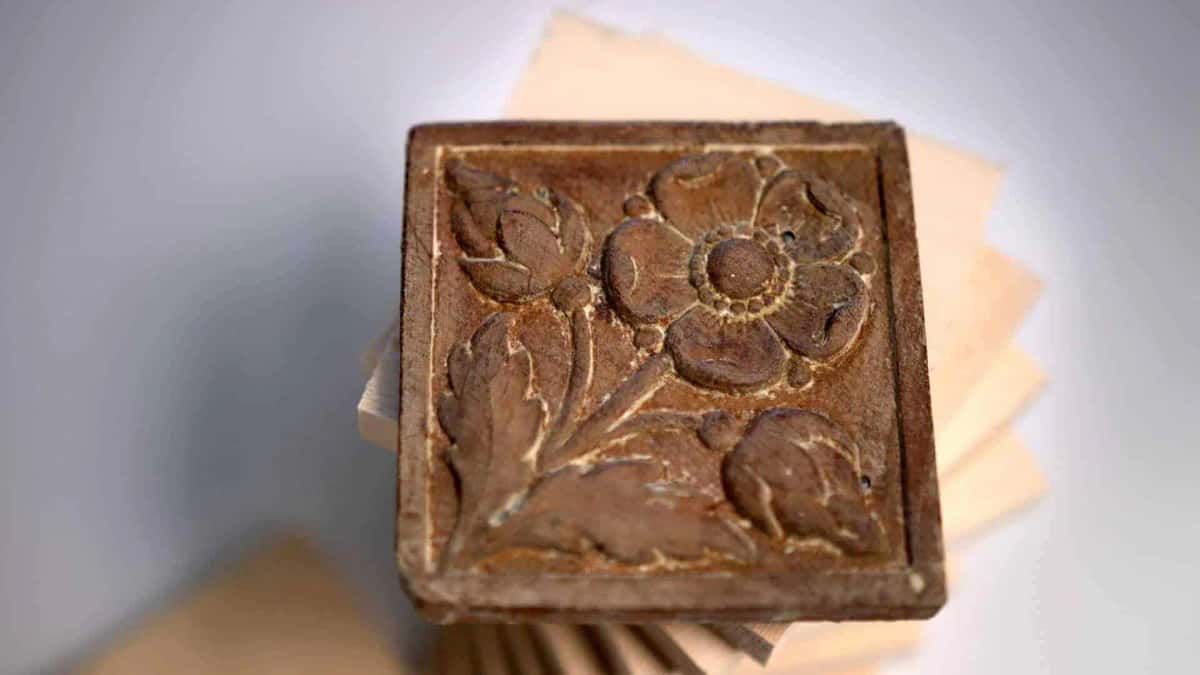
An original I was copying. Two hundred years of dirt in the background, and the petals still read.
What wood should you carve a rosette in?
Basswood, and it is not a close contest. Americans call it basswood. The English say limewood, or lime. Germans say linden. One tree, Tilia, and it has carried European carving since the fifteenth century.
The Victoria and Albert Museum, writing about Grinling Gibbons, describes this wood better than I can. A pale, uniform hardwood, they call it, light and strong. Its cell walls are uniformly thin, so the material yields easily in every direction, and the blade is less likely to be thrown off course. That last clause is the whole reason a rosette works in lime. A radial design asks your blade to travel every direction on the compass, and this wood does not fight back.
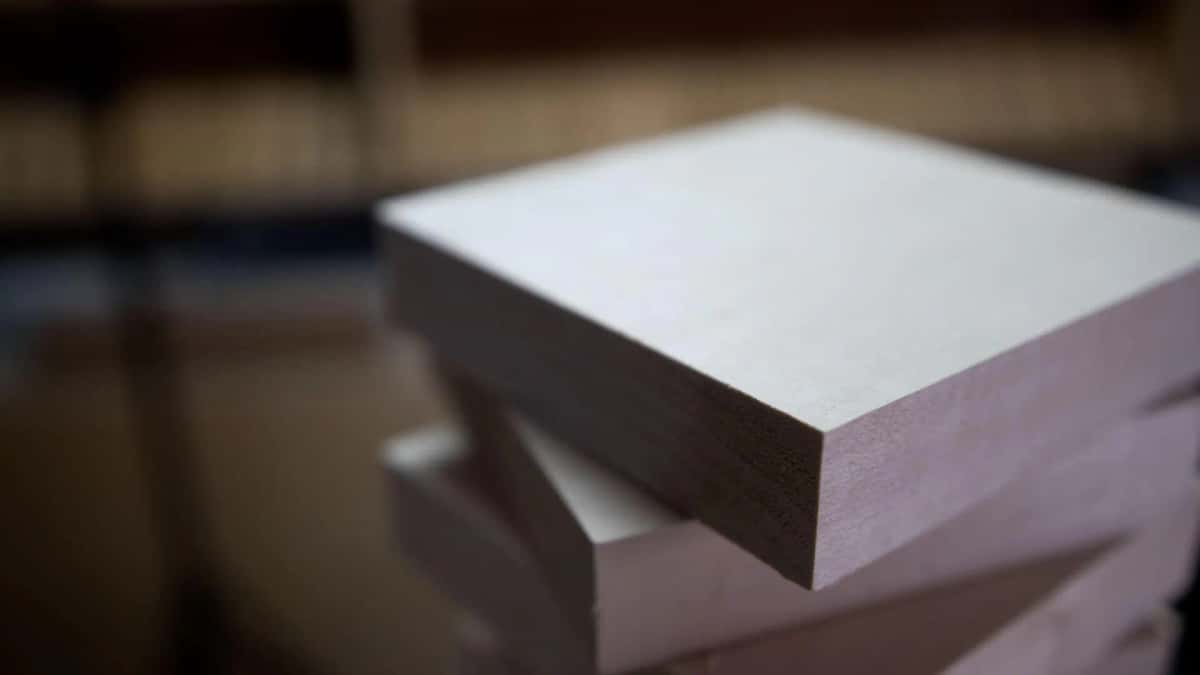
Basswood, planed and squared. South German masters were carving altarpieces from this same species by 1475.
Notice I said hardwood. People argue with me about that one. The split between hardwood and softwood has nothing to do with hardness, it is pure botany: broadleaf trees are hardwoods and conifers are softwoods. Balsa is a hardwood. Yellow pine will dent a lime carving if you drop it on the floor.
And please do not carve a 2x4. Construction lumber will frustrate you, destroy your edges, and leave you blaming yourself for something the wood did. The longer argument sits in what makes a wood good for carving.
Michael Baxandall's The Limewood Sculptors of Renaissance Germany is the book if you want to understand why one species carried an entire school of carving. Yale published it in 1980. Not one how-to page in it. It will still change the way you look at a lime board.
What tools do you actually need?
Nine tools cut a rosette, and one of them costs about four dollars. That cheap carving knife does more work on this job than anything else on my bench.
Tool | Where it earns its place |
|---|---|
A cheap carving knife | Cuts the outer circle straight down with no bevel at all |
#9 gouge, 10mm | Relief cut |
The #8 with a mallet | Clears background waste faster than anything else here |
Router plane | Levels it |
A #7 in 10mm and 14mm | Sits down into the long petal curves and matches them |
#6, 10mm | Tighter lobes, the ones a #7 rides straight over |
Grounding tool #47 | Reaches into corners no bigger tool can touch |
#11 veiner | Cuts around every raised pipe on every petal |
A marking gauge | Sets one depth on all four sides so fifteen blanks agree |
My #7 and #9 are Ashley Iles. Those little grounding tools are the ones my hand reaches for constantly, and I keep two sizes, one eighth and one sixteenth. One tiny gouge in the kit was made by Lamp in Germany, number 0015. Nothing else reaches some of those corners.
You do not need my exact numbers. What you need is the sweep in your own kit that sits down on the drawn line and matches it. Finding it is the whole skill of ornamental carving.
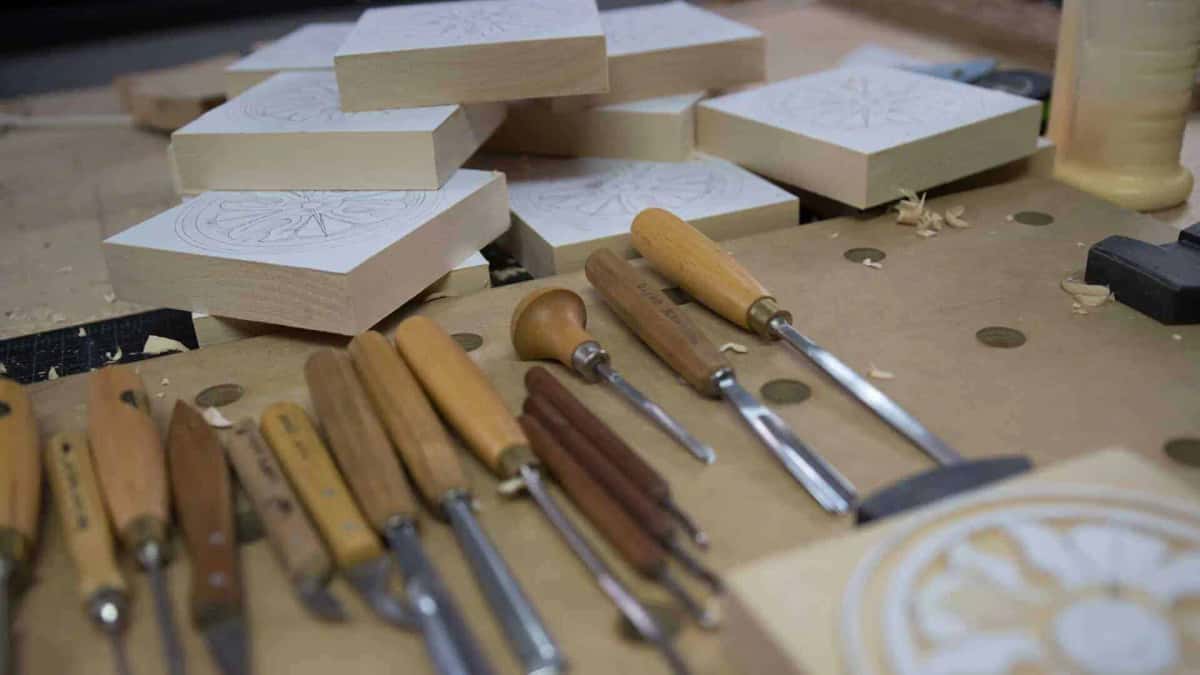
Nothing exotic anywhere on this bench. Still building a kit? Start with the tools a beginner actually uses and add sweeps as the work asks for them.
How deep should a rosette be carved?
One eighth of an inch, or three millimeters. My blanks were milled to one and one eighth inches thick so the finished background would land at exactly one inch, which leaves the whole carving living inside that last eighth.
Beginners always want to go deeper. Depth feels like effort, and effort feels like quality. Neither is true. Shadow is what makes this ornament read, and three millimeters of clean shadow beats half an inch of ragged hole. When the photograph would not tell me how deep the original ran, I assumed no deeper than that, because past it the proportions stop looking right.
Shallow is also safer, since your walls stay strong.
Step 1. Square the blank up and mark your depth on it
Mill the blank to a true square. Mine were five and three eighths on a side, and they had to be perfect, because any gap shows up in the finished row.
Then set a marking gauge to that eighth and score all four sides. Two or three passes, deep enough to see. You can measure with a ruler and a finger braced against the edge, and I do exactly that on a one-off piece. For fifteen matching blanks, a gauge is the only honest answer.
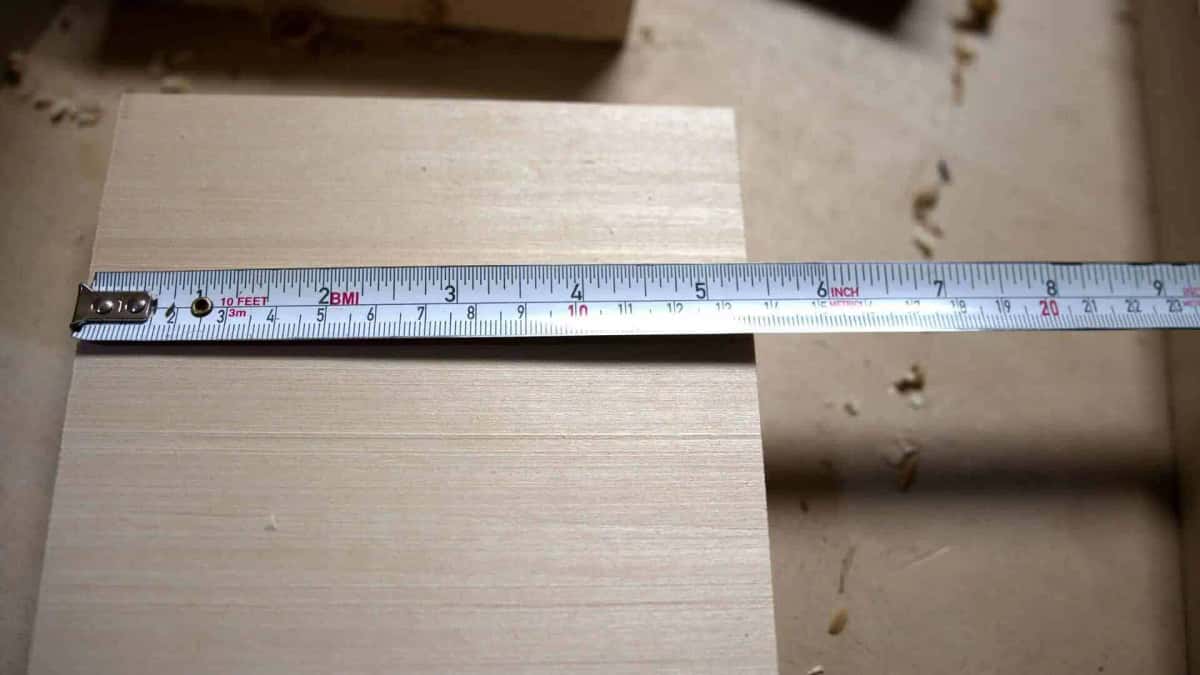
One photograph and one measurement. That was the entire brief for a job worth several weeks.
Step 2. Glue the paper pattern down onto the blank
Draw the rosette once on paper, then copy it as many times as you need. Cut the squares out and glue them straight onto the blanks.
Plain yellow wood glue. Nothing clever. Students ask me this constantly and the answer stays boring: normal yellow glue, because it is thick and it sits on the surface. Steer clear of the thin penetrating glues if you plan to stain or lacquer, since those soak into the fibers and will surface under the finish like a stain you never chose.
Most of that paper ends up as shavings anyway.
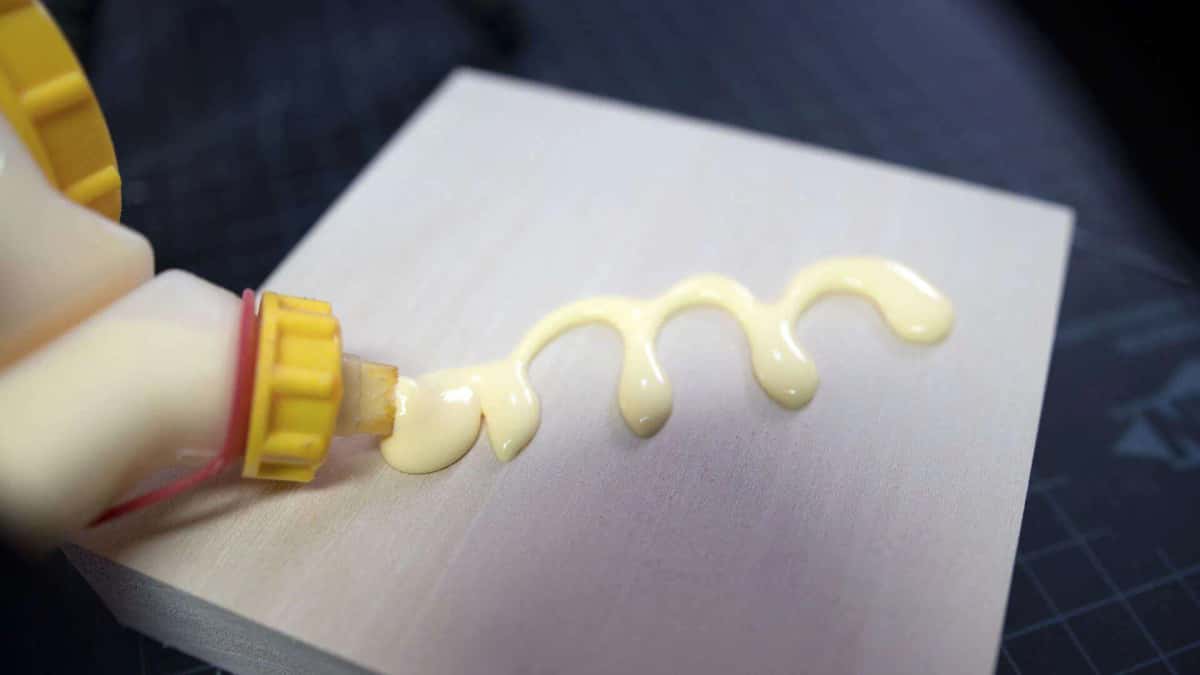
A bead of yellow glue, spread thin with a scrap. Sixteen sheets of paper, sixteen blanks.
Step 3. Cut the outer circle with a knife
Take the knife. Hold it dead vertical and resist the urge to lean it, because a leaned knife cuts a bevel and that bevel will haunt you through the rest of the job.
Cut toward yourself. One quarter of the circle, rotate the piece, another quarter. Your other hand stays behind the blade, always, with nothing of yours in front of the edge. I have watched students bleed on their own work.
Could you drop it on a lathe and get a perfect circle in ten seconds? Certainly. I thought about it for about that long.
Step 4. Lower the background around the circle
Now the mallet comes out. My #9 gouge goes just above the scored line, never on it, because that edge must not take a single bruise.
Read your grain first. Find the end grain, see which way the fibers run, and take your background cuts against the grain wherever the piece lets you. Safer that way, and cleaner.
These gouges push fine without a mallet, and often I work that way. Yet a mallet gives me more control rather than less, which surprises people every time I say it. One measured blow beats a push that can run away from you.
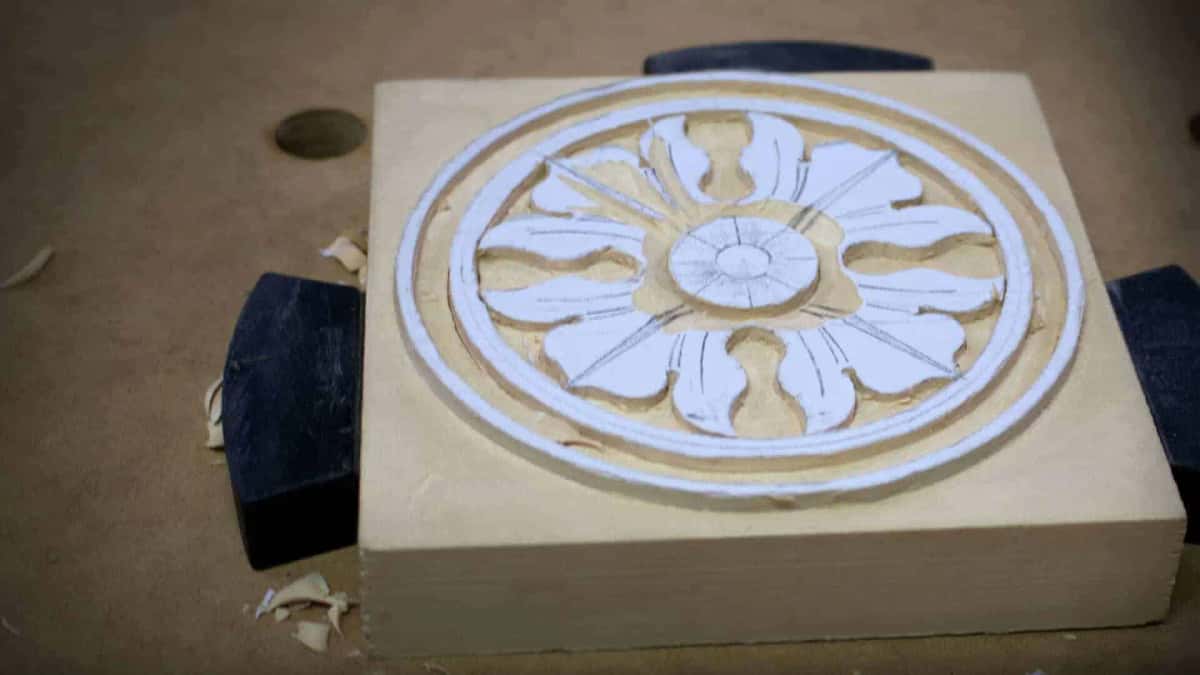
Background coming down. Paper still sits on the petals, protecting the drawn line.
Step 5. Flatten the ground with a router plane
Once the waste is gone the ground is close, but close is not flat. A router plane makes it flat, and whenever you have room to set one down it is the right tool.
Reference the plane on the uncarved surface, hold its body down, and take sweeping cuts. Lower the blade a little, take another pass, then lower it again. Three passes, not one. Early on I stay well away from the circle, then deepen the knife line and come closer.
Keep that blade sharp. A dull router plane tears lime instead of slicing it, and your hands will feel that before your eyes see it.
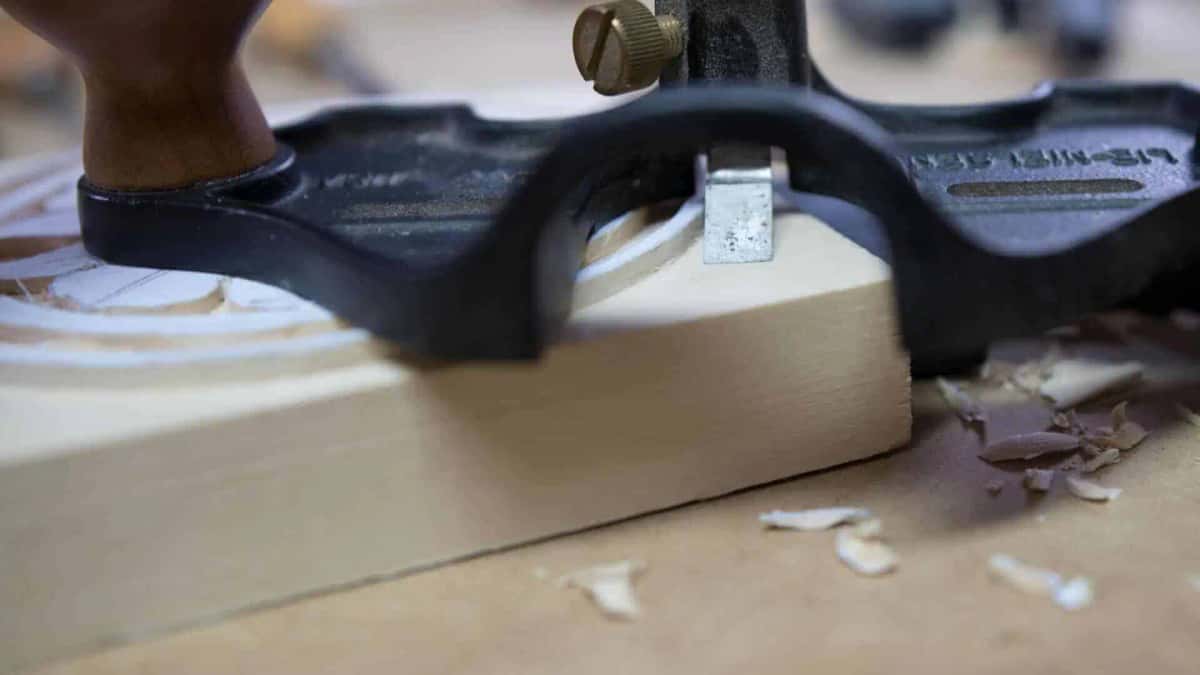
This is the tool that makes fifteen backgrounds match. Eyes cannot do it.
Step 6. Make your relief cuts, then the inner line
Here is the move that separates a clean rosette from a chipped one, and almost nobody teaches it.
The outer circle is cut. Your instinct now is to grab the knife and cut the inner line straight away. Do not. Look at what you actually have: plenty of wood on one flank of that line and almost nothing on the other. Put a knife into that and it wants to split the wood both directions at once, so the thin flank chips out. On three millimeters of wall, it will chip.
Take a small #9 first and make a relief cut just inside the line, a millimeter shy of it. A V tool works. So will a #8, a #10, an #11. All you are doing is removing the meat so the fibers have somewhere to go.
Then cut your line. Hold the knife like a pencil now, guide it with one finger, and go no deeper than a sixteenth per pass. Two passes. Three if you need them. I would rather take three careful passes than snap that thin end grain off and start the blank again.
Watch the line itself. Your eye catches waviness instantly, and the cause is not what carvers assume. It has nothing to do with a steady hand. Rushing causes it. However good you are, hurry that line and it will wave, and it will look cheap.
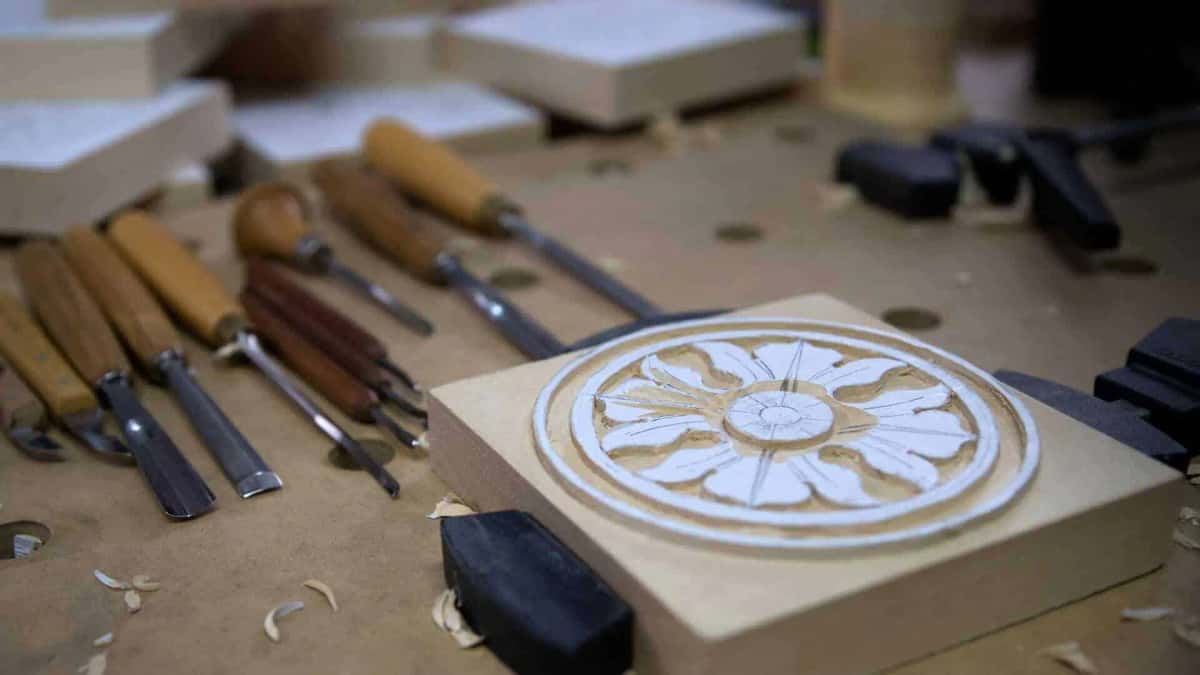
Relief cuts done, inner line cut, walls still standing. Now it turns into a flower.
Step 7. Model the petals and cut the pipes
Find the sweep that fits. Set the gouge down on the drawn curve and see whether the tool matches your line. Drive it straight down when it does. A full kit is not about owning more tools, it is about a better chance of finding the one that already is the shape you drew.
Every petal has a raised strip running down the middle. I call it the pipe, because that is what it looks like. Some carvers say vein. Cut around it with a #11 veiner so the strip stands proud of the two sides.
Leave the outer edge of each petal as a high spot and work from that edge inward, hollowing slightly as you go. Romanesque carvers handled a leaf edge exactly this way, in stone and in wood, and it still throws the best shadow of anything I have tried.
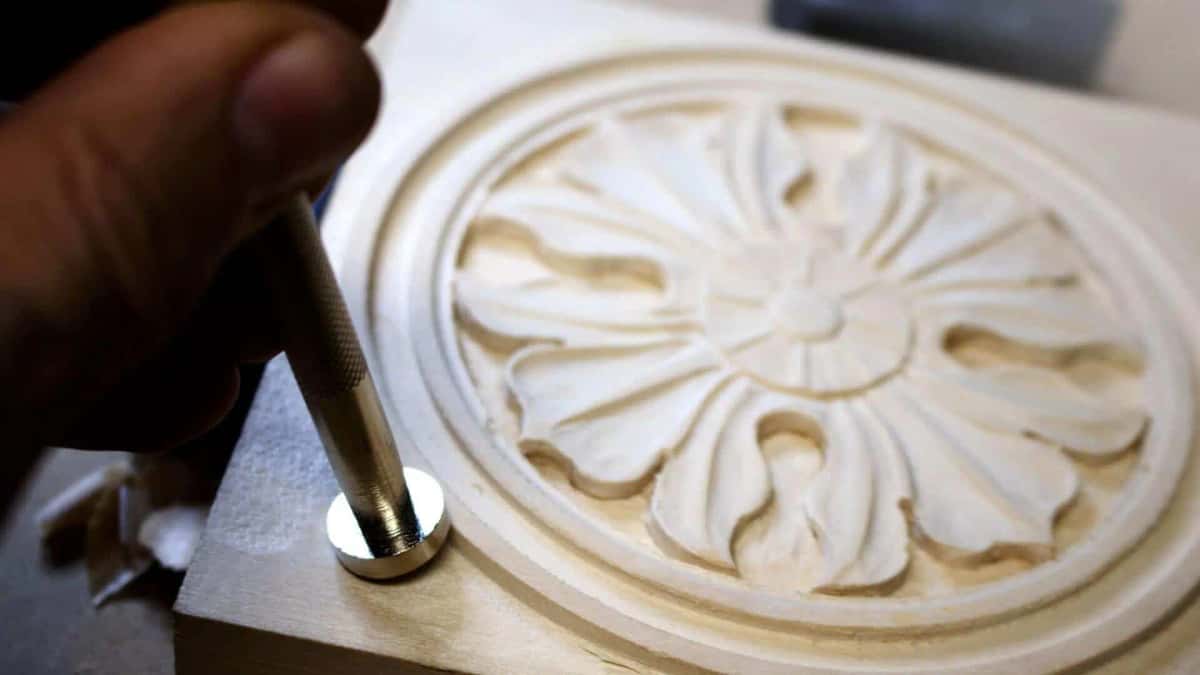
Petals get their shape last. Each of those lobes needed a gouge matching its curve.
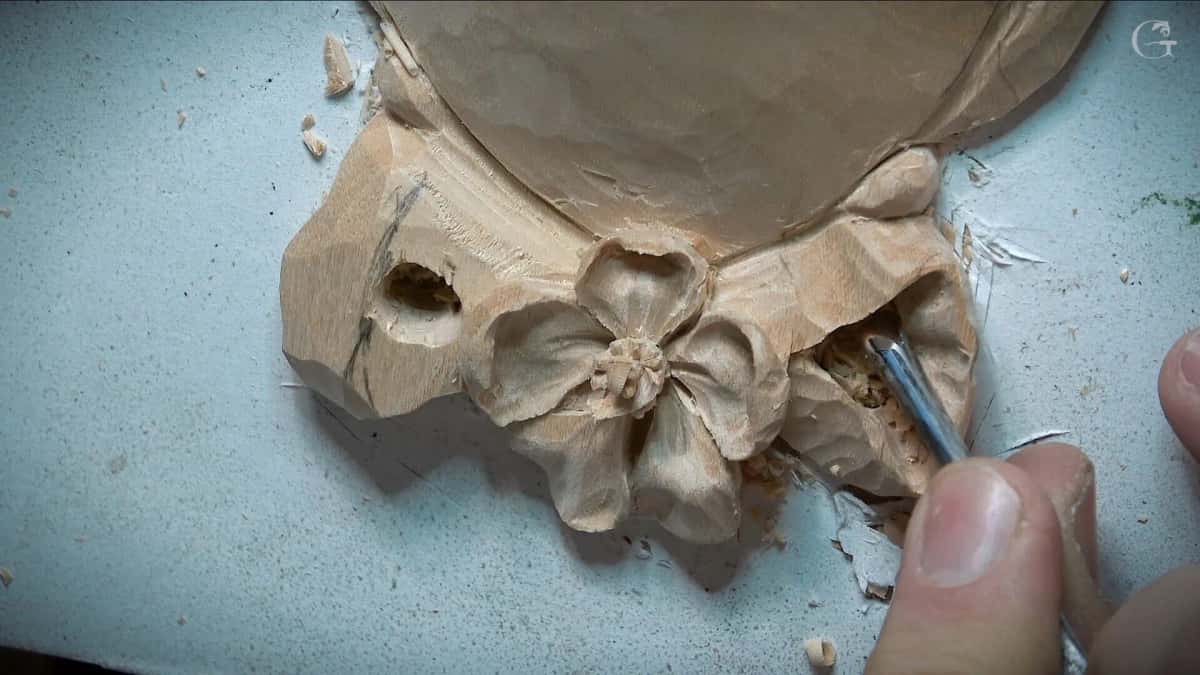
Undercutting a petal edge. This is how shallow relief gets deep shadow without going deeper.
Step 8. Stop before you reach for the sandpaper
Put the tools down when it is finished. My carving never sees sandpaper, and this is a real tradition and not a preference I invented. European work was left straight out of the chisel. A facet cut by a sharp gouge holds light in a way sanded wood never manages.
Sandpaper is a fine thing, just not on this.
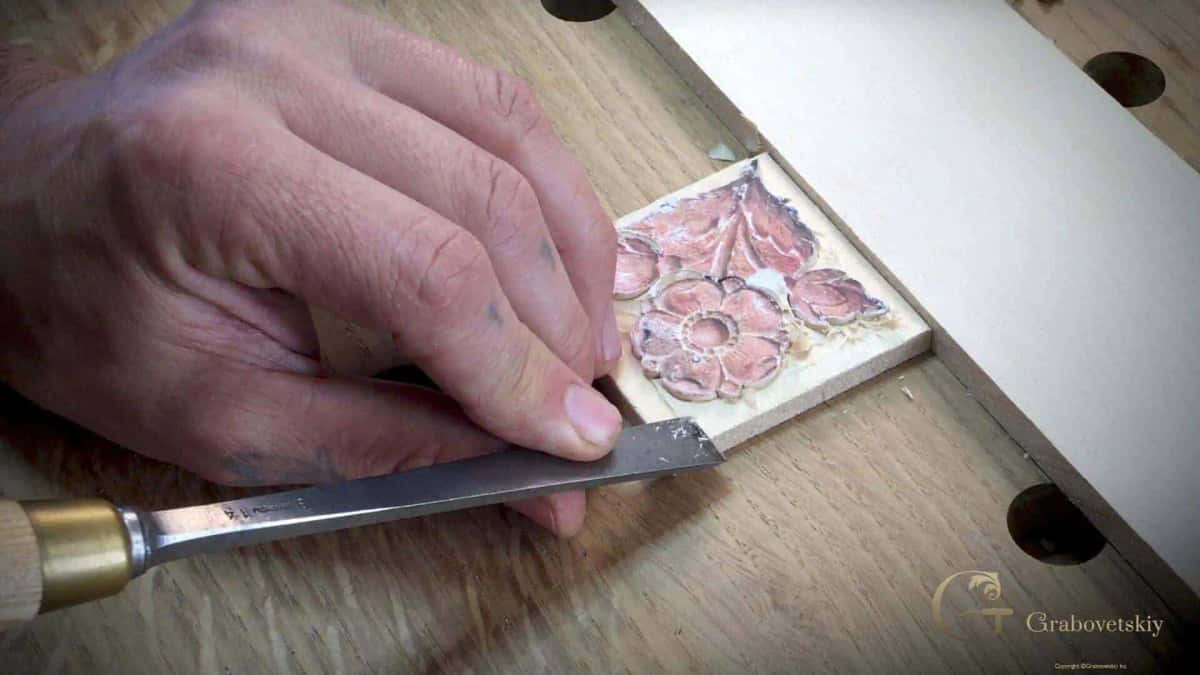
A flat chisel does this, never abrasive paper. That pink smear is the last of the pattern coming away.
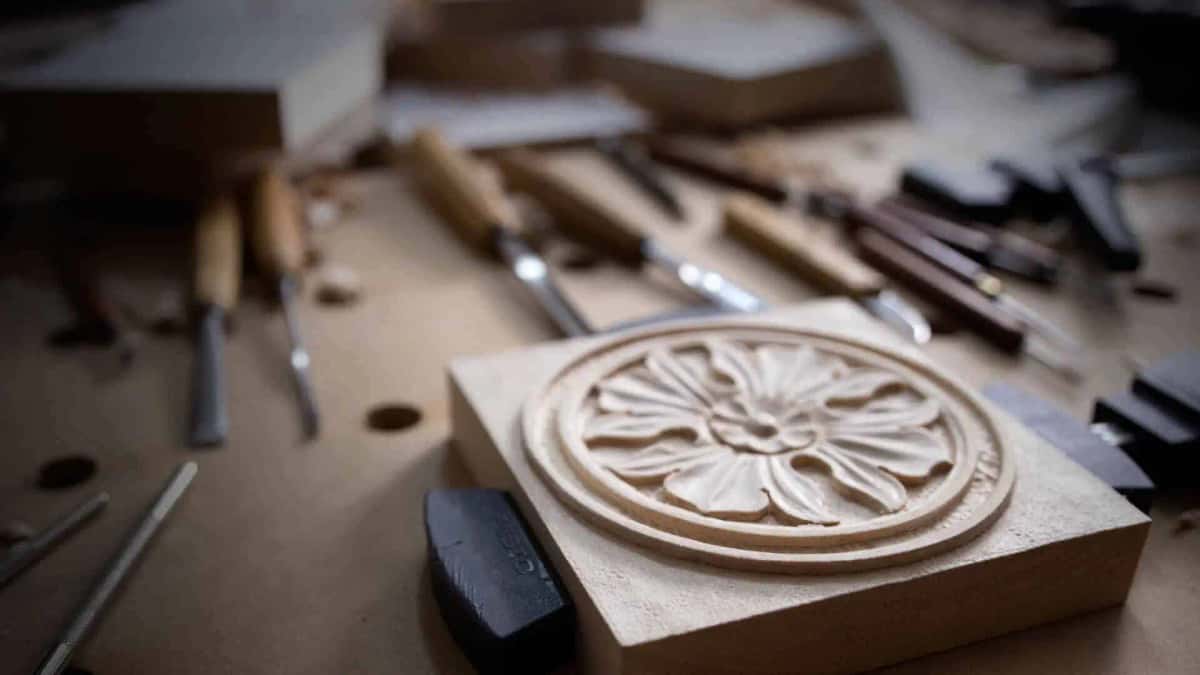
Off the tools and done. Nothing on it yet, not even stain.
How do you hold a square blank without a lathe?
Drill a piece of MDF and use bench clamps, which cost me about twenty dollars. People ask me this more than any other question, and every article on the subject quietly assumes you own a lathe or a screw chuck.
Years back I started working on Festool multifunction tables, because of those twenty millimeter holes and the clamps that drop straight into them. A piece can be held and spun in seconds. That matters enormously when you are cutting a circle in quarters.
The table is optional. Take a sheet of three quarter inch MDF, drill twenty millimeter holes on a four inch grid, center to center, then clamp it to your bench. Now you have the same thing. Unlike a chuck it will hold any shape you throw at it, small pieces and big ones, just as solidly.
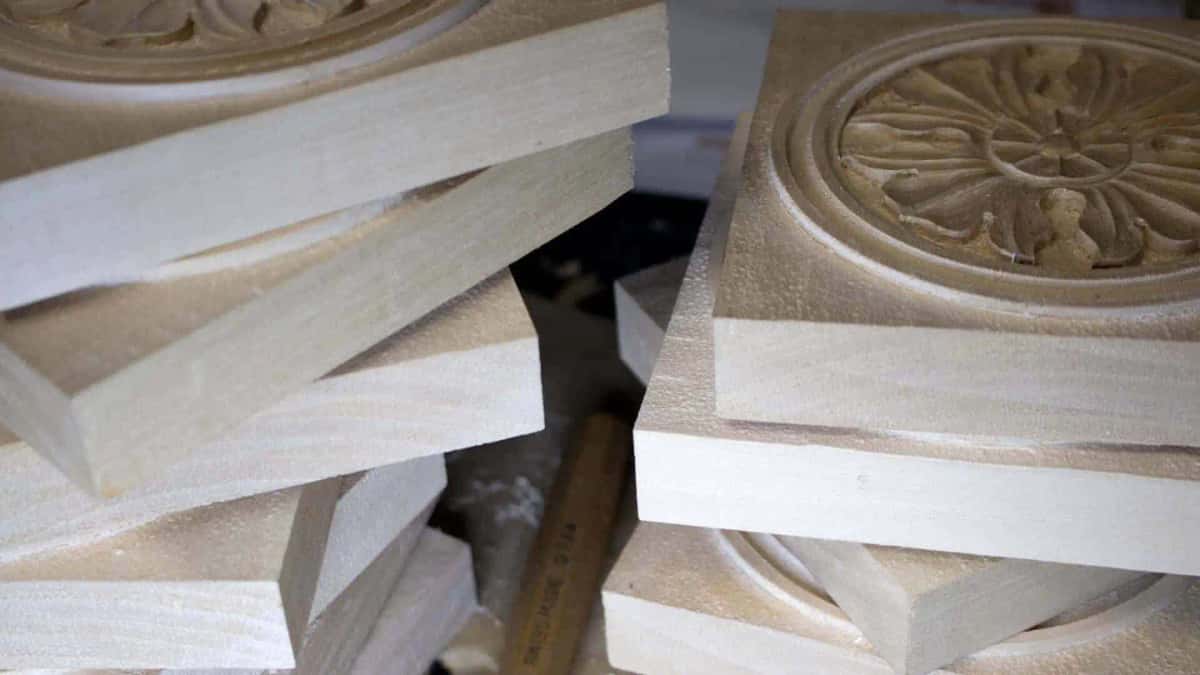
One holding system carried all sixteen blanks through every stage of the work.
Which way does the grain run on a circle?
Every direction, which is exactly why "carve with the grain" is useless advice on a rosette. A radial design points its petals at all twelve hours of the clock. Some petals you will be cutting downhill. Others put you into end grain, and those are the ones that break.
Three habits handle it.
Rotate the work itself rather than your wrist. Find where the fibers rise, cut downhill from that high point, then turn the blank and do the same on the next petal. Your relief cut from Step 6 is the insurance on bad ones, because it gives fibers a place to break off instead of tearing back into your design. And where the cut runs into end grain, take less: half the bite, twice the passes.
No rule covers a circle. There is only reading the fiber in front of the tool and choosing again, sixteen times per rosette.
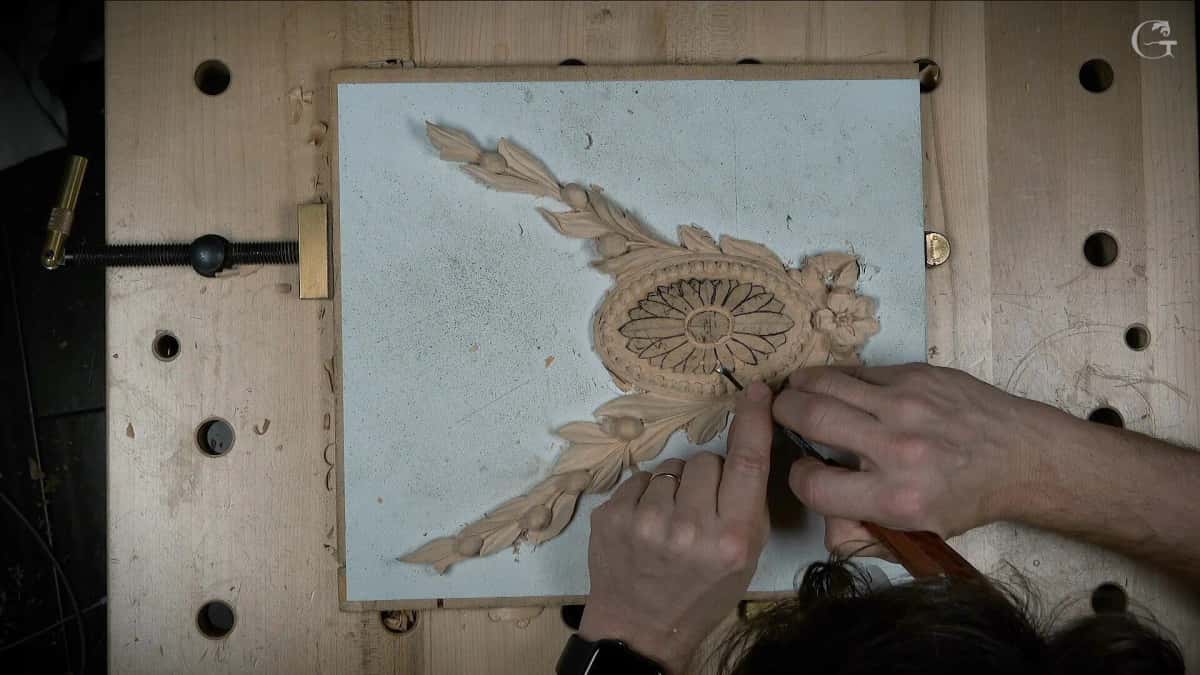
An oval one in progress. Same problem, harder, because the curvature keeps changing as you travel around it.
How do you carve fifteen that match?
Standardize the tools, not the effort. One setting on the marking gauge carries all fifteen blanks. One paper pattern, photocopied. Same gouges in the same order, so the same sweep cuts the same lobe on every piece.
Then let perfection go. Some of my fifteen have a line sitting a hair off true. Worrying about that stopped a long time ago, because this is done by hand and not by a machine, and at the end it looks right. A row of fifteen identical machine-cut rosettes looks like a row of fifteen machine-cut rosettes. Fifteen carved ones look alive.
For laying the design out in the first place, reach for dividers instead of a ruler. George Walker and Jim Tolpin put it well in By Hand and Eye, calling dividers "the most ubiquitous tool of the artisan age." I wrote a whole piece on laying out a carving with dividers. It applies directly here, because a circle divided by stepping off is a circle that closes.
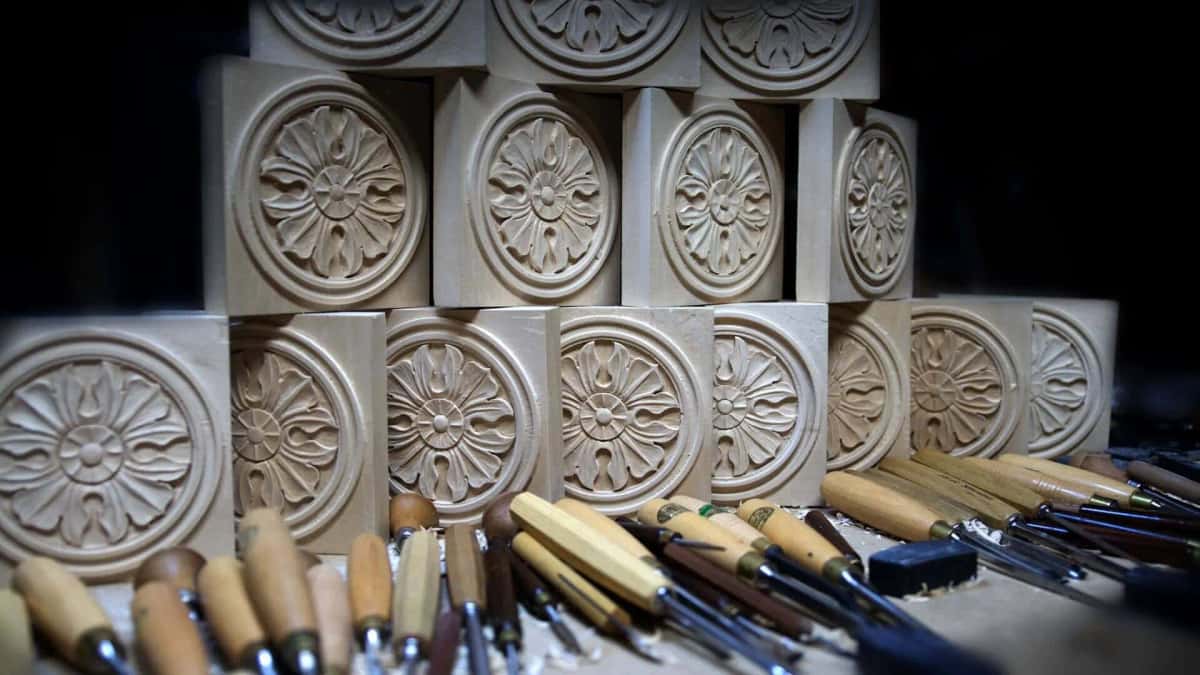
The finished commission, stacked and counted. Fifteen went out. The sixteenth is still somewhere in my shop.
Where do rosettes actually go?
Corner blocks, mostly. Set one where the casing around a door or window turns its corner and the trim carpenter never cuts a miter. Set them on the corners of a cabinet or a chest.
They also mark a whole period of furniture. Under the Louis XVI style, roughly 1774 to 1793, a carved rosette sits in the square block where a fluted leg meets a chair's seat rail, and again at the center of the chair back and along the friezes. Once you have seen it there you will see it everywhere.
Or carve one for no reason at all and stand it on a shelf. Mine end up doing that too.
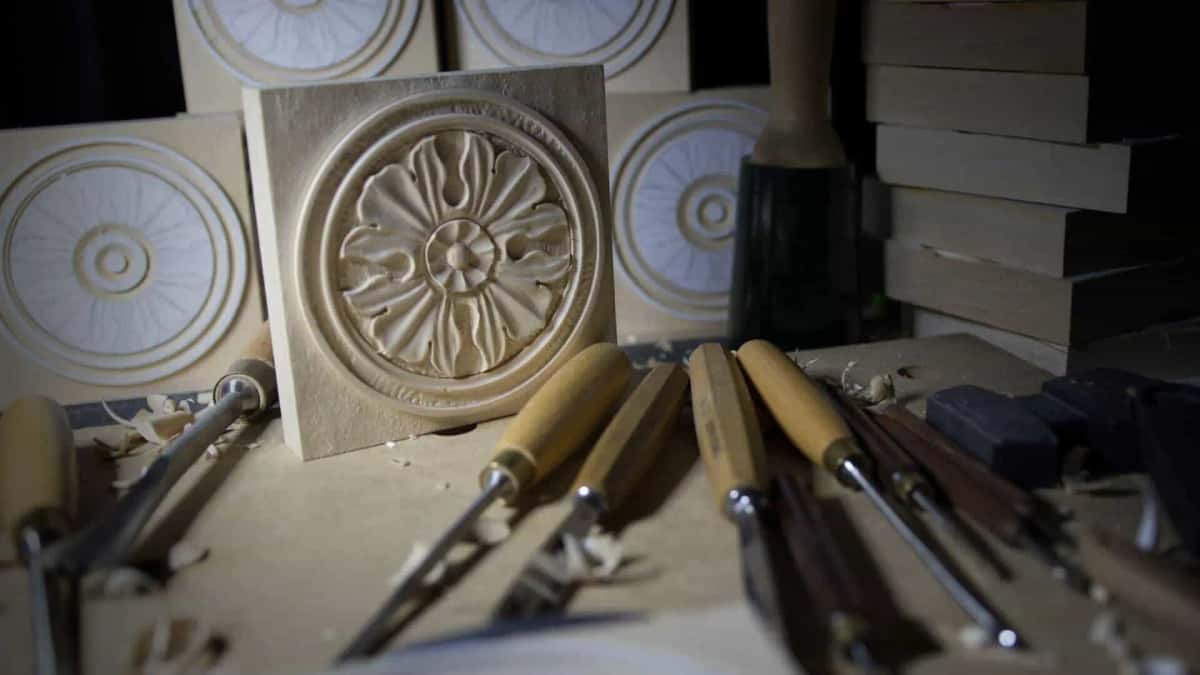
Finished blocks waiting to go out. Any one of these could sit on a door casing tomorrow.
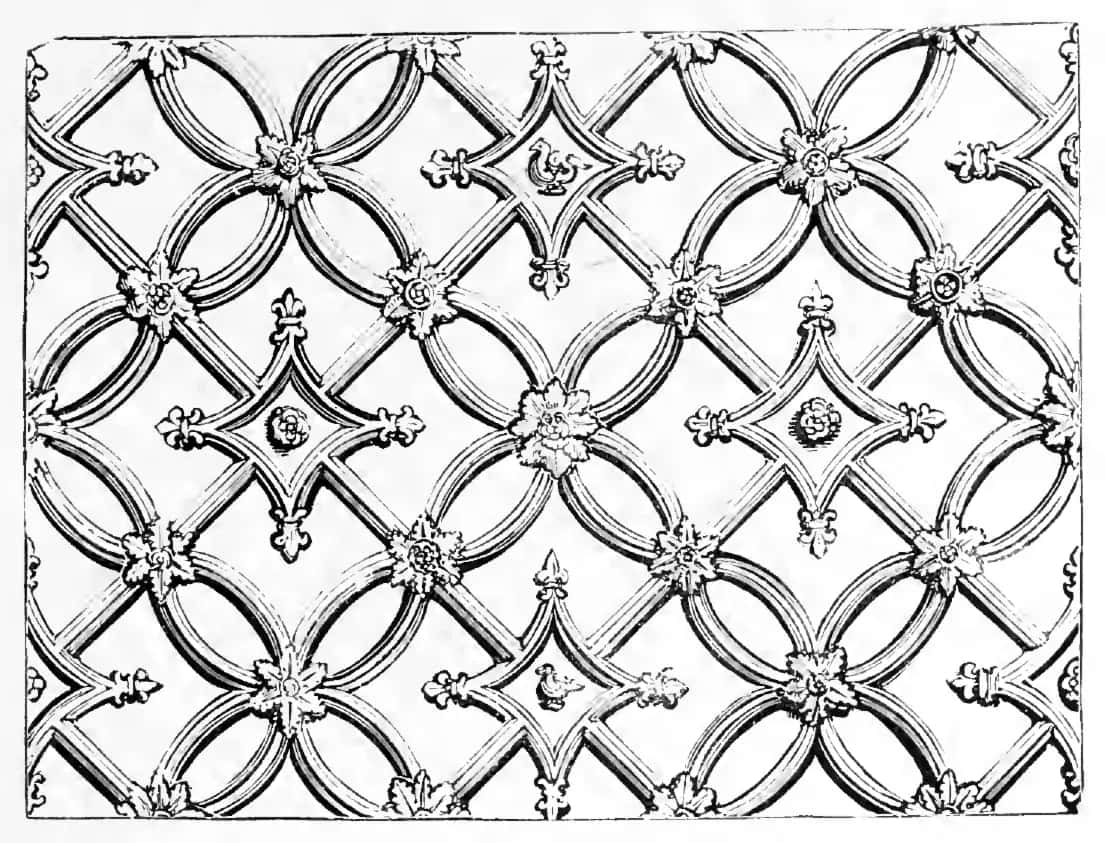
An old plate from my shelf showing the other classic use, which is older than the corner block. Every crossing gets one.
Is a rosette a good first relief carving?
Hard to beat it, and I say that as somebody who charges money for them. Honestly, this is easy carving. The shape repeats, so a mistake on one petal tells you precisely what to avoid on the next seven. Depth is shallow, so there is not much to ruin. Blanks are small and cheap.
The teaching in it runs way past its difficulty: layout, grounding, relief cuts, reading grain in the round, and finding the right sweep. Those five things make up most of ornamental carving, and they all rest on the same foundation I set out in the principles of design.
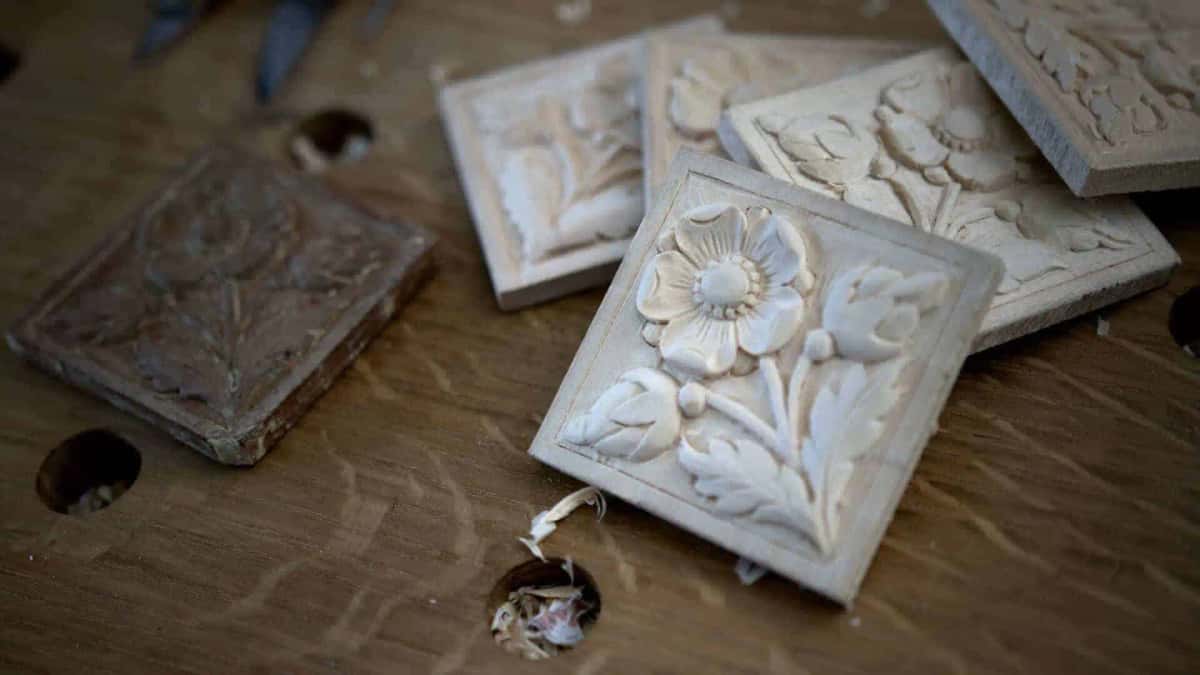
Copies beside the original. The dark one at the left is the antique I was matching.
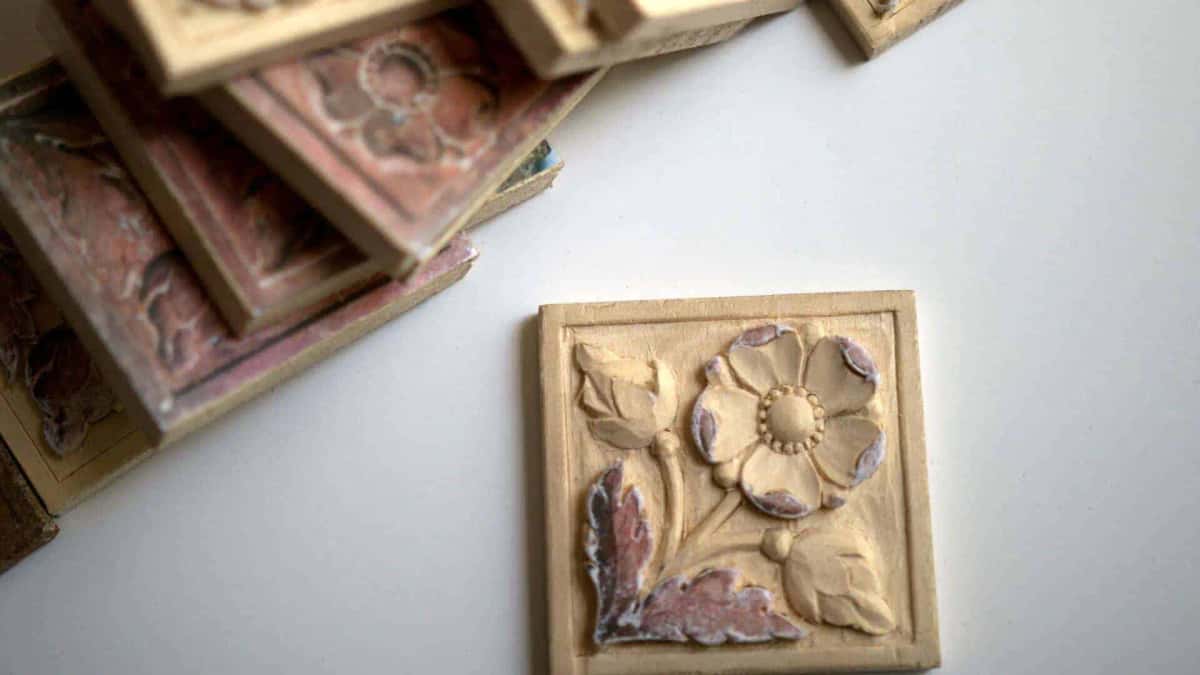
A flower rosette instead of the classical form. Same method, different flower.
Who is telling you this
Wood really is in my blood, and I mean that literally: my great-grandfather was a master cabinetmaker who worked mahogany in the Chippendale style. My grandfather handed me my first chisel when I was six. I took it straight to a brick to carve a face and destroyed the tool completely, but the passion started right there.
At sixteen I became the sole apprentice of a fine-art master in Russia, a traditional European apprenticeship. He taught me the thing this whole trade turns on, and it was not how to sharpen. Design is not drawing on paper. It is the laws of space, rhythm and repetition, and understanding your tools well enough to think like one.
Today I carve architectural ornament and luxury commissions through my studio, I run the School of Woodcarving as a nonprofit, and I was named International Woodcarver of the Year. My in-person classes sell out in eight minutes, which still surprises me every time.
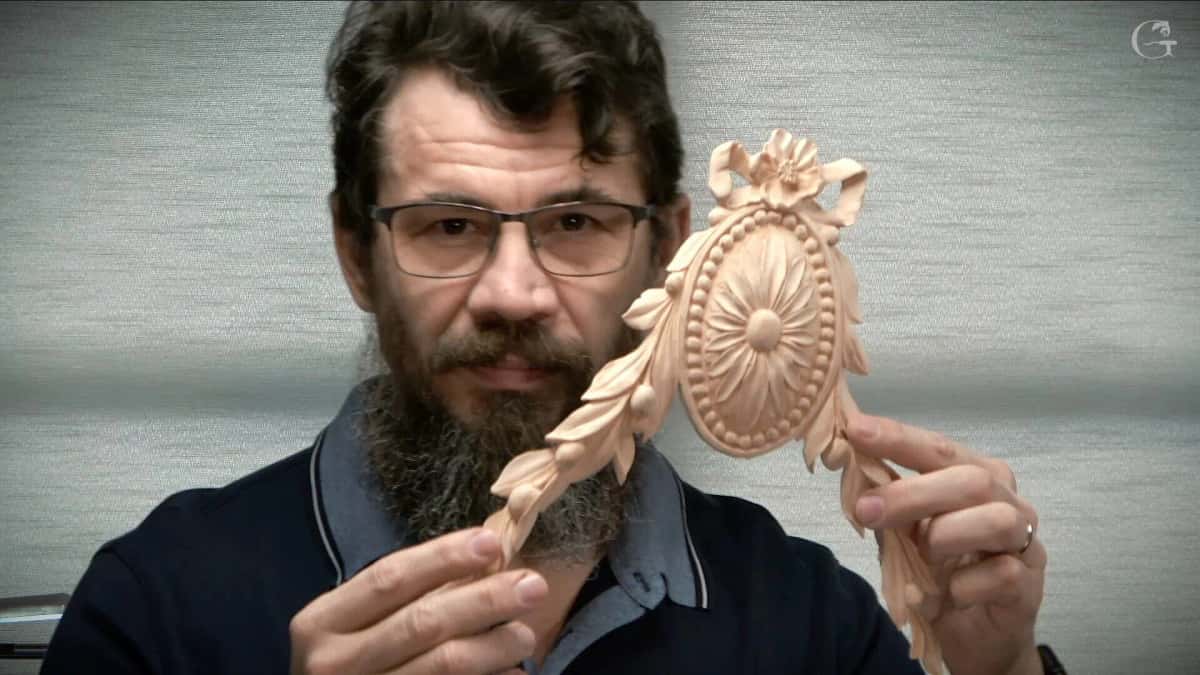
An oval rosette with a bow above it. Same three-millimeter thinking, many more petals.
I read about this craft constantly, which is why the facts above carry sources. David Esterly, the American carver who recut the seven foot Gibbons limewood drop in the King's Drawing Room at Hampton Court after the 1986 fire, wrote two books I keep going back to. Baxandall is the other. Frederick Oughton traced master carvers back to the stone masons, men called imaginator who worked both materials, and the first of them was King's Imageur in 1268.
None of that will straighten your line, because reading does not carve. It does tell you exactly what tradition you are joining.
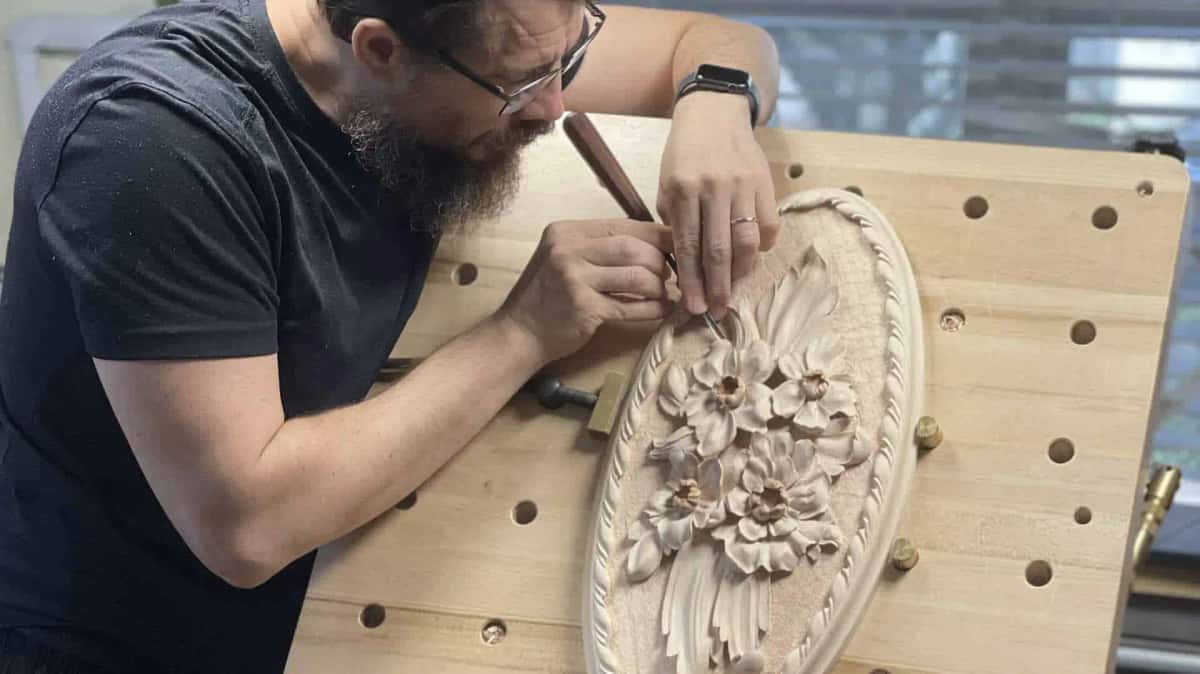
Working an oval Venetian rosette. Thirty years in and the small tools still get held like a pencil.
Shall we carve?
Do you want to make something that outlives you? Would you rather carve a real ornament instead of another practice board that goes in the bin? Are you tired of guessing which gouge to pick up?
Then take basswood and cut the circle. Everything after that first move comes down to choosing the right sweep.
Six workshops walk through this exact rosette, every cut, in real time. Come and carve it with me.
Filed under
- Architectural Carving
- Architectural Woodcarving
- basswood rosette
- carving antique style rosette
- carving a rosette without a lathe
- Carving Patterns and Design
- Corner Block
- Flower Rosette
- grounding tool
- how to carve a rosette
- Louis XVI rosette
- Ornament History
- patera
- Relief Carving
- relief carving rosette
- rosette
- rosette carving
- rosette carving pattern
- rosette corner block
- router plane
- veiner