

Alexander Grabovetskiy, woodcarver, School of Woodcarving · Published 2020
What does a wood carver mean by "harder to clean"?
Quick answer: In Venice Room 68, part 11, I called one tool probably a little too small and said 10 millimeters is what I use, then added that cleaning would be harder. Other lessons say it about a deep dig, a wall, a pencil mark and a glue.
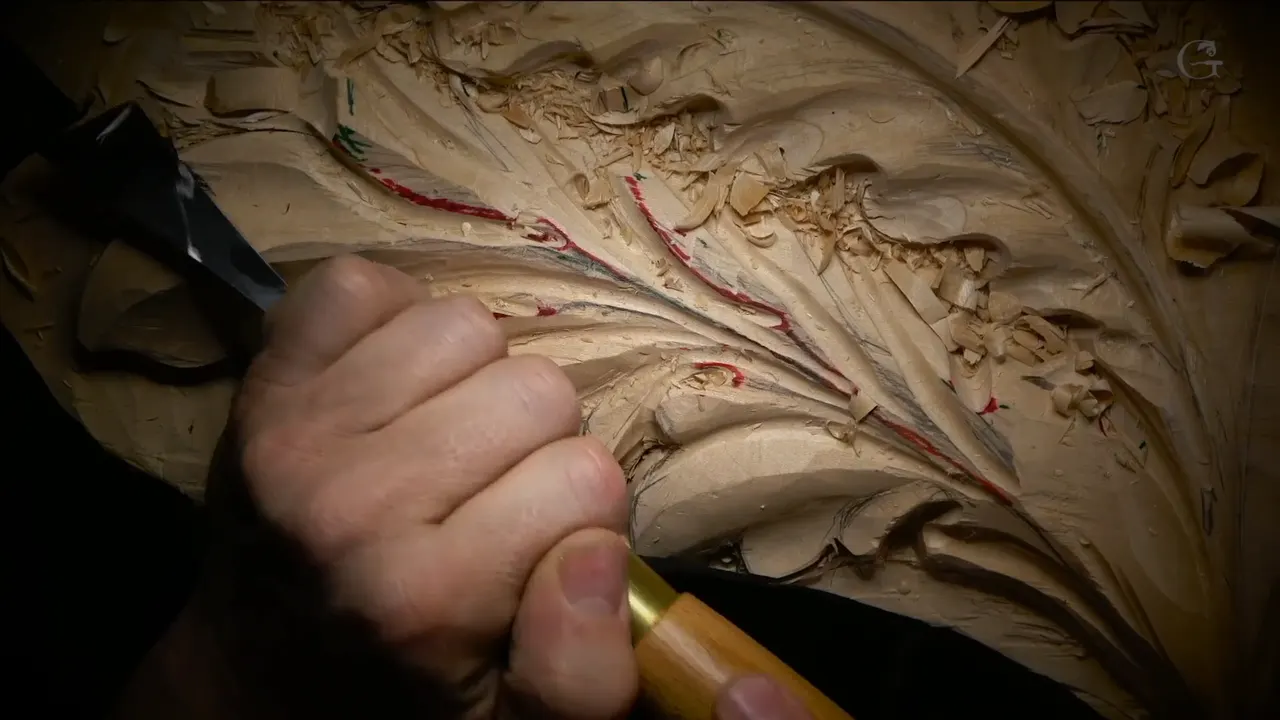

In the eleventh part of Venice Room workshop 68, I said a tool was probably slightly too small, and I use 10 millimeters so I don't make it too small. Then I added a warning about cleaning. Other lessons of mine give the same warning for digging too deep, a wall, a pencil mark or a glue.
Ever looked into a hollow you just carved and thought about the cleanup waiting at the bottom? This page starts with that one video. After it, I follow my words through lessons from other workshops and courses, one by one.
What did I say in part 11 before the warning?
The part opens in the middle of a plan about one side. "On that side, I'm going to carve probably off-camera," I said, "because for me, I'm going to cover with my head," and I did not want that. Then "Now it's time for cleanup." Just probably a skew, I said, to clean a little bit.

Next came my middle line. "Here I need to blend a little better, but with the right position and the right tool." Probably I would need just about a number three or so, and a smaller version of number three. Then: "It was quarter-inch number three, and that is good." A quarter inch is about 6 mm.
"Now, I am actually ready for the next step, to detail even more." A flower is coming, so I could leave it. "Not leave it, but of course, not to that stage." More details were not required, though I think it's just going to look nicer if we can develop some more beautiful details on it.

The tool I named for that was "number 11 and 7 millimeters", about 0.28 in. Another concave was the plan, running to a point right there on the leaf.
The 10 millimeter line in part 11
"But now, I have to be more careful. My cuts, they got to be clean or cleaner, I should say." Then the line this page is named for: "And probably this is a little too small of a tool, and I use 10 millimeters because I don't want to make it too small. It's going to be harder to clean." Ten millimeters is about 0.4 in.

Another one was coming, "because logically, it's not the pipes." Still, I wanted that motion going to the center lines, with my concave on that side somewhere.
After it: "And that is good. Except I really want to get at the end, maybe a convex feel like this." Another concave was needed on that side, going "right on the side of that, not really pipe, but micro pipe." I needed that feel, and other micro divisions would help me a lot.

"But before I do that, I still have to attack and clean it." My plan was other divisions, and "a deeper excavation inside on both sides like that with the smaller, maybe just 3 millimeters, like eighth of an inch." The tool I named was number 11.
Then: "But let me think first. It's okay. I think I can do, I'm safe." Near the end: "I can get actually deeper right here." The same goes for a second spot, and for this side also. Last line: "And this part, maybe like that."
Did the other parts of workshop 68 say the same thing?
Part 10 sits right beside it. I left approximately an eighth of an inch (about 3 mm) on the bottom, because later on I planned to clean it up. Going too deep, I said, would leave some tool marks on a layer. "I don't want to see tool marks."
Further on in part 10, deep digging comes up again, because "I really hate to do those tool marks, and I've done them too many times." Part 12 has a bigger tool for the cleaning. Maybe number 11 and 15 millimeters, I said (about 0.6 in), to get that cut a little cleaner. After that: "I need to use 20 millimeters to clean this movement," about 0.8 in.
Does digging deeper leave more to clean?
Lesson 41, part 8, includes "let me use number three again." The outline was not final. Still, my plan was a straight cut down, and not too deep. A deep mark, I said, makes the cleanup difficult.
Workshop 8, part 7, asks a question. "Of course, I can go all the way through if I wish, but do I need to? That's the question." Number six at three-quarter of an inch (about 19 mm) would work for my edges. Deep there means a much tougher cleanup. "But still at least a little bit."
Workshop 18, part 8, has me going "right inside, even deeper." I would excavate, "remove that plug, just like drilling in," and go even more if I need to. I said too deep makes the cleanup tough later. "But until I'm able to, I will, which is approximately to that point."

Workshop 19, part 11: a quarter inch number five (about 6.4 mm). Going too deep with it to the background would make the cleanup rough later on. "But at least, it just gives me an idea of this movement."

Part 4 of that workshop has a part lying on top of a future detail. "It doesn't have to be too deep here." It will be visible from the bottom, so "I really don't need to excavate too deep right here in this area." Going deeper would mean tough cleaning, I said.

Workshop 148, part 3, puts one point of my tool right on the line, pretty much, "maybe one millimeter away" (about 0.04 in). And there was another reason I stopped short of 10 millimeters (about 0.39 in): a slightly harder hit digs tool marks inside the wood, and those marks leave a tougher cleanup.

The Hazelnuts course, lesson 7, part 2, names a 5 millimeter number 11 veiner (about 0.2 in). "Don't go too deep," I said, since as I said before, cleanup gets much tougher even later. Part 3 has "a little too messy here," and I said I need a smaller and flatter gouge, number three and a quarter of an inch (about 6 mm).

Part 3 adds a warning about poking down: "Even if it's now not the final depth, but still sometimes you can dig too deep and damage your final depth." After that, "I mean, those two marks."
Why did I keep a wall standing?
Workshop 62, part 12, has me digging toward the main barrel, "and then we create the clean cut." This one is a preliminary cut, and later on we're going to create a clean cut. Then: "And yes, I am on purpose not pushing all the way. It is on purpose because I really want to preserve wall of this element. Otherwise, it's going to be hard to clean."

Next: "let me get the big number seven, 80 millimeters, 3 inches and 1/8 and create some better movement right here." Three and an eighth inches is 79.4 mm, so my two figures agree.
Workshop 73, part 9, has me saying "Let me use 3/4 of an inch, 20 millimeters, number nine" with a gouge. Then: "And see, I'm stopping before I hit the wall." I stopped before this section and said "Really don't" about damaging any of it. The cleanup would be tougher, I said. Damage it, and it's usually deeper than you want.
The Grape Onlay course, lesson 2, part 2, says it about a neighboring grape. Once you dig in, I said, even if you are slicing, try not to go too deep to the neighboring grape. A big mistake, I said, since a damaged neighboring wall is a rough job to clean up.

The Furniture Panel course, lesson 19, part 5, is going to have an undercut and no visible wall. "Be careful not to dig inside the background, okay?" Otherwise it would be "a big mistake, and you're going to see that later." I said the cleanup would be really tough.

And Acanthus over Moldings, lesson 4, part 1, is about a molding that goes underneath. A deep undercut in that area is not what I want, since cleaning and creating the molding there gets kind of hard. I also said I need to bring that edge a little closer to the molding.

Does the tool change what is left to clean?
Workshop 70, part 11, had a back bend, and I'll just go in like that, I said. I could go really deep with it, and the cleaning gets a little tougher, but I think it will give me beautiful movement. My next job: "just clean all that and go even deeper."

Lesson 1 of the vase with grape leaves course, part 7, has me weighing a knife against number 11. "Maybe I should do right away with the knife or maybe not." The knife would mean a lot more cleanup, I said, and then "Maybe yes, maybe no. Let me think."
A student in the Grinling Gibbons class in Maine asked why I use a veiner and not a V-tool. Part of my answer, in part 3 of lesson 4: you don't need that sharp line, that line will be difficult to clean, and a veiner will give you a nice cut.
Modern Acanthus, part 2 of lesson 4, has my warning, "Don't do too deep over cut." That means a lot more cleaning. "But we're creating just the channel."
The Grape Onlay course, lesson 2, part 3, has "Don't overdo it, okay?" Overdo it, and it's "really hard to get in some of the spots and clean it." At a square junction, too much roundness turns cleaning into a chore.

A bunch of grapes shows in the Tray of Blessing, lesson 8, part 3, at the part between grapes. If you put four grapes together and make a quad, not the triangle, that spot is a chore to clean.
Do pencil, charcoal and glue make a mess too?
Workshop 5, part 6: "I'm kind of having trouble to see this one. Maybe I'll just use a charcoal." I called it "really not that good idea," and said cleaning charcoal would be hard. Then: "Maybe I'll just use a marker."

Architectural markers came out in that vase lesson. "I use those for years," I said, and "they're not penetrating too deep. I'm not going to have any problems removing them."

The Roman acanthus course, lesson 14, part 2, includes "Clean those pencil marks." Then: "I am trying not to use a pencil when I'm doing just the production work because it's hard to clean and your piece becomes more dirty." And then: "I'm using that just for purpose of showing."

Workshop 47, part 11: "Don't pay attention to those pencil marks. I know they are kind of distracting sometimes. That's why it's better not to use pencils." A pencil creates a lot of mess, I said, and the mess is hard to get rid of. It was okay there, I said, since the piece would be paint grade anyway.

Grape Onlay, lesson 10, part 3, repeats the idea. "Again, you don't have to use a pencil." I usually skip it because cleaning it is kind of difficult, though for the demonstration "I'm using it."
Glue is on the list too. In Acanthus over Moldings, lesson 1, part 1, I use a sandwich method, a piece of plywood and printer's paper. I named one wood glue that I use a lot, and said cleaning it off is kind of hard. "Lately, I use more spray glue," and getting that off the backside is a lot easier.
A table of my cleanup lines
| Lesson | What I said about cleaning | Word nearby |
|---|---|---|
| Venice Room 68.11 | A ten millimeter tool, to keep it from being too small | concave |
| Workshop 62.12 | A wall of one element I wanted to preserve, on purpose | barrel |
| Workshop 73.9 | A stop before the wall, so as to avoid damage | damage |
| Workshop 41.8 | A straight cut down, and tool marks kept shallow | outline |
| Workshop 19.4 | A part that lies on top of a future detail, so no deep dig | bottom |
| Workshop 148.3 | A stop short of ten millimeters | line |
| Hazelnuts 7.2 | A shallow pass, because later cleanup is much harder | veiner |
| Workshop 70.11 | A back bend that could go really deep, with a beautiful movement | movement |
| Vase with grape leaves 1.7 | A knife I weighed, after saying number 11 | maybe |
| Roman acanthus 14.2 | Pencil marks, which I try to avoid in production work | dirty |
| Workshop 5.6 | A charcoal I called not that good an idea | marker |
| Moldings 1.1 | A wood glue I use a lot, and a spray glue lately | backside |
Where can I watch it happen?
Part 11 of workshop 68, in the Venice Room Part 6 course, has the plain version: 10 millimeters, and the warning about cleaning that came with it. Come and watch the leaf come along in Venice-style wood carving.
How it's done
- Check the tool size. Ten millimeters was my pick in part 11, so it would not be too small (about 0.39 in).
- Stop before the wall. Workshop 73 shows me stopping ahead of the wall, since I did not want to damage any of that section.
- Hold the depth. For my edges in workshop 8, I held back on depth, but still at least a little bit.
- Leave a layer at the bottom. A layer stayed on the bottom in part 10, to clean up later.
- Keep the pencil for showing. In the Roman acanthus lesson I try to skip one for production work, and I use it just for showing.
- Finish with a bigger gouge. Part 12 called for 20 mm (about 0.8 in) for cleaning this movement.
Frequently asked questions
What was the warning in workshop 68, part 11?
After a number 11, I called one tool probably a little small, and I use 10 mm (about 0.4 in) to keep it from being too small. Cleaning will be harder, I said.
Does going deeper add cleanup?
That was my reason in workshops 8, 18 and 19, and in Hazelnuts 7. Deep digging makes the cleaning tougher afterward, I said, and in Hazelnuts I added that a deep poke can damage your final depth.
Why keep the wall standing?
Workshop 62 has me holding back on purpose, since I wanted to preserve the wall of that element. I stopped ahead of it in workshop 73, and damage there, I said, is usually deeper than you want.
What to carve next