
Alexander Grabovetskiy, woodcarver, School of Woodcarving · Published 2017
How do you carve a whole panel with one knife?
Quick answer: Chip carving with a single knife is built on three passes: one upright along the drawn line, then a shallow slice from either side of it. Where the two slopes meet, the waste falls out in one piece. Nothing on the panel is ever sanded, so every wall has to leave the blade finished.
Carving with one chip carving knife is three passes and nothing else: straight down, angled from the right, angled from the left. Hold the blade square to outline a shape, come back at a low angle from each side, and the waste lifts out as one clean chip. Nothing gets sanded afterwards.
Do you own a knife and nothing else yet? Would it change your week to find out that a knife alone can carve a whole panel? Then pick it up, because this is the workshop where the pencil work turns into wood.
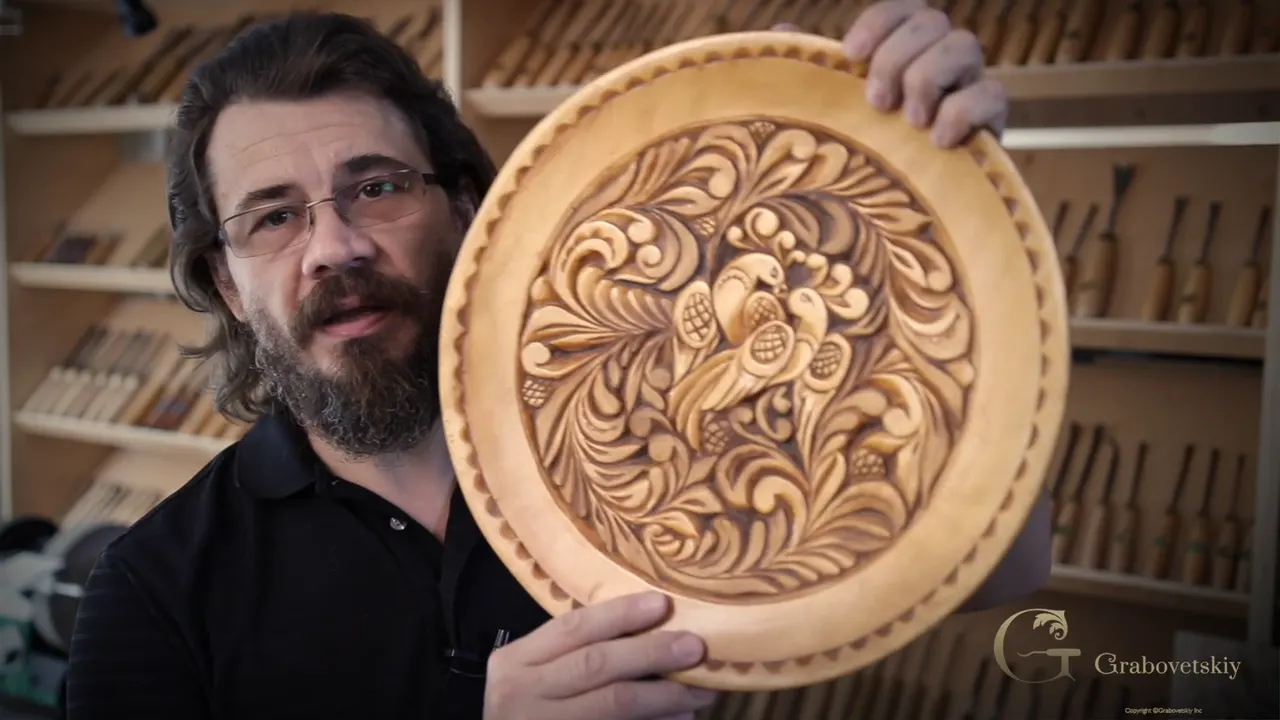
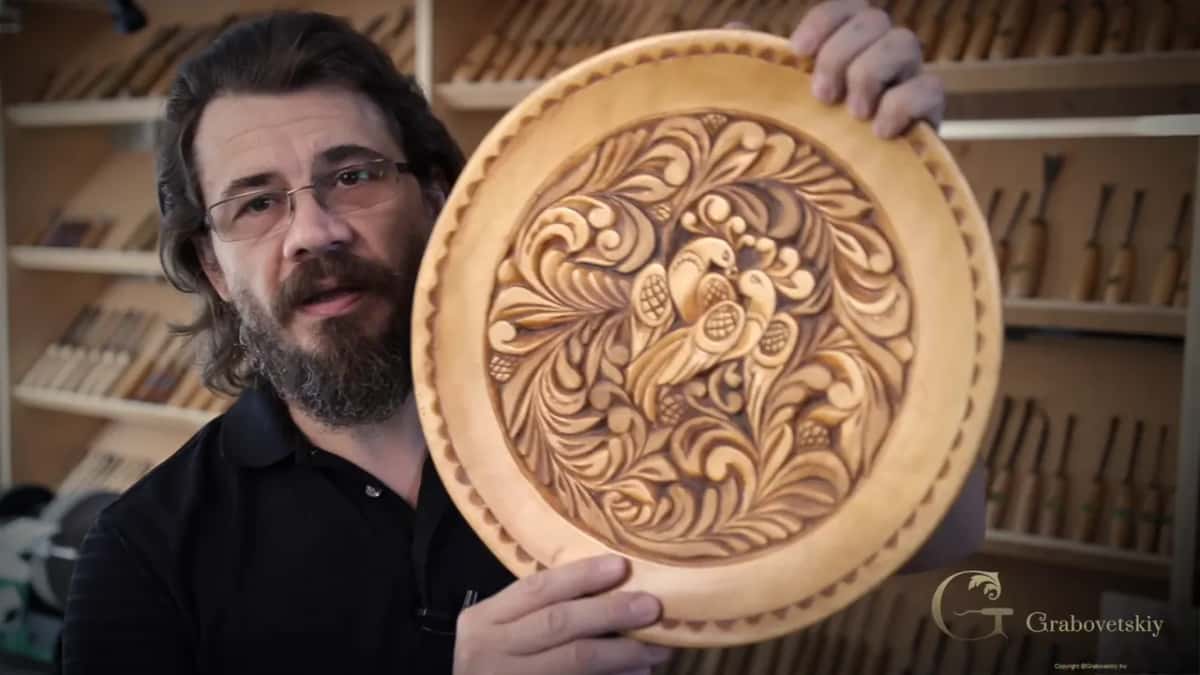
I want to show you something first. About twenty years ago I carved a dish in exactly this style, and it sits on my shelf today. Same rolling curls. Same bird in the middle. The tool that did most of it was a knife, and the panel we start on now uses the same three passes for every shape on the board.
What makes a chip come out clean
- Outline first with the blade upright, then take the waste off each side at a low angle, because two walls meeting underneath is the whole idea.
- Repeat that travel at one unchanging angle until the chip releases. Forcing it breaks the fibres and leaves a fuzzy wall you cannot repair.
- Work from inside out. The bird gets carved before the ground around it.
- Start high and travel downhill with the grain, the way water would run.
- One long pass beats four short ones. Every place you lift the blade shows up later as a step in the wall.
- Your other hand belongs well away from the blade's road, because I have carved myself and it was that hand.
What are the three passes in chip carving?
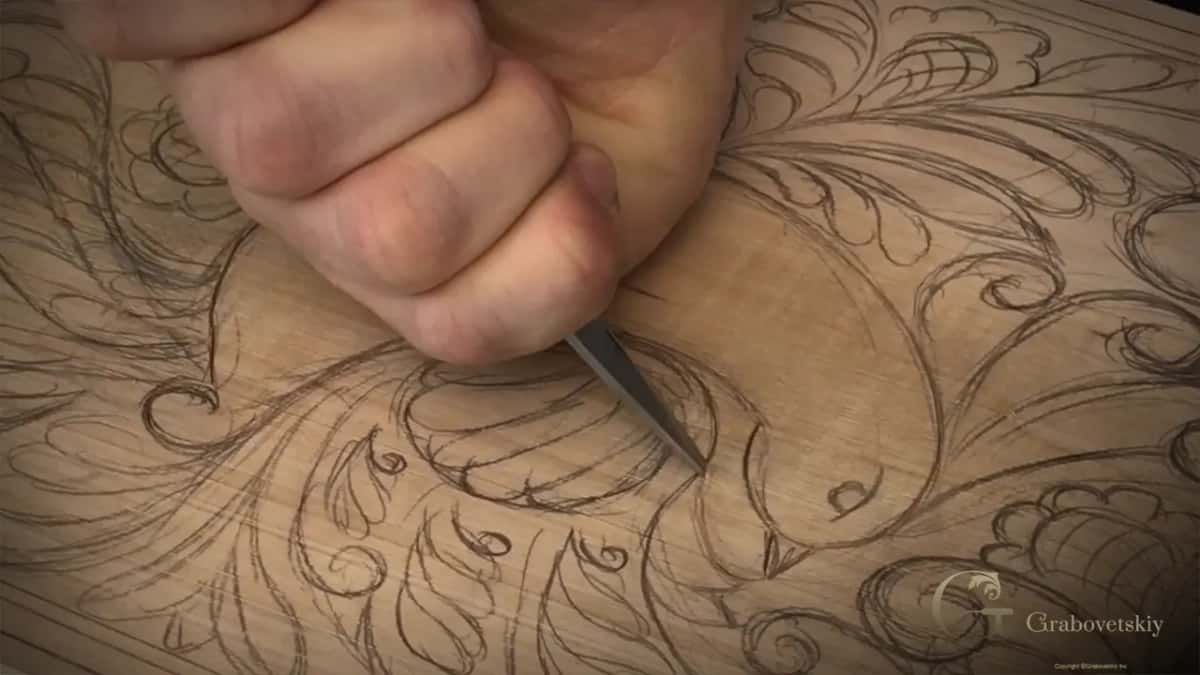
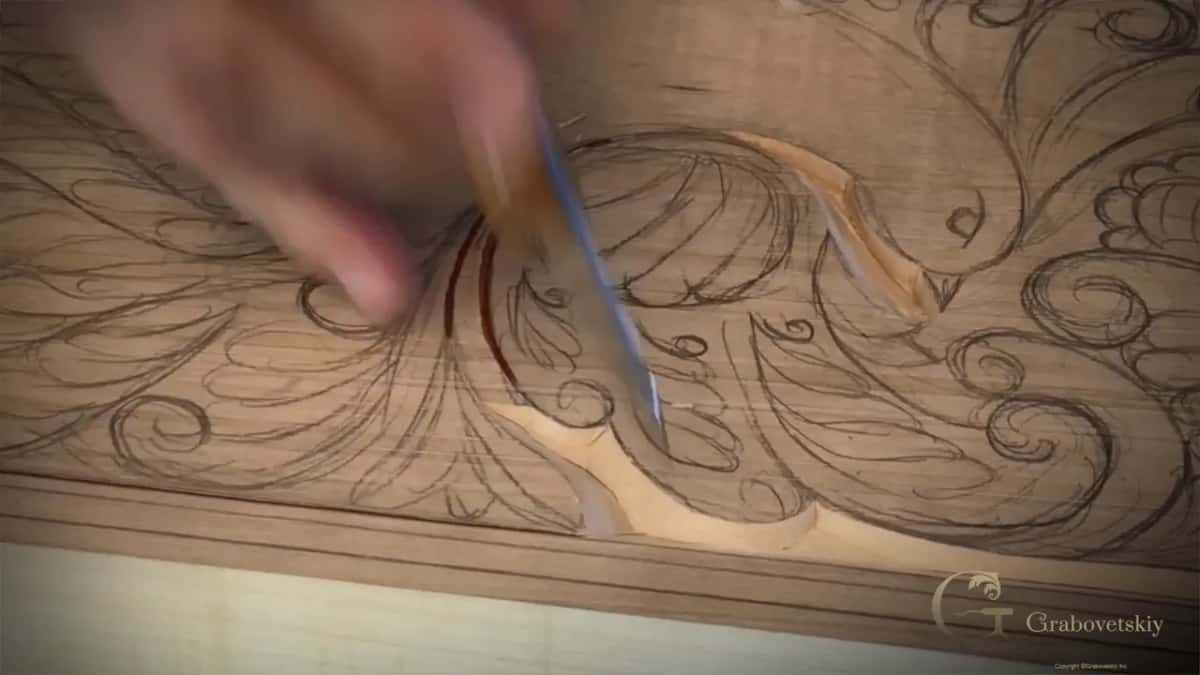
Straight down, then right angle, then left angle, and no other pass exists. Those three make up the entire vocabulary of chip carving, and there is no fourth one hiding anywhere. Upright gives you a wall at 90 degrees to the surface. Tilt the knife one way and you slice a sloped face toward it. Tilt it the other and you slice the matching face from the far side, and the piece of wood trapped between the two falls out.
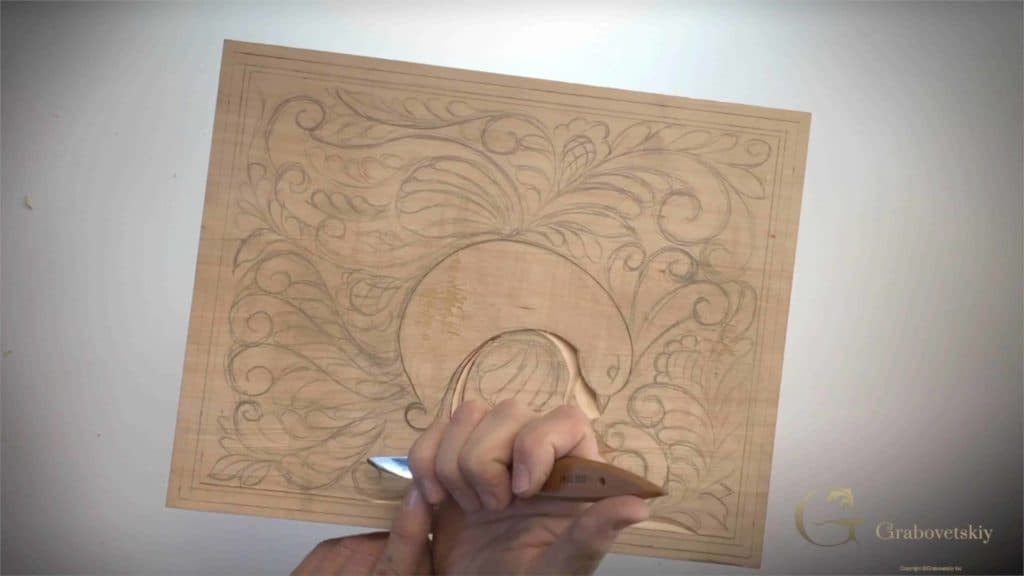
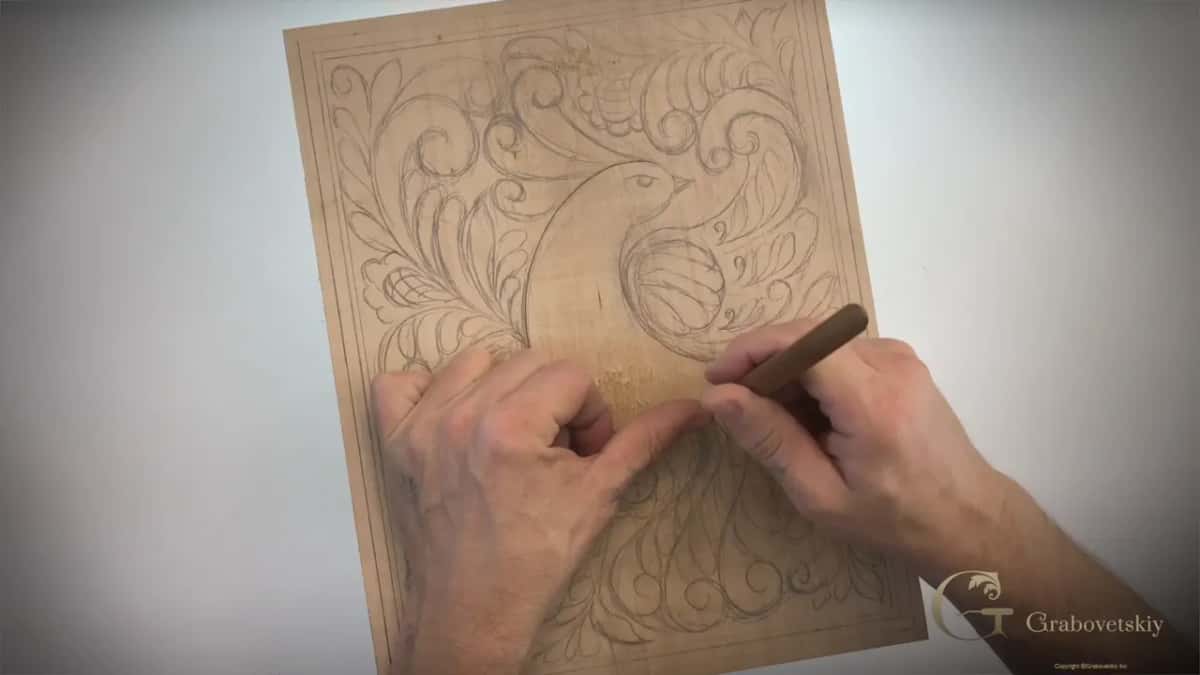
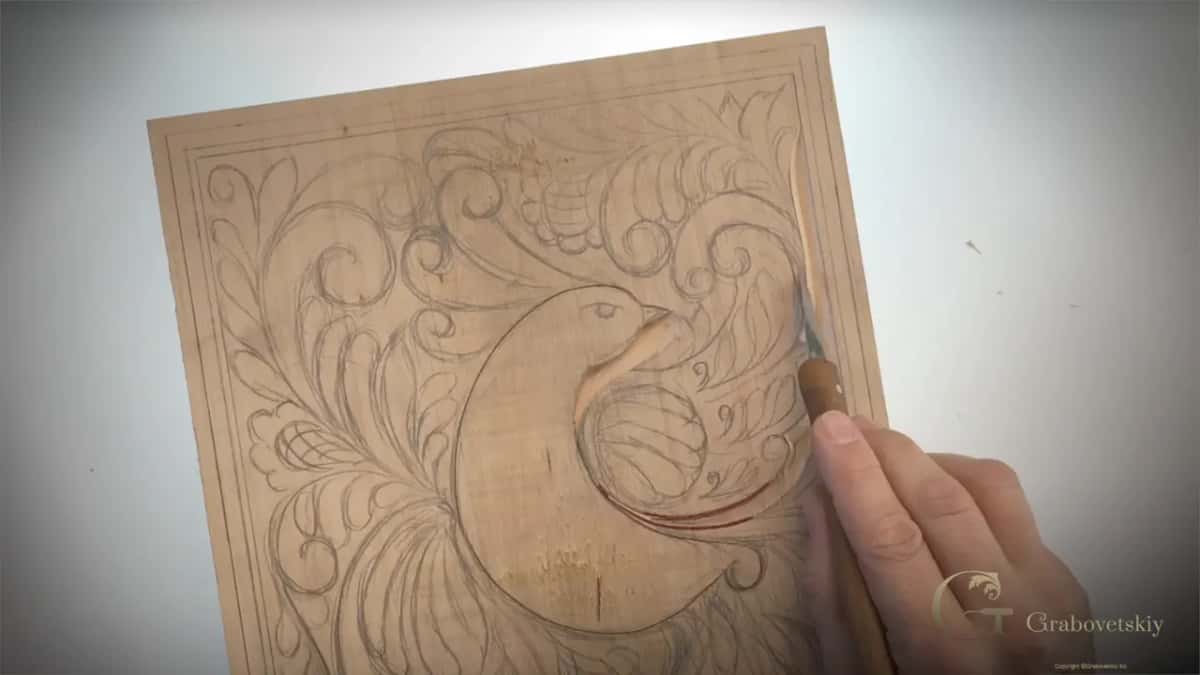
On the outline of the bird I want that first pass as close to vertical as I can manage. A slight lean does no harm. Dead upright simply looks better, because the shadow it throws is sharp instead of soft.
Where do you start carving on a panel?
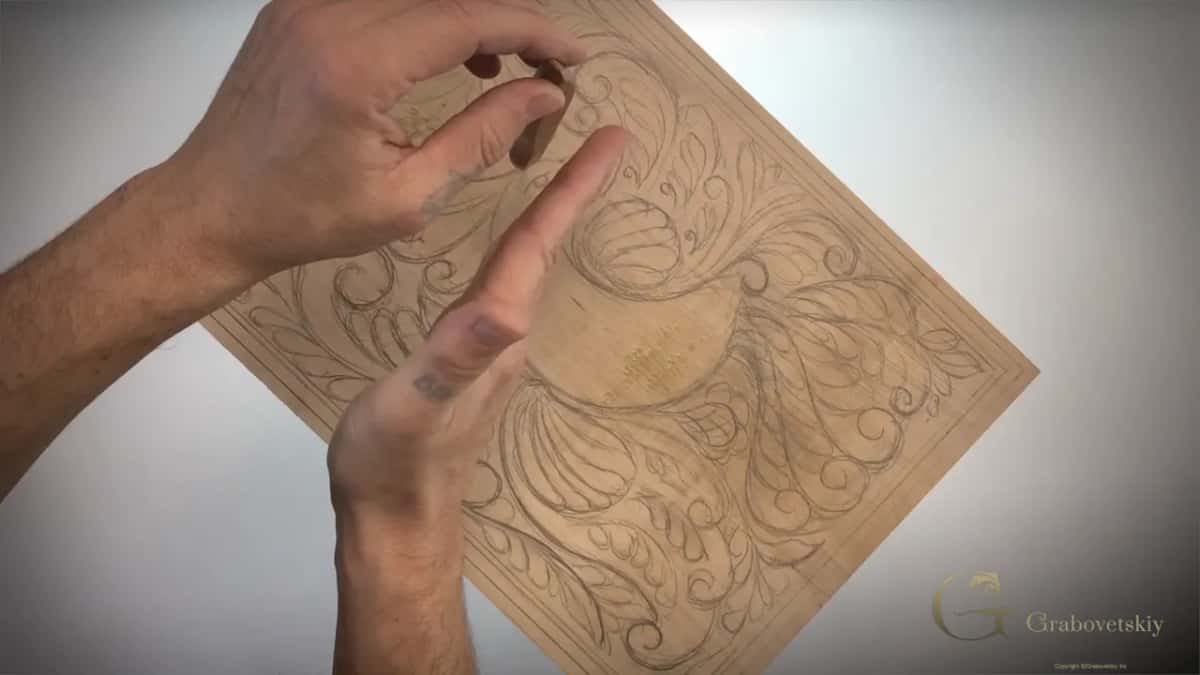
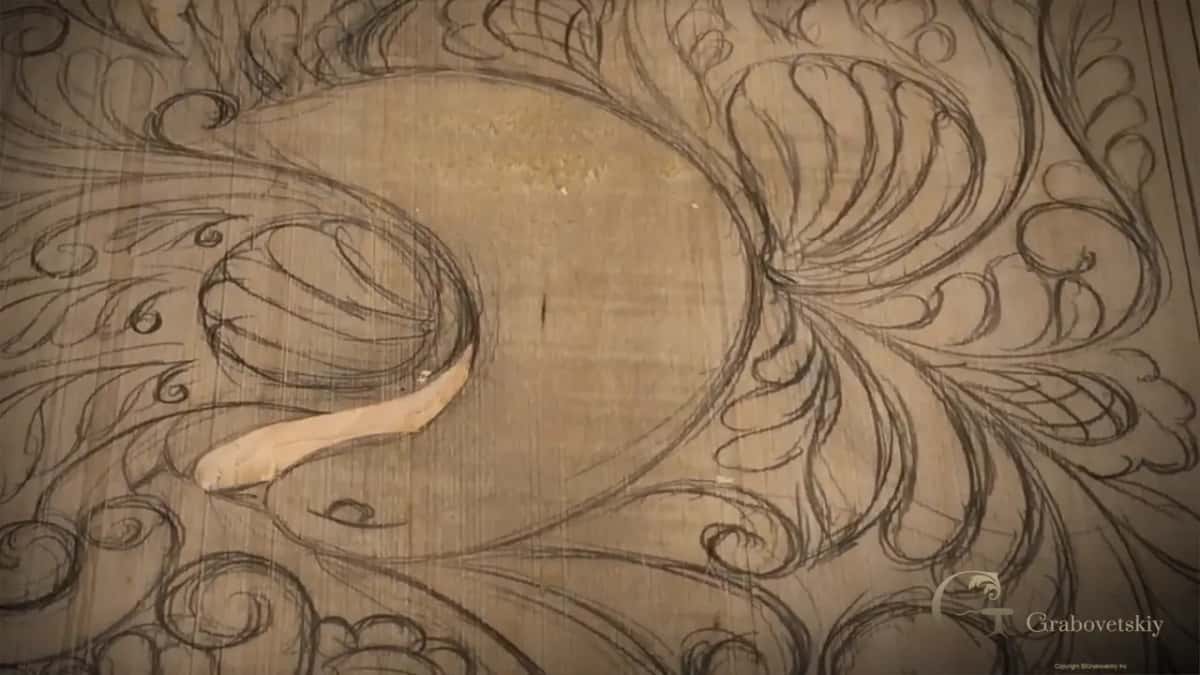
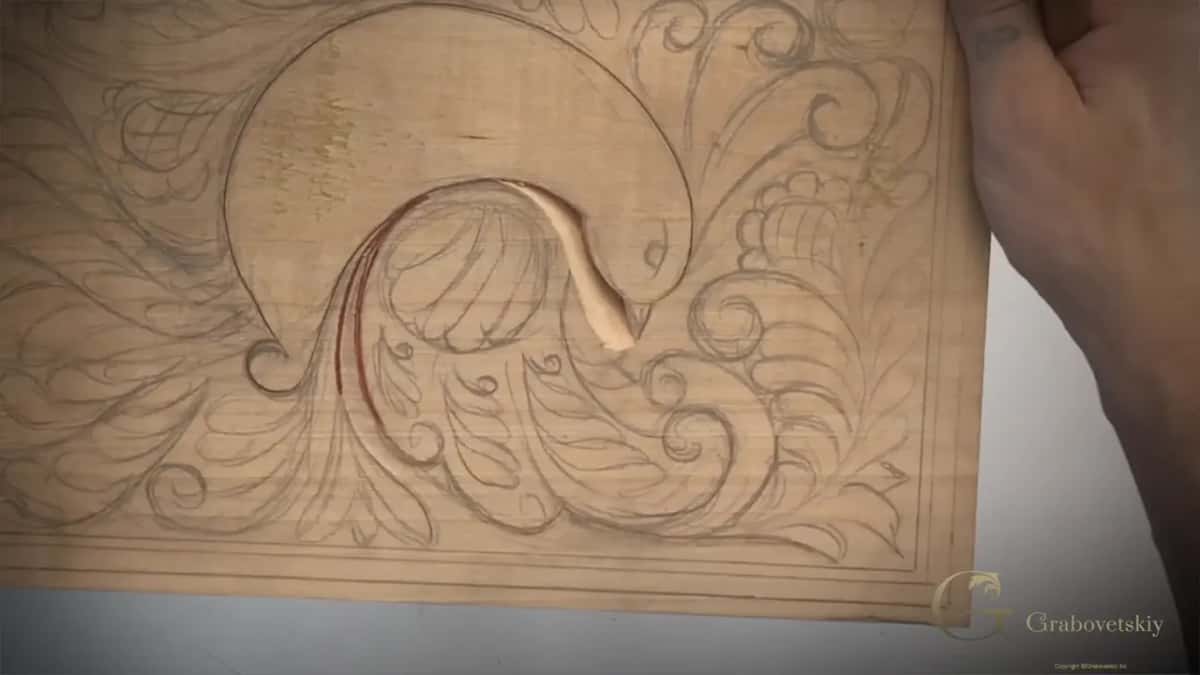
Inside first, then outward. My bird is the middle of the composition, so its body, tail and wings get outlined before I touch a single curl in the ground around it. Carve the background first and you lose your reference, because everything that tells you whether the bird is the right size has already been carved away.
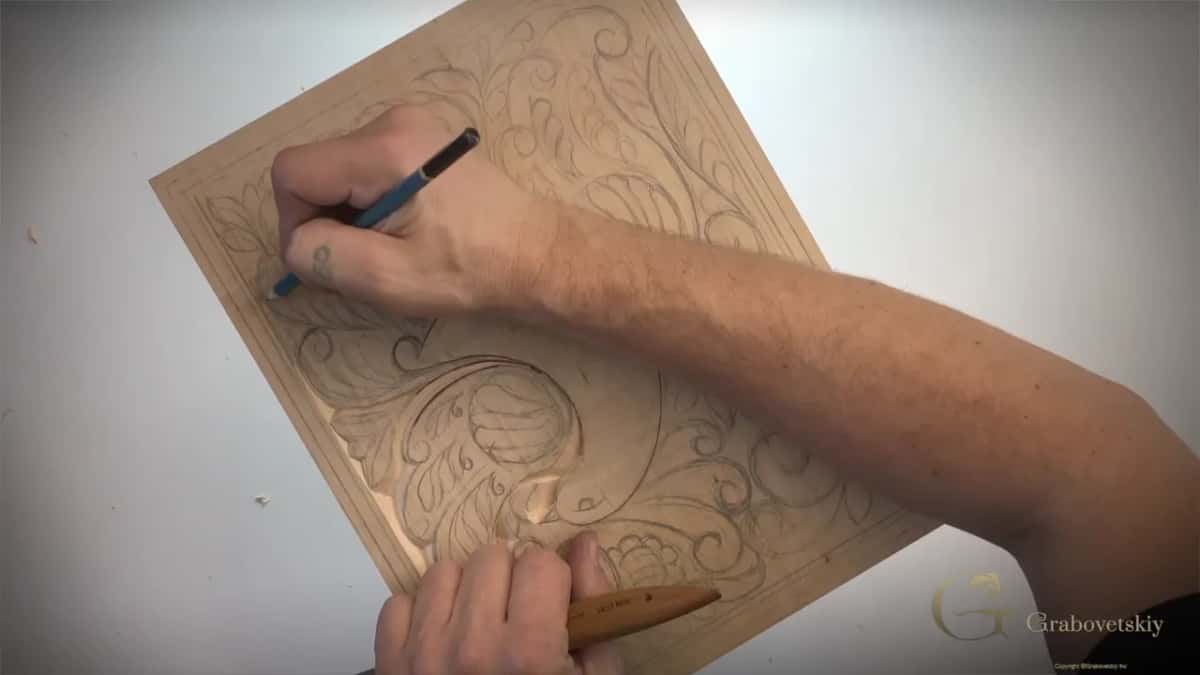
Look at the three pencil lines running round the edge from the drawing workshop. Those get carved last of all. Until then they are just a promise that the ornament has somewhere to stop.
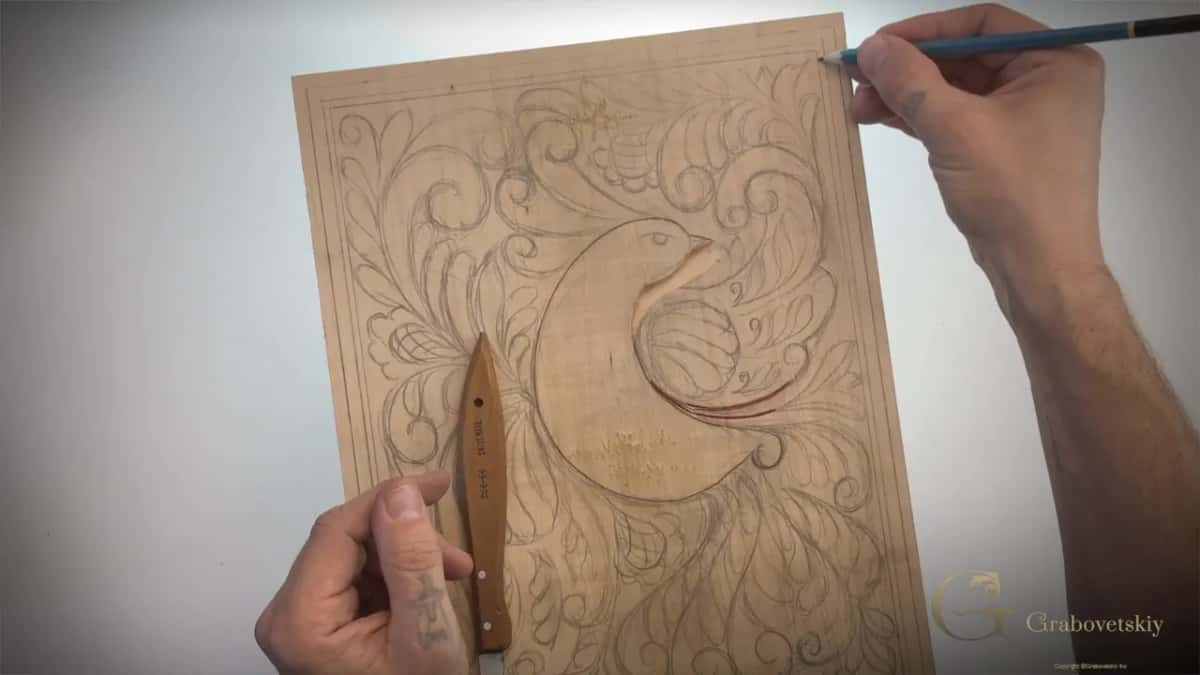
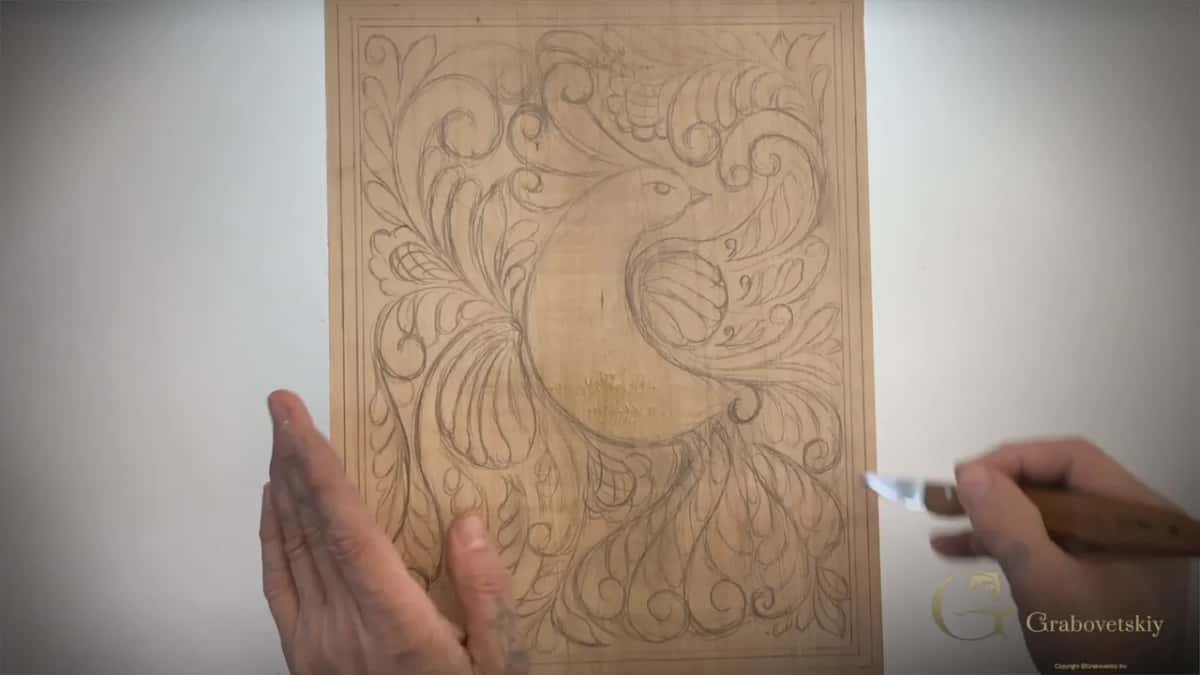
What keeps the knife away from your other hand?
Discipline about where that hand sits, and nothing else. Sounds obvious. Every carver I know has ignored it at least once, myself included, and a properly sharpened blade is sharp enough that you feel the mistake roughly a second after it happens.
Two safe ways to hold the work. Rotate the board so the pass always comes toward an empty corner of the bench, which is the more accurate of the two because your wrist stays in one position. Or steady the panel with a fingertip placed well behind where the knife will end up. Rotating gives a straighter line. When I do not rotate, I get waviness I then have to go back and correct.
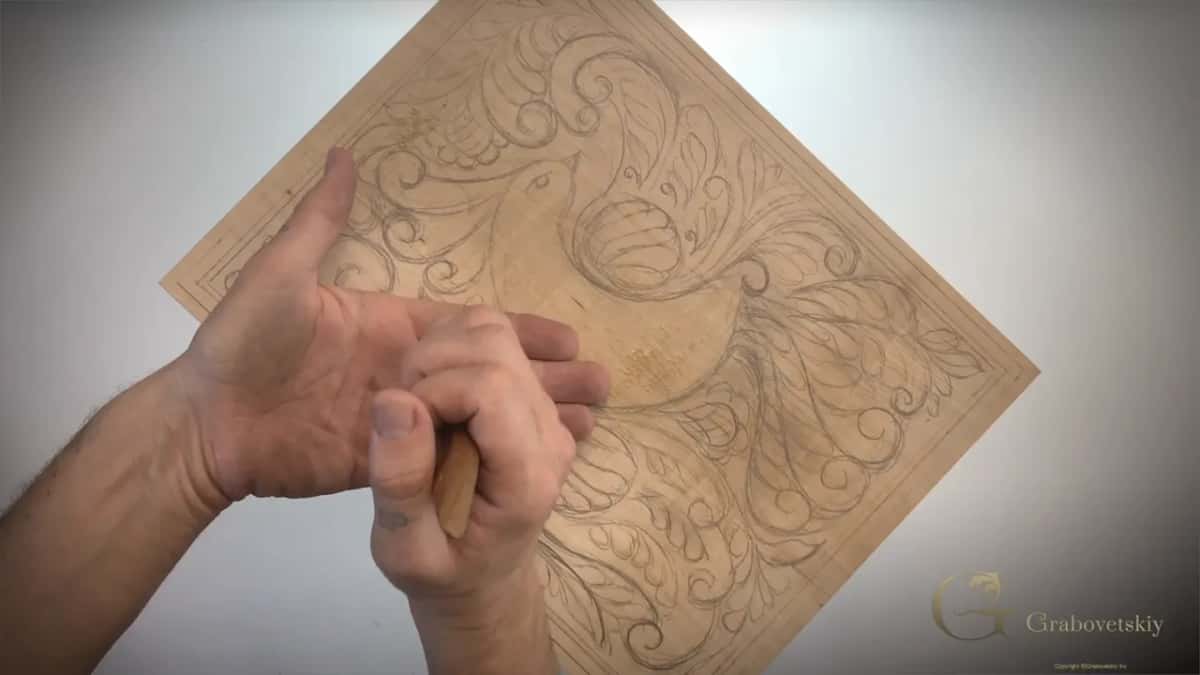
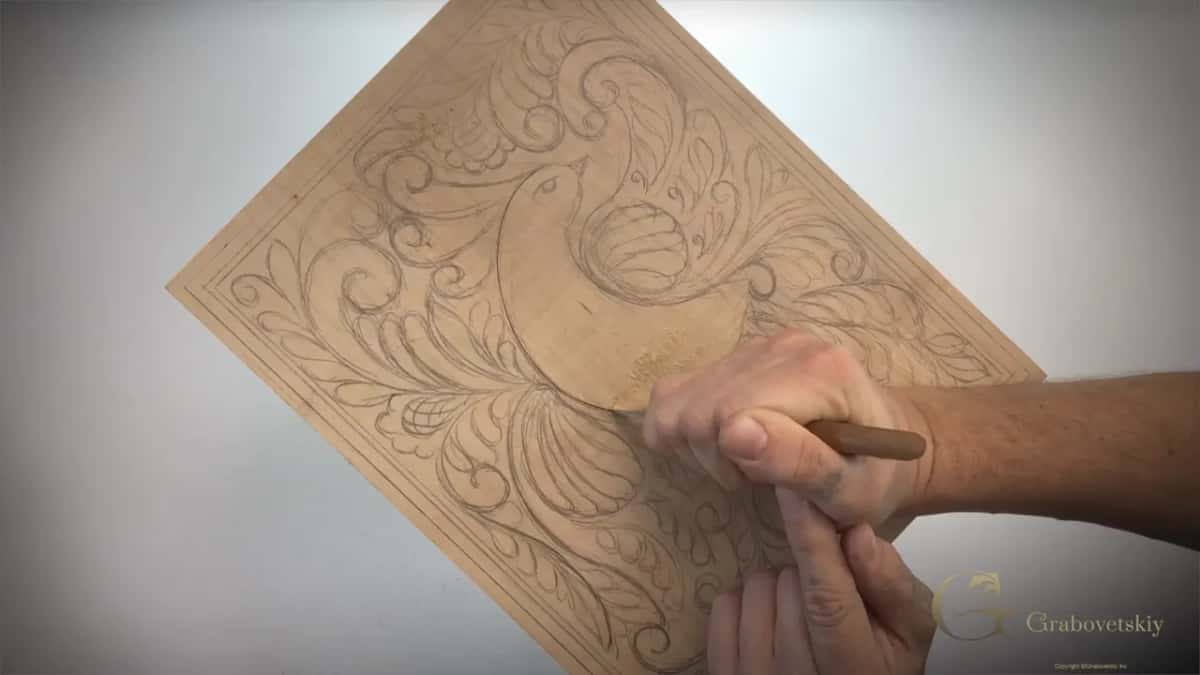
Why does an old style like this use only a knife?
Carvers back then owned little else. Carving in this manner goes back through European work of the eighth, ninth and tenth centuries, and the man doing it owned a blade, a mallet and whatever he had forged himself. What looks like a restriction to us was simply the whole toolkit, and the ornament grew to suit it. Shallow shapes, hard edges, rolling curls, no deep undercutting anywhere.
Carve one panel this way and the reason becomes obvious on your own bench. A knife reaches into a tight spiral that a wide gouge cannot enter, and it leaves a wall crisp enough to throw a real shadow. That shadow is doing the work in ornament of this kind, not depth, which is why a panel 3 mm deep can read across a room.
What is a volute, and why does it turn up everywhere?
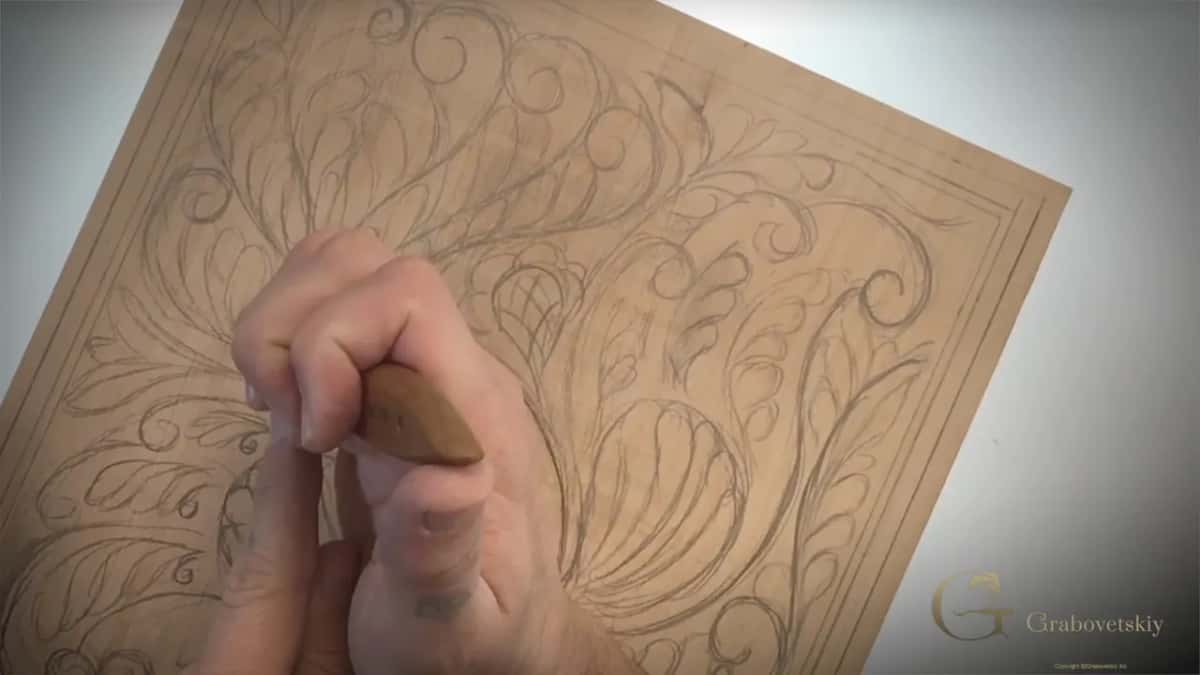
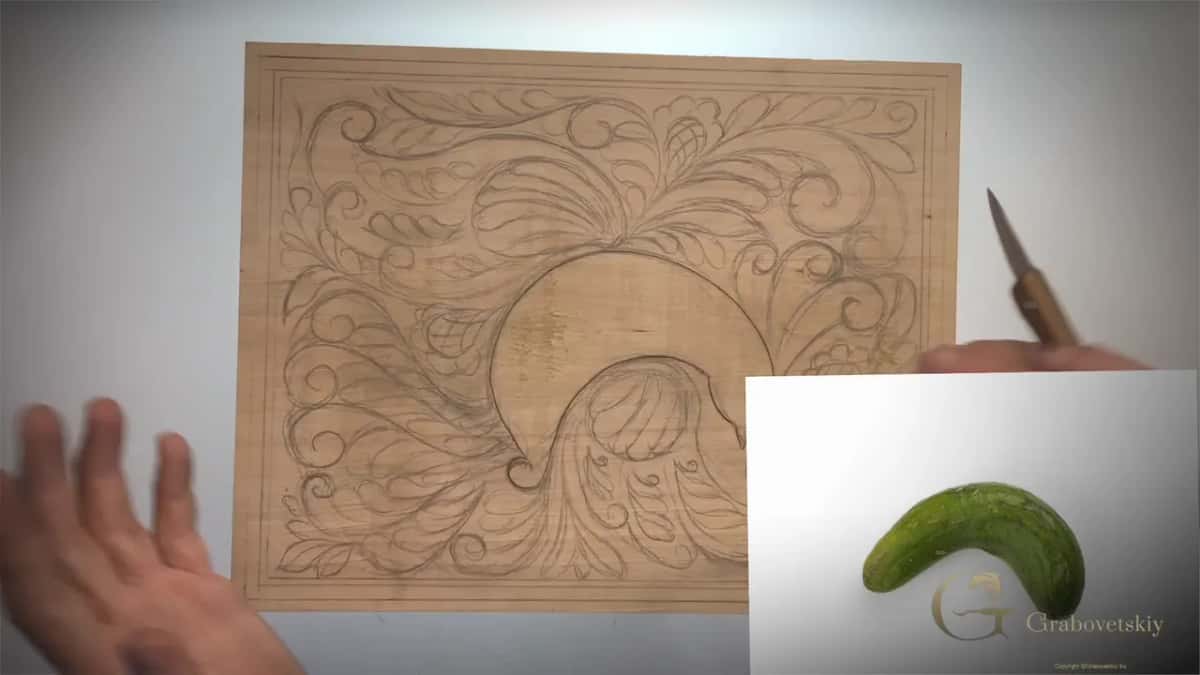
A volute is the rolled spiral this whole style is built around. I call them curls on camera because that is what they look like, and most reference books call the shape a volute. Carve one and you will find your knife travelling the same road every time, starting at the wide open end and finishing in the tight centre.
The shape is old beyond anything you would guess. When Solomon built the temple in ancient Israel, volutes were already part of the ornament on it. Some cultures still call this element Solomon's cucumber, which sounds like a joke until you put a cucumber next to one. The Greeks later did the same trick with a plant and gave the world the acanthus. Walk through the carved furniture at the V and A and you will spot both on almost every piece.
Why does the chip break instead of lifting out?
One of the two walls has not met the other yet, somewhere along its length. You can usually hear it. The chip lifts at one end, stays welded at the other, and the temptation is to lever it up with the point.
Do not. Levering tears the fibres below the surface and no later pass will tidy that. Set the point back into the same groove at the identical angle, run it again, listen, and go a third time if needed. When both walls really do meet, the chip jumps out on its own with a small dry click, and you will learn that sound fast.
| The three passes | How the blade is held against wood | Used on | What it leaves behind in wood |
|---|---|---|---|
| Straight down, the outline | Held upright, close to 90 degrees from the board surface | Every outline | A sharp wall that throws a real shadow |
| Right angle pass | Leaned over toward the hand that holds it | One side | A sloping face running to the line |
| Left angle | Leaned the opposite way, same depth | Other side | The matching face and chip |
| One more cleaning pass | Back into the old groove at the identical angle | Anywhere ragged | Walls with no torn fibres standing proud anywhere |
How long should a single pass be?
Long. As long as your arm and the shape of the curl will allow. Every time you pull the knife out and put it back, the wall picks up a tiny step where the two passes failed to line up. Travel from the top of a curl right into its centre without stopping, and the wall ends up one smooth face.
Speed has nothing to do with it. Slow and long beats fast and choppy every time, and you always have the option of going back for more depth. What you cannot do is un-carve a wall you rushed.
Does grain direction matter when carving with a knife?
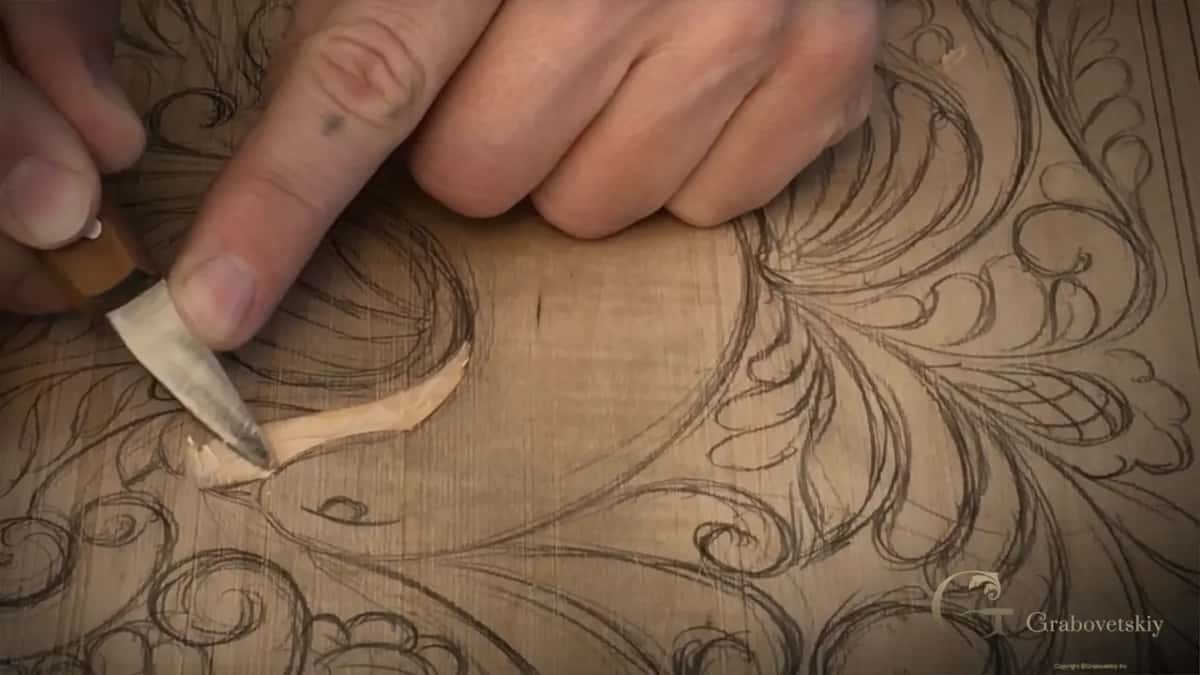
More than anything else you will read on this whole page, and it is the thing beginners work out last. Look at the board and find which way the grain is running, then start at the high point and travel downhill, the way water would. Go the other way and the blade dives under the fibres and lifts them instead of slicing, and the wall comes out furry no matter how sharp the steel is.
On a curl the grain changes under you as the shape turns. So the direction that worked at the top of the spiral will fight you at the bottom, and you simply turn the board around and come at the same groove from the other end. Even in soft lime this is the difference between a crisp panel and a fuzzy one.
Do you sand a chip carved panel?
Never. The walls you are making are the finish, which is why a torn one cannot be rescued later. Look inside a groove that came out right and you will see a face as smooth as anything abrasive paper could give you, with one difference: it still has a crisp edge, and sanding rounds every edge it touches.
Think about a carver a thousand years ago. No abrasive paper existed. Some European shops did smooth wood with a plant, Dutch rush, whose stems carry enough silica to act as a mild abrasive. Most carvers used nothing at all. Their work is still crisp in museums, and mine gets the same treatment.
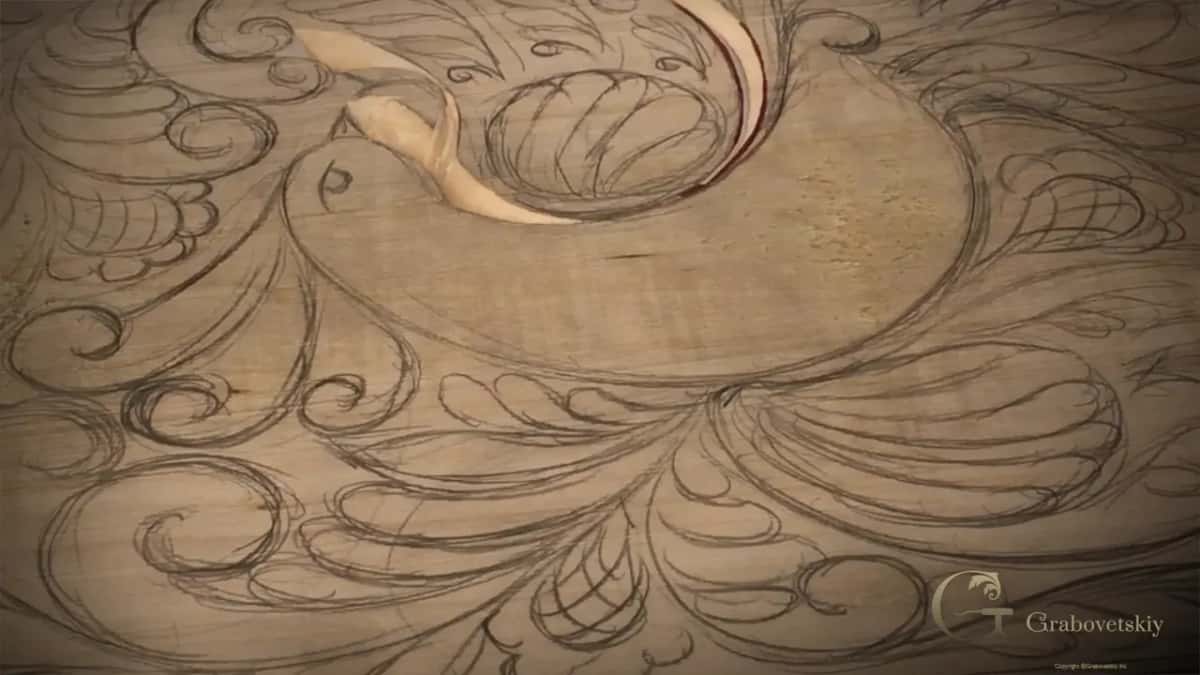
What does a properly carved wall look like?
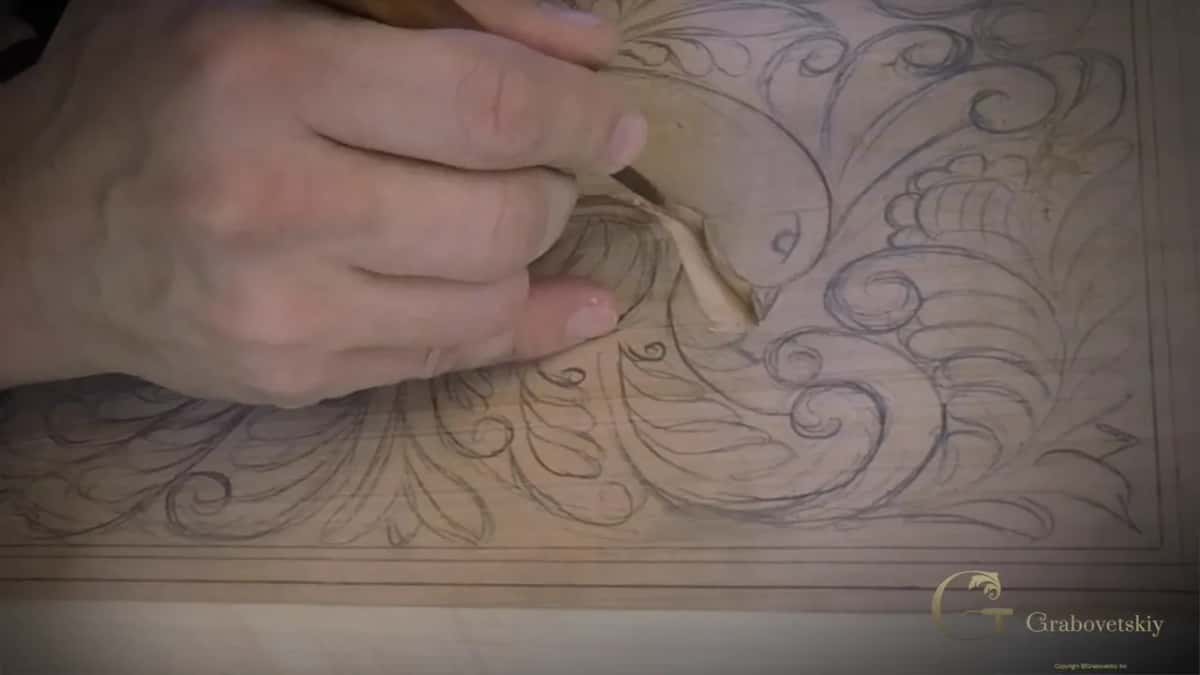
Flat, bright, and slightly glassy where the blade sliced rather than tore. Tip the board toward a window and a good wall reflects light in one unbroken strip. A torn one scatters it, and you will see the difference instantly even if you have never held a knife before today.
Run a thumbnail down it too. A clean face feels like a planed surface. Anything that catches is a fibre standing proud, and the fix is always one more travel on the old angle, never a rub with abrasive. Shallow relief of this kind lives or dies on that one quality.
How do you know a pass is actually clean?
Blow on it. If the dust and the smallest crumbs all fly out of the groove, the walls are meeting properly and there is nothing left hanging. Crumbs that stay put are sitting on torn fibres, so run the whole travel once more.
Your eyes will lie to you here and your breath will not. On camera I do this after nearly every chip, which looks like a nervous habit until you understand what it measures.
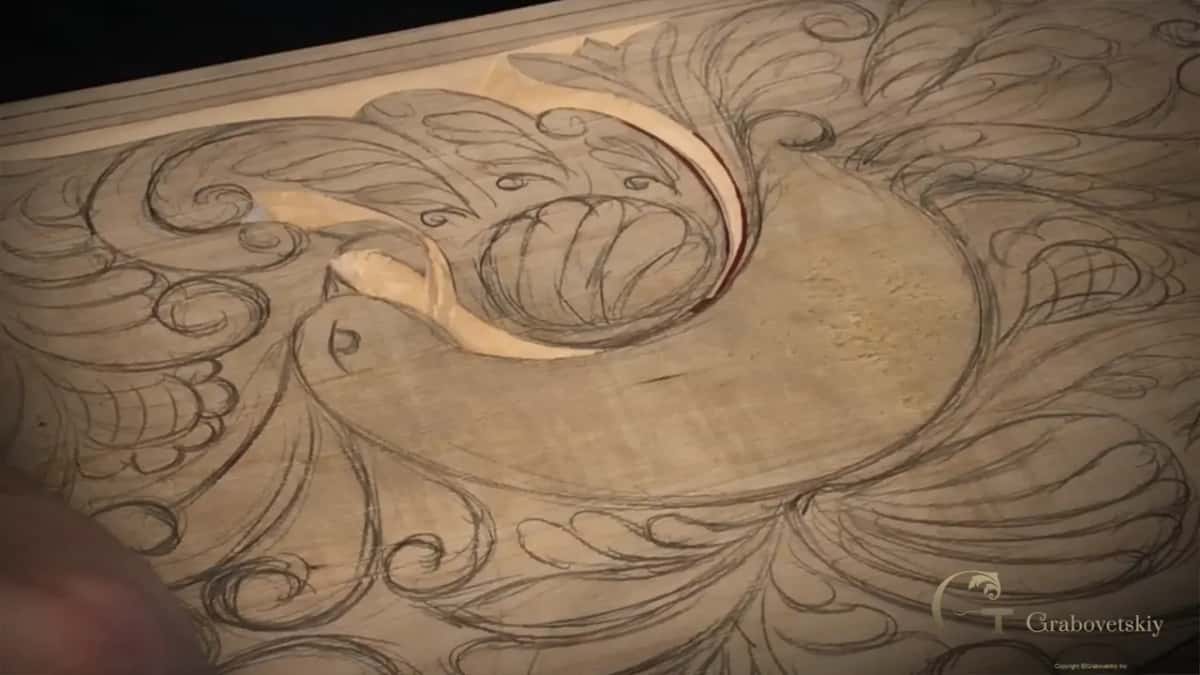
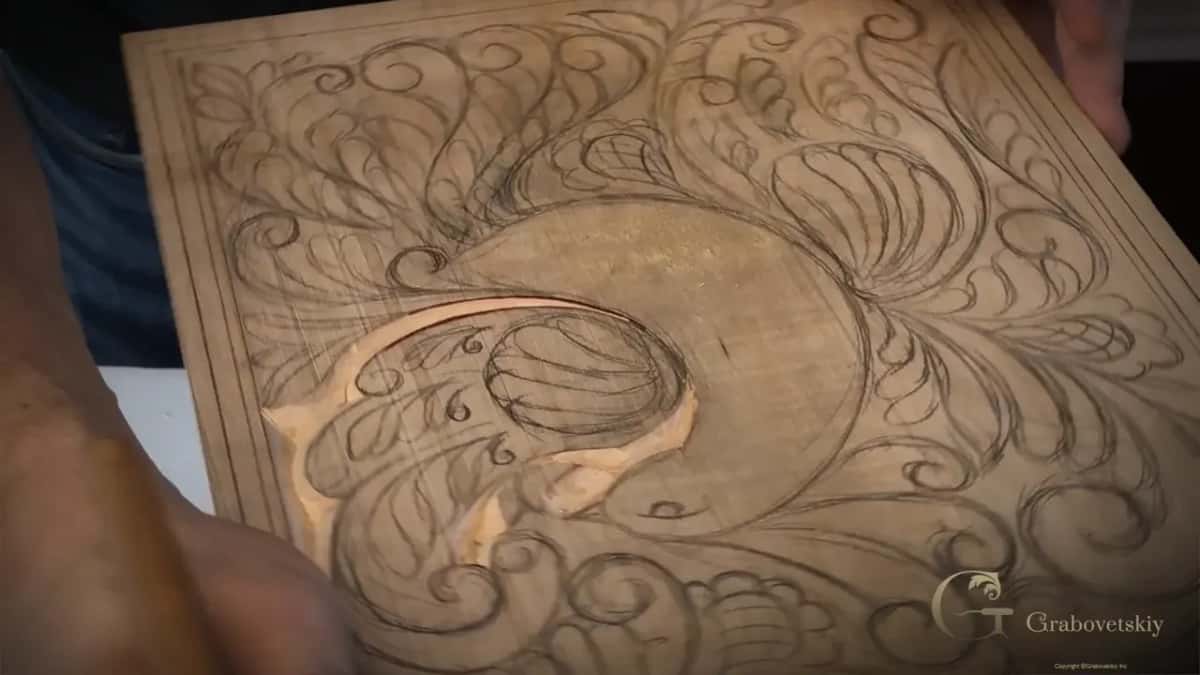
Is one knife too simple for real carving?
Plenty of students think so at the start of this course, and they change their minds by the end of it. Try to carve this bird with one blade and you will find out quickly that simple and easy are different words. The limit is what teaches you, because with only three passes available you have to think about grain, depth and flow instead of reaching for another gouge.
Master that and the gouges become easy later. Nothing in woodcarving is out of reach for a person whose hands already know how to take a clean chip out of lime. That is the real reason this project exists, and it is why I ask students to carve along rather than watch.
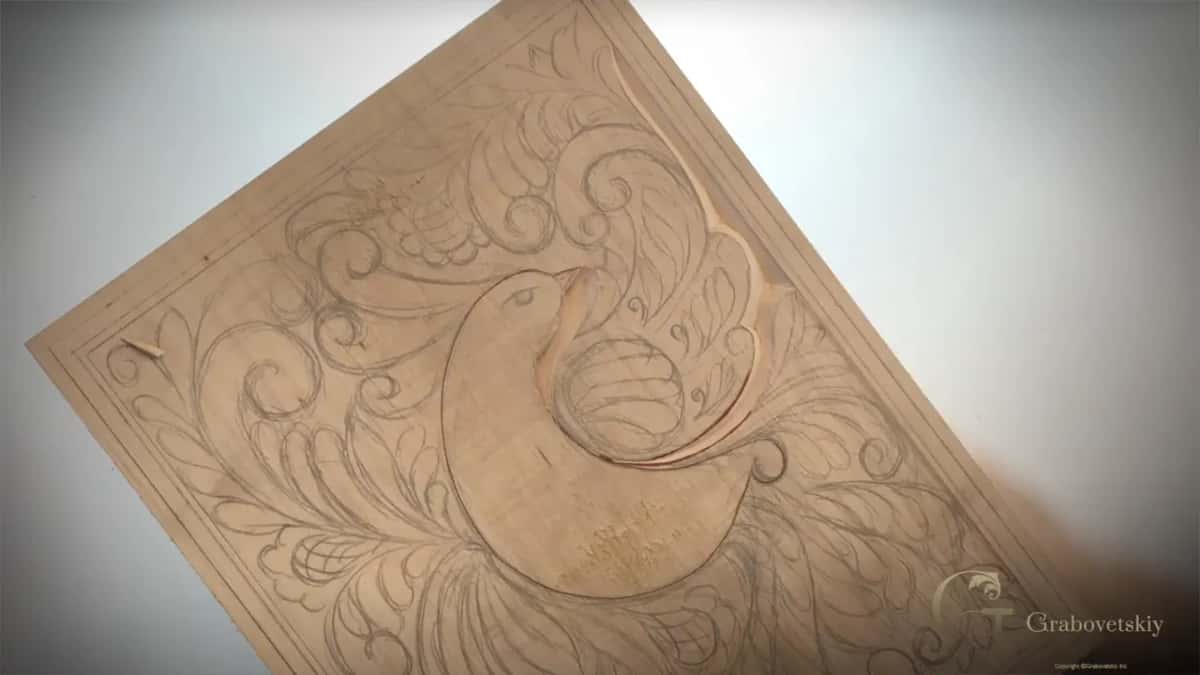
What do you need on the bench for this workshop?
One chip knife, the drawn board from the drawing workshop, and an edge that is genuinely sharp. Mine is a number 12 from Pfeil, and any decent chip carving knife will do the same work. A dull one will not, and if yours will not take a chip off cleanly, stop here and go through the sharpening course before you ruin the panel you just spent an evening drawing.
A gouge joins in later in this same workshop, and by Workshop 5 you are using both. Still unsure which tools to buy at all? The tools course goes brand by brand, and the school holds every one of these workshops in order, which runs from this cutting board all the way up to a Venetian panel.
The four parts of this workshop run about half an hour. Part 4.1 sets up the upright pass, 4.2 takes the first chips off the wing, 4.3 works round the border, and 4.4 finishes with grain and zipper passes.
One more thing before you start. Carve along with the video rather than watching it through first. Watching teaches you nothing about how much pressure a chip needs, and pressure is the only part of this that cannot be explained in words. Ten minutes with the knife in your own hand beats an hour of me holding mine.
Somebody always asks how many hours the whole cutting board takes. Sixteen workshops from here, is the honest answer, and you will be a different carver at the end of them. The course runs the project right through to a finished panel, and each workshop hands the board to the next one in better shape than it arrived.
Your board is drawn and your knife is sharp. What is actually stopping you? Shall we carve?
How it's done
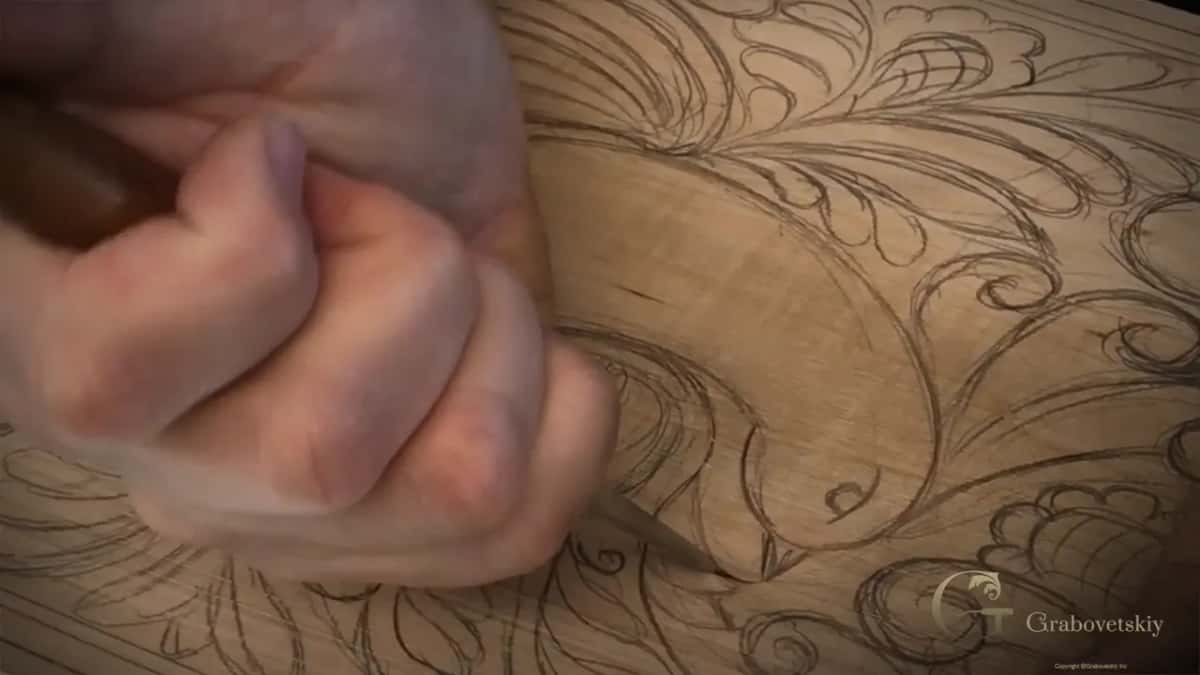
- Outline the bird upright. Set the blade square to the surface on the drawn line and draw it along slowly, following the outline of the body, tail and wings. Do not push for depth on this first travel.
- Slice the waste side at an angle. Lean the knife over toward one hand and run the same length again, low rather than steep, so the face slopes gently down to the first wall.
- Repeat until the chip releases. Run both travels again, as many times as it takes. Listen. The piece frees itself with a small dry click, and you must never lever it up with the point.
- Clean the walls. Come back along the old angle and shave off anything ragged, then blow across it. Crumbs that stay behind mean torn fibres and another pass.
- Follow the grain round the curl. Turn the board so you always travel downhill from the high point. A direction that worked at the top of a spiral will tear once you reach its centre.
- Work outward to the border. Move from the bird into the surrounding curls, then finish on the three pencil lines round the edge, holding one steady angle the whole way round the perimeter.
Frequently asked questions
Which knife should a beginner buy for this?
Any well made chip knife with a short stiff blade. Mine is a number 12 by Pfeil. Spend your money on learning to sharpen it rather than on a second brand.
How deep should the first travel go?
Shallow. Depth depends on the size of the shape, and a beginner nearly always goes too deep on the first attempt. Two light travels beat one heavy one, and you can always return for more.
My chip broke off halfway. Can I fix it?
Usually yes, if you have not levered it. Go back along the original angle, carry the travel past the break, and lift what is left as a fresh piece.
What to carve next