

Alexander Grabovetskiy, woodcarver, School of Woodcarving · Published 2022
How hard should you hit a mallet when you set a line straight down?
Quick answer: Hitting a mallet on a line is a matter of little, little force, and I do not bang. On this panel I set the line with a flat number two. I told you not to use too much force, because you can easily go right through.
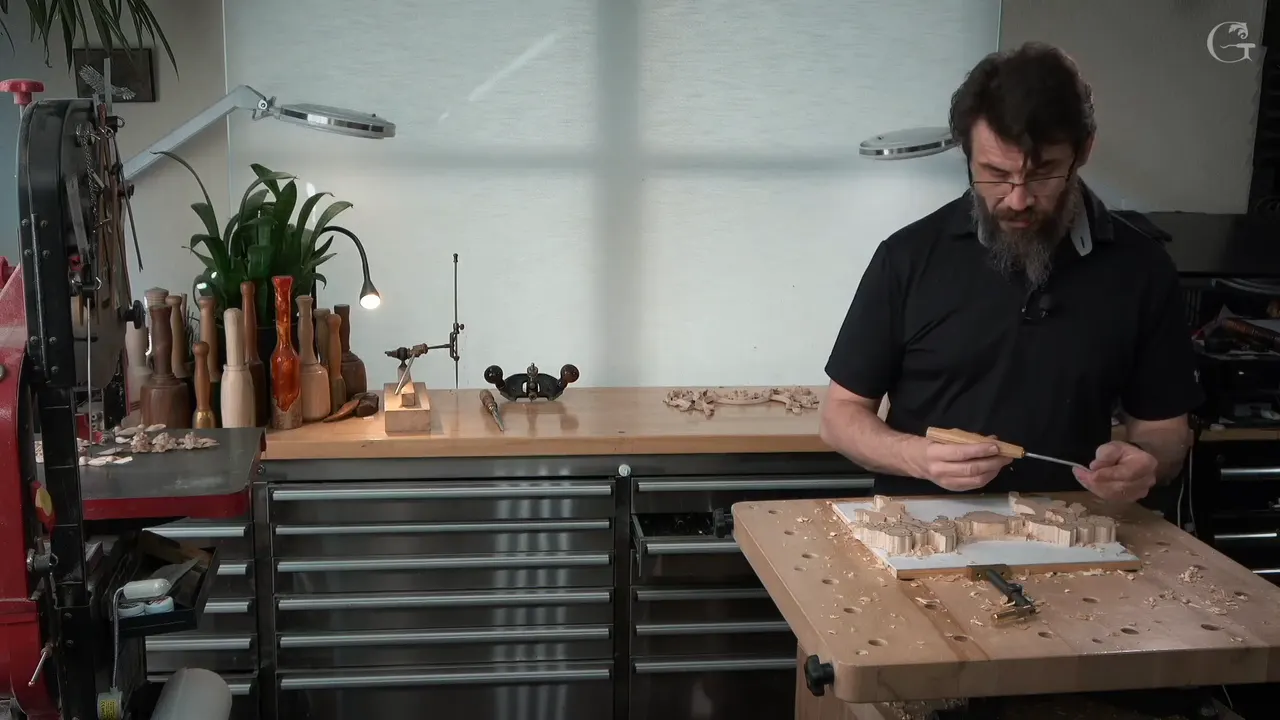
A carving mallet gives me control, and on a line it gets a little, little force. On my floral and molding panel I set a line straight down with a number two plus a mallet. I told you to make sure you are not using too much force, because you can easily, easily just go through.
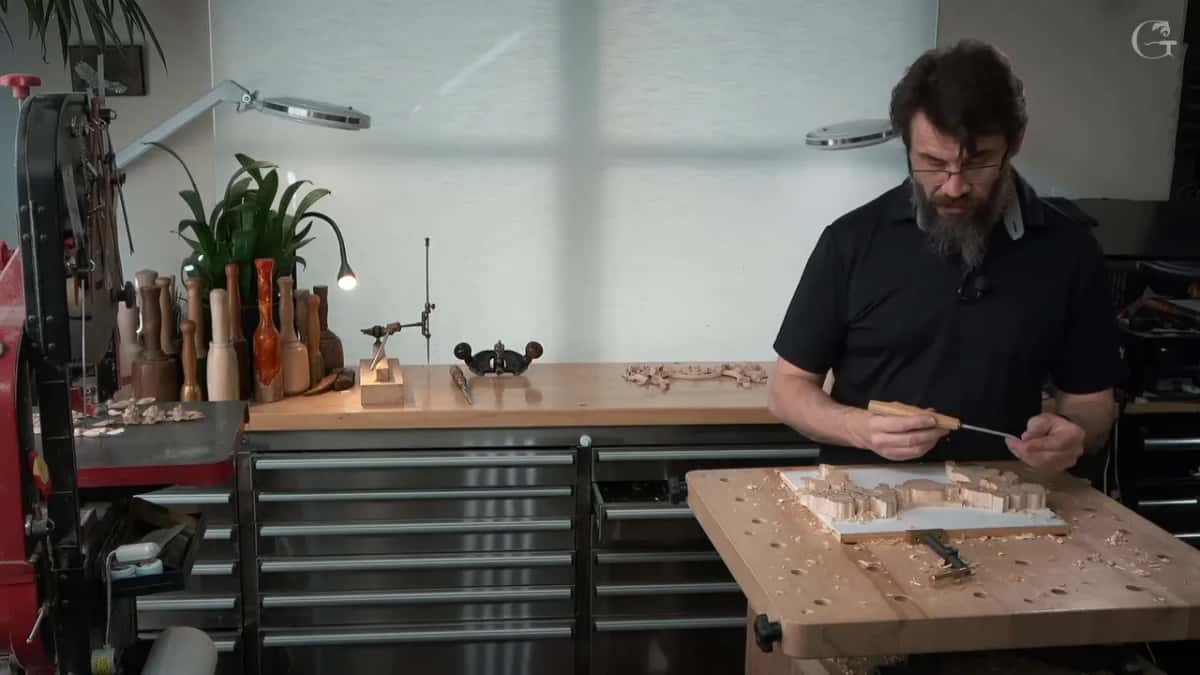
Have you ever put a flat tool on a line you cannot lose? Did your mallet hand feel like it wanted to do more than you asked? Then this page is for you, and so are the lessons in my wood carving school where I talked about how hard to hit.
Five lines on the mallet in this part
- A mallet did the work three times in this part, each time on a line.
- The number I gave was five millimeters, so I asked you not to bang.
- I said the word little four times in a row.
- One spot called for a skew instead of a number two.
- Other lessons gave the small tools a barely there tap, or no mallet at all.

Why did I reach for a mallet on this line?
The part opens with "the moment of truth." I reached for a spoon, a number 11 of 2 millimeters (about 5/64 in), and told you I had not used that one before. A spoon gets into tight spaces where a straight tool sometimes can't, because some stuff is in the way. A little closer to the line, I said, and kept going.
Next came the line that mattered most. It was really important for me not to lose it. A flatter tool was my pick, maybe a number two, and a mallet. The edge went on the line, and I went straight down.

Flat counts here. A bit later in this part I said that a chisel is always flat, the absence of radius, the absence of sweep. Give the edge a sweep and you hold a gouge.
What did I mean by five millimeters?
Here is the line of the video I come back to. First came the warning, and then the reason, in my words: "I've got only five millimeters, so I'm talking about how high that opposite side is."
Five millimeters is about 3/16 of an inch. On camera I did not say whether that height was wood or waste, so I leave it just as I said it.
My next sentence was "Just make sure you don't bang with that mallet." After that I asked for force so light that the word little came out four times, and I closed with "So don't do that mistake."
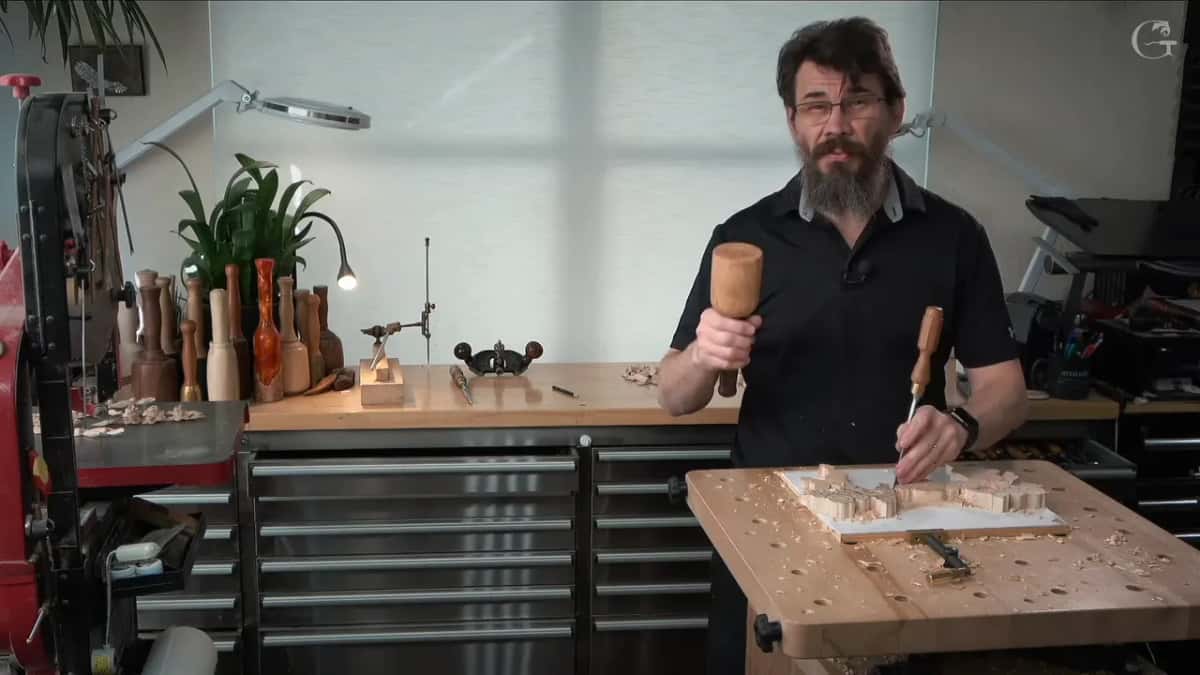
What happened between the first blow and the second?
The flat spoon came out. I looked for something flatter, thought about a number three, and chose a number one, a tiny antique dovetail spoon by Marples and Sons, the old Marples, when they used to be really good. Next the router plane came out, to make sure I was not too deep. I was really close, pretty much right on the money, and the other side told me the same.
I called it a spoon chisel, not a gouge. Another router plane check followed, with the same answer. After that I swapped to a smaller blade, about 1/16 of an inch (1.5 mm), or even 3/32. On my Veritas plane that takes a couple of seconds, and I said the depth stays the same.

Where did the second and third mallet moments come from?
The second came with a plan. Attack the inside with something smaller first, 2 millimeters, a number nine or a number 11, or even 1 millimeter, and clean that with the router plane. Then a flatter tool again, a number two, maybe the mallet, to get on the line.

And I did: "I'm going to use my mallet and establish that line." The opposite side got the same treatment.
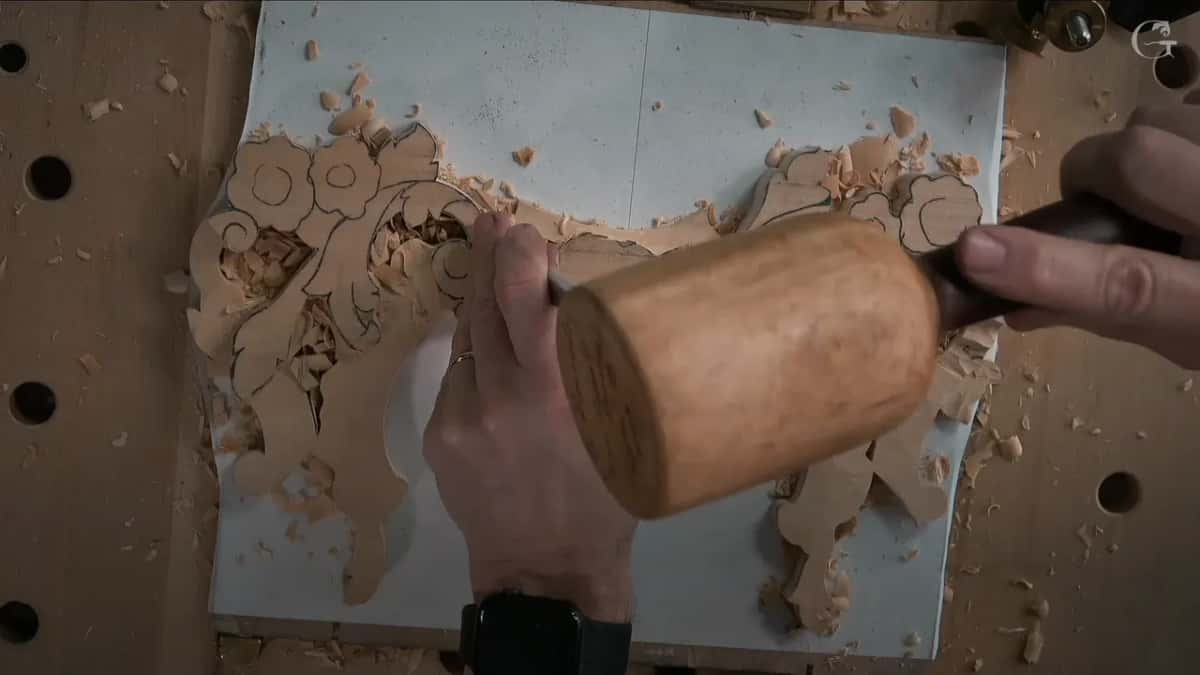
The third moment sat in the middle of the router plane work. Plane one side, then the opposite side. Slightly deeper, just a little, not much. After one pass I said maybe a little too deep. A beat later came "let me now actually just create that cut a little deeper," reaching for the number two and the mallet again, because it looked like I had not done that enough.

Then the plane went over both sides once more. The mess was only wood chips, so don't pay attention. And I said: "Now I'm happy. I know for sure the height of that detail is exactly the same on the backside and exactly the same on the front side."
Where did that line come from?
That line did not come from the mallet. My calipers came out first on the molding, and I admitted it was kind of hard to measure that way. But I know how it's supposed to look, and yes, I was exactly at that spot. The same pointing machine went to my previous piece, to read how low the molding had to go. I stayed about half a millimeter (about 0.02 in) above.

I placed it on a flat surface and made sure my pencil was really sharp, because that line had to be really nice. It came out close to five millimeters, maybe a couple of spots. My finger served as the guide, and I called it my trusty tool. The number two went to that line later.

This project is excellent for those of you who like furniture, I said. Sometimes it's impossible to do moldings with a molding plane, so you do all of it by hand, and a piece like this is good practice. Big moldings take the same technique, with the same tool and the same pointing machine.
What happened after I drew that line?
The waste came out first. A gouge, number nine at 10 millimeters (3/8 in), made an initial cut, and the grain chose the direction. I kept an eye on what the grain does. For me it was really important not to cross those two lines. So I attacked from the opposite direction. I carried the cut with the grain.

Next, a smaller tool, maybe a quarter inch, a number nine again. It took more material out of the middle, which made the true line a lot easier to establish. Same idea. See what happens with the grain, I said, be wise and go the opposite direction. Only then did the flatter tool step up to the line.

What do I pick when a number two is not good?
Near the end of this video I wanted a straight-down cut at the line once more. Even a number two was not good there, I said, and it was not going to work. A skew had to do it. A bigger number two would also work, I said, but I picked another tool of mine and expected a lot better result.

In part 2 of this lesson I described a skew with more than one angle, a multi-angle skew, as one more tool for a line. Later in part 2 I mentioned that a mallet is obviously an option, and that sometimes it's a good idea. In part 1 I said any flat tool works, a number two or a number three, and you can even use a mallet to help yourself. Don't get too excited, I warned, or you can make a mistake.
Which small tools take a mallet, and how hard?
Workshop 38 of the Venice Room shows me using a mallet on a spoon gouge. Keep an eye on what the tool does, I warned, since it can break. It jumps like a spring. You strike one way, but the edge travels another direction. Strike too hard and it breaks, and ask me how I know.
I broke one. Not several, but one was one too many, and it gave me a really good lesson.

Furniture Panel lesson 22 brings a number 11 vainer of half a millimeter (about 1/50 in), a micro tool. Mallets are not supposed to touch those, I explained. Rubber makes it safe enough, though. Just don't hit that too hard.
In Dining Table Apron workshop 11 the tool was a small palm V-tool, and the wood was very crunchy. Nobody is supposed to strike that one with a mallet. My taps barely touched it. Still, the control was much better.
Lily Box 8 needed a spoon gouge, a number 11 again. A mallet came out, but really careful, because those tools are not made for one and can break. Skip the force. Use it slightly, I said, and barely hit it. Control got a lot better that way.
An edge in lesson 5 of the Lily Box course worried me more. If I crank it too hard against that edge, I said, I'm going to break it again, and I don't want that. I thought about a smaller mallet, about 12 ounces (340 g), used carefully. Elsewhere in that lesson a number 11 of 3 millimeters (about 1/8 in) went in under a mallet again, hit nicely and carefully, going easy on the force.

What do I do about the mallet itself?
Small tools get a light mallet, according to Lily Box 3. Any mallet will do. But I don't like a bronze one there for small tools like these, because I own a small one and it is overkill. A rubber one is lighter, and I control it much better. My grip sits on the head, not the handle. The work goes little by little.
In Venice Room 55 I answered a comment from one of the carvers, I think, who said real carving is pushing and banging with a mallet is not the real thing. Of course it is carving, I said, and a mallet gives you a lot more control.
A lot of people bang like this, and their shoulders start to hurt. Mine hangs free, just inside my palm. The hand stays fresh that way, and swinging my whole body at it would tire me really quickly.

On a smaller piece you can see the swing. In Flower Rosette lesson 3 a number six of a quarter inch (about 6 mm) and a small brass mallet sat in my hand. The first passes went straight down to set my curl line. I can't force it, I said, because a hard hit could snap that part out.
Feel safer another way? Take a V-tool first and cut a little away from the main cut, I said. That was my own second option.
When do I pick up a mallet just to stay off a line?
Antique Style Rosette workshop 1 has a mallet in my hand because I wanted to be sure I was not going deeper than I should. Pushing would work, and I'd have no problem with it. Still, the mallet gives me a lot more control. Damage on the edge of my line was the thing to avoid, so I stayed back from it. The background there was only an eighth of an inch (3 mm).

Acanthus over Moldings lesson 1 puts a mallet beside a number nine of about half an inch (13 mm). I could get really close, but going all the way to the line would be a big mistake, because I needed some space. About a millimeter and a half stayed behind, maybe a sixteenth of an inch.
Two shorter lines say the same. In Furniture Panel lesson 15 I barely hit my mallet but still use it, since it is a lot more controllable. And in workshop 14 in the Venice Room I noticed, see, I barely hit with the mallet, and the control is a lot better.
Where each mallet moment went, side by side
The table lists the force words I used in each lesson above.
| Tool | Move | Where | Reason |
|---|---|---|---|
| Number two, mallet | Straight down on the line, little force | Floral panel | Height of five millimeters, no banging |
| Spoon gouge, mallet | Strike it hard and the tool breaks | Venice 38 | It taught me a good lesson |
| Half millimeter vainer | Rubber head, and do not hit hard | Panel 22 | Just don't hit that too hard |
| Small palm V-tool | Barely touching, yet I get more control | Apron 11 | You're not supposed to hit it |
| Small brass mallet | Straight down to set my curl line | Rosette 3 | A hard blow snaps a piece |
| Number nine, mallet | Stop about 1.5 millimeters from the line | Moldings 1 | I need some space, I said |
Where does this part sit in the course?
This one, part 3 of lesson 2, sits in Carving Floral and Molding for the Panel. Before it comes lesson 1, and lesson 3 and lesson 4 follow. Want to watch every blow? All three parts of lesson 2 are in the school with Access.
How it's done
- Pick a flat tool. Take a number two, or any flatter tool. A number three works too, I said in part 1.
- Put the edge on the line. Place the edge on the mark, straight down, and keep the other hand steady.
- Hit with little force. Use light force. I asked you not to bang, because the tool can go right through.
- Check, then go deeper if needed. I checked with a router plane and made the cut deeper where it looked like I had not done enough.
- Switch tools when it does not fit. At one spot I called a number two no good, and named a skew for the job.
Frequently asked questions
How hard should you swing a mallet at a drawn line?
Light force. That is how I put it on this panel, and I warned that you can easily go through. My words were, don't bang with that mallet, just a little force. The video gives no number for the force, and no weight for the mallet.
Can a small gouge break when you use a mallet?
A hard strike can. In workshop 38 I used one on a spoon gouge and said it can break the tool, and that I broke one. Lily Box 8 says small tools were not made for a mallet, so I barely hit it.
Which mallet suits small tools?
In Lily Box lesson 3 I picked a rubber one for small tools, because my bronze one is overkill. Rubber is lighter, and I control it better. I hold it by the head, not the handle, and I go little by little.
What to carve next