

Alexander Grabovetskiy, woodcarver, School of Woodcarving · Published 2022
Should you drill the waste out of a carving or use a number 9 gouge?
Quick answer: A drill is the quick way through waste, and a number 9 plug cut reaches the same hole more slowly. I drilled my holes to save time. Down in the Venice Room a drill had no space, so the gouge went in.
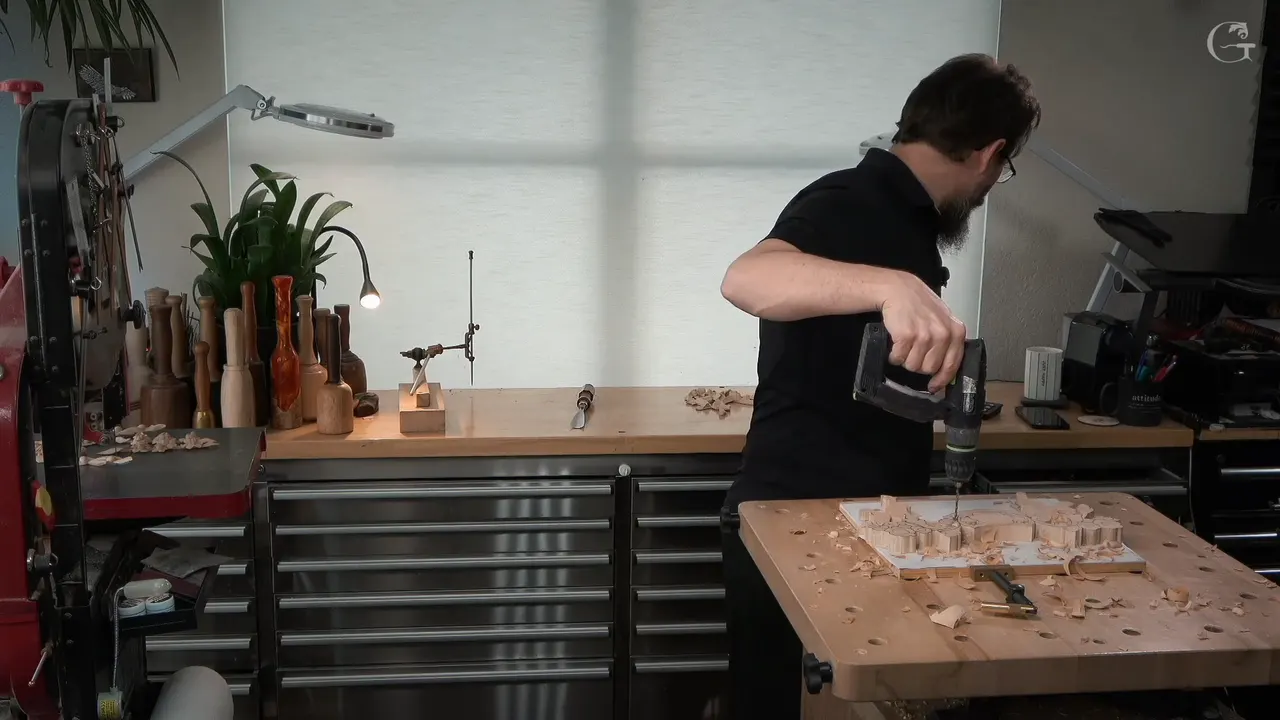
Drilling a hole through carving waste is one choice, and a number nine plug cut is the other. On my floral and molding panel I forgot to pierce two sections. So I picked up a drill. Either tool works, I told you, but the number nine is slower, and I wanted to save time. Other lessons show why I pick one tool or the other, and what a drill cost me when I got careless.
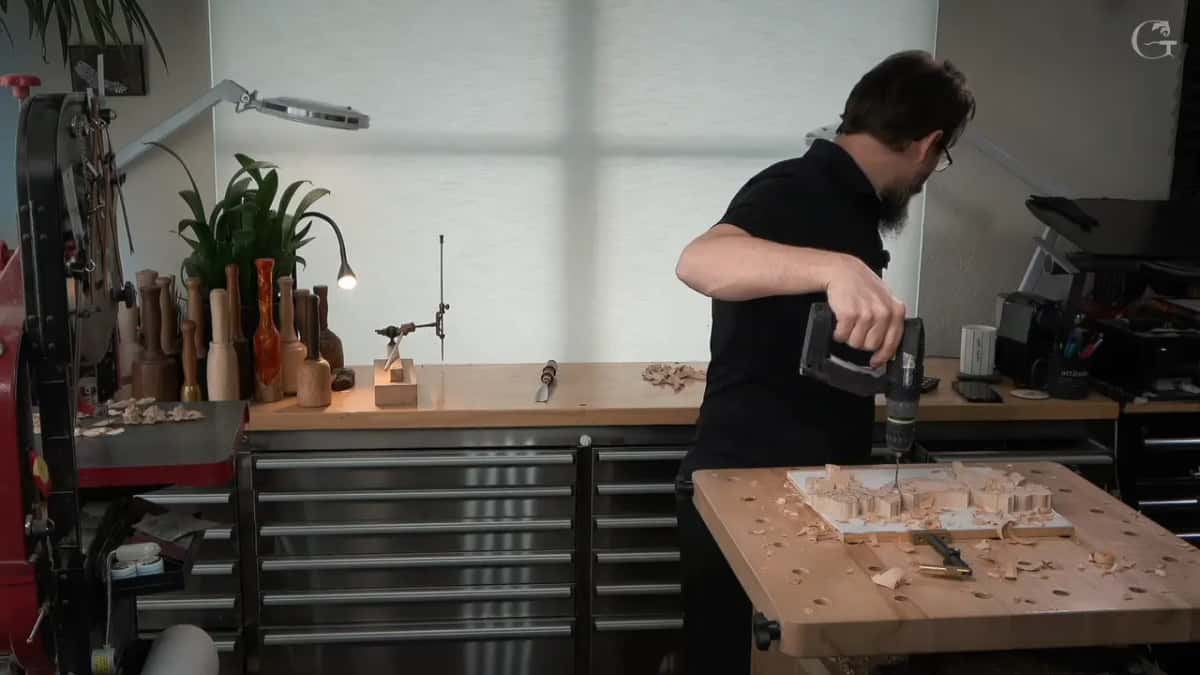
Do you have waste that still has to come out clear through? Is a drill sitting on your shelf next to a number nine gouge? Then you can use either one, and this page tells you when I reach for each.
Drill or plug cut in six lines
- On this panel I drilled a few holes through two sections I forgot to pierce.
- Either tool opens the same hole, and the plug cut is only slower.
- A plug cut stands the gouge straight down, at 90 degrees to the surface, and you rotate it little by little.
- Where my hand barely fits, a drill has no room.
- For me, the gouge gave more control.
- A hole too big, too near an edge, cost me part of a carving.
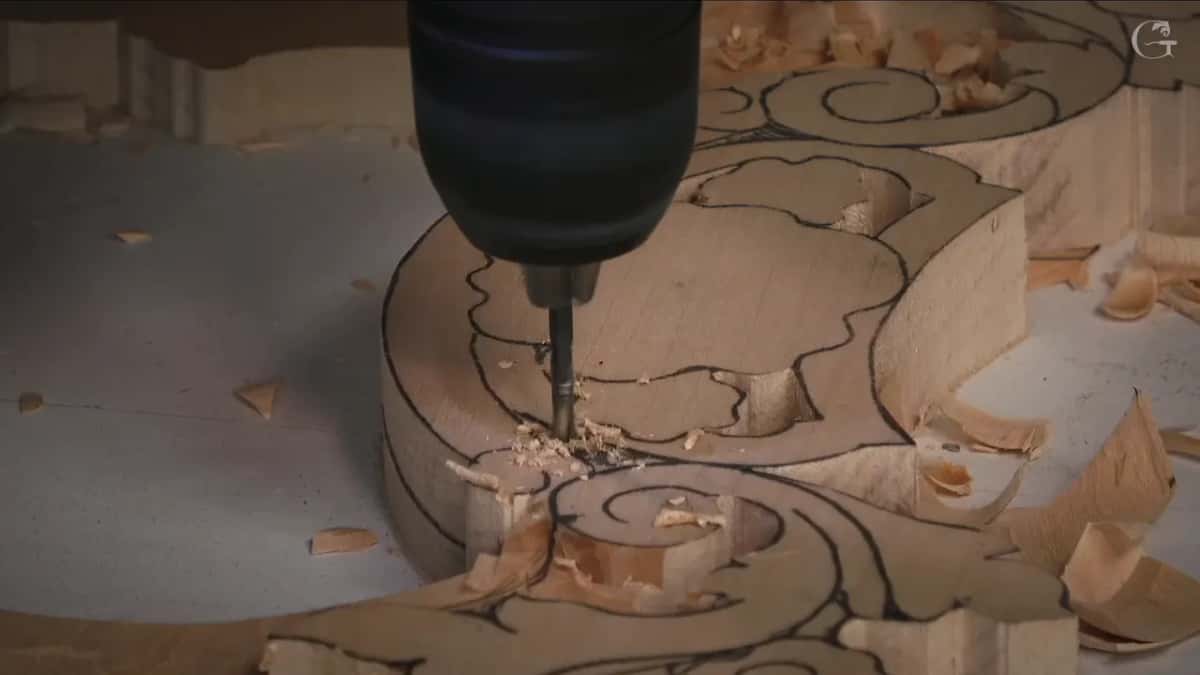
Why did I reach for a drill on this panel?
I looked at the piece and found a mistake. Not a big one. I had forgotten to scroll a couple of sections with the scroll saw, and both had to be pierced right through. My words were, "I could just take a drill and just drill that all the way through, which I probably should. Why not?" One hole, two, three, and that was enough.
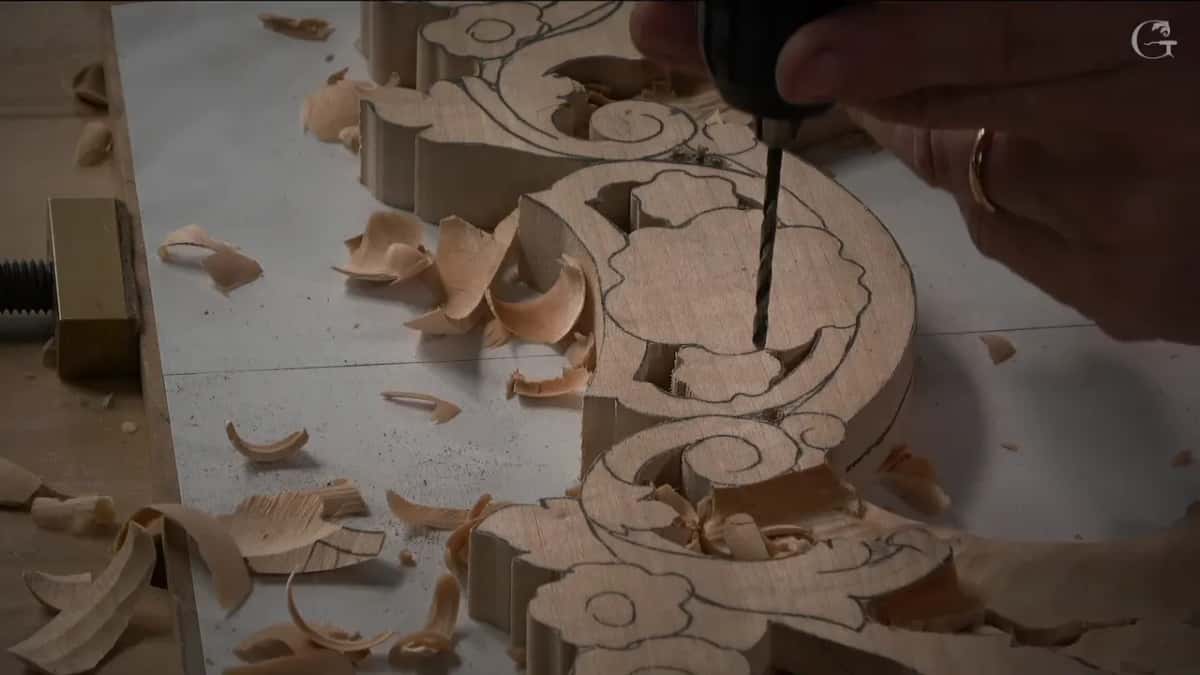
One side got it first, and for the opposite side I planned probably the same.
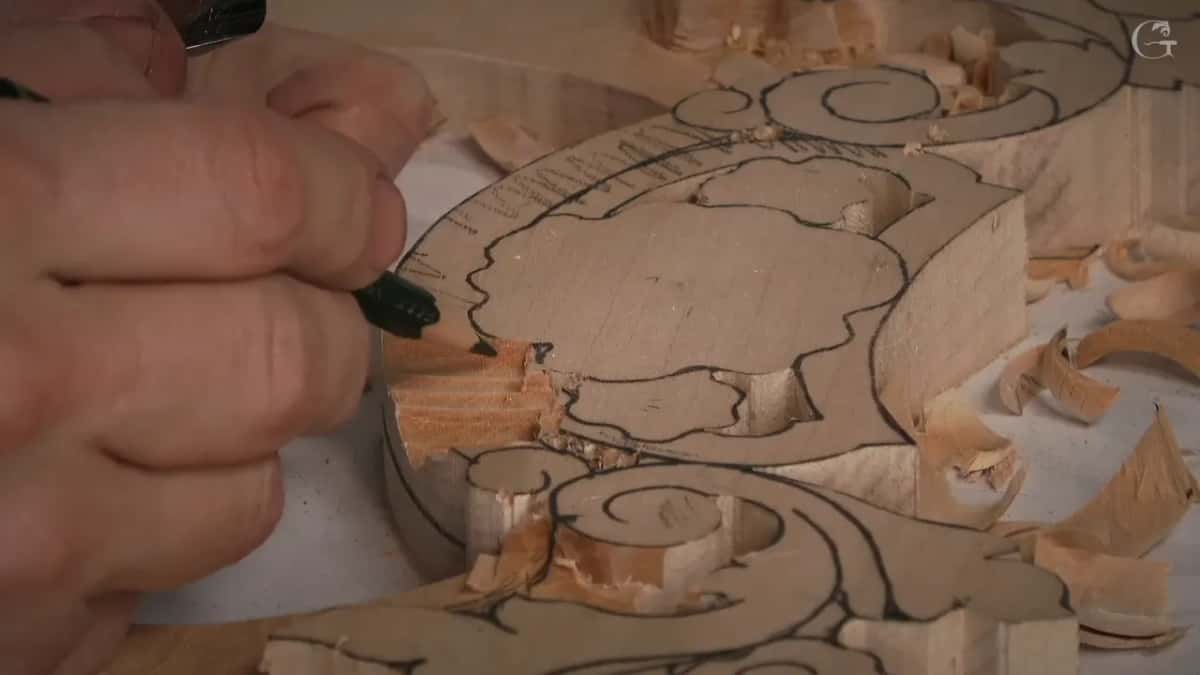
Once the holes are in, I know their position approximately, and I can reestablish the lines later. Neat edges could wait. A number nine took out more waste.
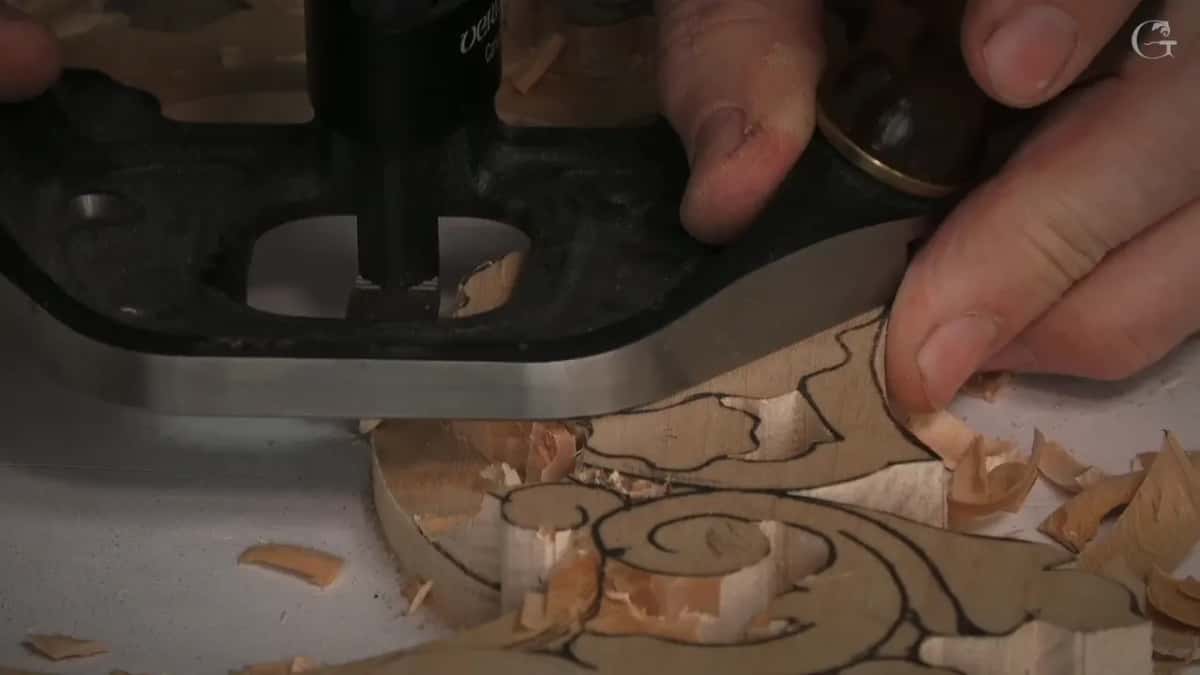
Then the whole section had to come down without touching my future flowers. Number nine again, 10 millimeters, three-eighths of an inch, and I started across the grain, staying slightly away from them. Lesson 2 of this course covers that part in how to get a flat background, including the router plane.

How does a number nine open the same hole?
Exactly the same operation, I told you. The tool is a number nine of one-eighth of an inch (3 mm), and it takes out plugs. It just takes a little longer. I saved time and drilled.
The Byzantine acanthus course shows it without a drill. A number nine, three-quarters of an inch (about 19 mm), is a good idea if you have one. Short of that, 10 or 12 millimeters will do, roughly 3/8 or 1/2 inch, whatever you have. You place the tool in the middle of the section, and we call that a plug cut, because you are removing just the plugs. Then you attack toward the hole from the sides.

Over in lesson 1 of this course, I put it the other way around. Rotate the number nine, remove the plug, rotate, remove it, until you hit through. Then get closer to the edges. You don't really have to have a scroll saw for that. Or just drill it. A hand drill, or even a screw gun, with a drill bit makes multiple holes and gets rid of the majority of the material.

The Grape Onlay course gives the motion. The tool goes really straight down in lesson 6, 90 degrees to the surface, as you start kind of drilling inside. That's what I call a plug cut. Next comes a limit, in lesson 8. You don't have to twist like the drill all the way. Make small passes, rotate little by little, to the right or to the left, and don't create a lot of pressure.

What makes a plug cut work as well as a drill?
A long bevel helps. The quarter-inch number nine (about 6 mm) in workshop 52 has a really long one. If you have a short bevel, I explained, it's going to be hard to do the rotation and remove that material. A long bevel actually helps a lot.
Then the tools get smaller. The next one there was a number nine, three millimeters (about 1/8 in), and the hole went deeper, almost to the point where you can't see. The rest of the passes have to come to that hole, and the kind of tool doesn't matter. Everything goes to the same hole. The shadow it casts is deep, and I called it just perfect.
Take a second plug right beside the first, and you get what workshop 16 shows. It's an easy way, I said, to remove a lot of material at once and get a kind of deep excavation. I was about 5/8 of an inch (about 16 mm) in, with the number 11 planned for the cleaning later. The same thing shows in workshop 51. With the plug out I had a really, really deep hole, impossible to see by the naked eye on the inside, and I pointed out how much waste I was getting out.
Smaller tools go deeper. A smaller number nine took the excavation further in workshop 54, and I left the cleaning of the inside for later. A limit came from workshop 18. Too deep would be hard to clean later on, so I went only to a point.
What do I mean when I say drill with a gouge?
Both tools get the same word in my lessons. In this course, lesson 10 has me with a number nine, one-eighth of an inch, three millimeters, saying I'm going to drill it almost through. It's like a plug cut, I added, and that's how I call them.
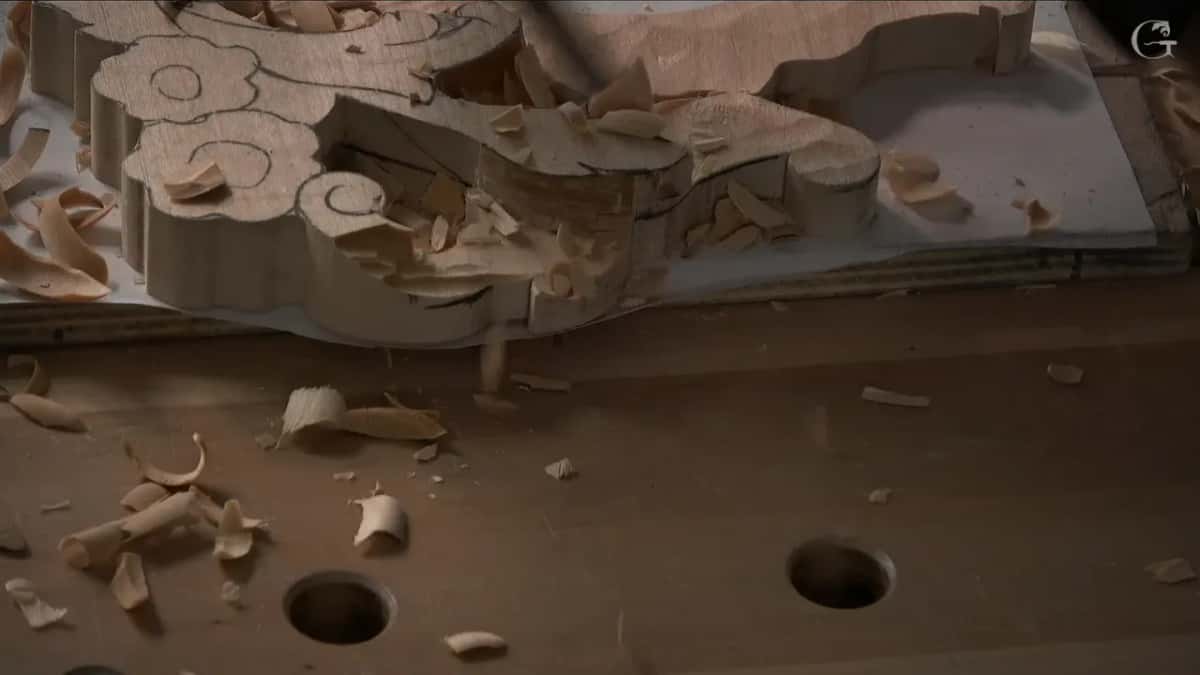
Venice Room workshop 54 says it again. I call it plug cutting. That's what it is, because you're just removing small plugs. A true half round makes a perfect round when you rotate it, and I rotate carefully, without pressing too much. So I can drill it as deep as I want, and it's a really fast process. One plug, about six millimeters, a quarter inch, took a couple of seconds.
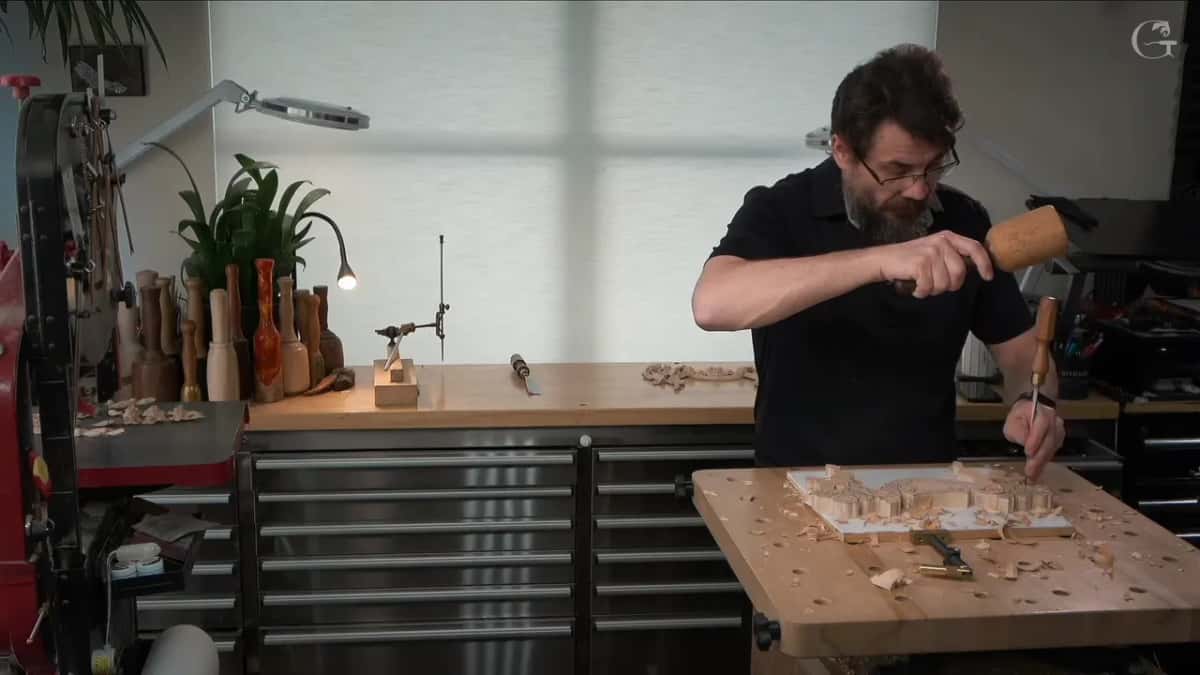
Then there is a quarter-inch number nine, about 6 millimeters, in a plug removal cut from workshop 67. Drilling in, I said, is how I make a beautiful shadow there.
When does a drill have no room?
Certain spots leave a drill nothing to work in. Those of you who wonder why I don't use a drill get an answer in workshop 51. There was no way to place it that low, and my hand barely fit. A gouge can go right through if I wish.

Another spot in that lesson was no better for a drill, I said. Nothing would work there. The gouge could rest almost flat and still make my hole, or take the plug out. A warning came with it. Don't crank, because the piece is fragile now and you can break it.
The angle is a limit, I said in workshop 54. Some areas take a drill, no problem. Others are impossible to reach on the inside. The plug cut there was almost as fast as a hand drill, just going in, in, in.
On the spot, in workshop 82, I weighed it. Yes, I had a drill, and I thought about using it. Maybe yes, maybe no. Then no. I went with the old way, a number nine, 6 millimeters (1/4 in). I couldn't go too deep, I said, because I could damage the side, and I probably had to aim in a slightly different direction.
One wall in Grape Onlay lesson 6 left only one side, because I could not attack from two. I took a number nine, 1.2 millimeters (about 3/64 in), like a plug cut, and told you it isn't that easy. I cleaned slightly, made a little wider space, and kept drilling until I was through.
Which one gave me more control?
One plug jumped out in workshop 106. I like that approach. For me it's better than drilling. I could probably use a drill, but for some reason I get much more control that way. It looks a little choppy. At least for me, it's the way to do it. To clean it, I said I would take a flatter tool, maybe a number three or four, a bit at a time.

Both ways show up side by side in workshop 87. Drilling a hole down is one way, and a number nine can make a plug cut, which gives me exactly the same result. That way I won't lose the outline.

Does the hole have to go through?
On this panel it did, and both sections had to be pierced. Other places stop short, and in workshop 52 I kept making plug cuts until I didn't want to drill through. I was happy, and I wasn't going to do it completely.
In workshop 56 I looked at one spot and said I'm not going to drill through, because that's going to be a mistake, I think.
In workshop 30 I took a plug out under a pipe, not to the extreme, because I had to think about how I would reach it later with the finish, with the paint. Workshop 80 has me saying I could also drill multiple holes if I wanted to, but I didn't think I needed it. And in Grape Onlay lesson 4 I could probably drill a strong spot right through, but it is kind of tricky sometimes. I planned to go halfway, then excavate and attack from two sides. Take your time, I said.

What goes wrong when a drill hole is careless?
In Lily Box lesson 10, the easiest way to make a hole was probably a drill, so I drilled it right through with a bit of about 5 millimeters (about 3/16 in). Direction mattered. A concave was already there, and I wanted at least 3 millimeters (a bit under 1/8 in) of wood left.
In another part of that lesson I found a crack on one side, maybe from drilling it. I tried to be careful, but it is what it is. When I picked the drill up again, I said I would try to be careful this time, and really slow.

The cost shows in lesson 11. A part of the piece was gone, and my drill did it. I drilled too big a hole, really close to the edges, and I created a problem for myself. I should think ahead of time, I said, when I draw it first.
Which bit do I pick, and for what?
In the scroll saw lesson, Lily Box lesson 1, I made holes before I scrolled the piece. I don't need a lot of holes, I said, maybe one per section. The bit was about five millimeters (roughly 3/16 in), with a smaller one, 1/16 of an inch (a little over 1.5 mm), for the one smaller hole. Then I was ready to scroll it.
A dowel hole took a much smaller bit. My plan in lesson 12 was a normal toothpick, the kind you use in a kitchen, as the main dowel. I wanted to make sure I was not drilling through and destroying my backside. The bit went a little smaller than the dowel, 1/16 inch (about 1.6 mm). A depth of 1/8 inch (about 3 mm) should be safe. Maybe a little deeper. The plan behind that came earlier, in lesson 11. It was to drill the hole, put the dowel in, and cover it with a second part, to make it invisible.
The Hashemi flowers add one more case. Digging an eye took a gouge of 1/16 of an inch (a bit over 1.5 mm). That could be expedited with a drill bit and a drill, I said, and it would be much quicker.
Drill or number nine, spot by spot
The table lists where each tool went in the lessons above.
| Spot | What I did | Where | Why |
|---|---|---|---|
| Two missed spots | Put several holes straight through the waste | Floral panel | The gouge would be slower here |
| Deep low hole | Plug cut where a drill cannot fit | Workshop 51 | No room for a drill there |
| Angle too tight | Plug cut where the drill angle limits | Workshop 54 | Inside, a drill sometimes cannot reach |
| Hole near edge | Drilled too big and lost some wood | Lily Box | Should have thought ahead, I said |
| Holes before scrolling | Drilled about one hole in each section | Scroll saw | I did not need many holes |
| Eye of flower | Said a drill would be much quicker | Hashemi flowers | The drill would expedite the job |
Where does this part sit in the course?
Part 1 of lesson 2 sits in Carving Floral and Molding for the Panel. Before it comes lesson 1, and lesson 3 and lesson 4 follow.
Want to watch every hole go in? All three parts of lesson 2 are in the school with Access.
How it's done
- Find the unpierced spots. Look for sections still waiting to be pierced right through. There were two on my panel.
- Drill a few holes. Put several holes through the waste of one spot. Three did it for me.
- Or use a number nine. A small number nine can open the same hole by taking out plugs. Expect the gouge to take longer, and that was my reason for drilling.
- Clear the waste toward the holes. Take a number nine and remove more waste. Neat edges can wait.
- Reestablish the lines later. Once the holes are in, their positions are roughly known, so the lines can be drawn again afterwards.
- Lower the whole section. Begin across the grain with a number nine of 10 mm (3/8 in), staying slightly away from the future flowers.
Frequently asked questions
Can a number 9 gouge open a hole instead of a drill?
Yes, and the price is a little extra time. A small number nine makes plugs, which is the same job my drill did. Venice Room workshop 54 even has the plug cut running almost as fast as a hand drill.
Why do you say drill when you hold a gouge?
Both tools share that word with me. In lesson 10 of this course a number nine goes in almost through, and I compared it to a plug cut. Workshop 54 repeats it, because you're just removing small plugs.
What happens when a drilled hole sits too close to an edge?
I lost part of a piece. The hole was too big and sat near the edges, and I made a problem for myself. Thinking ahead while drawing is what I said I should have done.
What to carve next