
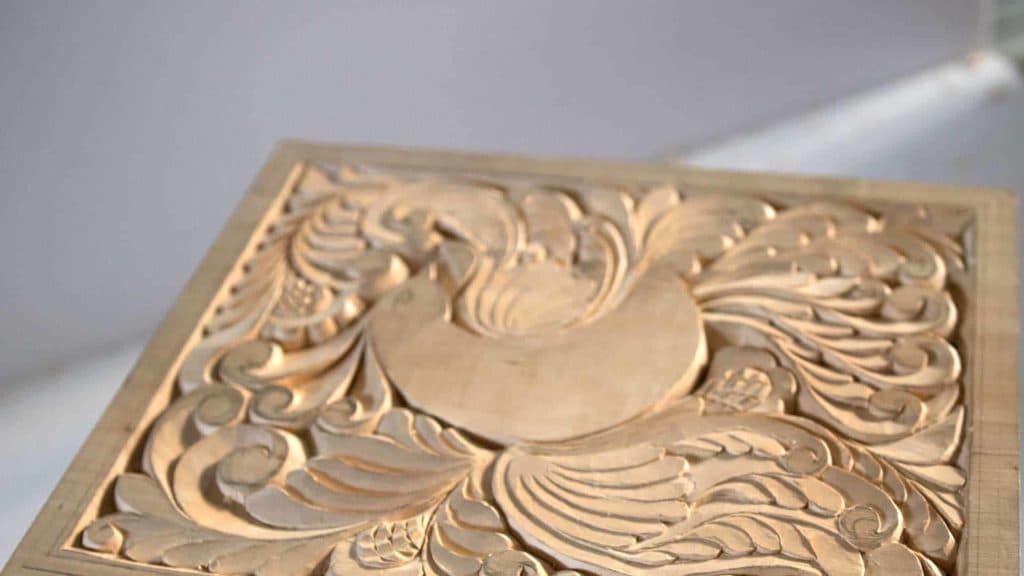
Alexander Grabovetskiy, woodcarver, School of Woodcarving · Published 2017
Why learn to carve with one knife when you already own gouges?
Quick answer: One knife first is a sequence rather than a limitation. Each tool has to be handled properly, and a blade teaches your hand to read grain, depth and pressure with nothing else in the way. Ancient carvers had one blade or a straight chisel, and every gouge you buy later feels easy afterwards.
Somebody wrote to me and asked why I teach a one knife technique when people already own other tools. Fair question, and a common one. Each tool has to be handled properly, and the knife is the one that teaches your hand to read grain, depth and pressure with nothing else in the way. Learn it first. Everything after it gets easier.
Do you own tools you have never really used? Have you ever bought a gouge because a video made it look necessary? Then this session is aimed straight at you.
I carved furniture in a prison cell using a blade I made myself, ten millimeters of steel, and a small gouge ground out of a nail. That was not a lesson in minimalism. It was what there was. The habit stayed with me, and forty years later I still reach for a blade before anything else on the rack behind me.
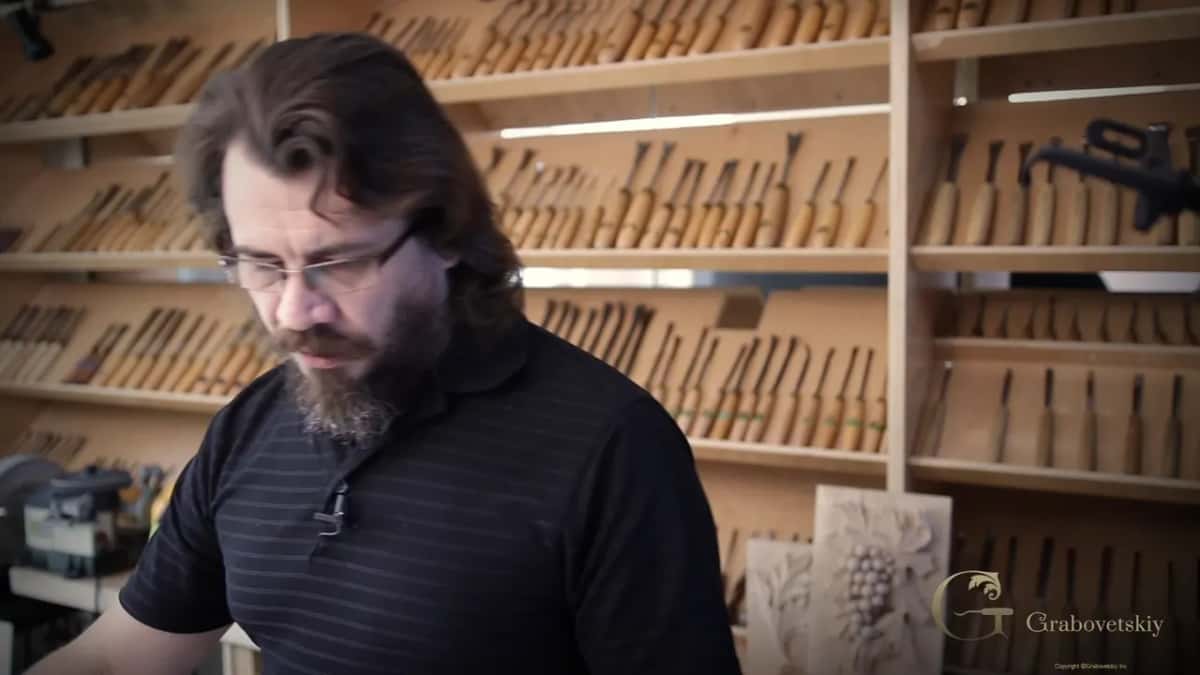
What this session actually argues
- Tools are a sequence. The blade comes first because it teaches the most with the least.
- Old carvers owned one blade, or a straight chisel. Nothing else existed for most of the history of this craft.
- Depth on these wing details stays under a sixteenth of an inch, two millimeters at most.
- Watch the fiber count. Fewer fibers on the edge side of a line means less pressure, not more care.
- Every line has to reach another line. A shape that bulges away from the flow gets erased and drawn again.
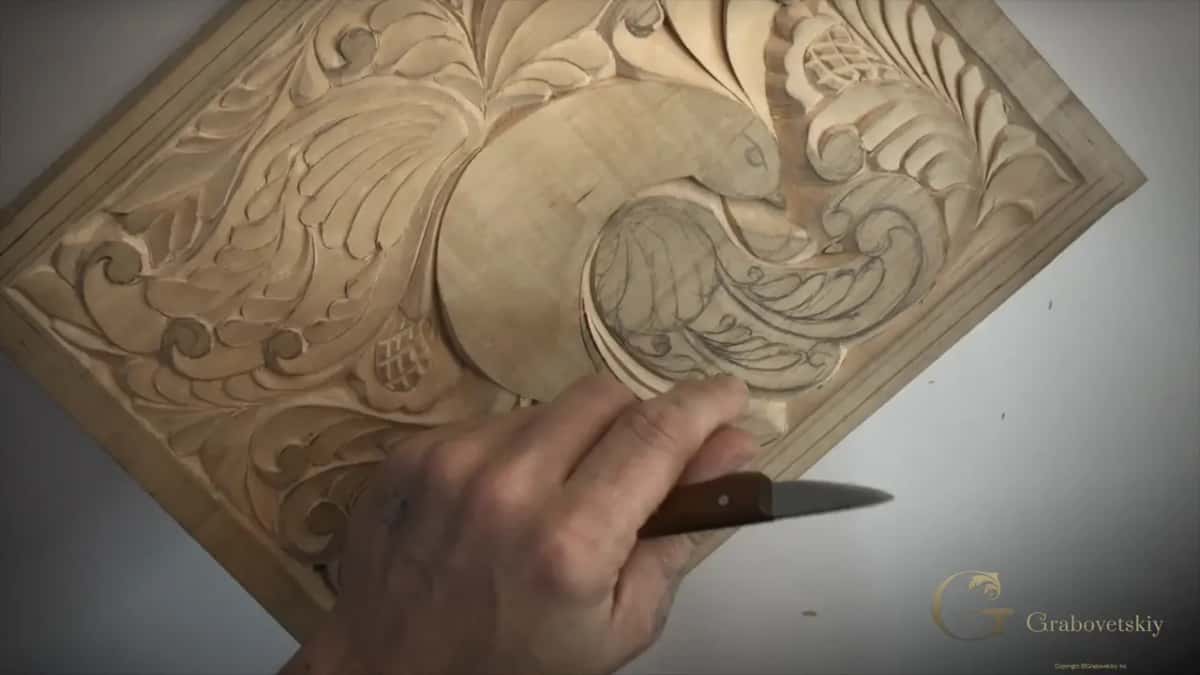
Why start with one knife when you own gouges?
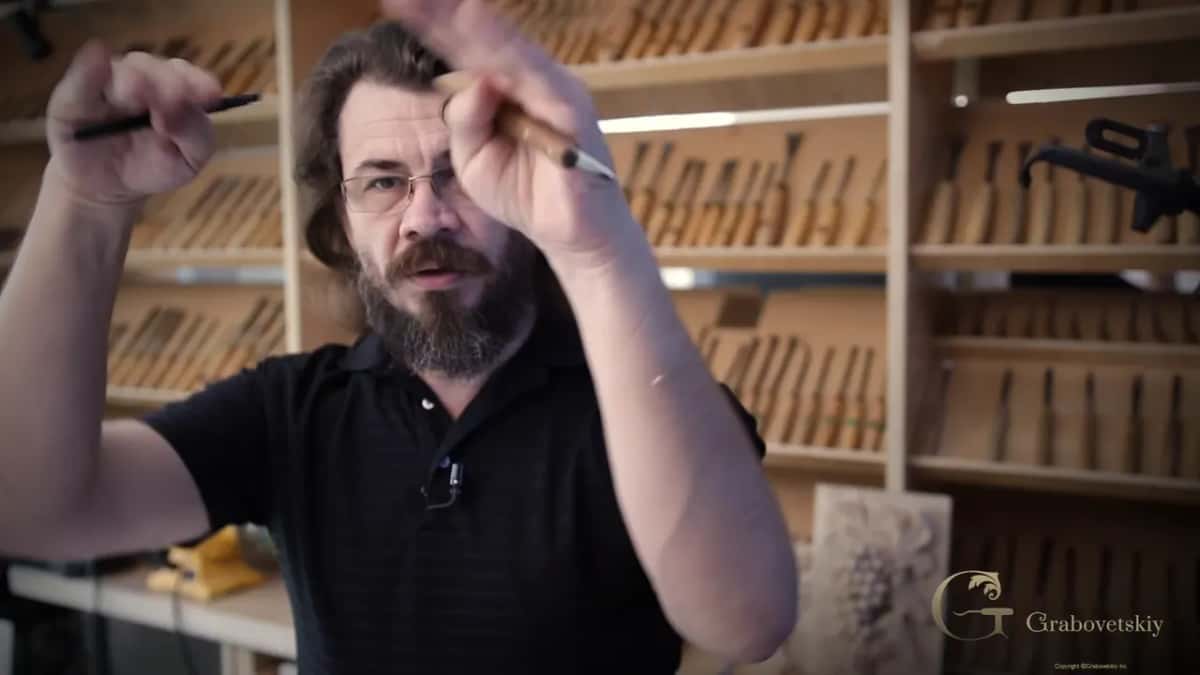
Handling comes before choosing. My rack fills the wall behind me, and some of those shapes most carvers have never seen, and none of that matters until a hand knows how to make one edge behave. Nothing else gives you as much feedback per pass, which is why the blade goes first.
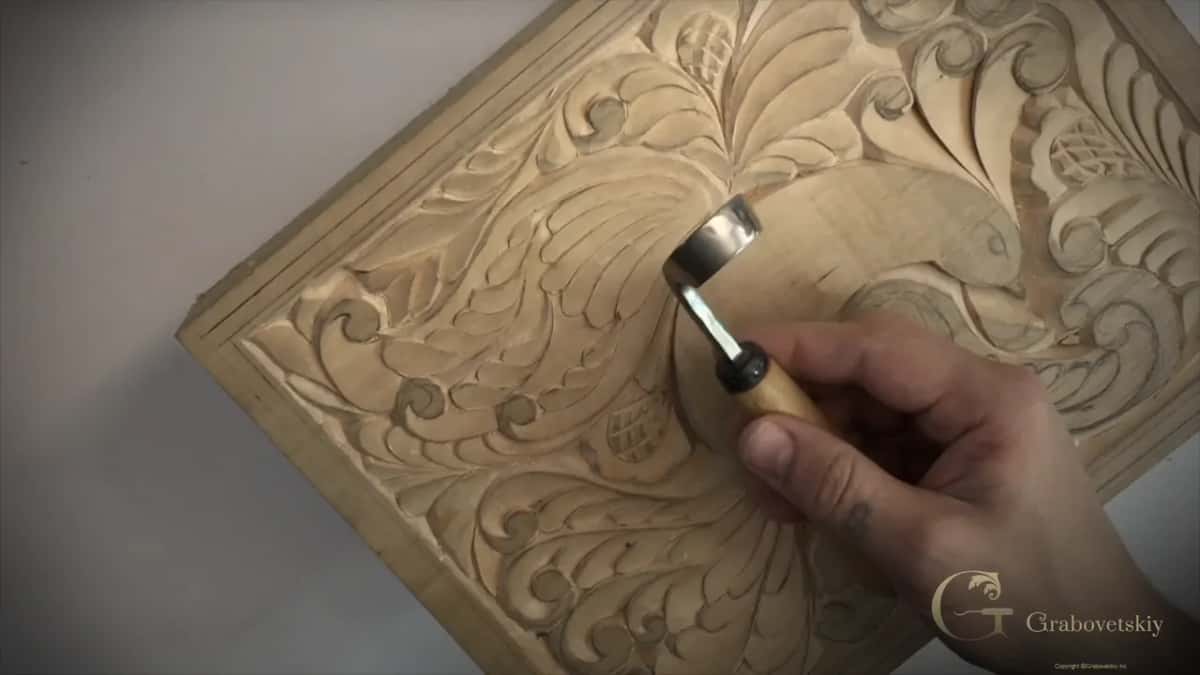
That hook in the picture is for spoons. I own several like it, odd shapes for odd jobs, and a beginner who buys one of those before learning to steer a straight edge has bought a wall decoration. Tools do not teach. Passes teach, and a pass with a tool you cannot steer teaches you the wrong thing twice.
There is a second reason, and it is about where this craft came from. Ancient carvers had one knife, or else a plain straight chisel, and everything you see on old panels came off those two edges. Working that way for a while is how you understand what the tools that came later were actually invented to solve.
What can a straight chisel do that a knife does?
Nearly everything on this panel. Take an ordinary number one carpenter chisel, use one corner of the edge, and you are working exactly as a knife point works, with one side of the steel doing the job.
Knives differ too. Some come to a fine point, others end almost like a skew chisel, and both carve this bird perfectly well. What changes is how tight a curl you can reach into, nothing more fundamental than that.
| Tool in your hand | What it gives you on this line | The cost | When it earns its place in the rack |
|---|---|---|---|
| Carving knife | freedom in a tight curl and total control | slow and demanding | first, and then for years afterwards |
| The number one carpenter chisel | those same passes taken off one corner of the edge | awkward inside any tight curl | wherever a line of yours runs dead straight |
| A V tool | sits in the line, pushing nothing sideways | one angle only | later on, once you can read grain properly |
| The gouges | volume, hollows and speed across a big panel | a whole rack, all of it wanting a strop | once the blade stops surprising you |
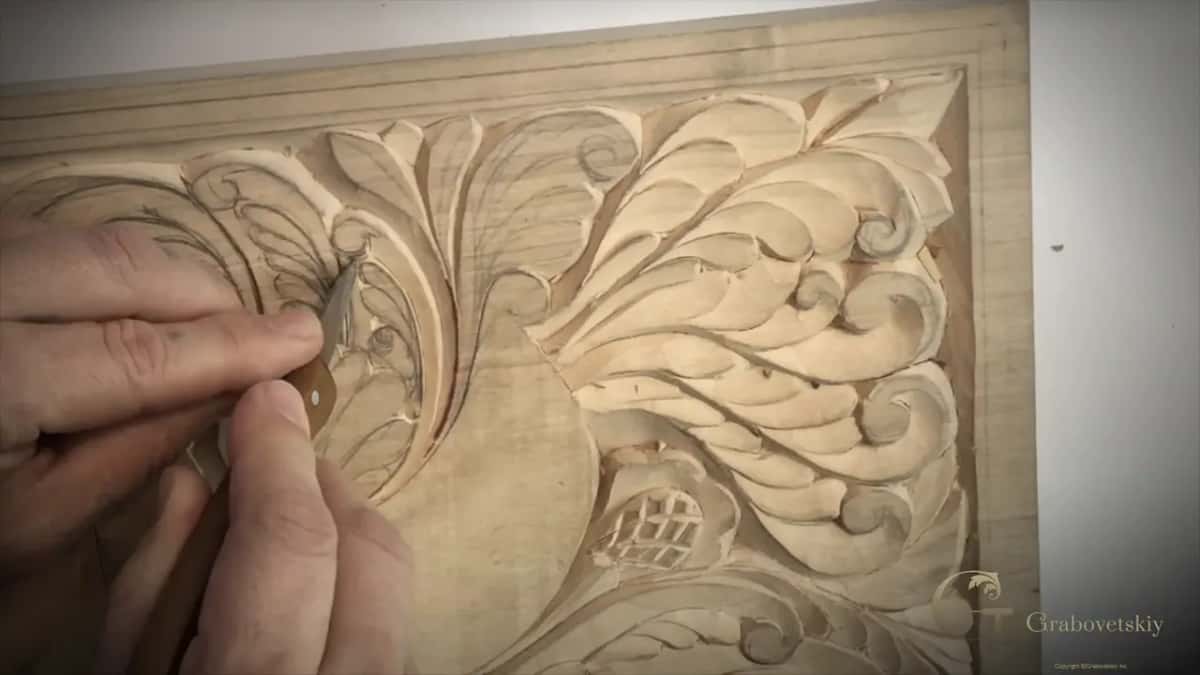
A carver who can handle a blade picks up any of the rest in an afternoon. My reason is arithmetic rather than encouragement. A blade demands the most and therefore teaches the most, so every other tool arrives already half learned.
How close to the edge is too close?
Count the fibers, not the millimeters. When a line runs near the outside of the board, the wood on the edge side of that line has far fewer fibers holding it than the wood on the inside, and pressure there snaps it off.
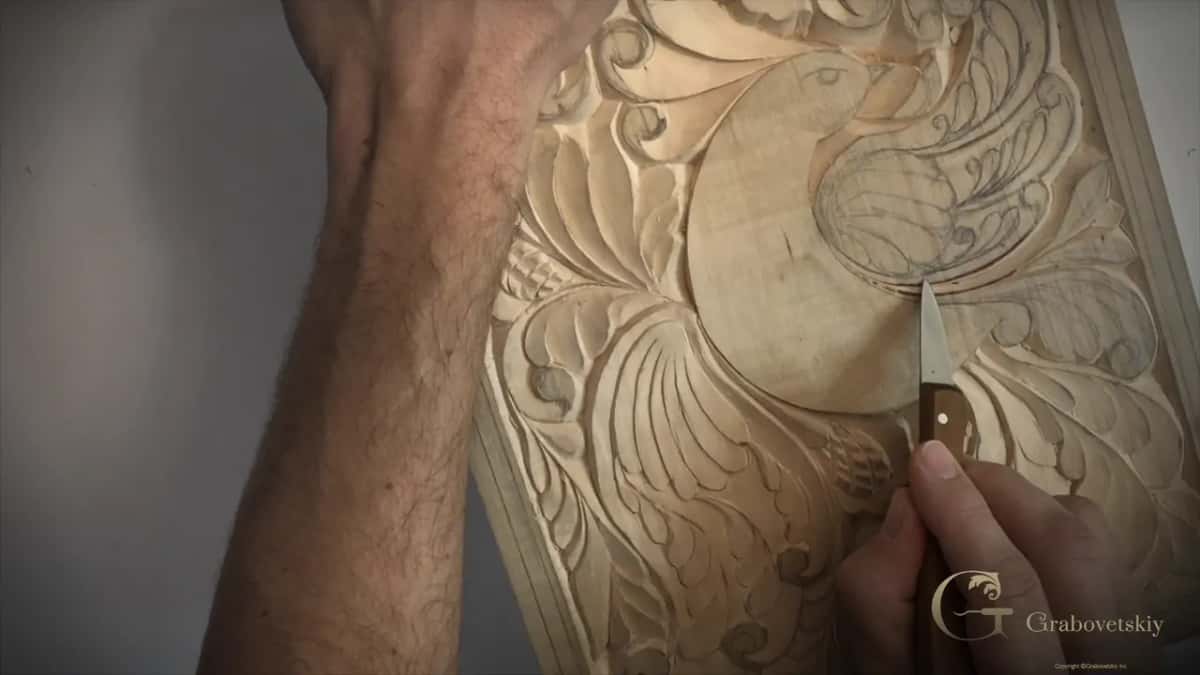
A V tool would solve it instantly, because that tool carries its own bottom in the line and pushes nothing to either side. With a blade you have to supply that restraint yourself. So the pass gets slower, the hand gets lighter, and the edge does the work it was sharpened to do.
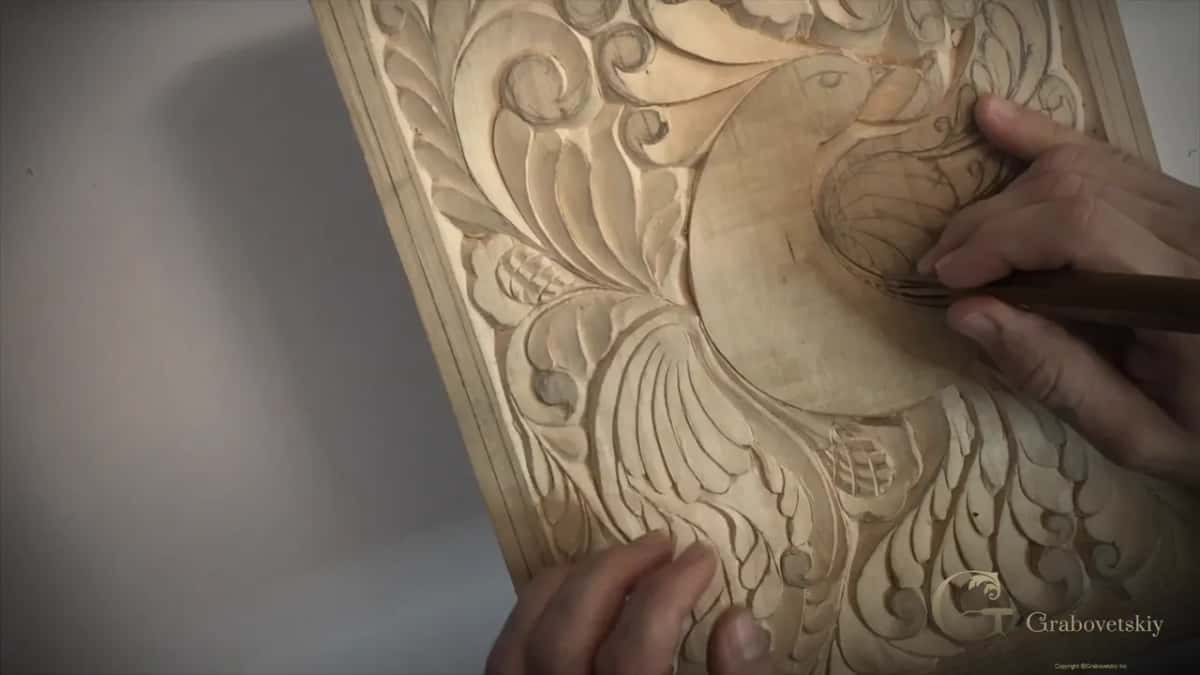
Depth here stays below one sixteenth, roughly two millimeters, and in places considerably less than that, which surprises people who expect carved work to be deep. A small volute needs no depth. Workshop 13 set those numbers out properly on the first wing.
Why does a drawn line get erased before it is carved?
Flow decides it. Every line on this panel has to arrive at another line and carry on, and when one of them swells outward instead, the whole detail stops looking natural. I call that a bubble. Out comes the eraser.
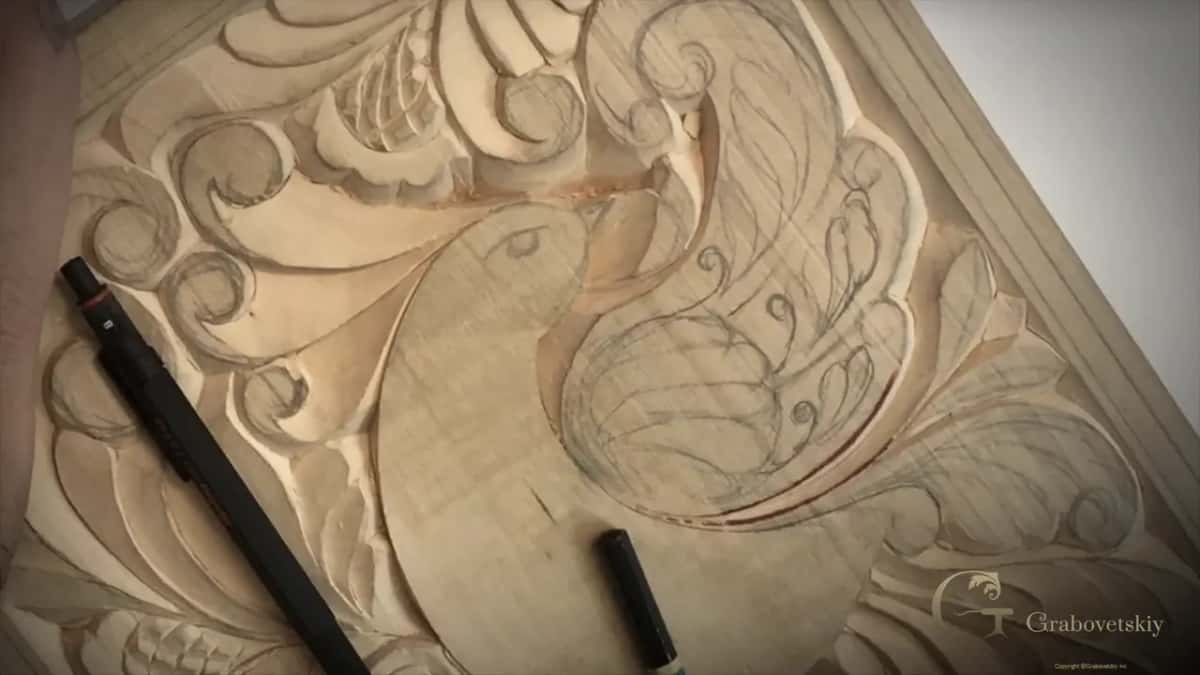
My first drawing on a board is fast and rough on purpose. Speed gets the idea down. Days later I come back, look properly, and half a dozen lines turn out to be fighting the ones beside them, which is normal and not a mistake. Refining is part of drawing, not a repair of it, and I have never once put a design on a board and left it alone.
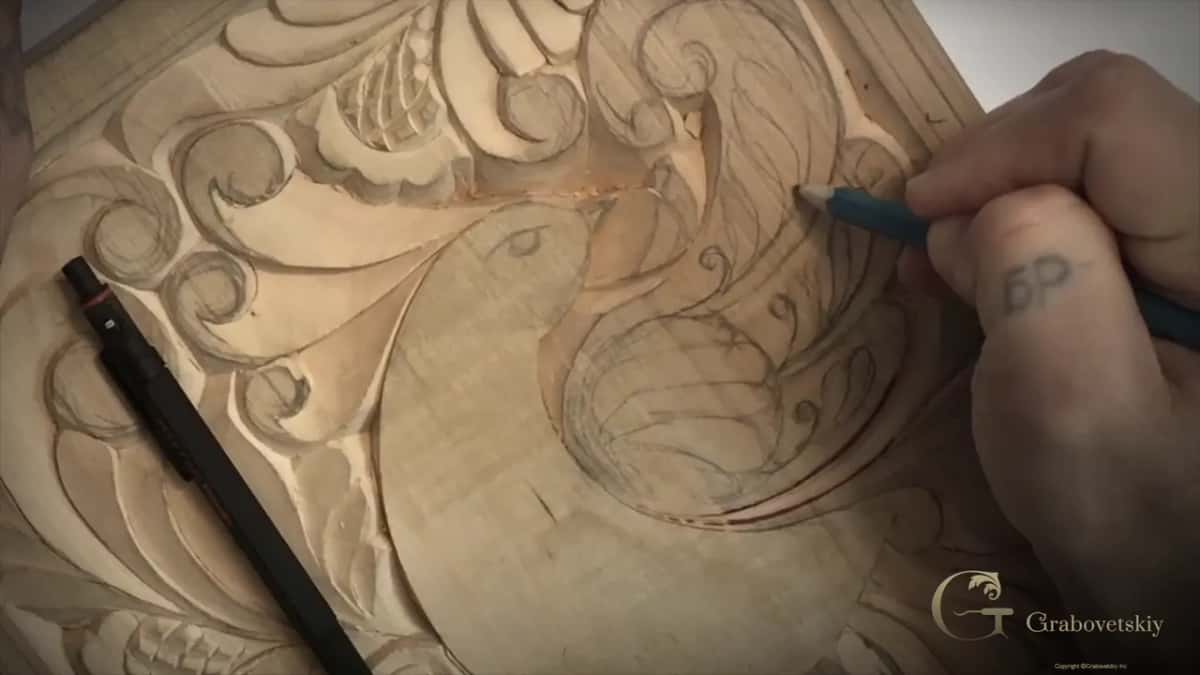
Volutes carry a second line inside the outer one, and that inner line has the same duty. It must flow toward the main line of the design instead of dying somewhere on its own. Get that right and a double volute reads as one growing thing rather than two circles sitting near each other.
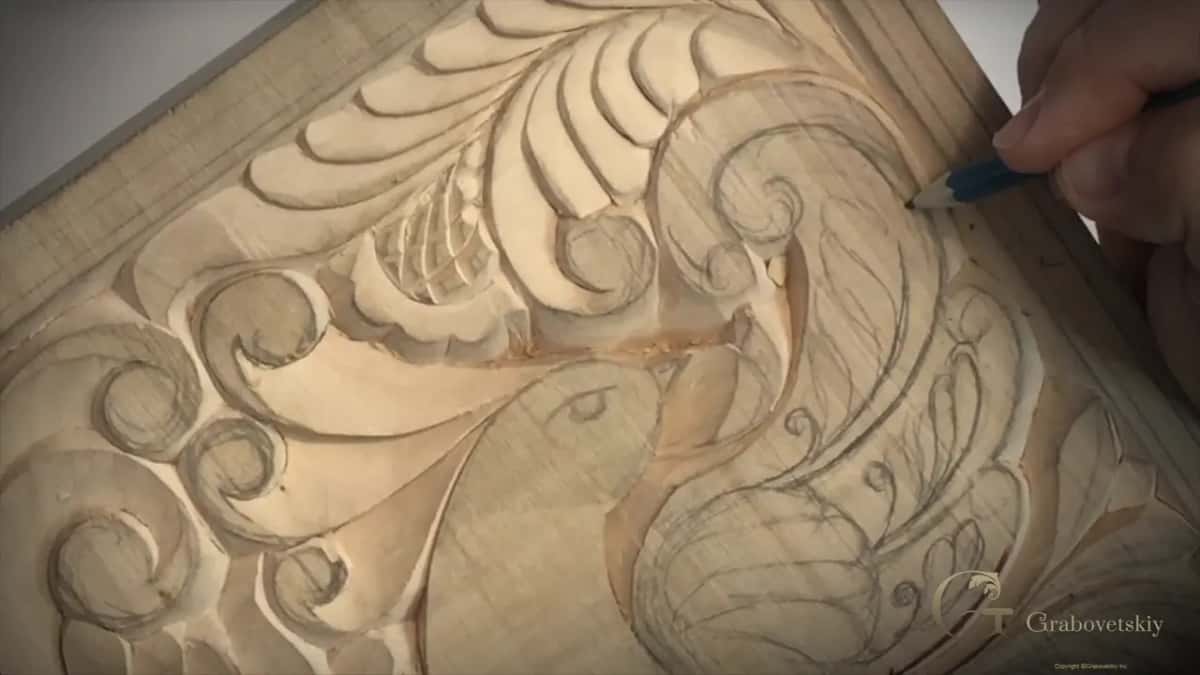
F L O W. I spell it out in the video because the word does the teaching. Everything goes to the same line, and every detail interconnects with the detail beside it, and that difference separates ornament from decoration. The design course is four workshops on that single idea.
What happens when the bevel goes wrong?
You lower the neighborhood. My bevel went too steep on one detail in this session, the blade took more wood than I wanted, and the repair was simply to bring the surrounding surface down to meet the mistake on a very shallow angle.
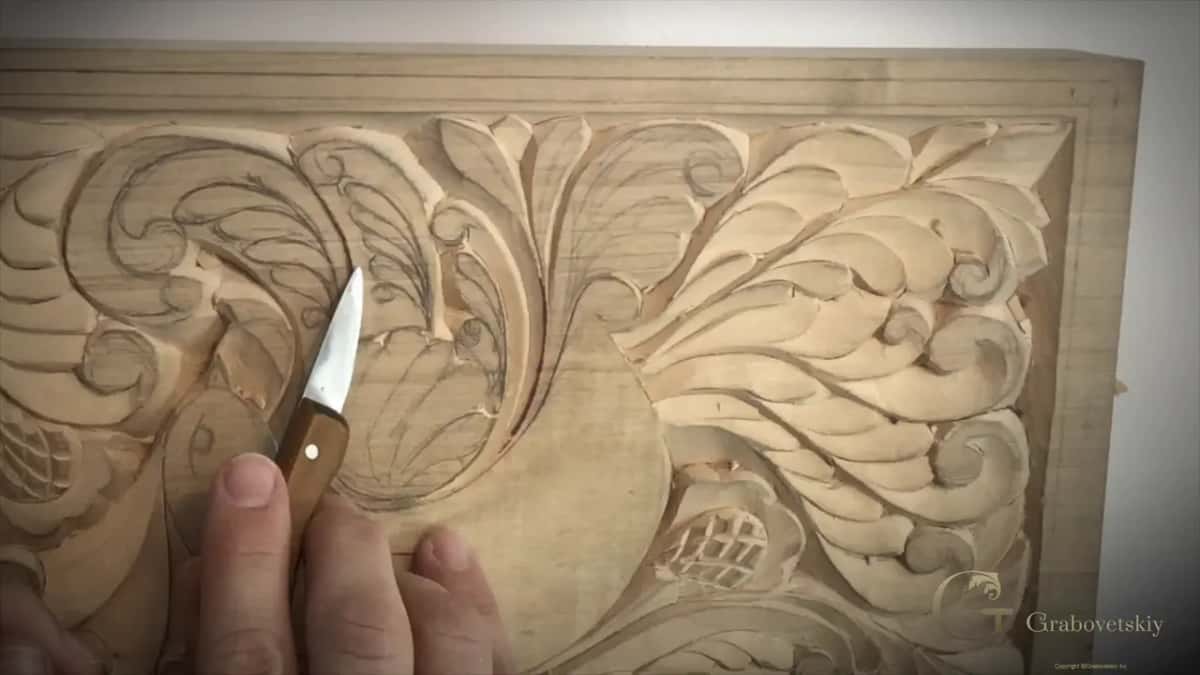
I left that in the video. Every carving I have ever finished contains a few of those, and a student who only watches clean passes learns nothing about the half of this craft that consists of recovery. You can nearly always go back.
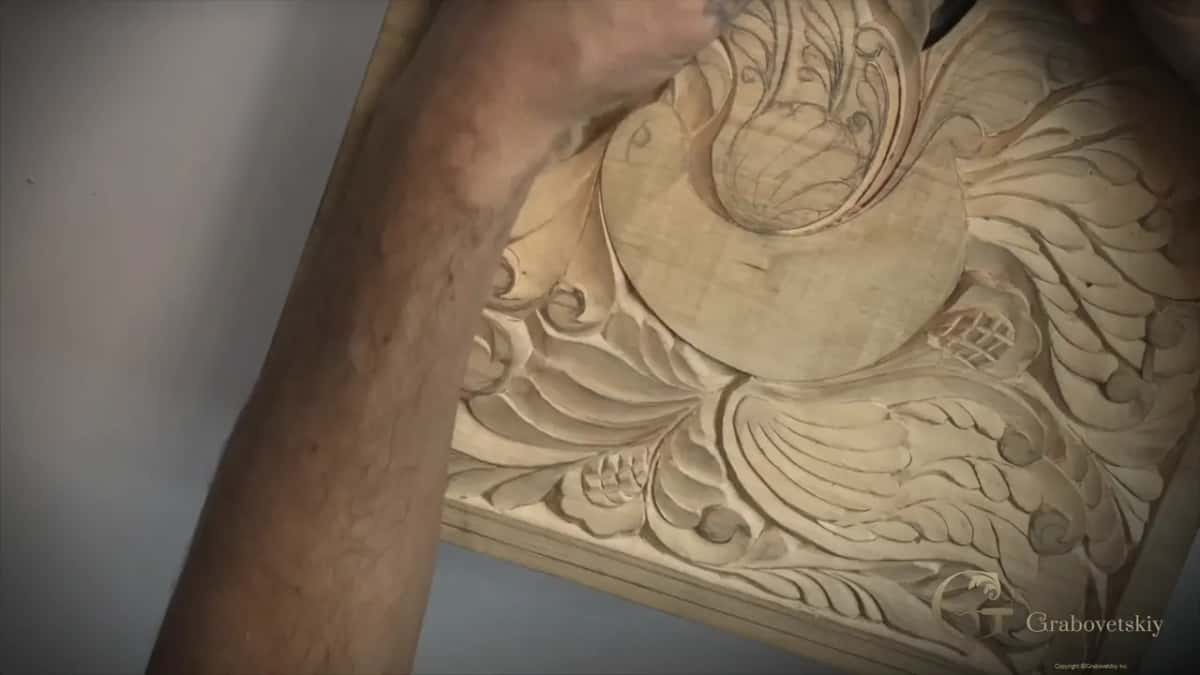
Corners are the other honest difficulty. Where two passes meet in a tight corner the result is rarely clean on the first attempt, and you go back with the point of the blade to tidy it. Later in this course there is a better technique for those, which is one more reason the sequence matters.
How do two passes become one line?
Blend where they meet, and blend early. Around a large detail I make a first pass, then a second one further along, and the place where those two arrive has to disappear completely or the eye finds it instantly.
Almost no pressure at all while you do it. Almost none. The blending pass takes the smallest amount of wood in the whole session, and it is the pass that decides whether the finished wing looks carved by a person or assembled out of separate attempts.
Corners get the same treatment in reverse. Two passes arriving into a tight corner leave a small ragged meeting, and the tip of the blade cleans it afterwards rather than during, because chasing a corner while the shape around it is unfinished usually makes the corner worse.
What changes when the gouge finally arrives?
Volume arrives. A gouge removes wood in curved sweeps rather than straight slices, which matters the moment a design needs a hollow instead of an edge, and that is exactly where this course goes after the bird is finished.
Waiting for it is deliberate. By the time a gouge reaches your hand you will already know how grain behaves, how deep a shadow needs to be, how much pressure a thin wall accepts, and which direction a pass has to travel. None of that is gouge knowledge. All of it is carving knowledge, and the blade taught it.
We are walking the same road the craft walked, from the oldest tools toward the modern ones. Nostalgia has nothing to do with it. Following that road is simply quicker. A student who starts with a full rack spends a long time learning what one edge would have explained quickly, and I have watched it happen often enough to stop arguing about it.
How do you know the edge is still sharp?
Watch what leaves the wood. A pass that lifts one long continuous curl rather than crumbs tells you the edge is in good condition and your angle is right.
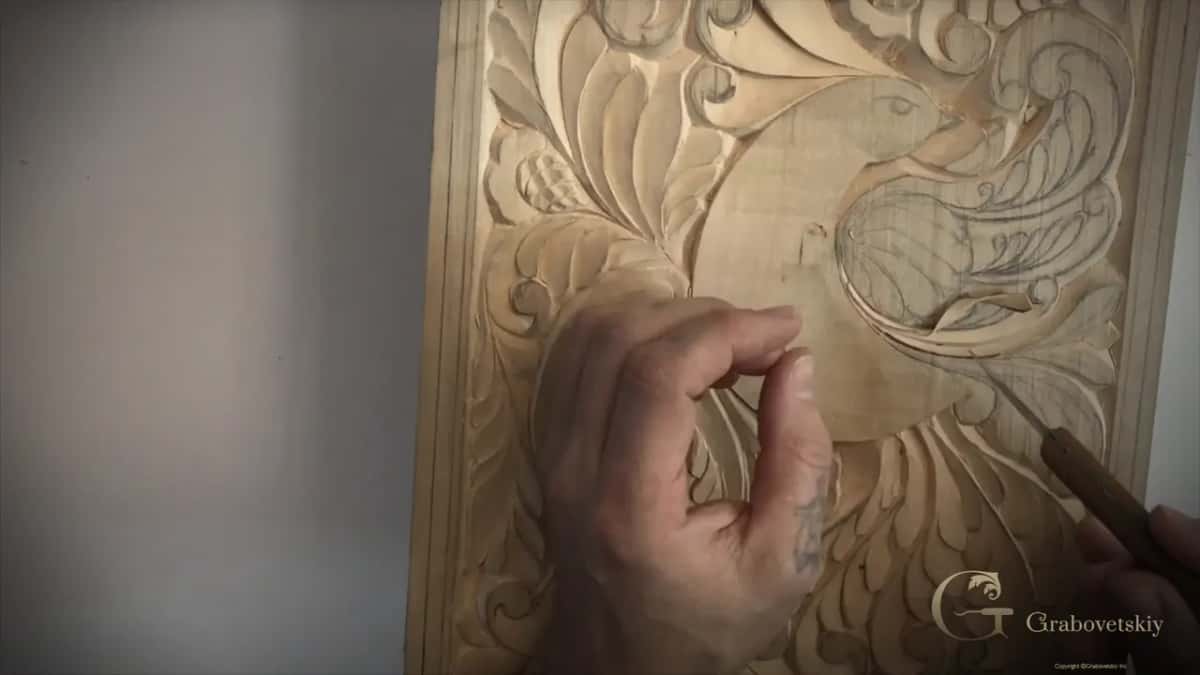
The test is honest because end grain is where a dull blade tears rather than slices, with nowhere to hide. A curl that comes away whole can be broken into pieces in your fingers afterwards, and I always do, which proves nothing and pleases me anyway. The sharpening course exists because this one test decides everything else.
Does any of this apply to furniture carving?
More than you would expect. Plenty of the people who come to the school are furniture makers who want antique work or restoration, and we get to Chippendale style semi relief later in the school.
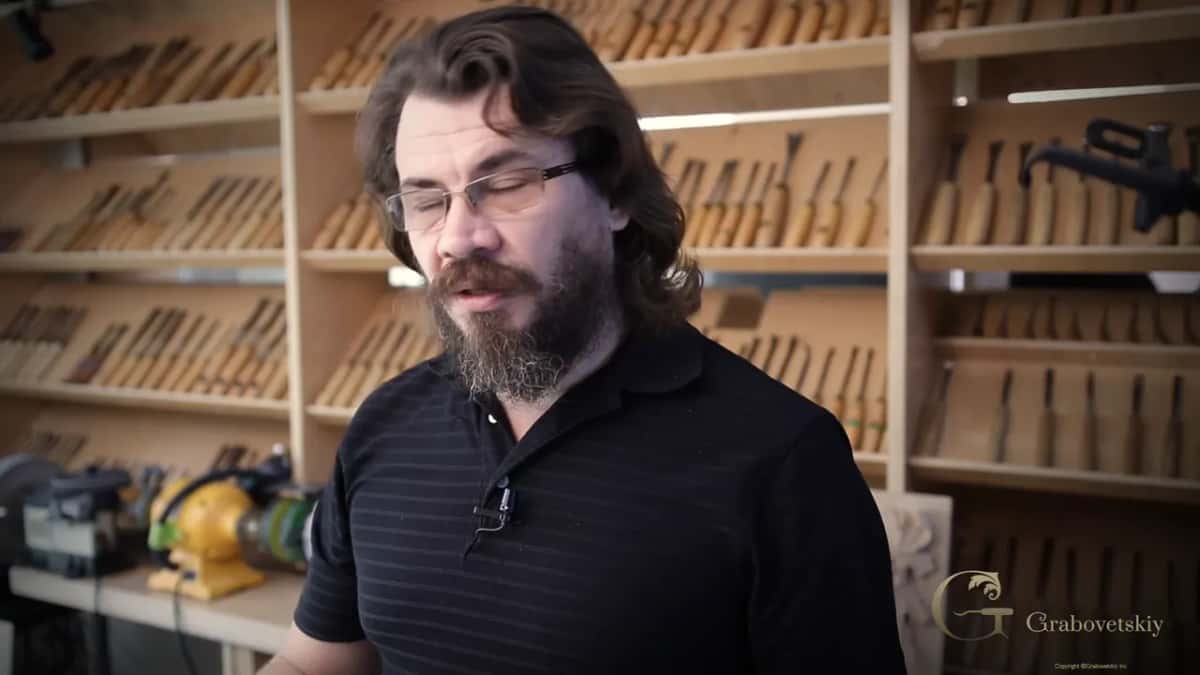
Even on flat furniture ornament, a carver who handles a blade well works quicker than one who reaches for a gouge at every line. Shallow furniture carving is mostly clean edges and confident outlines, and that is precisely what this bird has been drilling into your hands since the first workshop.
What are those details on the wing?
Ornament, although they behave like feathers. The shapes running along the inside of this wing are ornament rather than anatomy, and calling them feathers is a convenience that helps students see where each one starts and stops.
An ornamental bird is not drawn from life. A carver takes the idea of a wing and then makes every shape obey the design rather than the animal, which is why a baroque bird can carry leaves where its tail should be and nobody complains.
Each of those shapes still gets the same treatment as anything else on the board. Outline, low bevel, blend, refine. The wing is not a special case, it is the same four moves repeated at a smaller size, and that repetition is where the skill actually forms.
Why is there no sandpaper on this board?
Two reasons, and both are practical. Abrasive presses fibers together rather than removing them, so the first coat of a water based finish raises the whole surface again, and you sand, and it raises again.
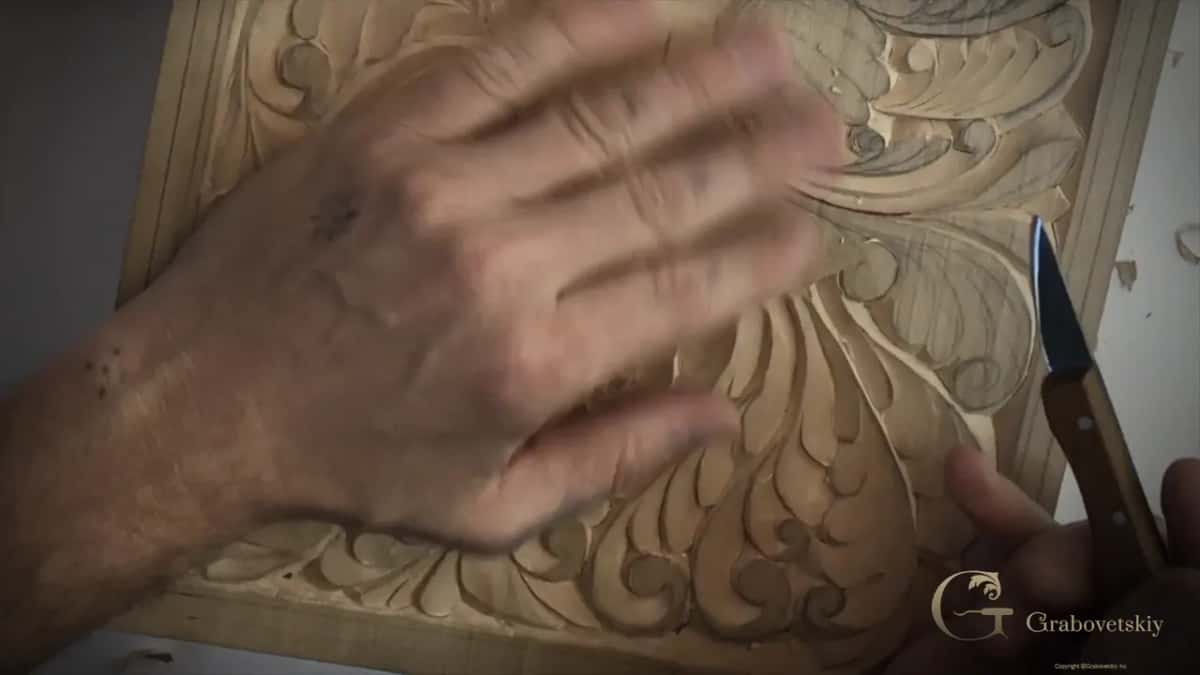
On a flat tabletop that is merely annoying. On a panel full of curls and hollows it is close to impossible, because you cannot reach into the shapes to sand them a second time without destroying the crispness you carved into them in the first place. A carved surface keeps what you gave it, ridge for ridge, which is the arrangement I prefer.
The second reason is how it looks. Tool marks tell anybody holding the board that a person made it, and that is the entire point, and a surface polished with sandpaper looks like it came off a machine. Workshop 8 argues it at length, and Workshop 12 explains what the fibers do overnight.
One more thing, and I mean it. Write to me. Students email me carving questions and sometimes telephone, and while I cannot always answer during filming, the message reaches me. Carving questions only, though. Do not get too excited, and understand that some weeks the recall takes me a while.
Master a blade and the designs available to you stop having a limit. No sales line, just what happens, and it is why this beginner course spends session after session on one piece of steel before a single gouge appears. The tools course covers what waits on the rack, and Workshop 7 deals with how to hold the thing.
You have one board, one knife, and a bird that is half drawn. The rest of this carving is waiting, along with three thousand other lessons. Shall we carve?
How it's done
- Fix the drawing first. Look at your lines again days after you drew them. Anything bulging out of the flow gets erased and replaced with a line that reaches its neighbor.
- Outline with a slight bevel. Travel the outer line of a detail with the blade barely leaning, going less than two millimeters deep on the smaller shapes.
- Count fibers near the edge. Where a line runs close to the outside of the board, take the weight out of your hand entirely. That wall breaks under pressure, not under sharpness.
- Lift the triangles if it helps. Pass down either side of a waste triangle and take it out, rather than travelling the whole shape in one movement. Both roads reach the same wing.
- Blend the two passes. Where one pass meets the next, take the smallest amount of wood you can manage until the meeting place stops being visible from any angle.
- Read the shaving. A long curl coming off end grain in one piece says the edge is right. Crumbs say strop it before the next detail.
Frequently asked questions
Can you carve a whole panel with only a knife?
Every shape on this bird comes off one blade, and old carvers worked the same way for centuries with a plain chisel or nothing else at all. Gouges bring speed and hollows later, though nothing here needs them.
What knife do you use for this carving?
Shape matters less than most people think. Some blades come to a fine point and others end nearly like a skew chisel, and both carve this board. A finer point simply reaches further into a tight curl.
Do I need a V tool for lines near the edge?
Helpful, certainly, since that tool carries its own bottom in the line and pushes nothing to either side. A blade asks you to supply the restraint instead, and owning that skill before you own the tool is the right order.
What to carve next