
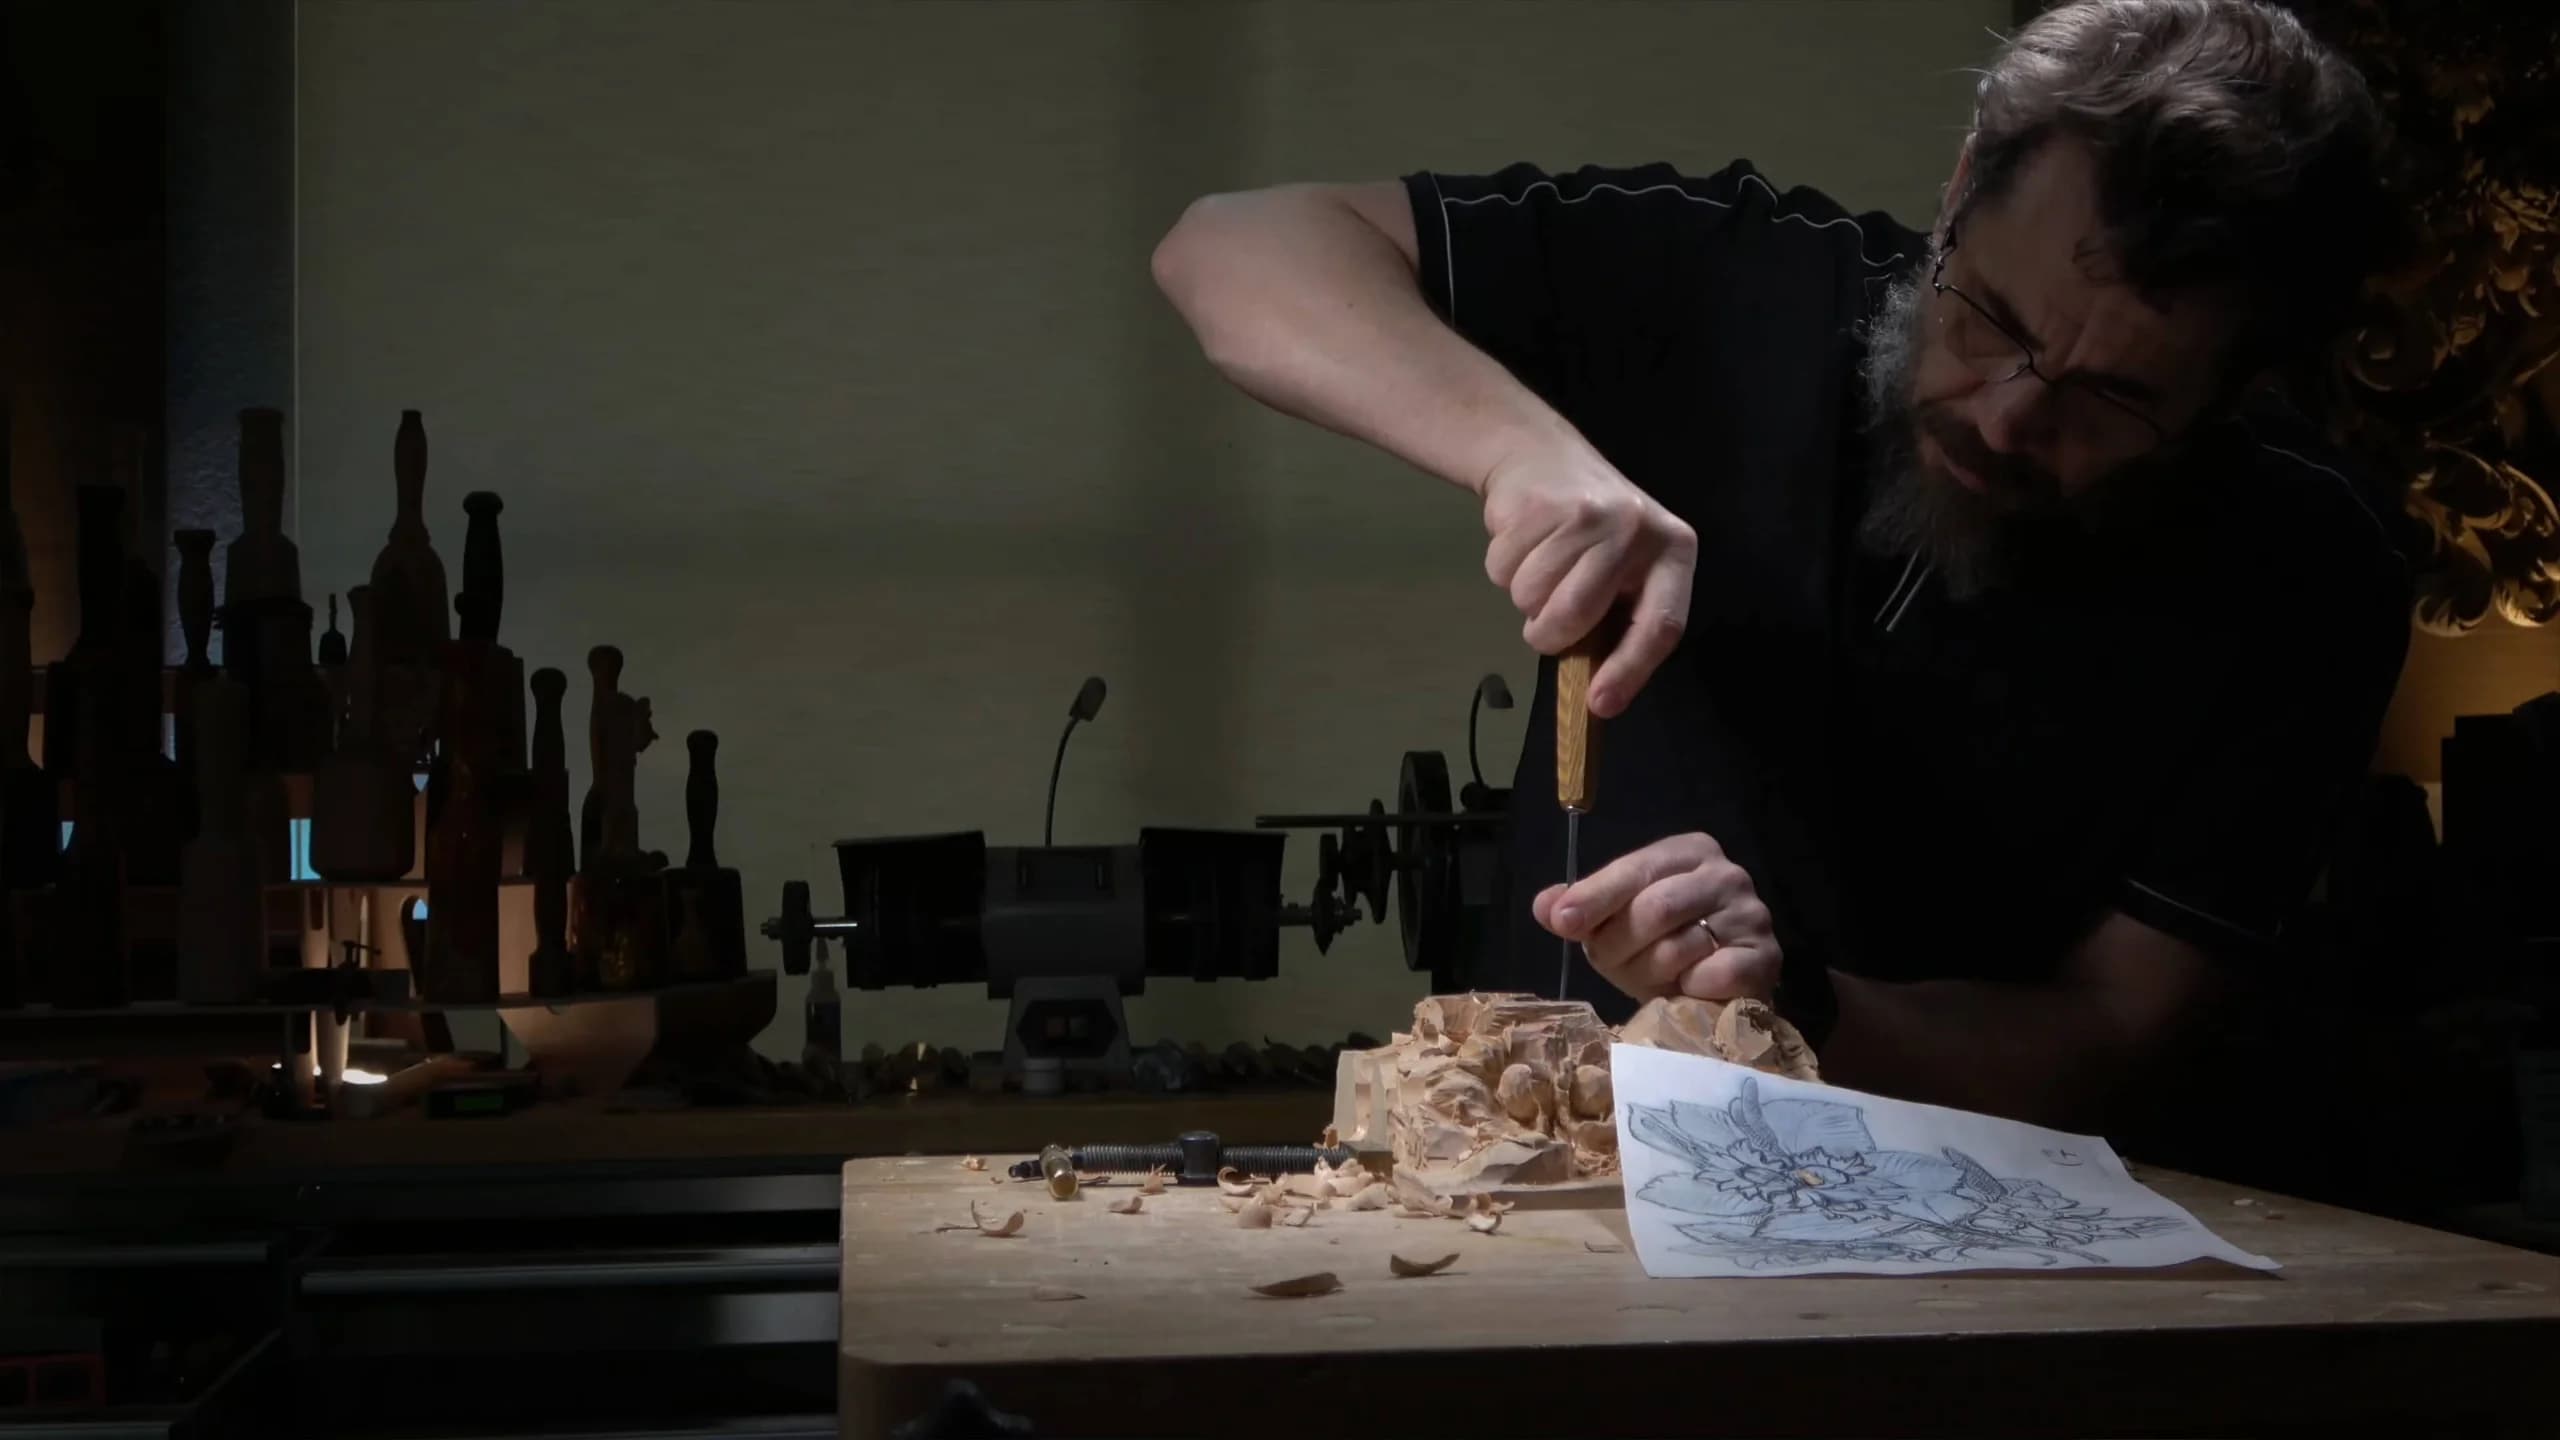
Alexander Grabovetskiy, woodcarver, School of Woodcarving · Published 2026
How do you carve a hazelnut so it doesn't look like a grape?
Quick answer: A carved hazelnut that looks like a nut is, on my relief panel, a slightly prolonged oval with a direction. In lesson 5 I aimed each nut from inside outward and up a little, kept the meeting point shallow early on, and left wood inside the husk's edge so the husk lies on its nut.
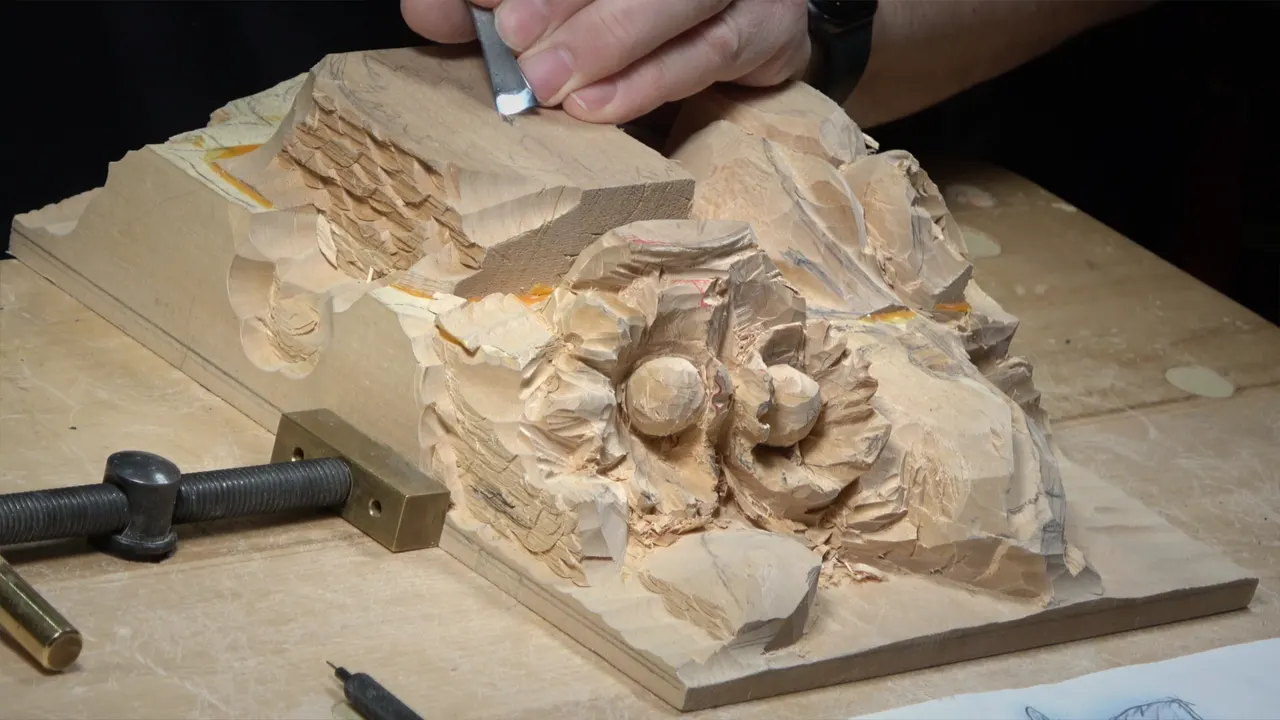
A hazelnut carved to read as a nut, and not a grape, is an oval that grows one way, and that is how I shaped the nuts of the third bunch in lesson 5 of my hazelnut wood carving course. Each nut stayed a little long. It pointed up a bit, from inside, with the husk lying on it.
Do you want a carved nut that reads as a nut even from across the room? And do you want the husk to sit on it the way a husk sits on a real hazelnut you could pick off a bush? Lesson 5 shows the shape I went after on the highest bunch of the panel. The tools and the numbers I gave follow below, in the order they came out.
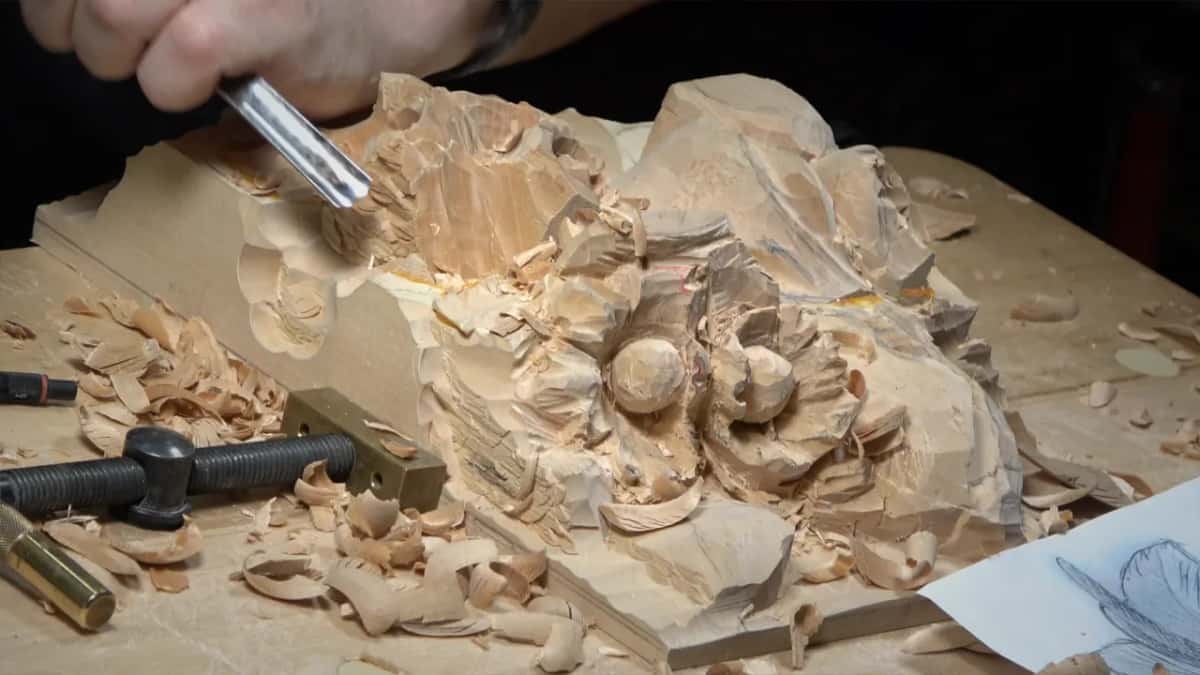
Seven short lines from lesson 5
The third bunch is the highest one on the panel, and I placed most of it by eye.
Each nut is close to three quarters of an inch, 19 mm.
The meeting point stayed shallow at first.
My nut is an oval, a little prolonged, and it doesn't need true roundness.
It points out from inside and lifts a little.
My husk lies on its nut, so I left wood inside its edge.
A leaf below runs downhill, with only a little undercut beneath it.
Where does the third bunch start?
Right at its center. "I don't have to be super accurate and repeat exactly like the pattern," I said, and there's going to be some creativity. But where that bunch starts still needs some accuracy, and that point became my center. This bunch is the highest one, and the lesson opens on it.
A slim number 3 went in first, about 10 mm, or 3/8 in. The triangle was what I was after. One side I could chop freely, I said. Then I sloped the rest in toward the center with a bigger number 3, roughly one inch (25 mm) wide, made by Ashley Iles. I told the camera that one equals a number 2 if you like to use Pfeil.
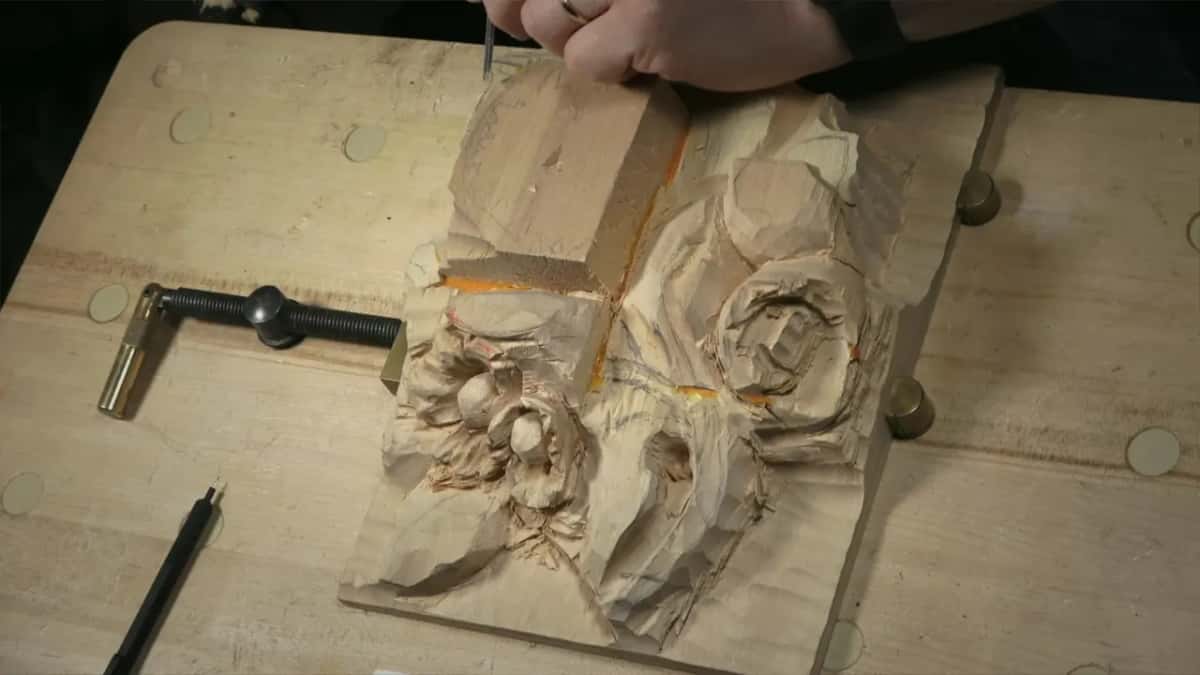
The rest I eyeballed. One side sat about an inch out from the center, and that marked the end of one nut. Two more points were roughly an inch and a quarter away. The ends of the husk came out near 5/8 in (16 mm) on one side and a little bigger on another.
Partway through I wondered out loud if I could extend this one guy also. A little later came a warning: "So got to be careful not to destroy it."
Don't trust your eye yet? Measure. "Please feel free to measure it," I said. "Take a tape measure ruler and measure it." A tape measure is fine. For me those marks only show approximately where things go.
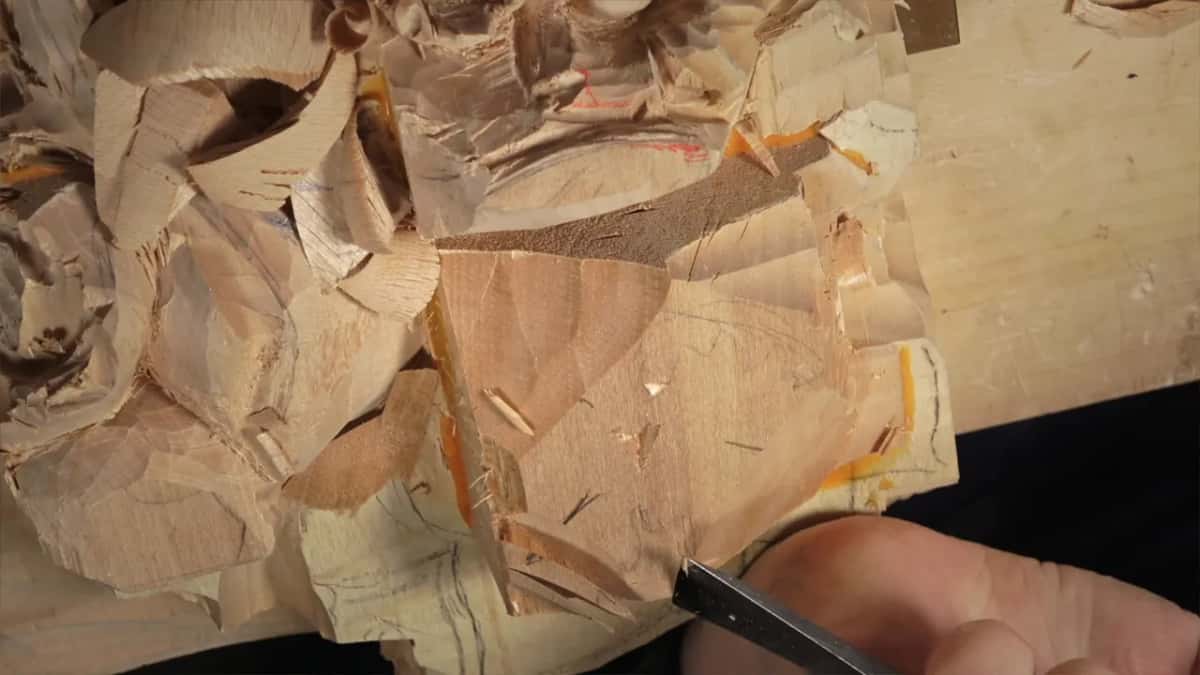
How much room does each nut need?
About 19 mm (3/4 in), the size of the nut itself. On this bunch they're all pretty much the same. So from some of the high spots down, it's three quarters of an inch right there, as I put it.
First a little number 11, about 3 mm, outlined the places for the nuts and the husk. The husk is kind of high, I said, but you also have to look at it overall. Then I changed my mind about a tool. My previous tool was what I said I'd get, and then I took a Pfeil number 11 of about 15 mm instead. It took out a bit of the waste, with not much separation on one side.
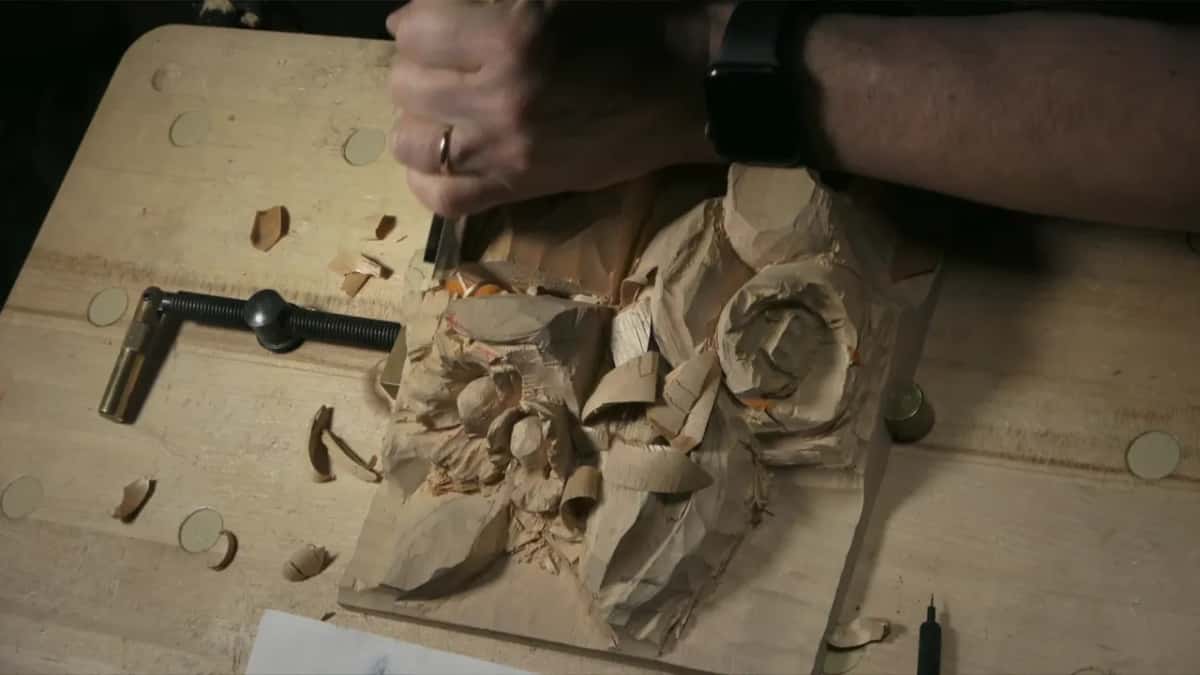
I worked against the grain there and said so. "I know I'm working against the grain and break the really important rule. But sometimes it's okay if the tool is sharp, so it should not be a problem." Later, on the husk, the same thing happened, and I gave a plainer reason. It was the position of the camera, and I didn't want to waste the time moving everything.
You really have to look from all of the sides. And I was lowering one side so my nut would have space.
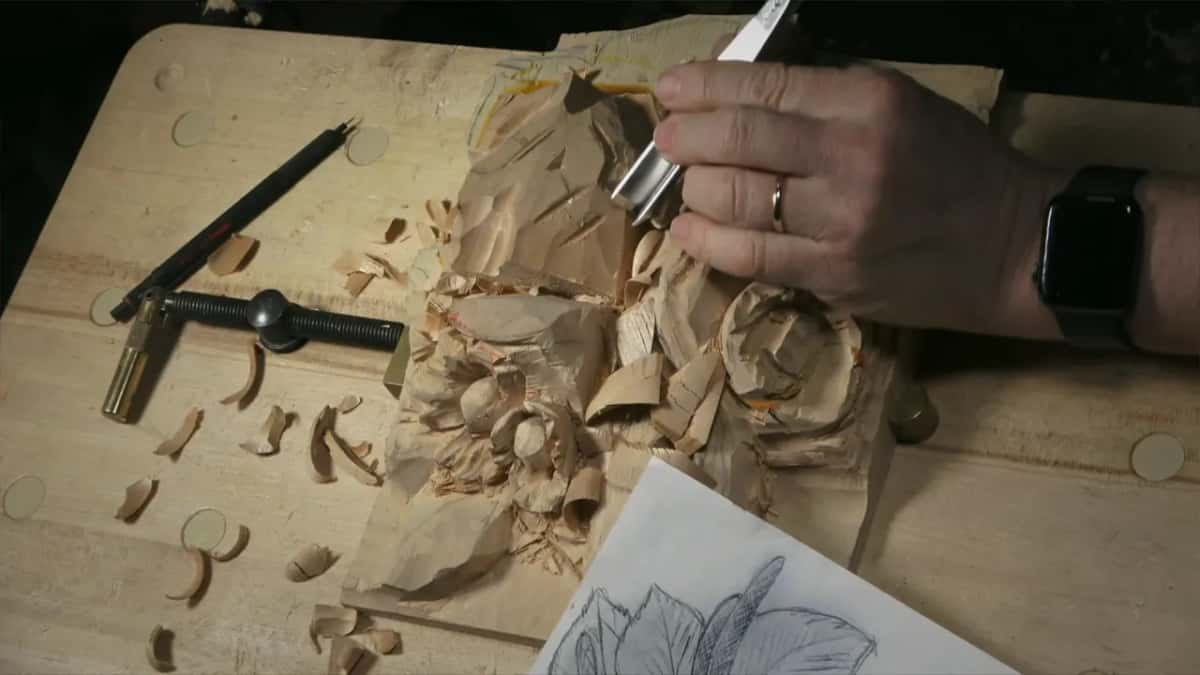
How deep do you go where the nuts meet?
About 1/2 in (13 to 14 mm) at first. I gave it as a range, 14 millimeters, 13, something like that, and then the limit: "No more than that." "Just don't dig too deep in this area right away," I said about the intersection of the bunch. This is going to be kind of hard to fix later.
You can always go back and fix the position of that spot, but going deep from the very start is what makes it hard. All of it was just blocking in. I needed to lower one side and make it deeper. At one point I said, "Let me see what I've done," and I saw I could go a little more one way.
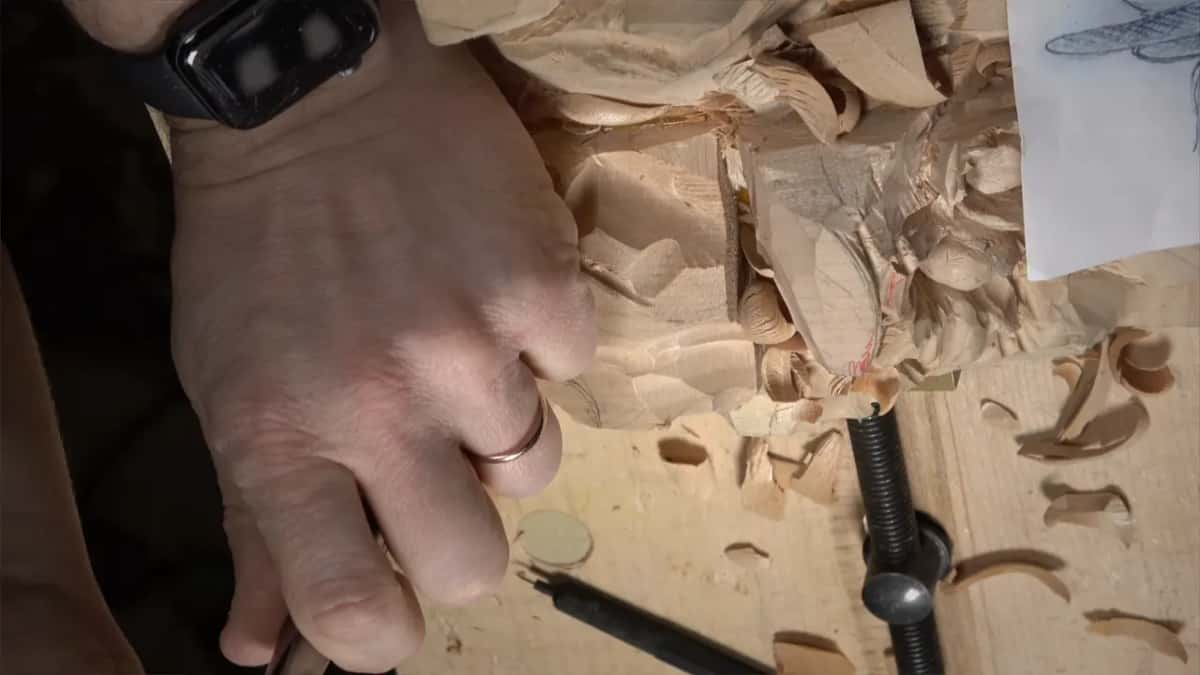
Later in the lesson that same intersection went much deeper. Measured from the high spot all the way low down, it came to about 3/4 in (19 mm).
And don't create the final shape, whatever you work on. I called that another mistake. The shape looked "roundsy" at that point, but still really rough, and I gave that as the example.
What shape is a carved hazelnut?
An oval, a little long. "It's supposed to be kind of prolonged slightly," I said. "So it should not be just like a grape." Earlier in the lesson, when the roundness was just starting, I said it doesn't need to be the true roundness, but still.
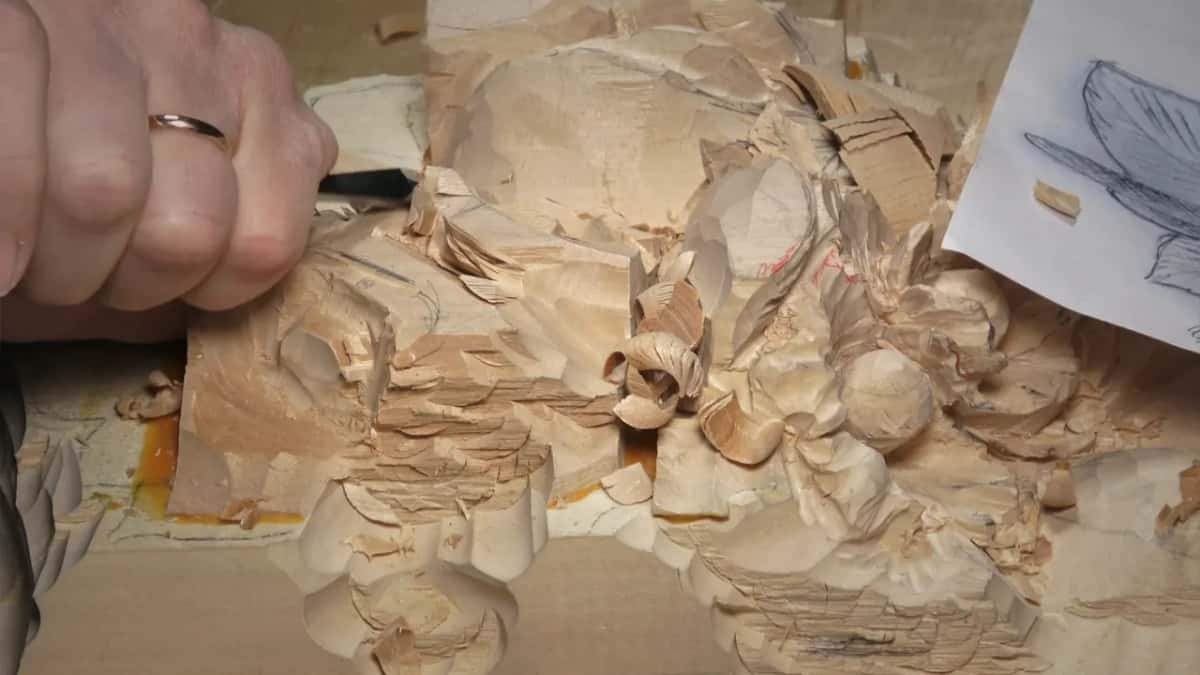
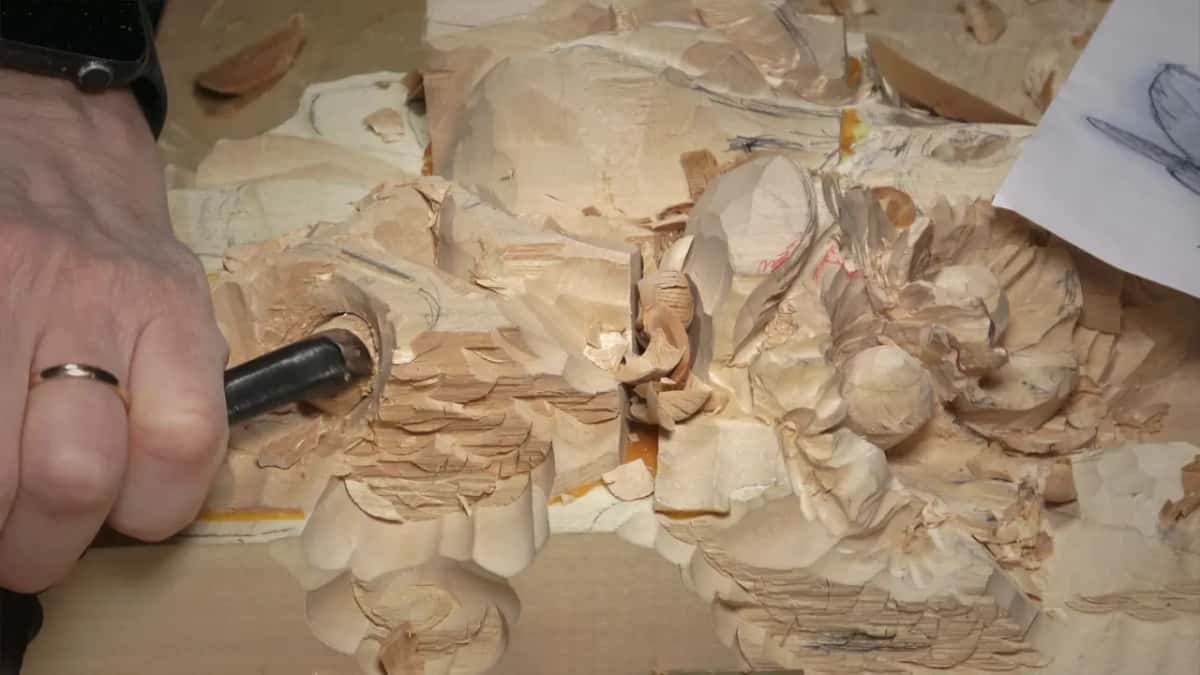
The shaping started with a Pfeil number 3 of 12 mm. I said I could use a number 7 right away, and a bit later that a number 7 would be better in that case. "Okay, let me get number seven," I said later, and the one I took was about 14 mm (9/16 in), to refine some of the shapes.
Keep an eye on the shape of the nut itself. "It has a prolonged shape somewhat," I said while I worked. Later still I said it again, that it's got to have some kind of prolonged shape coming from inside.
In lesson 24 of Carving Hashemi Flowers I told viewers the berries don't have to be perfectly round: like in nature, a berry can look round, but when you look closer, it's not really rounded.
Which way does a carved nut point?
Outward from inside, and a little up. "You got to aim and think about how it grows from the inside outward," I said. "From inside up a little bit." That was about the nut, and then I put it plainly, it's not like a bunch of grapes. "It has some direction."
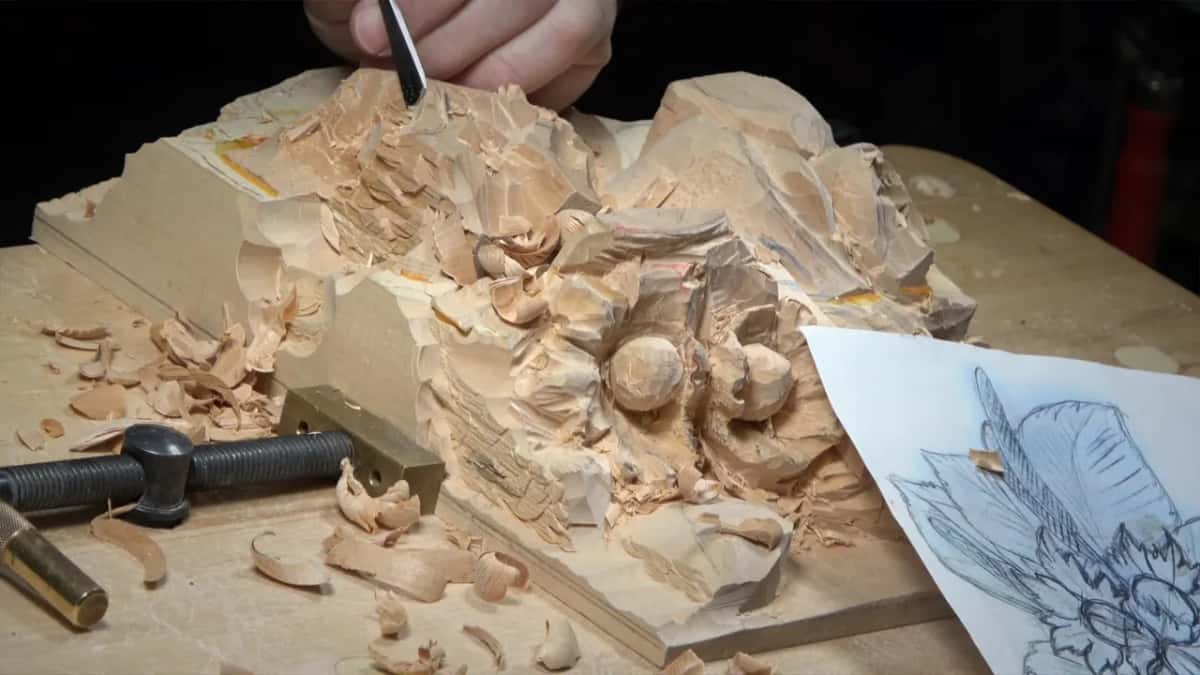
I said the same thing earlier, before the 14 mm number 7 came out. Think about how it grows, I said, and how you're supposed to aim the motion of this nut.
In workshop 99 of the Venice Room I gave two acorns a direction too, and said I thought they were going to face this direction.
Why would an undercut spoil the nut?
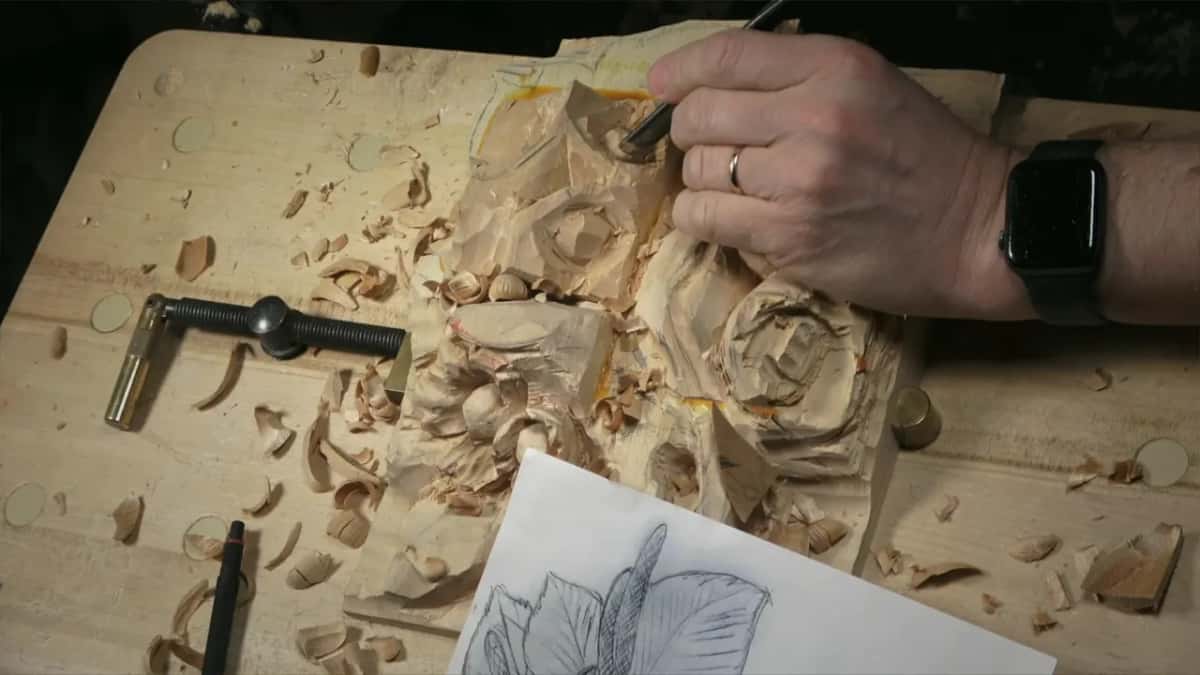
The oval runs from one point inward. That's how I put it on camera: "the oval is supposed to go from this point in, so don't start undercutting this way. That would be a big mistake."
Digging beneath the husk was a different matter. Right after that warning I said, "And let me actually excavate under the husk."
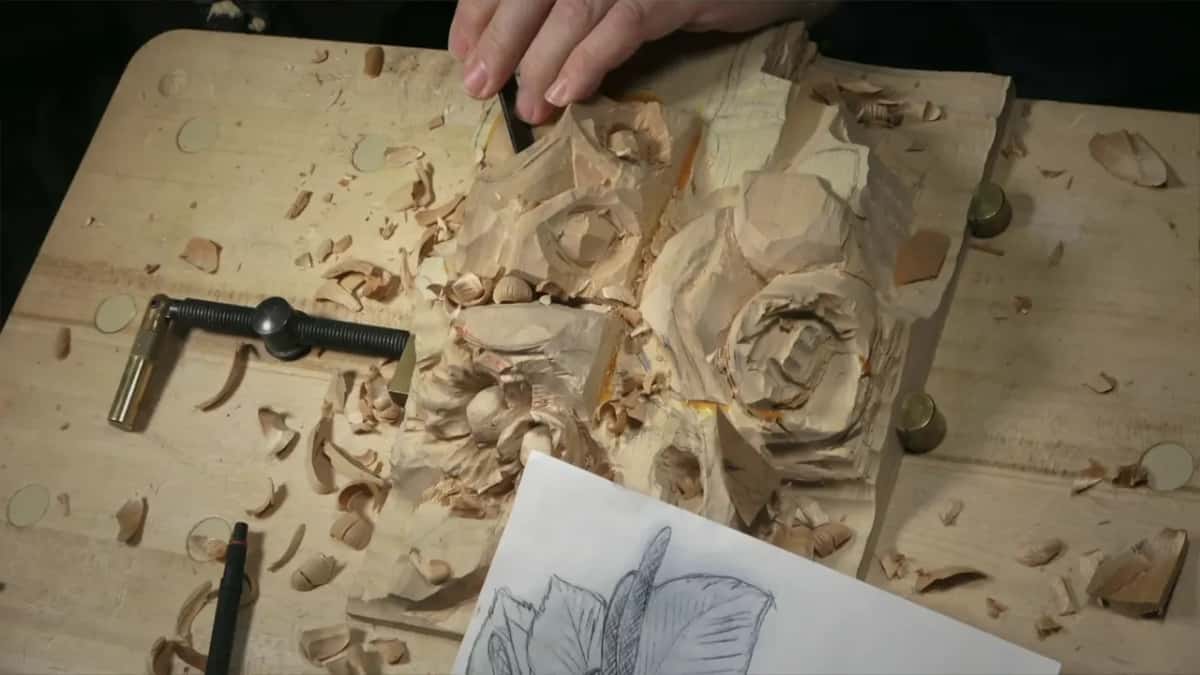
Why does a carved husk look disconnected from the nut?
Too much wood came out inside its edge. "From the edge of the husk, don't excavate too much on inside," I said. "So that would be a big mistake." It won't look natural, and it won't look nice either.
The husk has to lay pretty much on top of the nut itself. Dig out too much there, and it doesn't look like it lays at all. In my words, "like it's disconnected." One husk on this bunch was the exception. It was going to move uphill, so in that case it was okay.
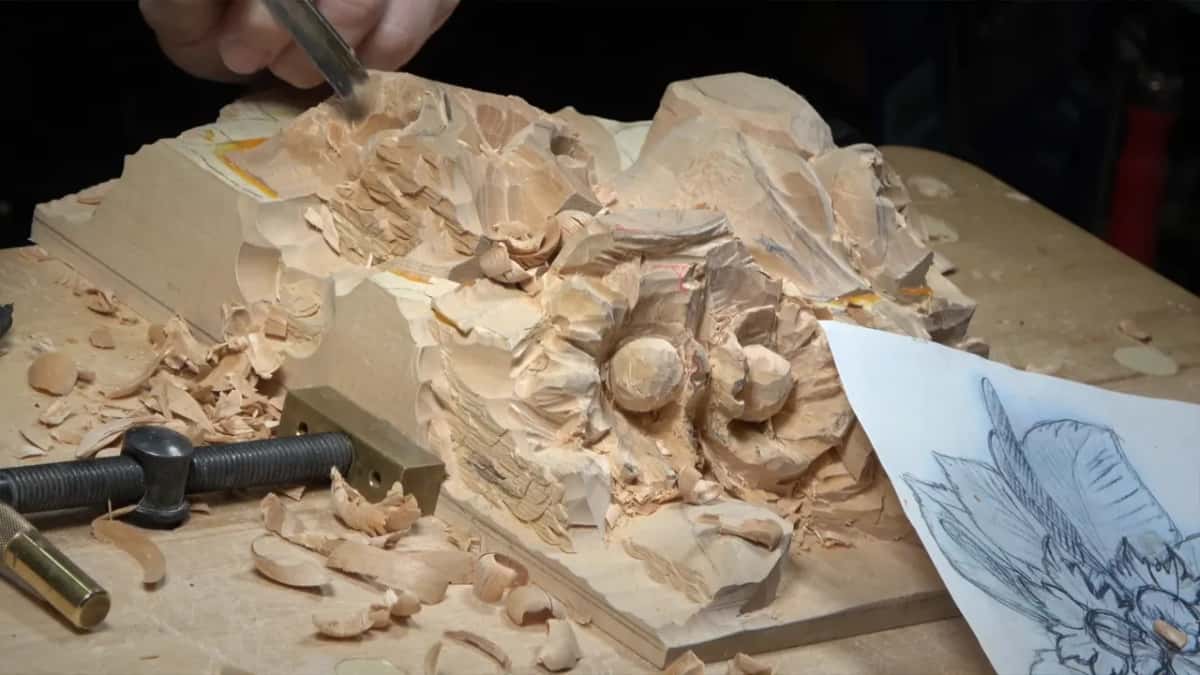
So I brought one side of the husk closer to my nut, and later the other side too. Some wood stayed, because of the waviness I want to bring into that husk. Part of it goes outward from inside, so I checked that side as well.
Don't worry about how thick the husk is yet, I said. We can always refine it a little later. And don't make the spacing too wide.
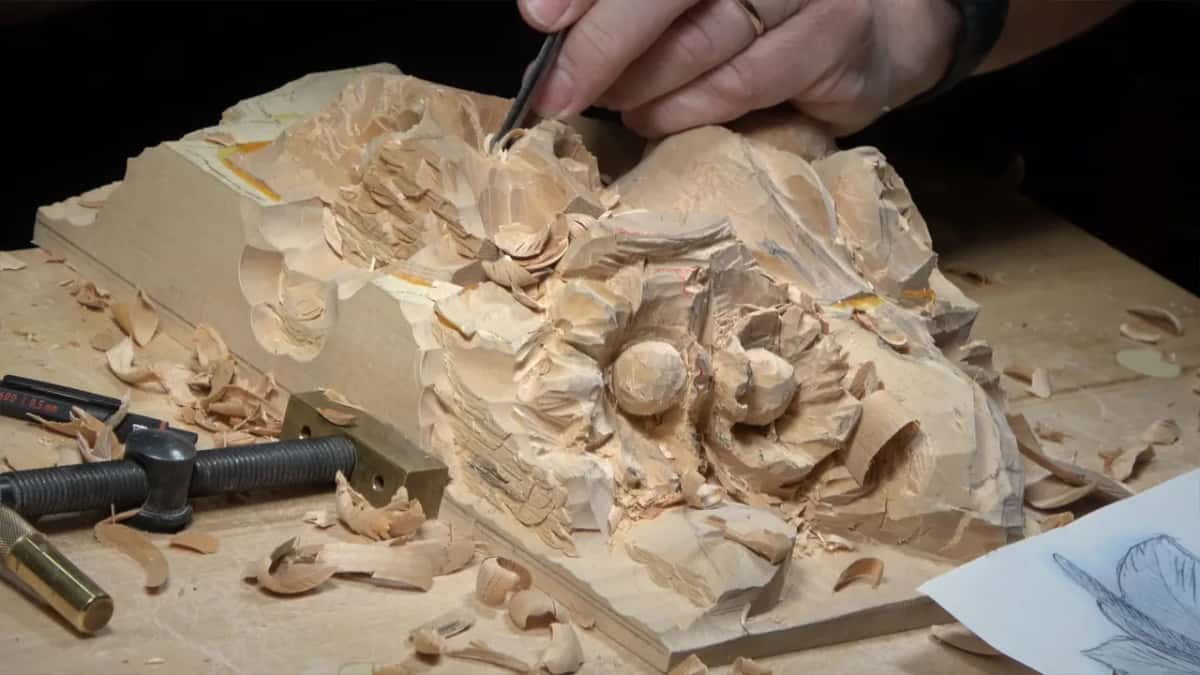
"And that is enough, I think," I said about that side, and then I was not done after all. "Although, I can start probably somewhat more shaping. Let me think how I can do that."
One part of the husk can go right on top of another part with the same tool, I said. "Again, I'm just blocking in," I added. "I don't really worry about how accurate that's going to look at this point."
One part got a curl late in the lesson. "I know not everything is supposed to curl," I said, but I thought it a good idea to curl it outward slightly. Where each nut sits inside its husk was the job of lesson 4, on the second bunch.
After the curl I said that was good, and that the same tool could take off extra wood I would not need.
What happens to the leaf under the husk?
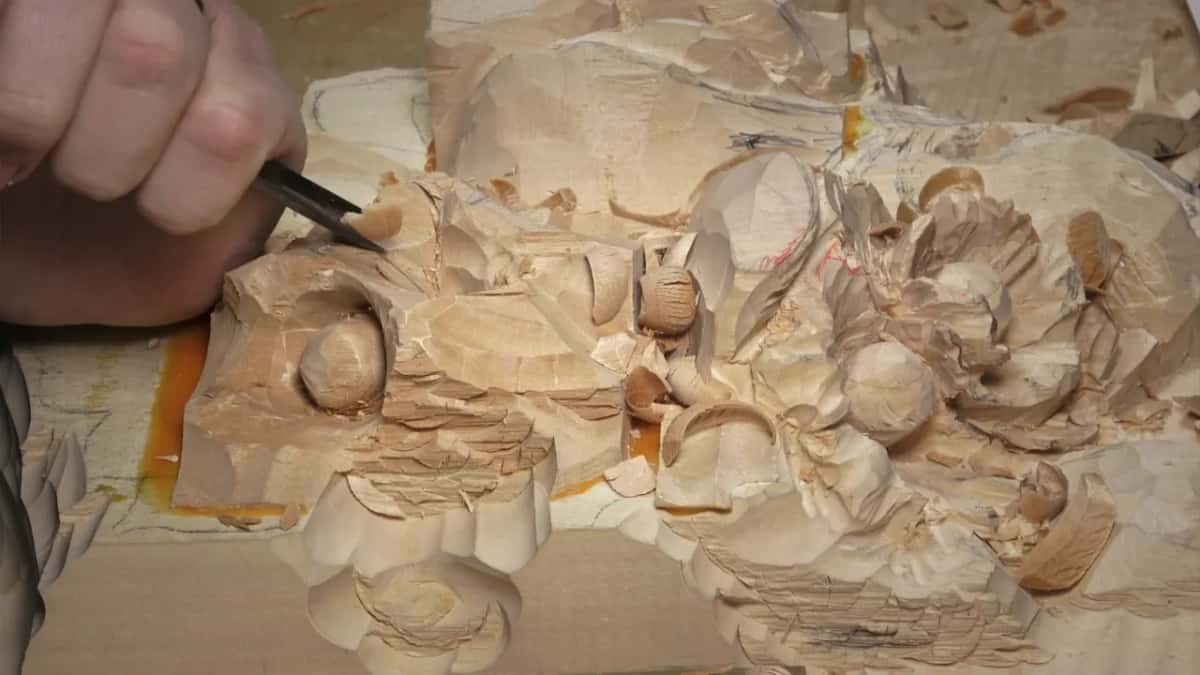
It gets its room first, and then it heads downhill. Near the end I could see the leaf, with a second leaf to come, and something sticking right on top of that thing, in my words. Which meant I had to consider it.
To leave space for that first leaf, I said I have to keep at least half an inch of material, for now, for that little thing. The leaf would sit just above it. That meant I could safely drop part of the excess.
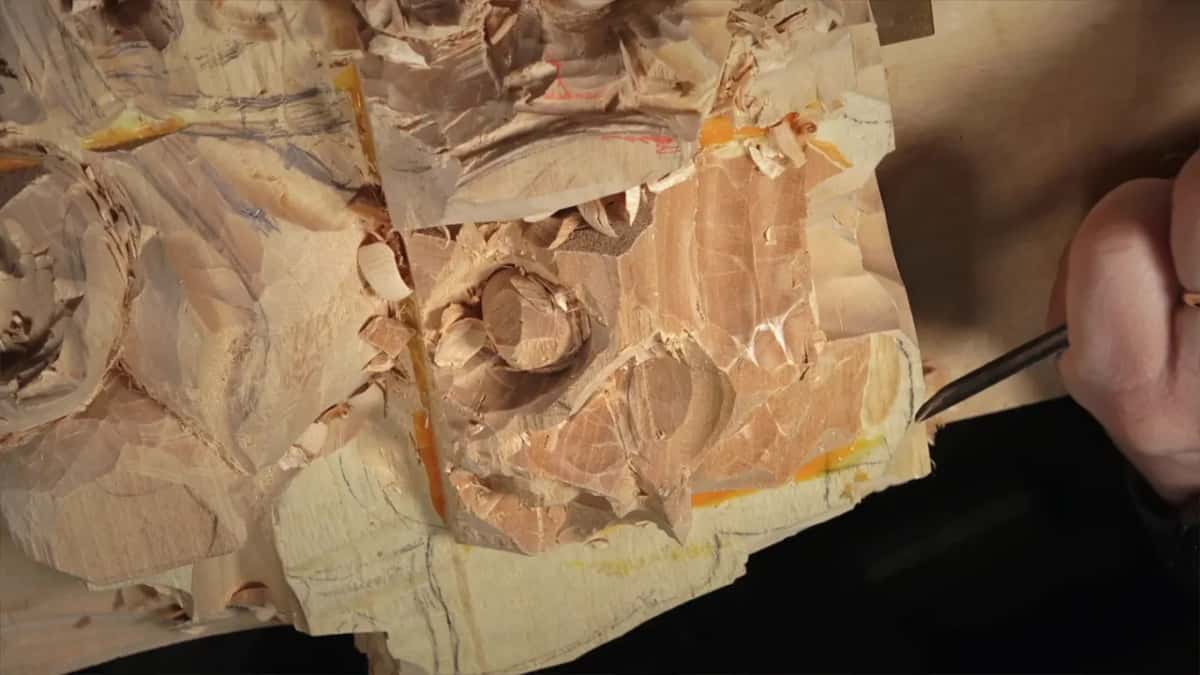
That leaf goes downhill. Its highest part is where it sticks out from underneath the husk. A big number 7, close to an inch and an eighth (29 mm), went down right away, and I said I could safely start undercutting on one side.
Not too much, though. I was making sure it slopes downhill, because I don't want too much space undercut underneath. "People are going to look from the side also," I said, "and if I'm going to create too much down, it could create a problem." Even so, at least I could see the overall motion, and I said one part could also be chopped to that length.
Which gouges did lesson 5 use?
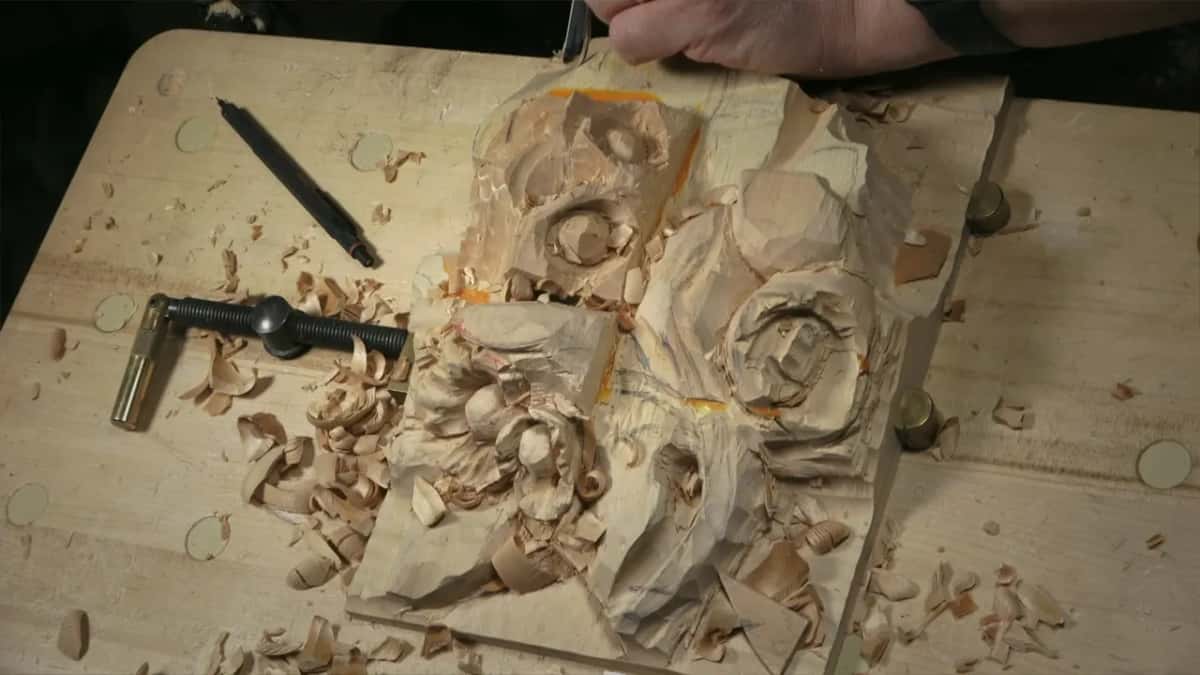
Seven of them came out on the third bunch, in this order. Two are number 3s, then two number 11s, a Pfeil 3, and two number 7s, the smaller one first.
Gouge and its size | What it did on the third bunch | When it came out |
|---|---|---|
Slim number 3, about 10 mm (3/8 in) | Chopped the triangle where the bunch starts, right at my center | Right at first |
Ashley Iles number 3, 25 mm (1 in) | Sloped the sides in toward my center, without taking too much | Soon after that |
Little number 11, 3 mm (1/8 in) | Outlined the place of each nut and of the husk | Before any rounding |
Pfeil number 11, 15 mm (5/8 in) | Took out some waste and lowered one side for the nut | Once outlined |
Pfeil number 3, 12 mm (15/32 in) | Blocked in and started shaping a few of the future nuts | While blocking in |
Mid number 7, 14 mm (9/16 in) | Refined the oval shapes and set the motion of the husk | For the oval |
Big number 7, 29 mm (1 1/8 in) | Went down right away by the leaf, where undercutting could start | By the leaf |
All about tools for Wood Carving goes through the gouges one by one, and sharpening has its own course.
How does the panel look after lesson 5?
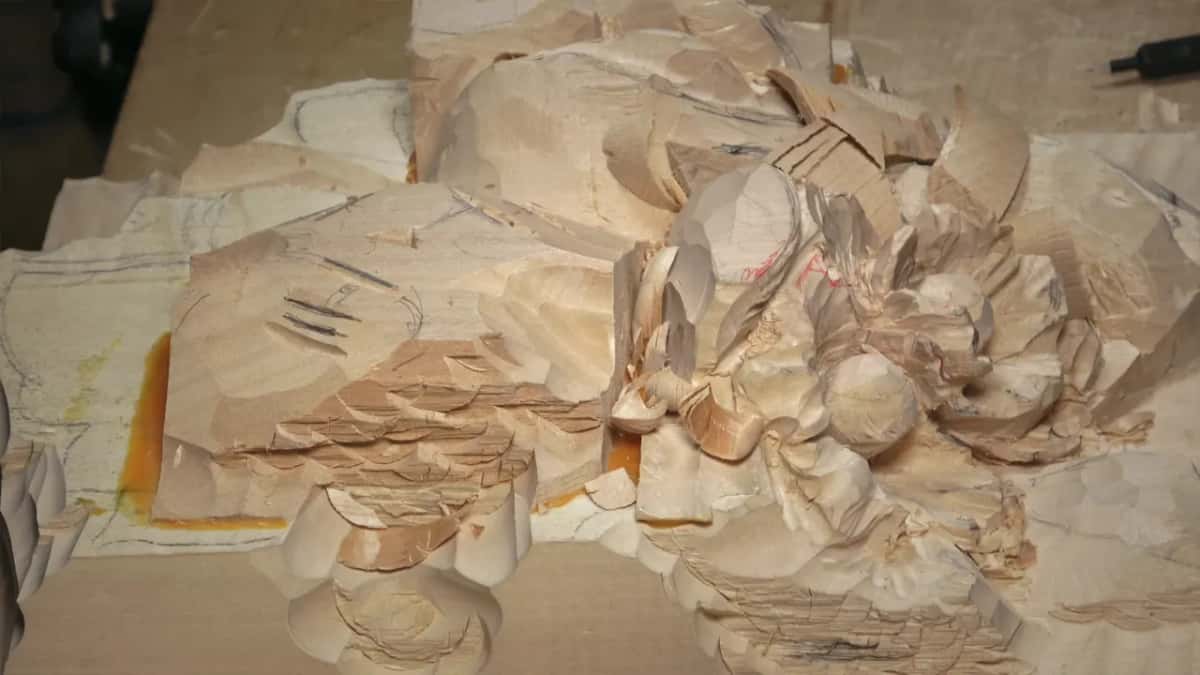
Rough all over, since lesson 5 is blocking in. "Again, the step number one, you don't concentrate on details," I said. "So what you have to do, you have to concentrate on blocking in stuff."
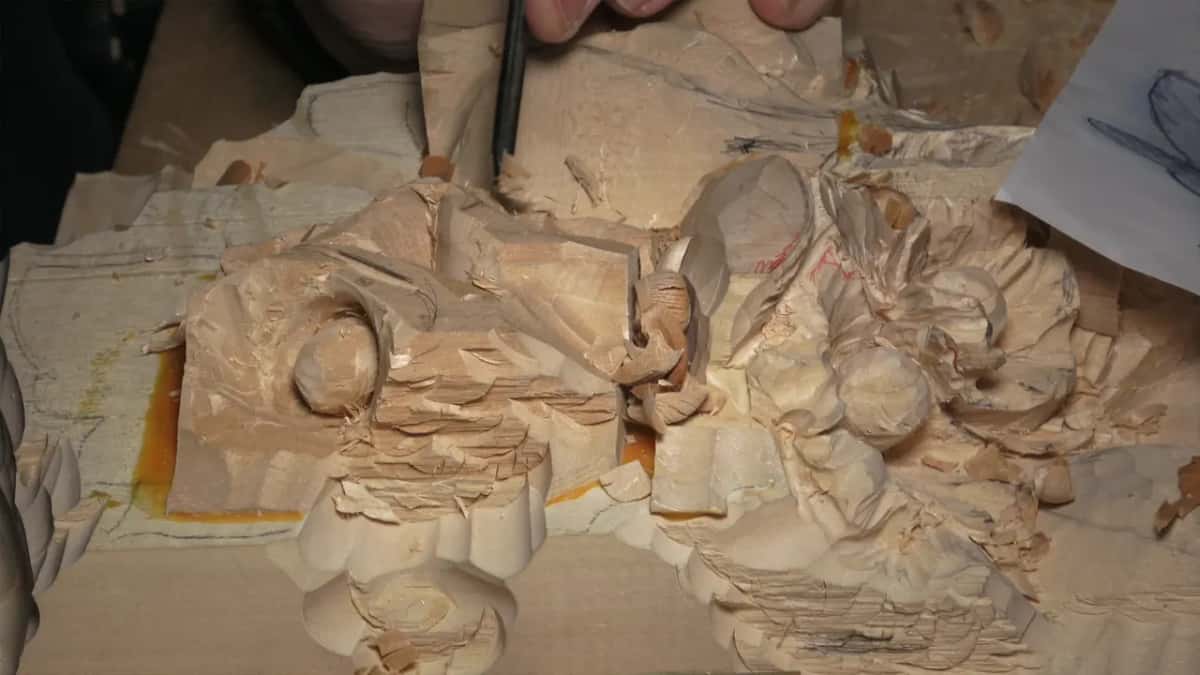
By the close of that lesson we had three bunches, and I said it looks good, in my opinion. "Let me show that to you," I said, and then came the plain truth. "It looks like a bunch of mess."
Where can you watch lesson 5?
Inside the Carving Hazelnuts course, in three parts, and lesson 5 is one small piece of the wood carving I teach. The whole panel is a relief of hazelnuts with their husks and leaves. The school opens with Access, monthly or yearly, renewing automatically until you stop it.
For someone who has never held a gouge, First Cuts for beginners is the place to begin. The lessons map shows where this panel sits among the others, and short techniques lessons sit in one place too. Carving Grape Onlay is where real grapes get carved.
Got a lump of wood waiting for a nut, and a number 7 in the drawer? Pick them up.
How it's done
- Set the center of the bunch. Find where the bunch starts and make that point your center. Eyeball it, or measure if you don't feel comfortable.
- Chop the triangle. Go after the triangle there with a slim gouge, then slope the sides in with a bigger one, careful not to take too much.
- Outline the nuts and the husk. A thin number 11 shows where each nut and the husk will sit.
- Lower space for each nut. Bring one side down so the nut has room. Look at it from all of the sides as you go.
- Stay shallow where the nuts meet. Don't dig too deep there right away; stay around 13 mm (1/2 in) at first. You can always go back and fix it.
- Shape an oval that aims. Keep the nut slightly prolonged, pointing out and a little up. The oval runs from one point in, so don't start undercutting that way.
- Keep the husk on the nut. Leave wood inside the edge of the husk, enough for the waviness to come.
Frequently asked questions
Should a carved hazelnut be perfectly round?
Not on my panel. I kept each nut a little prolonged, like an oval, and in lesson 5 I said it doesn't need true roundness. Mine pointed outward and slightly up, and I said plainly that the shape has some direction.
Which gouge shapes the nuts?
A 12 mm number 3 from Pfeil started them in lesson 5, while I was still blocking in. A number 7 would be better there, I said, and the 14 mm one I picked up later refined the oval shapes and the motion of the husk.
How deep does the meeting point of a hazelnut bunch go?
On my third bunch it stayed shallow at first, about 13 to 14 mm, which is near half an inch, and no deeper. Later in the same lesson it went much deeper. I warned viewers that digging too deep from the beginning is hard to fix.
What to carve next