
Alexander Grabovetskiy, woodcarver, School of Woodcarving · Published 2026
In what order do you carve a hazelnut and its husk in relief?
Quick answer: The order for one carved hazelnut is, on my relief panel, five stages on a single nut with a long husk. Overall shape comes first, then the husk's movement, then a nut shaped close to finished, then subdivisions with relieving cuts. Curvature in two directions closed lesson 6, with depth set a little at each stage.
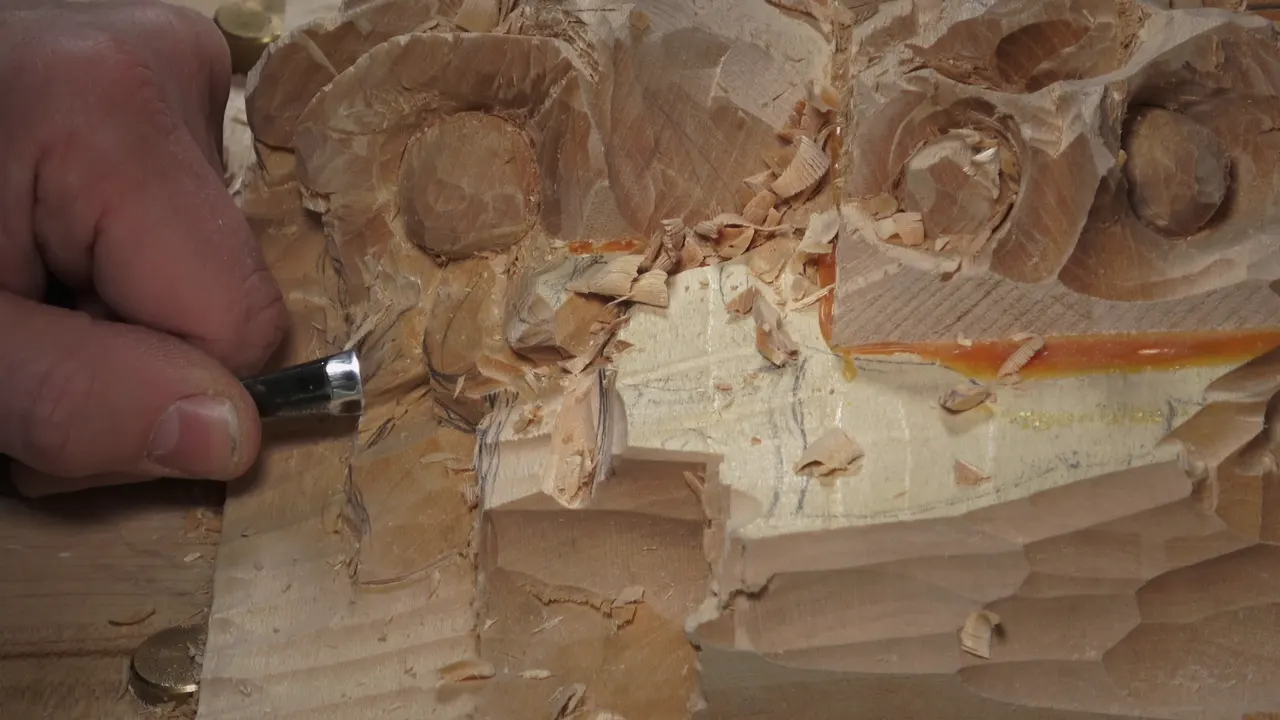
The order for carving one hazelnut is overall shape first, then the movement of the husk, then a somewhat finalized shape, then subdivisions, and in the last minutes, curvature. Those are the words I used in lesson 6 of my high relief carving course on hazelnuts, on one more nut with a long husk. Depth gets decided at each stage, a little at a time.
Does a nut drawn on a block look simple? Does the same nut look like a lot of ways to spoil the wood once a gouge is in your hand? That moment is what this lesson is about. I carve one nut, starting where I find its line and stopping when the day is done, and I talk while I work, naming the tools and their sizes.
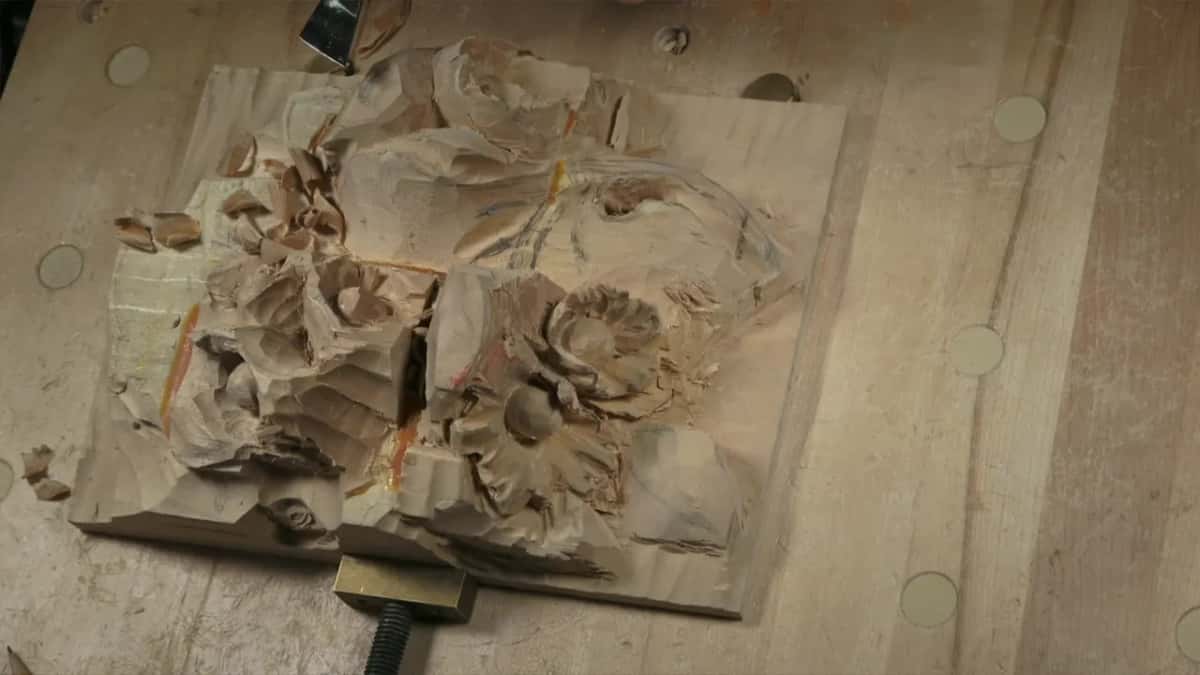
One nut and a long husk, in seven lines
A new nut goes on the panel, and its husk runs long, down past a leaf.
I find the line for the nut first, an inch and one-sixteenth (about 27 mm) off my starting point, well clear of the center.
Then comes the overall shape.
An eighth of an inch, 3 mm, stays past the last line until the final cleanup.
The glued stack gets used, all of it.
Relieving cuts with a veiner come before any flatter tool, because without them a flatter tool breaks it, and it won't look nice.
Last came curvature.
Where does the new nut go on the block?
The nut goes where the drawing puts it, but I check the distance before any tool touches it. First I had to find that line, so I measured it off one point on the panel. About one inch, I said, then a little more, maybe an inch and one-sixteenth. It doesn't have to be super duper accurate.
What I do watch is the center. Just make sure the nut is not too close to the center, because if it is, you're going to have big trouble.
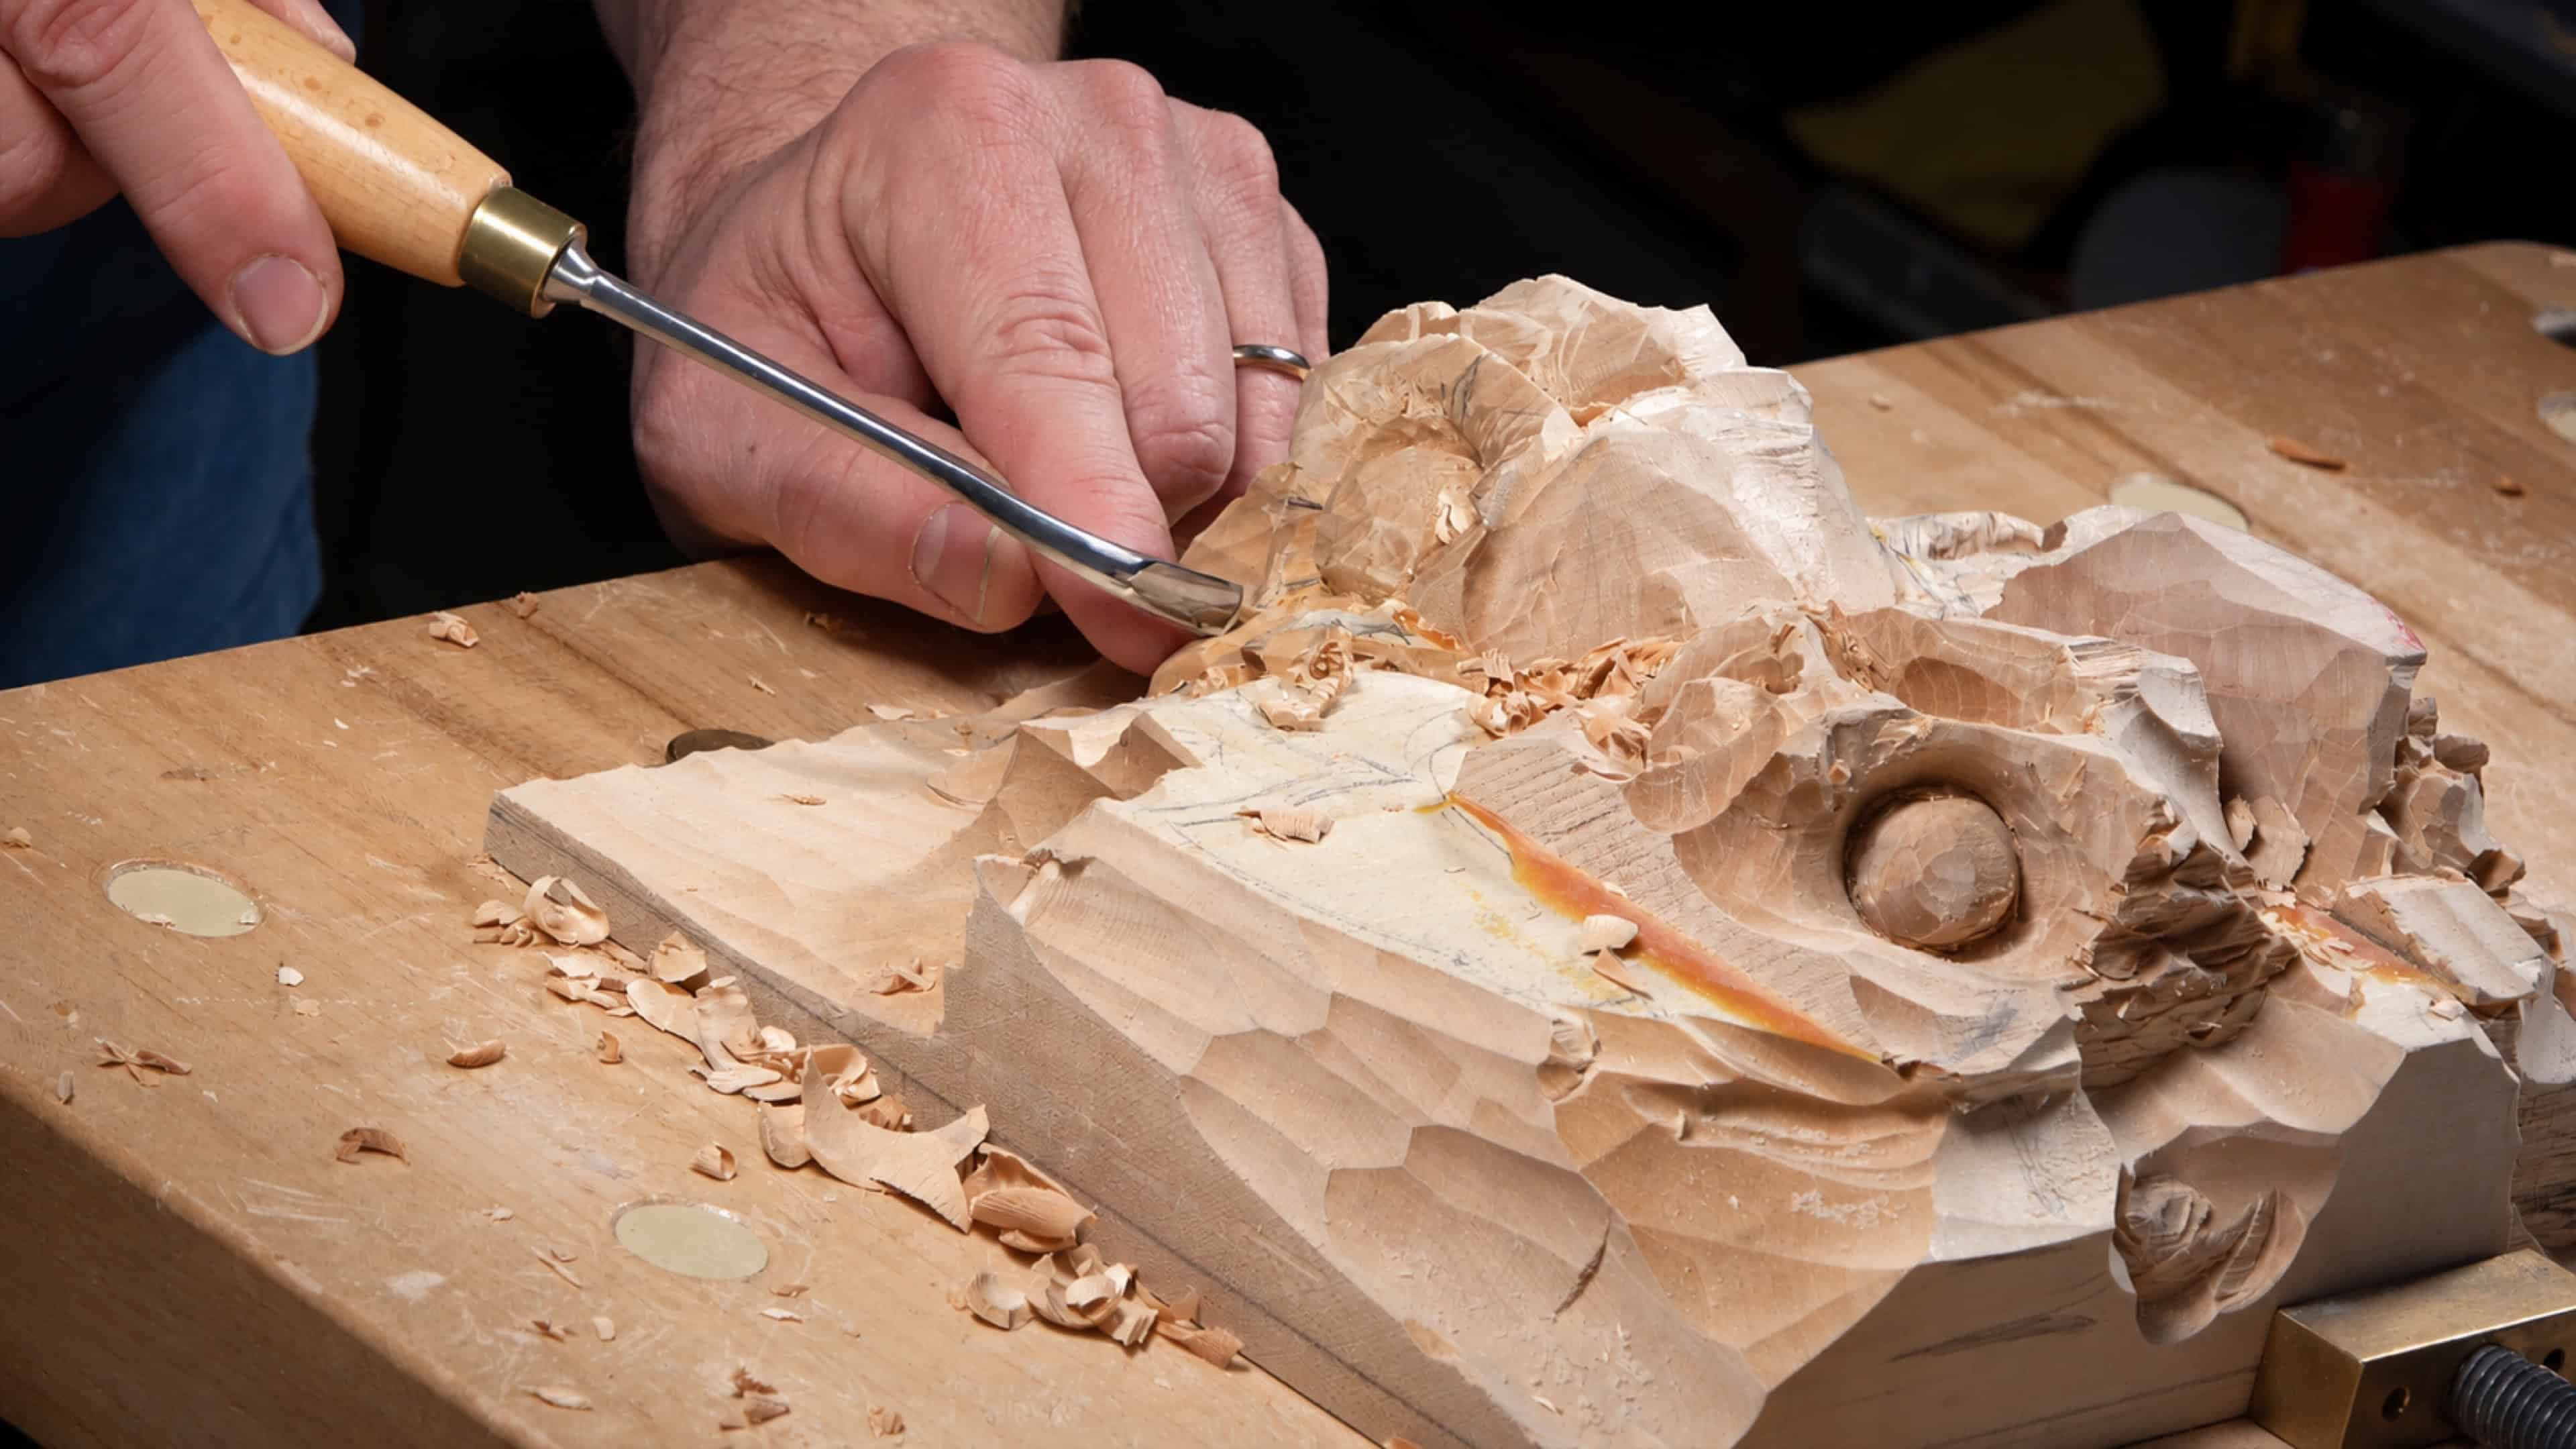
This guy has a long husk. There is also a leaf right next to it that I want to keep, and the husk actually goes all the way down. So three parts sit close together here: the nut, its husk and that leaf.
What does overall shape mean on a hazelnut?
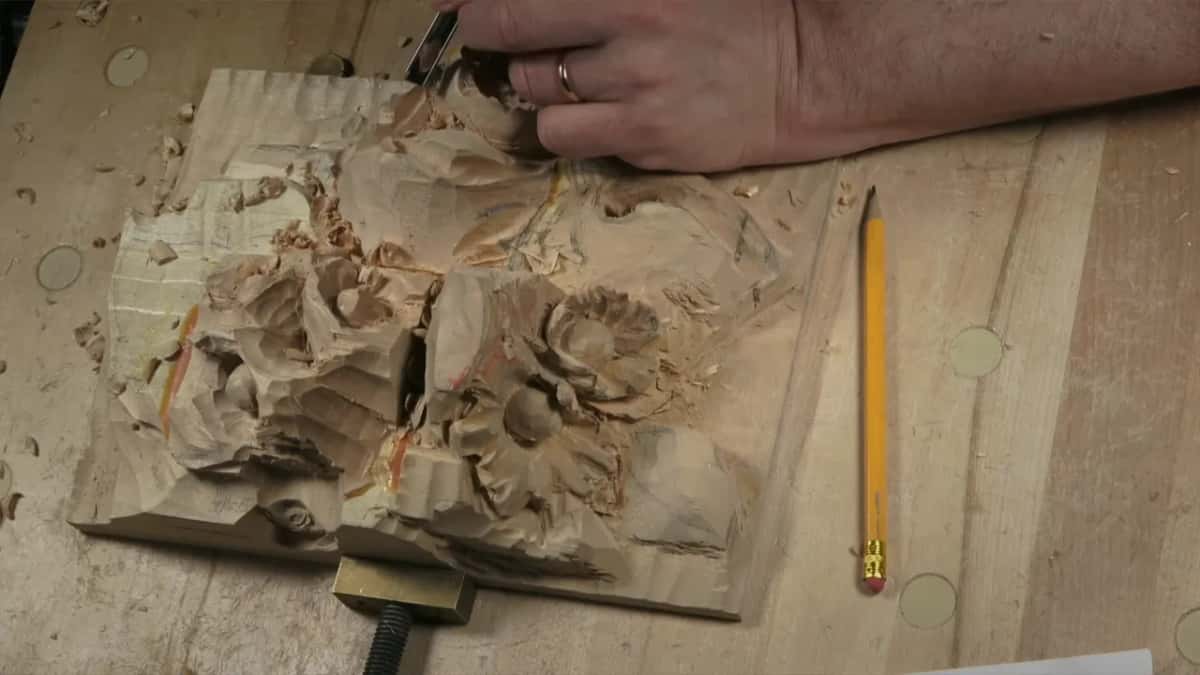
Overall shape is the rough mass of the nut and the husk, sliced down while the outline of the nut stays untouched. My first tool was a number 1 skew chisel, and the boundary of the future hazelnut was the one line it would not touch. I went straight down with the same tool, perpendicular to the background, so that boundary would not get lost.
Next the husk got its spot, about a half inch (12 mm) from the center, looking straight down. After that, the place of the nut itself had to come lower. The same tool could do it, probably. But it's a little too dangerous there, so I changed to a 12 mm number 11 veiner, about half an inch if you use a different brand, and lowered that spot a bit more.
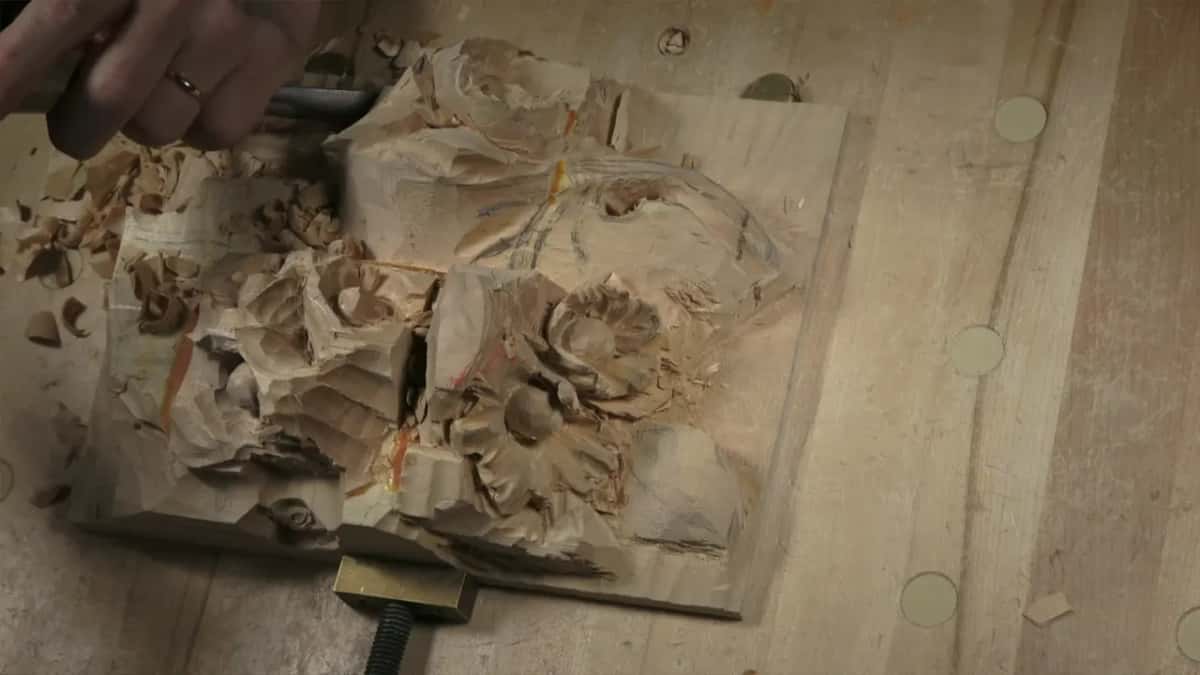
Anyone who watched lesson 5 knows this rough stage as blocking in. That lesson covers it on the third bunch, so I won't go over it twice here.
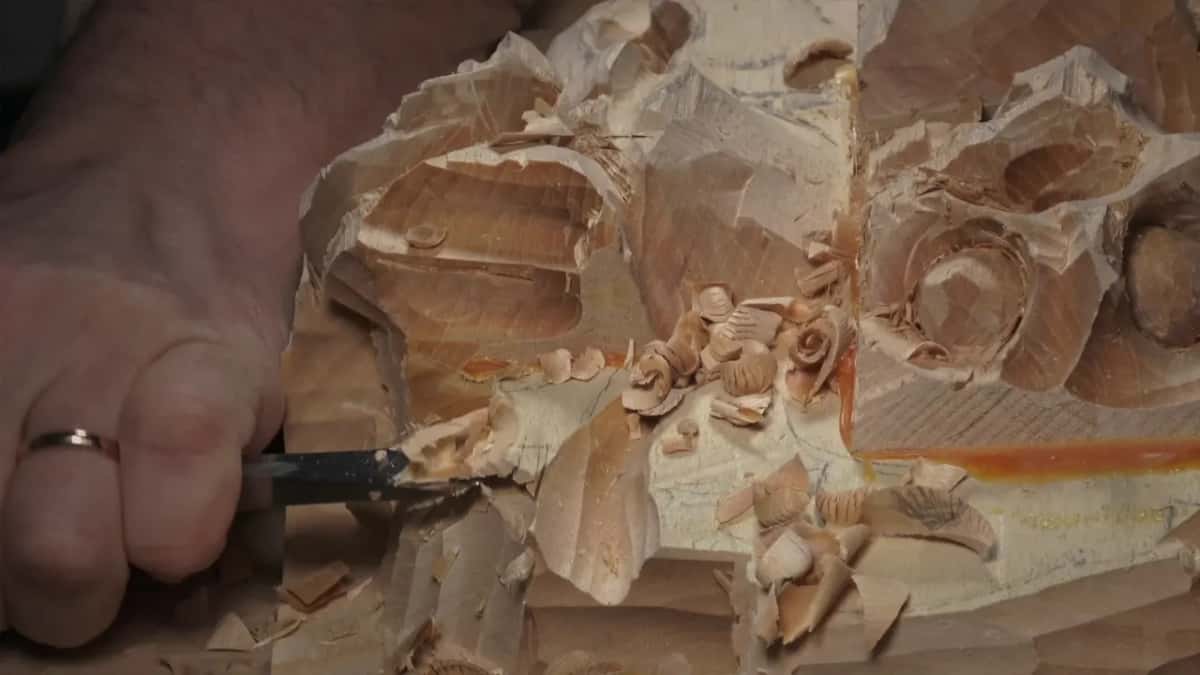
To outline straight from above I picked up a mallet. That's a good idea to use sometimes. Mine has a silicone head, and I like it because it protects the handles of my gouges.
What do you do with a leaf in the way?
A leaf in the way comes lower, as long as you know where it goes. This one runs downhill, almost to the floor, so I could safely remove most of it in the first video. I went back to the same tool and kept roughly a half inch between this surface and that spot.
One part of the husk lies right on top of that leaf. The picture showed it. But that's for the future development, I said, and I left it for later.
When does the husk get its movement?
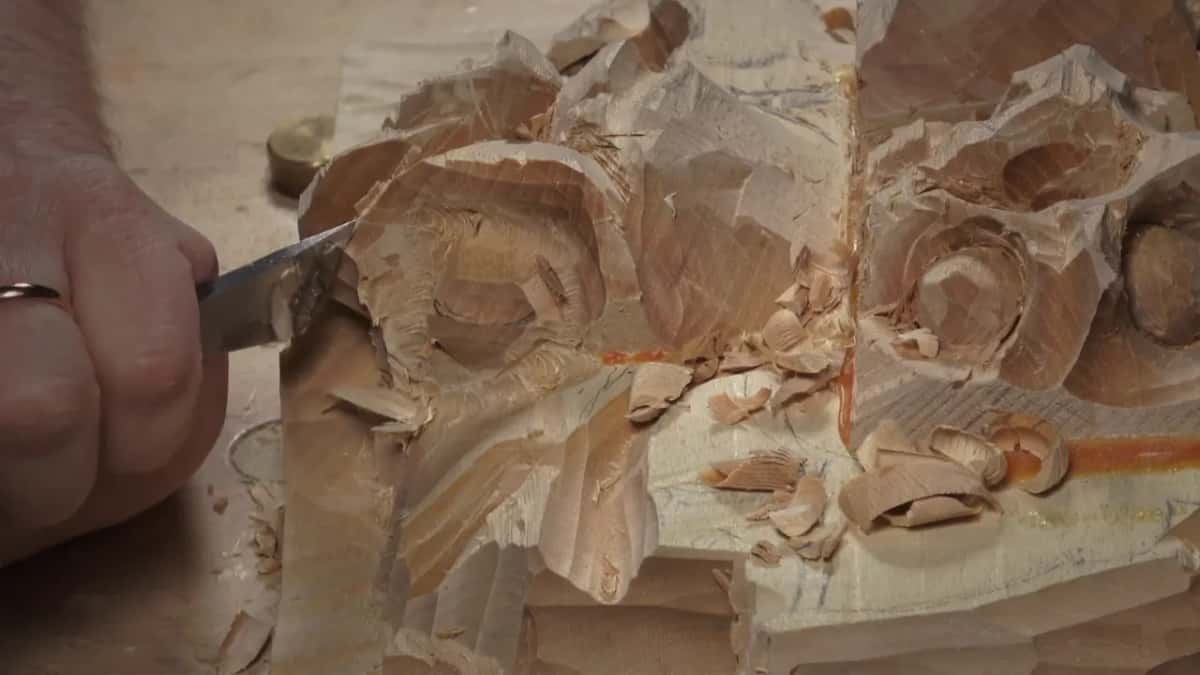
The husk gets its movement right after the overall shape, still in the first video. I said it was time to start creating somewhat correct movement of the husk, went looking for the right shapes, and put in a first subdivision. The gap between those two spots was about an inch, 25 mm. It could change slightly. We'll see.
Next I lowered that section with a bigger veiner, 20 mm, a little bigger than three-quarters of an inch. Swiss made, this one. I attacked across the grain again, and stopped once that was enough to show where the leaf would be.
Right now one part looks much shorter, I said, but later it's going to look longer.
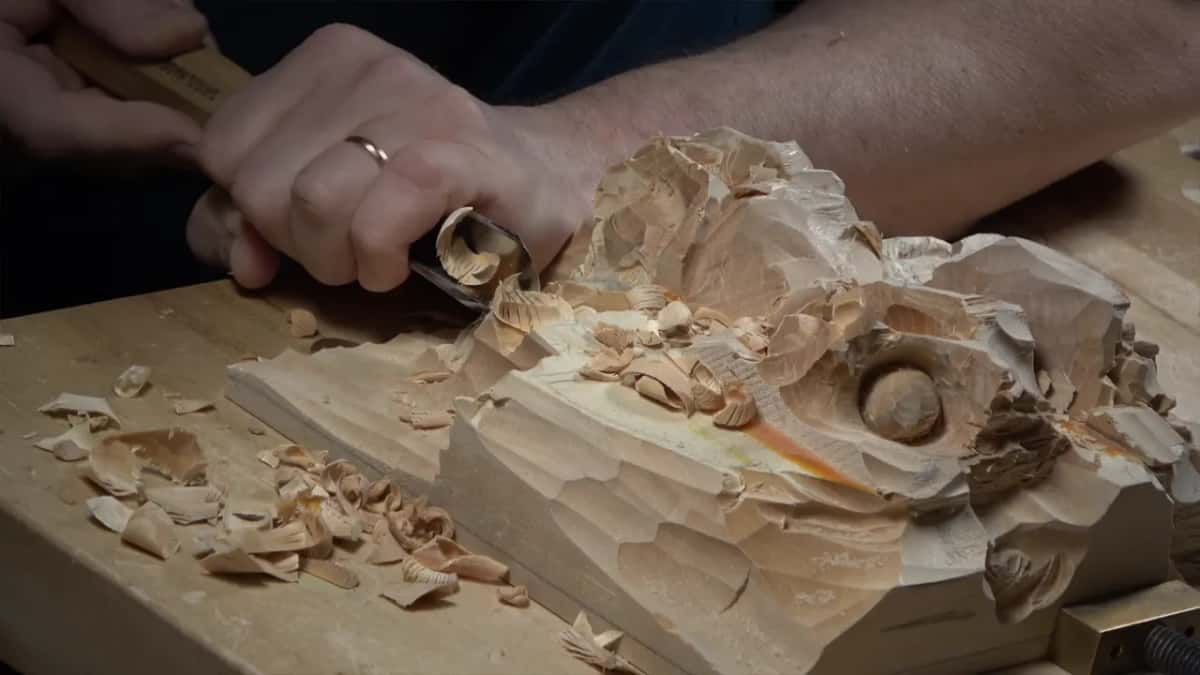
The margin is small. I left about one-eighth of an inch, 3 mm, outside the final outline. With that margin in place I could safely count 25 mm between this spot and that one, and know it was good.
Then a side view. Across, that part is about 10 mm, three-eighths of an inch, so from that spot I could go down the same three-eighths.
How deep does a high relief carving go on one nut?
On this nut it goes as deep as the glued stack lets it, and I was sure of that only in the middle video. A number 11 opened that video, going about 10 mm down, maybe more, because I can always chop from above. Then it went to about half an inch, 12 or 13 mm. On the picture that part slopes toward the background, though not to the bottom, so I sloped it too.
I have plenty of material left, I said, but now I know I'm going to use the whole stack of whatever we glued. Those blocks of basswood, the American linden, went on back in lesson 1, 25 mm each, only where the high spots needed thickness.
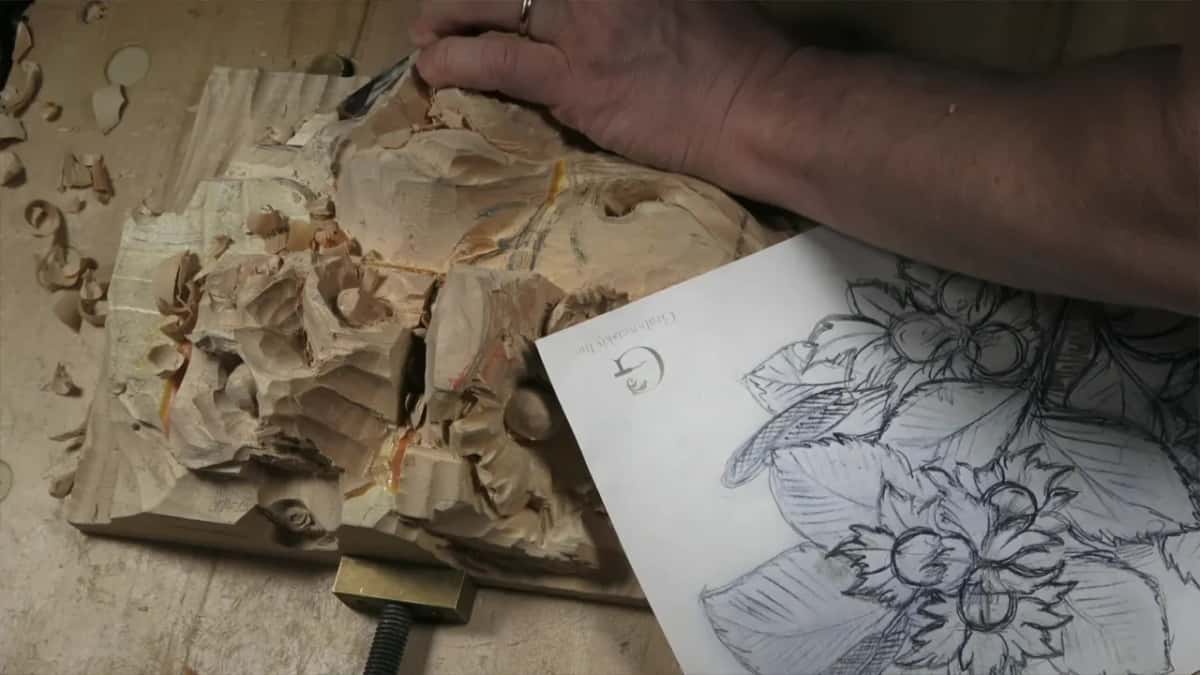
Using all of it does not mean racing to the bottom. I still kept an eye on the final line. That line is the final, final cleanup, and you don't want to go all the way to it. Not at this point yet.
The third video brought it back once more, as the goal, to make use of the whole chunk of the wood that we have.
What changes once the nut gets a finished shape?
Smaller tools come out, and the husk starts to curl. During the middle video I took a number 3, only about a half inch wide, and started a somewhat finalized shape of the hazelnut, and some husk along with it. You could use a number 7 if you wish.
All the parts are still a little big, as you remember. You can always make them smaller, and if I mess something up, I can go back and refine it.
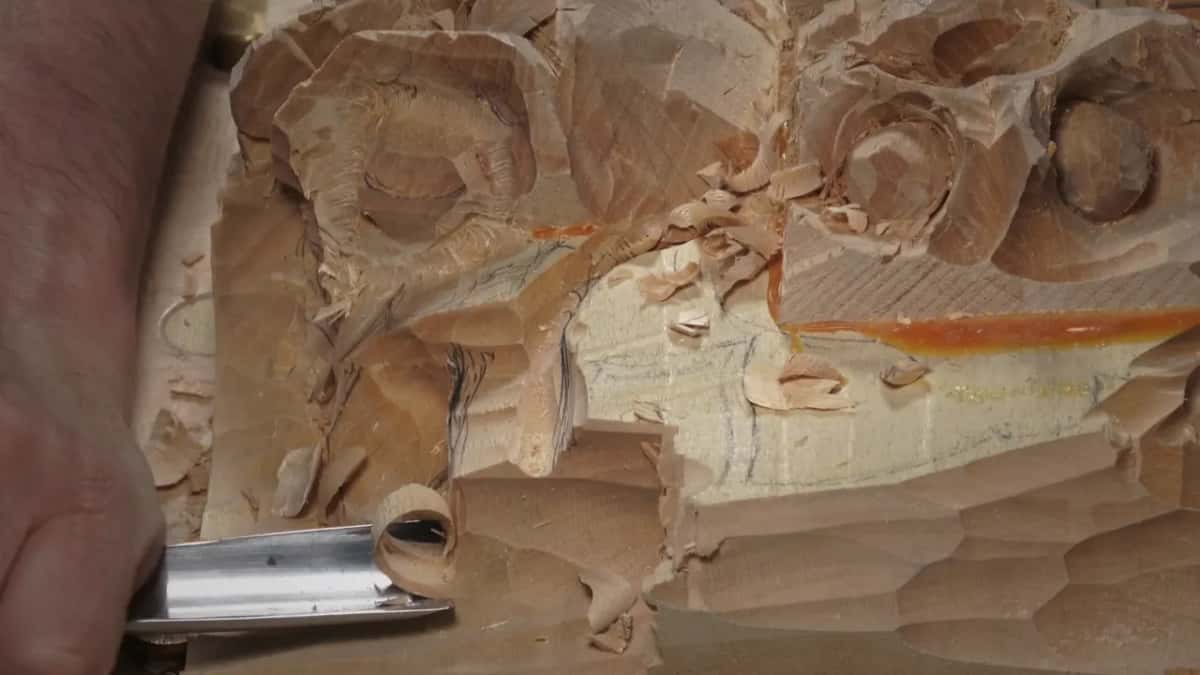
Then the husk got some curl, outward, from inside out. Not everywhere, only in this location. I was slicing it, and I wasn't sure the camera could catch how it rolls backwards slightly. In my opinion that should look really good.
I always try to look from the side, the way real people will look at it, and see what needs to change. One side had to go slightly downhill and roll outward. When the rolling started I said it looks almost like a flower.
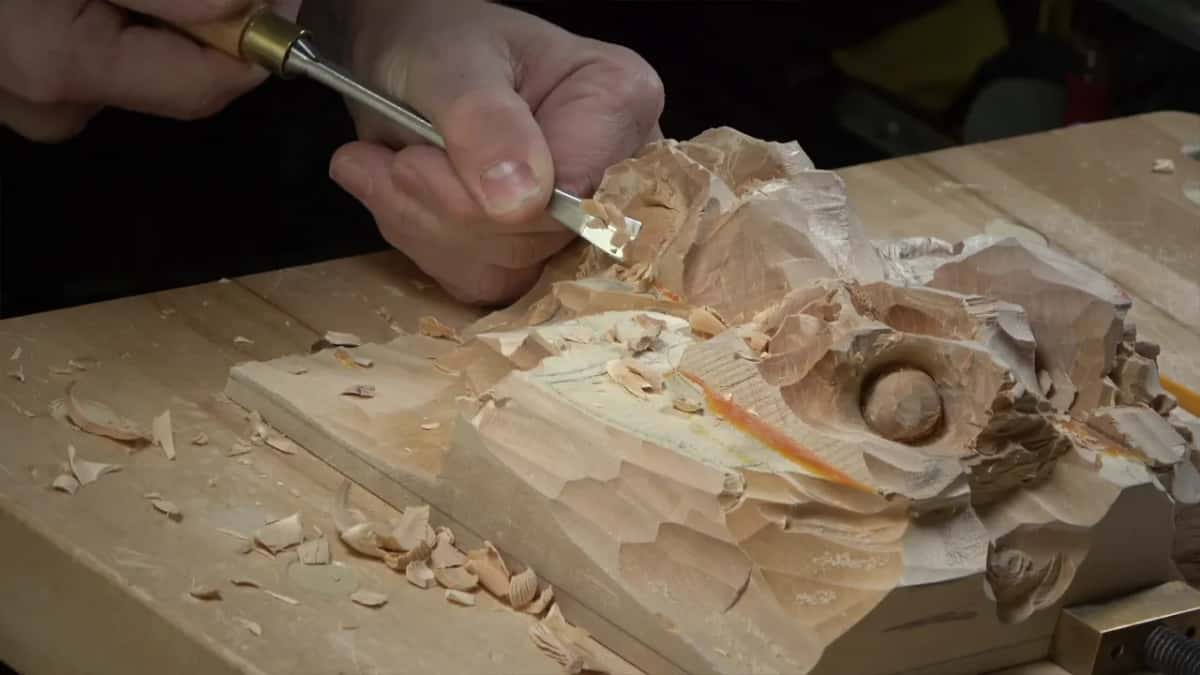
For that work I switched to a 10 mm number 7 and used only its corner, because inside the grain you really have to slice it, or you make a big mess. Don't dig too deep there either. It can roll inward, and the hazelnut has to feel like it grows from the center.
One spot just bugged me, so I shaped that one too.
Near the end of that video one husk had to lie right on top of another. I chopped a little away there, across the grain again, and sloped it. It slopes downhill, and it also slopes the other way.
What happens when the picture gets drawn again?
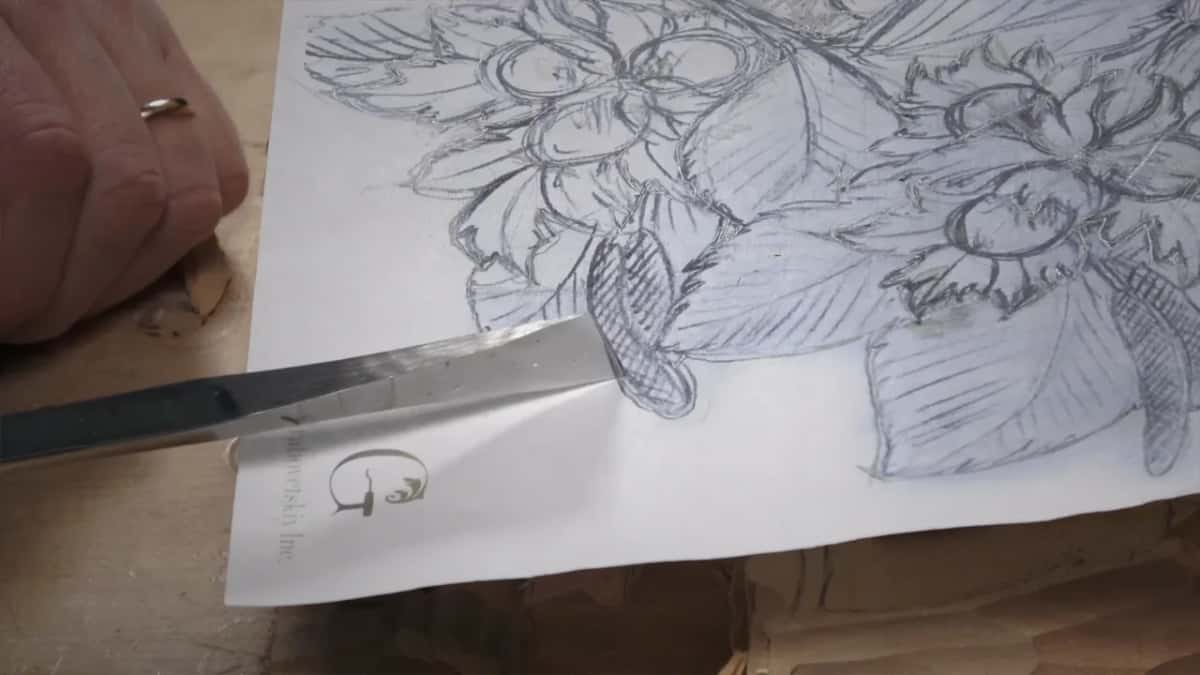
The new drawing shows where each part of the husk moves. The third video opens with it. I drew a somewhat finalized picture of the husk, with the overall motion going one way and the next part going in opposition to it.
Seeing it drawn, I didn't like one thing. It looked huge, a little too huge in my taste. But I can always chop and make it shorter later if I want to, so for now it stayed as it was.
What are subdivisions, and why do they need relieving cuts?
Subdivisions are the smaller divisions inside the husk, and relieving cuts are what keep them from breaking. I started them with a smaller number 11, 3/16 of an inch (about 5 mm).
Height got in the way. When I placed the tool, the block stood so high that I said I could break all the rules and go in like that anyway. It should work, if the tool is sharp. I also made a first pass underneath and undercut only slightly. I don't want to undercut too much. I can always do that later. You really have to calculate how much you have to dig in.
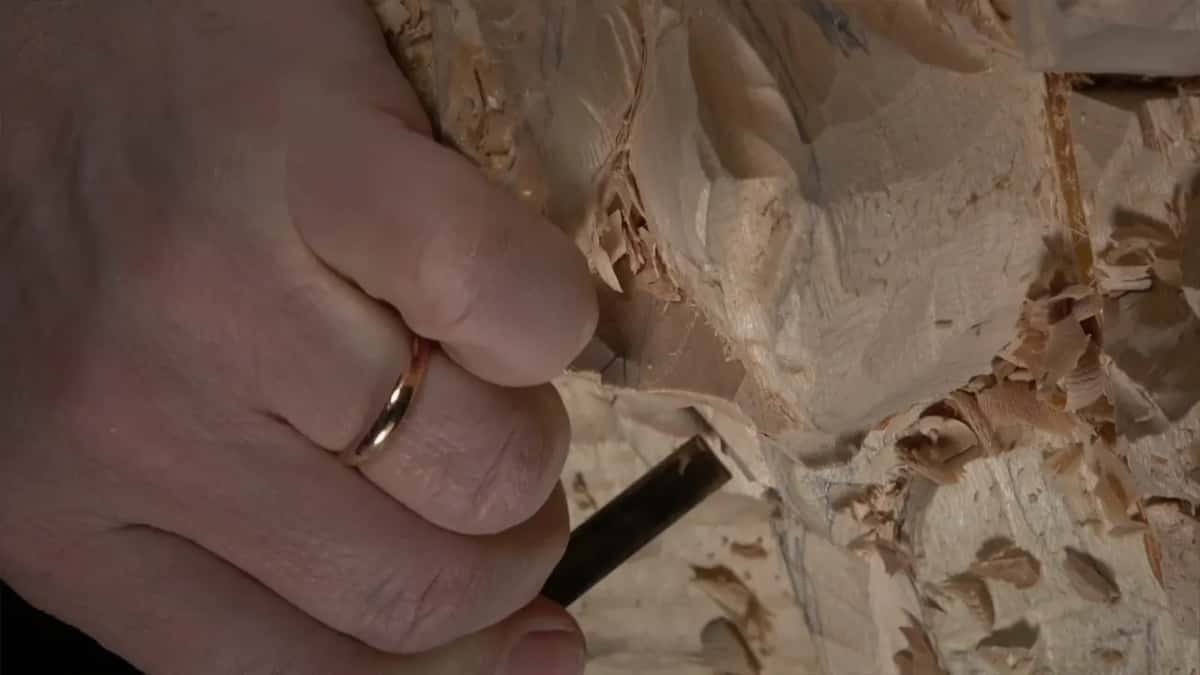
Then a number 7, about three-eighths of an inch, took off some excess, and I cleaned up the background a bit and sloped the husk. The number 7 made the slope a little too big. A number 3 would be better there, or a smaller skew, a half inch or so. Any skew will do.
Relieving cuts came next, with a veiner. If you don't make those, you're going to break it. Go straight in with a flatter tool and that thing breaks, and it's not going to look nice.
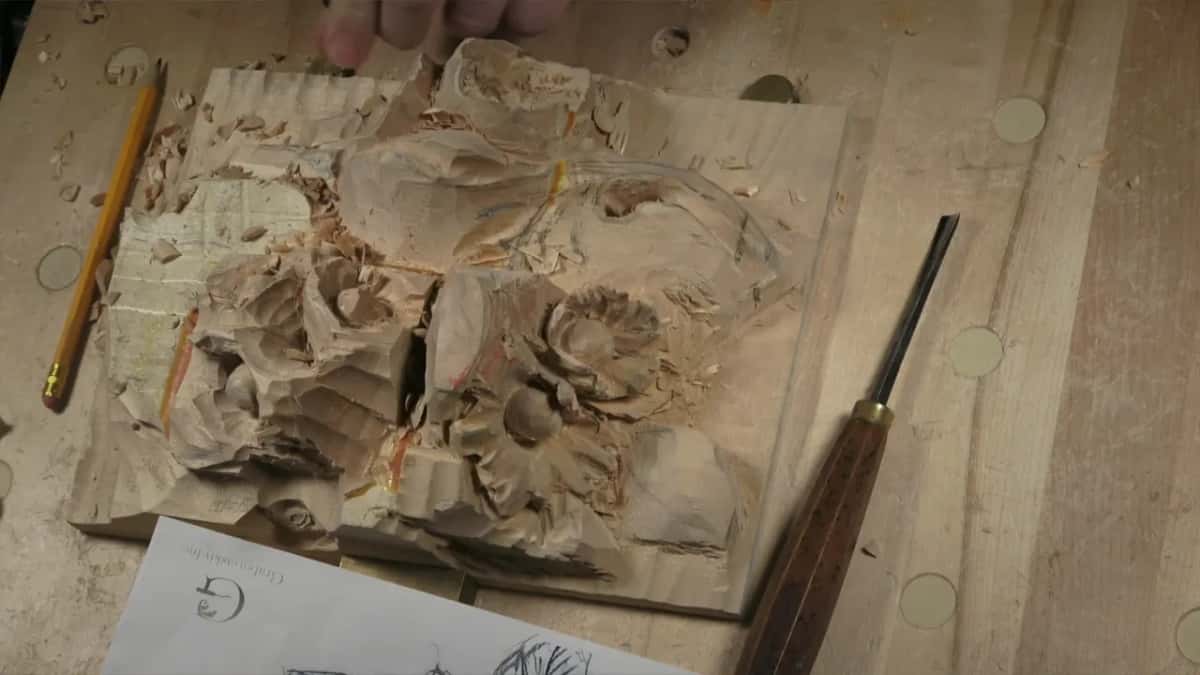
After them came the flatter tool, a quarter inch number 3 (6 mm), for the husk's separation line. One tool I picked up there was not sharp, so I took a quarter inch number 3, and that one was much better.
Where one part overlaps the next, the light from above decides it, so the shadow falls away from the light. One spot had a really high reach, too high for a normal tool, so I used a quarter inch spoon gouge there, a number 3. A V tool can also do some of this if you want. It's up to you.
Why does the husk need curvature in two directions?
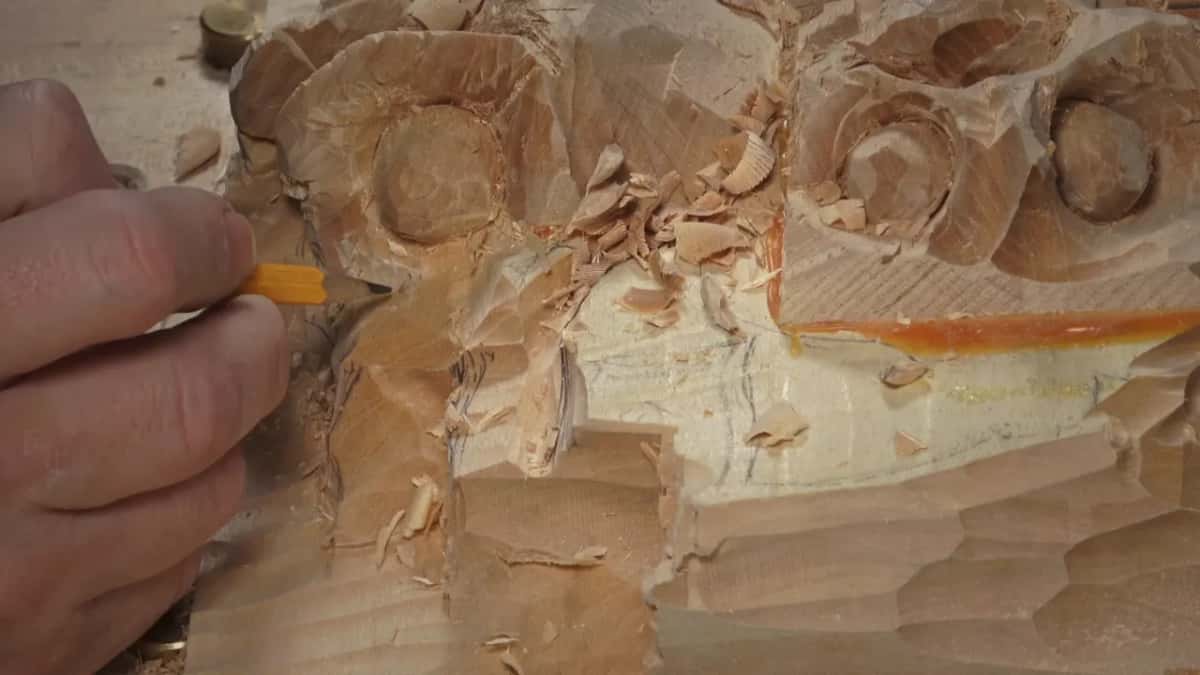
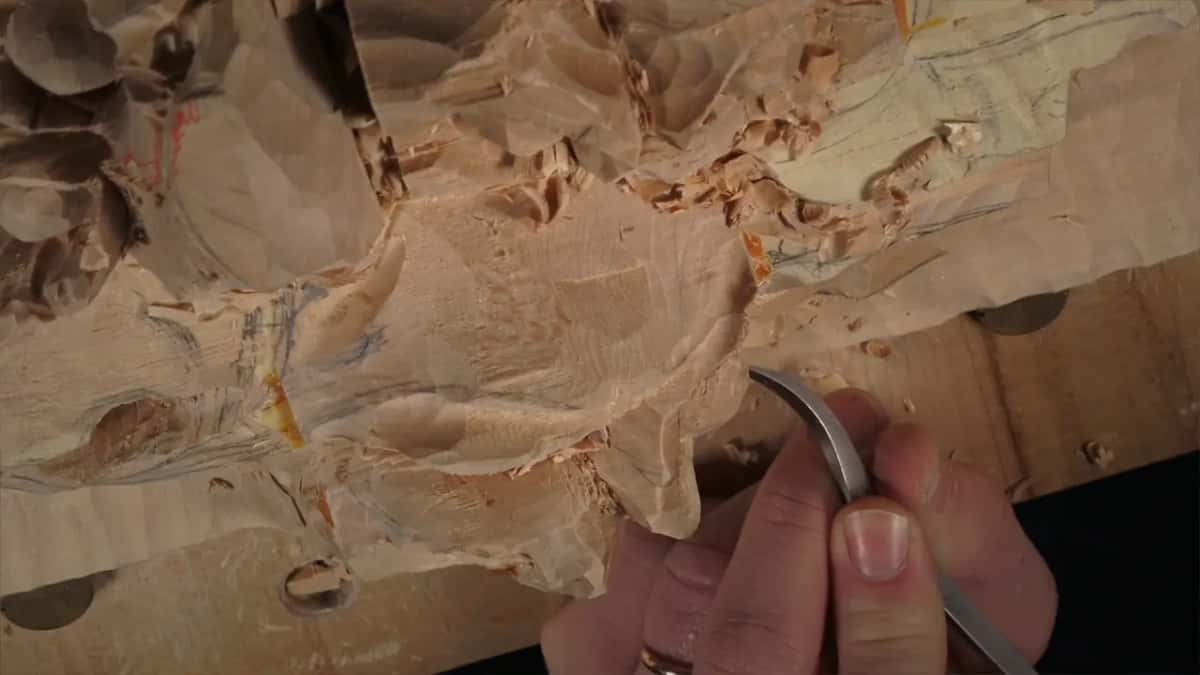
A husk can bend one way and still show a straight line the other way, and you should not have any straight lines. My check here was a pencil. Place it on the husk and you can see it, pretty much a straight line. And there was another one. So the curvature has to run in that direction, and in the other one too.
I want some curvature in before I establish everything else. So I took a 7 mm veiner, another number 11, and chopped some of those areas. I know it's kind of extreme right now, I said, but by the time we're done it should look good. I hope so.
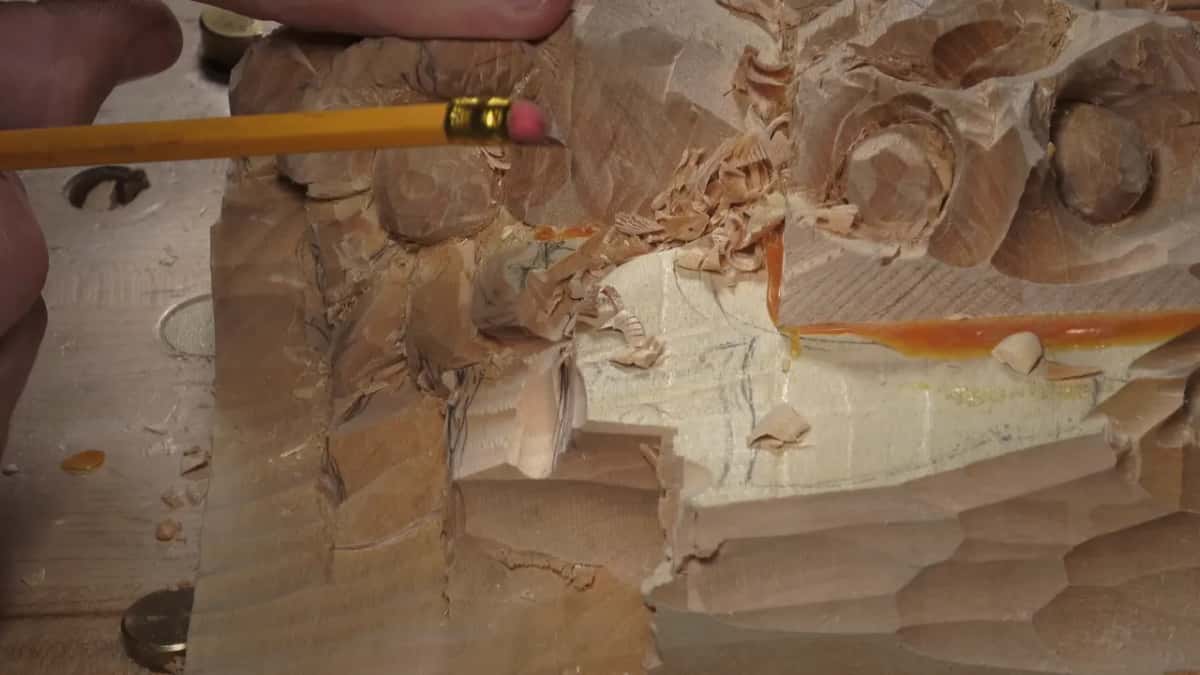
Then I took some wood off from above, because I want it to look like it's curling. With the smaller tool, a number 3 again, I carved toward the center.
Don't excavate too deep in spots like that. It's going to give you big trouble later on. That was the last warning of the day, and then the lesson stopped with another nut in place and some husk movement.
The tools of lesson 6, in the order they came out
Gouge or tool, with size | What it did on the new nut, its husk or the leaf | Which video |
|---|---|---|
Veiner, number 11, 12 mm (1/2 in) | Lowered the place where the nut itself would sit | Early on |
Mallet with a silicone head | Helped me outline straight down from above, saving the gouge handles | Halfway, 6-1 |
Veiner of 20 mm, a bit over 3/4 in | Lowered a section until it showed the place of the leaf, nothing more | Late 6-1 |
Big number 7, maybe 30 mm (1 1/4 in) | Cleaned up a messy section, square to the fibers, so nothing would break | Second video |
Number 3, a half inch (12 mm) | Started the somewhat finalized hazelnut and some of its husk | Middle 6-2 |
Smaller number 11, 3/16 in (about 5 mm) | Began the subdivisions of the husk while the height was in the way | Third video |
Spoon gouge, number 3, 1/4 in (6 mm) | Reached the really high spot where a normal tool could not go | Halfway, 6-3 |
The three full videos of this lesson, about forty minutes in all, are part of Access.
Where does lesson 6 sit in the course?
The blocks for this nut went on in lesson 1. Lesson 2 planned the high and low parts, lesson 3 brought in the in-cuts, and lesson 4 found where the nut sits in its husk. Lesson 5 carved the third bunch. The whole run is on the Carving Hazelnuts course page.
If you have never held a gouge, First Cuts for beginners is the course to start with. Short technique lessons live in one place, the tools course covers carving tools, and the lessons map shows where this panel sits among the other courses. Grapes, the shape a hazelnut must not look like, get carved in Carving Grape Onlay.
Got a glued block, a pencil and one sharp gouge? Draw the nut.
How it's done
- Place the nut. Find the line off a fixed point on the panel. Mine came to a little over an inch. Keep the nut well clear of the center, or you'll have big trouble.
- Take the overall shape. Slice the rough mass, and go straight down beside the nut so its boundary survives.
- Lower the spot for the nut. Where the first tool feels too dangerous, change to a number 11 veiner and take that spot lower.
- Give the husk its movement. Mark a first subdivision and leave a margin of about 1/8 in (3 mm) beyond the outline for later.
- Slope toward the background. Follow the slope the picture shows and use the glued stack, but stop short of the final line.
- Shape the nut and curl the husk. Take the number 3, start the finished shape, roll the husk outward in places, and check it side on.
- Redraw and subdivide. Draw the finished picture again, make relieving cuts with a number 11, then mark the separation lines with a flatter tool.
- Curve every line. Lay a pencil on the husk. Where it shows a straight line, curve it in both directions, and don't excavate too deep.
Frequently asked questions
Can you use a mallet on a hazelnut relief?
I do, sometimes. In lesson 6 I picked up a mallet with a silicone head while I outlined straight down from above. I like that one because it protects the handles of my gouges, and I said a mallet is a good idea to use sometimes.
Why leave 1/8 inch outside the final line?
On my panel that margin, about 3 mm, is the final, final cleanup, and I keep it until the end. With it in place I could measure 25 mm between spots and trust the number. Everything stays a little big for now, since you can always make it smaller, and a mistake can still be refined.
What is a relieving cut in wood carving?
A relieving cut is a groove made first by a veiner, a number 11 in my case, before any flatter tool goes in. On the long husk of this lesson, I said a flatter tool pushed straight in without one breaks the wood, and the result does not look nice.
What to carve next