

Alexander Grabovetskiy, woodcarver, School of Woodcarving · Published 2022
How do you clean the waste out of an undercut without breaking the roll above it?
Quick answer: Clearing an undercut is a job for a spoon tool, used lightly and a little at a time. On my leaf I kept the pass shallow, worked the tool on its right-hand corner, and kept it from pushing against the rolling motion.
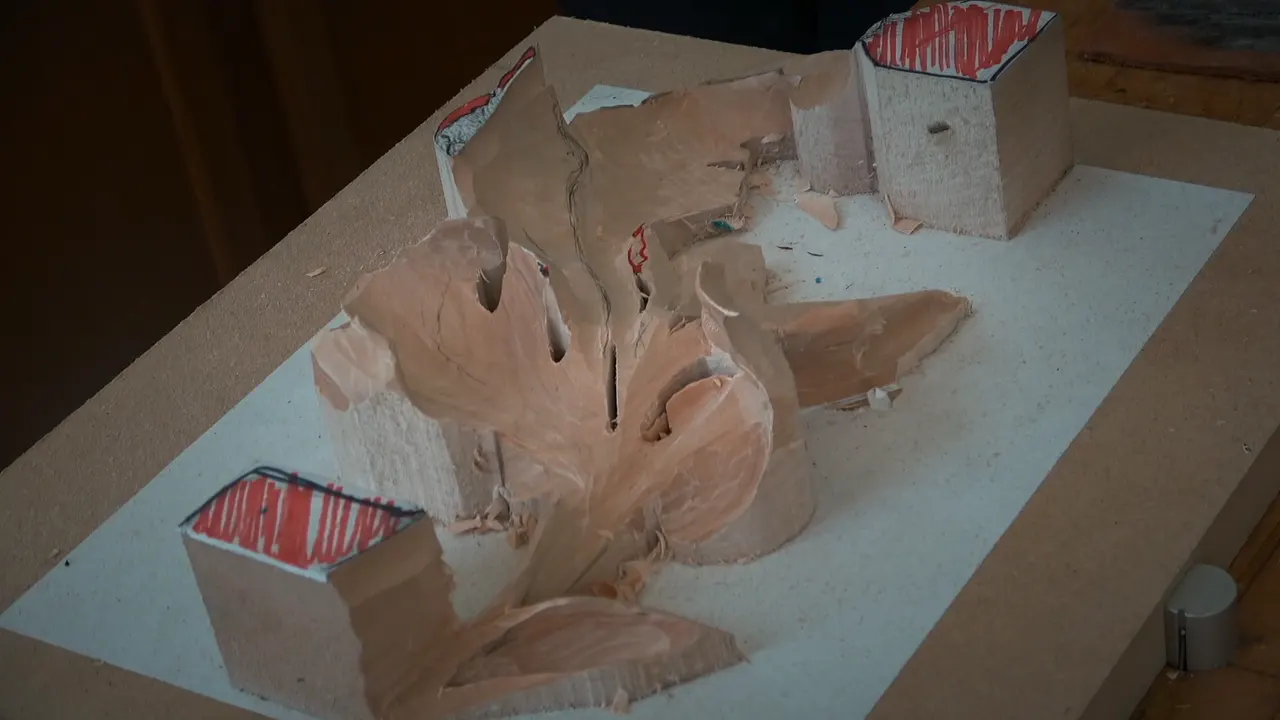
Clearing an undercut starts with one corner of a spoon tool and a light hand. In this video I undercut under a rolling edge with a number 9, 10 mm (3/8 in), and then had to handle what it left behind. It is the second video of lesson four in Carving Modern Acanthus, a course built from a 1903 design.
Have you ever undercut under the rolling edge of an acanthus leaf and found a heap of waste sitting in there? Did your tool want to lean on the roll while you tidied it? Then this is the part where I slow down, and here is how I did it, one pass at a time.
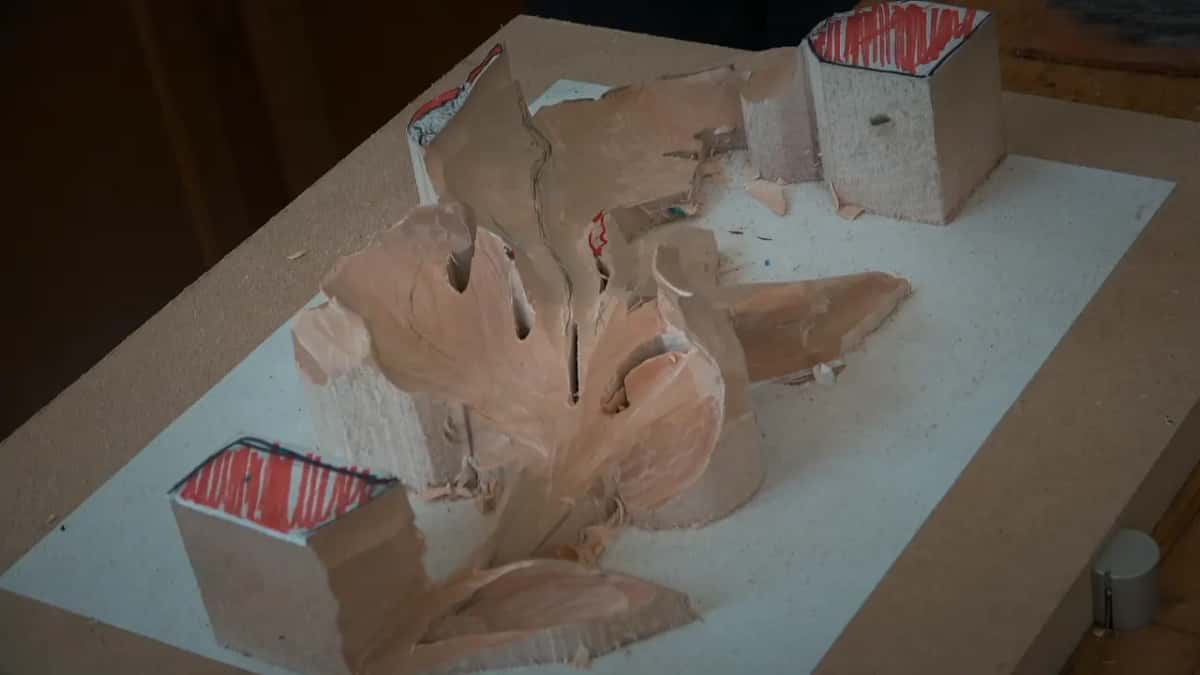
What I did to clean under the roll
- I undercut first with a number 9 and left the ridge high.
- I asked what to do with the mess, and cleaned it only slightly.
- I presented the tool tilted, corner first.
- When a chip stayed put, I went back and made the pass again.
- I kept my push off the rolling motion.
- I took my time, as I told the class to.
What comes before the cleaning?
The undercut itself. Before I touched the next development, I said we would work on that undercut, and I had my red pencil mark in hand. I picked the number 9, 10 mm (3/8 in). For me, I said, it would be better to come at that pass from the right position.
The movement was the same one we already had right there on the leaf, a rolling back movement. Please, I asked the class, do not destroy the high spot. That ridge has to stay high, because it becomes the convex, and the convex then goes down into the concave underneath. If I had to drop it slightly more, I was okay with that.

Next came the number 7, 14 mm (a little bigger than half an inch, I said), and my rolling motion started. Again I mentioned that this spot is better attacked from the right position.
How do I handle the mess an undercut leaves?
Clean it out slightly, and only slightly. When the roll and the undercut were done, I asked out loud what I was going to do about this mess. My answer was that I could take a spoon gouge, or a spoon veiner, and clear it a little.
Going deep was off the table. A deep pass would cost me my future development, and that is what thinking ahead means. A bulging part was coming, a convex right there, and I wanted it kept.
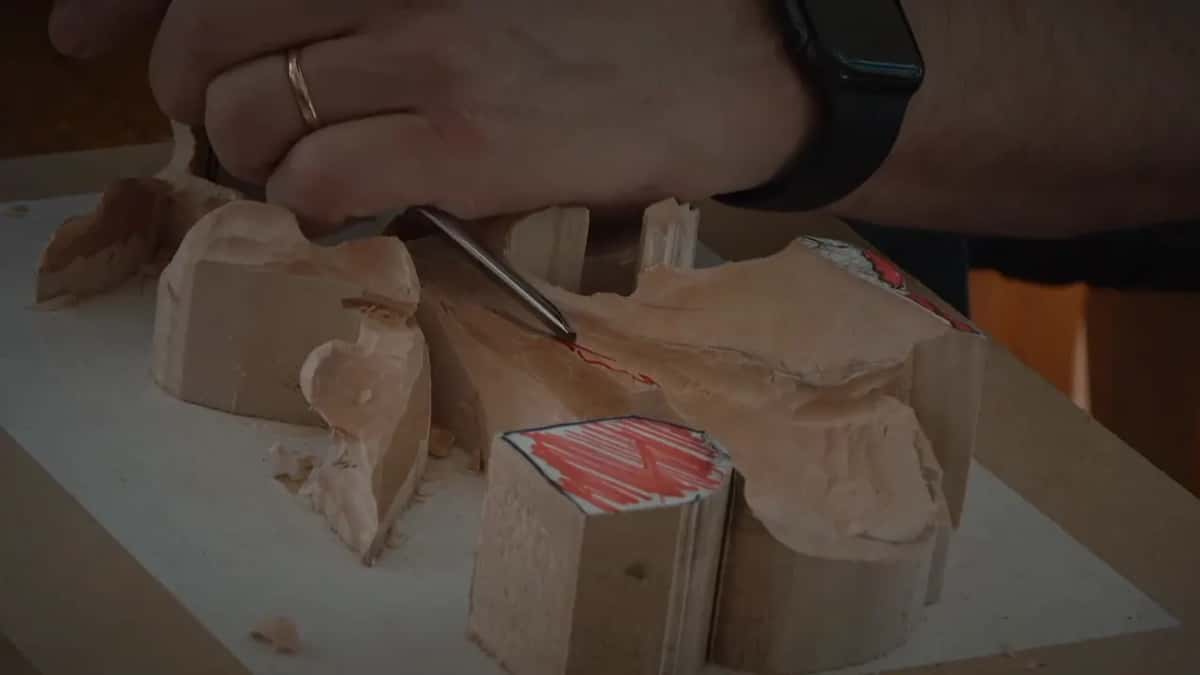
Where does the force come from when you clean?
From the edge, not from the push. I asked the class to watch how I was holding my hand. I placed it really solidly and held on with just my fingers. Next I showed another grip, said I was not holding the tool like that, and called it the wrong way to do it, since you will not be able to see what you are doing.
My hold is between two fingers, and the force is the sharpness of the tool, not how much I push it. That gives a really clean pass. I said it twice on camera. Really clean.

Why use only one corner of the tool?
With the same tool I presented the edge at an angle and worked with the right-hand side corner. From there I removed some of the material. Plainly, I said: do not remove too much.
I come back to that corner below, with passages from other courses.

A chip stays put, so what now?
Make the pass again. A piece that does not fly out is not a reason to force it, I told the class, so recreate the pass. I did exactly that. I presented the tool again, used only the right-hand corner, and made the pass without pushing too hard.
After that I cleaned the spot until I was happy.
What happens if you push against the roll?
You damage the side. When you clean, please do not push too hard against that rolling motion, I warned. Without a break, the pass still will not look really nice. Feel how deep it is supposed to go.
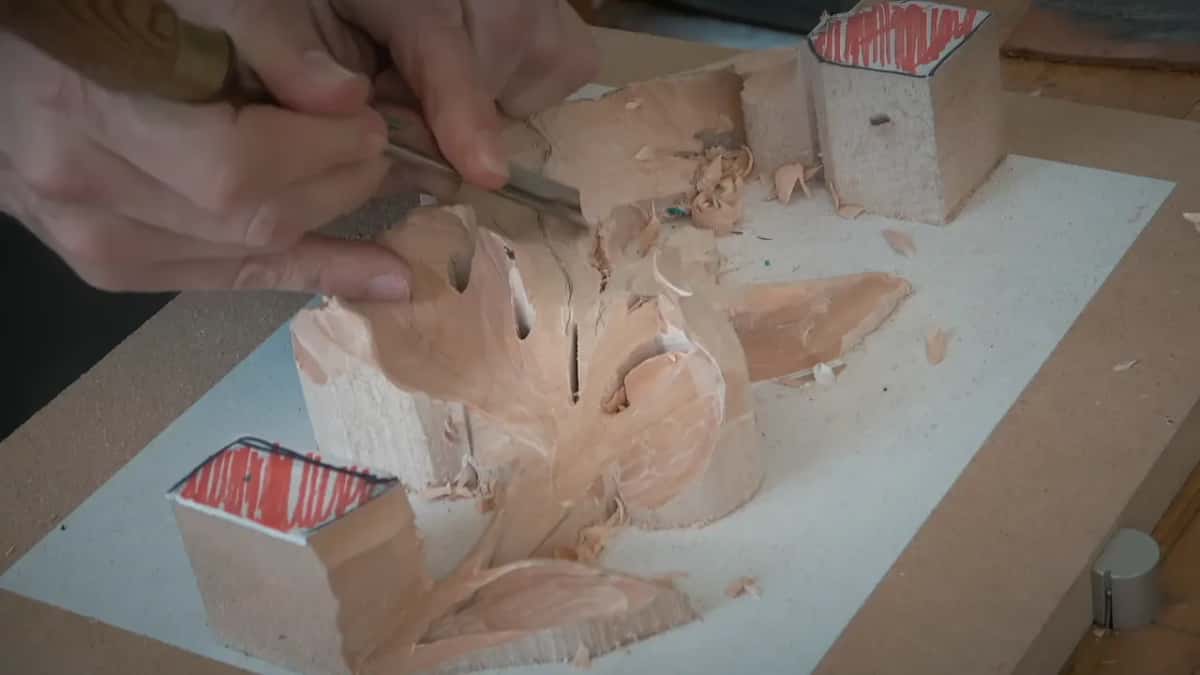
Then came a few short lines. Take your time. Work your way in, please, and like I said before, do not force it. A moment later I asked whether you could see how that development was rolling right now.
Which step came right after the cleaning?
The number 7 came back, and I brought that part a little more down. A separation was next, because the paper drawing has a line there, and that part was going to be separate from the next part. For that separation I chose a number 11 veiner, 3 mm (1/8 in).

My warning there is about cleaning too. A channel carved too deep is a lot harder to clean, and we were making just the channel. I turned the flute slightly to about one o'clock to begin blending, then two o'clock, almost to three. I also reminded the class what I had said before about the number 11: only the side of it is needed, and it becomes like a micro tool.
While I started that channel I checked how far I had got. Yeah, right there, I said, and pretty much we would go from that point, approximately. A little later I asked whether you could see it now, right there, and then said okay, good.

Where else did I clean waste out of a tight spot?
I have said the same things in other courses, in my own words. Here are the ones that sit closest to this leaf, with the lesson page for each.
Which Hashemi Flowers lessons added to this?
Lesson 40 of Hashemi Flowers gave me a number 7, about 20 mm (3/4 in), and some preliminary passes. I did not force it, because a forced pass becomes really fragile, and I can easily break it. Better to approach with different tools several times. A V tool was my plan for clearing all that mess.
Most of the cleaning there I planned to do a little later, off camera. It takes a long time, I said, and nothing about cleaning is exciting. Take the same tools you used and make clean passes. Later in that video I checked the piece and saw that I had a thickness right in the middle, so I planned an even smaller gouge, a number 8 of about 5/16 inch (8 mm), to make a concave on the inside of that leaf.
The grain was the trouble in lesson 33. On that piece you cannot make every pass with the grain, so you attack from different positions and fight for it. When you feel resistance, my words were, hold back the force and make multiple passes, which is better. Keep checking that your tool is sharp, and buff or strop it if you need to. Not long after, I noticed that I already had it too thin.
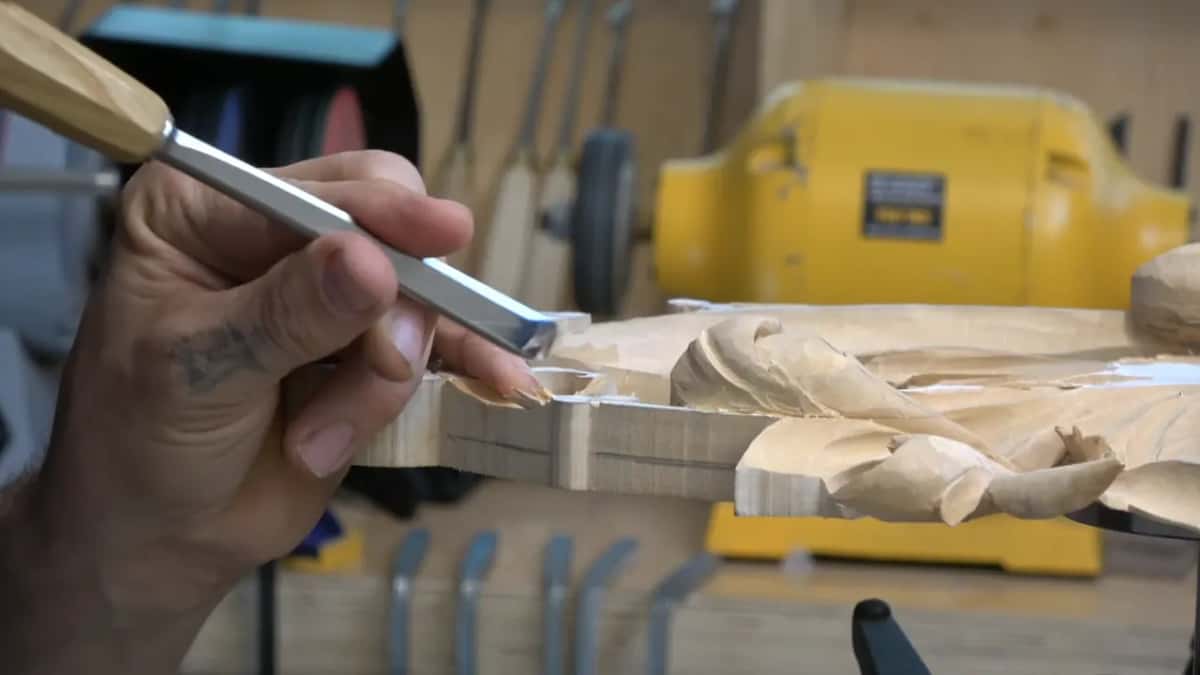
Over in lesson 14 I said I would just undercut the spot and remove it, and that I was not going to force it. It looked like a really clean result was in reach. A really small, tiny number 3 could remove it as well, I said. After that came another pass, maybe starting even closer.
A number 7 of 5/16 of an inch (about 8 mm) was my tool in lesson 21. The grain was changing direction, and sometimes you rotate and attack from a different position. Keep the force out of it. Do not go all the way. A V tool can clean the spot, and if a groove needs a little more depth, just do it.
At lesson 18 I planned a number 5, a quarter inch (6 mm), to undercut, going in carefully. Because the tool is really small, I said, that is my advantage at this point: smaller chunks and a lot less resistance. I was working upside down with it.
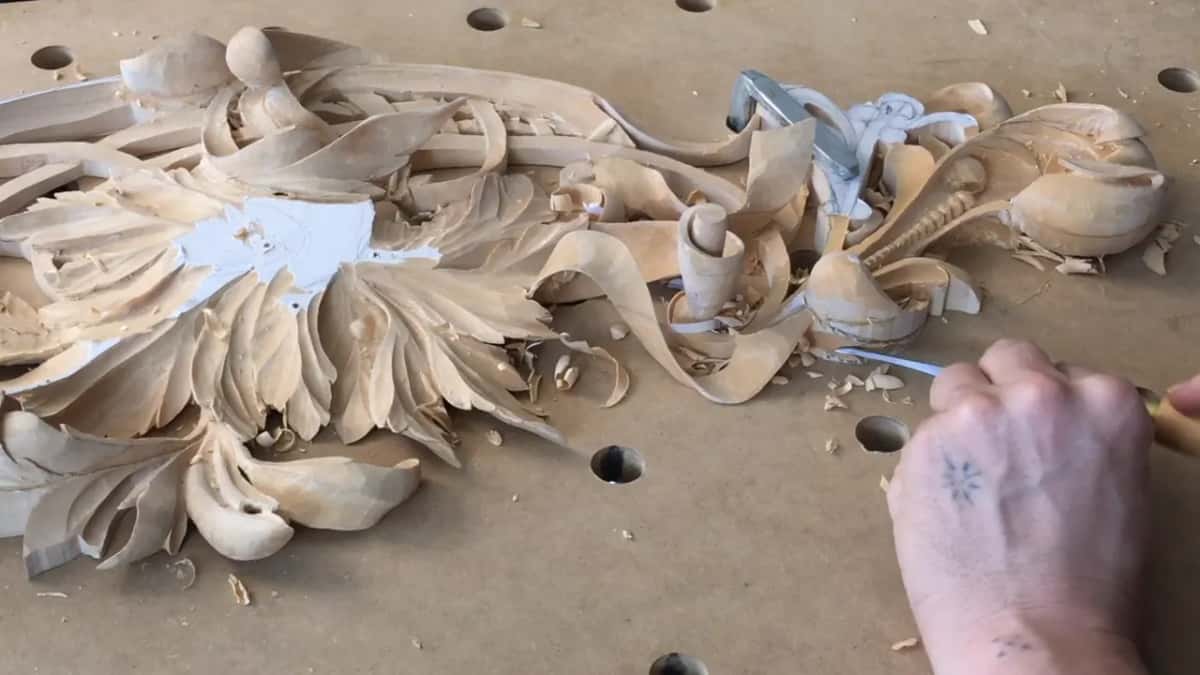
A two-millimeter spoon gouge, a number 9, undercut a spot that had to flip in lesson 17. Carefully, I said. Just take your time, and I know it takes some patience. Further on, a quarter inch number 8 was in my hand, and I barely create any pressure, almost no pressure at all. Sharp tools, I said, are a must.
In lesson 25 pressure came first. You can really badly cut yourself, I said, so keep an eye on how much you apply, and keep the force out of it. You have to feel how much pressure goes in and where to stop. I put a finger on the inside on purpose. It works as a stop, and I have a lot less chance to slip.
The sixteenth lesson had a number 7 of about 5/16 inch (8 mm) and the same slicing movements as before. Little by little, I said, and go on inside. Then lesson 5 had a number 8 with sweeping movements, and I kept the force out, because you can break into the main design. Better to come back and outline it again.
A rosette and a panel: what did they add?
My Chamomile and Bow Rosette lesson 4 has maybe a number 7, the bigger one, 20 mm or so (3/4 in), and a warning to be careful when you get close to the petals. I'm not forcing it, I said there. I would rather spend a little more time and clean that a little later, carving toward the center, than force it and make the mistake. Any flatter tool works, and I just like a number 7 for that spot.
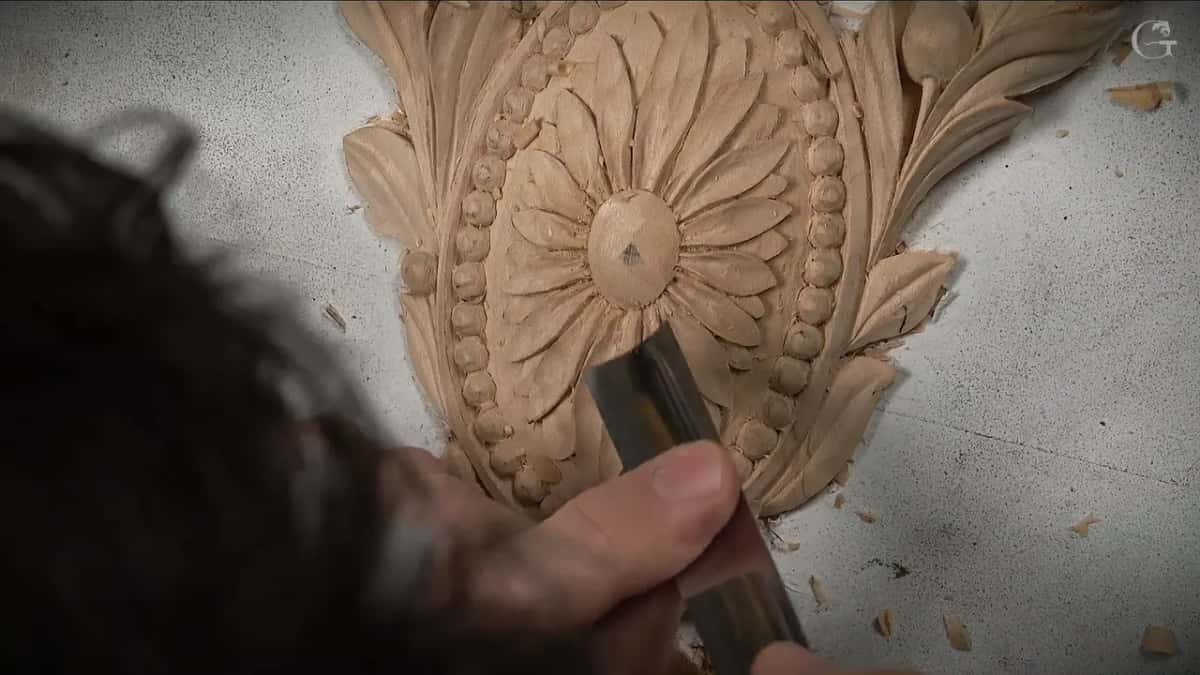
The cleaning there happened off camera as well. A small flatter gouge, or even a chisel, takes out the excess chips. Some roughness stayed in spots, and I planned to get in with really small, tiny gouges and chisels until it was perfect.
Near the straight-down lines of a design, in Furniture Panel lesson 15, I stressed how important it is not to destroy them. Working with only the corner of my tool, I said, I kind of clean it. A number 23, 6 mm (about 1/4 in), is like 90 degrees on both sides, and it gets you close to those lines with a lot more control. You do not have to use that tool.

At Furniture Panel lesson 17 a number 7 could clean the mess a little better, I said, as long as I was escaping, not digging. My pass went upward.
What do the veiner passes look like?
Back to the Roman Acanthus course, lesson 16: I think it's enough, I said, and I would go on the inside with the veiner, the same number 11, 1 mm (about 0.04 in). Pretty much the same idea, and maybe just one more pass.

In the Tray of Blessing, lesson 4 the plan was to do the same as the undercut before it, using the number 7 on the vine. You can remove the waste a little more, and if it fights you, a smaller tool, half a millimeter or one millimeter (about 1/50 to 1/25 in), does the job. Clean that slightly, I said. But again, don't overdo it.
Then Lily Box lesson 5: to clean the inside, you guess which tool, one millimeter and number 11. But really lightly. I was almost connected, and I did not want to take it through, because I wanted the piece solid.
Which tool and corner did each job?
This table keeps the cleaning habits in one place, next to the course each came from.
| Lesson | Waste | Tool | Advice |
|---|---|---|---|
| Modern acanthus 4-2 | The mess left under a rolling edge | Spoon tool | Go back, make the pass again |
| Hashemi Flowers 40 | The mess left after my preliminary passes | V tool | Change tools instead of forcing it |
| Hashemi Flowers 21 | A spot where the grain kept turning | V tool | Clean it with the V tool |
| Chamomile rosette 4 | The chips left over near the petals | Gouge #7 | Spend more time, clean later |
| Furniture Panel 15 | A spot beside the straight down lines | Gouge #23 | Use just the corner of it |
| Roman acanthus 16 | The inside of a carved acanthus leaf | Veiner #11 | Take maybe one extra pass |
What will you check on your own leaf before you clean it?
Is the ridge above your undercut still high? Could the tool in your hand lean on the roll? Would a single corner of it do the job at a lighter touch? If the answers sound like yes, you are ready to clean.
The fourth lesson page holds all three videos of the lesson, and the third and fifth lesson pages sit on both sides of it. The craft behind all of it is wood carving, with its gouges, and undercutting is one small part of relief carving, a kind of sculpture. Every tool I named here is a hand tool. Open the video with your Tuition and watch the corner do the work.
How it's done
- Keep the ridge high. Undercut with the number 9 and leave the high spot alone, because it becomes the convex.
- Clean only slightly. Take a spoon tool and clear the mess a little. Going shallow saves the future bulge.
- Hold it with two fingers. Place your hand solidly, hold with only the fingers, and let the sharp edge supply the force.
- Work the right-hand corner. Tilt the tool and work just its corner. Remove only a little.
- Repeat the pass. When a chip stays put, go back and repeat the pass lightly.
- Stay off the roll. Keep hard pressure away from the rolling motion, get a feel for how deep the pass should go, and work slowly.
Frequently asked questions
Which tool clears the mess from an undercut?
A spoon gouge or a spoon veiner, I said, used slightly and not too deep. I held the tool tilted and worked just the corner on its right-hand side. Other courses of mine show a V tool, a number 7 and a number 11 of 1 mm on the same sort of mess.
How deep should the cleaning pass go?
Shallow, because I did not want to lose my future development. Judge by feel how deep that pass is supposed to go, I said on camera, and do not hurry while you work your way in.
What if a chip stays stuck in the undercut?
Do the pass over, I said, with just the right-hand corner of the tool and light pressure. Then clean the spot until you are happy with it.
What to carve next