
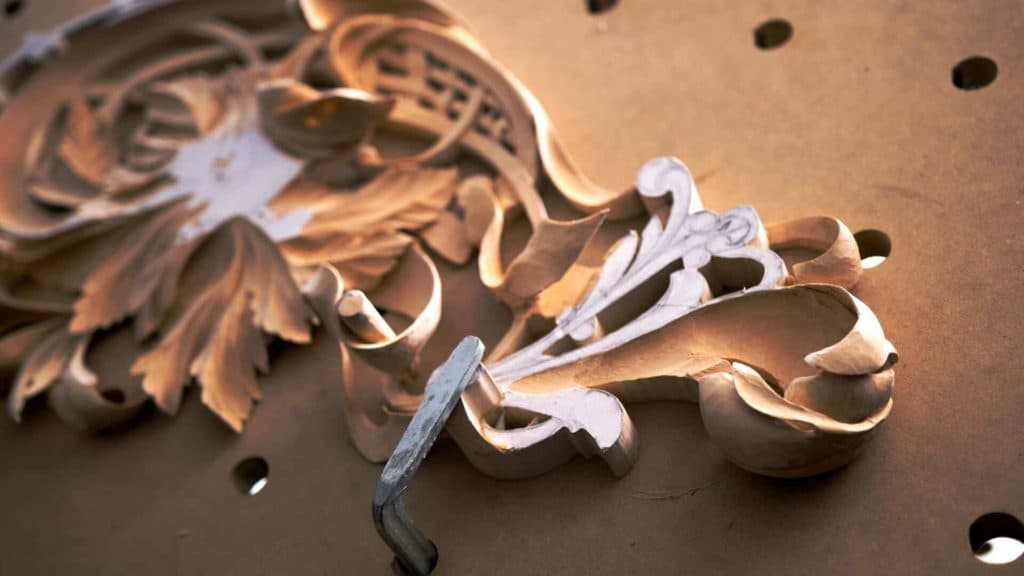
Alexander Grabovetskiy, woodcarver, School of Woodcarving · Published 2018
Why do carvers cut with a V tool first?
Quick answer: Carvers open a groove before shaping because a gouge driven into standing wood flattens some fibres rather than parting them. Flattened wood springs back overnight and the boundary goes fuzzy. Cutting that groove first parts everything cleanly and leaves the chip an open side to lift toward.
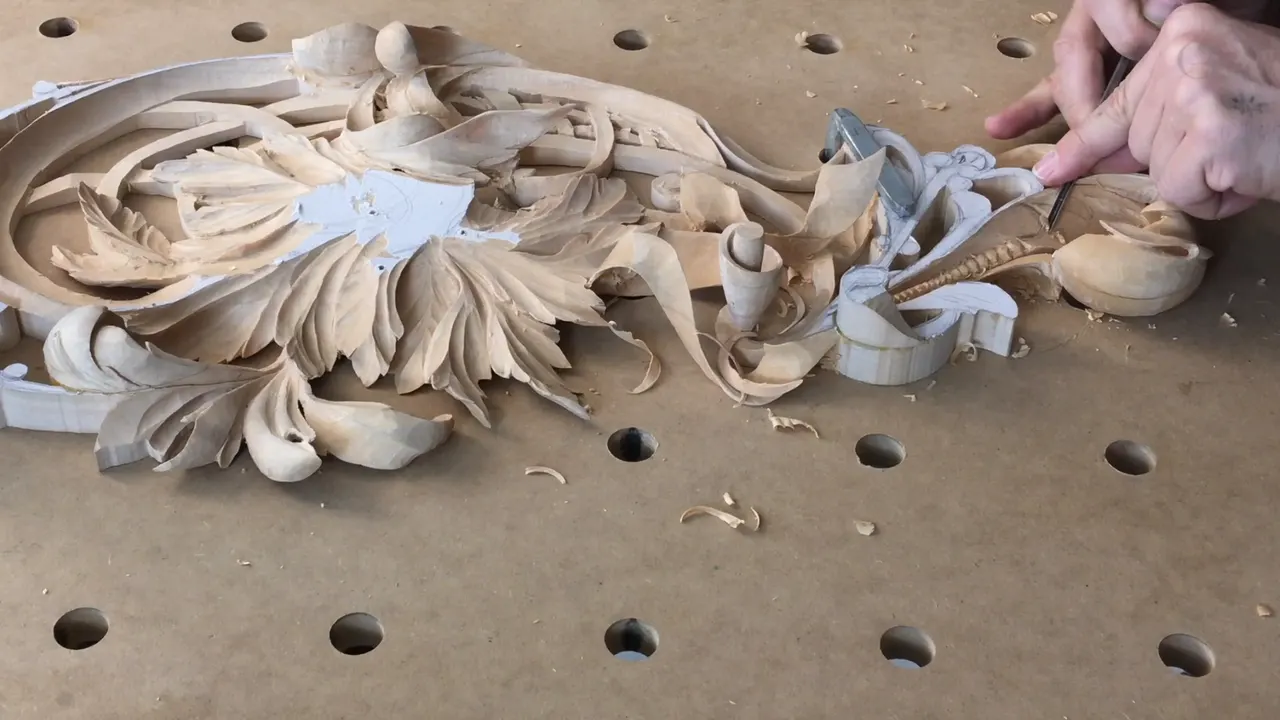
A V cut goes in first because a gouge alone crushes the fibre instead of severing it. The wood looks fine that afternoon. By the next day those crushed fibres have lifted and the cut is rough. Grooving either side parts them, and the gouge gains an open flank.
Nobody told me this for years. The wood taught it the slow way, one Monday morning at a time.
Carve a shape straight down into a wall of wood with no relief beside it, and the edge does not cut all the fibres. It flattens some of them. Wood is springy, and a flattened fibre is a fibre that has been bent rather than parted, so it sits there looking carved until it decides to stand back up again.
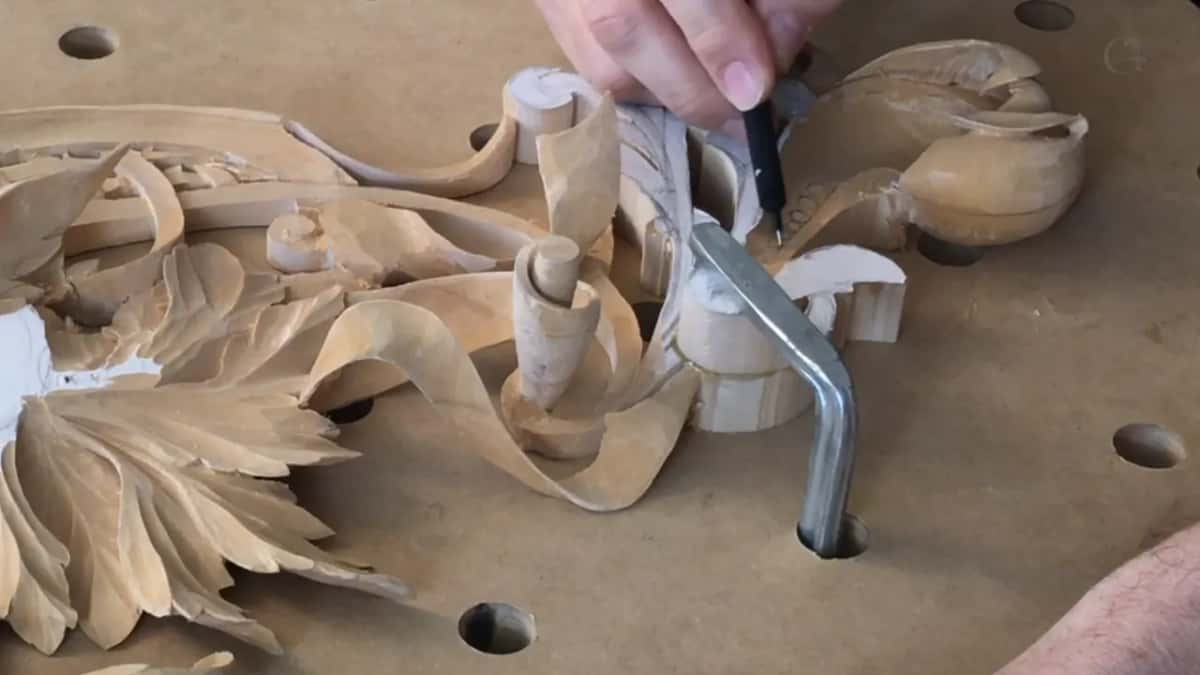
What the V cut actually does
- Parts fibre rather than bending it flat.
- Opens a free flank for the chip to lift into.
- Shows you exactly where the line has gone, well before you spend any depth on it.
- Makes the second pass cheap.
- Keeps the gouge from levering against work already finished.
Why does a crushed fibre come back?
lime is a bundle of tubes, and a tube squashed flat wants its round shape back. Moisture in the air is enough to persuade it. So a surface that looked crisp when you put your tools down is fuzzy the next day, with little hairs along the boundary. My words for it on the recording are that the fibres go back.
Sanding it then is the wrong answer, and I refuse sandpaper on this kind of work for reasons set out in whether to sand a finished carving. The right answer is to have severed the fibre in the first place.
Does this happen with every tool?
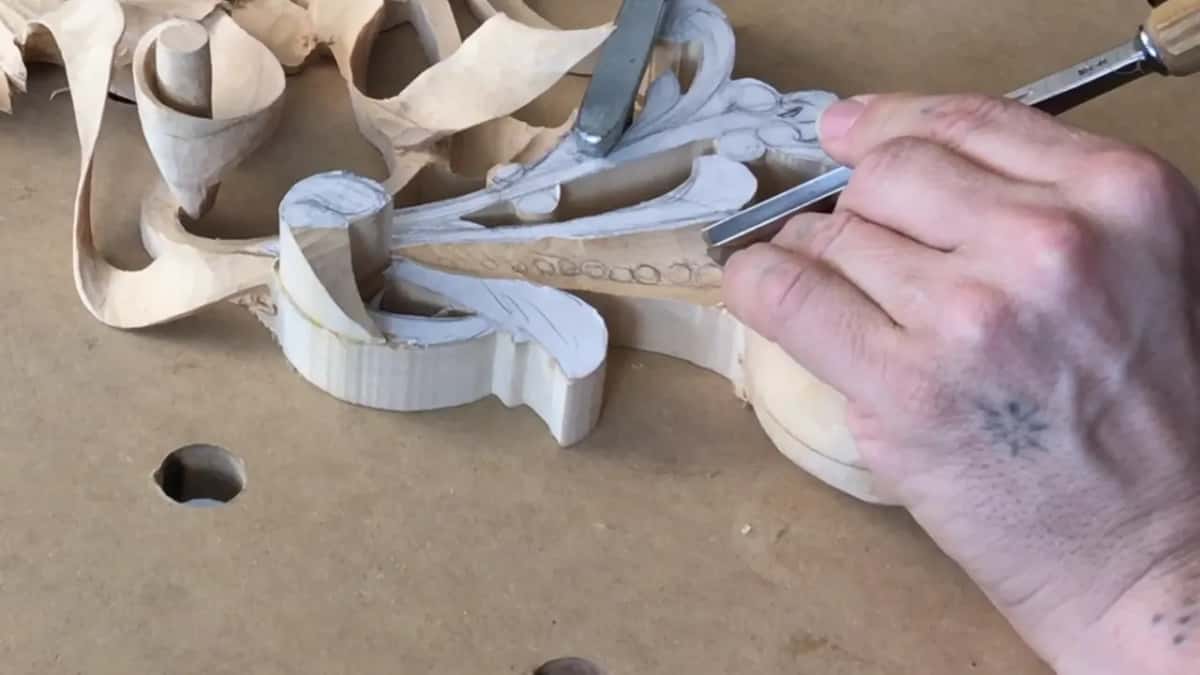
It happens whenever an edge meets a wall it cannot escape from. A chisel or a gouge driven straight at standing wood has nowhere to send its chip, so part of the cut turns into compression. Put a groove alongside and the same gouge now has an open side, the chip curls off into it, and nothing gets flattened at all.
The rule is less about the V tool than about relief. Any cut freeing one side of the wood will do it, and a V tool is simply the quickest way to make one.
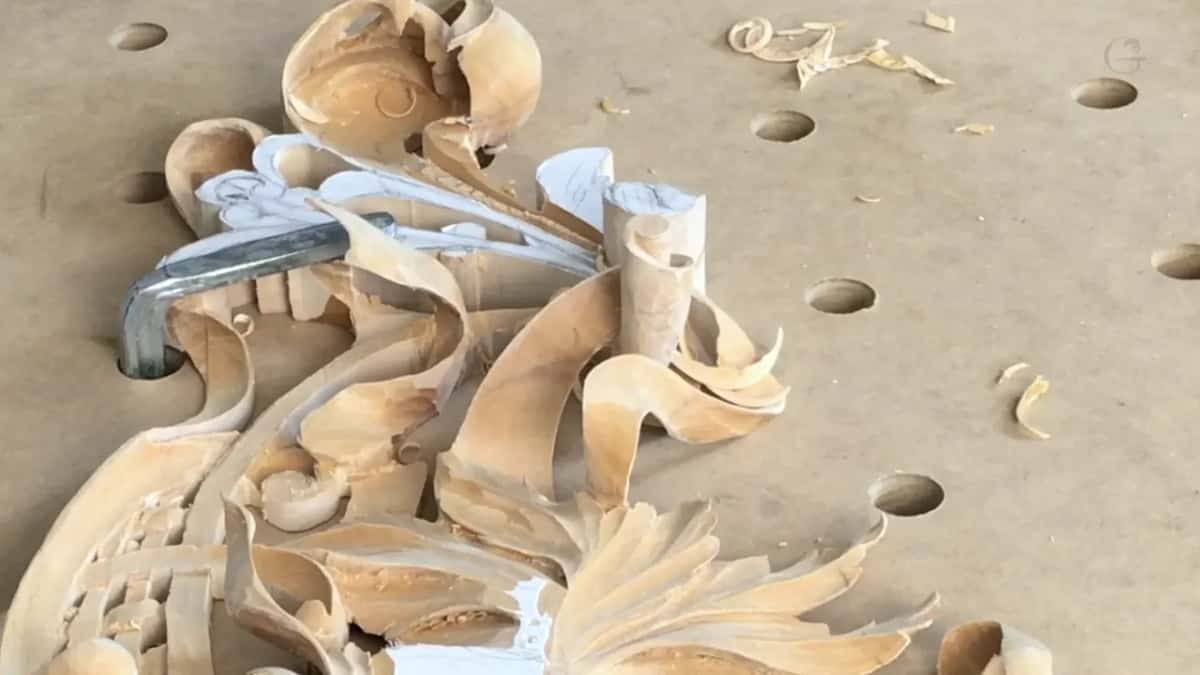
How deep should the first V go?
| What you are cutting | First V depth | Why | What happens if you skip it |
|---|---|---|---|
| Separating two leaves | About five millimetres down | Deep enough that the gouge never touches the far side | A bruised leaf |
| A row of small square blocks along a band | Light, using a 3 mm tool | The line matters here and the depth does not yet | Crumbling corners |
| A flow line over open ground | Quarter inch, no less | Everything after it meets far less resistance | Slow going |
| An undercut | As deep as the remaining wall will allow | Shadow is the point | Without it the flip never reads |
On the flow lines here I went five millimetres deep on the first pass, then said out loud that a quarter inch would serve better. A deeper groove leaves less resistance for everything that follows.
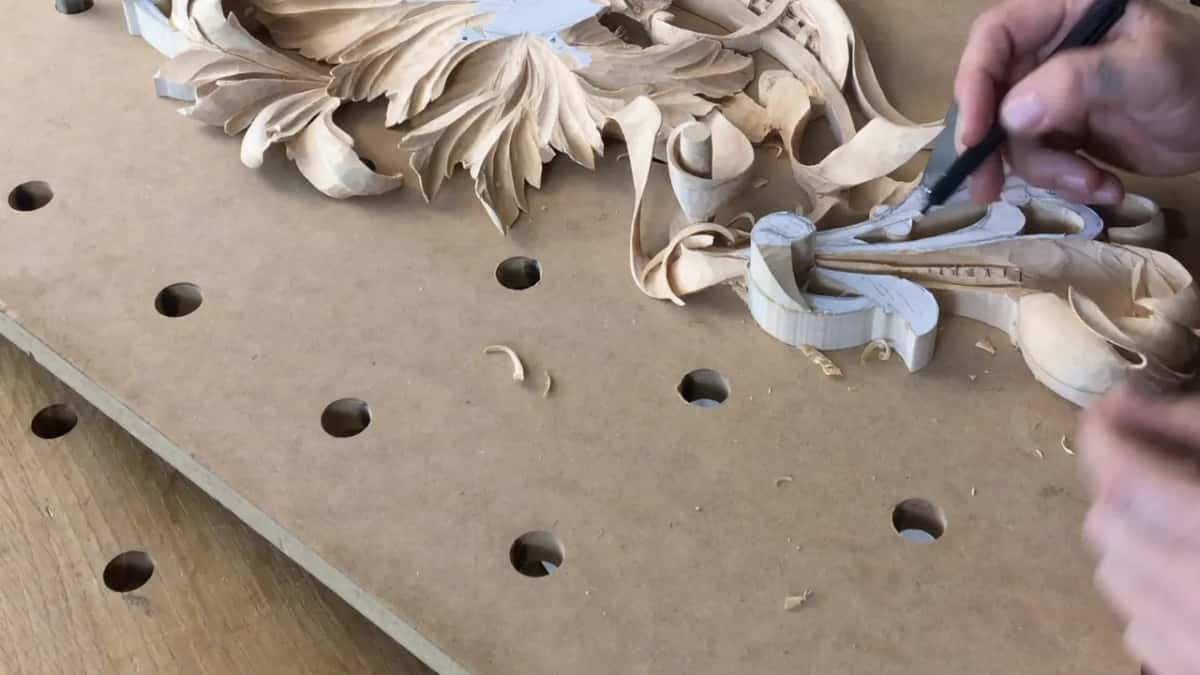
Which V tool?
A number 16 at six millimetres does most of it, and a 3 mm version of the same tool handles the small work. I keep reaching for the 16 because of its angle rather than its width, and what the numbering actually means is set out in air carving.
A 45 or a 60 degree V will do the job. It simply cannot go as deep in a narrow place before its own shoulders start cutting. Sharpening either shape is its own subject, covered in sharpening a V tool.
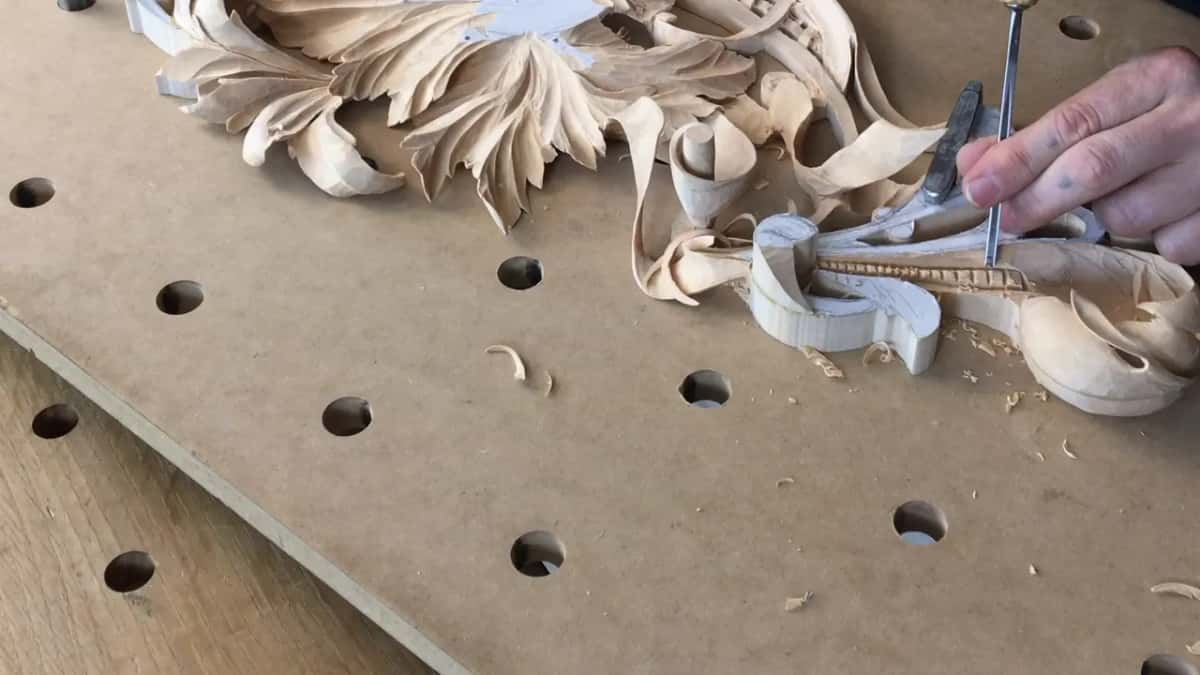
Does the V cut help with the grain too?
The V cut settles that argument before it starts. Cutting along a boundary severs long fibres on both sides, so when the gouge comes through afterwards it is no longer lifting a chip still anchored to wood two inches away.
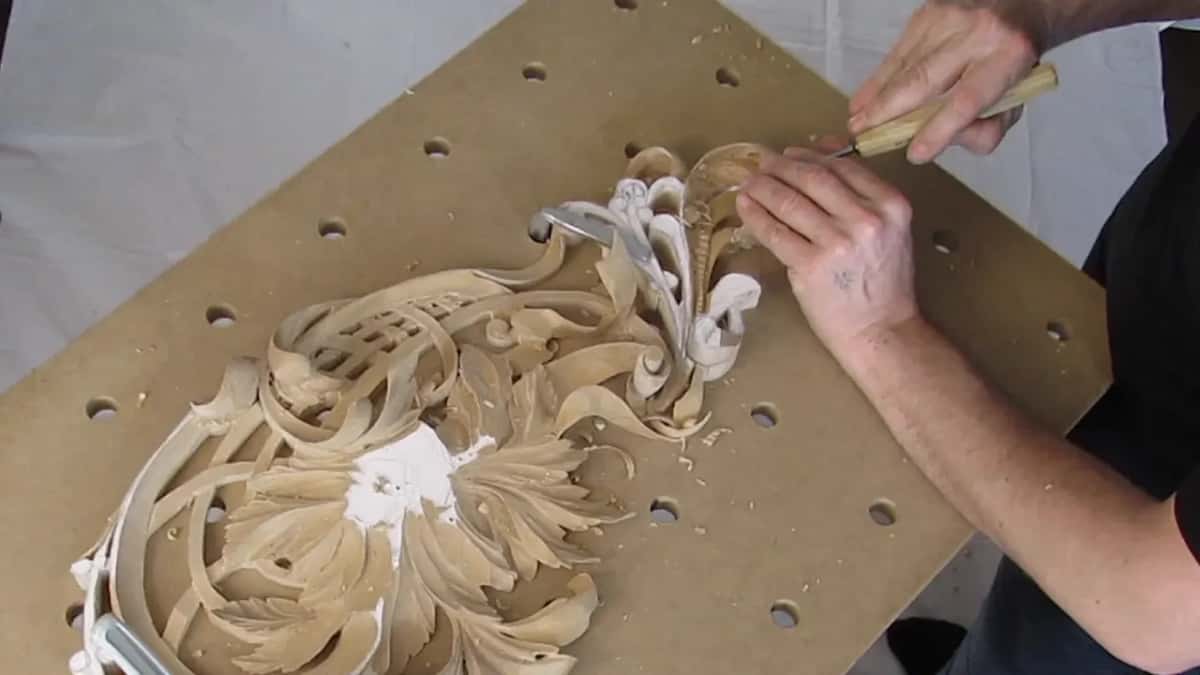
That anchoring is what tear-out actually is. A chip breaks away below the surface you wanted, following the grain down rather than stopping at your line, and it can do that because nothing told it where to stop. The V cut tells it.
The trick matters most exactly where the wood turns awkward: end grain, a marriage line, anywhere the fibre changes direction underneath. On easy long grain in soft lime you can often get away without it, and keeping the habit costs nothing.
What are the small squares?
A row of little blocks running along a band, and they are the detail I spend most of workshop 17 on. They are not decoration added at the end. They give a plain band a rhythm, and a panel with rhythm holds a viewer far longer than smooth surfaces do. Grinling Gibbons understood this better than anyone who came after him.
Small things like these make the biggest difference in carving. I believe that more strongly every year, and it is the opposite of what a beginner assumes, which is that the big shapes carry the piece.
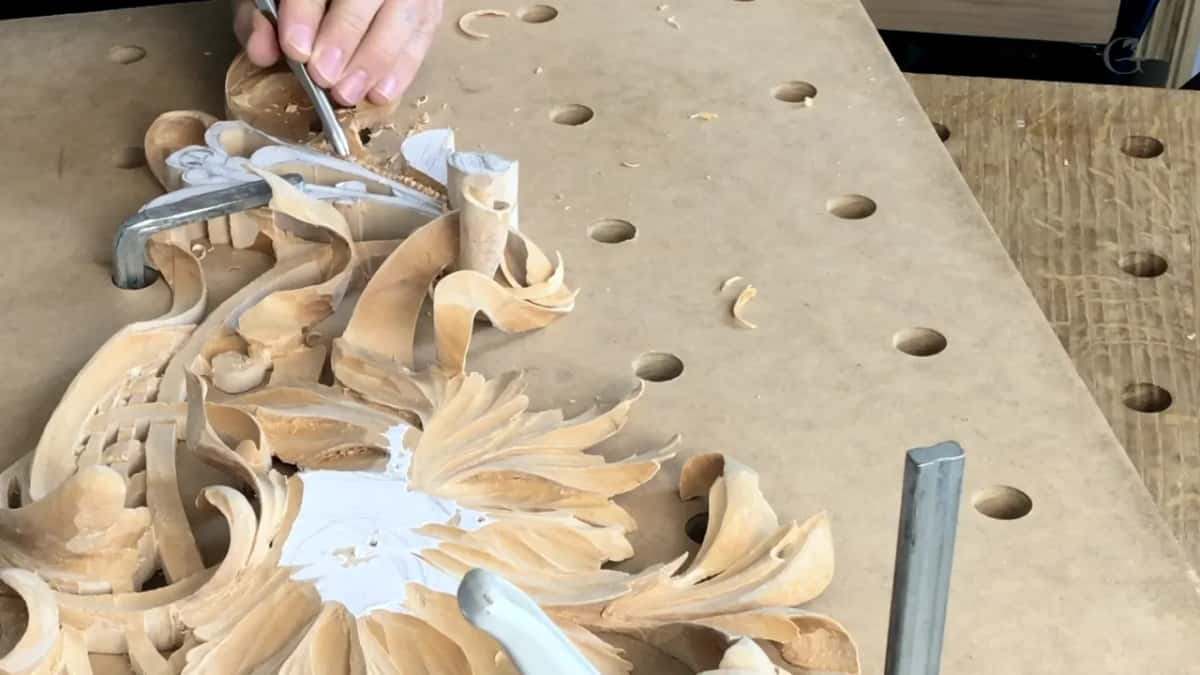
How do you keep squares square on a tapering band?
You shrink them. The band narrows from a quarter inch down to an eighth, and if every block keeps the same length the ones at the narrow end stop being squares and turn into little bricks lying on their sides.
Block length tracks band width the whole way along. Where the band is a quarter inch across, the block runs a quarter inch. Down at an eighth, the block is an eighth. Judged by eye as you travel along, and the row reads as one family of shapes rather than two.
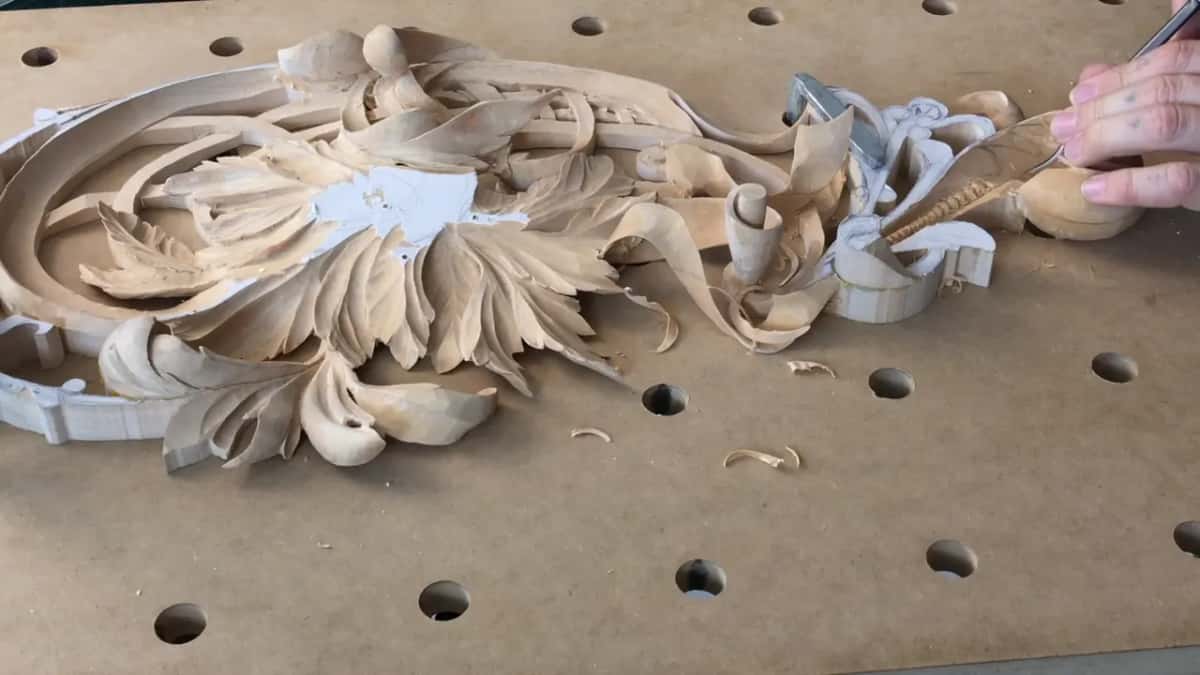
This is proportion doing the work, the same principle behind planning the layers first and behind every classical moulding that tapers.
What order do the squares get cut in?
V cut first, which is the whole theme of this workshop. I run a 3 mm V down every division between blocks, then take the corners off with a quarter inch number 5, going smaller as the blocks do, and only then clean. An Ashley Iles or a Henry Taylor serves equally well for that middle stage.
Cleaning last is deliberate and it took me years to trust it, the same way moving around a design took years to trust. Half of these will be nicked by something I do nearby in the next hour, so finishing them early would only mean finishing them twice.
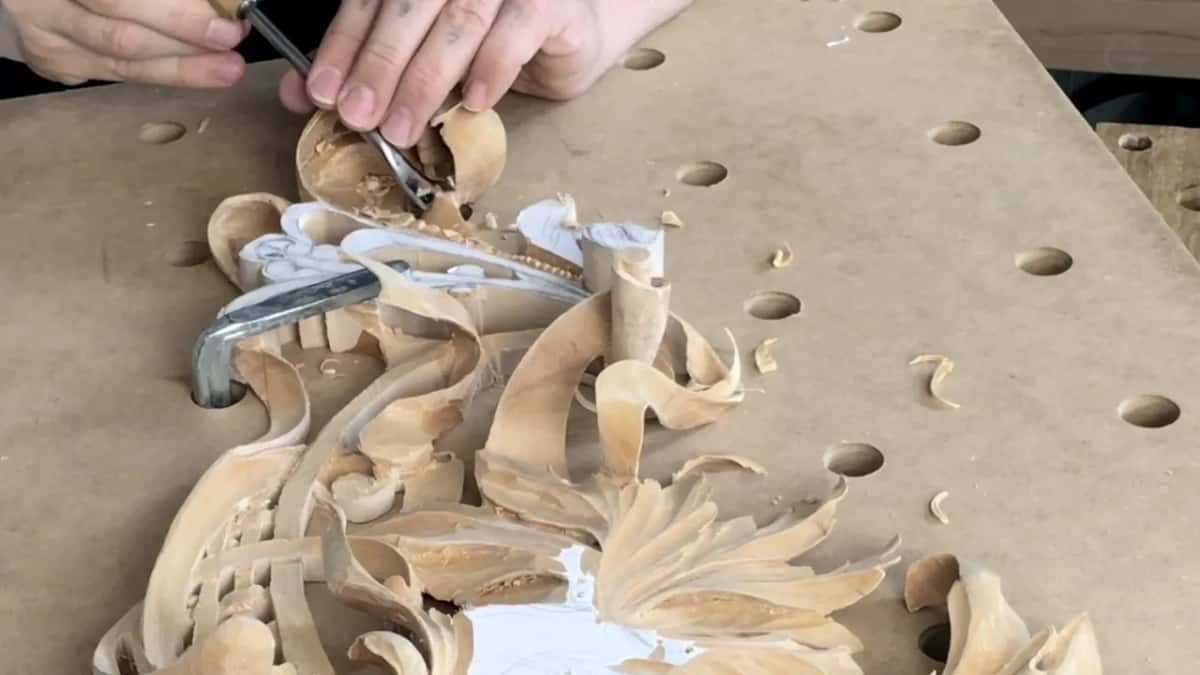
Which direction do you take the waste out?
With the grain wherever the geometry permits, and I will move myself round the bench rather than fight it. In this workshop the fibre runs across the area I am hollowing, so I set up to travel along it, and the tool goes in with about half the resistance it met from the other side.

Fighting the grain is not brave, it is just slower and rougher. There are places on an openwork panel where a finished shape blocks the good direction and you have no choice, and then you accept a rougher surface and clean it later from the far side.
Lifting the chip out is its own small art. I hook it up with the tip of a spoon gouge, which sounds like the habit hoiking warns against. The difference is load. A hook lifting a loose chip is fine; one levering against solid material is not.
Why does the back bend earn its place here?
The shank curves like a goose neck, so the edge can reach over a finished shape that stands between it and the wood. I use a number 5 back bend at half an inch to blend the part that a straight gouge simply cannot arrive at.
There is a fuller description of back bent gouge in the tools course. On this panel the point is narrow and practical: the obstruction is in the way, and the goose neck goes round it.
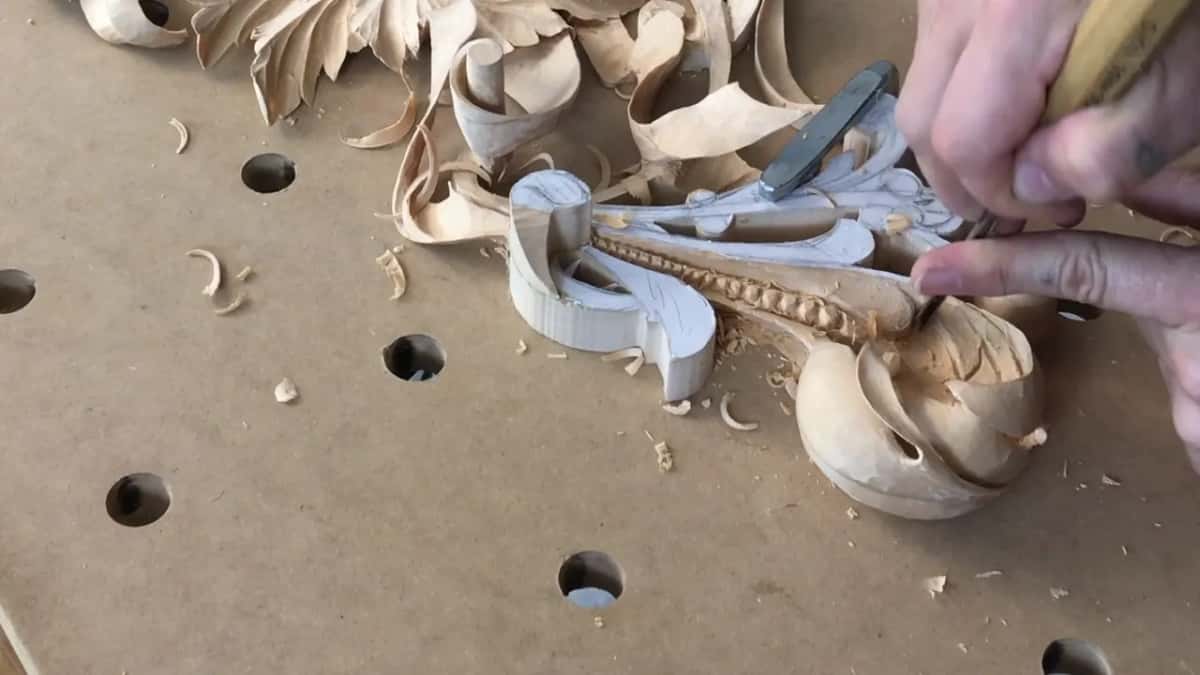
Why smaller tools for undercutting?
Control, and less fight. A narrow gouge takes a smaller chunk per pass, which means the force going into a piece that may be two millimetres thick is smaller too, and it means I can feel what the edge is doing rather than shoving and hoping.
The trade is time, and it is a real one. Undercutting with a narrow gouge takes considerably longer, and the alternative is explained in hoiking rather more vividly than I would like.
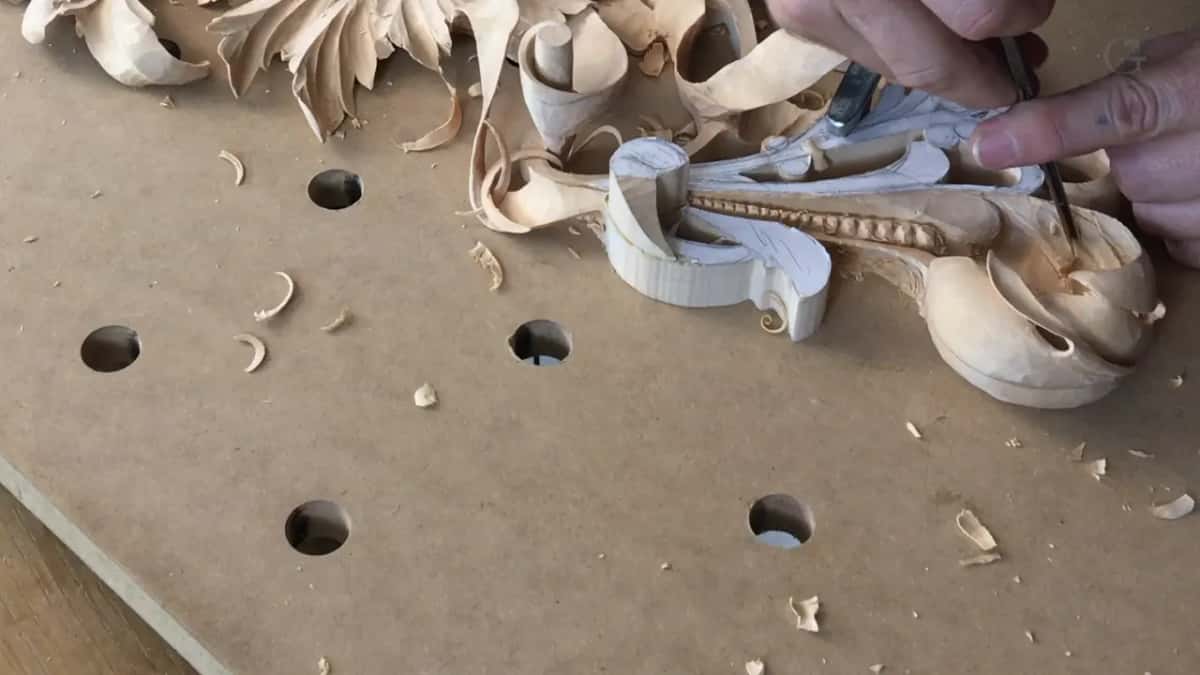
Should the leaf look like it flips, or flip?
Flip. I catch myself on the recording saying I want it to look like it flips, stop, and correct it: the thing should actually flip. That is not word play. A shape modelled to suggest a turn from one viewing angle falls apart from every other angle, and a shape that genuinely turns works from all of them.
Which means excavating underneath until there is real air behind the edge. The measure is the shadow: if a dark line appears under the lip the flip is true, and if you only see modelling in low relief it is not there yet.

How much pressure is right?
Almost none. By this stage of a pierced panel I am barely removing material on any single pass, and the only way that works at all is a properly sharp edge. A sharp tool cuts under its own weight and a little guidance. A dull one needs force, and force is what breaks openwork.
So sharpening stops being housekeeping and becomes the thing that decides whether the session is possible. sharpening in the school covers the whole of it.

Where do your hands go?
One finger underneath as a pad, and never a lever against the carving itself. You can pry against your own finger all day. Prying against the wood is how a panel that survived sixteen workshops ends in two pieces, and when a carved part breaks is the procedure nobody wants to need.
I say it in these exact terms in workshop 17, and the grip is described properly in air carving.
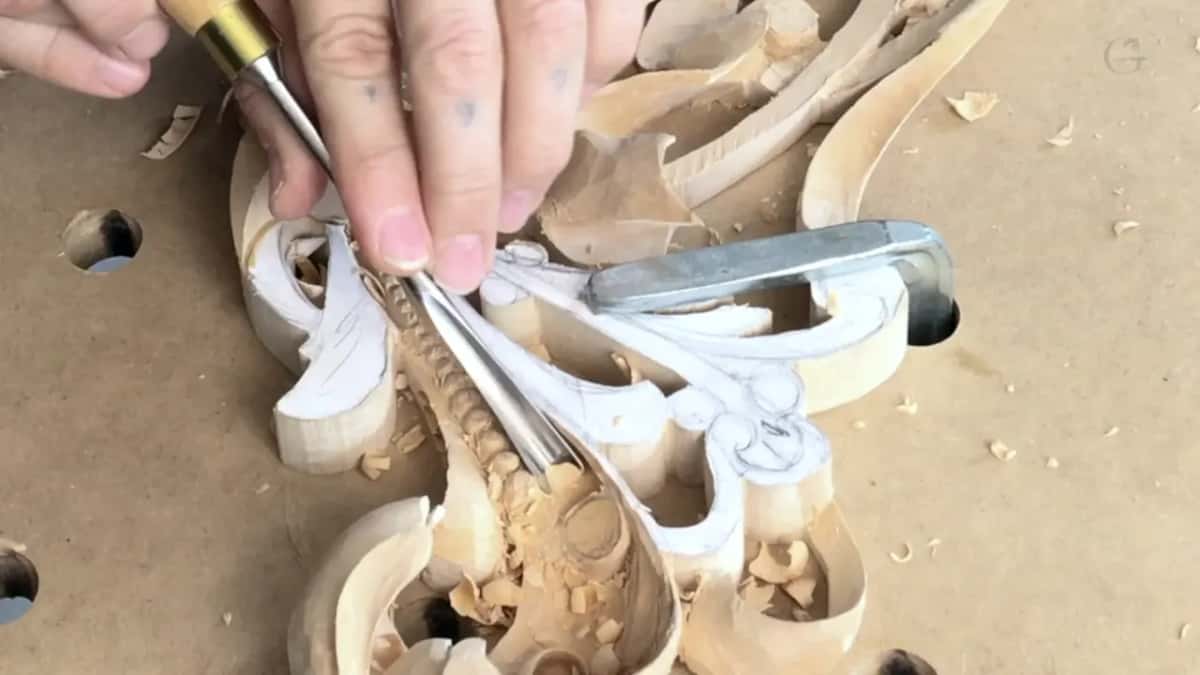
Why leave the cleaning until last?
Half of what you clean early gets damaged by whatever happens next. In workshop 17 I establish four separate details around one leaf and deliberately leave all of them rough, saying on camera that the final cleaning waits until the whole area is pre-established.

A cleaned surface is a surface you will protect, and protecting it makes you carve timidly around it. Leave it rough and you can work freely, put your finger anywhere, and take one clean pass over the lot with a gouge that is genuinely sharp.
The exception is anything you cannot reach later. An undercut you will never get back inside must be finished the day you open it, which is the reverse of this rule and the reason both rules have to live in your head at once.
How far do you subdivide?
As far as the material and your patience allow. You can subdivide and subdivide inside an acanthus movement, putting a leaf inside a leaf inside a leaf, and the design keeps accepting it as long as each new level is genuinely smaller than the one holding it. making a leaf catch the light works the same way: every extra surface is another angle for light to land on.
Where it goes wrong is equal sizes. Two subdivisions of the same scale next to each other read as indecision. The classical solution, visible on any Corinthian capital, in the Getty collection and across the V and A sculpture shelves, is a clear hierarchy: one dominant, one secondary, everything else small.

What to try on your own bench
Take a scrap of basswood and carve the same groove twice, once straight in with a gouge and once with a V cut run alongside it first. Same tool, same depth, ten minutes apart.
Leave both on the bench overnight, in an ordinary room with ordinary air, and look at them in the morning. One of them will have grown hair. All 49 workshops of Carving Hashemi Flowers sit inside the school, and this one is 17.

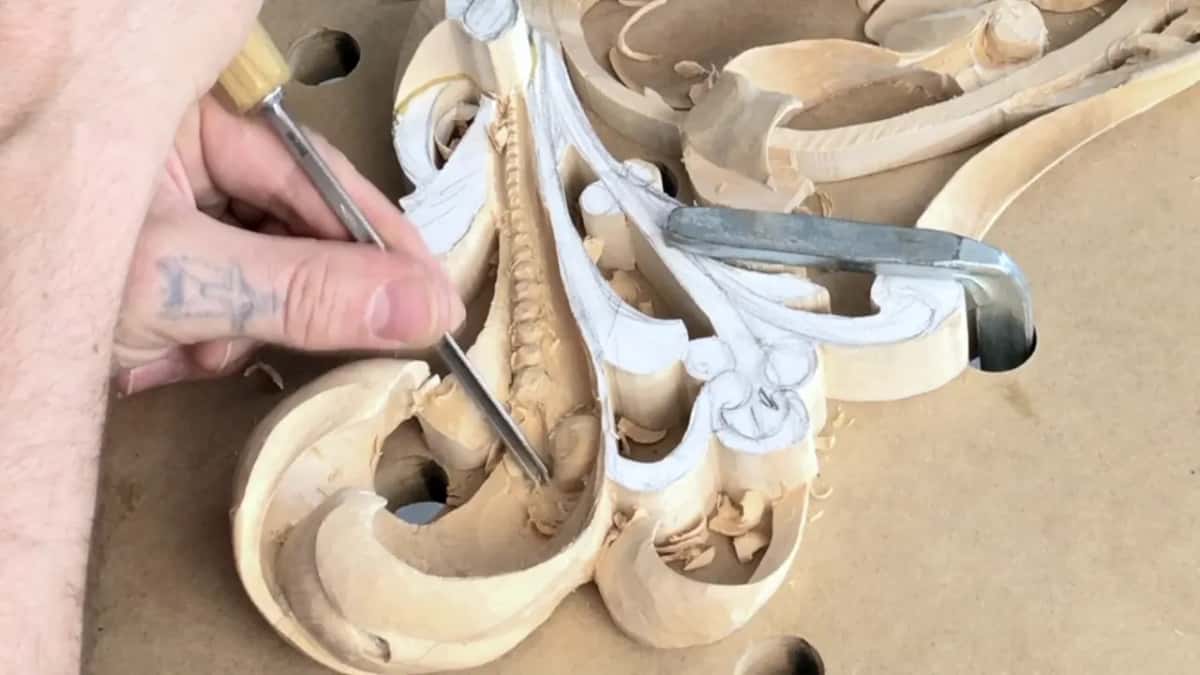
One more thing about the V tool that has nothing to do with fibre. Early in this session I stop and reposition the clamp purely because it stands where my hand wants to be, and the whole interruption is over in seconds.
Forty seconds against a broken detail is the easiest trade on the bench, and I still catch students carving round an obstruction rather than moving it. Move the clamp, or the panel, or yourself. Any of those beats carving at an angle your wrist will complain about afterwards, and the forty seconds comes back within the first three cuts.
Next workshop is about how fast any of this can honestly go, which is a question I get asked more than any other.

How it's done
- Draw the boundary. Run the V along the line you intend to keep, before any gouge touches that area.
- Go deeper than feels needed. A quarter inch on a flow line leaves every later cut with far less resistance to fight.
- Pick the narrow angle. A low angle V reaches further into a tight curve before its own shoulders start cutting.
- Bring the gouge to the groove. Work toward the open flank so the chip lifts away instead of being crushed into standing material.
- Size the detail to the space. On a tapering band each block shrinks with the band, or the narrow end stops reading as squares.
- Take corners before faces. Knock the corners off first with a wider tool, then reduce as the shapes reduce.
- Go round obstructions. Reach for a bent shank whenever a finished shape stands between the edge and the wood.
- Clean at the very end. Leave everything rough until the whole area is established, then take one pass over all of it.
Frequently asked questions
What happens if you skip the V cut?
The gouge flattens fibre instead of parting it, and the flattened fibre stands back up over the following day. A boundary that looked crisp when you stopped work is fuzzy by morning.
Can sandpaper fix a fuzzy cut?
Abrasive rounds every junction it touches, which costs you the shadow the carving was built for. Severing the fibre in the first place is the only real answer.
Does any groove work, or only a V?
Anything that frees one side of the wood does the same job. A V tool is simply the quickest way to make one, and it leaves a line you can see.
What to carve next