
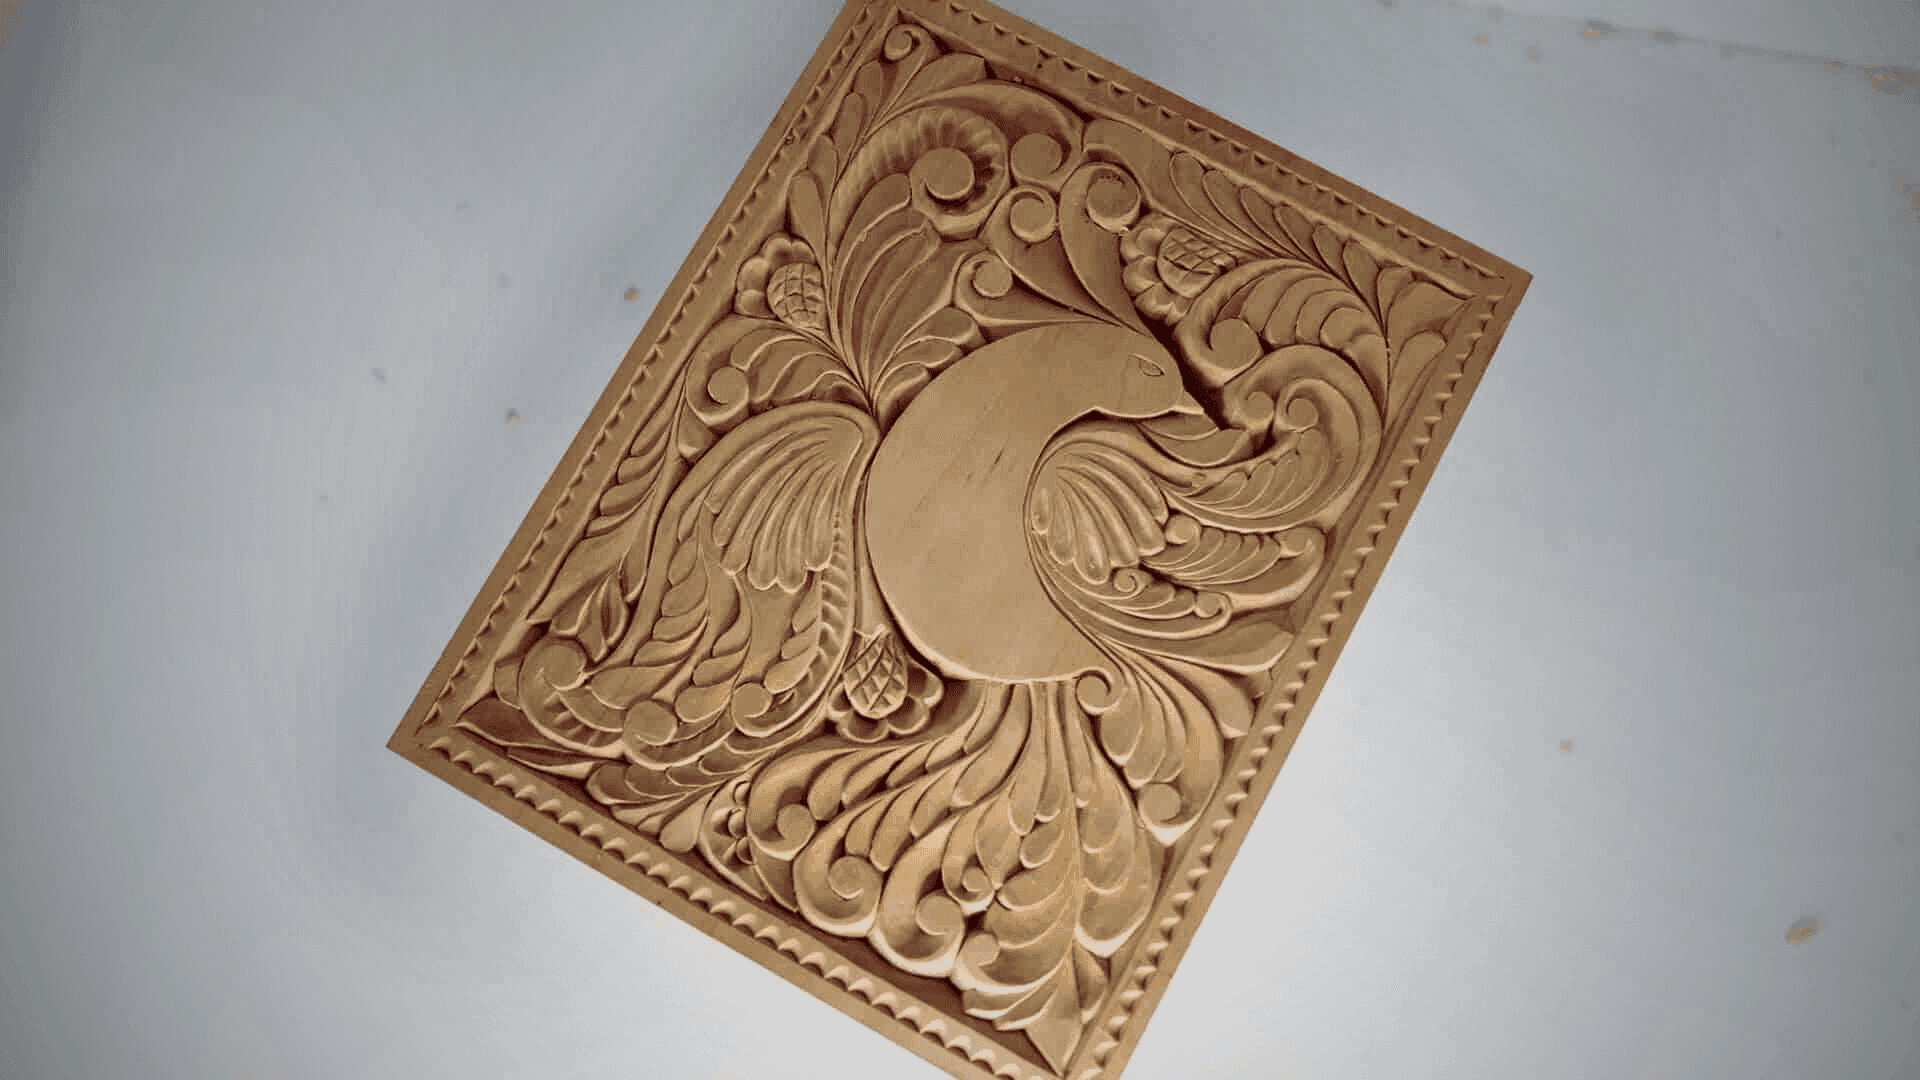
August 27, 2024 · Updated August 21, 2026
By Alexander Grabovetskiy — Master Woodcarver · Founder, School of Wood Carving · 17 min read
Is Wood Carving hard?
Wood carving is easy to begin and slow to finish well. Pushing a sharp gouge through basswood is something you can pick up in one afternoon. Seeing a shape in three dimensions, and keeping a razor edge on steel, are the two parts that take years. I have been carving over forty years.
So, is wood carving hard? Depends which half of it you mean, and almost nobody splits the question that way.
You watched a video. The gouge slid through the board like the wood wanted to move, a curl came off whole, and you thought, I can do that. Then you bought a set, sat down, and the tool skated, tore, and stopped.
That gap is not talent. I can name exactly what sits in it, because I teach it every week and I have watched hundreds of people fall into the same hole in the same order.
Here is my honest answer: what is genuinely hard, what only feels hard, how long each part takes, and the first board I would put in front of you.
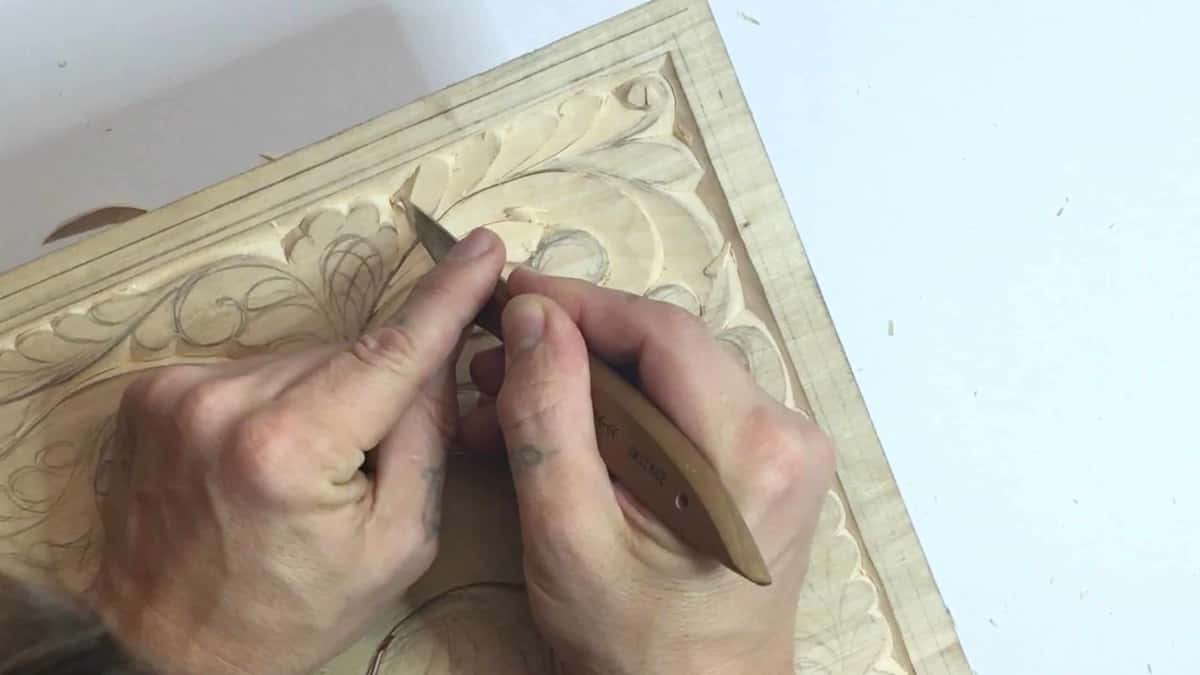
Two hands on one knife, following a line somebody already drew for you. Day one looks like this.
- Moving a gouge through wood is the easy half. Most people have it inside a day.
- The hard half is seeing in three dimensions, and that is a brain skill you build, not one you inherit.
- Beginners quit at about one month, and the cause is almost always a dull edge.
- Basswood reads 410 lbf on the Janka scale and white oak reads 1,350, so the same gouge gives you a completely different evening.
- Your timeline is yours. Some people arrive quick, some grind out twenty thousand hours, and no honest teacher will predict which one you are.
Is wood carving hard to learn?
No, the cutting is not hard to learn, and yes, the seeing is. Those are two different skills wearing one name, which is why the internet cannot agree on an answer.
Here is how I put it on a livestream a few years back. To dig wood, or poke a gouge inside of fibers, that part is easy. You can learn to carve wood really quickly. But the design part is much harder, because you are designing not for a two dimensional world but for the three dimensional world, and that is really hard.
Read those two halves again. Your hands own the first one. The second belongs to your head, and it is the half nobody sells you a kit for.
Your hands will surprise you inside a week. Your eye takes longer, and it keeps growing for as long as you keep going, which is the part I actually like about this craft.
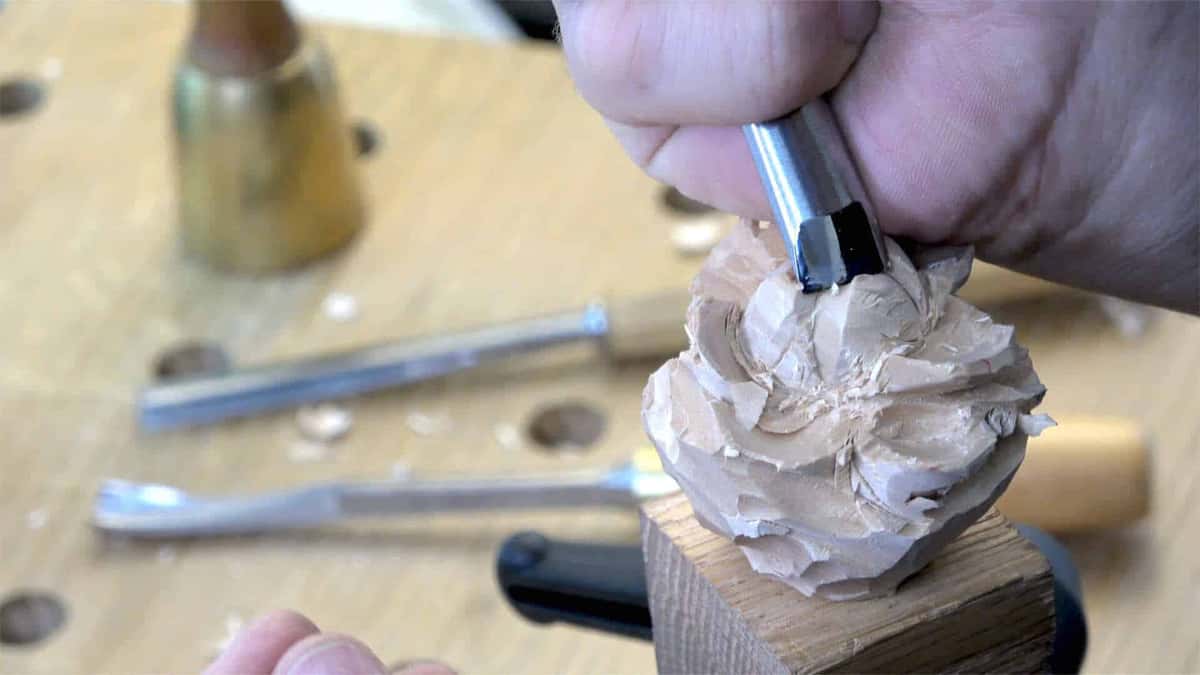
A rough rose and a small gouge. There is nothing complicated about that one stroke.
What actually makes carving difficult?
Three things, and I rank them in this order: design, sharpening, then carving. I said the same on a livestream in April 2020 when somebody asked me to break the craft down.
Number one, you have to train your brain in the three dimensional world, and that is a design process. Second, of course, sharpening. And the third is just how you carve, the angles, the movements, how you position your hands on a tool.
Notice where carving sits. Last. The thing beginners obsess over is the smallest of the three.
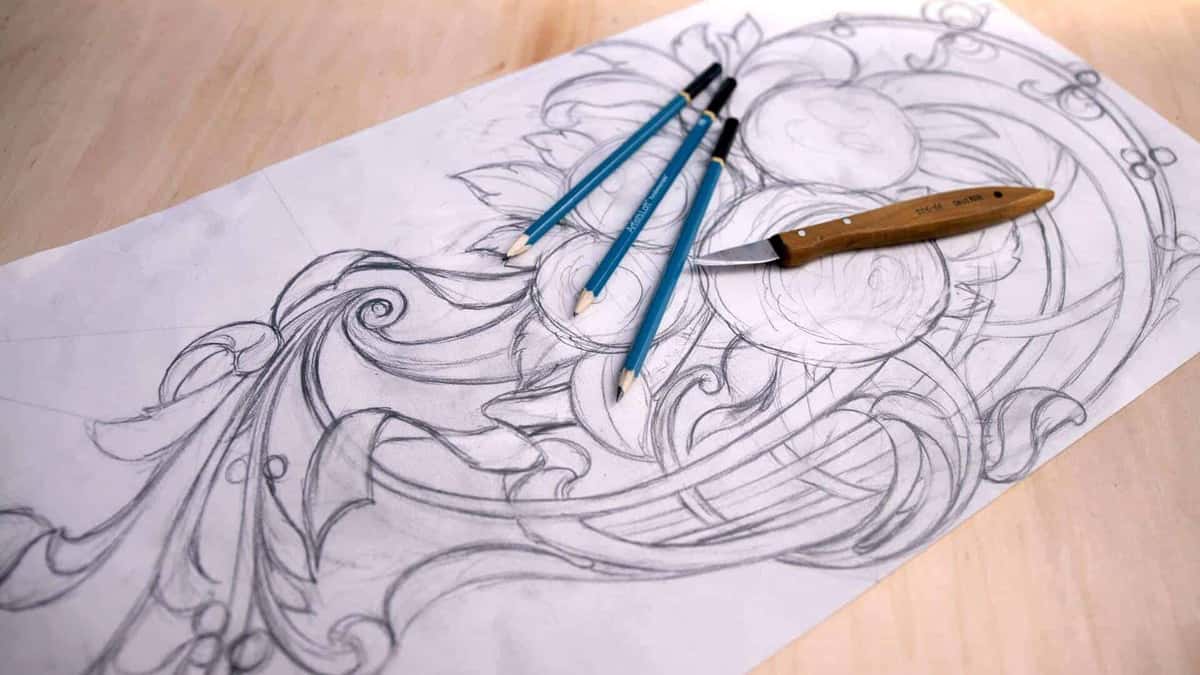
The drawing eats the same hours the carving does, and it decides everything after it.
Design comes first because a shape you cannot see is a shape you cannot carve. Drawing a leaf is not the job. The job is deciding how far the back of that leaf sits under the front one, and how light will fall across the gap at four in the afternoon. Your brain learns to do that slowly, and then it never stops doing it, and one morning you catch yourself reading the shadows on a building.

Scroll drawn inside a ruled rectangle before any wood gets touched.
If drawing worries you, read whether you need to draw well before you carve. Short version: you need to see, not to draw prettily.
Why do most beginners quit in the first month?
Their tools go dull at about the four week mark and they blame the wrong thing. I watch it happen over and over.
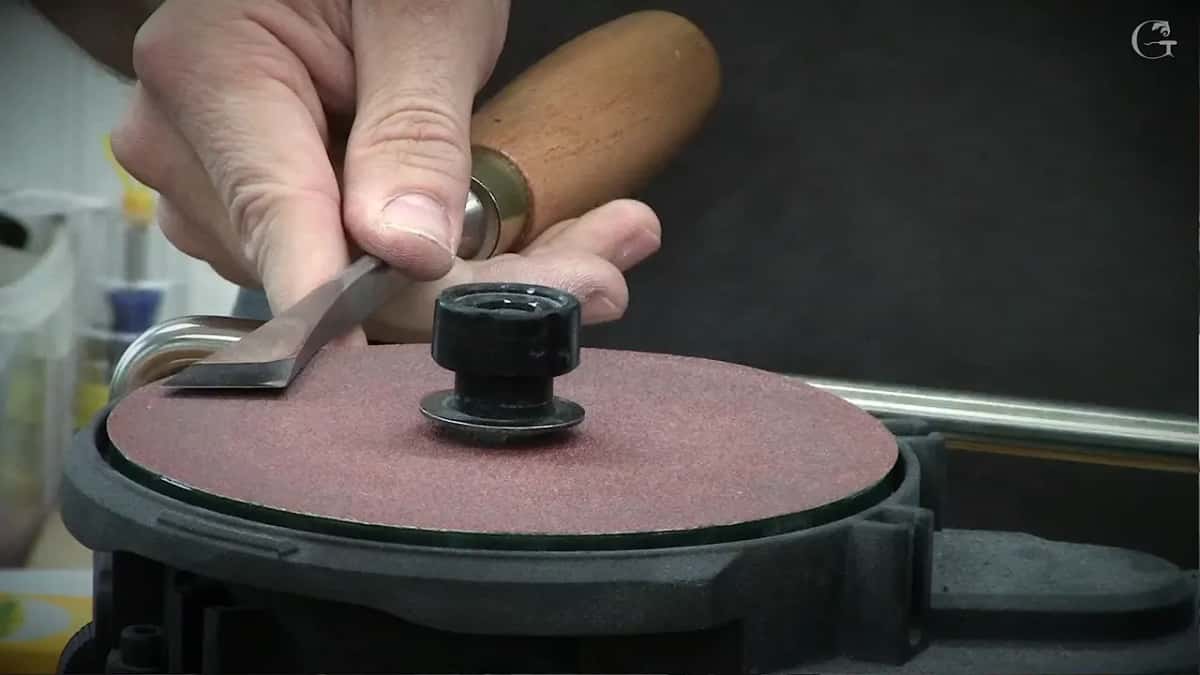
A chisel laid down against the red disc. Two minutes here buys you a whole evening at the bench.
People buy carving tools, they carve for a month, and then the tool becomes dull and they get really frustrated. They blame wood, saying the wood is bad, or else they turn it inward and blame themselves. But that is an important skill to learn.
My own teacher settled this for me when I was young and complaining. I asked him why he gave me such a bad piece of wood. He said there is no such thing as bad wood. It is dull tools. That is the only problem, dull tools. Sharp tools can do beautiful stuff, even on the worst of the worst pieces of wood.
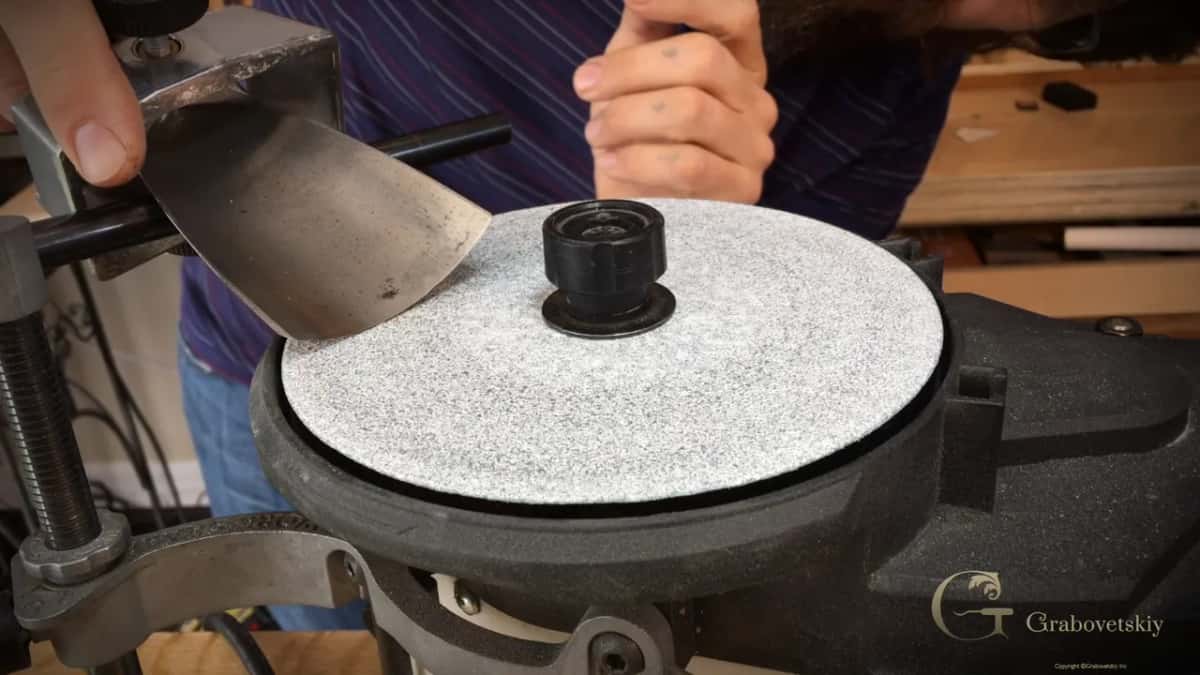
The bevel meeting the wheel. Get that angle right and the wood stops arguing with you.

The handles behind that palmette are stamped with their sweep numbers, so I can grab one blind.
Sharpening is not an advanced topic you graduate into. You cannot carve anything with dull tools, it is absolutely impossible, and it is one of the first skills you have to learn. Most beginner guides put it in a footnote. That footnote is the reason half of them quit.
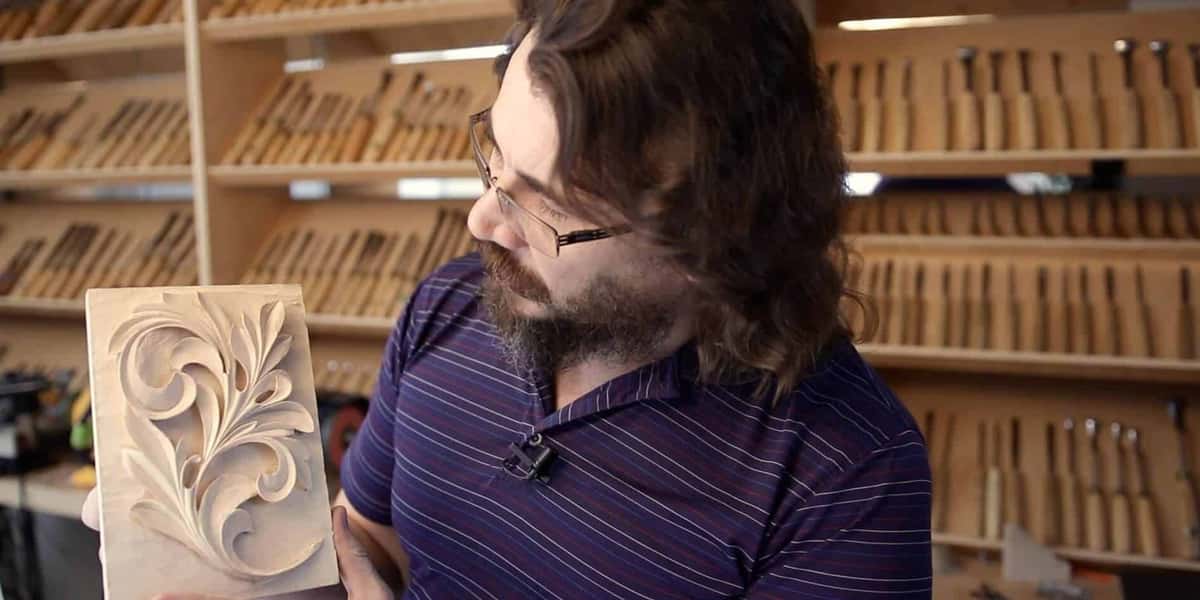
Those shelves took thirty years to fill, and I still reach for the same six.
My whole free path through it lives in my sharpening course, from grinding through stropping, and a short version at the sharpening page.
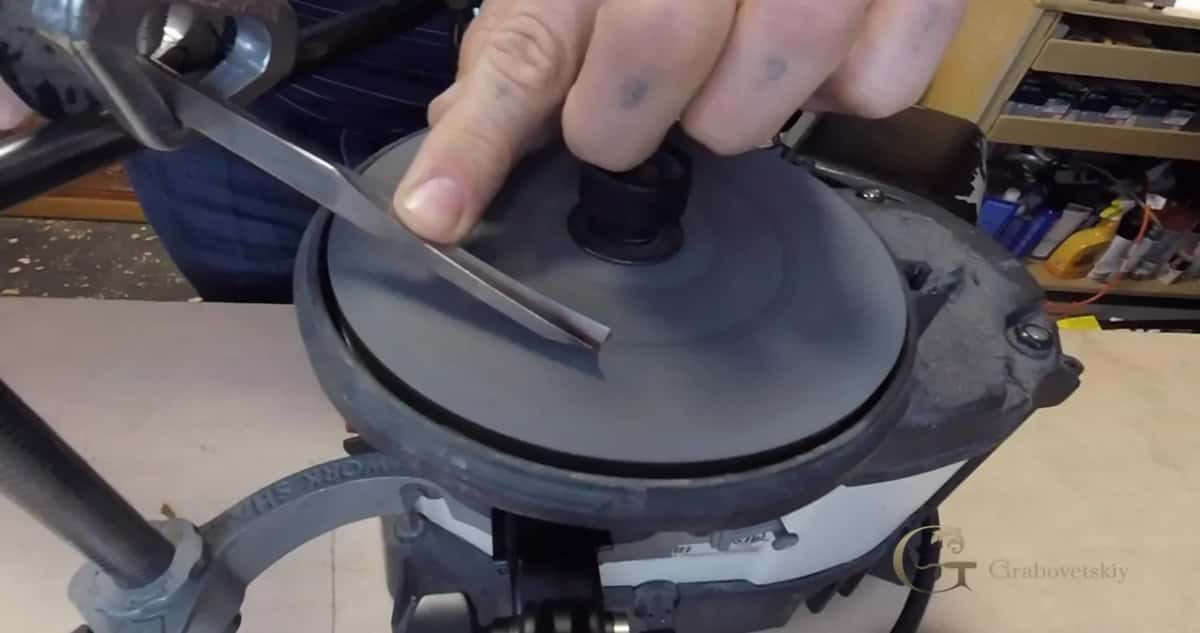
Held down against the honing wheel, guide arm keeping the angle steady.
How long does it take to get good at wood carving?
Anybody honest will refuse to hand you a number, and here is the reason. People email me asking what level they will reach in one month, in two months, in a year.
My answer is always the same. Hard to tell, because it is impossible to tell. It all depends on you and only you, and the progress only you do.
People ask me about the ten thousand hours idea constantly. My answer on that lesson was blunt. There is a book by Malcolm, and Robert Greene talks about it too, and it is not like that at all. Some of the people get there a lot quicker, some of them need twenty thousand. But a point does exist.
What I can give you instead is a set of markers other people actually hit.
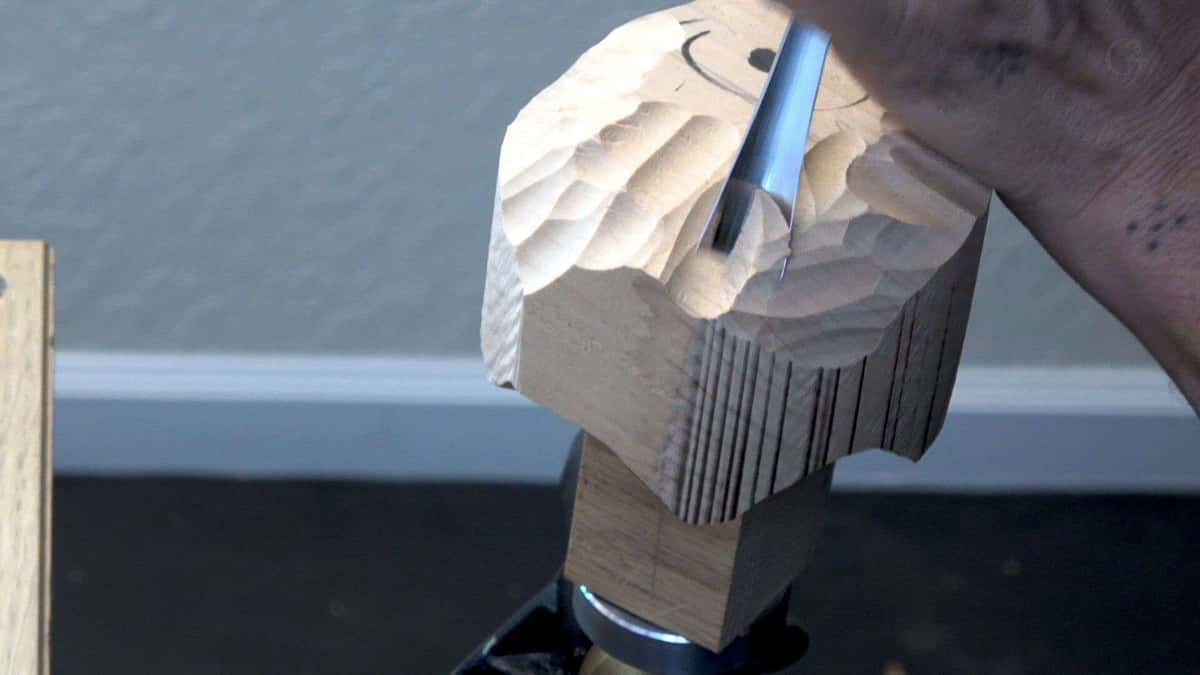
Saw kerfs down the waste, top rounded off. Two hours in.
| Roughly when | What you can honestly do at that point | Main wall | What most people get wrong here |
|---|---|---|---|
| First afternoon at it | Cut one clean straight groove with a single knife | Grain runs | Going far too deep on the very first stroke |
| Week two | A small relief that reads as a shape | Depth | Everything lands at one flat height |
| Month one, about | You notice the edge has quietly stopped slicing anything | Sharpening | Blaming the board instead of blaming the steel on it |
| Six months in | Carve somebody else drawing without wrecking it | Seeing form | Skipping the layout stage completely |
| Year three | Design your own leaf and then carve it right through | Plain patience | Measuring year three against a lifetime of somebody else |
Not one of those walls is unusual, and I have watched every one of them arrive on schedule. Every great master who ever lived, three hundred years ago, a thousand years ago, started at exactly the same point you are standing on right now. Almost all of us did.
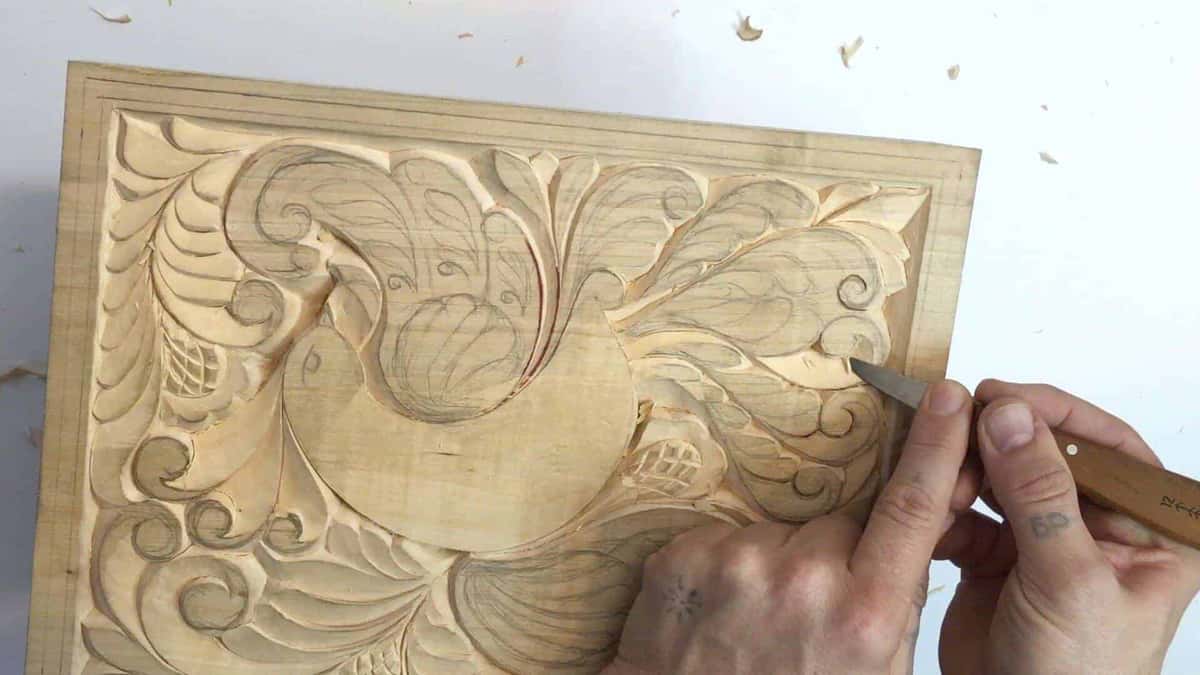
Ground dropped, forms roughed, and the original pencil still surviving on top of them.
More detail on the clock lives in how long it takes to learn to carve wood and in why carving feels so slow at the start.
Which wood is hard to carve, and which is easy?
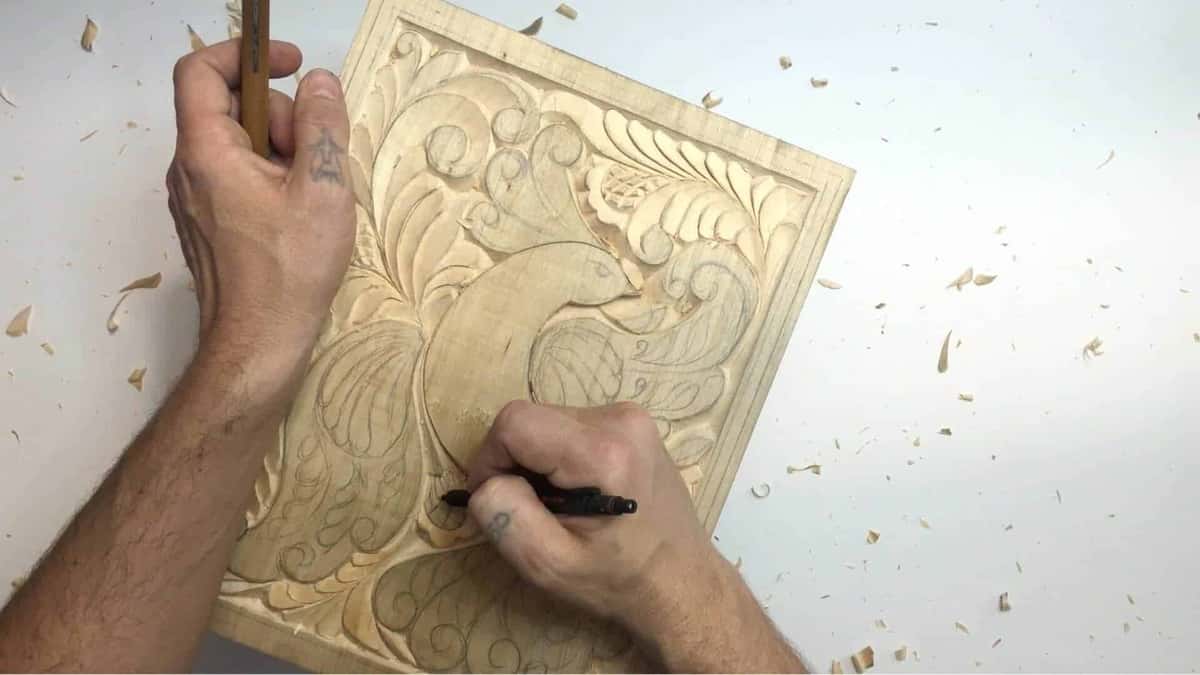
Pencil back in hand halfway through, because the lines wear off as you cut.
The board under your gouge changes the difficulty more than any other single choice you make. Hardness is measured, so you can shop by number instead of by feel.
The Janka test presses a steel ball halfway into the wood and reports the pounds of force it took. Higher number, more work per cut, more sharpening stops.
| Wood, by name | What the gouge feels going through it | Janka lbf | Who should buy this board first |
|---|---|---|---|
| Tilia americana basswood | Slices like cold butter under plain palm pressure | 410 | Everybody starts here, and many stay |
| Butternut | Cuts clean, then leaves a slightly fuzzy surface behind it | 490 lbf | Your second board once basswood bores you badly |
| American black walnut | Firm and dark, holds an edge | 1,010 | Furniture parts you want people touching |
| Quartersawn white oak | Open pores fight anything under a quarter of an inch | 1,350 | Mallet work, and a great many sharpening breaks |
| Hard sugar maple | Dense, blond, chips on tight curls | 1,450 | Only once your edge is properly right |
Numbers from the Wood Database basswood page, its butternut entry, black walnut, white oak and hard maple.
Buy basswood. Not because you are weak, but because a soft board lets you learn the movement without also fighting the material, and every hour you are not fighting is an hour you are learning. If you want the longer argument, read a full piece on picking wood and one on the woods that punish you.
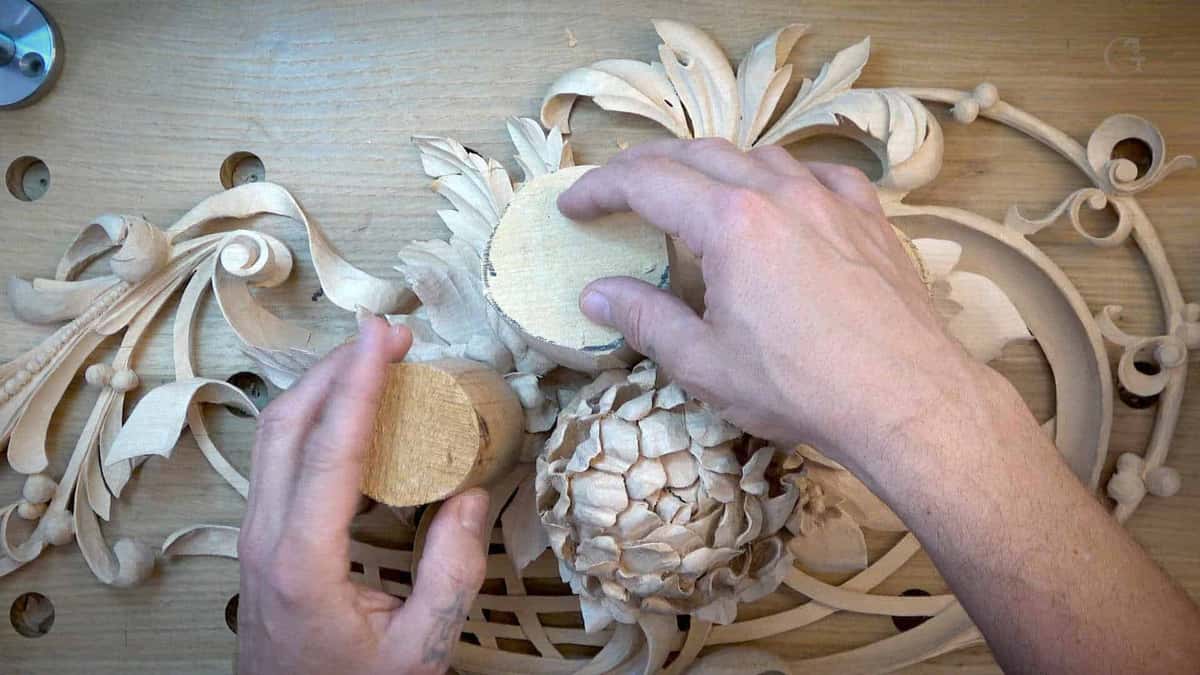
Two plain round blanks beside a flower that used to look exactly like them.
Is wood carving harder than stone carving?
Wood is harder, and that surprises people every time I say it. A student put this to me in a lesson once, and the room guessed wrong.
Stone carving is much easier. Much easier. My point is, stone does not have a grain. You do not have to fight the grain.
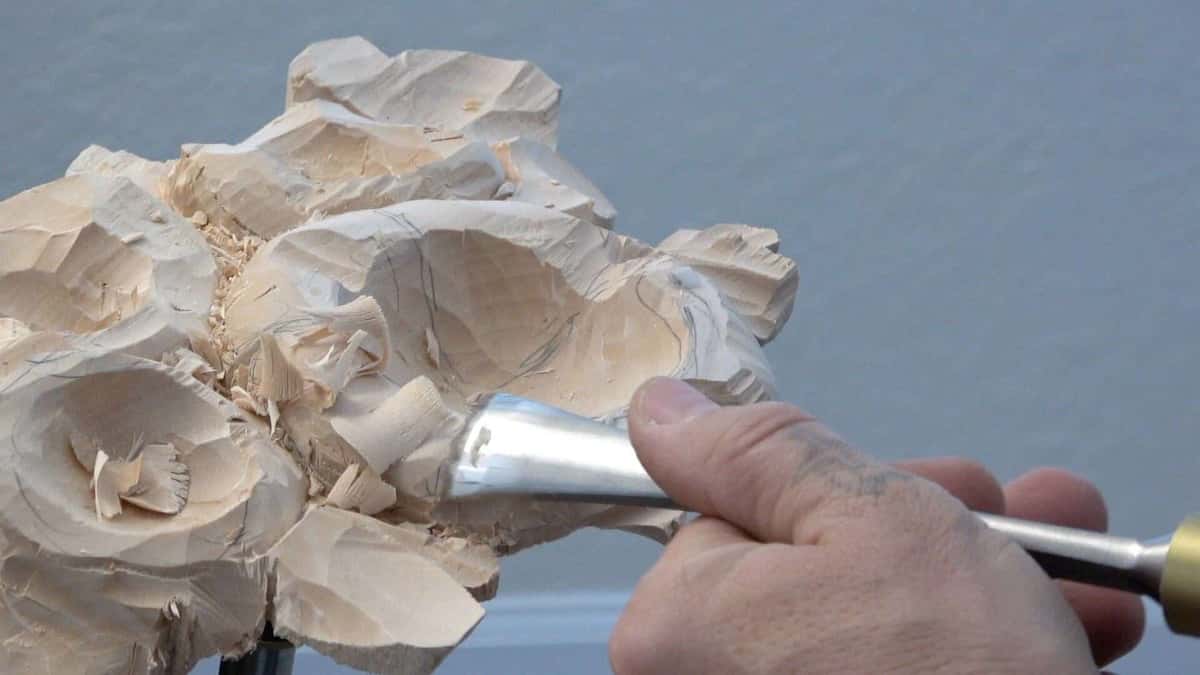
Ragged fibers standing up behind a heavy chip, which is grain telling you which way to go.
Grain is the whole thing. A board is not a solid lump, it is a bundle of long cells running one way, which is what the USDA Forest Products Laboratory chapter on wood structure lays out in detail. Cut with those fibers and you get a curl. Cut into them and you get a tear.
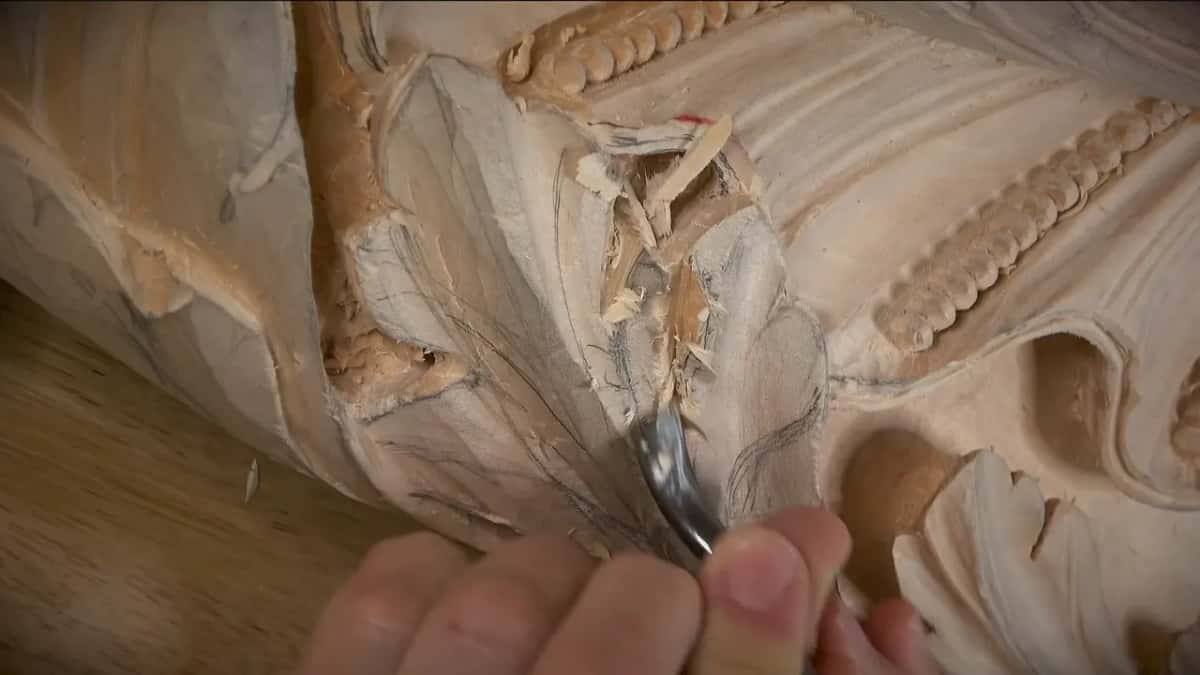
Torn, not cut. The fibers broke ahead of the edge instead of slicing under it.
Students ask me constantly how to approach the grain when it fights them, and I usually wait until day three of a class to explain it, because before day three the words mean nothing. You have to be beaten by it first.
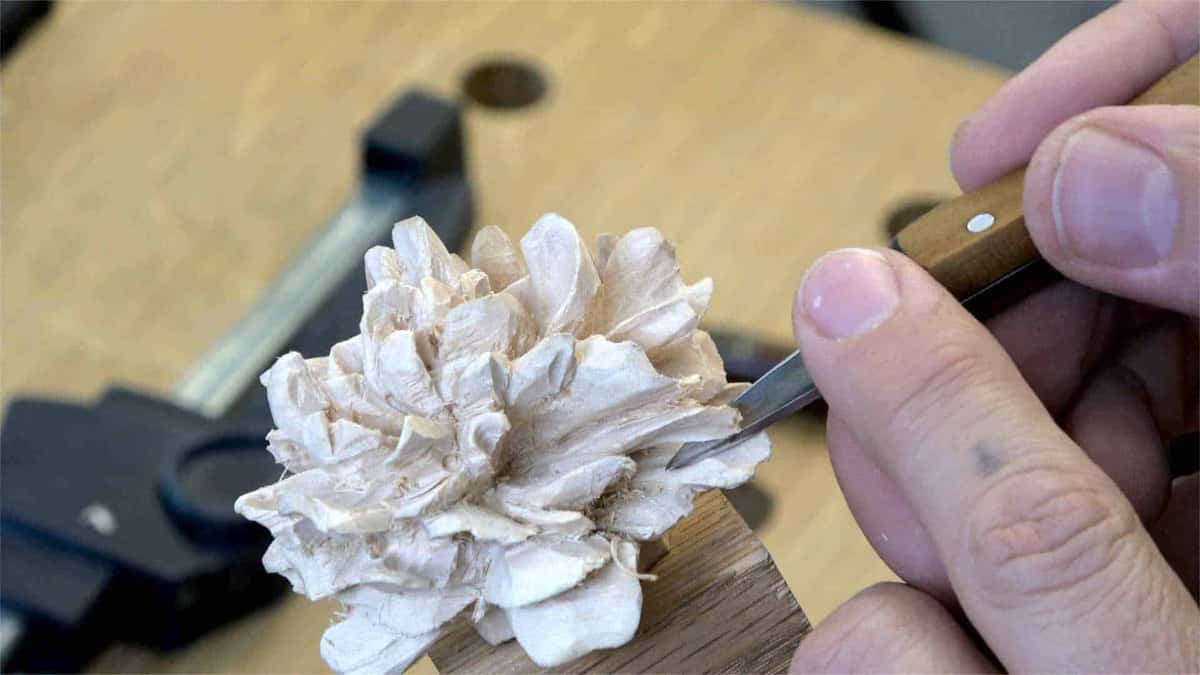
Petals this thin are where grain stops being an idea.
The solution is not clever. The only solution is just to keep your tools sharp. That is it. Nothing else works.
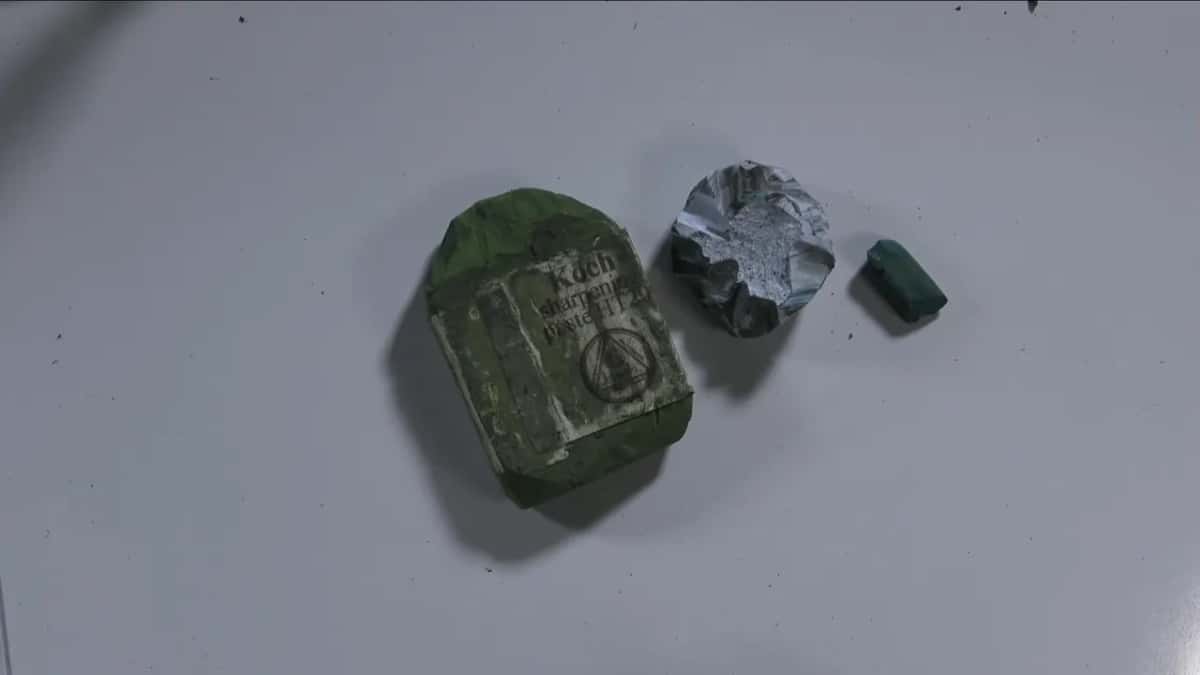
Two grades of compound sitting on the bench. The green bar does that last little bit of polish.
A whole livestream on beginner tools and technique, if you would rather watch than read.
How do you carve your first piece without giving up?
Start with one knife, one soft board, and a design somebody else already worked out. My teacher used exactly that sequence on me, and he was strict.
He told me I had to master the knife before I would get to the gouge, and until the knife was mastered no gouge came out of the drawer. That was the whole gate, and looking back on it now I understand exactly why he held the line for as long as he did.
Step 1, set up a surface and sit down

First pass straight through the paper pattern into a fresh blank.
You need some type of table. If you do not have a dedicated space in your house you can just use your kitchen table, and I have done lots of projects on the kitchen table. So all you need is pretty much a surface. Skip the expensive bench.
Step 2, get one knife properly sharp
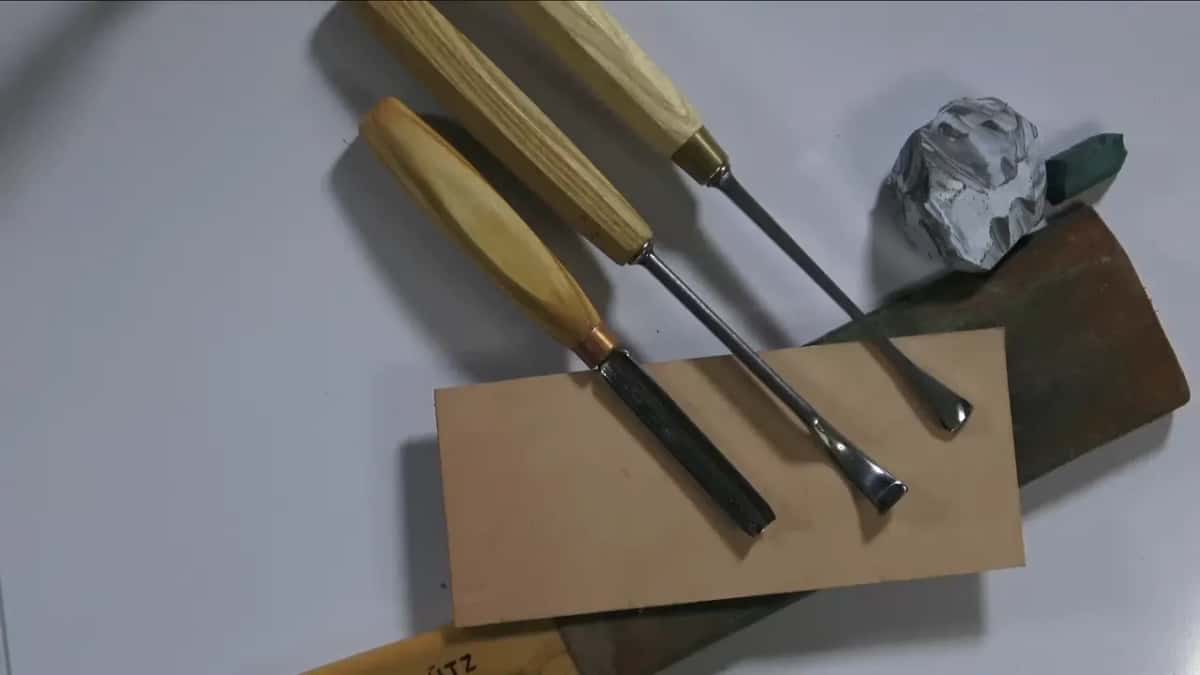
Tools, leather and compound. Nothing else belongs in the second step.
One chip carving knife, stropped until it shaves hair off your arm. A Pfeil number 12 does the job. So does a Flexcut, and honestly the brand matters far less than whether the edge on it will slice a fingernail without pressure.
Step 3, draw the line before you cut it

Pattern still glued on, and the background already cut down around every single leaf.
Pencil the whole design onto the board first. Skip it and you end up carving a shape you were inventing as you went, and that always shows.
Step 4, cut shallow and cut twice

One greedy pass along that top edge and the wood came away in splinters.
A stop cut, then a slicing cut into it. Shallow. Wood comes off whenever you like. None of it ever goes back on, and that single fact is the most expensive sentence in this whole craft.
Step 5, strop before you think you need to
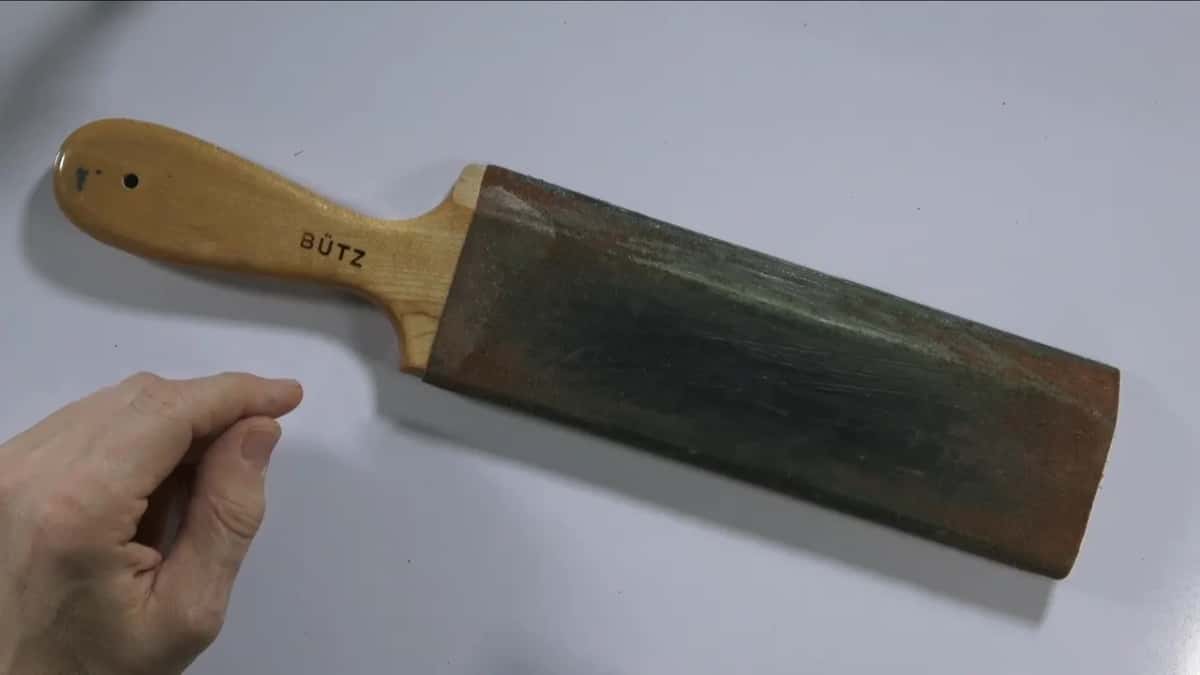
Years of compound went into that leather. A few passes on it and the edge comes back.
Long before the edge feels dull. The moment you notice it, you already spent an hour fighting it.
My beginner path runs through the first cuts course and then a curly kitchen cutting board. And if you would just practice, not just watch, you will see it is not that easy to use one knife. Once you master it we move on to gouges, and then nothing is going to be impossible for you.
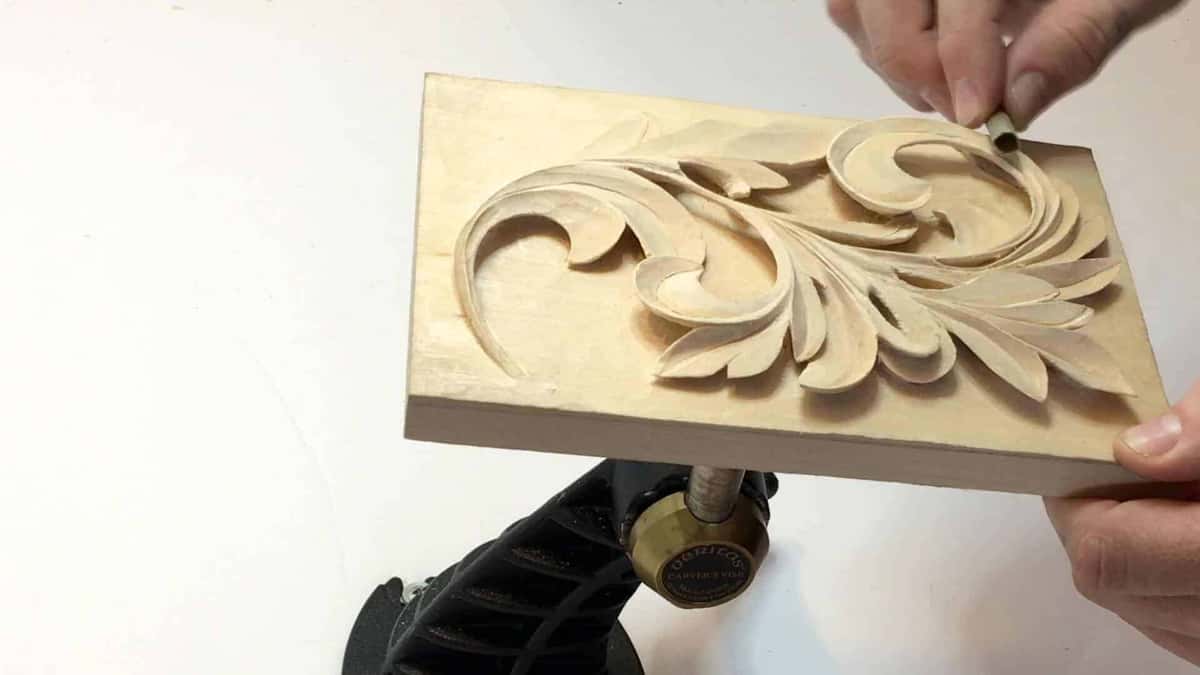
One leaf, finished. This is the exercise every old shop started people on.
What are the most common beginner mistakes?
Picking a tool that is far too small for the cut in front of you. I see this constantly, in people starting out and in people who have carved for years.
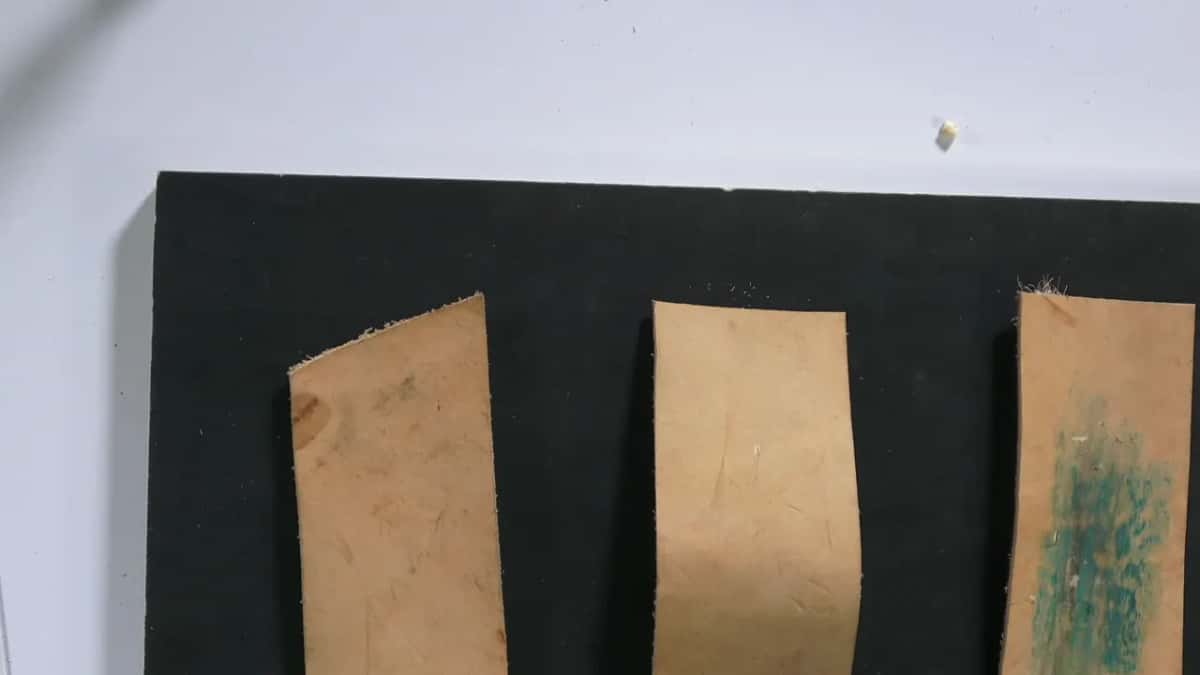
A shop made strop, three leather strips on a board. The right one is charged and ready.
What they do is take a small tool and zig that, and zig, and zig, and zig, and spend so much time, and they get frustrated. A wide sweep removes the waste in four strokes. A narrow veiner needs forty, and every one of those forty is a chance to slip.
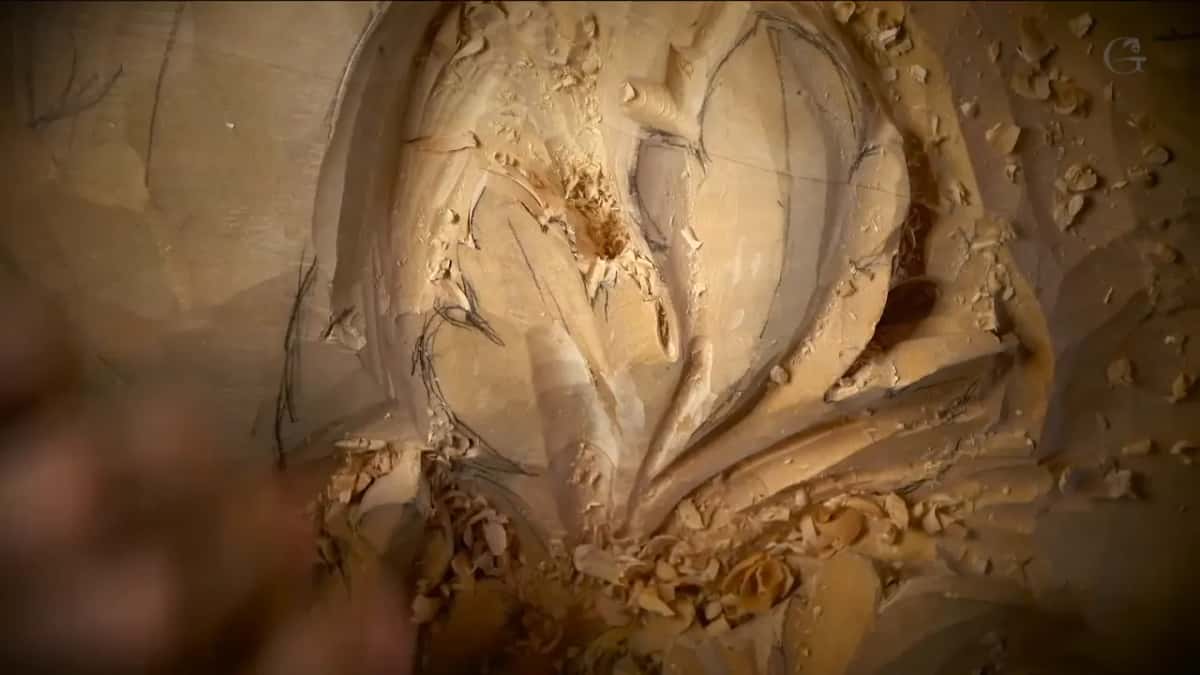
A whole chunk let go under the tool. The hole is where a petal was supposed to be.

Six gouges out at once. Picking the right width is most of the speed.
The other four I see weekly:
- Buying a twelve piece set before owning one sharp knife.
- Carving a construction two by four because it was cheap.
- Going deep on pass one, then trying to rescue the mess you just made.
- Never stropping.
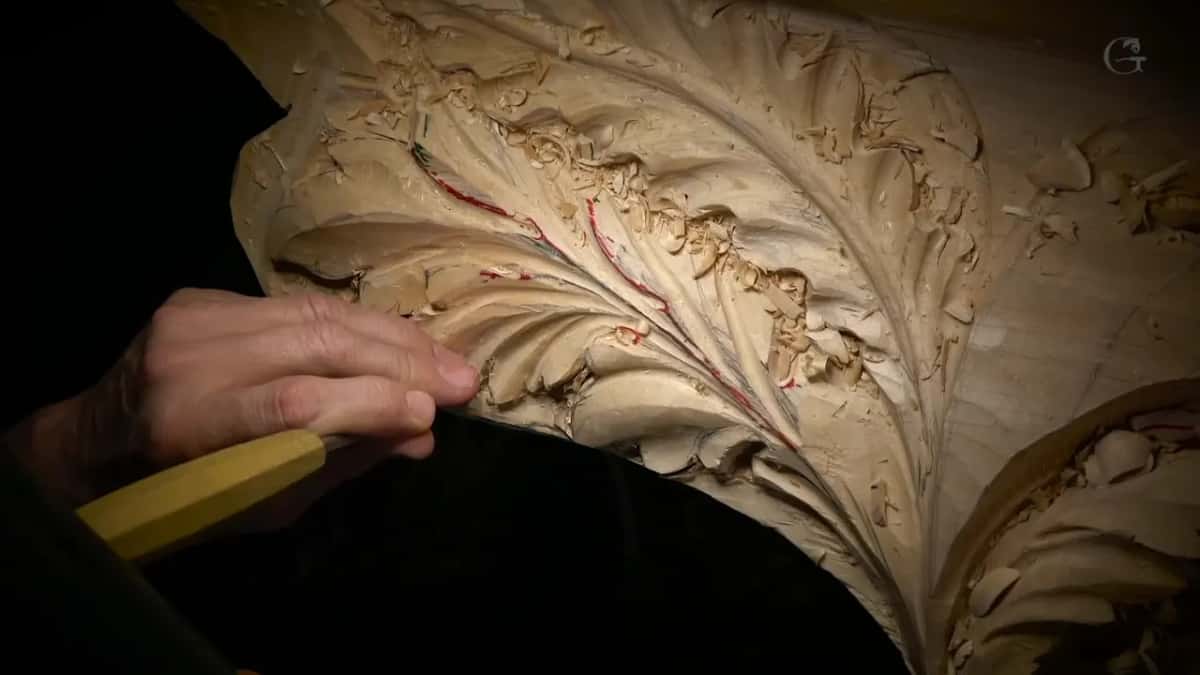
Small chips along the veins, side lit so you can actually see them.
And when you break something, you glue it. A student once asked whether it had ever happened to me. Absolutely. Absolutely. I broke some stuff.
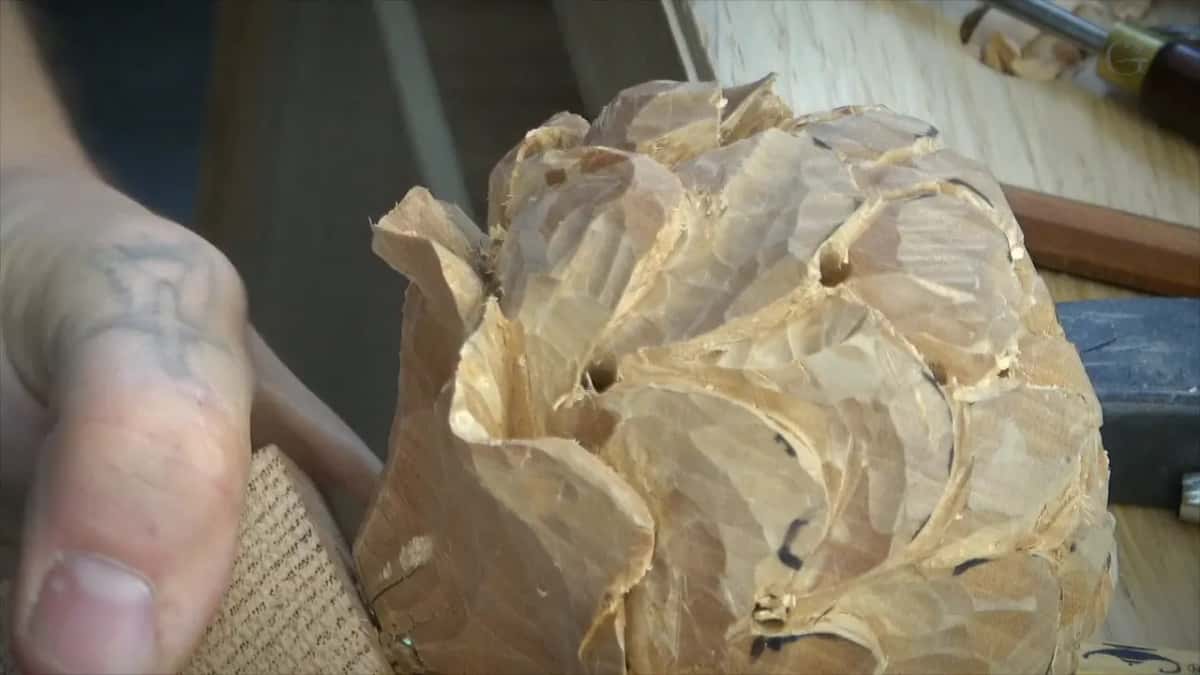
A crack that opened in the blank and walked right through finished carving.
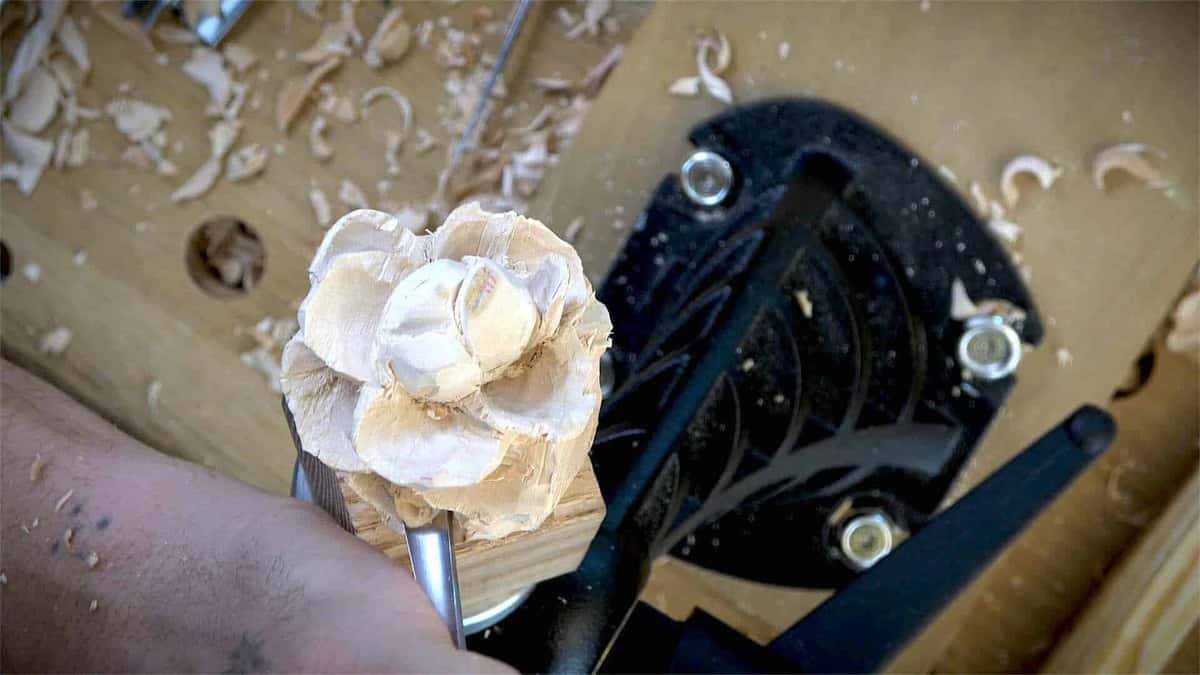
Clamped tight, chips everywhere. A carver's vise saves more work than any tool.
More of them, with pictures, in the beginner mistakes list and the safety piece.
Can you teach yourself, or do you need somebody?
You can get a long way alone, right up until you set your work beside a real piece. That comparison is the moment self teaching runs out of road.
A person can get a lot done learning alone. But it is going to be a little different when you compare your own work with a masterpiece, with what he did.
David Esterly, who carved the replacement for the Grinling Gibbons work lost in the Hampton Court fire, was blunt about whether it ever stops being hard. In The Lost Carving he writes:
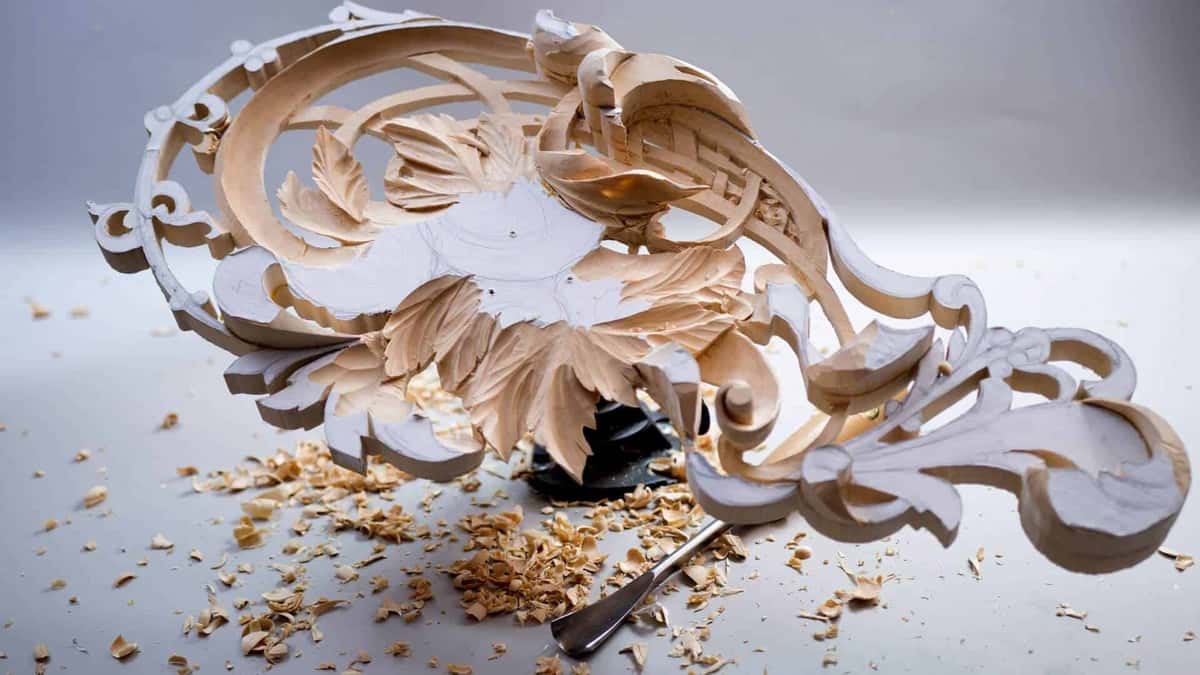
Thin bridges of wood holding a pierced panel together while I keep cutting around them.
You learn to rough out more quickly, excavate more boldly, model with more assurance. But there are difficulties that no amount of expertise will eliminate.
Go look at the Gibbons pieces at the V and A, then look back at your own board. That distance is not discouraging. Read it as the map.
Robert Greene points out in Mastery that the old apprentices signed on from about twelve to seventeen years old and committed to a seven year term before they could even attempt a master work. Seven years, full time, with somebody watching every cut. Against that, an evening a week is a slow road, and it is still a road.
Am I too old to start carving?
Most of the people in my in person classes are over fifty. Nobody says this to be kind. It is simply who shows up and pays.
Everybody can be a master if you do understand the process. Even what you see, the ability to see in 3D, you can develop it. Every human being is able to develop that ability, because we have the same brains.
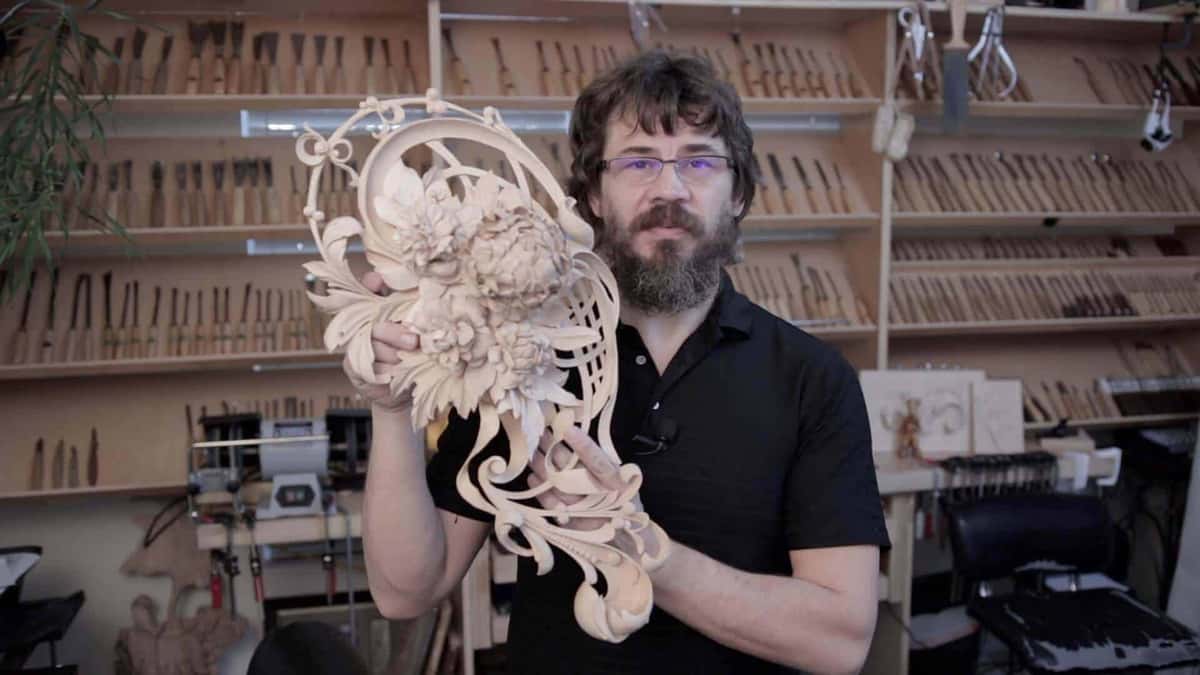
My shop, and one pierced flower that took most of a month.
I learned my trade at sixteen. Later I spent time in a Soviet prison for my faith, and in there I carved furniture with a 10mm knife I made myself and a tiny gouge ground out of a nail. One boiled potato a day was the pay. If that room could not stop it, your kitchen table is not going to stop it either.
The worst thing that can happen is you buy a new piece of wood and keep trying. Do not get frustrated if the first try misses. Keep trying.
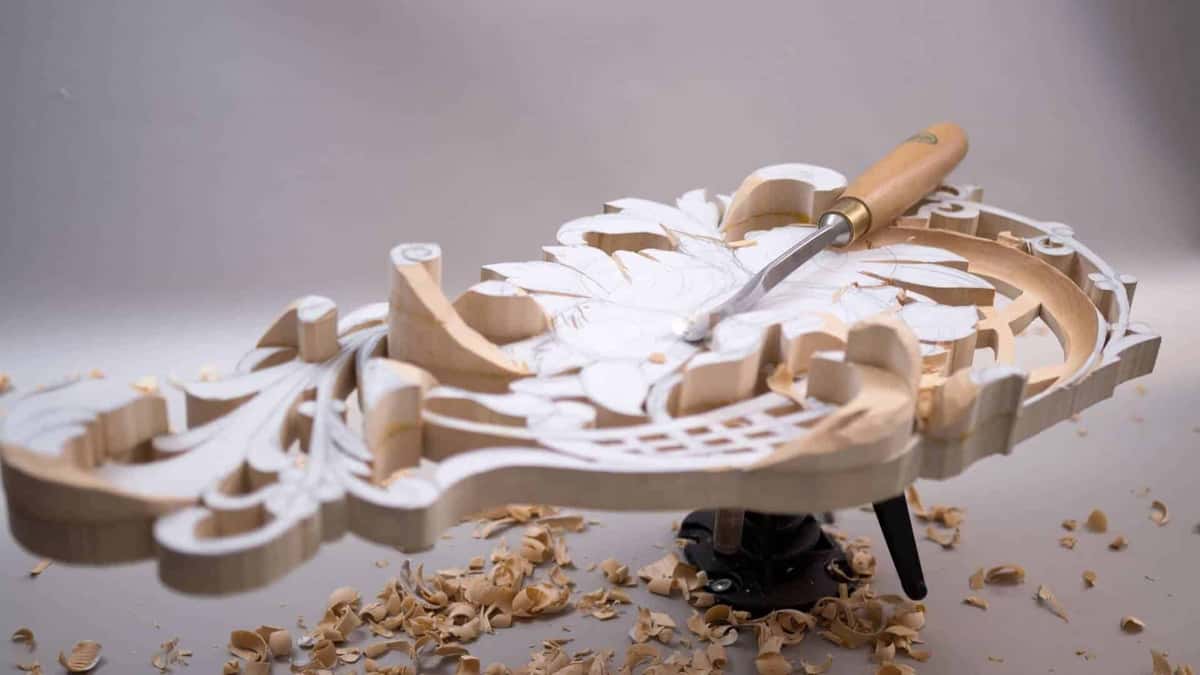
A fretted blank with the pattern still on it, waiting for somebody to be brave.
More you carve, more you see. Not just the scratching of wood. Deeper you go, deeper you see, and forty years in I am still finding things inside a leaf that I walked past last year.
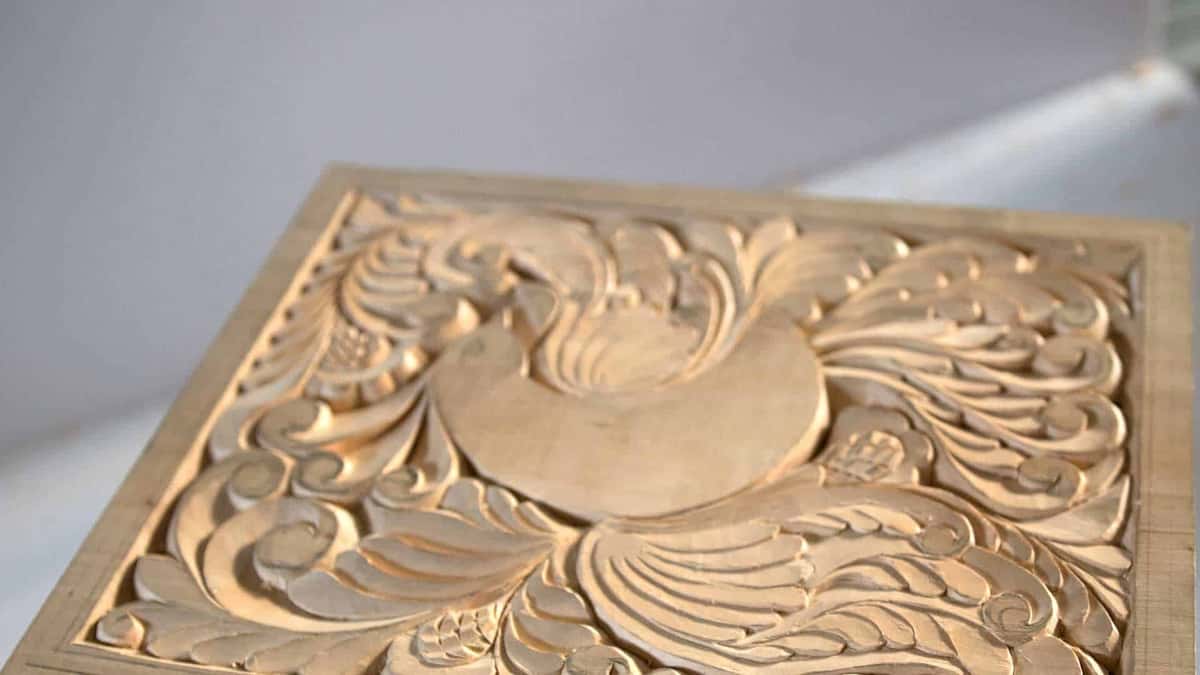
Side light across a finished board. Every facet you see is one deliberate cut.
Have you ever felt the fibers break instead of slice, and blamed the board? Do you want somebody to show you the edge that fixes it? Would you rather spend your evening carving than guessing? Then take the free lessons, walk the whole path inside the course library, and start on a board that lets you learn. Tuition keeps this school and its charity work going.
Frequently asked questions
Can a complete beginner really pick this up?
The hand movement is not hard, and most people cut a clean groove on day one. What catches beginners is a dull edge at about four weeks, and depth. Start with basswood at 410 lbf, one knife, and a design already drawn on the board.
How many hours a week should I carve to improve?
I will not hand you a number, because the honest answer is that it depends only on you. Short sessions beat rare long ones. An hour on Tuesday and an hour on Saturday will move you further than one guilty five hour Sunday every month.
What is the easiest wood for a beginner to carve?
American basswood, Tilia americana. It reads 410 lbf on the Janka scale against 1,450 for hard maple, it has almost no figure to fight, and it takes fine detail. Butternut at 490 is the natural second step, though it leaves a fuzzier surface.
Do I need expensive tools to start wood carving?
No. One chip carving knife, a strop, and a bar of compound will carry you through your first month. A twelve piece set bought on day one just means twelve dull tools by week four. Buy the second tool when a cut demands it.
Why does my carving tool keep tearing the wood?
Two causes, almost always. The edge has gone off, or you are cutting into the fibers instead of along them. Strop first and try the same cut. If it still tears, turn the board around and come at that spot from the other direction.
Which is harder, carving or woodworking?
Different hard. Joinery punishes you for a measurement being off by a thirty second of an inch, and carving does not care about that at all. Carving punishes you for not seeing the form. One is arithmetic and the other is eyesight.
Filed under
- Basic wood carving techniques
- Basswood carving tips
- Best wood blocks for carving
- best wood for carving projects
- Carving wood basics
- choosing wood for carving projects
- Equipment for beginner wood carving
- How hard is wood carving?
- How to sharpen carving tools
- Is wood carving hard for beginners?
- Learning wood carving skills
- Popular types of carving wood
- Practice ideas for wood carving
- Safety tips for wood carving
- Starting wood carving projects
- Tips for carving wood safely
- Tools needed for wood carving
- types of wood for carving
- Wood Carving Basics
- Wood carving for hobbyists
- Wood carving tools for beginners