
September 29, 2024 · Updated August 20, 2026
By Alexander Grabovetskiy — Master Woodcarver · Founder, School of Wood Carving · 18 min read
How can I practice woodcarving without a lot of space
Woodcarving without a lot of space is normal, not a compromise. I have carved whole projects on a kitchen table, and the plate I teach is 10 inches across. Wood carving in a small space needs something to hold the wood still, plus a drawer for the tools. Floor area is almost never the problem.
Someone asked me this on the air in April 2020. He said people are afraid to start carving because they have no space. I have heard that a hundred times since, and my answer took fifteen seconds.
Carving may be the one woodworking trade that needs no room. Nothing plugs into a wall. My hazelnut panel is printer paper size, 8 and a quarter by 11 inches, or 21 by 28 centimeters. The block is two inches thick and I glue on two or three offcuts at 25 millimeters. Weeks of work fit in there.
What limits you is keeping the wood still, nothing more. Then noise, but only when a mallet is in your hand. Dust arrives only if you sand. Floor area comes last, and honestly it almost never comes up at all.
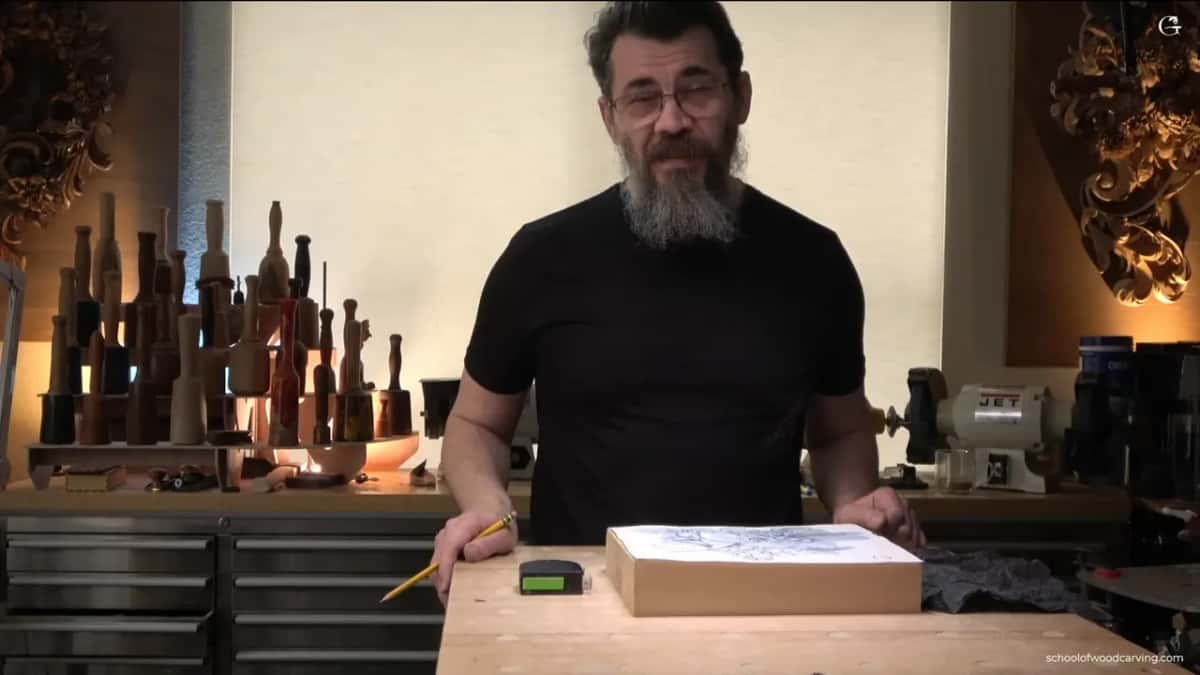
One page wide, and weeks of carving go inside it.
- A 10 inch plate on a 3/4 inch board is the true dimension of a beginner project.
- Fasten the piece to whatever surface you own. Any clamp works.
- Chips and curls fall on the table. Sanding is what puts powder in the air.
- A rubber mallet head swallows the racket a wood one makes.
- Turn the wood instead of walking around it, which is free on something small.
- A shape no jaw can grip goes onto a second board, and you hold that board.
- My sharpening gear takes more bench room than any carving ever has.
How much room does wood carving really take?
About the footprint of a dinner plate, and I mean that literally. The plate project I teach is 10 inches square. In metric that is 25 centimeters, or 254 millimeters if you count to the last one. The board under it is 3/4 inch thick, so 19 or 20 millimeters, in air dried basswood.
Your tool count shrinks too. You do not need half a thousand gouges and veiners. A knife and a couple of gouges carry a design like this, and after that the limit is your own head. I set the border on that plate at an inch and a half, off a radius of five inches and the smaller Fibonacci number under it, three.
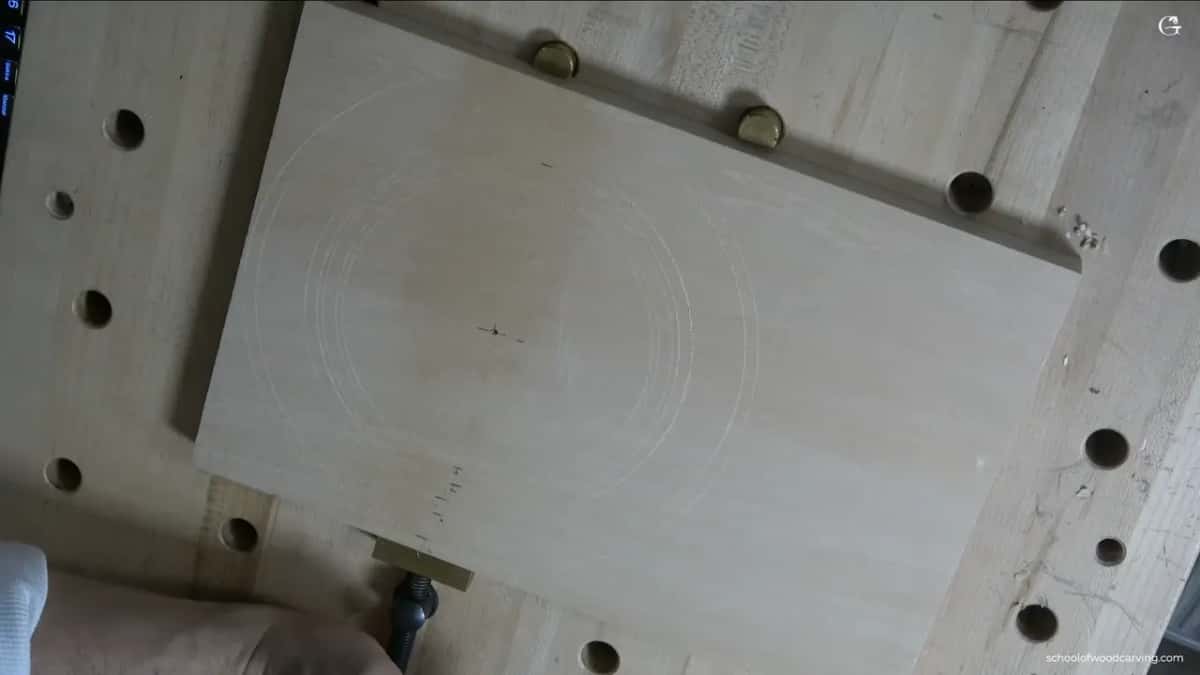
Sizes go on the board so you can read them, not hear them from me.
Put a sheet of paper on your table and look at it. There is the hazelnut panel. Set a dinner plate beside it and you have the plate. Neither needs a garage.

A whole tray, seen from above, and you could still eat dinner beside it.

Ten inches across and finished, with two hands covering most of it.
People picture a shop because they picture machines. Take the machines out and what remains is a board, a few edged tools and somewhere to put your elbows. A carved panel in a museum furniture collection was made that way, and so was every altar that outlived its carver.

The whole machine, held in two fingers.
What actually stops you from carving at home?
Holding the wood is the wall people hit, not the square footage. Look at what your hands are doing. A gouge takes two hands, one pushing and one steering, and a mallet takes a whole hand by itself. The wood has nothing left to hold it. Fifteen dollars of hardware solves it, which is why the price tag surprises people.

Clamped, turned over, and carved on the back where nobody will look.
I know the far end of this. I carved furniture inside a cell about 6 by 8 feet, roughly the size of a sheet of plywood, with a 10mm knife I made and a tiny gouge ground out of a nail. Six men shared that room. The boss who protected me sold the pieces to the prison administration, and my pay was one boiled potato a day.

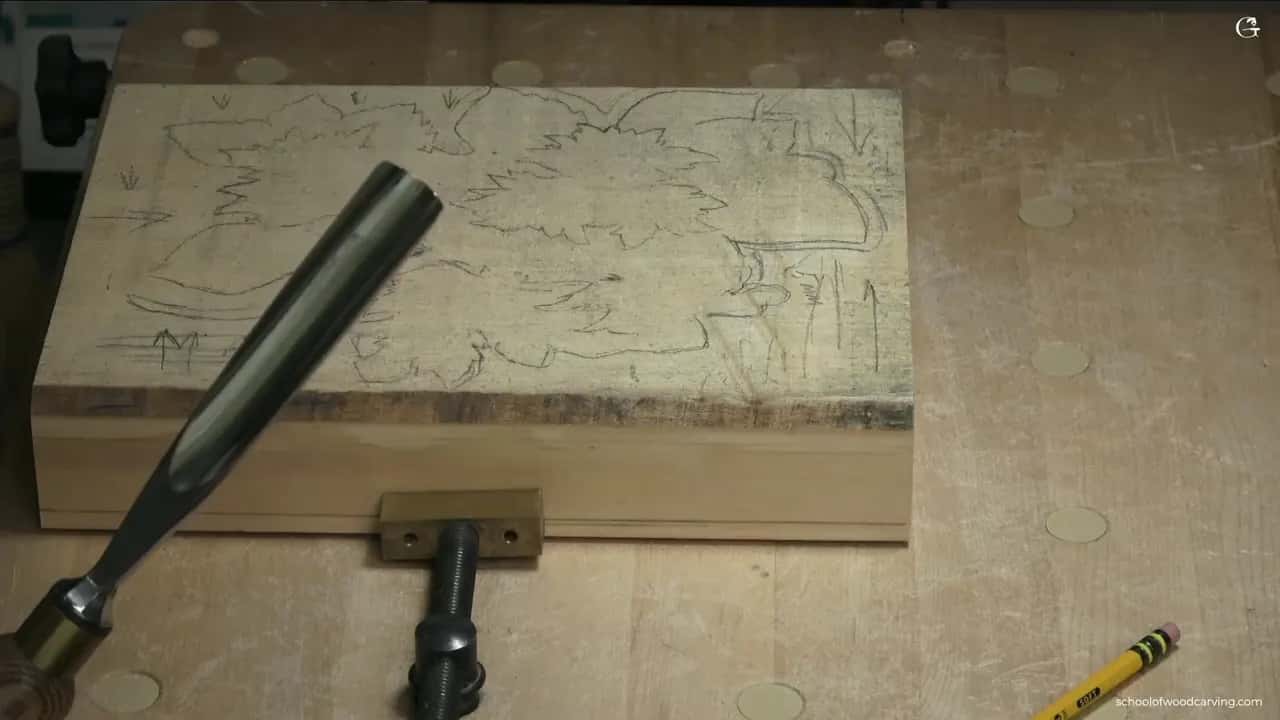
The first curl, carved into the roughed leaf.
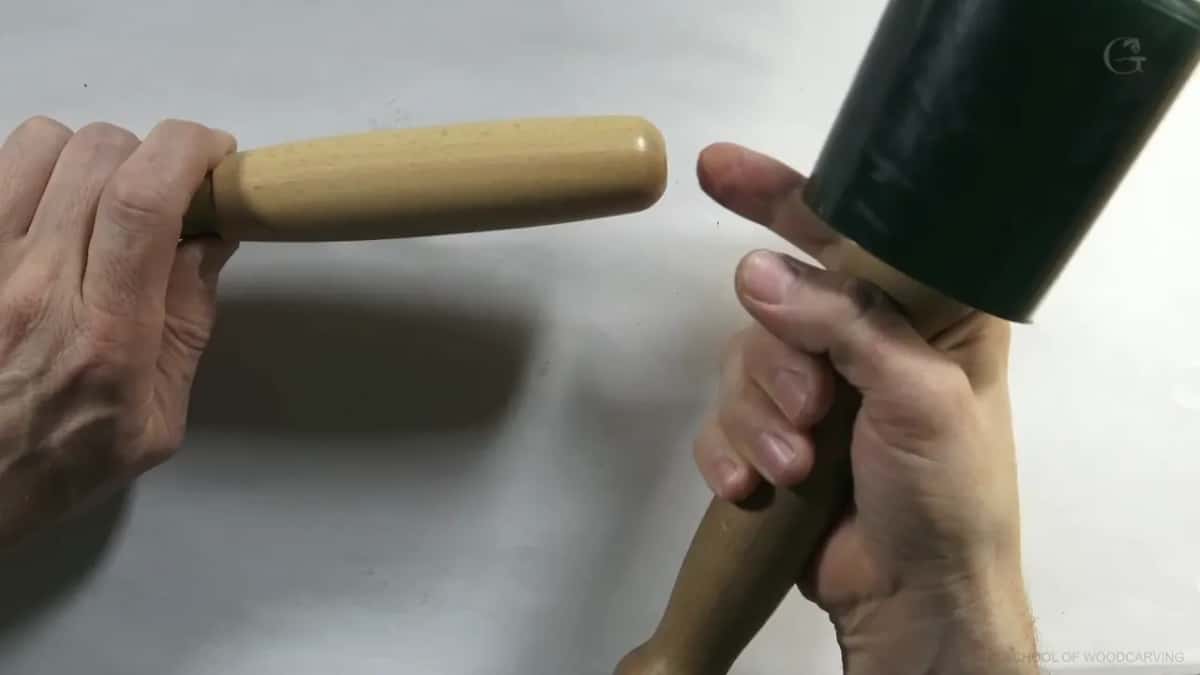
A mallet occupies a whole hand, so the wood needs something else.
How do you hold the wood with no workbench?
You fasten it to whatever surface you already own. A table. A dining table. Your kitchen table, where I have done plenty of projects, and I say that without apology. Skip the expensive bench. Mine is honestly not a real bench either, just a bank of drawers with plywood held on top by two small clamps.
| How you hold | The cost, and where I found mine | Bench space | What it will not hold well |
|---|---|---|---|
| Two quick release clamps | Whatever clamp you already own will do the job | None extra | Round work, or a bowl already hollowed |
| Dogs on MDF | One MDF board, two bench dogs | Board only | Tall work you must flip |
| One small bench vise | I paid just twenty dollars for mine, a Bessey | Edge clamp | Wide panels, anything wider than its jaws |
| Your own hands | Free, and why I keep bandages | Nothing needed | Anything a mallet must strike |
Any clamp works. Brand hardly matters, though I like the Festool quick release ones because I can move them one handed. Keep bench dogs lower than the surface of the MDF so they stay out of your eye while you carve.

Two pegs and a hole apiece. Nothing tightened, and it will not move.
Dogs are the cheapest holding there is, and the quietest. Two pegs stand up out of the surface, the board goes between them, and the pressure of your own carving pushes it against the far dog instead of away from you. On a small table you can drill a short row of holes in a scrap of MDF and get the same thing without touching the furniture.

One eye open, the next separations still in pencil.
That twenty dollar vise came from Home Depot and it holds fine. I glued thick leather into the jaws with clear Gorilla Glue, the kind that does not foam, so it grips a finished surface without bruising it. Small change, big difference.

Leather on both faces. Now it can grip something already finished.
Bare metal jaws print themselves into the wood, and on a carving you have spent a month on that mark is the whole month. Leather is the fix, and an old belt is enough of it.

It screws onto any edge, and it comes off when dinner arrives.
On heavier jobs I mount a Veritas plate behind the block and drop it into a carver's vise, so I spin the piece instead of walking around the table. The plate is the trick worth stealing. Buy two of them, leave one screwed to a block you use often, and the block drops into the vise already true.

The vise never touches the table, because the plywood under it takes all of that.
Notice what the plywood is doing. The vise is bolted through it, and only the plywood is clamped down, so the table underneath keeps its finish and the whole rig lifts off in one piece. Which answers the table you also eat at.

Number nine, twenty millimeters. I call that sweep the pure American smile, and it does most of the hollowing.
What holds a shape a vise cannot grip?
Put the work on a second board. A pierced leaf has no square edge left anywhere for a jaw to squeeze, so the board underneath takes the clamping instead. One bar clamp comes over the top of the work, and the sub board goes into the vise.

One clamp on the work, the jaws on the board underneath.
Tape does the same job with no hardware at all. I use a green Scotch tape because it is safe on a finish, and sometimes a double sided tape instead, and what I want from that one is thinness. Either will work. Carpet tape is the one to leave on the shelf, because it grips harder than the wood fibers do and takes a layer with it when you peel.
Older shops solved it from behind. In churches they ran screws in from the backside, into a piece that was going to be fastened to something anyway, so the front never showed a hole. If your carving is destined for a box lid or a panel, you have that option too.

Square while it is still square. Grip it now, before the shape disappears.
One more trick from the same lesson, and it costs nothing. Shave the corners off a square handle or block and you have eight faces instead of four. With four sides you are limited to four clamping positions. With eight you can lock the piece at whatever angle suits the tool, and a straight chisel does the shaving in a minute. A knife would do it too.
Flip the work over now and then while you are at it. I turn a piece to see what is happening on the backside more often than students expect, because the back tells you how much wood is left and the front never does. That habit is easier on a small piece than on a thick panel you cannot lift one handed.
There is an order to this that saves trouble. Grip the blank while it is still a rectangle, take the shape down as far as you can while the jaws still have something honest to hold, and only then move to tape or a sub board for the last of it. Beginners do it backwards, saw the outline first, and then spend an evening trying to clamp a cloud.
Do you need room to walk around the work?
Turning the wood beats walking around it. When the grain fights you, change position and come at it from the other side, which on a small piece costs one twist of your wrists.
I say this in almost every class. Do not be lazy about rotating the piece, because it really is important. We all have a tendency to leave the work where it sits and force the tool at a bad angle, and it shows in the surface. Rotate, and attack from a different direction instead, especially on the small ones.

Every lobe here met the tool from a different side.
The part that should cheer you up is this. On my big Venetian panels I say plainly that rotating, or walking around to come at it from the opposite side, would be smarter and safer. Then I admit that I cannot. Those pieces are huge, and walking around them costs minutes I do not have. The man with the small bench never has that problem. Your plate turns in your hands, so you always get to take the safe direction.
What goes wrong on a table that is not a bench?
Your elbows float, and a floating elbow cannot stop a tool. The rule in carving is that you never carve toward yourself, because that is where the danger lives.
Sometimes you cannot obey it. On a piece too big to rotate there is no way round, and the tool has to come toward you. I learned the way out of that from a student of mine who also took a class at the Marc Adams School of Woodworking, and who works as a dentist. I watched what he did and it made sense immediately. He carves toward himself, but he locks his hands, and he rests his elbows down on the work table instead of floating above it. The elbow becomes the brake. You can stop, and the tool does not fly.
Worth saying plainly, because this is a small space argument. A table is no poor substitute for a bench in this one respect, it is better. Your elbows lock onto it. Sit close, get your forearms down on the surface, and you have more control than a tall bench gives you standing up. Keep the first aid within reach anyway. Workshop safety guidance and the British woodworking pages are written for machines, but the sharp edge in your hand deserves the same respect.
What should you carve first on a kitchen table?
Pick one small round thing with a border, and finish it. A plate. A tray. Something with an edge you can lay out with dividers, because layout is where beginners go wrong long before the tool touches wood. This is the order I teach.
Step 1, clear the table and clamp the board
Wipe the surface, lay the board down, clamp it. Keep a first aid kit within reach of wherever you work, because these tools are sharp and you may be alone in the house. My children learned where I kept the bandages. My youngest loved them so much she would stick them on with nothing to cover, and one day every last one was gone, so after that I hid a second box.
Step 2, draw the border before you touch a tool
Mark the diameter and find the radius. On the 10 inch plate my border came off that, an inch and a half. Write the numbers on the wood in pencil where you can read them. It does not have to land on the exact eighth of an inch, and people freeze over an eighth when the shape is what matters.

Paper first, wood second. Paper is cheap and it forgives you.

Circles first, in pencil, so they meet before any tool arrives.
Step 3, carve across the grain to start
Go across, not along. Carving along the grain catches, and a micro crack in the board can run the whole length and take your work with it. Place the tool with the flute down, and stop pushing the whole wedge into the fibers. Every pass should slice. In England the rough shaping stage has its own name, bosting, and it is meant to look rough while it lasts.
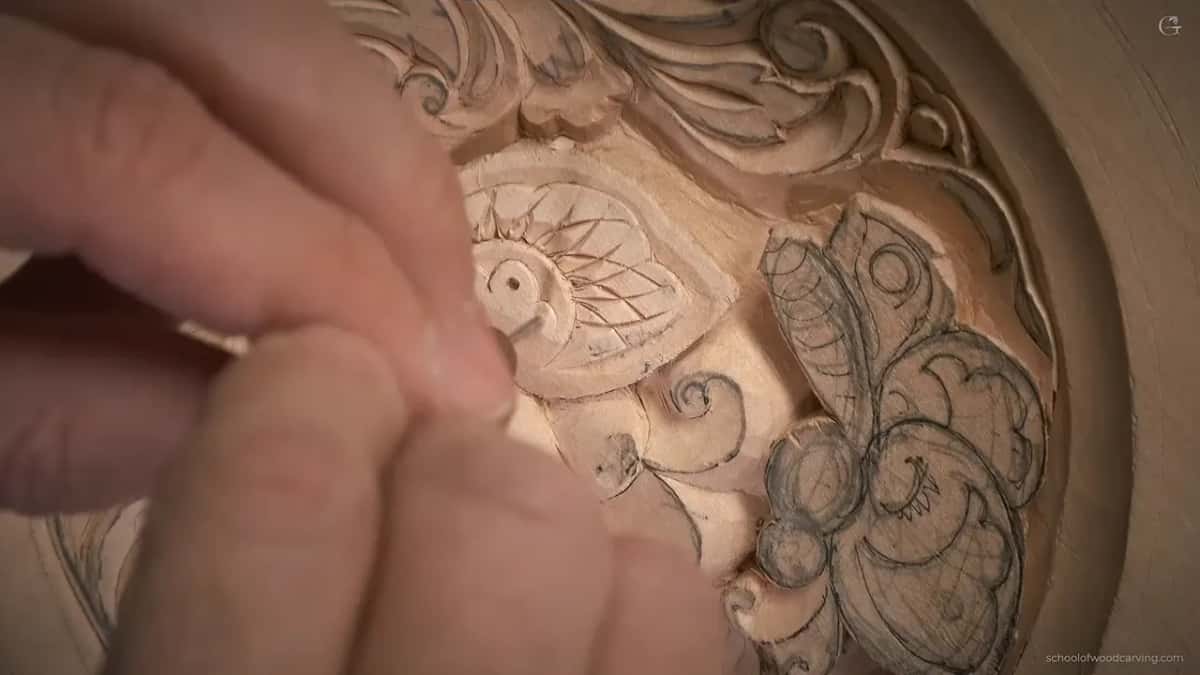
That comes out whole, with a twist, and lands on the table.
Step 4, put everything in a drawer
Chips to the trash, tools to a drawer, board on the shelf. Two minutes. Two minutes is what makes a shared table work for years instead of two weeks.
Will the neighbors hear you carving?
Knife work makes almost no sound worth mentioning. With a knife you never reach for a mallet and you never use heavy movement, so any surface will do and nobody upstairs learns your hobby.
Whole projects come out of one knife. I carved children's names into mantel pieces for a family that kept having more children, three at first, then more, and I went back with the same knife each time.

Signed on the end grain by the turner who made it. I collect these.
Mallet work is louder, and the fix I use daily is simple. Wood mallets are beautiful and I collect them. Ali Avizera in Israel turned one for me the week I taught at the Marc Adams School of Woodworking, and Dr Spalt made me another out of spalted maple. I still work with a rubber head.

Worn pale in the middle.
Rubber absorbs the noise and keeps my handles from turning into mushrooms. Two reasons, and for anyone sharing a wall the first one decides it. Long exposure to loud sound is how hearing goes, and a shop is a poor place to spend yours.
Does hand carving fill the house with dust?
Hand tools make chips and curls, and those land on the table where you pick them up. A student once asked whether I protect a finished section from dust while I work the next one. I told him no, there is no dust in my shop. I use hand tools.

You can pick this up in your fist. The whole argument, right there.
Look at the size of that material, coarse and dry and heavy enough to fall straight down instead of hanging in the air. Powder comes from sanding and from machines. Dust in the lungs is a real question, not a fussy one. Both OSHA and the British HSE treat fine wood dust as a respiratory hazard with exposure limits, and that guidance was written for shops full of sanders and saws. Some species also carry their own allergy and toxicity notes worth reading before you buy a stranger.

Same panel, same camera, one wipe later.
That is the same frame cleared, and it took no vacuum and no filter. Hand carving does not put you in that room at all. I stayed away from stone carving for the same reason, and stone carvers die of lung disease. For a wood with a reputation for behaving, black walnut and basswood are both honest company on a kitchen table.
What does need real space, honestly?
Sharpening eats my room, along with big architectural work. My water stones are the space problem in my own shop. One cost about $200, I run four of them, and the pile comes to roughly $800.
They need truing to stay flat and they need water constantly, which means moisture sitting near my tools, and I hate that. Nobody mentions it when they tell you carving needs nothing. For the smallest honest setup, learn sharpening on the least gear you can and skip the stone collection I accumulated.
Scale is the other honest answer. A room like the Venetian panels I carve takes serious space, and I say so on camera when students ask whether to attempt one. Take a section instead. Carve a piece and put it on furniture. The tray in these photos went the same way, one leaf at a time.
The Forest Service Wood Handbook, its chapter on mechanical properties and the hardness tables are free, so use them. Then go look at what hand tools alone did. The sculpture rooms at the V and A, the Rijksmuseum collection and the carved interiors the National Trust looks after are full of it, and none of those men had a Forest Products Laboratory to call.
Two very different windows open on the same material. The woodworking press shows the trade talking to itself, and the Forest Service pages on new uses for timber show the science. I send students who think ornament was invented recently to the museum stories shelf.
None of this is the hard part of carving, by the way. Holding the wood is a solved problem you buy once for the price of a takeaway meal. What actually takes the years is the drawing, the grain and the patience, which is the basics everyone underestimates and nobody can clamp their way past.
God gave you a talent for the three dimensional world, and not so you could scroll past other people making things. Work on it, because you already have the room.
Frequently asked questions
Can I carve in an apartment with no garage?
Plenty of my students do exactly that. Nothing about knife work makes a sound a neighbor would notice, and the chips fall on your table instead of hanging in the air. Clamp your board to the dining table, keep bandages nearby, and sweep the chips into the trash when you stop for the evening.
How big should my first board be?
Ten inches by ten inches, 19 millimeters thick, in air dried basswood. That gives you a plate. If you would rather work a panel, use a printer page as your outline and a block about two inches deep. Both leave room for your elbows.
Do I need a real workbench to start?
Mine is a bank of drawers with plywood clamped on top, so no. Any solid surface plus two clamps holds a board well enough to carve on. Add a small vise later if you want to spin the work rather than walk around the table, and buy the cheap one first.
What holds the wood if my hands are on the tool?
Clamps, bench dogs pressed into an MDF board, or a vise costing about twenty dollars. Any of the three frees both hands, which is what a gouge needs. Set bench dogs lower than the board surface so they stay out of your line of sight while you carve.
Can I clamp a carving with no straight edge left?
Lay it on a sub board and clamp across the work, then put the sub board in the jaws. Thin double sided tape holds lighter pieces with no hardware at all. Avoid carpet tape, which grips so hard it lifts wood fibers when you peel the piece off again.
Will hand carving damage my table?
Work on a sacrificial board rather than the table itself, and clamp that board down. MDF or plywood three quarters of an inch thick costs very little and takes every stray mark you would otherwise leave in the table. Glue leather in your vise jaws.
Is it safe to carve toward myself at a table?
Rotate the piece first, every time you can. When a shape leaves no other route, rest your elbows on the table and lock your hands so the tool has a brake. A dentist who studied with me works that way, and it is why a low table beats a tall bench.
How do I keep the noise down in a flat?
Reach for a knife as long as the project allows, since knife work needs no mallet at all. When you do need one, choose a rubber head over a turned wood head. Rubber swallows most of the sound and protects your handles at the same time.