
Alexander Grabovetskiy, woodcarver, School of Woodcarving · Published 2021
What does a wood carver mean by "rugged"?
Quick answer: The word comes right before my plan for a flatter gouge in part 2 of workshop 108, with number three, two or one named. My other lessons put it beside a clean-looking cut, a line I must be careful with, an edge and a ridge.
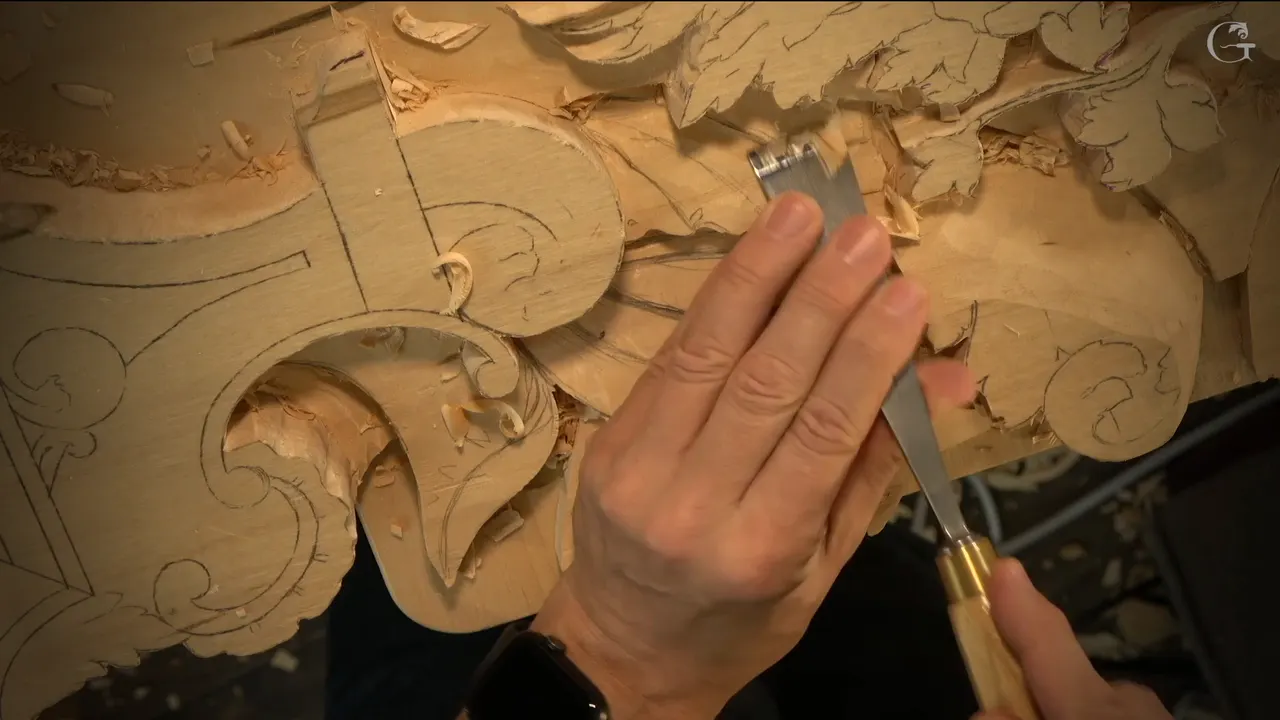

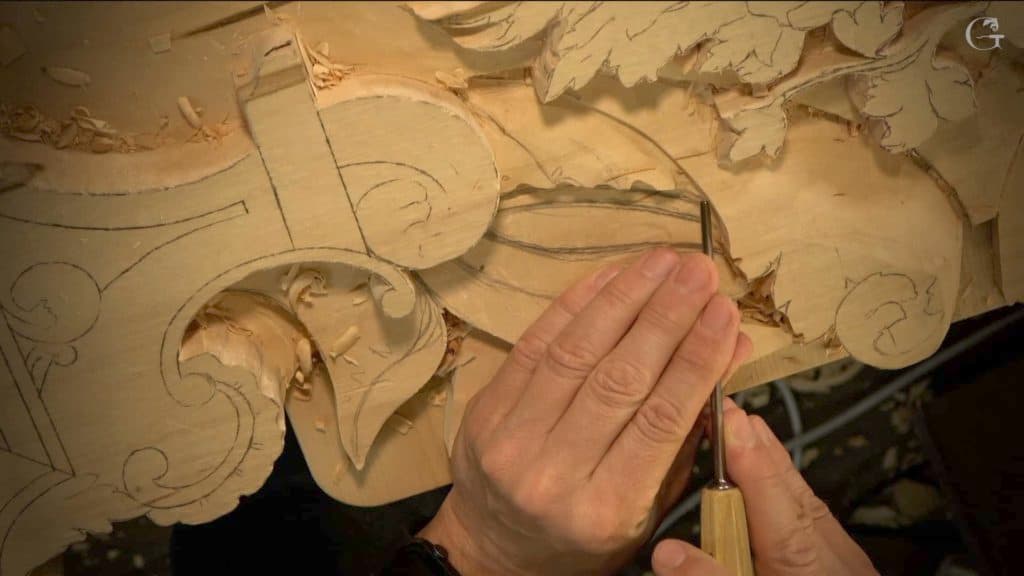
In part 2 of workshop 108 I call a surface "really rugged" and the next thing I say is that I'll take a flatter gouge. Lessons from my other courses put the word beside a clean-looking cut, an edge, a ridge and a line I must not hit.
Ever run a tool over a carved surface and find it rougher than before? This page starts in my Venice Room Part 9 course, with workshop 108, and parts 1 and 3 of that lesson sit beside it. The other lessons come from Furniture Panel, Lily Box, Floral and Molding and older Venice Room courses. Every size is in millimeters and inches, my own figure first.
What does "rugged" mean in workshop 108?
"So now what I'm going to do, I'm going to make this surface somewhat finished, okay? Because right now when I just rubbing against that surface, it's really rugged, so it's not really good." That is the whole sentence.

The plan comes right behind it: "So what I'll do, I'll just take a flatter gouge and I'll take care of it." Numbers come next: "Number three will work, number two will work. Even number one will work also." One is chosen: "In this case, I'll take just number one and try to create a little nicer surface."
"Just try to ride on those, whatever I can catch the upper parts." My goal is "to make it really smooth, and looks like I achieved that." Right after, I say "Really smooth and gradual."

On checking, I say this: "And again, I also always checking from the side, and I want to make sure it looks really nice and smooth downhill. I hope it makes sense." From above alone, I say, "sometimes you can't catch it, so you really have to just look from the side. And that way you know you're right on the mark. Just a really nice line gradually going down here."
Number one stays in my hand. "Meantime, while I have my number one in my hand, I can actually also get rid of some of that stuff." That area "has to be really nice and gradual" and I confirm it: "And yes, it is. Nice and gradual."
What happens before the surface is rugged?
Part 2 begins with a plan to leave approximately 10 millimeters from the surface (about 0.39 in). One idea is "Maybe I can actually use just a hand push." For the wall I plan this: "I can take a somewhat flatter gouge and get my 90-degree cut. Just straight down cut."

"Well, this is not going to work. I need to use a different profile." My list is "number three or number five even" and then "Let me use number five." An apology comes too: "my apology for that noise from outside. I do have landscapers working on my yard, and I didn't want to stop my recording."
"Okay, I've got about 10 millimeters." One part is "exactly the same like that guy, that guy right there. So just like a crease going from somewhere in the middle." Three parts follow, and for each of them the shapes I name are convex and concave.

Undercutting is on my mind: "I can actually right away pretty much create my initial cut and start undercutting. Not much, but little that I'm able to." My first cut, I say, will sit pretty close to the line.
Next comes a change of tool: "I need to change my tool because that would be a little too big, and I used 10 millimeters, but it's a little too big." The new size: "I need to switch to seven millimeters, so a little bigger than a quarter inch," which is 0.28 in. Leaning left follows: "It's too early to do a full undercut, but still a little bit. I'm probably safe."

What comes after the surface is smooth?
I say I can "probably take a much, much, much smaller number 11" and "I'll take number 11 and 4 millimeters" (0.16 in). My plan: "I'll just go right underneath." "Not final undercut" comes next, and the shadow gets two words from me, "beautiful, beautiful." An apology follows: "My apologies that I covered that."

Then smaller still: "I can actually do 2 millimeters, number 11, of course, and get even deeper right here." Two millimeters is about 0.08 in. My reason for doing it now: "Because I know I'm not going to do too many details to that part anyway."

Where do parts 1 and 3 say a line is not flowing?
Part 1 uses the word "waviness." It reads: "just because I outlined that, I've got my waviness already established, so I don't really need to redraw anything. I mean, I still have to redraw, but not as much." That part also says "I'm using number one, and this one is a double bevel."

Part 3 has the word in its first lines. "And you already see it casts a really sharp and beautiful shadow. But on another hand, I can also see some waviness, which I am not biggest fan. I'm talking about this line is not really flowing."

The plan: "little by little, I'll fix whatever I think needs to be fixed." One thought is "Maybe I should take a bigger gouge. And see." The course changes: "Or you know what? I'll just do it by hand." After that: "Okay. So that is much better."

"I'll use just the 4 millimeters" (5/32 in), I say, and then: "I'm leaving approximately a quarter-inch wall because I still have to establish my concaves and convexes." A quarter inch comes to about 6 mm. Part 3 also names a need: 7 millimeters (0.28 in) of number 11 to create an undercut. Part 3 also has "I am working against the grain. It is not the best way, but it's okay."

My words for what I see in workshop 108 are rugged, waviness and a line that is not flowing.
Is a clean-looking cut rugged the next morning?
Furniture Panel 21, part 5, has "I really don't want to see my fibers go back." Pressing a tool into the wood without a preliminary relief is "just trying to dig in," I say, "but the metal is really thick, and you're pushing both directions, fibers of the wood."

"And yes, the cut looks clean at the beginning, but next morning when you come, this side is going to be somewhat rugged." Next to it: "I think it's doable, but it's not my preference, how I would do it."
My choice would be a preliminary relief cut. "I could go with probably 3 millimeters and then number 11" (about 0.12 in), and "just cut around." "Just take some material out. That way, I'm not pressing any fibers." Some of you won't get it until you've done a few different jobs, I say.
When do I not like the ruggedness?
Part 7 of the same lesson has the line after a remark that nothing is decided yet about the overall look of those moldings. "But, as of now, it does look okay. But I don't like the ruggedness, how rugged it looks right here. Okay. And I think I need to attack it somehow."

Maybe, I say, a gouge of "4 millimeters and just to try little by little" (a bit over an eighth of an inch). The cues go on: "until that spot disappears." "And yes, that's it." "Although, I can see a tool mark right on my background."
Part 6 has me say I have to probably attack again with "maybe number five and one-eighth of an inch" (3 mm). After a look: "I think it looks really good. It's casting shadows. I can still see some rugged spot right here. A little fixing. Almost forgot. But overall, it looks wonderful."

Which line must I be careful not to hit?
Workshop 90, part 4: "For me, it's really important not to rush it." What I have to do is create "the cuts across the grain" with "the bigger tool." With this one, I say, "I can actually use number seven." The warning itself: "I have to be really careful not to hit this line because it would be big mistake. This line or that line. It's going to be rugged."

Which words go with a rugged edge or ridge?
In Lily Box 5, part 10, I say "I think number eight worked really good." But: "now I need to refine this movement because right now it's just kind of rugged and I don't like how it looks."

"I'm talking about this just edge. I still have marks from a jigsaw, and I can find that really matching gouge, which in my case, it's a number seven and a 14 millimeters" (0.55 in). Then: "I can place it to the edge, give an angle a little bit, just like that, and cut it inside."
"Since I don't have any glue at the corners, so it's just really easy for me to make a clean cut." I would still undercut, though a person could stop sooner: "You could leave it like that, actually, without undercutting if you don't like to create deep undercutting, but I still will undercut."
In part 5 of that lesson: "I need to give a nice movement to this ridge because it doesn't look good." A tool gets weighed: "This one is probably the best." Next: "I can't cut downhill" and "Let me try, but I think it could be a big mistake. Yep, I don't want to risk it."

After that: "I'll just use the number three and just try to give a nice edge." And then the line you came for: "Now it's just too rugged." And: "This part is fragile, almost broke. Maybe I just have to put some glue in it."
When are there no rugged areas?
Lily Box 11, part 3, has "that's nice and smooth." And: "Again, I don't really need to do a lot because my cuts are clean. I don't have any rugged areas."

I need "to create a micro cut right in the middle" and "to use again, like a half a millimeter" (0.02 in). On sandpaper: "See, with the sandpaper, I am able to see actually better."
Where does rubbing come in?
In workshop 108 the words "rubbing against" sit beside "rugged." In workshop 71, part 8, I say "It doesn't look too clean in this area, which is okay. I was just rubbing against the grain." I add that the tool is not super sharp, and then: "That's just the time to sharpen the tool." Before all that comes "I need bigger one, maybe, let me think, 12 millimeters or so" (about 0.47 in).

Floral and Molding 1, part 2, plans "one and one-eighth, number seven" (29 mm). On sharpness: "I have to probably tell you how important that is that your tool is sharp." And: "When your tool is grabbing material and cutting away and leaves really smooth surface, it brings you joy. But when one is just rubbing and leaves a lot of marks, and you have a lot of resistance, it's no good."

"So spend few minutes more and just sharpen it." Then: "Sharpen, sharpen, and sharpen it" and I say you will be happy. In Venice Room 9, part 6, my words are "This one needs to be sharpened." Not cutting the right way, I say, and "just rubbing."

In Venice Room 23, part 6, the tool is number 7, at 4 mm: "It's not quite 3/16 of an inch, and that's a little bigger than 1/8 of an inch." And: "And yes, it looks like my tool is rubbing a little bit." A plan follows: "another one right on the side of this ridge to give that movement."

Lily Box 12, part 4, has "I'm using number seven, by the way. Number seven, small number seven." It is "little smaller than six millimeters," about 5.5 mm (0.22 in). Then: "Just rubbing, and that just creates a really, really rough cut." Next: "I should just change the position of my cut or change the position, direction of the tool cut, and find the better one. It's okay."

Furniture Panel 38, part 1, has a side where I am rubbing, and "I have to be really careful." Then: "But slicing motion will help." My cuts are "really, really short" and "I can also excavate like a spooning cut, just like that."

Where do the frames come from?
Every picture here is a frame from a lesson named on this page. The panel pictures come from workshop 108, on the Part 9 course page. The others sit beside the lesson they match.
The lessons in one table
| Lesson | The words the lesson puts beside it |
|---|---|
| Workshop 108, part 2 | A surface I rubbed against, and a flatter gouge for a nicer surface |
| Part 5 of Furniture Panel 21 | A cut that looks clean at the beginning, with a 3 mm (1/8 in) number 11 in mind |
| Part 7, same lesson | Ruggedness at a molding, and a 4 mm (0.16 in) tool in mind |
| Part 6, same lesson | One rugged spot still showing, and a little fixing |
| Workshop 90, part 4 | Two lines I'm careful with, and a number 7 |
| Part 10 of Lily Box 5 | An edge with jigsaw marks, and a 14 mm (0.55 in) number 7 |
| Part 5, same course | A ridge, and a number 3 for the edge |
| Part 3 of Lily Box 11 | Clean cuts, and no rugged areas, with sandpaper in the part |
| Workshop 71, part 8 | Rubbing, a tool that is not super sharp, and 12 mm (0.47 in) in mind |
| Floral 1, part 2 | Marks left by rubbing, and a number 7 of one and one-eighth inches (29 mm) |
| Part 1 of Furniture Panel 38 | A rubbing side, and a slicing motion to help |
| Part 4 of Lily Box 12 | Rough cuts, with a small number 7 of about 5.5 mm (0.22 in) |
| Workshop 9, part 6 | Sharpening, for a tool that is just rubbing |
| Workshop 23, part 6 | Rubbing a little bit, with a 4 mm (5/32 in) number 7 |
Is there a surface on your own carving that you keep rubbing? Everything in these lessons sits inside one tuition plan. Start with workshop 108. It comes after 107 and before 109. A gentler first step is Furniture Panel or the Lily Box course.
How it's done
- Name the surface. Workshop 108 says the surface is really rugged while I just rub against it.
- Pick a flatter gouge. I name three flatter gouges, numbers three, two and one, and say I'll take number one.
- Check the side view. Looking from above can miss a spot, so I look at the side too.
- Sharpen a tool that only rubs. Venice Room 9 has me say a rubbing tool needs sharpening, and Floral 1 says to spend a few minutes more on it.
- Plan a relief cut. My plan in lesson 21 of Furniture Panel is a preliminary relief, made with a 3 mm (1/8 in) number 11, so I'm not pressing any fibers.
Frequently asked questions
Where is the word in workshop 108?
Part 2 has it right before my plan for a flatter gouge. The surface is "really rugged," I say, and "not really good."
Which gouge numbers did I name?
Number three will work, number two will work, and even number one will work. My pick is number one, to try for a little nicer surface.
Why do I check the side view?
From above, sometimes you can't catch it. You really have to look at the side view, I say, and I'm also always checking that way.
How does a clean-looking cut turn out?
What to carve next