

Alexander Grabovetskiy, woodcarver, School of Woodcarving · Published 2022
How do you bring one part of a carving down to the same height as its neighbor?
Quick answer: Lowering a carved section to match its neighbor is a job of readings and order. I read the height first, drilled a hole to check it, left the line standing, and took the wood off from the side where the grain allowed it.
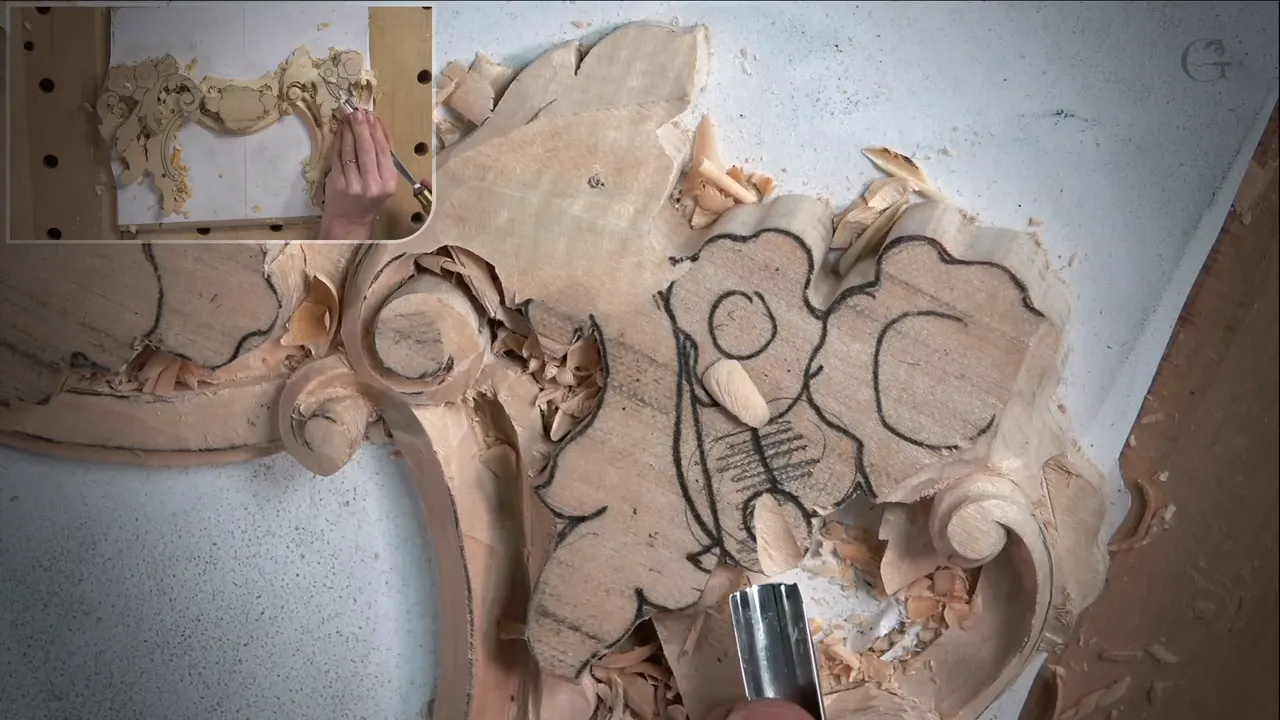
Bringing one part of a carving down to the same height as its neighbor means finding that height first, taking the wood off from the side that is safe, and stopping at a line you want to keep. That is how I worked, section after section, in part 2 of lesson 5 of my Carving Floral and Molding for the Panel course.

Ever shaved a section and found it sat lower than the one beside it? Ever lowered a section and lost the line next to it? Cleaning made me lose my line once, and I said so in lesson 38 of my Hashemi flowers course. Below you will see the heights I read, the sides I came in from, and the spots where I stopped.
What does a lowered section need?
- Read the height at the spot before any wood comes off.
- Leave the line that has to stay, and lower the section beside it first.
- Choose the side where the grain will not catch your tool, and when it must, carve downhill to the line.
- An upright tool makes the wall.
- Check the height again before you move on to the next spot.
Where does the height I lower to come from?
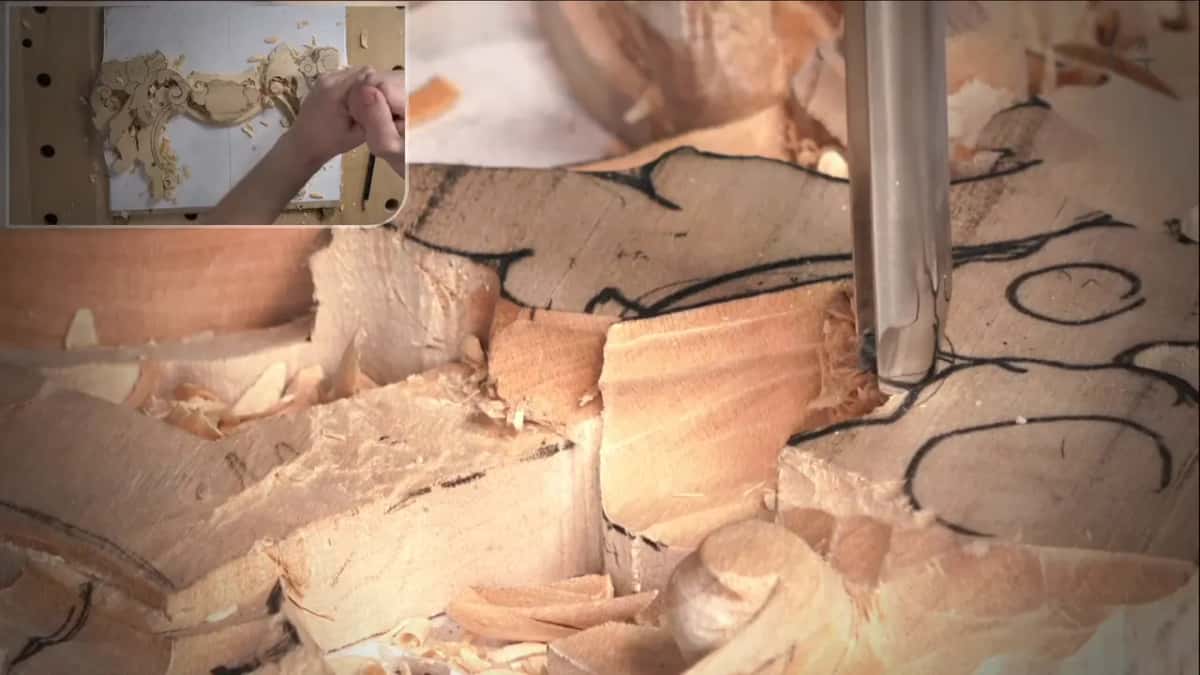
I take a reading at the spot, and in this part I did the high spot first. It came out at about six millimeters, about a quarter inch. An easy idea came next. Why not grab my drill and drill it, then check whether I had made a mistake? I hoped I had not.

I was right on the money. See, boom, and the hole was already touching the bottom, so I knew I had not made a mistake. Good.
Later in the same video I measured my original piece again. A small volute next to that spot had to sit really, really low, and I wanted the number. The reading came to about maybe 7 millimeters, a little more than a quarter inch. I could safely remove all that material, but I double-checked first. Yes, I was safe, because all of that stuff has to be at the same level, and we were going to expose the flower.

I walk through a drilled hole and a measured depth in lesson 4.
Acanthus over Moldings lesson 5 gives another reading. A part sat no more than a quarter inch (6 mm) from the surface, so a big number 7, about an inch (25 mm) wide, went at it. Soon I had about 3/8 of an inch, about 10 millimeters, from my background surface. Going further was a risk I would not take, and I thought that was enough.
Over in lesson 1 of that course I said I could check with my router plane whether I was on the same height. And yes, I was pretty much right there.
How low does the part beside the molding go first?
Only part of the way. My original piece goes underneath and then rises up, and that part is going to sit above the molding while the molding goes underneath. I hoped you could catch that on the camera. Next I had to draw a line and make a preliminary cut underneath.

A quarter-inch number 9 made the cut, carefully. For the next pass I thought of a flatter tool, like a chisel number 1. I told you I would have a chance a little later to clean everything, and I hoped I had not taken too much material. I double-checked, and it looked like the wood had a movement inward.
The number 7 came back out, 14 millimeters (0.55 in), and I sloped the wood slightly inward. The movement went inside, not much, just a little bit. Next I wanted a number 6, a smaller one, about 12 millimeters (0.47 in) in this case, and I said I would not do too much.
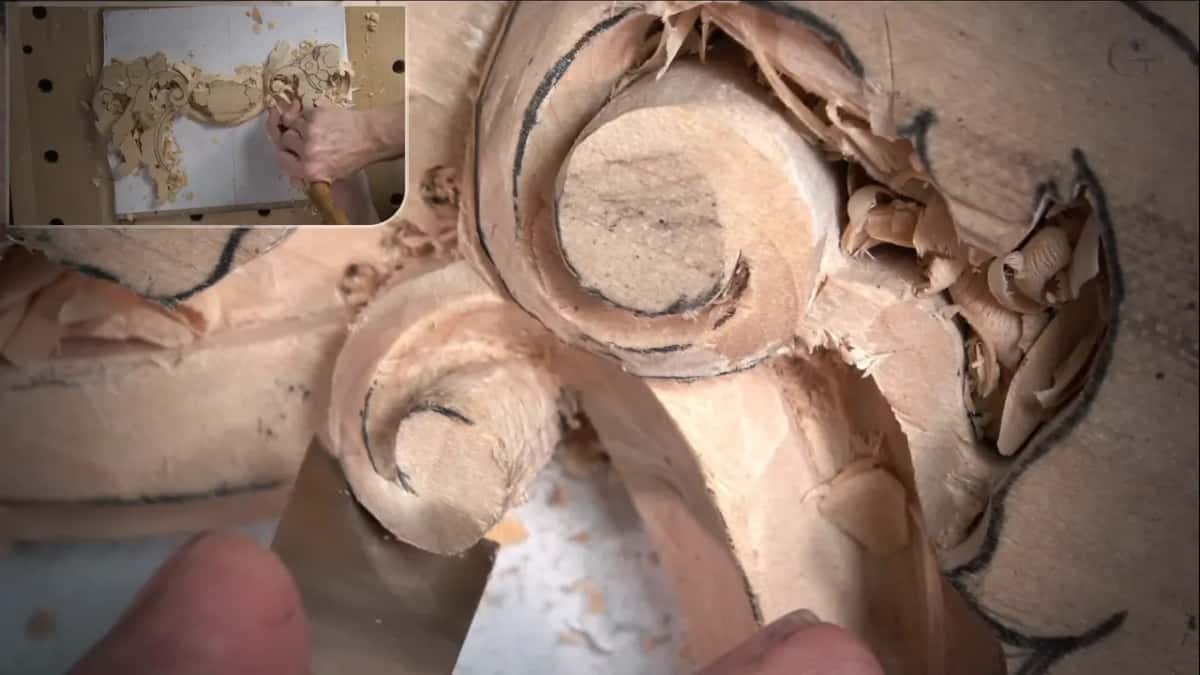
All of it served the height. One point has to match the height of my concave, and then it feels like the wood rolls to the same spot. I grabbed my phone and flew around so you could see it. I asked you to tell me if that helps, and to tell me if it only distracts. The slope goes inside and runs to the same point pretty much.
After that I said I could jump right away to developing that side and the overall movement, which in my opinion is a really, really nice movement.

From which side do I come in?
The opposite side, when I can reach it. I began this part by saying that I most likely had to attack that from the opposite side as well. Covering it with my hand was not what I wanted, and a spoon gouge looked like a good idea. Not too big of a sweep, I thought, somewhere around a number 3 or number 5, and maybe the 3 would be sufficient. That was about a four millimeter (0.16 in) tool.
The view was not the best, and I knew it, but I had to work with that no matter what. You should still be able to catch the line going right underneath, and I called it a really beautiful intersection, which is only my opinion.

Later I thought about rotating the table to get at one spot on the far side. Maybe like that, I thought, or maybe not. I put it back and decided to walk around and attack it from there, and it should not be a problem.
The grain decided another section. I could stand the tool upright and make a cut straight down, or I could come at it another way. There that was impossible, because the grain runs that direction, and I would catch it and break it. So I set the tool really straight and carved downhill until I hit the line, which is probably the best way anyway.

My acanthus course says the same in lesson 5. It is always better to attack from the opposite side, I told you, and it is safer. My tool was sharp and I was always slicing, so I was okay. Later in that part I said it is always better to come from outside toward that line, though it was not too convenient for me that time.
Lesson 12 of the Hashemi course starts with a separation cut from a number 16 V tool. I removed material between the high ridge, which I wanted to keep, and went lower until I matched the height of the other side. Careful thought went into the side I attacked from, so I rotated the piece and went in on the opposite side. Too much pressure was a risk, because the piece had become fragile and there were multiple points where it could break.

In lesson 19 of the same course I went almost to the height of the part beside it. With the same tool I attacked the opposite way, against the grain, and I stayed careful, removing the waste little by little. Later, once that part was established, I could always clean it with a spoon gouge.
What keeps the line beside a lowered section?
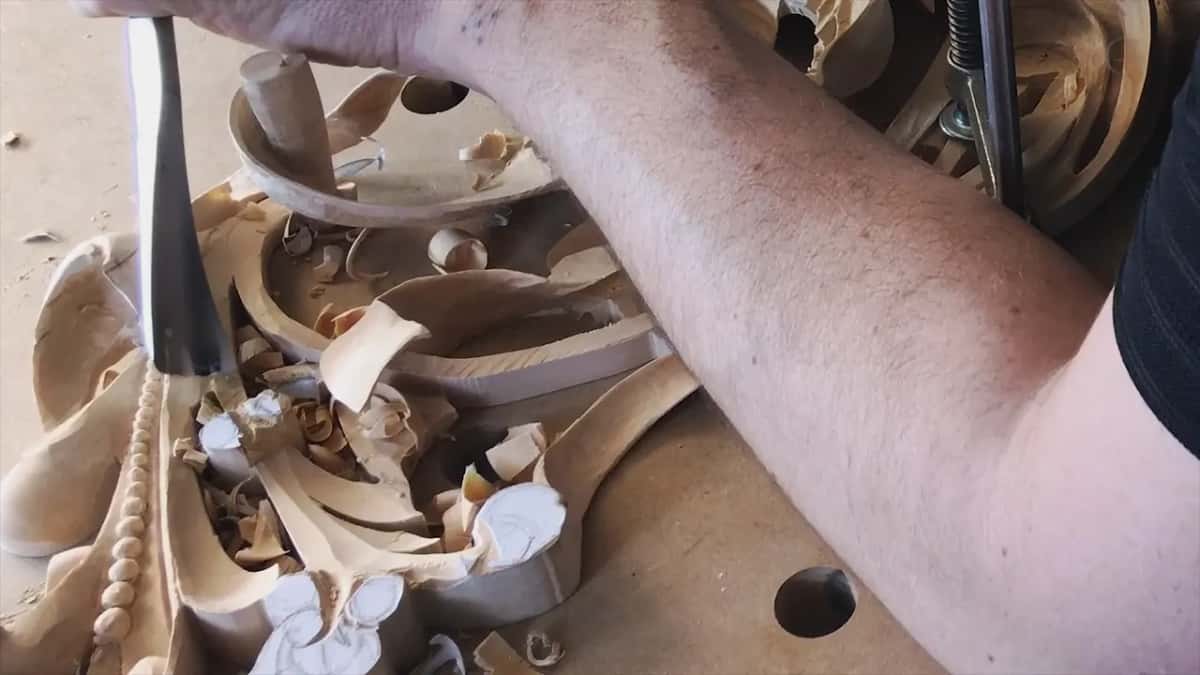
Order does. The section comes out first and the line stays standing, and only then do I lower the line to the surface. I really, really, really did not want to lose that line, and ten seconds later I said it again, so the order was settled before I picked up a tool.
My tool was a number 9, 10 millimeters, three-eighths of an inch. The left side goes across the grain, so I had to be really careful. If the tool is sharp, you should be okay, I said. I went all the way to my marking.
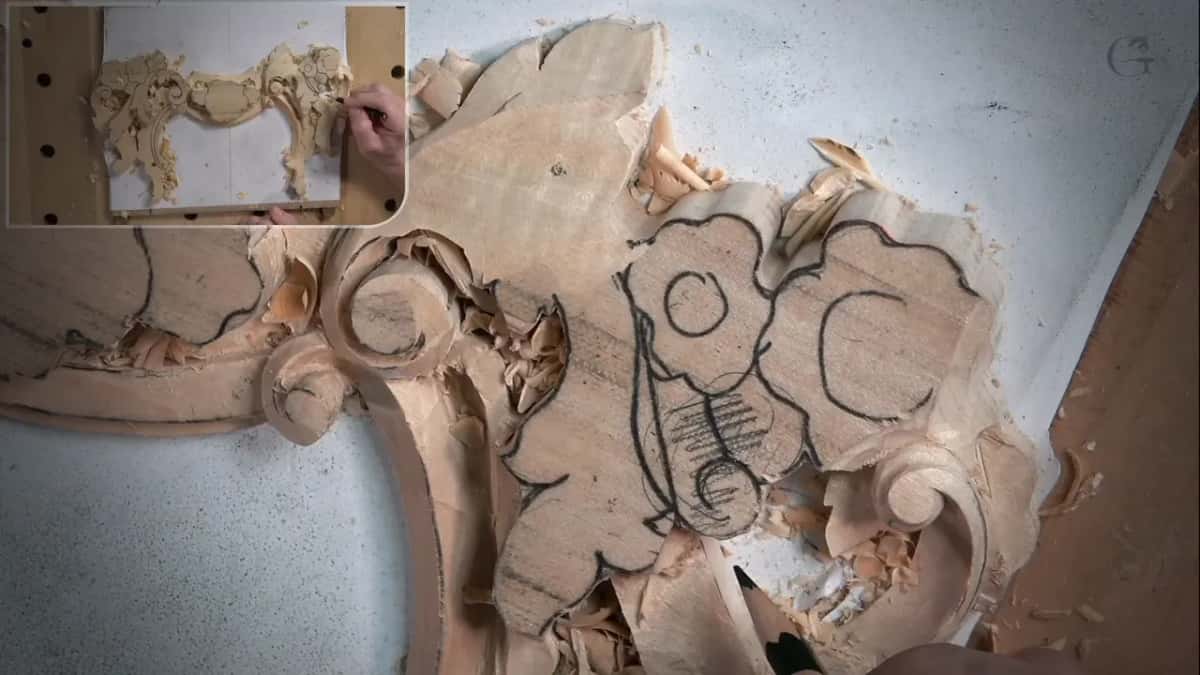
Next came two triangles. Let me get rid of this triangle and that triangle, I said, and I placed my tool just straight down, 90 degrees, for the cut. Another section called for a smaller tool, a quarter-inch number 9, again straight down. After that came a number 5, a smaller one, and I guessed about eight millimeters (0.31 in) or so before I corrected myself. It was 10 millimeters (0.39 in), I think.
One more section had to sit level with the one beside it. I drew the line first. My pencil needed to be sharp, and then I prolonged the line. Now that part had to go, I said.
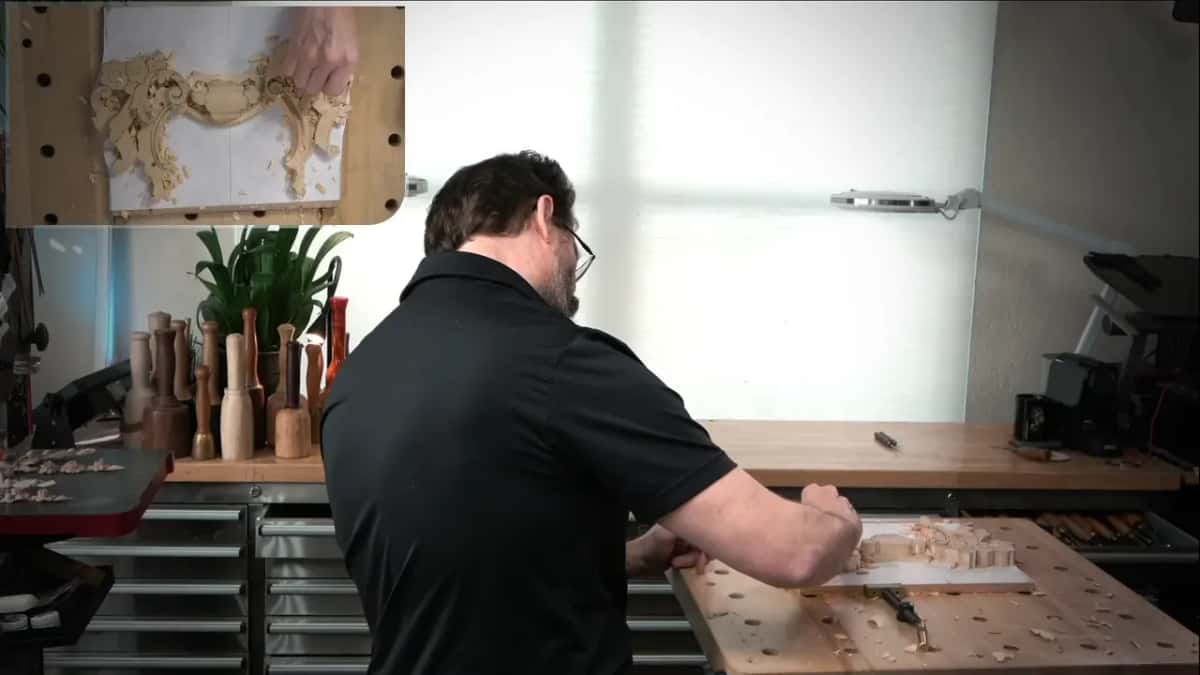
The same care shows up in lesson 6 of that course, where I wanted a spot to match the level of my future molding. First I said later, but then I changed course and did it right away, with a number 3, a quarter inch, about six millimeters or so. The cut that separates the volute movement from the molding was for later, and for now it was better to be safe.
On my Venetian flowers rosette, in lesson 1, I took the wood almost to the line. Losing it was out, because that line was going to be the boundary of my molding. So I stopped near it, but not right on it. I also left a gap between my line and the tool, maybe about five millimeters (0.2 in) or four millimeters (0.16 in), and I said three millimeters (0.12 in) will work.

Which way does the tool go on the wall?
Straight down. I placed the tool just that way at 24:26, and by 24:41 it was straight down, 90 degrees. That wall had to be really straight and nice. In part 1 I said that undercutting there would be a big mistake, so the tool has to go upright.
The walls got a cleanup afterward. I reached for my Sekira tool for that more than once, and I used it to make a section flatter. Earlier, with the same tool, I said it has to be a really nice and smooth transition. Later another movement got a different gouge, a number 5 but smaller, and I said straight down, okay?

Lesson 9 of that course has a different way to finish the floor. The target was the height of my molding. First my gouge did the initial removal of material, and then my router plane reached the final depth, and I hoped I would not overdo it. I was hitting that against the grain, so I got the router plane and cleaned the area.

Which tool did which job in this part?
| Moment | Tool | Spot | Why |
|---|---|---|---|
| First pass inside | Number 3 spoon gouge, about 4 mm | Intersection line | I attacked it from this side |
| Preliminary cut under | Quarter inch (6 mm) number 9 gouge | Future molding | It is only preliminary for now |
| Slope the inside | Number 7 at 14 mm (0.55 in) | Inward slope | Not much, just a little bit |
| Lowering the left | A number 9, 10 mm, three-eighths inch | Across grain | Sharp tool, and I stayed careful |
| Straight down wall | Smaller 6 mm (1/4 in) number 9 | Next section | A cleanup pass came after it |
Do both parts sit level with each other yet?
I look for the mark. Going right to my cut, I could still see the mark from a drill, and that was my height, so I did nothing else there. Then I said let me also measure that part, and I went back to my tool.
I also watch the other side while I carve. In the acanthus course it was really important for me not to mess up and to see exactly what was going on. The two sides needed to be somewhat level with each other, and a small variation was okay. A little later I said I was about level, and those two sides were good.

Two heights that should have matched turn up again in lesson 9. They were a little different. Logically they have to be the same, I said, but for some reason they were not. It was a small variation, and it still bugged me. I said enough is enough, and a number 11 cleaned out the mess.
When do I stop and put tools away?
When I catch myself reaching for another gouge. I reached for a number 9 at 22:32 and then said I do not need extra tools on my workbench. I kept just the small tools right there, because it is not a good idea to accumulate them.
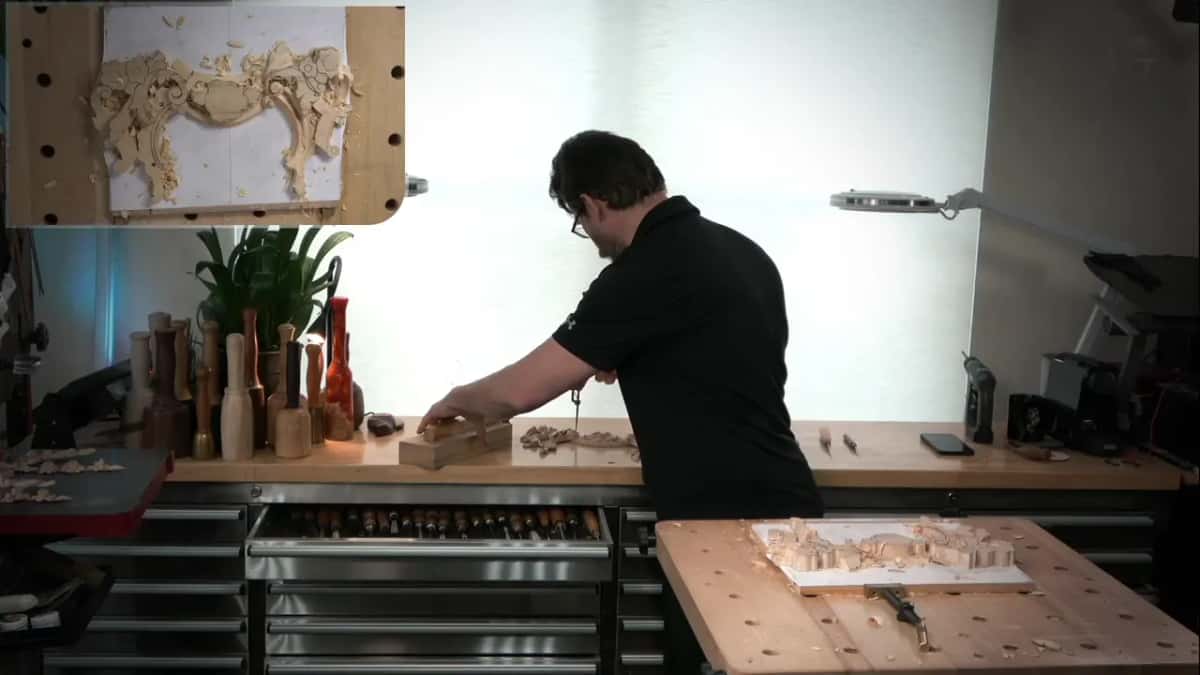
Part 1 gives the sign. If I look at my bench and see more than two or three tools, I am tired. That is the time to take a break, at least for me.
Wikipedia has overviews of wood carving and of relief work, if you want the wider picture. I give every depth in millimeters and inches, the way I said them on camera.
This part is one of three in lesson 5 of the course. The same job comes back in Acanthus over Moldings, and I used one of my Hashemi flowers lessons above too.
Which part of your carving sits too high next to its neighbor?
How it's done
- Read the high spot first. Mine gave about 6 mm, a quarter inch, so that became my number.
- Drill to it. Drill the hole, then check how close you are, and mine already touched the bottom.
- Mark the line. Sharpen the pencil, and extend the line before you remove that part.
- Remove the neighbor first. Take out the section beside the line.
- Pick the safe side when grain fights you. Keep the tool upright and carve downhill toward the line, because coming at it sideways would catch the grain and break it.
- Stand the wall. Tool upright, 90 degrees, for each wall I make.
- Measure again. Look for the drill mark in the wood, then measure the next spot.
Frequently asked questions
What gives me the height before I lower a part?
The high spot gave me about 6 mm (1/4 in) in this part. I drilled to it and looked. The hole already met the bottom, and I was right on the money. Near the volute I read maybe 7 mm, a little over 1/4 inch.
What if the grain is against the side I need?
Keep the tool really upright and carve downhill toward the line, because carving the other way would catch the grain and break the wood. In my acanthus course I called the opposite side the safer way, and I kept my tool sharp and kept slicing.
How do I protect a line while I lower the wood beside it?
Remove the neighboring section first, and leave the line standing. Then lower that line to the surface. I used a number 9 of 10 mm (3/8 in) across the grain, with a sharp tool and a lot of care, right to my marking.
What to carve next
- Carving Floral and Molding for the Panel, the course page
- Floral and Molding lesson 5
- Floral and Molding lesson 4
- Acanthus over Moldings, the course page
- Acanthus over Moldings lesson 1
- Acanthus over Moldings lesson 5
- Acanthus over Moldings lesson 6
- Acanthus over Moldings lesson 9
- Carving Hashemi Flowers, the course page
- Hashemi Flowers lesson 12
- Hashemi Flowers lesson 19
- Hashemi Flowers lesson 38
- Venetian Flowers Rosette lesson 1