

Alexander Grabovetskiy, woodcarver, School of Woodcarving · Published 2017
Should you push a carving knife away from you or pull it toward you?
Quick answer: Pushing or pulling a carving knife is up to you, and either one works. In lesson 6 of my flower rosette one Pfeil knife lowered a stem going away from me, and minutes later it traveled toward me on a leaf's middle line.
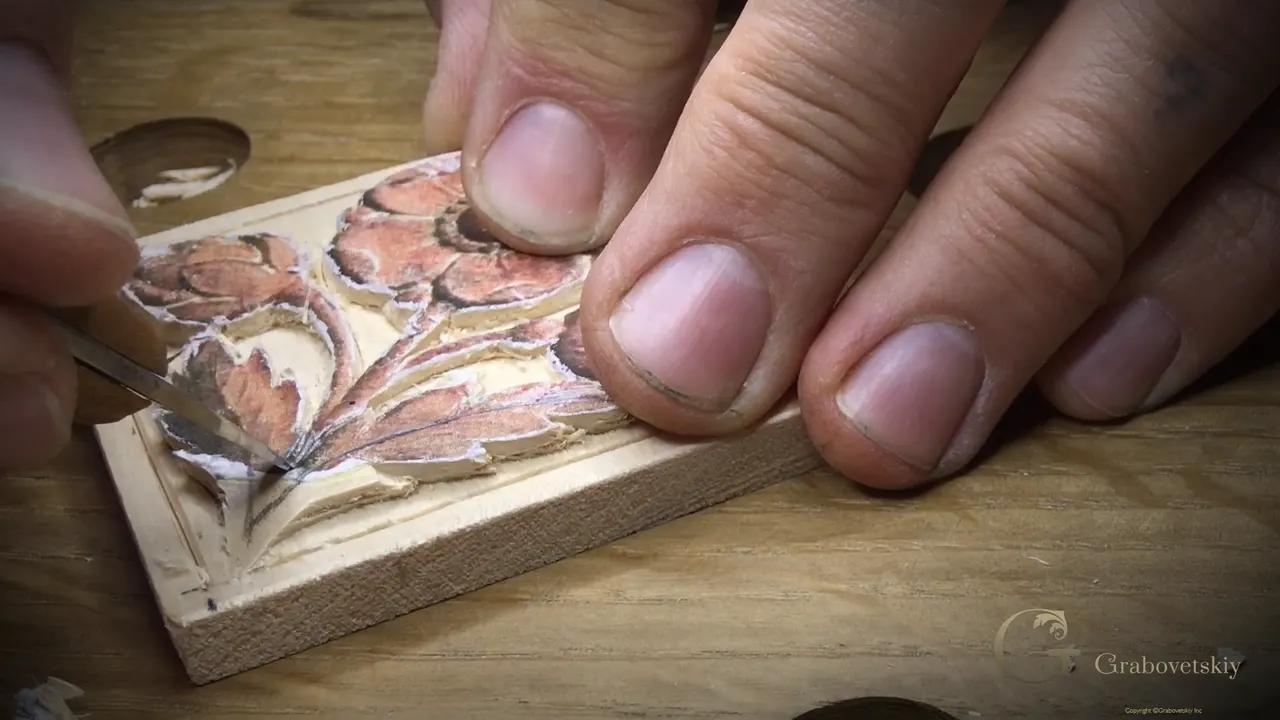
Knife direction in carving is up to you, and both ways work, away from you or back toward you. In lesson 6 of my Carving Flower Rosette course I did both on one small flower rosette, with one knife, about two minutes apart. My number 12 Pfeil traveled outward first and took a stem down. The same edge then came back to me down the middle of a leaf.
This page follows those passes one by one, so you can see wood carving knife techniques on a real piece of ornament and not on a diagram. One block. A pencil line, and a blade that kept changing which way it went.
Would it help to see which way the edge went on every single pass I made on that block? Would you like to see it on a flower this small? Then come through lesson 6 with me, part by part, and watch where the knife travels.
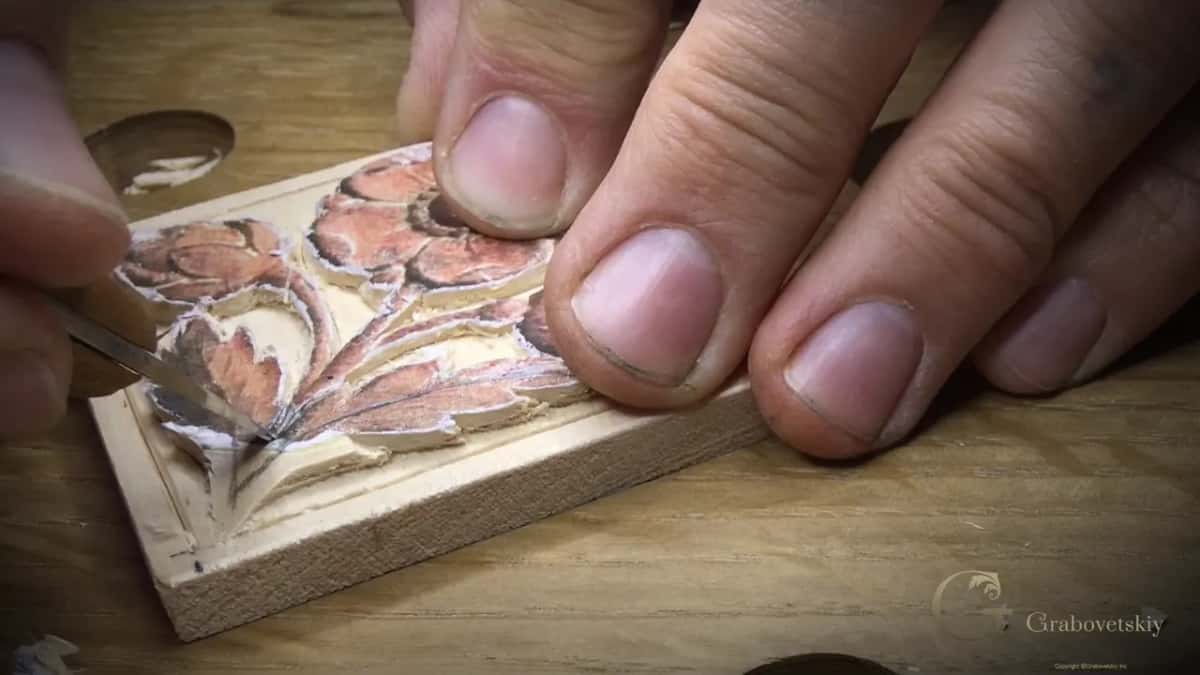
Which way my knife went in lesson 6
The stem went down first, with the blade pushed outward.
About two minutes later the same blade traveled toward me along the middle of a leaf.
My finger did the pushing on the next leaves.
The border went straight down on a freehand pencil line, and I turned the block for each side.
One bit of the flower came off in the opposite direction, and another came out from two sides.
Little V lines got a tilted blade.
Push it away or pull it back, which one is right?
Both. You can push it and you can pull it.
Nothing in this lesson turns it into a rule for you, and each pass got its own direction, with a few of them said out loud while the knife was moving.
Pulling is another way to do it, I said at one point, just toward yourself. A couple of minutes earlier the same blade had been going the other way on those leaves, on the same rosette.
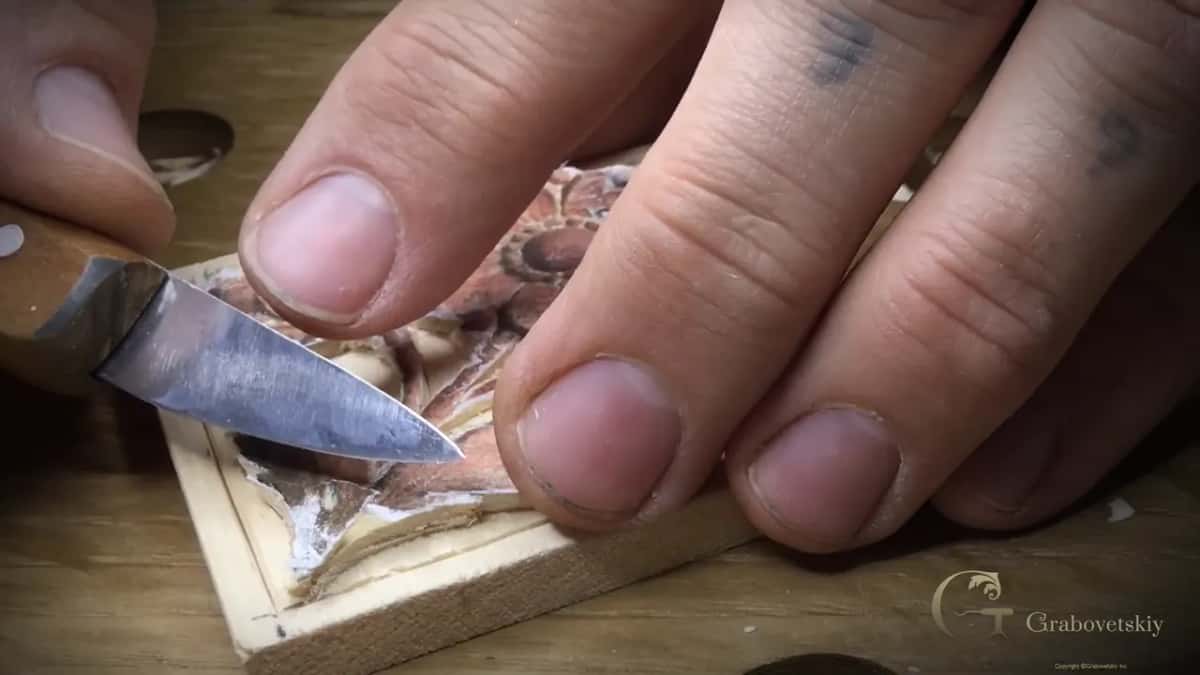
When did I push the blade?
Right at the start of the leaves. I told you I wasn't going to work on the flowers yet, since we had already done flowers on the other ones, so I moved on to the leaves.
I let the block sit, like the previous piece, and took the number 12. I pushed it away from me and brought the stem part all the way down. That was the first pass of the part.
After that the same knife marked the middle line again and lowered that part down. One part went all the way, almost. Love it, I said, and the next one needed a little farther.
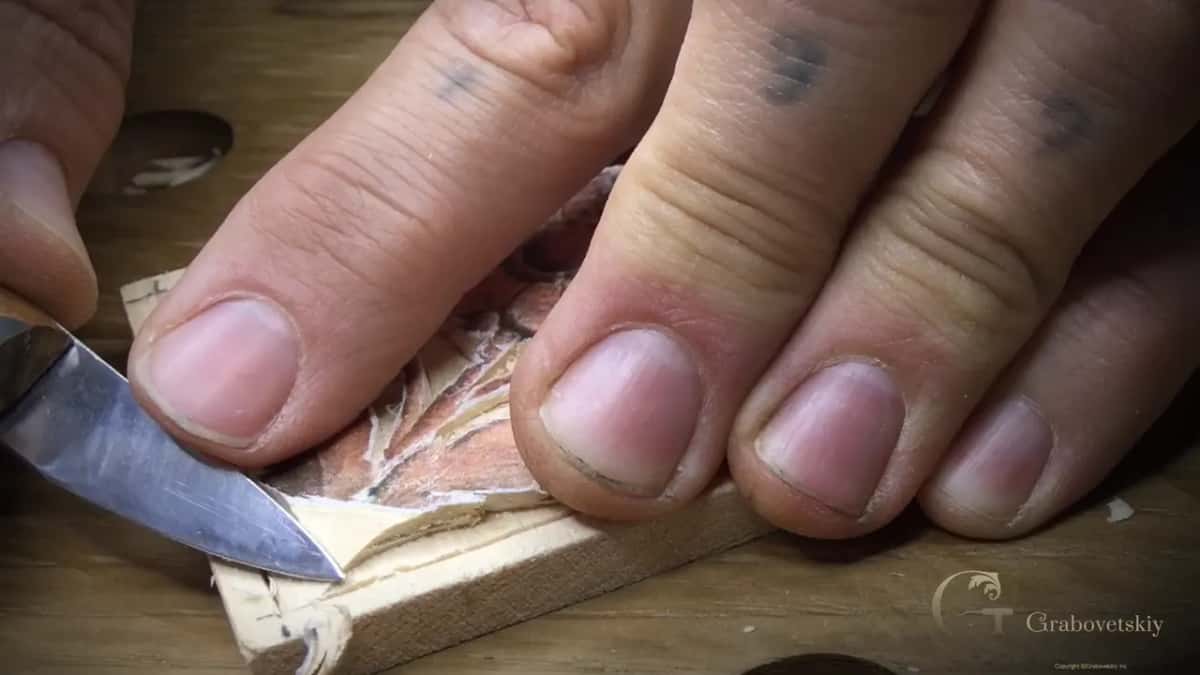
Where was my finger when I pushed?
Behind the blade, doing the pushing.
In part three, on the second group of leaves, I said I was going to carve away from myself, just using my finger as the push. Same on the other side. The whole thing came down lower next and got more roundish.
Although I don't have to do it on this one, I said at the start of part three, let's do it. Only the knife, the same idea, going around at a low angle, and the outline of the flower got followed in the same go.
And you can see how quickly you get results from just a knife. I said that while it was going.
Later in part three those stems needed to be somewhat more rounded, and the same knife set their shape, followed by a little refinement and the cleaning passes.

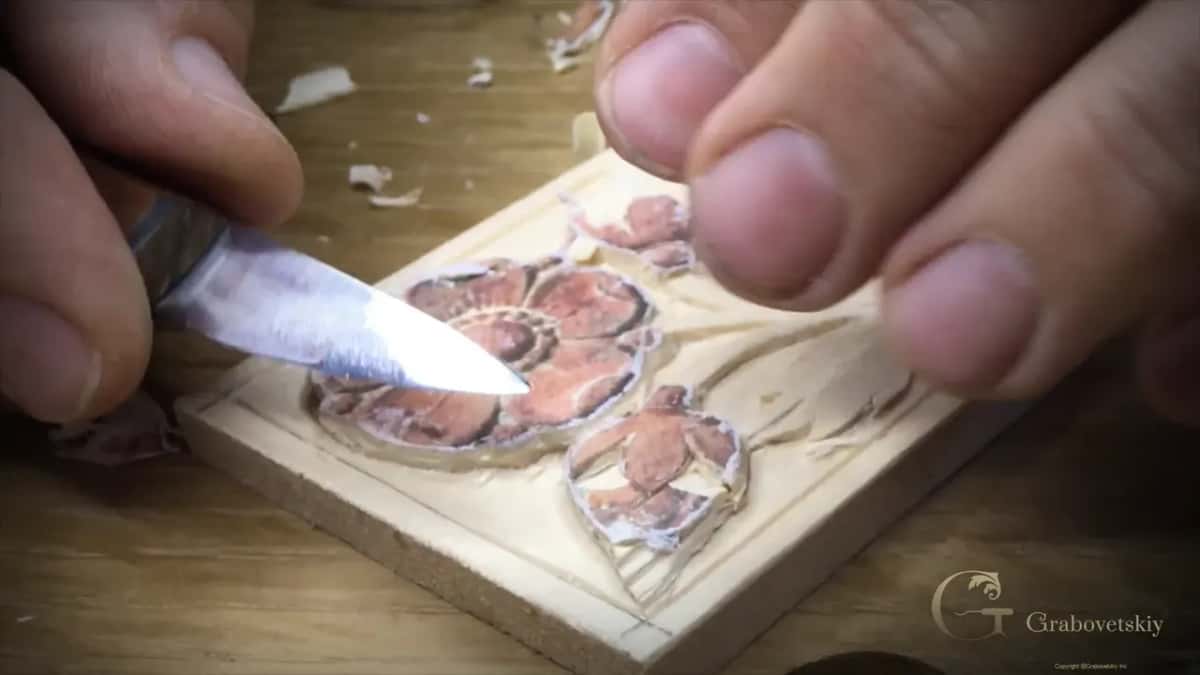
What happened when I pulled the knife back?
The middle line came back, and the next job got easier.
This time the knife came toward me on the middle line, just pulling it. Since I had made that pass, I said, it was going to be a lot easier to take the background down even more and get the same level on this side and that side.
I did this side too, and told you to keep an eye on what your grain does. The far side of the line came after.
That middle line stands higher in this case, because the original piece has exactly the same idea. So the middle of that leaf rides high, and that is why we do that type of pass on it.
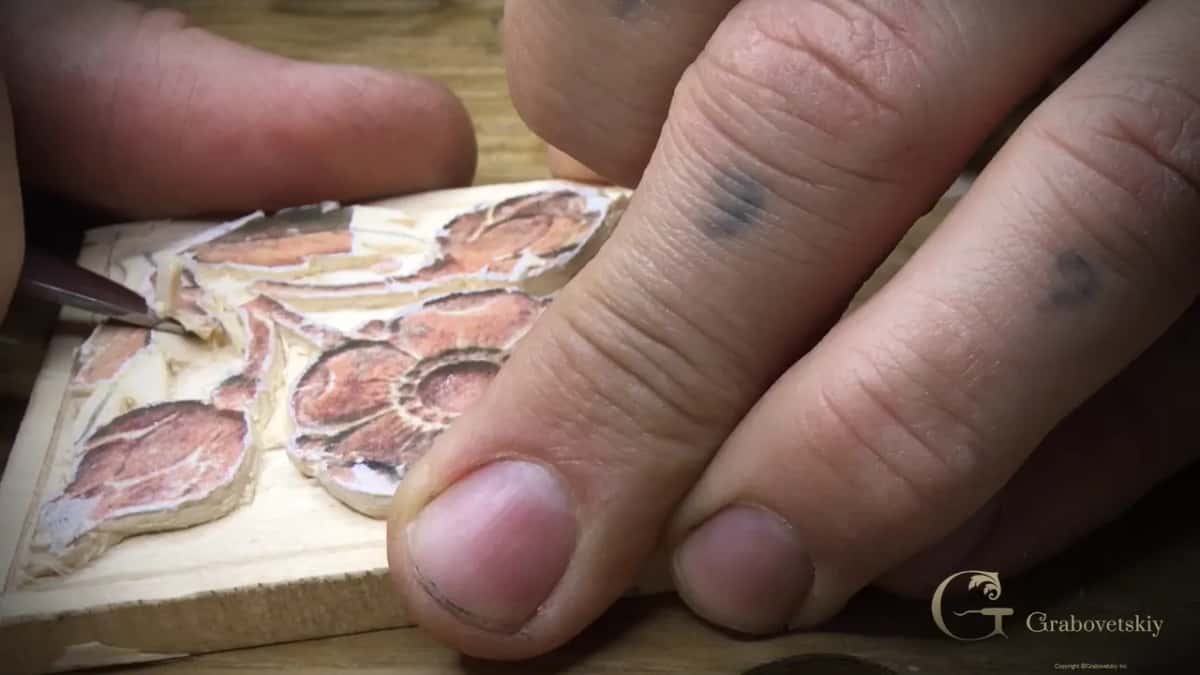
What about the grain?
One cleaning pass went right against it, and I said so out loud.
Again, on this side, just a cleaning pass. Although I'm going against the grain right now, I said, I feel confident. No problem. That was one pass on one side of the line, and then I did the same on the other side.
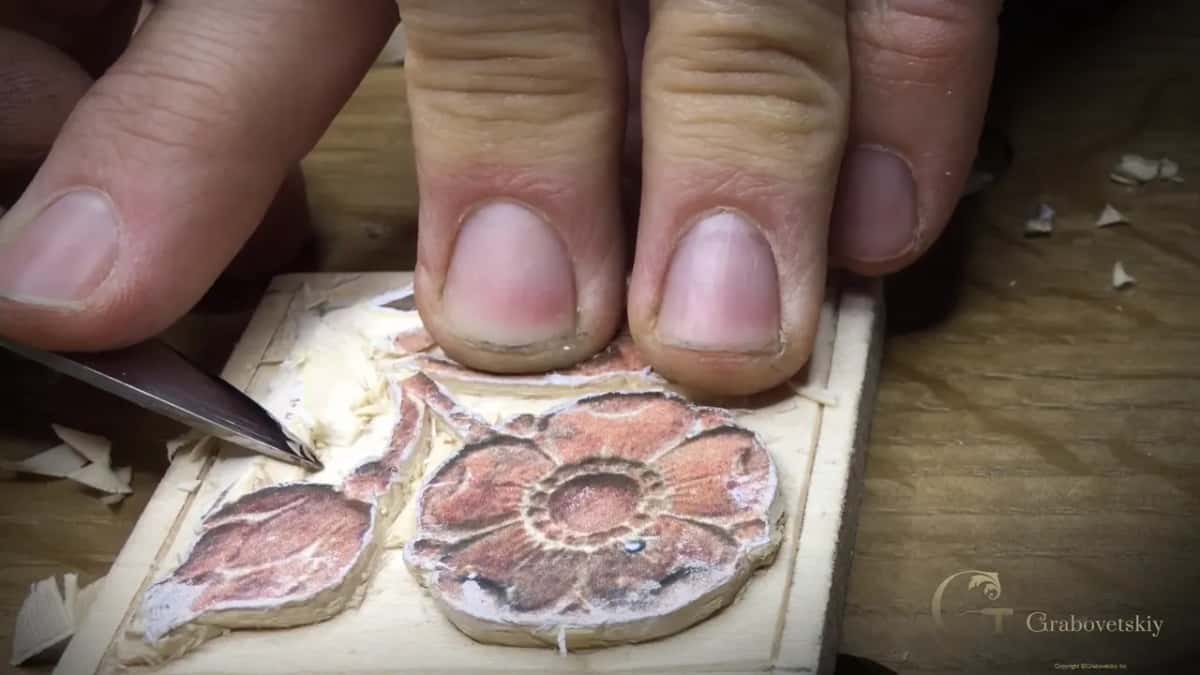
Which wood carving knife techniques lowered the stems?
A really low angle, and going around.
With the middle lines set, it was a matter of removing more of the background, but it would be easier for me to lower my stems first. A couple of passes. The same Pfeil, held really low.
Once the stems were down, the background was a lot easier to take lower. Less objects on my way, I said, and I could refine the ground around them.
And you get the idea. You just hold it really low and go around.
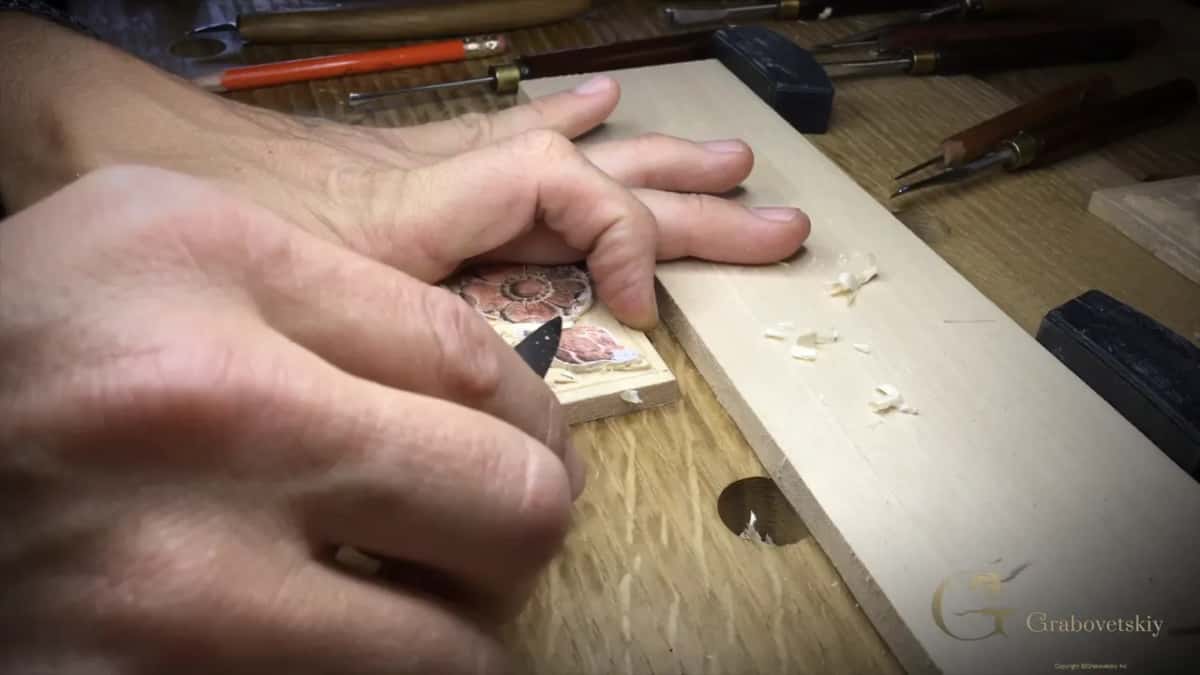
Is straight down a direction too?
It came first on the border of this rosette, the blade standing upright on the line.
I drew the border line freehand with a pencil first. I really like to use a marking gauge, I said, but if you don't have one, you really don't have to use it.
For that I took the same knife I used before, a really small, tiny, Germany-made Böker, and a really good knife. I touched it up on my stropper, a Böker too, which has a place for the V tool, for the gouges and a flat part, with a green paste on it.
I placed the knife straight down and followed the line, making sure it was really staying on the line. Rotate. Next side. Right round.
A channel came next, maybe a sixteenth of an inch, about 1.5 mm, away from that main line. It is not really a necessary step, I said, but I kind of like to do that. In one spot I couldn't get to it, because something was in the way. So I came at it from another side and did the same thing there, and one bit just didn't want to come out.
It's really good practice to use a knife a lot, I said there. On this rosette, straight down is where the border started.
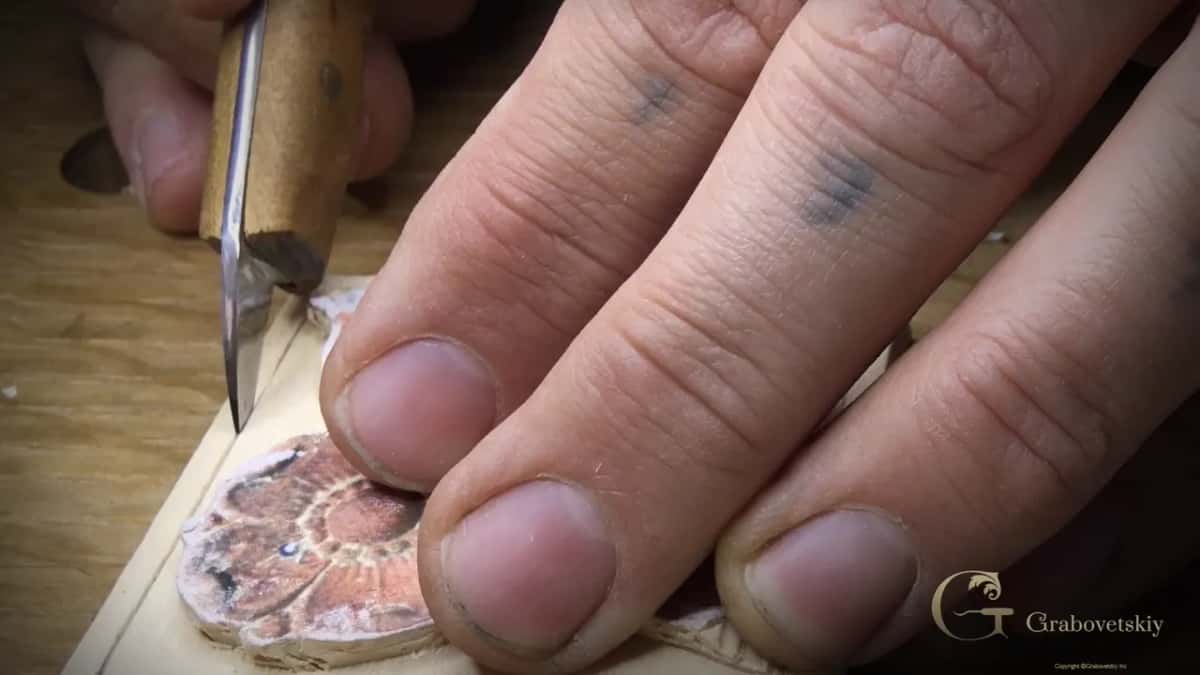
How did the flower get carved from two sides?
Part of it from one side and part from the other, aiming for the same points.
Part four began with a pass around the outer ring of the flower, made first, before the petals. I think it's deep enough, I said. I don't want to overdo it. After that I set the petal lines again and made one deep pass. A little later I said it plainly. So you see, knife is your friend.
Later on the flower I needed to set a lip on one side. Same knife, opposite direction, and the waste came out.
Since this was all one knife, I wondered out loud if work like this has its own name. In that kind of carving, I said, you usually always go toward yourself. But we don't.
Then a little longer knife, from this side and from that side, and out it came, while I asked out loud if I could meet my points.
Exactly the same idea on the next one. Just don't overdo it, I said, because you can always remove too much, and you don't really want to do that.
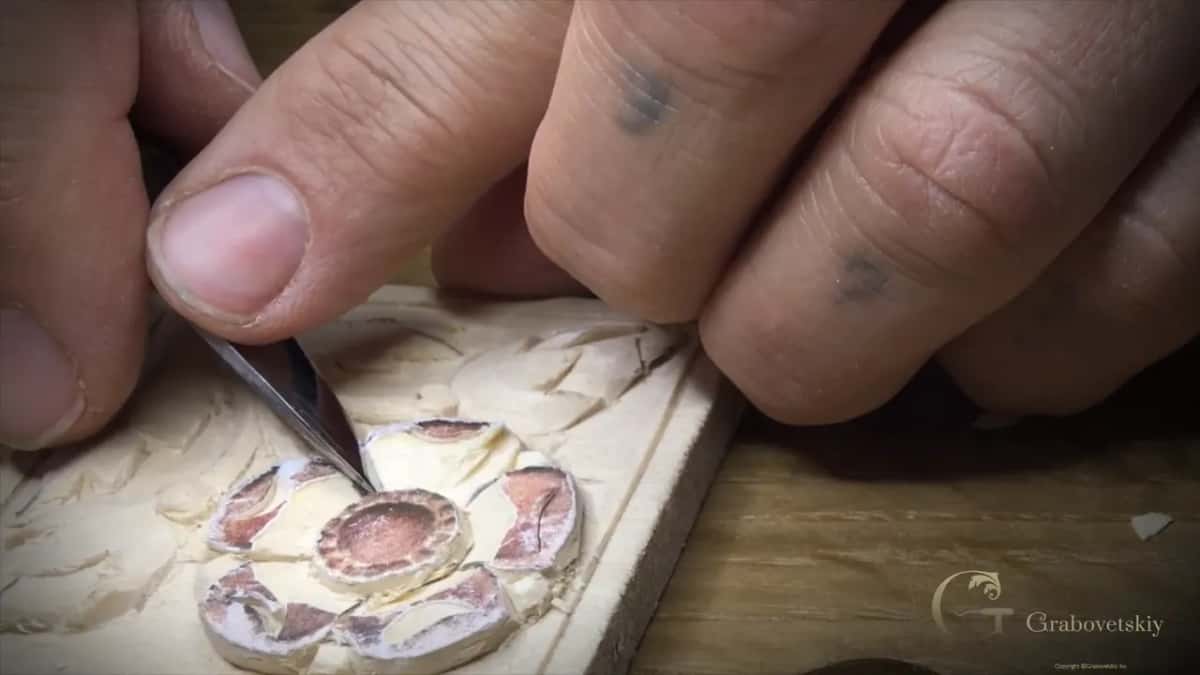
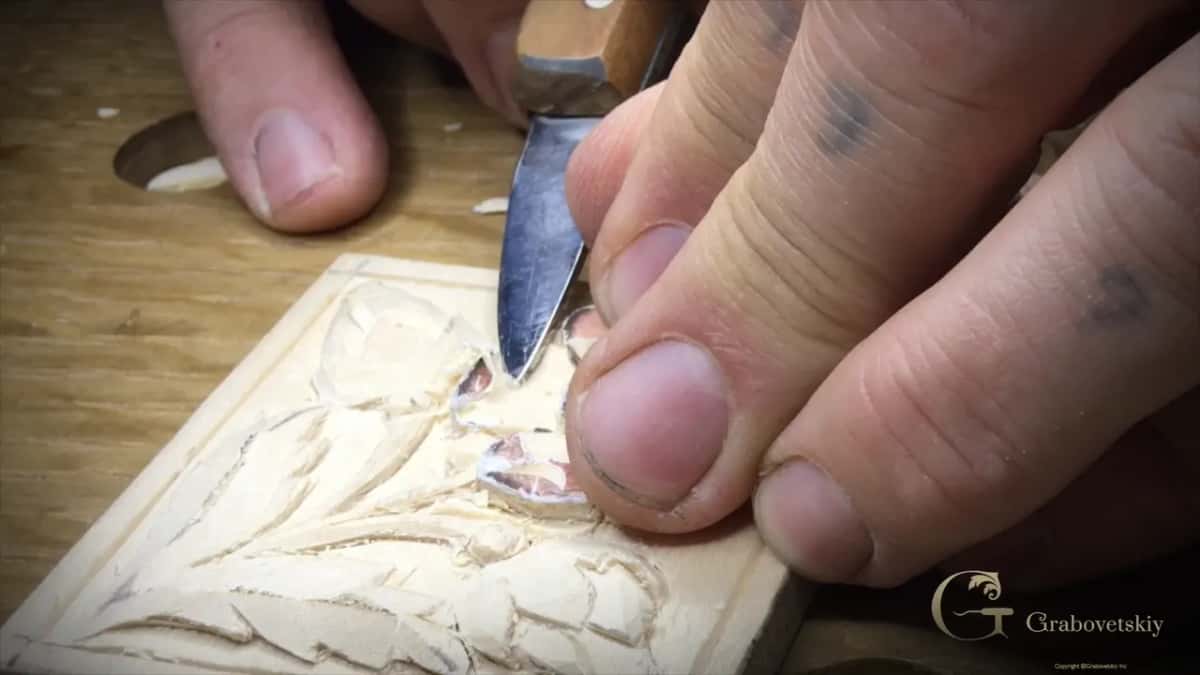
Do you turn the knife or turn the wood?
On the smallest lines of this rosette I turned the wood.
Near the end I needed tiny V lines. There are a couple of ways to do that. A small V tool would work, or if you don't have a small V tool, again, you're really not limited, and we can use just a knife.
This time it was not a straight-down pass, so I angled the knife a little. My first pass. Turn the piece, and my second pass.
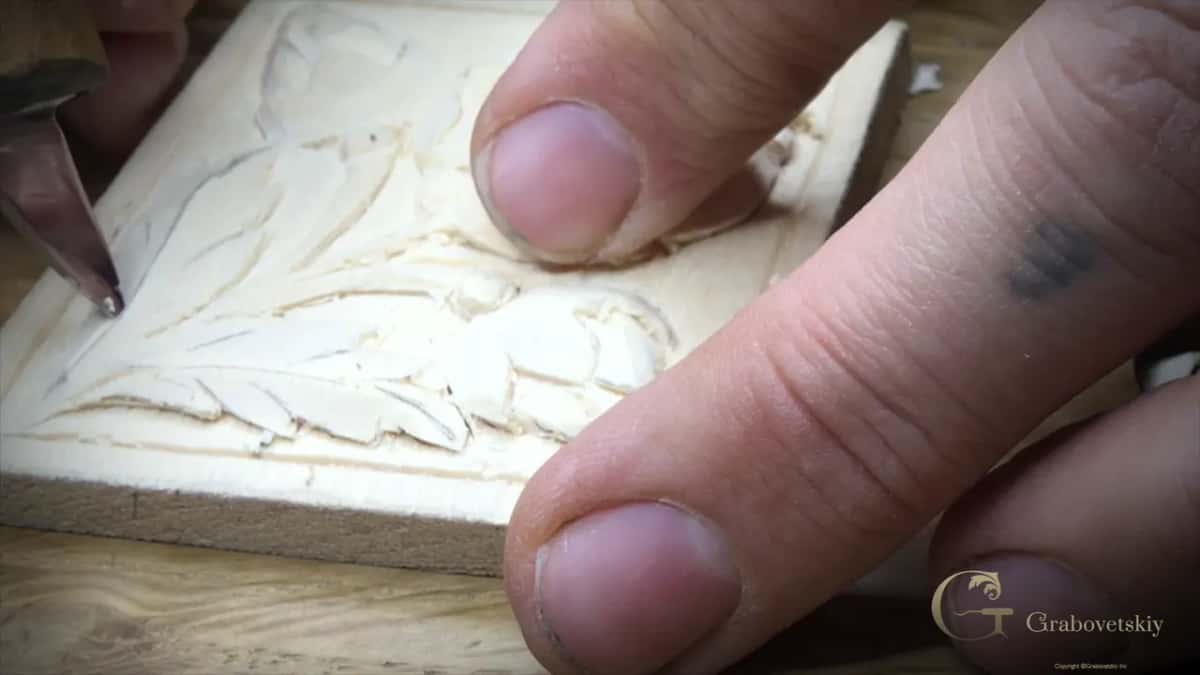
Earlier in part five, on the small beads round the center, I went one direction first, then came back and went the different direction, taking the corners off. The outside corners came off too, until each one would look like a round.
One of those beads chipped away. That's all right, I said, maybe right then I should not rush it too much. I had to hide the mistake I made, because I was probably just rushing, so I lowered the ring a little more on just that spot and set it again.
Every pass in this lesson, and where the blade went
Here they are in the order I carved them, with the part of the lesson where you will find each one.
| Pass | Direction | Part |
|---|---|---|
| Border of rosette | straight down on the line, turned each side | midway through part one |
| Stem going down | pushed outward, the longer knife, a number 12 | first minute, part two |
| Leaf middle line | pulled toward my body by that same blade | part two, near 2:30 |
| Stems and background | held really low and carried around the shape | near 5:30, same part |
| Second leaf group | outward again, with my finger behind it pushing | part three at 1:00 |
| Lip on flower | the small knife, worked the opposite way round | around 5:05, part four |
| Waste on flower | longer blade, one side and then the other | under a minute later |
| Bead corners off | one way round first, then the other way | midway through part five |
| Little V lines | tilted a little, one pass, piece turned, second | late in part five |
Which knives went into this rosette?
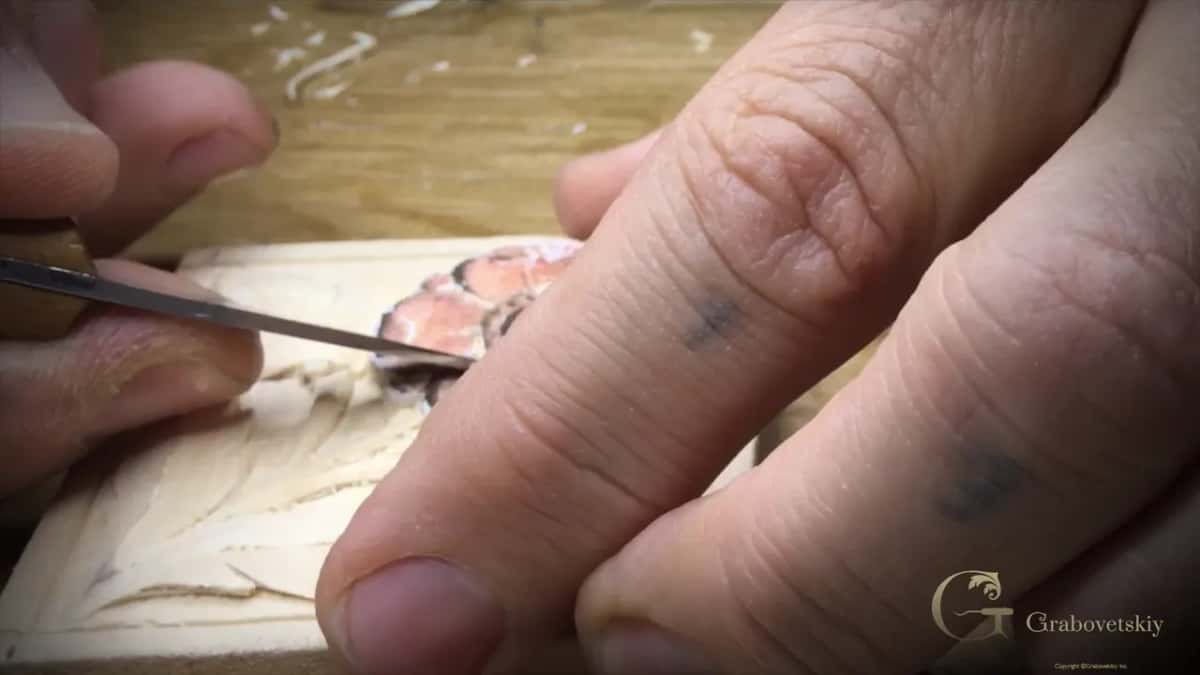
Two knives get named in this lesson, a Böker and a Pfeil. The tiny Böker did the border, and the number 12 by Pfeil, a little longer, did the stems.
In part four I went back and forth between a longer knife and a smaller one. Let me get number 12, little longer knife, I said, and it took the paper off and lowered the flower slightly for a rounder form. Then my previous knife, the smaller one, went around the shape. I was trying to do it really quickly, I said, but it's just a matter of refinement, and that same knife can be used for it. Just remove the small facets and whatever material you don't really need.
The dome in the middle of the flower was knife work too. I made the dome form, took the paper out, and then a small chip carving knife separated the middle point to make the inner circle before the outer ring went lower.
Later in part five I showed you a small Dockyard gouge on the tiny rounds as well. The easiest way, of course, would be the true round, I said, and with that gouge it was really quick. With the knife you can still make them semi round.
Where does one knife stop being enough?
When the project gets more complicated.
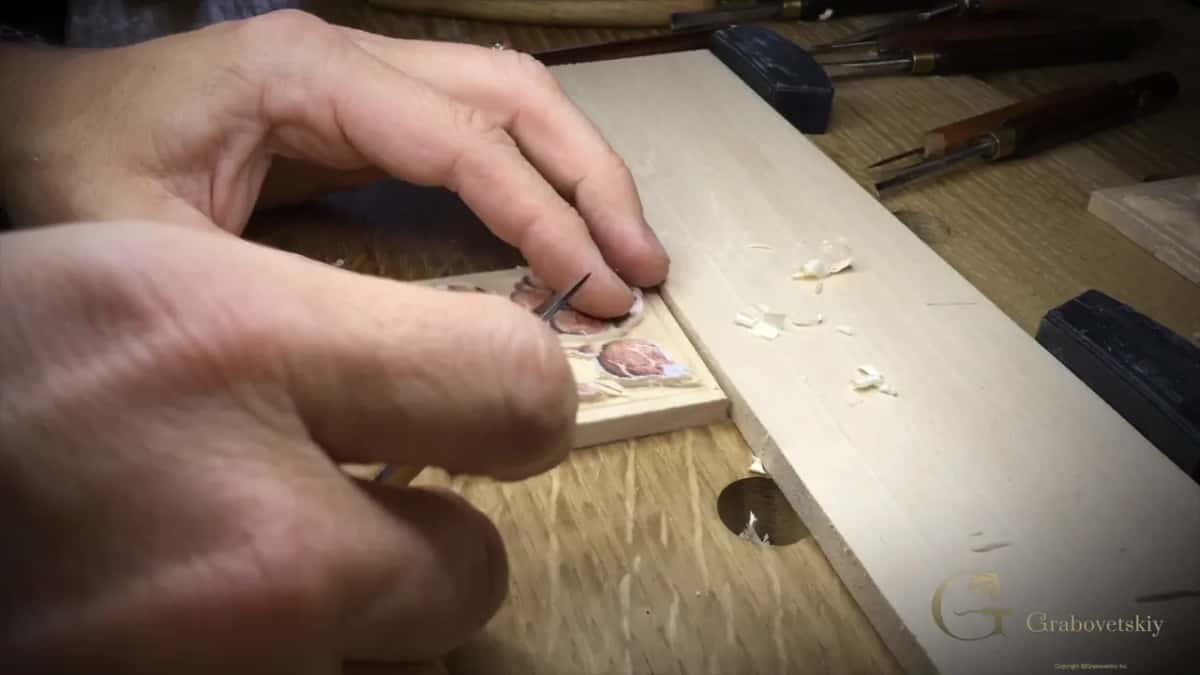
I would still suggest you buy good gouges, I said in this lesson, because on the more complicated projects your knife is not going to fly, and you are really limited with only a knife. But for the beginning, that's probably the number one tool. Pretty much, the knife is the main tool you're going to need, I said at the close of part two.
I'm trying to show you that it's possible to use just the minimum tools. You don't really have to have a thousand tools to get some really nice results. If you do have tools, of course, it makes it a lot easier sometimes to get to some areas. The tools themselves have their own course, All About Tools for Wood Carving.
Sharpening has one too, Carving Tool Sharpening. And Carving Plate with Butterflies is a whole course of knife work.
Where the rosette goes after this
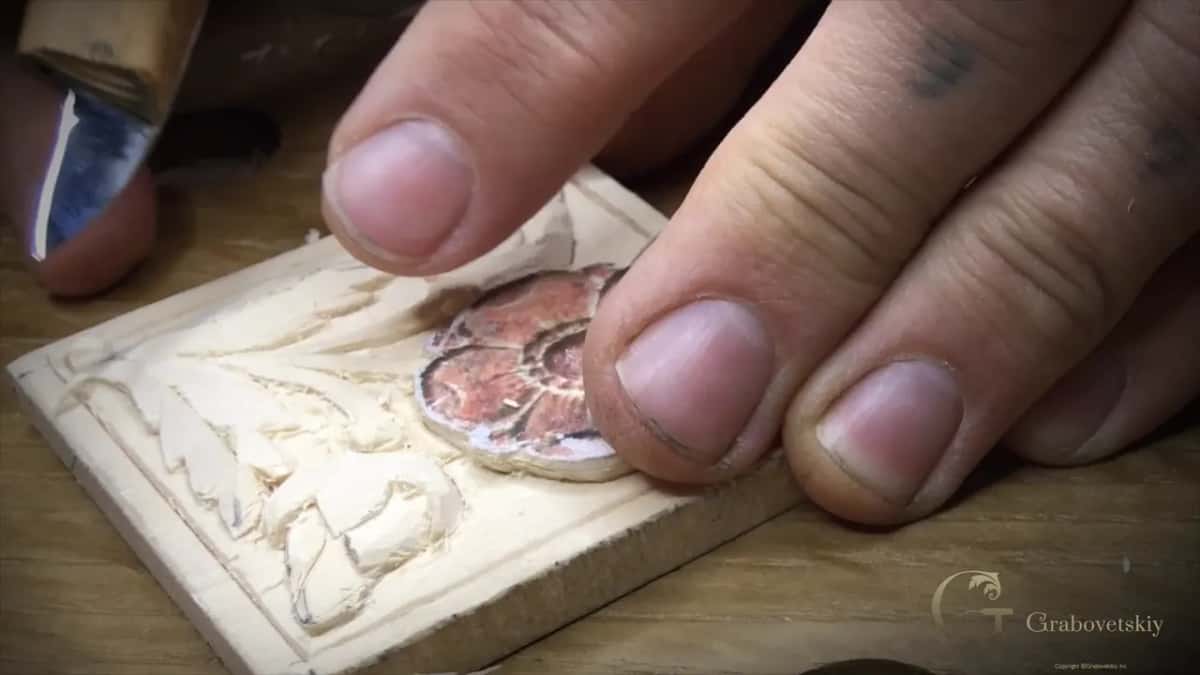
This rosette is done, I said near the end of part five. We used mostly a knife on it, and it came out pretty close to the original one.
The paper on this block came off at a low angle too, and how a pattern comes off is a page of its own in lesson 4. Lesson 5 comes right before this one, and lesson 7 right after.
If you have never held a knife over a block, First Cuts for Beginners is the place to begin, and the lessons map lays out the order. Who is talking to you on all of these is on one page about me.
Would you like to watch my blade go out and come back on one small leaf? Then come and carve lesson 6 with me. Tuition and Access sit on one plan page.
How it's done
- Let the block sit. Set the block down and let it sit, like the piece before it.
- Push the blade away to bring a stem down. Take a number 12 knife and push it outward, taking the stem part down.
- Pull it back along the middle line. Set the middle line of the leaf again by pulling the same knife toward you. Then take the background down until both sides of the line match.
- Hold the knife really low for the stems. Lower the stems first at a really low angle, then the ground, and go around.
- Come in from both sides on the flower. Work in from either side until your points meet, and take care, because you can always remove too much.
- Tilt the blade for the last lines. Tilt it a little, pass once, turn the piece, pass again.
Frequently asked questions
Can a carving knife go both ways on the same piece?
Both ways work, and on one small rosette in lesson 6 I did both. I pushed first to lower a stem, then pulled a couple of minutes later on the same leaves, and each time I said out loud which way the blade was going.
Which knife pushed the stems down on this rosette?
A number 12 made by Pfeil, which I called the longer one in part four. I named it on camera twice in part two, once when it pushed a stem down and again when I brought the stems down with the blade held low.
Where does your finger go when you push a carving knife away?
My finger sat on the back of the blade on the second group of leaves, and the push came from there. I said so as I carved, went outward on both sides, then brought the whole thing lower and rounder. The lesson shows nothing more about it.
What to carve next