
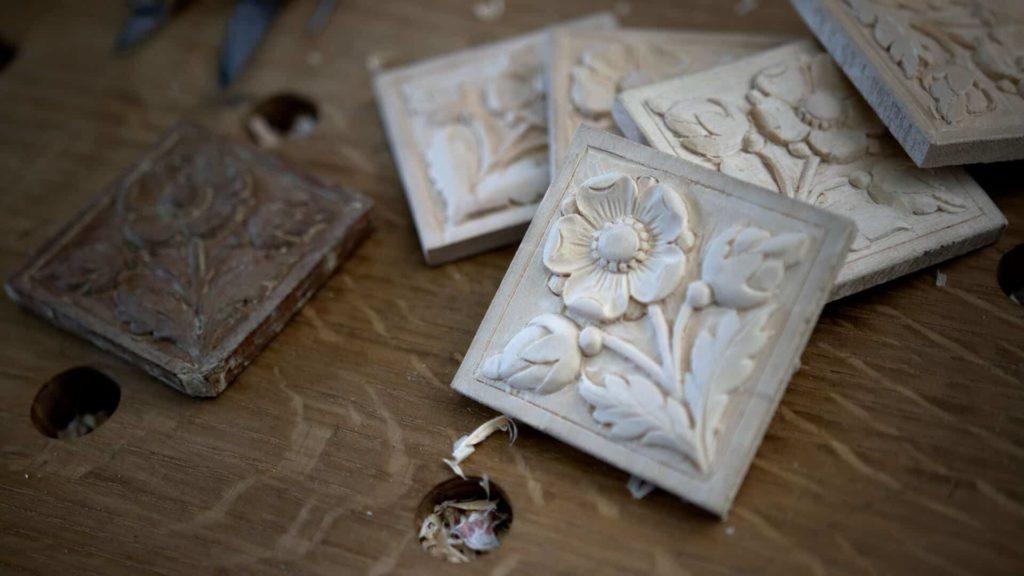
Alexander Grabovetskiy, woodcarver, School of Woodcarving · Published 2017
Is there a faster way to carve a relief rosette by hand?
Quick answer: A quicker relief rosette is one carved the production way I used on my last block. My short chip knife outlines it and guards the weak spots, a small router plane lifts the open ground in thin passes, and the knife clears around the leaves. Gouges stay my choice for accuracy.
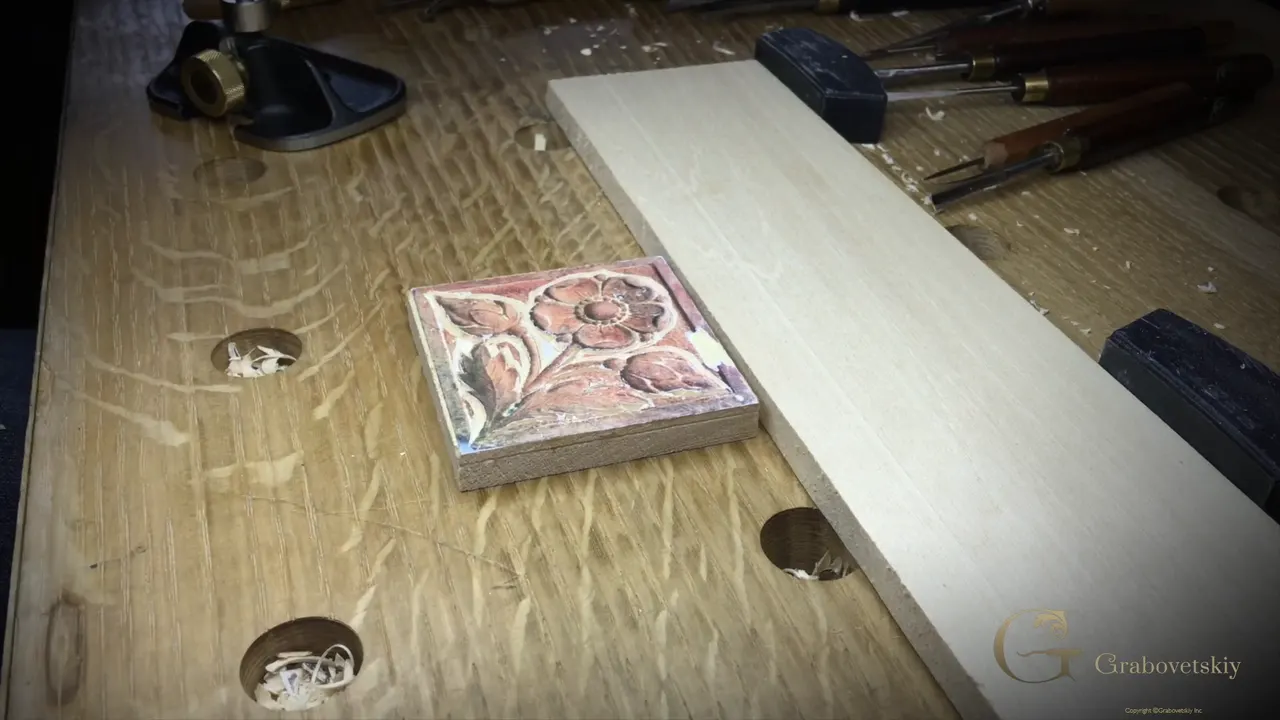
The faster way to carve a relief rosette is the route I took on the last block of my set, the one I call production carving. A short chip carving knife did the outline. It went round again for a channel, which I said only the weak spots really need, and later it cleared the ground between leaf and flower. A small router plane took the open ground off in several passes, the first about 1.5 mm (1/16 in), one small number 3 came out at the very end, and the bumpy ground stayed bumpy for the punch.
So this is relief carving. A flower stands on a flat ground inside a border, the block lies on the bench the whole time, and that makes it a different job from a knife project you hold in your hand.
Speed has a price, though, and I said so on camera. Gouges stay my first choice for accuracy.
Would you like the ground around a small flower cleared sooner? Would it help to watch which tool did which job? Then follow the last rosette of lesson 5 in the order it went on my bench.
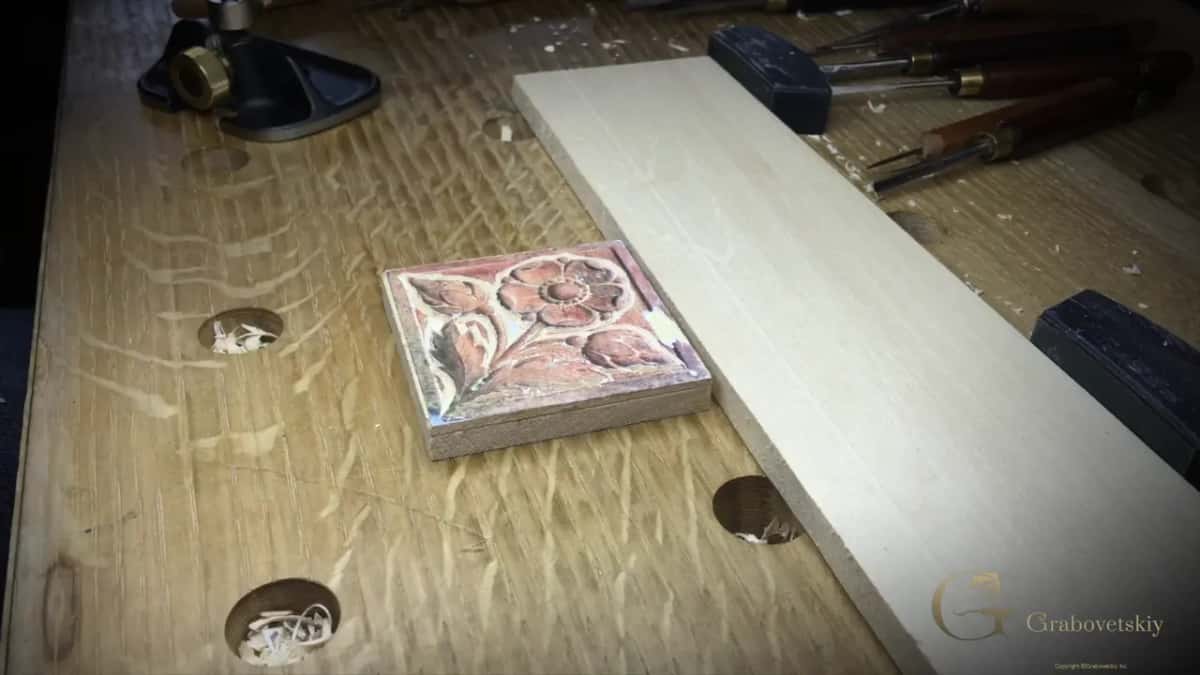
The last rosette, move by move
- The outline went straight down with a German knife, short in the blade.
- A channel went round a sixteenth of an inch off the form, though I said only the small, weak pieces really need one.
- Most of the open ground came off with a small Veritas router plane, a few thin layers at a time.
- The plane turned a little as it went instead of being shoved straight.
- Around the leaves, that same knife did the clearing, tipped one way and then the other.
- Bumps stayed wherever a background punch was coming later.
Why carve the last rosette a different way?
To show you that a full rack of gouges isn't the only way in. By lesson 5 most of my rosettes were done, with one block still waiting, and I used that block for another approach.
You don't always need every tool, the whole complete set. With simple tools, a chip knife and maybe one small gouge, you can still do this type of carving. It has some challenges. It isn't going to be the easiest thing, and I said that before I made a single mark.
One of you asked me whether it is a good idea to list the tools I use. On a simple project like this one, yes, it is easier, and the table further down shows the tools this rosette took in lesson 5.
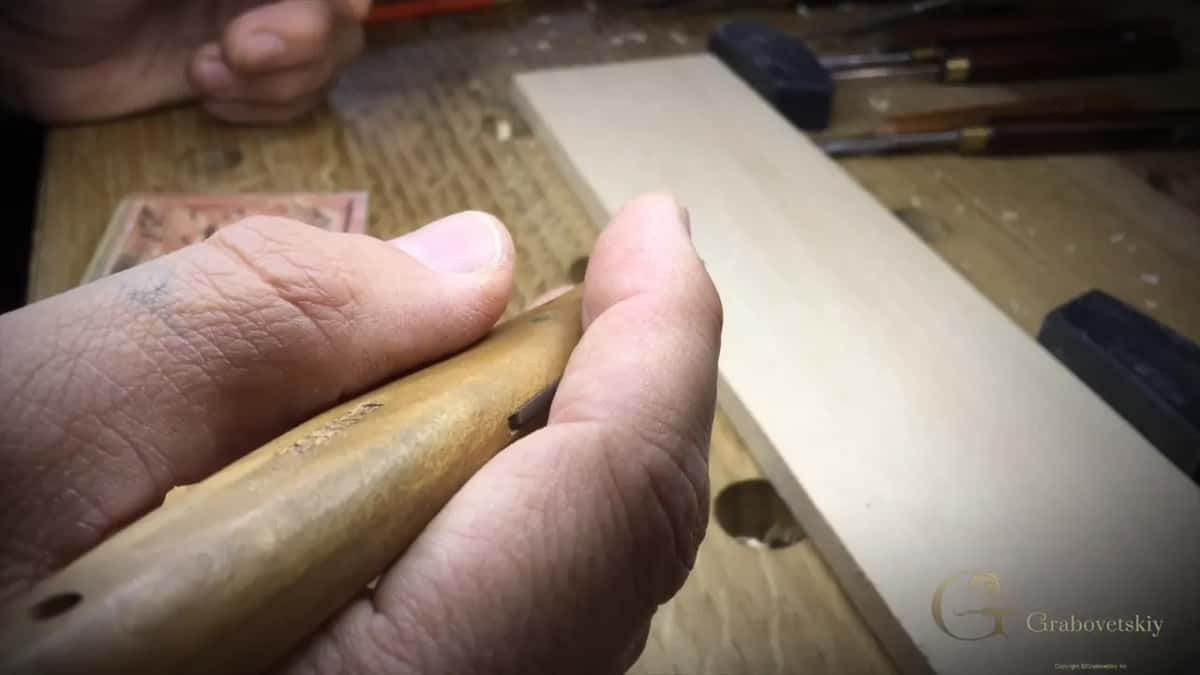
In the workshops before this one, gouges set the form. Here the knife did most of it. I called it carving on steroids, because it is a lot quicker, and the course page tells that part. If you don't know what steroids are, I said, that's a good thing.
Which knife does the outline on a quick rosette?
Mine was German-made, a short knife made for chip carving. I own several chip carving knives, and the Swiss-made number 12 is one I use a lot. For this one I picked another. Both are chip carving knives, and the only difference is the blade. This one runs shorter, and that makes it easier for me to get into some areas.
Straight down it went along the outline, and I did the inside shapes right away while I was there. I hold it like a pencil and pull it toward me, which makes the pressure easy to give.
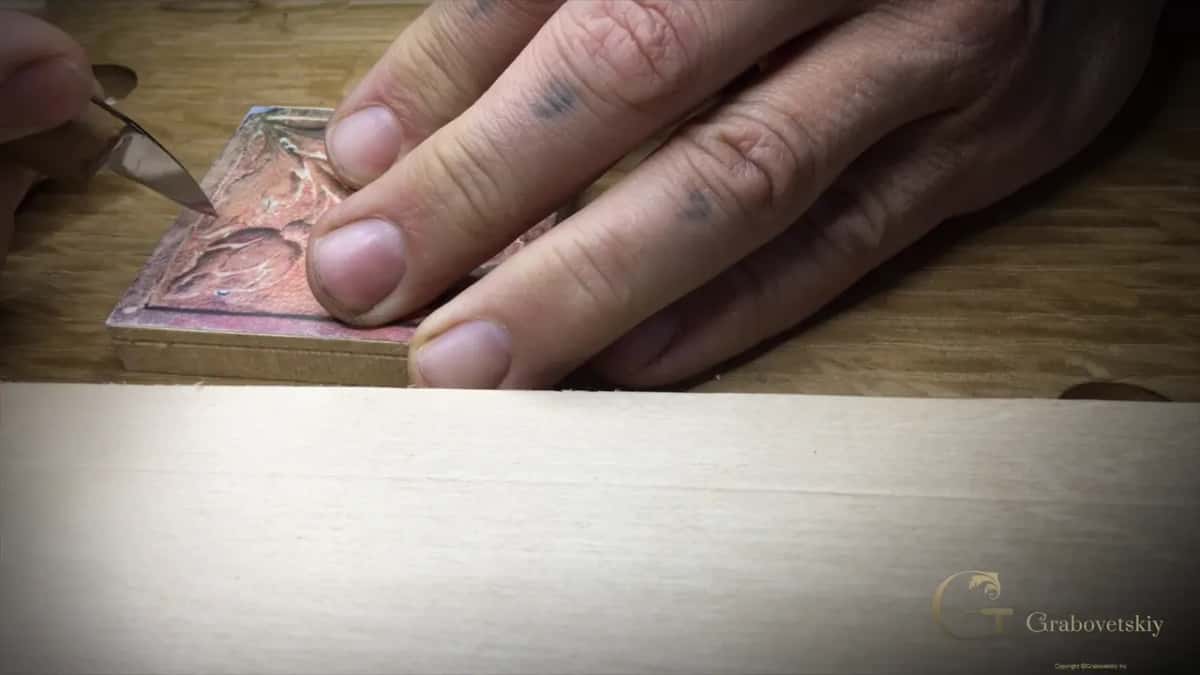
Basswood or limewood, the soft wood on my bench here, should give you no trouble. The knife just digs really nicely in it.
That makes the knife a really quick approach on simple carving, and I would call this rosette a simple carving.
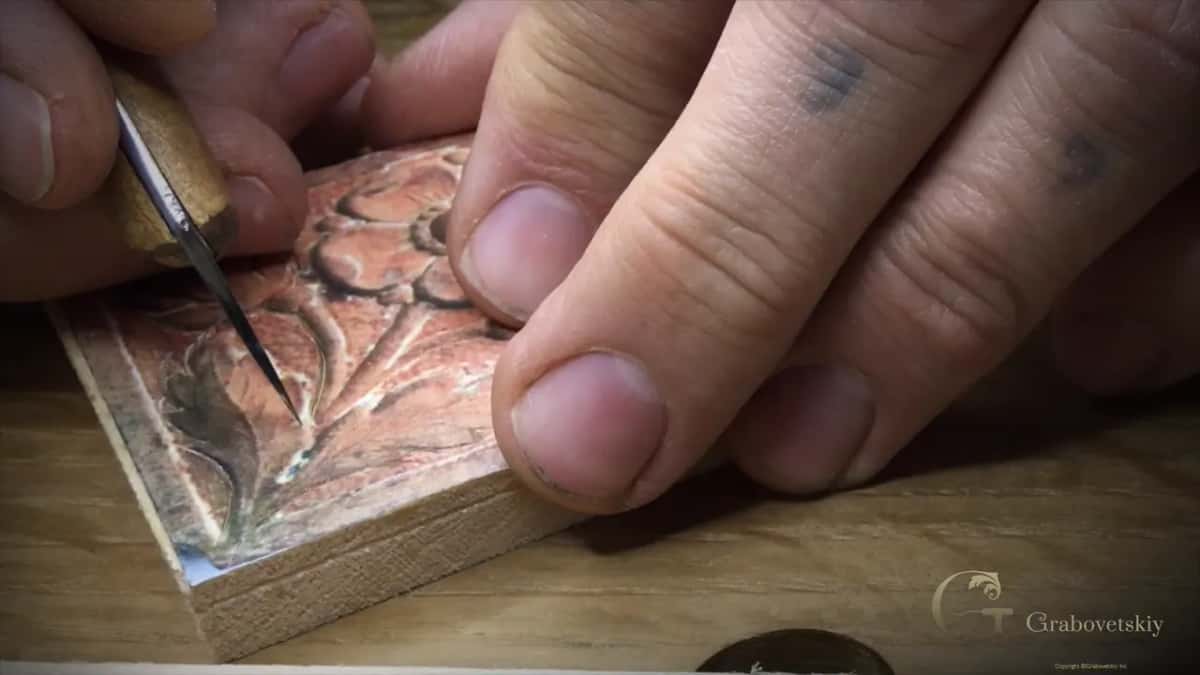
Do you need a channel right round the flower?
Only at the weak spots, I said, though I went round the whole flower anyway. With the outline done, the same knife went back round to carve what I call a channel. In most spots it isn't really necessary.
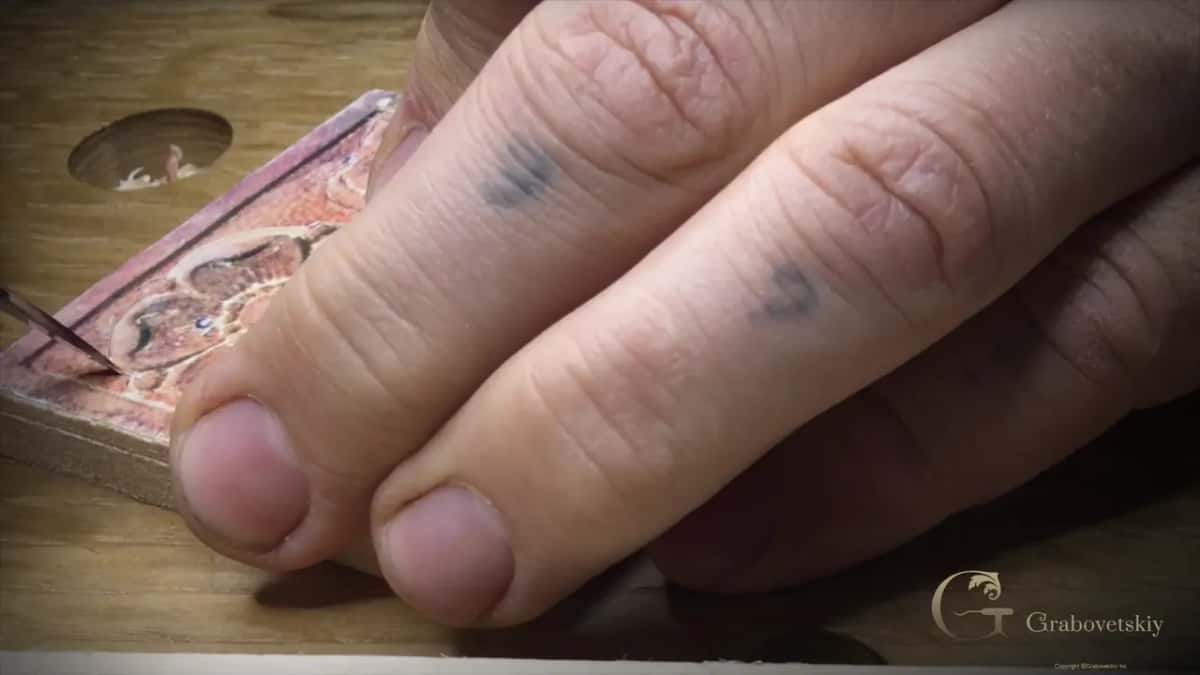
The weak spots are the small pieces of the design. I kept it about 1.5 mm (1/16 in) away from the main form. At one place I went a little deeper, then just went around the rest.
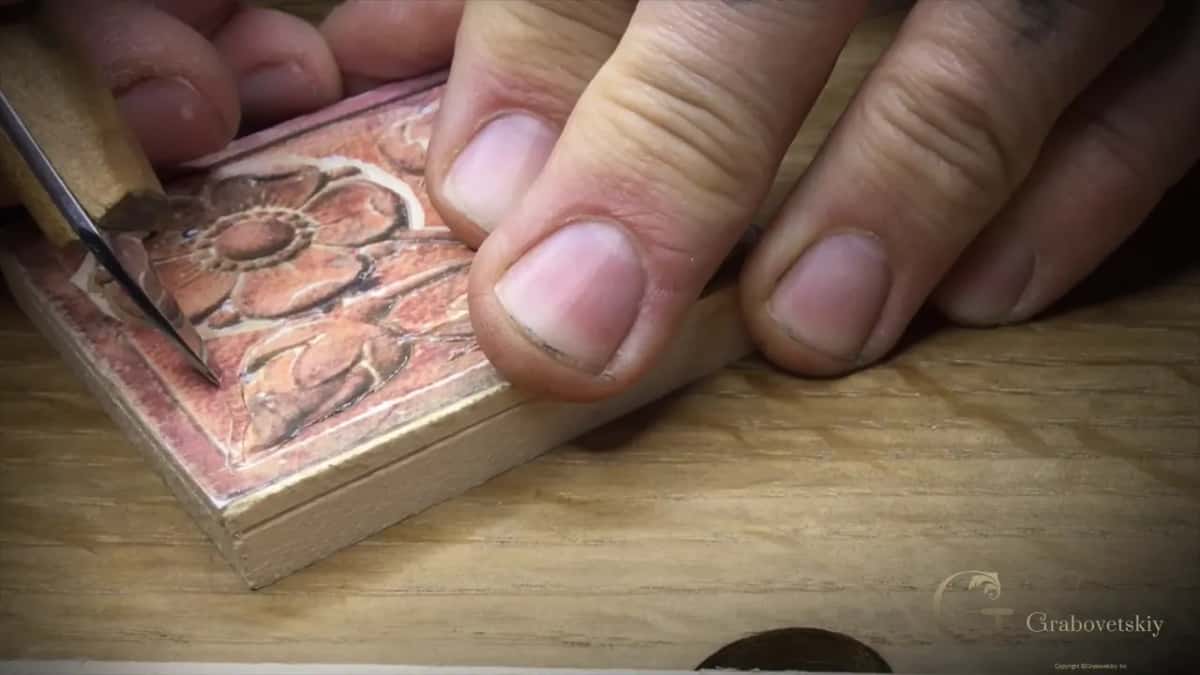
Can a router plane help you carve wood faster?
On open ground it did, and it is what I pick up when I'm in production mode. In the earlier workshops I showed you how to take the background out with just a gouge. That's a good approach. I found a much quicker way, at least for me. You can see how quickly the background comes off, and with ease.
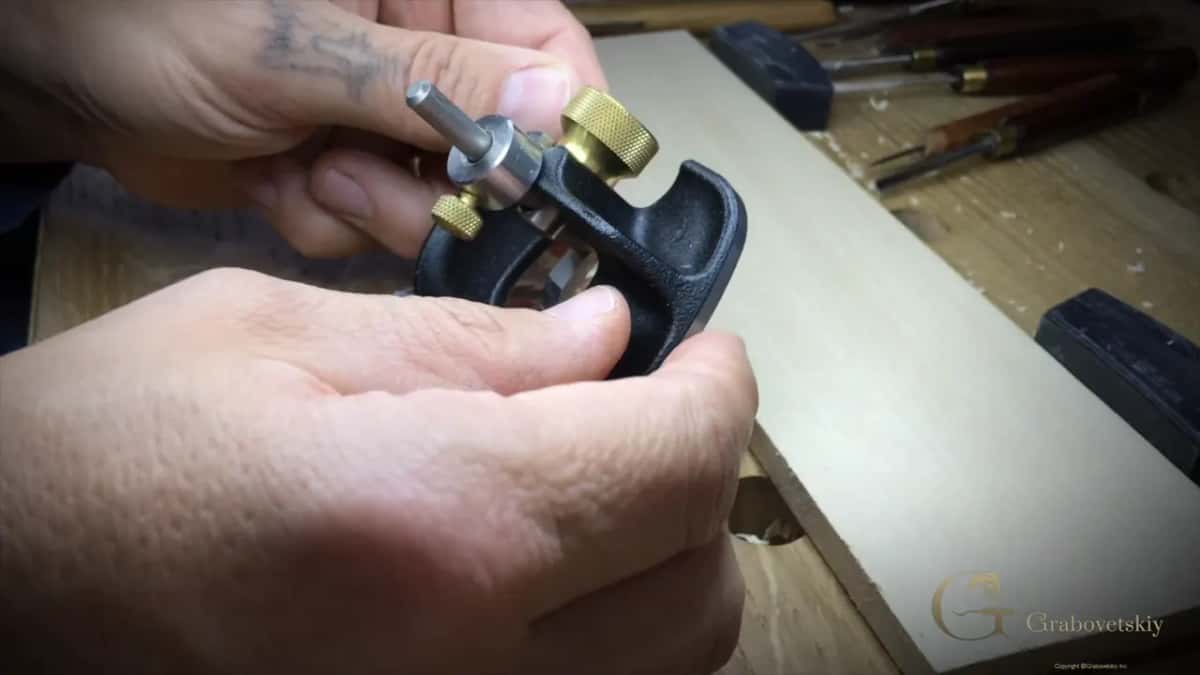
I have a big router plane and a small one, and this was the small Veritas. When we're carving by hand I'd rather not bring in any machine, and I mean a powered router. A router plane is still true hand work. For really nice results in relief carving I'd call it a must-have, a real friend of yours.
Later on, I said, you'd see me use it on furniture carving too, and a furniture panel workshop on the router plane shows one working with gouges on a much bigger board.
How deep does the first pass go?
About a sixteenth of an inch, and the full depth comes over several passes, not in one. My first line marks how deep the ground has to go, and the ring on the plane gets set close to that line before anything else, a step the course page already covers.
Then I released it and raised the blade, maybe a sixteenth, for the first pass. Against the grain or with it didn't really matter right then. What matters is that the pass isn't deep.
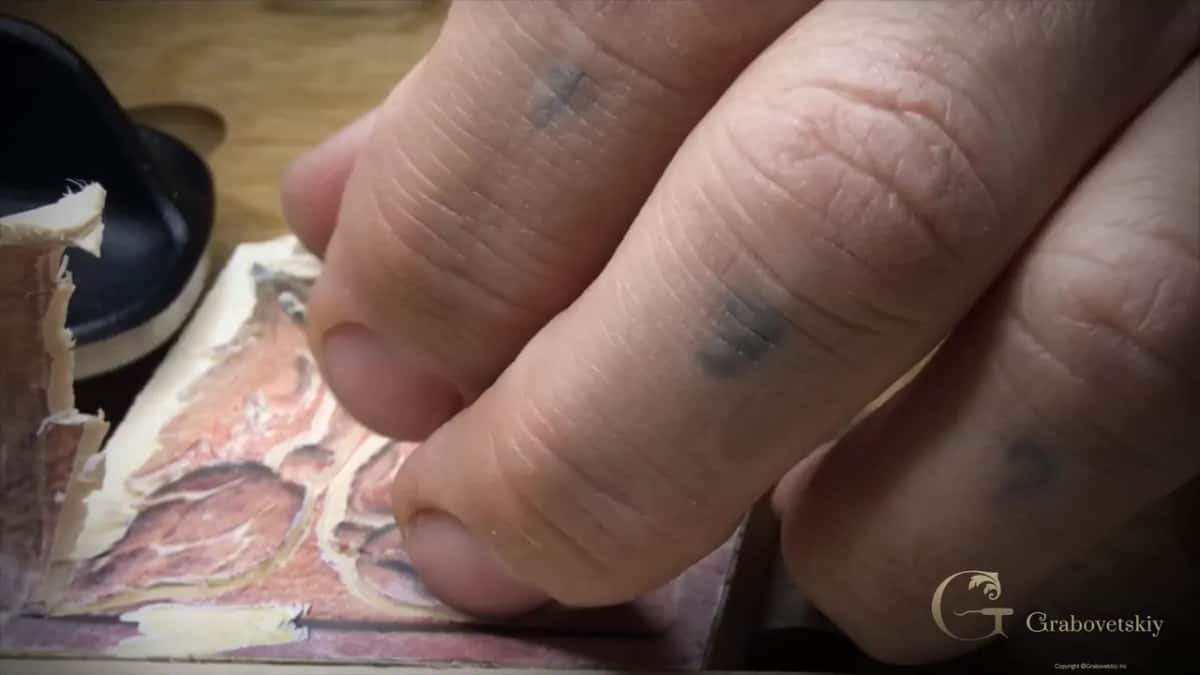
One spot scared me a little, so I made a preliminary cut there before the plane went over it. Near the middle the flat panel carries the sole, and that is really good referencing, and closer to the edge the spare block of the same height, takes over as the reference.
Once I thought I'd gone past a sixteenth on that pass, so I pulled it back a little. I don't want to overdo it.
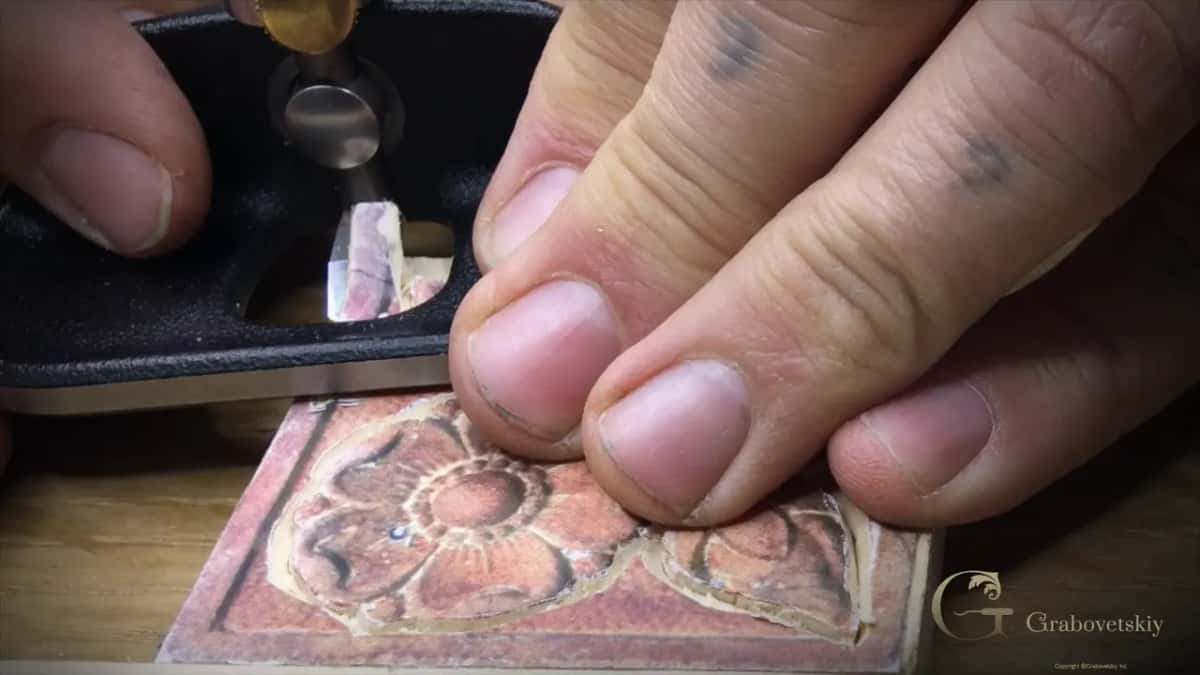
How do you move a router plane through the ground?
With a little turn as it travels, rather than one straight shove. Watch how I make my moves, I said, and you will see that I'm not just pushing all the way.
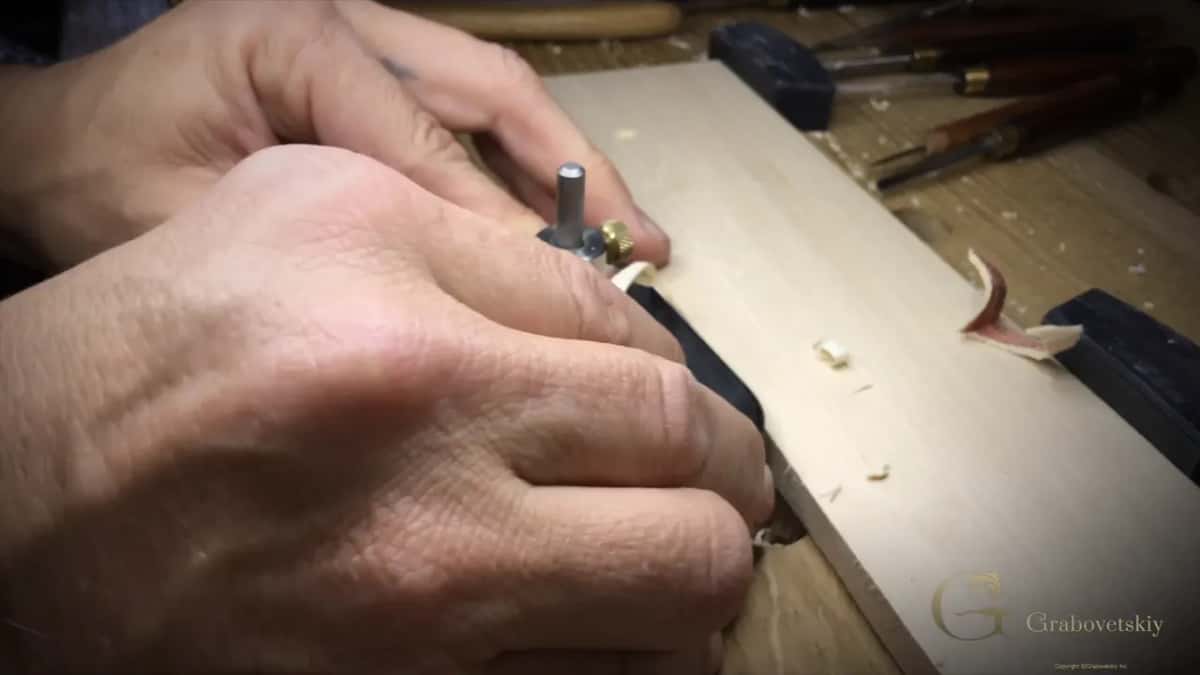
I stopped about a thirty-second of an inch, under a millimetre, above the line. That gap waits for a cleanup cut with the knife wherever my first outline wasn't deep enough.
The same goes for gouges and knives, which have to be really sharp, and then you get really nice clean results. Close to the outline I had to be really careful. Still, the ground came off quickly, and pretty much really clean, just because my tool is super sharp. Sharpening the router plane isn't that complicated either. For gouges and knives the course is Carving Tool Sharpening.
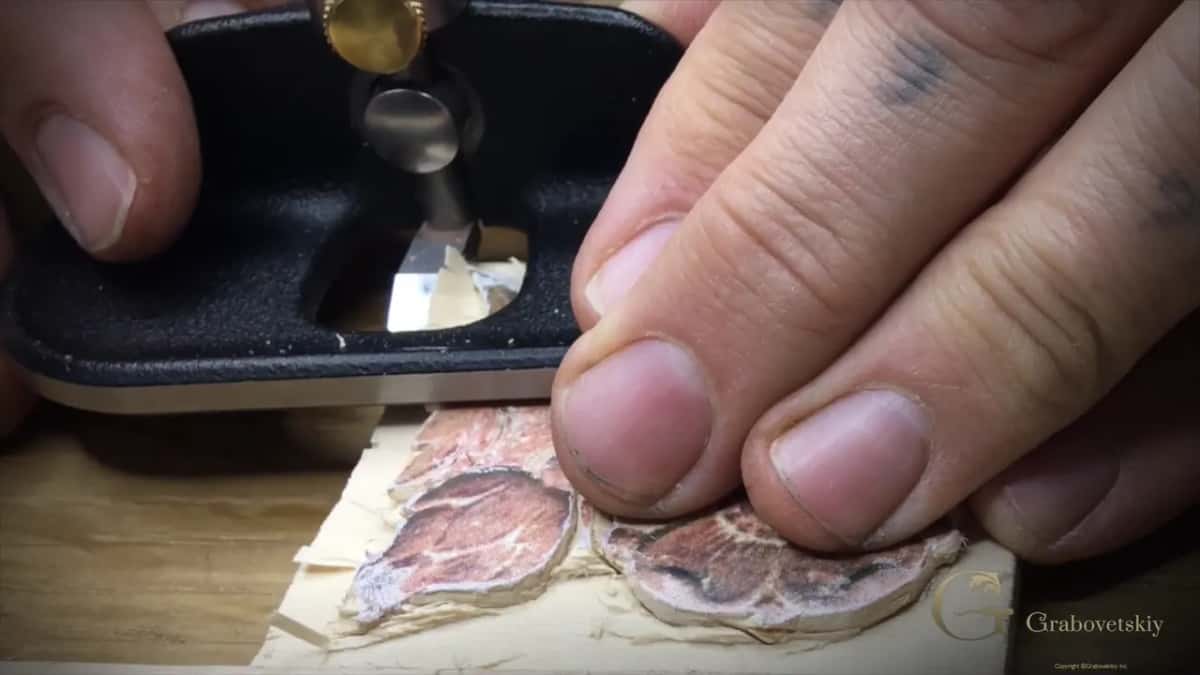
This small tool is a really good investment, and it isn't that expensive at all. You don't have to buy really expensive brands, although you're never going to regret it if you do. Of the plane makers I like, Lie-Nielsen has the more classical look and Veritas the more modern one.
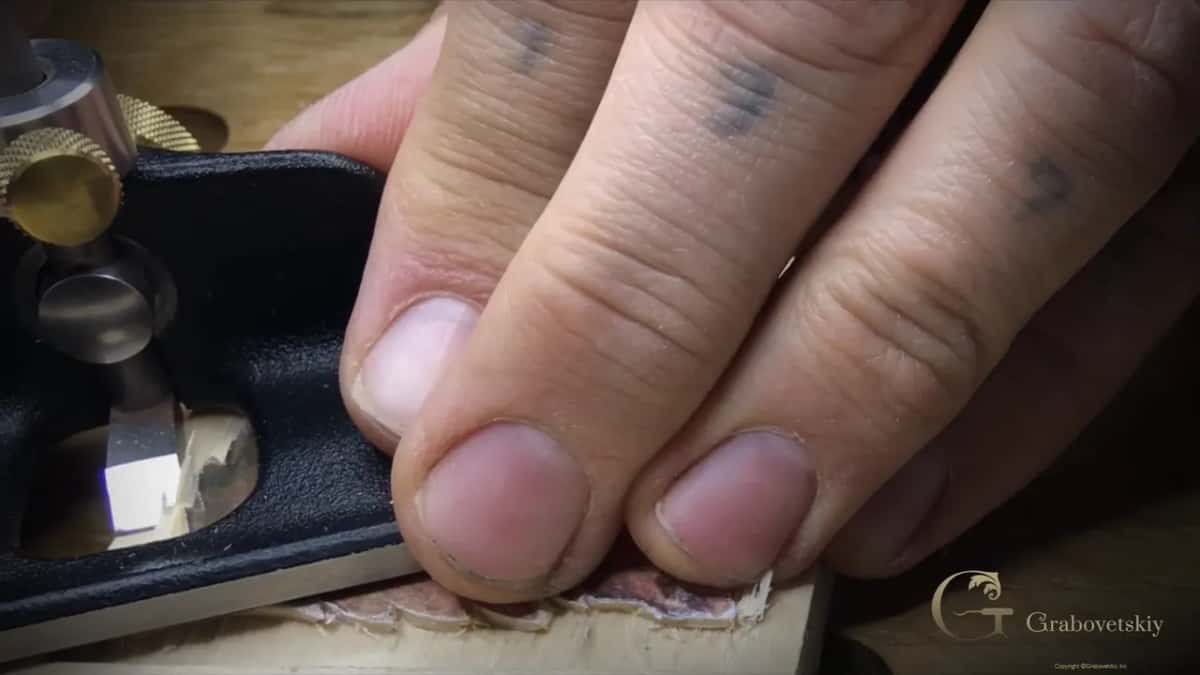
Which tool did which job on the last rosette?
Mostly a knife and a plane. Here is each job with my words from the lesson beside it, in the order the work went.
| Job | Tool | Part | Words |
|---|---|---|---|
| Outline of flower | German chip knife, short blade, straight down | first part | just straight down, make my outline |
| Channel round form | same knife again, a channel just outside | same part | it's not really necessary in most |
| Most open ground | small Veritas router plane in shallow passes | second part | I like that way much better |
| Moving the plane | turned a little rather than pushed through | third part | not just pushing all the way |
| Gaps among leaves | one knife, angled each way in turn | fourth part | I'm just using one knife now |
| Last tight spots | small number 3, light in the hand | same part | Punch will take care of it |
What does the knife do between the leaves?
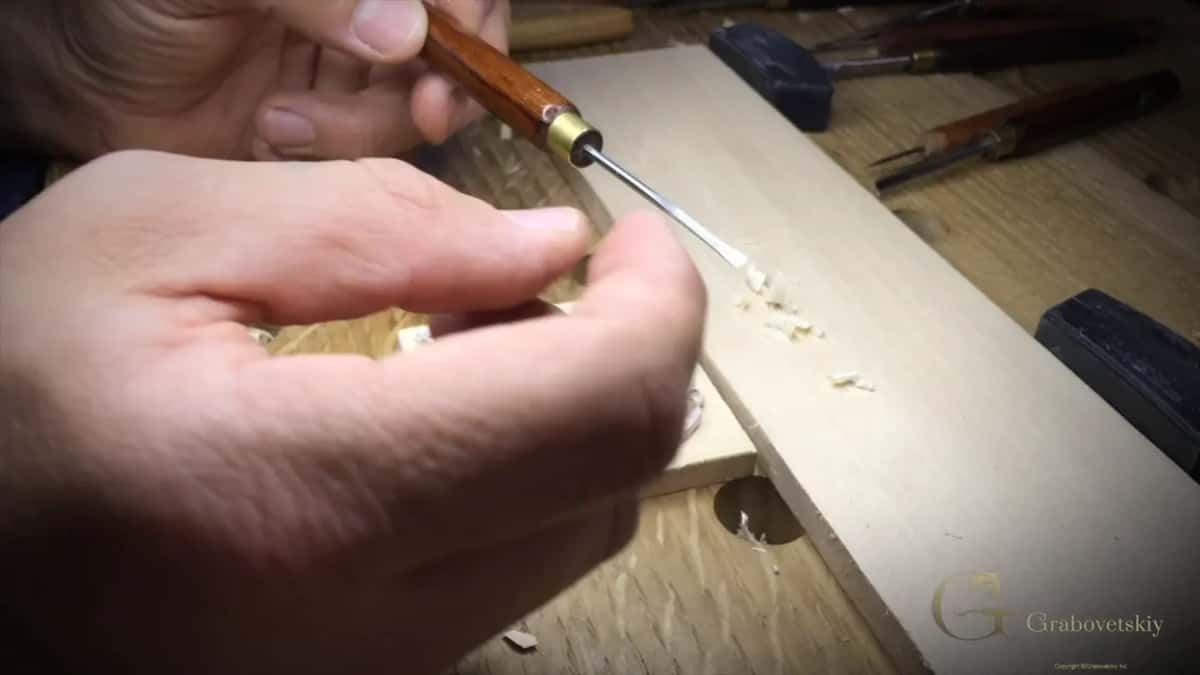
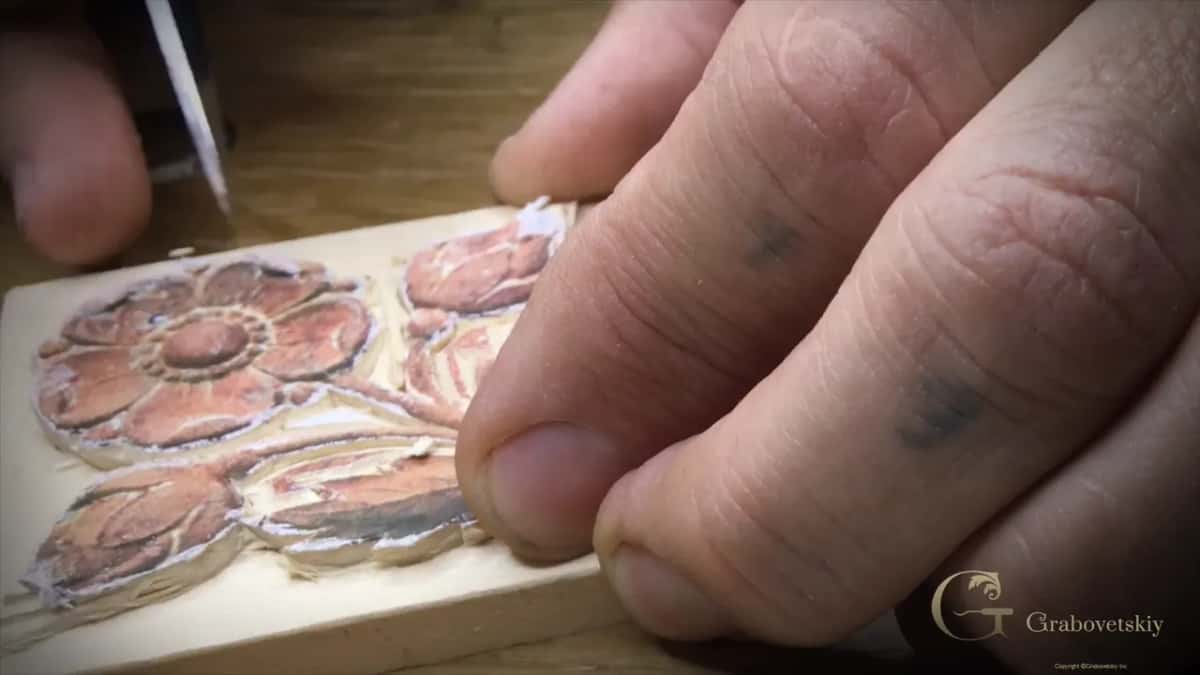
It clears the ground there, tipped one way first and then the other. I stayed with the same short knife. A longer one, the number 12, could have done it too, I said, and I kept the short one in my hand.
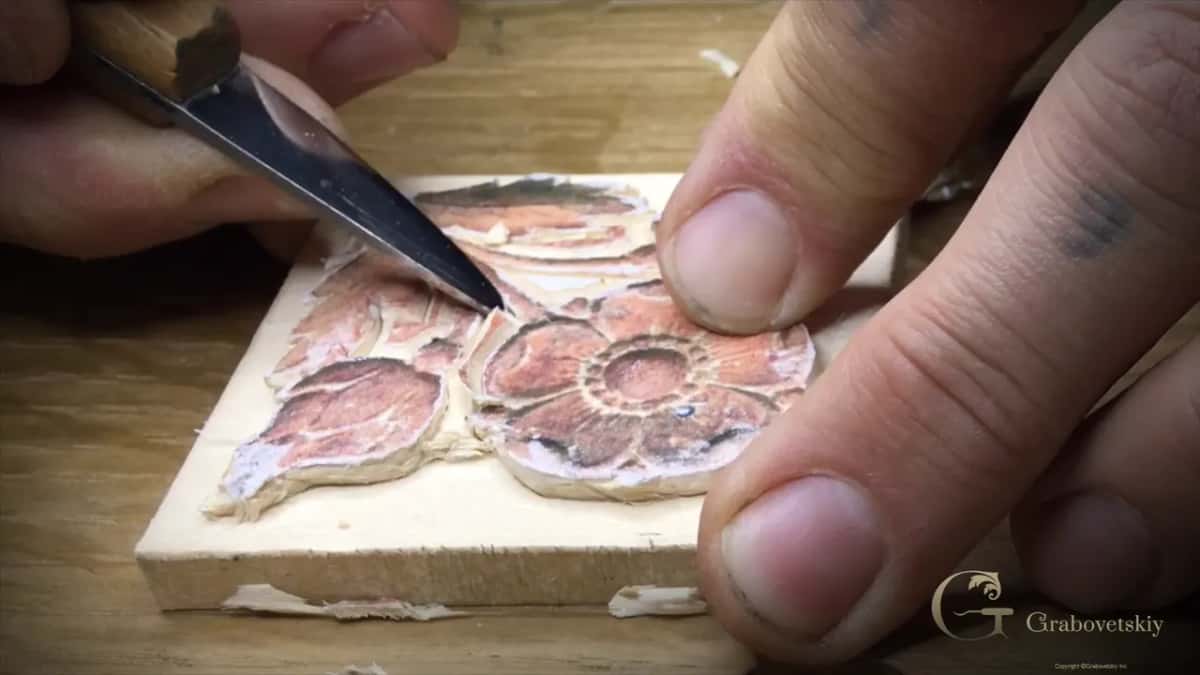
Whatever I could reach, I just removed with that one knife. A bumpy, wavy ground there didn't scare me, since a background punch comes later, and punching was really common in the history of carving.
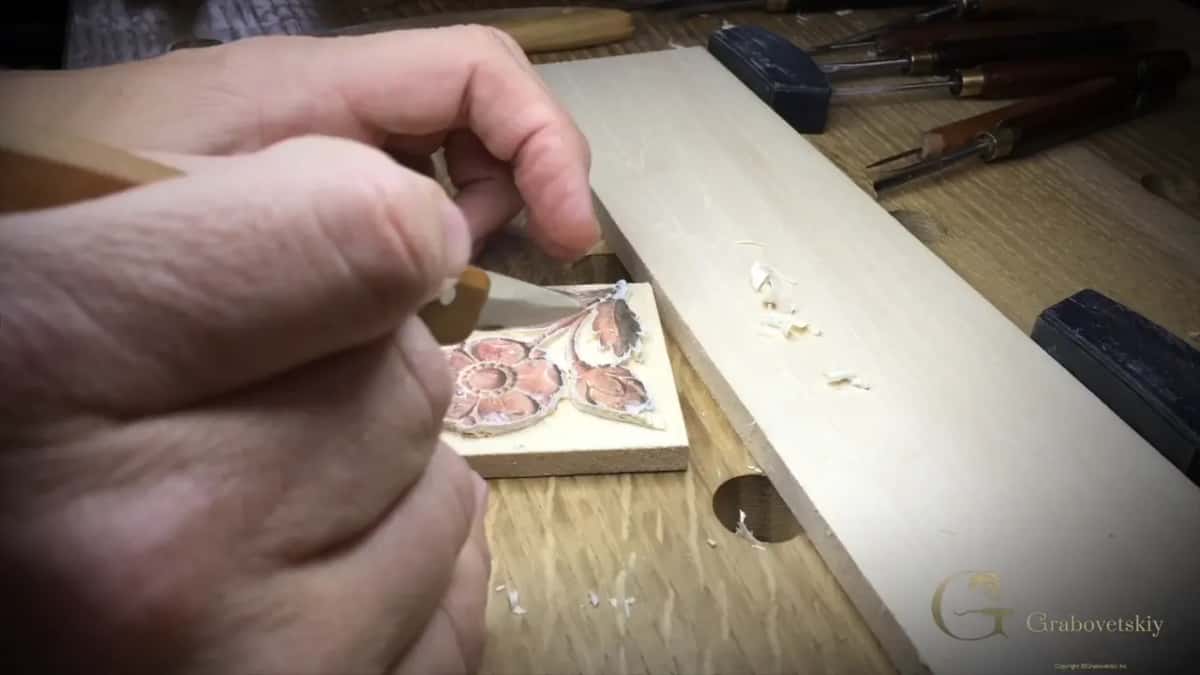
When the knife ran out of reach, a small Ashley Iles number 3, one of the micro carving tools Peter Benson designed, dropped the last of that ground, and I left it like that for the punch. A little cleaning on one side, and I said that is good.
What does the quick way cost you?
A little accuracy, by my own measure. I said it in the first part of the lesson, "I prefer gouges. I think that's actually more accurate and looking nice when you're using gouges."
I like the plane way much better in many cases, which is not every case, and using a knife instead of a gouge on a relief has a page of its own.
Time is the other half of it. Carving is time and volume, I said, and when you're doing production you sometimes wonder how much you should charge, which whether you can make a living from carving takes up properly.
When I learned to carve I didn't think it would be my career. A slow trade, I believed, so nobody could make money at it, and that was a preconceived idea. It turned out to be an excellent way, if you can do something others can't.
My custom kitchen business showed me that, where a little carved detail on a kitchen hood, some grapes or an acanthus leaf, made a big difference against cheaper manufacturers, especially when people couldn't find that carving anywhere else.
Where did carving first keep me going?
In a Soviet jail, when I was 19, there for my beliefs and not for any crime. You can't even compare it to jails in what I call the civilized world. It was a time when nobody knew what the future would hold. The Soviet Union came apart while I was inside, and the government didn't pay much money anymore. People got nothing from any of their employers.
Let me tell you a story. One officer there was a major whose job title was propaganda, and he found a way to make some money. He knew I was a carver, and a really good one. His name was Yuri, and I had to carve small jewelry boxes for him, for free, of course. They don't take long at all, those small boxes. I carved some furniture in there too, mirror frames and coffee tables, but the boxes were what the administration loved most.
Time in that jail taught me a lot more about life and about human relationships. I don't look at myself as someone special just because I was in jail. It wasn't easy. Not everybody survived there, but I did.
Is the quick way right for every rosette?
Often, for the open ground. The form I still prefer to carve with gouges. I have carved since childhood and I'm still learning, still watching how other carvers and woodworkers do their tricks, and I really like it. I love woodworking in general too, building furniture and so on.
Back then, teaching people how to carve was new for me. A lot of times I assumed most of you already knew the basic rules of carving, and apparently I was not right.
In this lesson I also told you some of you had emailed asking for a course for beginners, and that I would add some, made to be useful at any level. Although it would be called a beginner course, I would not put it in just that category. The beginner course here is First Cuts for Beginners. My own colleges were engineering, then marketing, then a theological university, and I didn't go to any of them to learn to carve.
The next lesson is Carving Flower Rosette 6. How the ten blocks got their patterns is in the first lesson, How to carve a rosette in wood follows one rosette on its own, and which sweep does which job is the whole of All About Tools for Wood Carving.
Would you like to watch the plane clear that ground, pass after pass, right up to the outline? Then come and carve the last rosette with me. Tuition and Access sit on one plan page.
How it's done
- Outline with a short chip knife. Hold the knife like a pencil and pull it toward you, straight down along the drawn line, doing the inside shapes as you pass them.
- Guard the weak spots with a channel. Go round with that same knife just outside the form, about a sixteenth. The weak little parts of the flower are where it matters most.
- Set the router plane ring. Bring the ring close to your depth line so it stops the plane at the final depth, then raise the blade roughly a sixteenth for pass one.
- Take the ground off in passes. Turn the plane slightly as it travels instead of pushing it straight. Pull back if you went too deep, and stop just above the line.
- Clear the ground by the leaves. Angle the knife in one direction, then the opposite one, and remove whatever it can reach.
- Leave the rest for the punch. Drop the last tight spots with a small gouge and let a bumpy ground stay where a background punch will follow.
Frequently asked questions
Can a chip carving knife do the outline of a relief rosette?
On the last rosette of my set it did, straight down along the drawn line, with a German-made knife whose blade is shorter than my number 12. Soft basswood or limewood lets the blade dig in nicely. For accuracy I still prefer gouges, and the earlier workshops show them.
Does a router plane work on a small rosette?
Mine did, a small Veritas with its ring set near the final line, then lifted a sixteenth for pass one. More passes followed, and I turned it slightly as it travelled. While those stayed shallow, grain direction hardly mattered, and the floor came away quickly and clean behind a super sharp blade.
Where should a channel go before you lower the ground?
Beside the weak spots is where it really matters, I said, meaning the little bits of the pattern. My knife carved it roughly a sixteenth outside the main form, a bit deeper at one place, and I went round the rest anyway. Most spots really don't need it.
What to carve next