
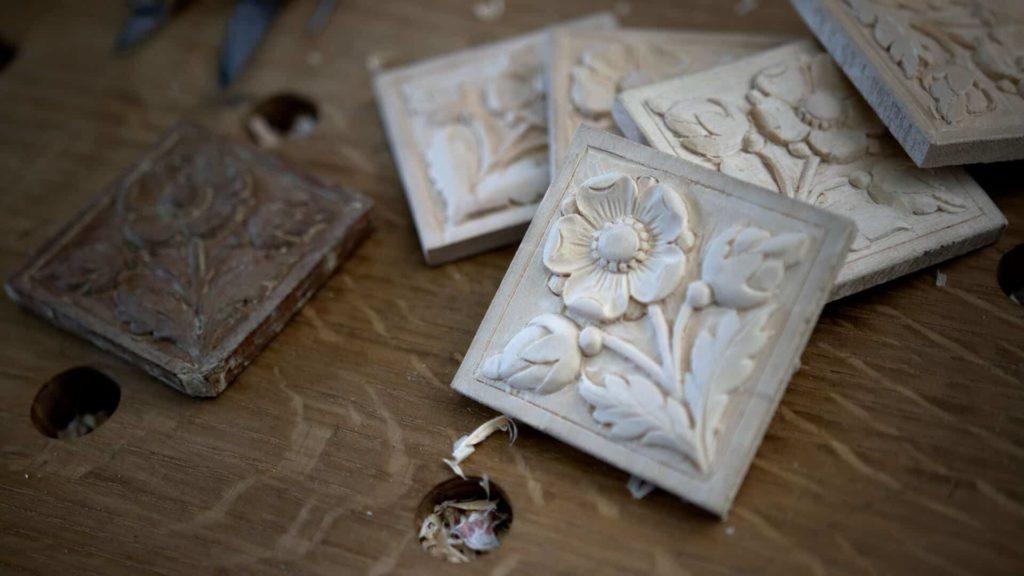
Alexander Grabovetskiy, woodcarver, School of Woodcarving · Published 2017
How close should a carved copy be to the original?
Quick answer: Closeness in a carved copy is judged with the original piece right beside you. On my flower rosette I read its 5/32 inch border, about 4 mm, a ground a touch deeper inside, one shape dropping on a single side and even a small gouge mark, then compared my copy part by part.
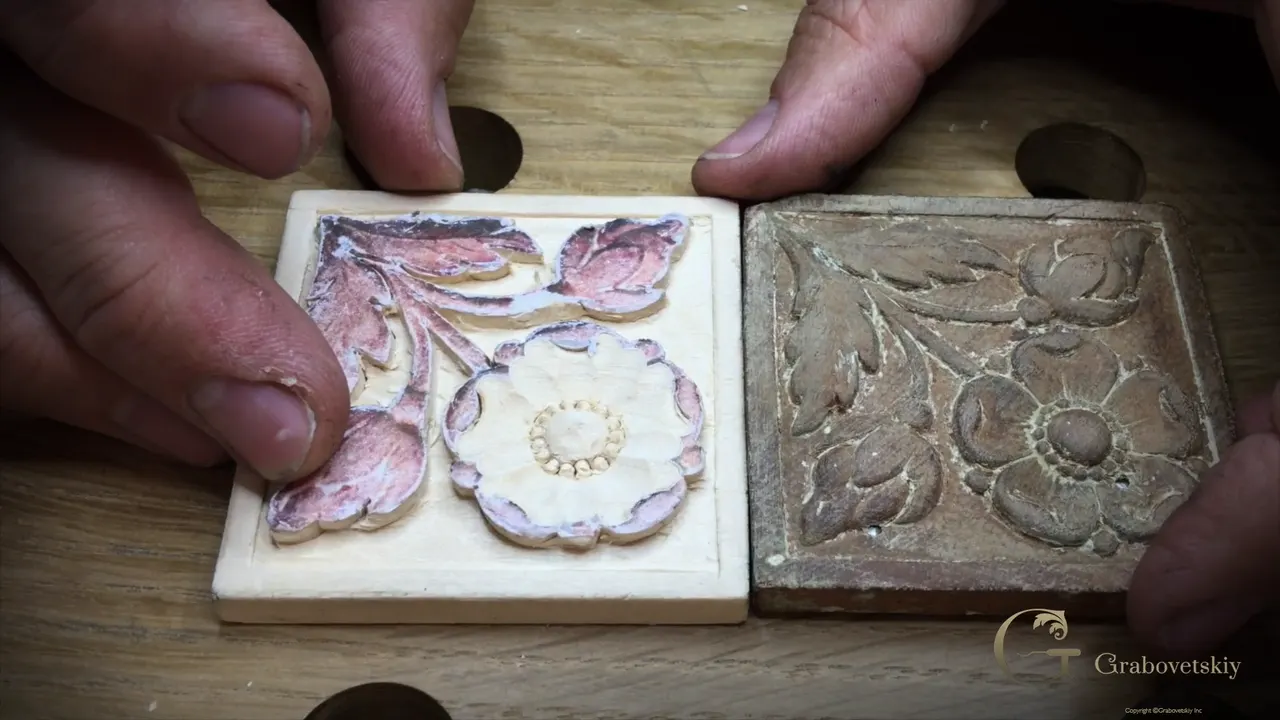
A carved copy is judged against the original piece, and on this wood carved rosette I did that again and again. I had the original right there with me while I carved. Its border, the depth of its ground, one shape that drops on a single side, and even one mark left by a gouge were things I read off it for my copy, one reading at a time.
You already know a replica should look like the thing it copies. Fine. The hard part is knowing which things to look at, on a rosette two and a half inches square, 64 mm, with a flower standing in it. Below is each reading I took off that original, the lesson where I took it, and the words I used when the two sat together on my bench.
Can you see the difference between two pencil lines drawn a hair apart? And could you turn a small block in your fingers and look at it from the side? Then you can do the checking I did on this rosette, and a lot of it I did by eye.
The six readings my copy had to match
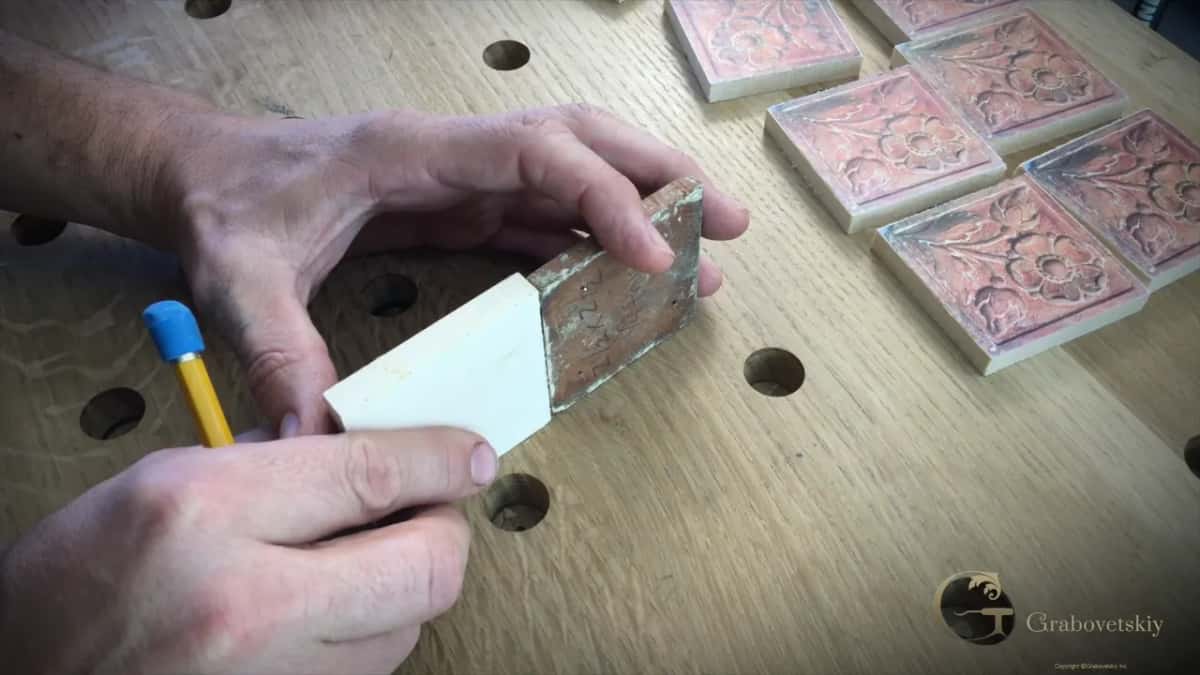
The border, 5/32 inch on every side, about 4 mm, read off the original with my aluminum scale.
The ground on the inside, a little deeper than out at the edge, between a thirty-second and a sixteenth.
One shape where the original drops fully on one side and not on the other.
A gouge mark too.
A raised middle line on the leaves, because the original's stands higher too.
My verdict on the knife rosette at one point was close, but not there yet.
Why carve with the original beside you?
In the first lesson it gave me the depth before anything else. I took the original, stood it against my fresh block of basswood, eyeballed it, and nicked a mark with the knife. About a quarter inch, plus a thirty-second. That's 9/32 inch, a little over 7 mm, and a marking gauge carried the line right round the block so I knew where not to go below.
The pattern came from the original too. My phone took a picture of it straight down, and I scaled it to the real size, so one inch on the paper is one inch on the wood.
After that, the original kept working for me. Each new curve needed its own gouge, and I tried tools until one fit. Once one did, it stayed out on my workbench for all of those rosettes, so I would know exactly which one I used. I have to check, I said, and I do have an original with me right here, so I can check which profile is going to fit better in this section. For one section I wondered if a number 7 would do, and the one that fit was a number 6, only a quarter inch wide, about 6 mm.
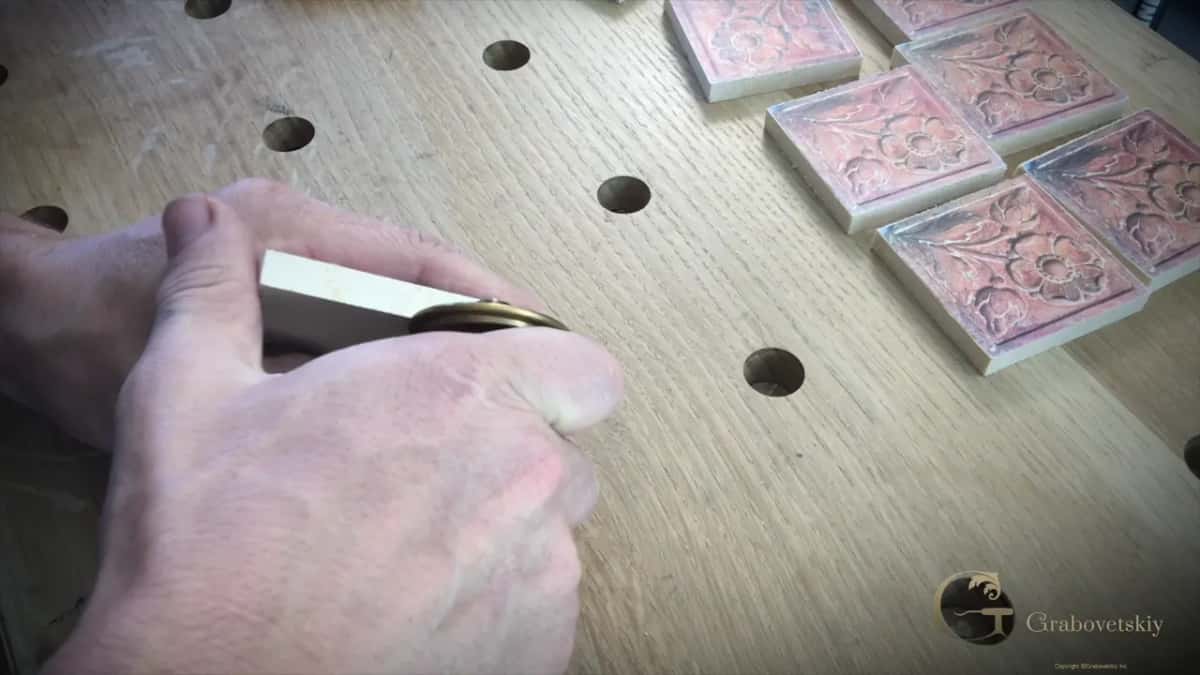
One spot wanted a knife instead. On one side the outline has a small movement in the opposite direction, and that part needed real care, I said. So I used a number 12 knife from Pfeil there. That knife, made for chip carving, set my outline like the original one.
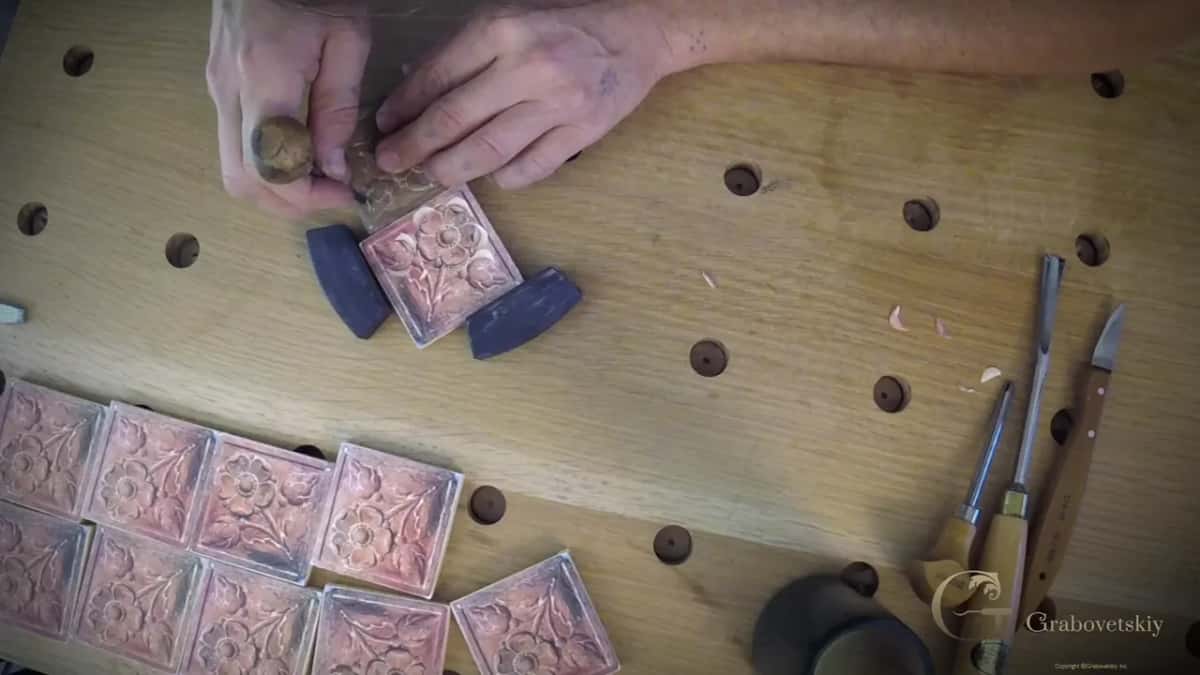
What does the border of a wood carved rosette have to match?
The width, on all four sides. I read the original with my aluminum architect's scale, the one I use a lot, because I can put pencil marks right on it. Five thirty-seconds on this side. Same on that side. Every side the same, close to 4 mm.
I could just go off the original, since I had it there, and I let you know the number anyway. Once the knife had followed my line on all four sides in workshop two, I said so it does match original, the same 5/32.
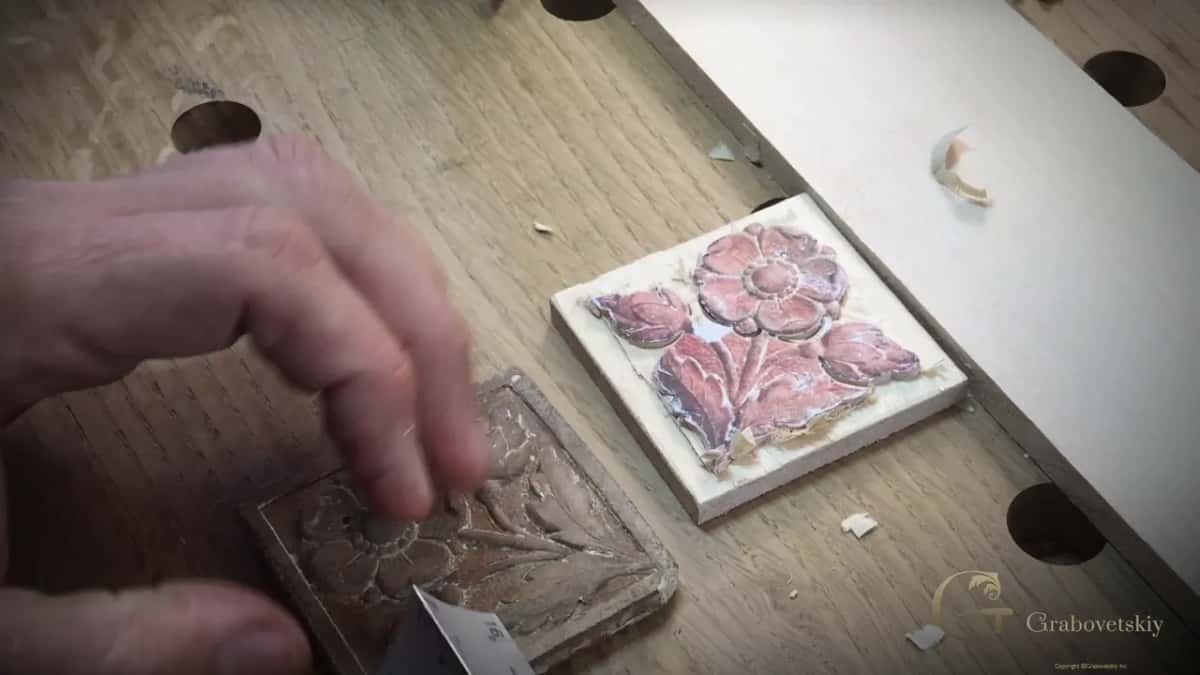
The border has one more number, and it comes from the last lesson. Its background, on the original piece, sits about 1/32 of an inch below the border, a bit under a millimeter.
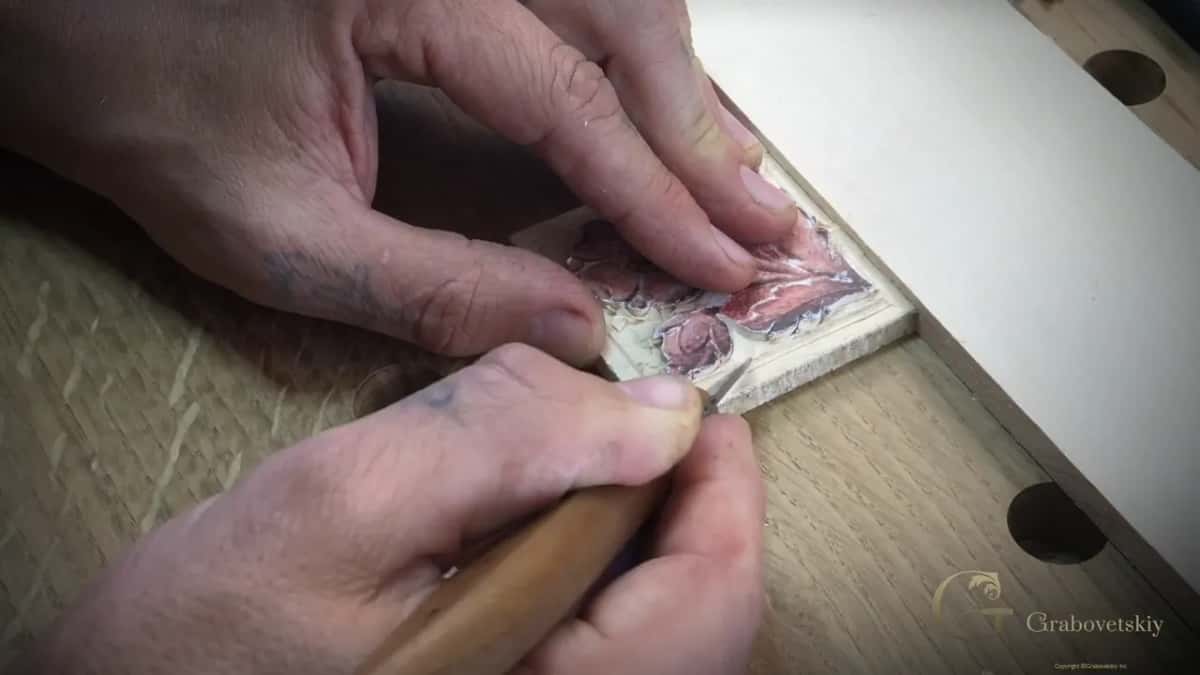
Why is the ground deeper on the inside?
The original showed me. In workshop two I cleaned the ground down to my line around the outside perimeter first and left the inside for later. It's going to be a little deeper on the inside, I said, and that's what I see on the original.
How much deeper? A little more than a thirty-second of an inch, and a little less than a sixteenth. More than 0.8 mm and under 1.6 mm. It's a small step, and I carved it in anyway, because the original has it.
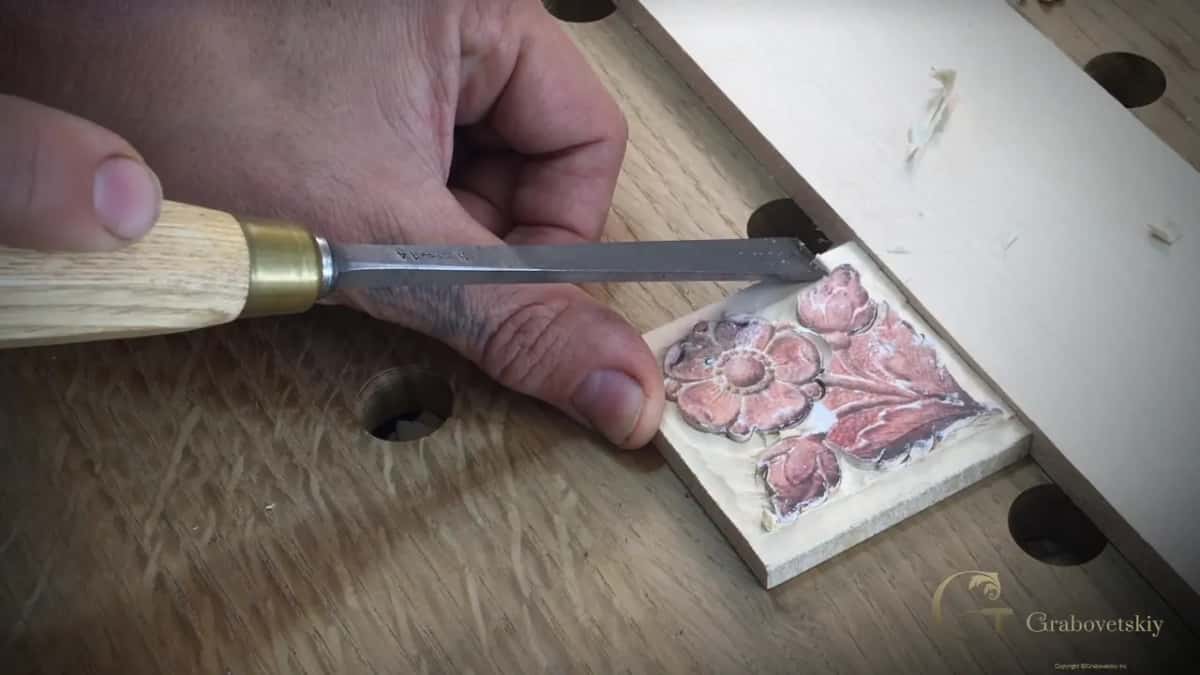
Later, working that inside ground, I checked the original one more time near a weak spot, where driving the tool too hard would snap a bit out. A tiny gouge from Dockyard went in after that, and I said I just want to make sure it's not deeper than it was supposed to be.
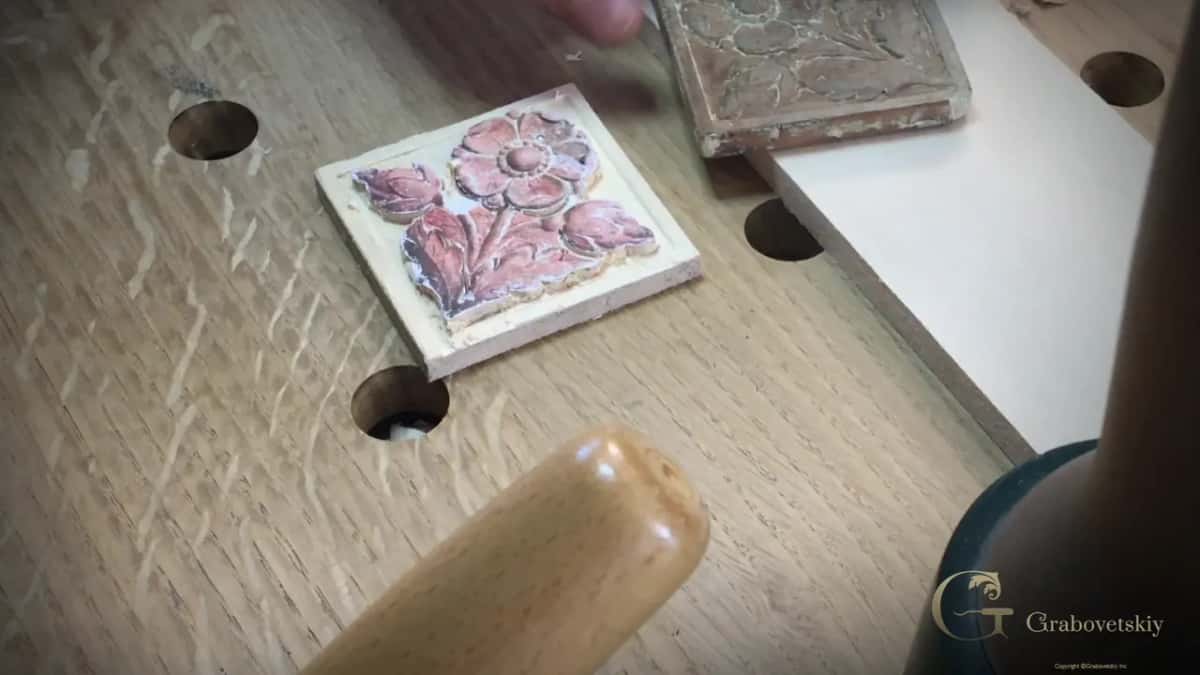
That step I eyeballed. I don't measure my background right now, I said, I just kind of eyeball it. When the last section of ground came out, I said the background is done, and it does look like original.
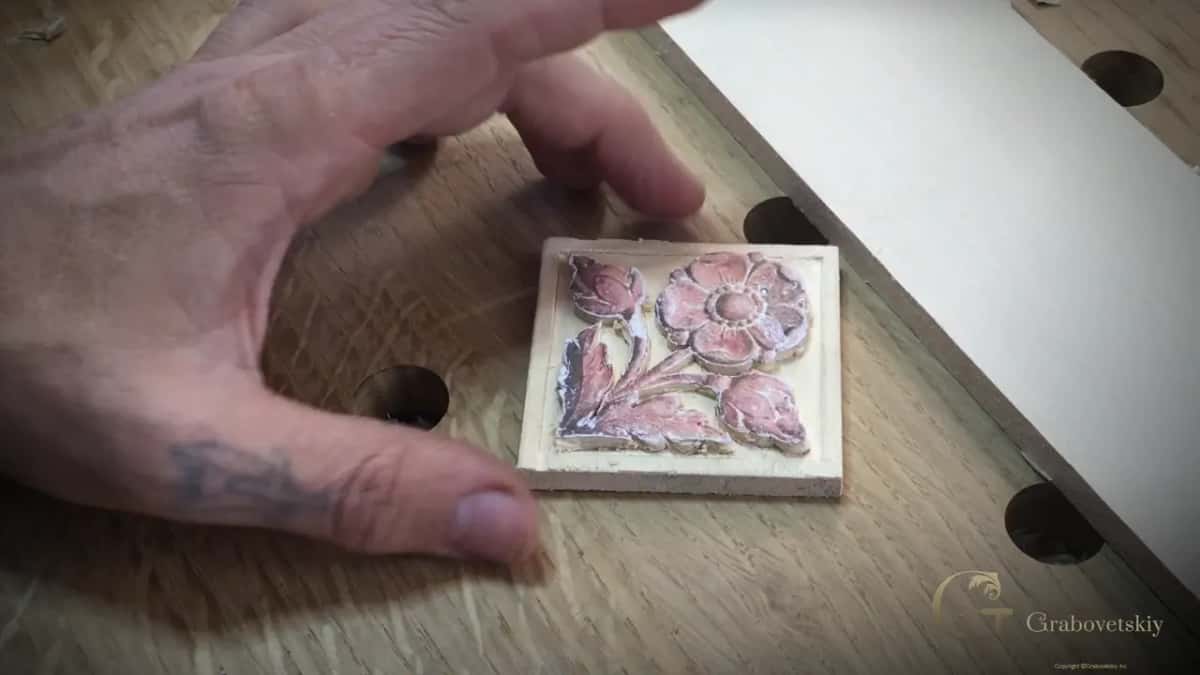
Do you keep the original's uneven side?
I did, on this rosette. Lesson four had me rounding one shape, taking a ridge out, and I wanted it to look exactly the same as the original. One side of the original goes all the way down, and the other one is not quite the same.
I'll try to maintain it like it's done by the same hand, is how I put it. One side falls, the other doesn't. I tried to keep that in my copy.
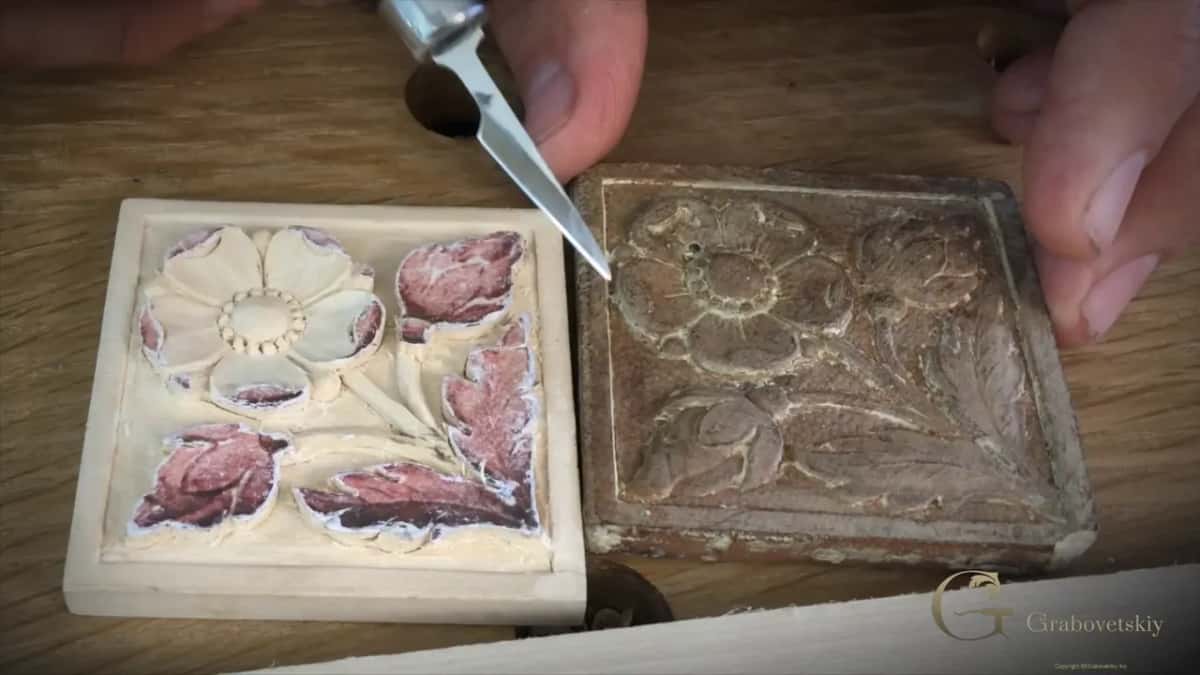
The next part had two more pieces to round, and my words were the same. Now I have to make it exactly the same like the original, just a rounded form.
Two small flowers came later in the same lesson. I set their fine details one side, then the other, and said they are a little different. At the end I said I'm not going to do anything else to those two flowers, compared them, and said they look quite similar. Similar, not the same.
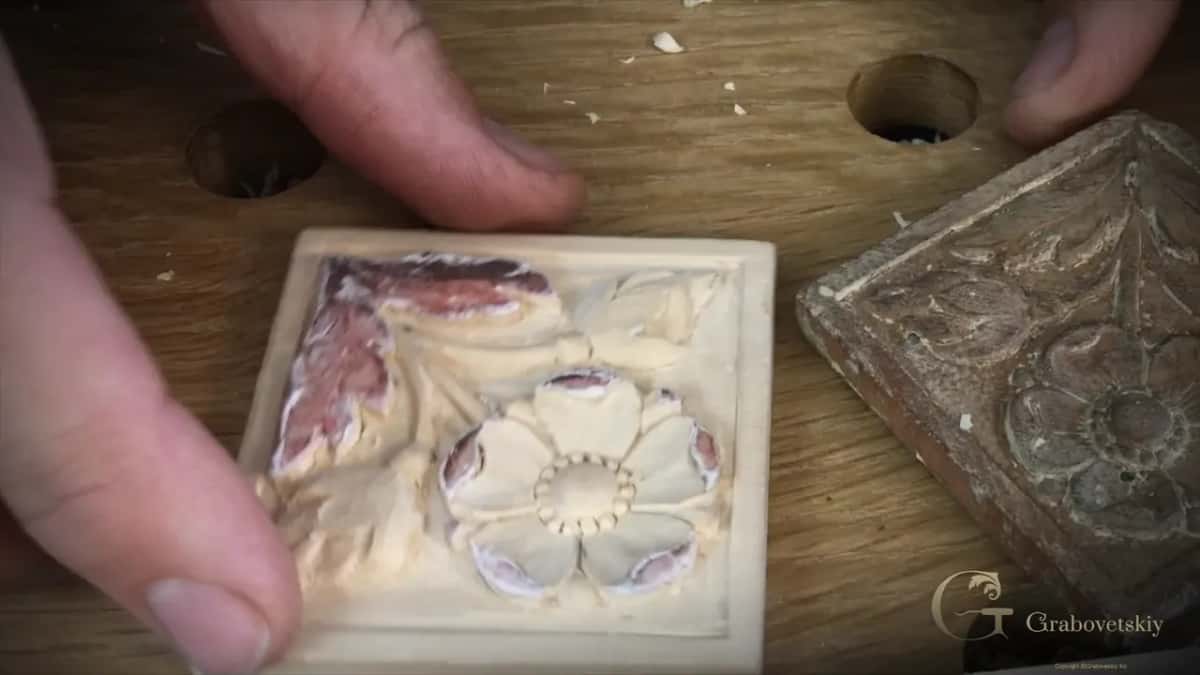
Do you copy a tool mark you see on the original?
I did, once, on this piece. Working those small flowers, I had to go with the grain and make tiny passes. That's when I saw it. There, on one section of the original, was a small mark made by a gouge, and I said we can do that, too.
With details that small, I said, I have to be really careful how I'm making each pass. Earlier in the lesson, to follow the original design on one part, my knife went just straight down, held almost like a pencil.
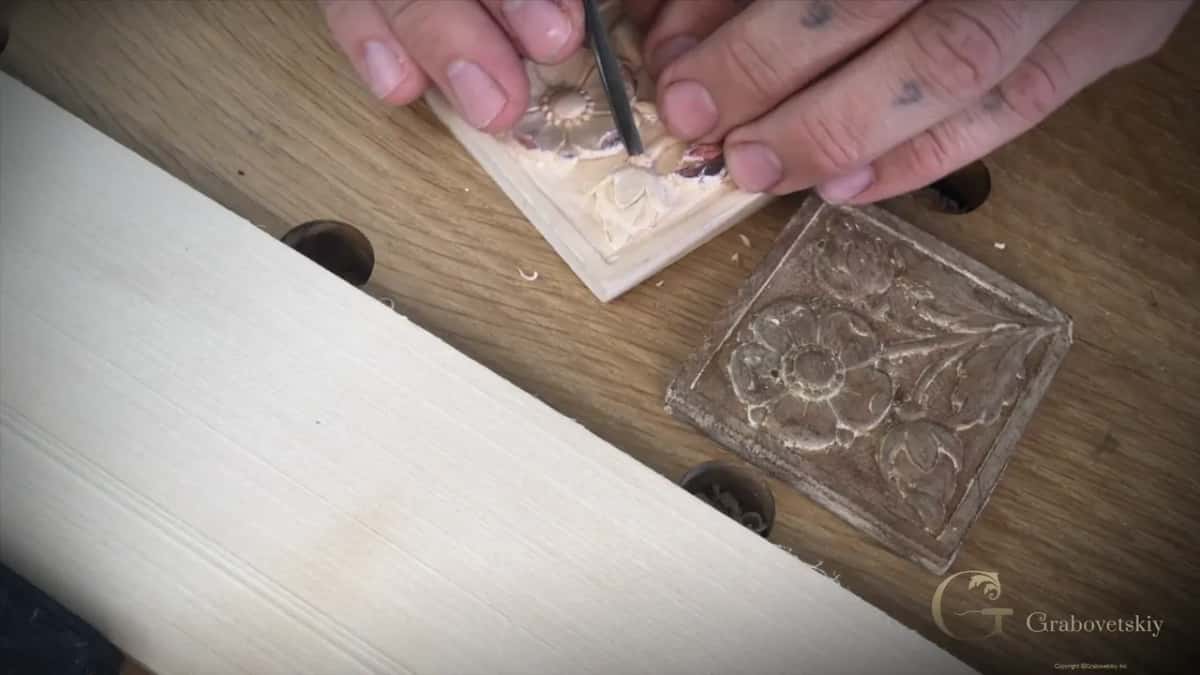
On a piece this small, I said in that lesson, every pass, every ridge makes a big difference to how the final look is going to be. One small mistake at that scale, and you can't fix it.
Which part of the leaf stands higher on this rosette?
The middle line. For the knife rosette in lesson six, I took the stems right down first with a number 12 Pfeil knife, then set the middle line of the leaves again with the same knife, one side of the line and then the other.
My middle line is actually higher in this case, I said, because the original piece has the same idea. It stands higher in the middle. That's why I made that type of pass on both sides. You have to keep an eye on what your grain does, I said there too.
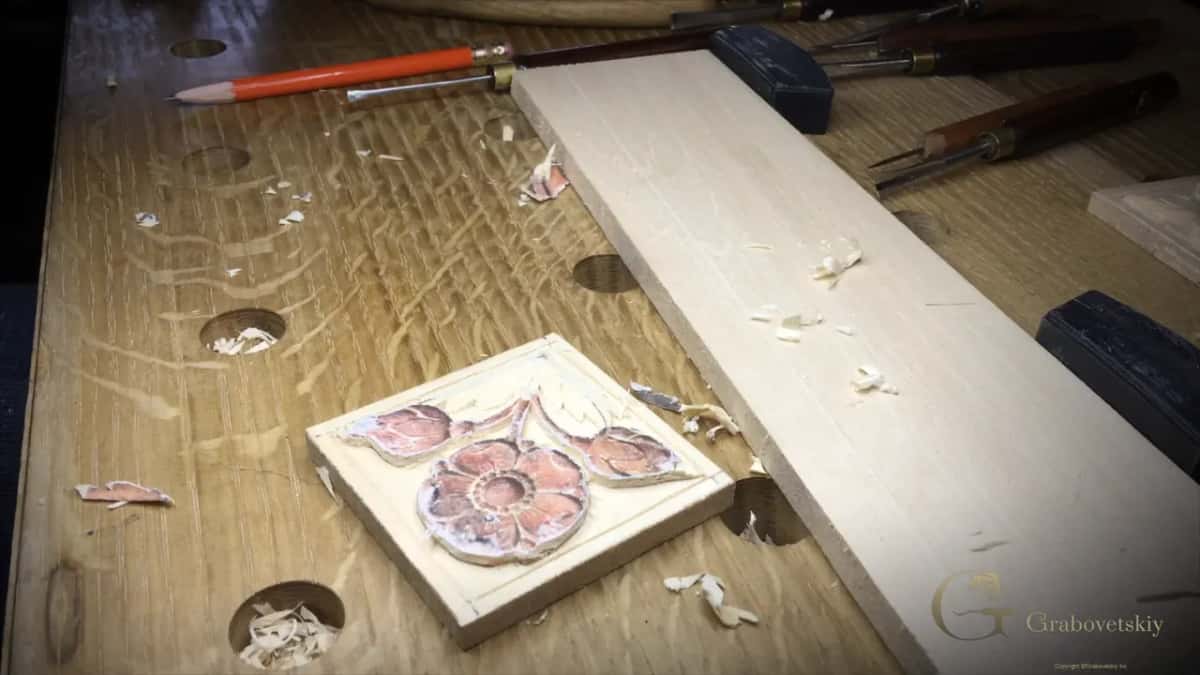
A part later, I stopped to take a look at the form, how it's supposed to look, and later said those stems need to be somewhat more rounded, and one has to go all the way. Much of the knife work was a short chip carving knife from Böker, German made, with the number 12 Pfeil when I wanted a longer blade.
How do you compare the center to the original?
Part by part, and then all of it. In workshop three, cleaning toward the center of the main flower, I said I constantly have to keep an eye on how deep I'm supposed to go, because I don't want to overdo it. The middle itself is a dome with a ring around it. The ring went down maybe about 1/32 of an inch, 0.8 mm, below the middle part. Barely remove anything, I said.
Even the curls of the main flower got that check. Taking out the center part of one, I said it's not that deep, so I have to make sure it matches the original.
Then the tiny beads around the center. Their outside corners came off first, and I rounded them with a small Dockyard gouge that carries no number. It rotates easily, and half around like that, it's most likely a number 9.
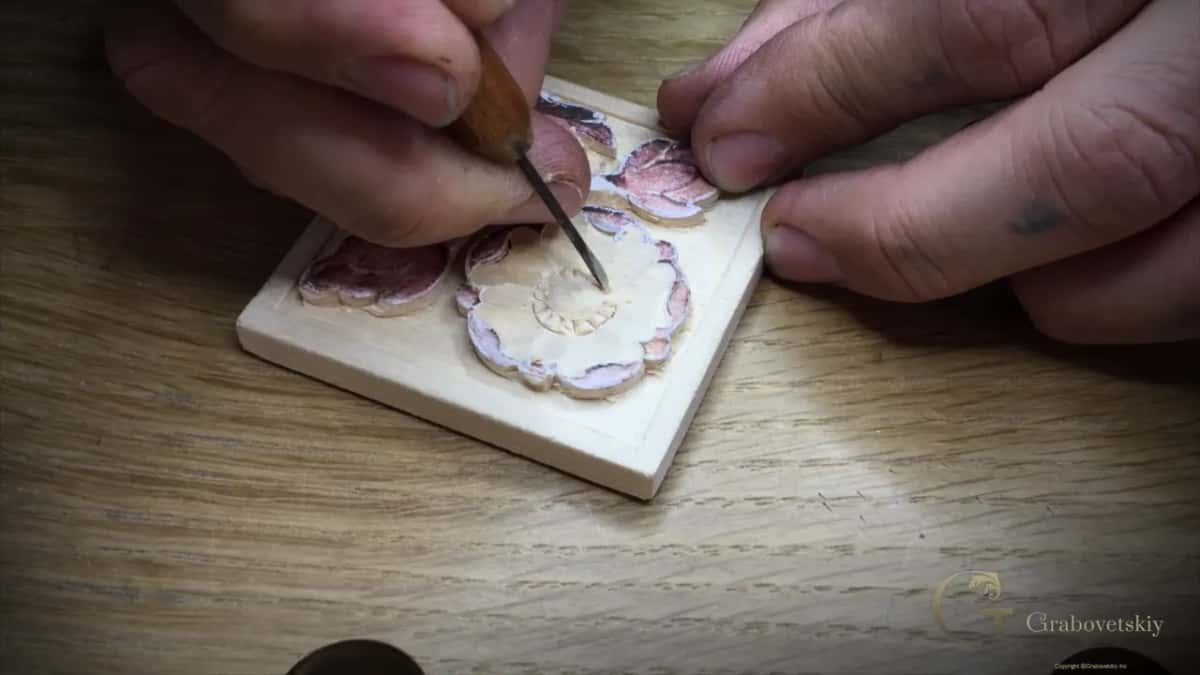
Let me check, let me compare, I said. It does look the same, and I'm happy with that result.
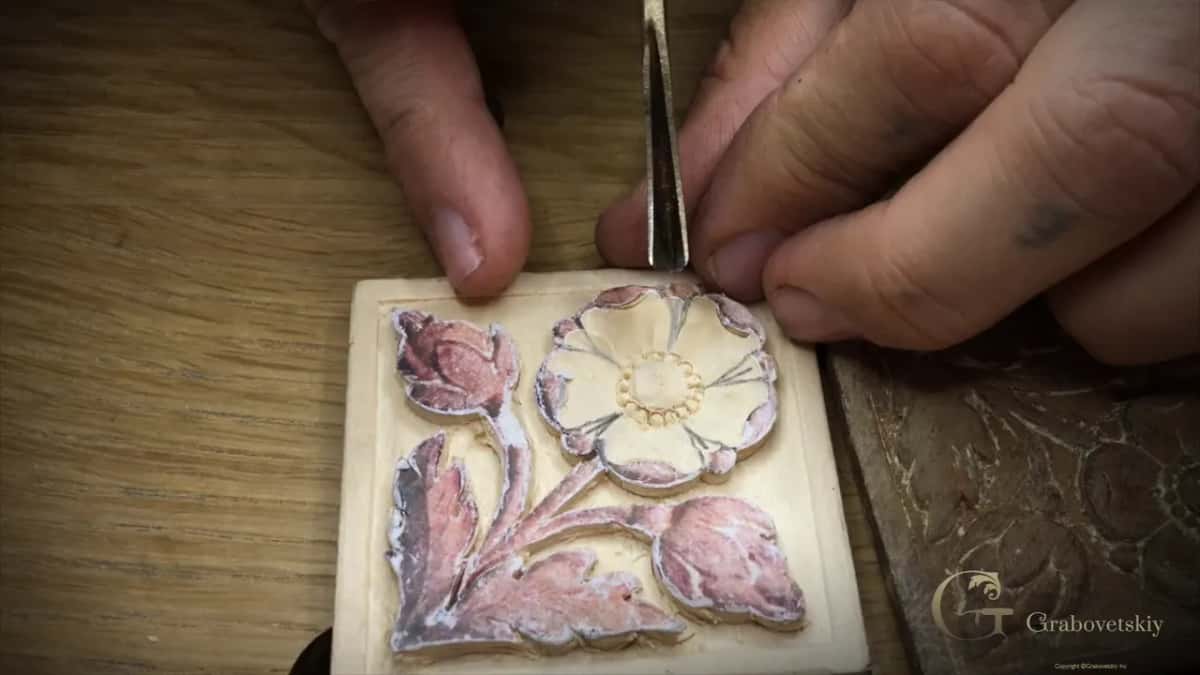
Happy did not mean finished. Next I took a pencil, drew a straight line to set my petals again, and ran a small V tool to the center. That's pretty close, I said. Then we clean it, and the flower is done.
How close did my copies come?
Close, in my words, and the words changed with each rosette. The table has every reading I took, and below it is what I said each time I put a carving next to the original.
What I read | What the original showed, and what I did | Where filmed |
|---|---|---|
Border, every side | 5/32 on the original, and mine matched exactly | Workshop two |
Ground on inside | A touch deeper than the edge, eyeballed only | Same workshop |
One rounded shape | Only one side drops right down, not both | Lesson four |
Small gouge mark | Seen on one section, we could copy that | Same lesson |
Leaf middle line | Stands higher than its sides, as the original | Lesson six |
Beads round center | Corners off, rounded, compared, and looked the same | Workshop three |
The gouge rosettes drew does look the same and quite similar. The knife rosette was harder. In lesson five I said I prefer gouges, because I think the work is more accurate and looks nice with them, and still began that rosette using mostly a knife, to show it can be done with very few tools.
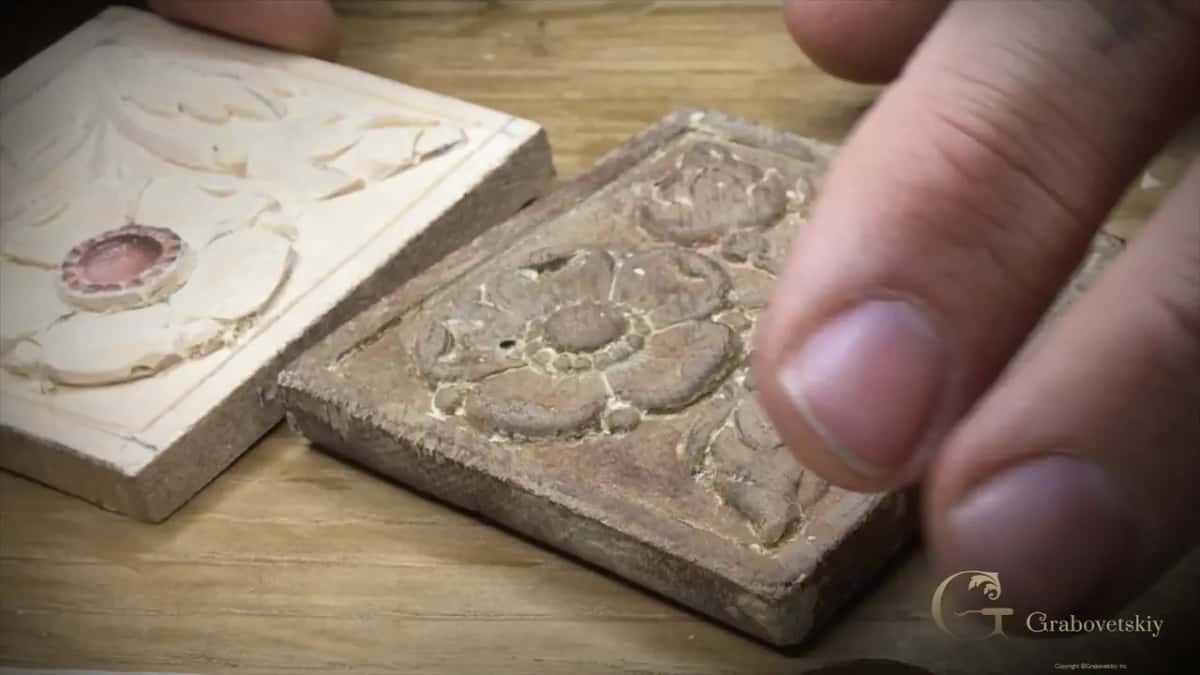
Late in lesson six, one of the small beads on the knife rosette chipped away. I should not rush it too much, I said, and I had to hide the mistake, so I lowered the ring on that spot and set the beads again. I compared it to the original after that. It does look very much really close, but not completely yet.
Not completely yet was the honest one. That verdict sent me back to the knife to add tiny V grooves, one angled pass, then the piece turned, then the second pass.
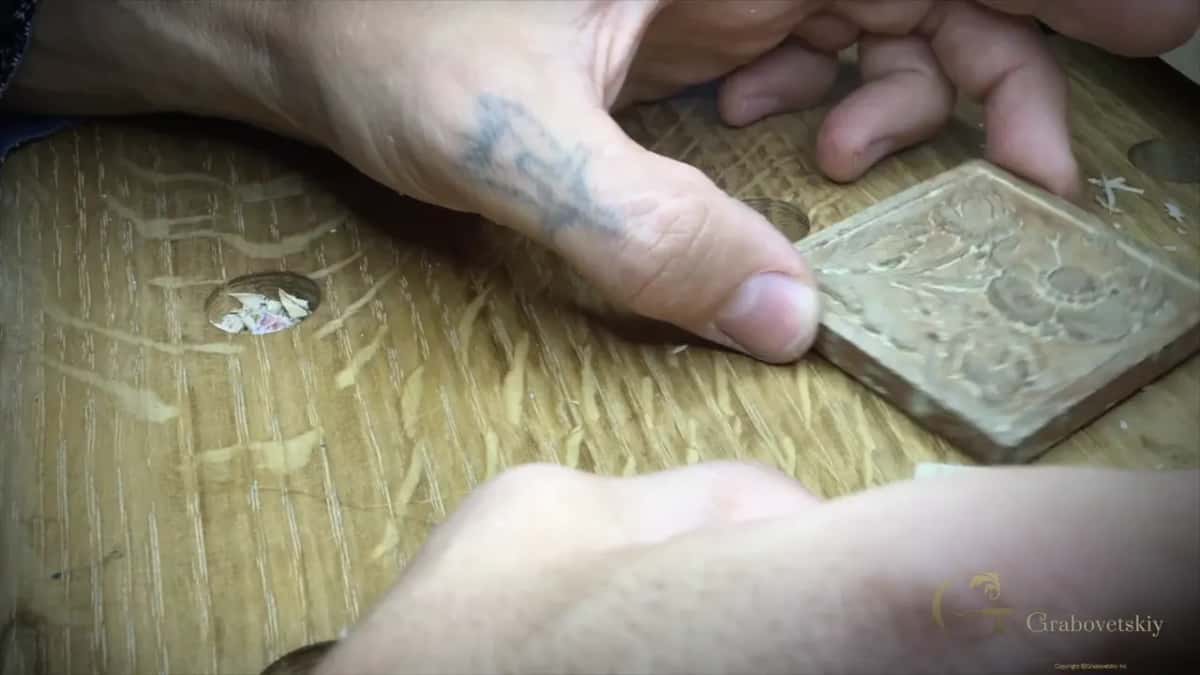
When it was done I called it pretty close to the original one. Its beads are not true round. A knife made them, and the surface is a little choppy looking, which some carvers leave on purpose. A Dockyard gouge, a small one, gives you the true round, and you can see how quickly.
Does the background texture have to match too?
It did here. The original has what I call a bubbly background. I matched it with punches made for leather craft, sold as a set, where each one leaves a different design, and I look for whatever is closest to the original when I'm doing a replica.
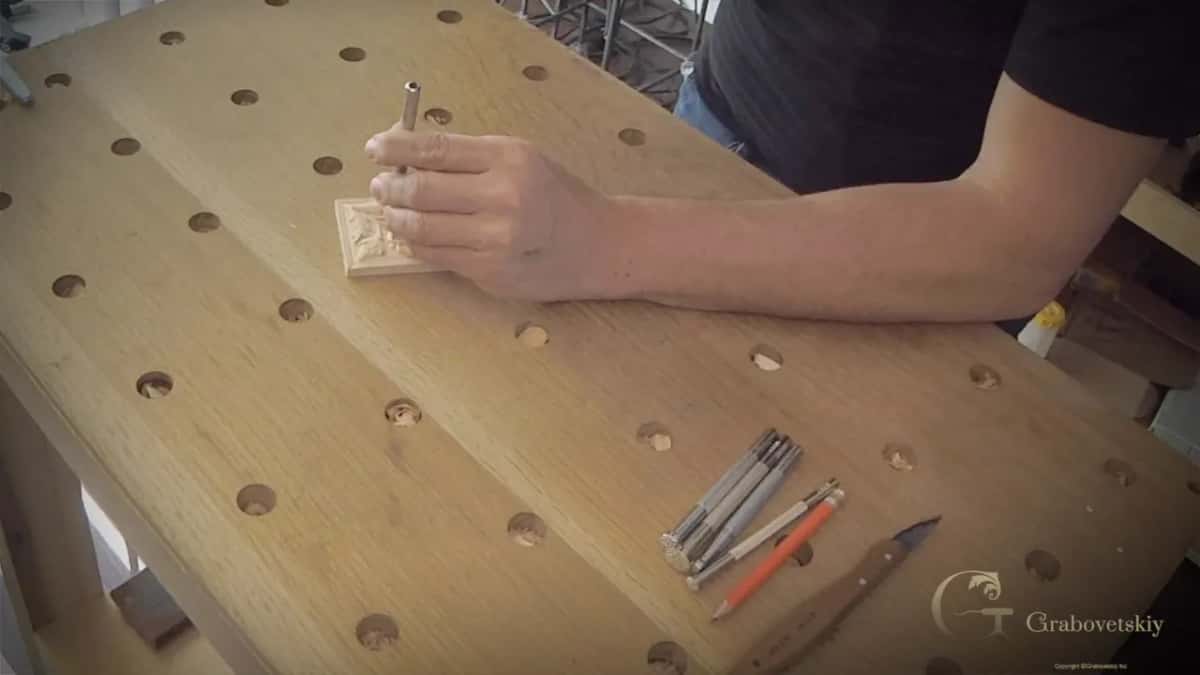
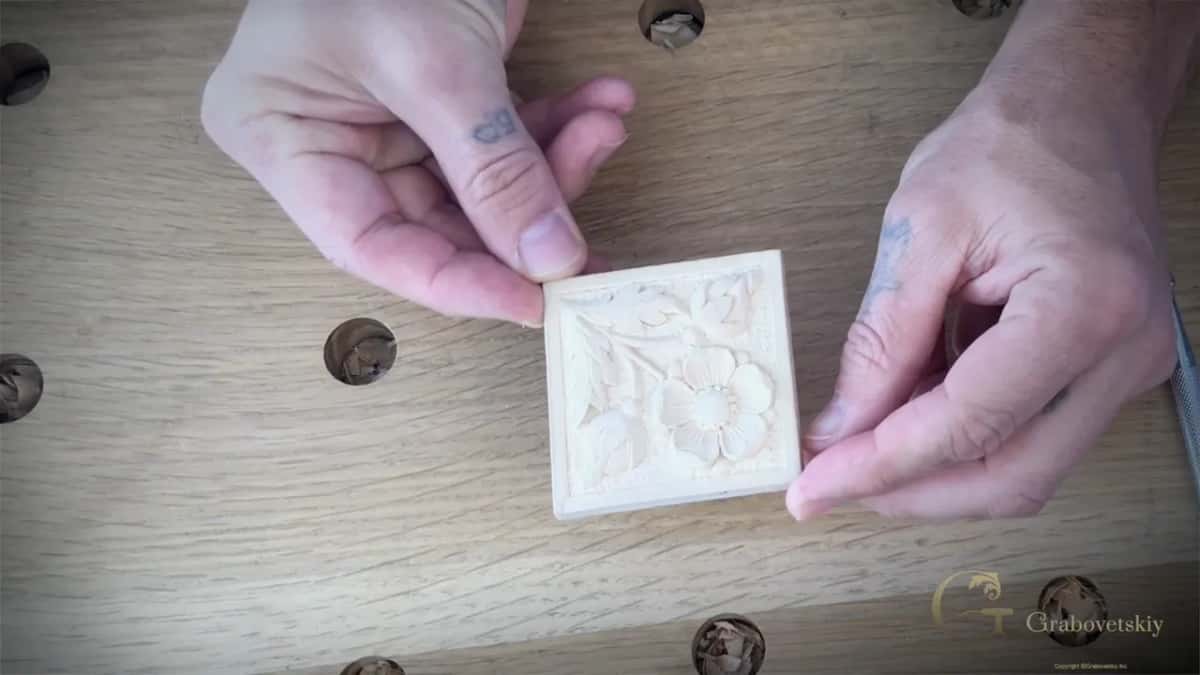
This time the bubbles looked as if the original piece was made with the same tools. In lesson seven I worked them in with a mallet, tapping lightly, and in a few moments I called the rosette 100% done. Then I showed it at a different light, to see how it looks.
What happens when your copy is finished?
You set it next to whatever you copied from and look, the way I did. This one is shallow relief, the kind of carving you can put on furniture, and it trains you not to go too deep. On this lesson page you upload a photo of your work, jpg or png, and I look at your progress and certify you.
Design itself has its own course, Principles of Design in Wood Carving. Two more rosettes sit in other courses, the Venetian Flowers Rosette and the Chamomile and Bow Rosette. The Carving Flower Rosette course page lays out all seven lessons, and the Access page shows what it costs.
So the original is on your bench and the copy is beside it. Which reading do you check first?
How it's done
- Keep the original beside the block. Stand it against your blank, nick the depth with the knife, and carry it round with a marking gauge.
- Fit each gouge to the original's curves. Hold tools to a shape on the old piece until one fits, and use a knife where the outline turns the other way.
- Read the border and match it. Mine was five thirty-seconds on every side, read with an aluminum scale and matched after the knife work.
- Copy what is uneven. Where the original drops on one side only, or carries a gouge mark, carve that in as well.
- Compare, then go back. Put the two next to each other as you go. When mine still fell short, I went back and added tiny V grooves.
Frequently asked questions
Must you have the original to carve a copy?
Having the original with me helped at many stages of this rosette. I stood it against the block to mark the depth, checked which gouge profile fit a section, and read the border off it with my scale. A photo of it, scaled to true size, gave me the pattern, one inch to one inch.
Can a knife-carved rosette match the original?
Pretty close, in my own words, about the rosette I carved mostly with a knife. Its small beads were not true round, and the surface stayed a little choppy looking. Some carvers leave a finish like that and it looks nice. Take a small Dockyard gouge and the beads come out true round, really quick.
Should a copy include a mark found on the old piece?
On this flower rosette, yes. One section of the original showed a little gouge mark, and I said we can do that, too. It sat near the two small flowers I was finishing in lesson four, where I was working with the grain in tiny passes.
What to carve next