
Alexander Grabovetskiy, woodcarver, School of Woodcarving · Published 2017
How do you tell what number a carving gouge is when it has no marking?
Quick answer: An unmarked gouge is read from the curve of its edge. In the third Flower Rosette lesson I looked at a tool that carried nothing and called it a number 8, roughly 13 millimetres wide. A tiny Dockyard was half round, so I named it a 9 and then checked the carving against the original.
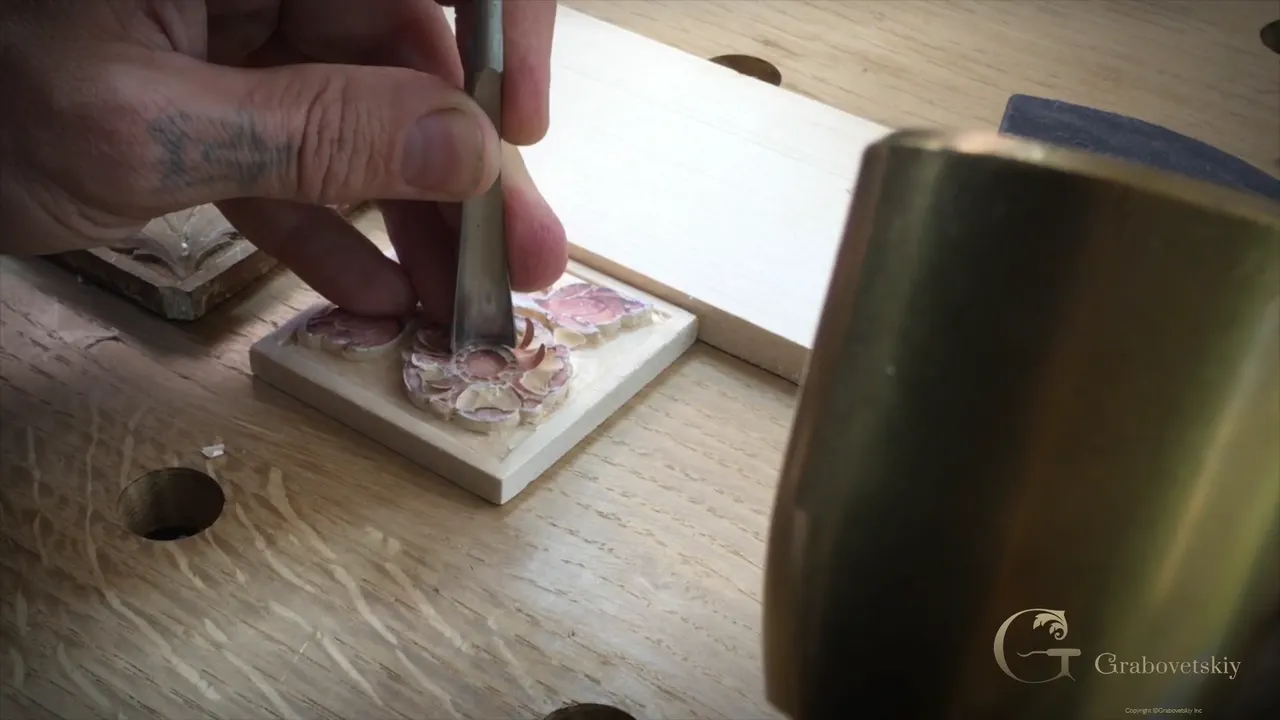
An unmarked gouge is named by the curve of its edge, the gouge sweep, and your eye can read that curve with no number on the steel. In lesson 3 of Carving Flower Rosette I picked up a gouge with nothing stamped on it and said it was a number 8, approximately half an inch, about 13 mm. Later in the same lesson a tiny Dockyard gouge came out, not marked either. Half round. A number 9, I said, most likely, and the small shapes it carved matched the old original when I held the two side by side.
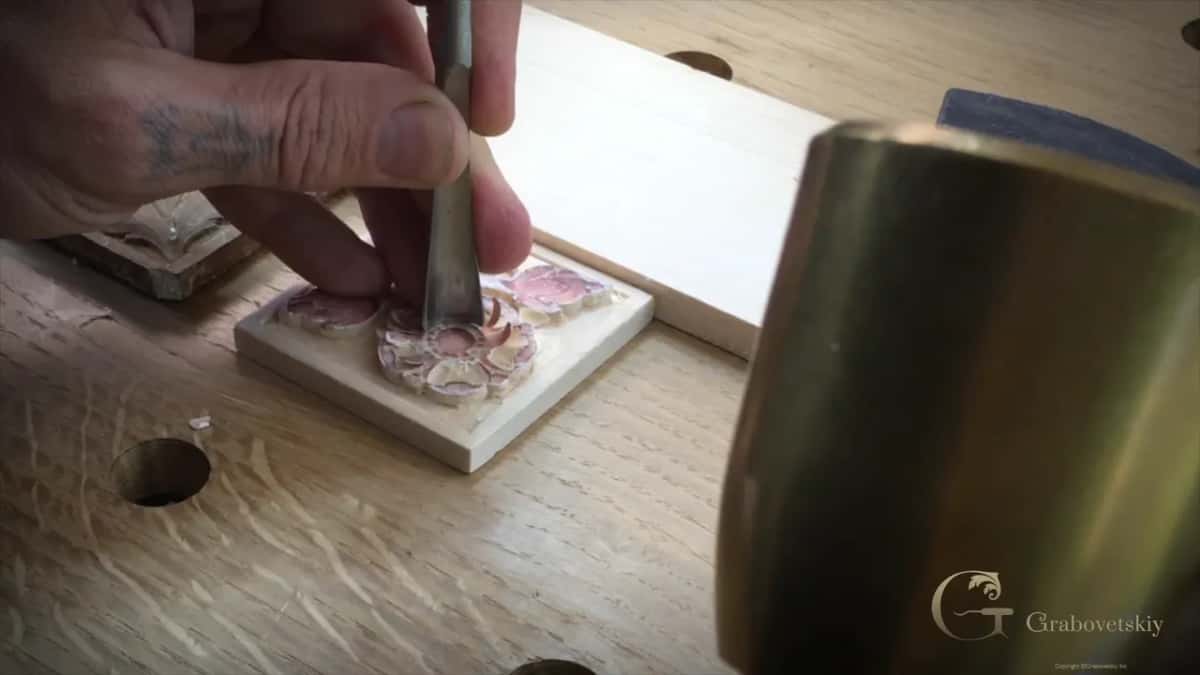
Is there a gouge on your bench with nothing on its steel? Have you turned it over twice, looking for a stamp that is not there? Then look at the edge instead, the way I did on a small rosette flower, twice in one lesson.
A stamped number is easy to trust, and I like one too. Below are the two gouges from that lesson, what I said while I named each one, and what each one carved afterward. After them come three more tools from two other courses, in my own words, hedges and all.
Two gouges with no numbers on one small flower
- An unstamped gouge became a number 8.
- The tiny Dockyard was half round, and I called it a 9.
- Check it, I said, compare it, and my copy went up against the old original before I was happy with the result.
- Both did real work on the flower.
- On two other rosettes the guess was the width, about 3 mm on one tool and about 4 mm on the other, and I hedged both times.
- A brand on the Chamomile carried no figures of any kind.
How did a gouge with no marking become a number 8?
Inside work on the main flower followed. The outline was already in, and I said it was a good time to work on inside, so I went looking for the right sweep. Holding gouges to a curve until one fits has a page of its own, which gouge sweep fits a carved curve.
Then I had it. This one is a number eight, I said, and it's approximately half an inch. There is no marking. I can identify it just by eyeballing.
Two things came out of that one look at the steel: a number, said plainly, and a width, said as approximately. Both were enough to start work.
I made the first pass on the inside and connected this side. Two moves. A smaller gouge came next, the number 5 at a quarter inch, 6 mm, the same one we used before, and it cleaned that part all the way to the center without forcing it.
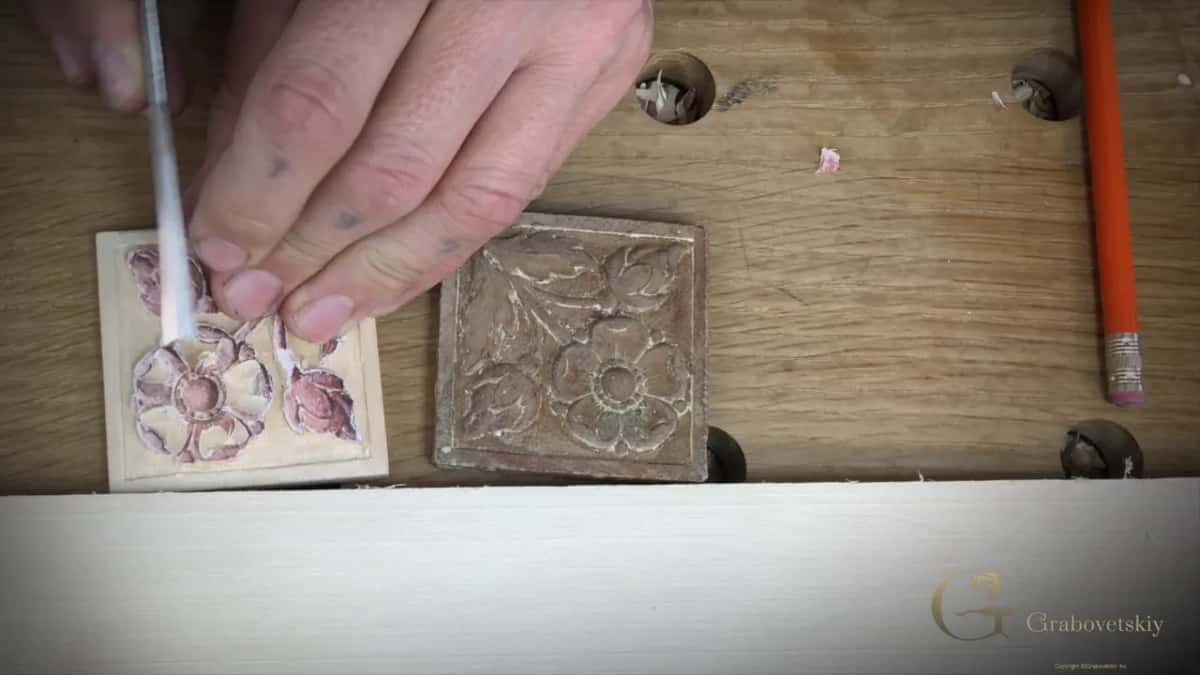
I constantly have to keep an eye on how deep I'm supposed to go, I said while I worked, because I don't want to overdo it. Clean it, I kept saying, and clean it again. After that the same tool went around once more to take out the ridges, and I was happy with what I saw.
Where did each number in this lesson come from?
Different roads. The 5 I knew from earlier work. The 8 came by eye, from steel with nothing on it. And the tiny 9 came from its shape.
Some numbers came before I checked any tool. For the curls of the main flower I said I'd need an even smaller radius or smaller sweep, probably even a number 7, or a number 9, or an 8. Three numbers, out loud, before I checked a single one. Right at the start of that part I said there were a couple of ways to go. One was a V tool for the preliminary cut and a small gouge to clean it. The other was to find the gouge first, and maybe we would not need any V tool at all. If you feel safer, take the V tool first, I said. The 8 did look good, and it went around all of those petals, then around them again from the other side.
What number is a half round gouge?
A number 9, most likely. That's what I said in the last part of the lesson, holding a tiny gouge from Dockyard that was not marked.
By then the work was the micro details right around the center of the flower, a ring of small shapes I wanted round looking. I said I'd do that in a couple of steps. The outside corners came off first, all around the ring, a step the course page covers.
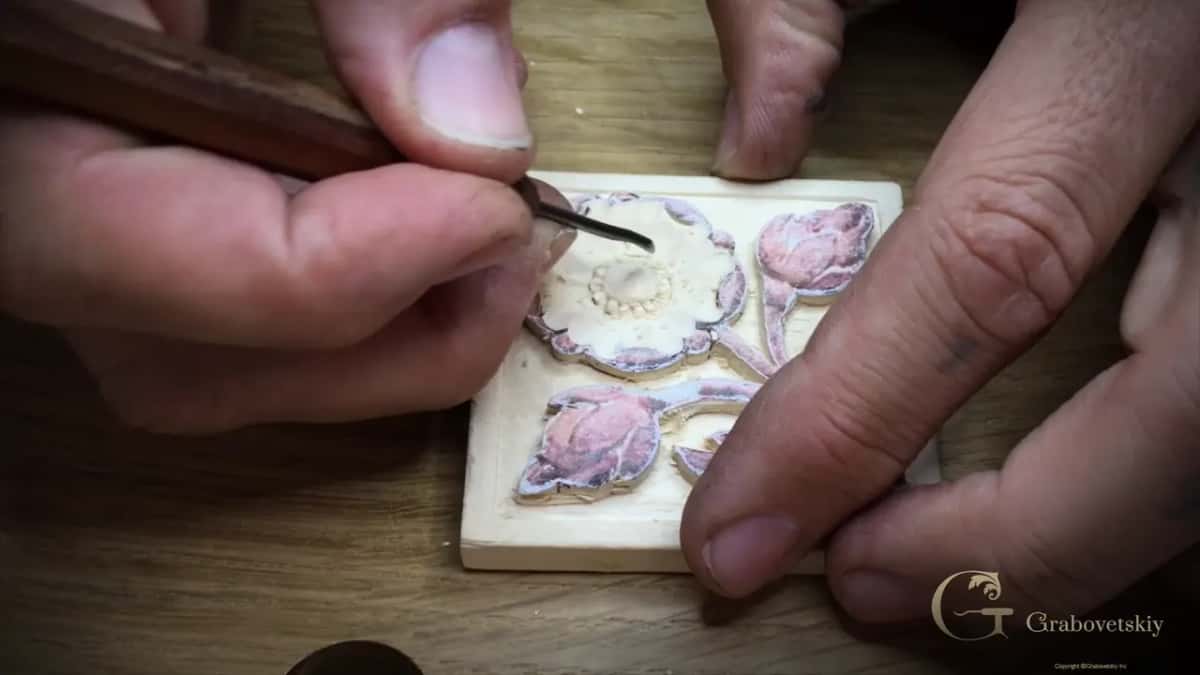
The first Dockyard I tried was a tiny one, but I didn't think it was tiny enough, so I checked if I had a smaller one. Yeah, that's a perfect size, I said, and I went all the way down with it. Since we took the corners out, it made that much easier to do.
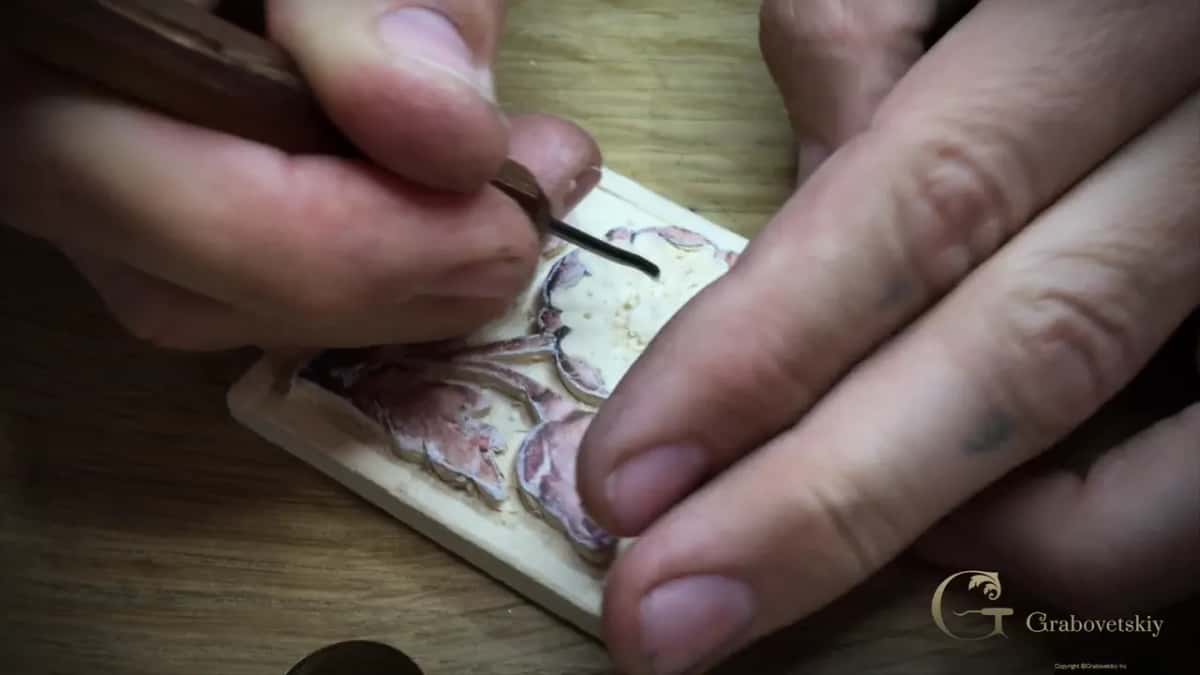
I checked whether I'd be able to get on the inside, and I was, so I worked toward the center, just going around.
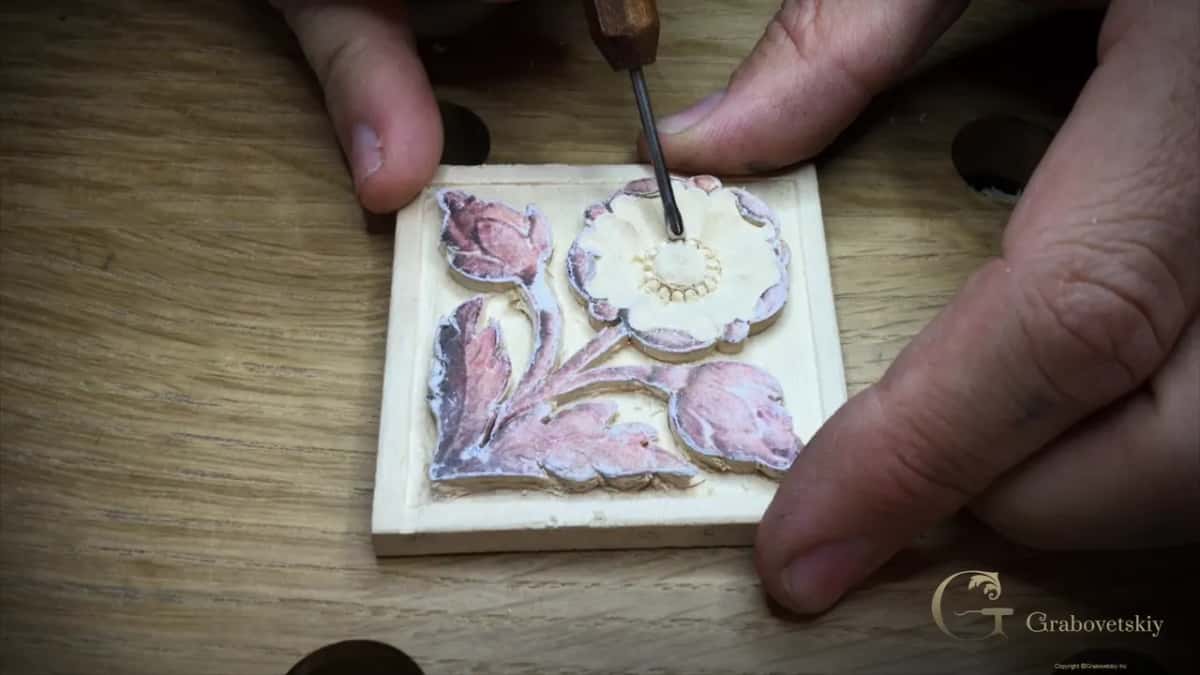
Only after all that did the tool get a number. The same small gouge from Dockyard is a number nine also, I said, because I can easily rotate that, although it's not marked. You can just see if it's half around, and if it is, most likely it's number nine. Half round is an edge shaped like a semicircle.
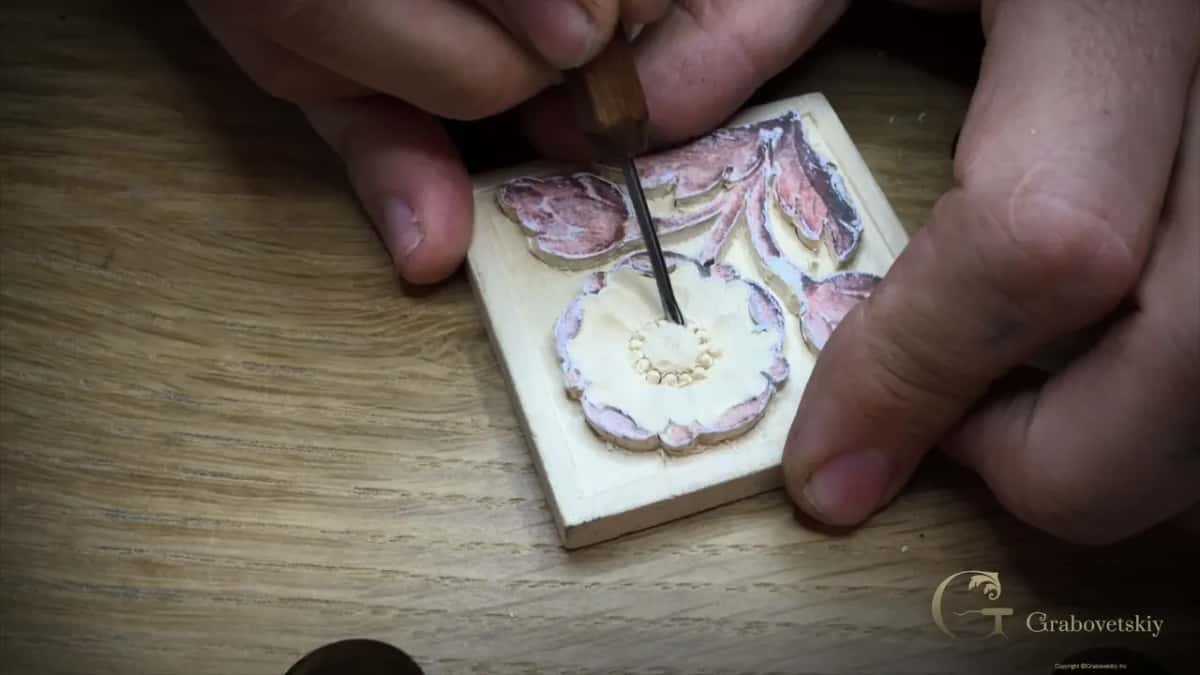
Earlier on I said gouges go up to number 9 and that the 10 and 11 are already veiners; the test of turning a true gouge in place to make a circle is told on the course page.
What do you do after you guess the number?
Check it. I said let me check, and a breath later, let me compare.
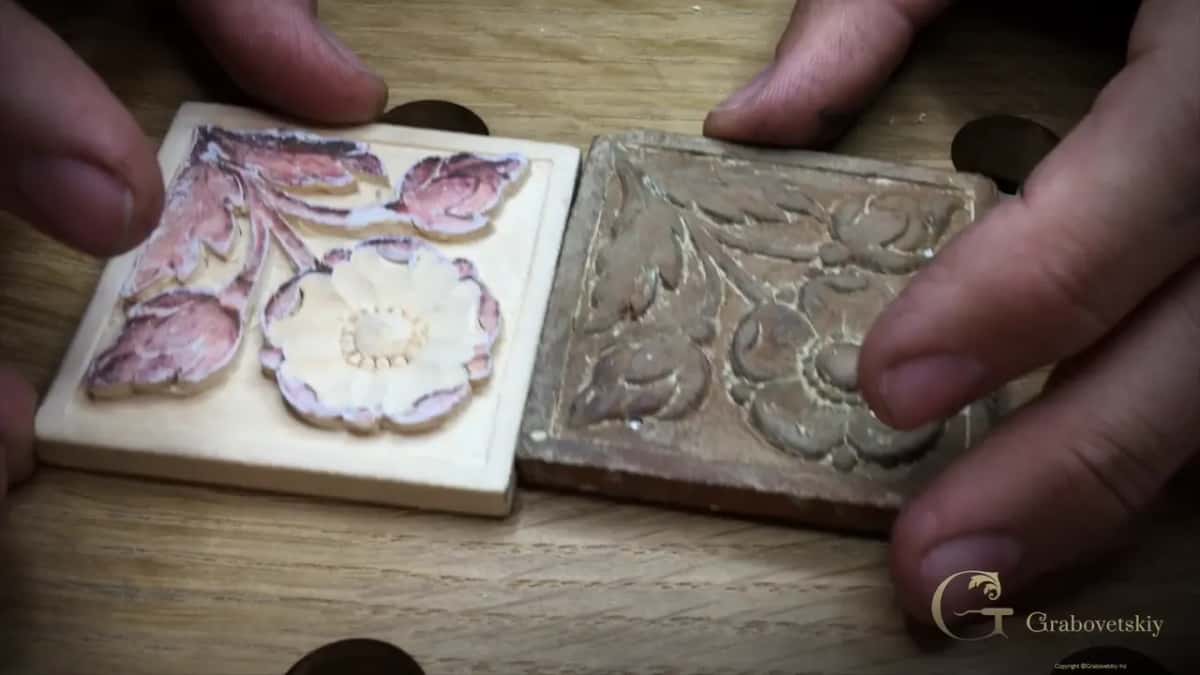
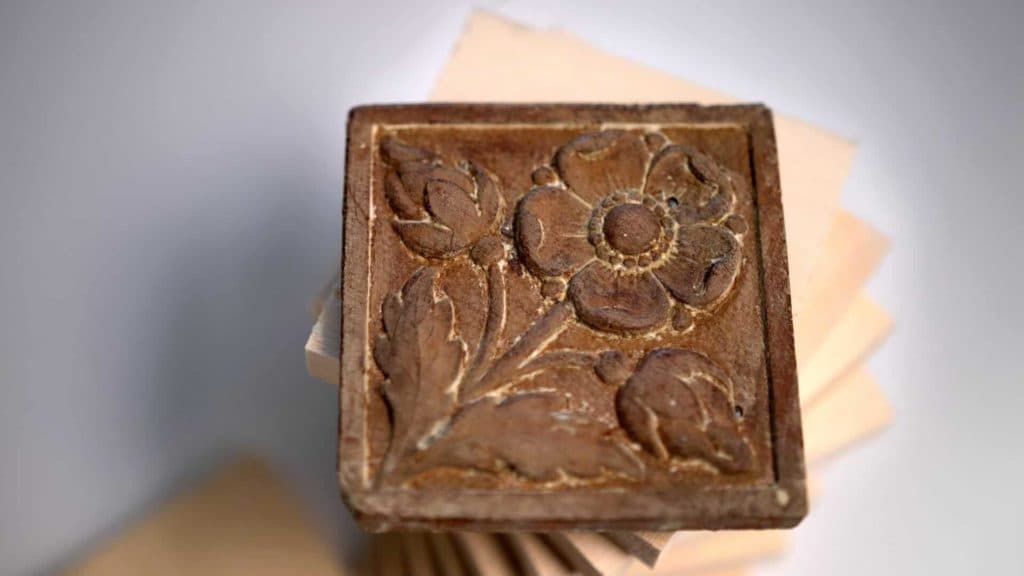
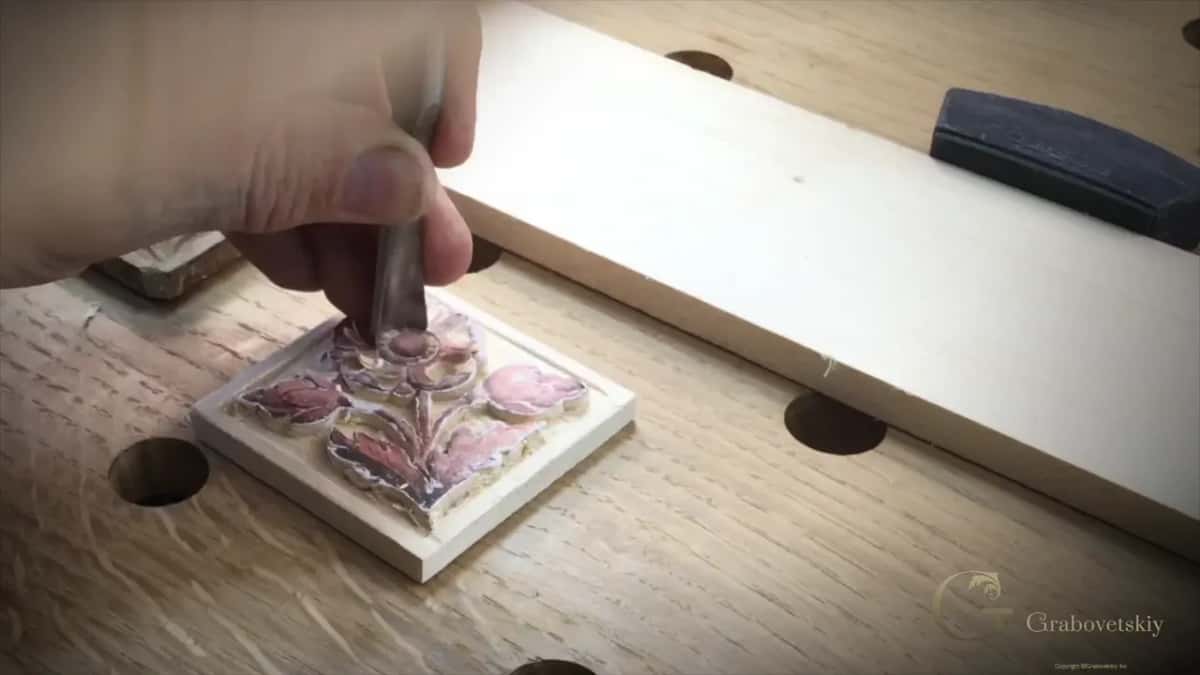
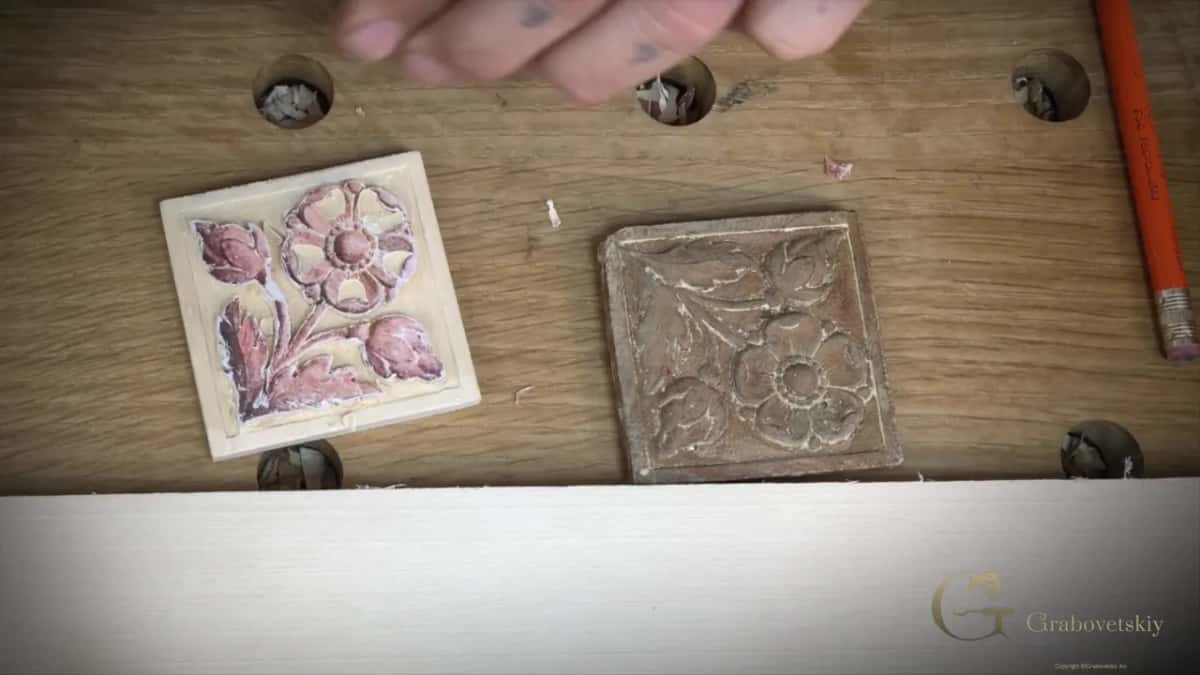
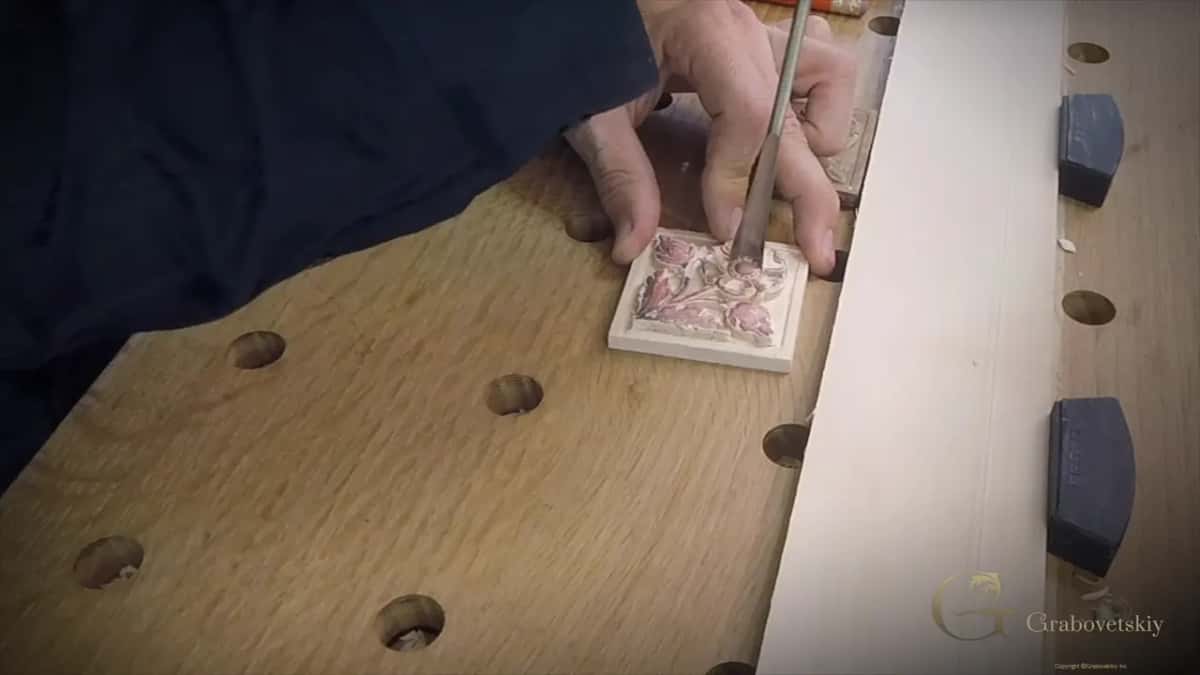
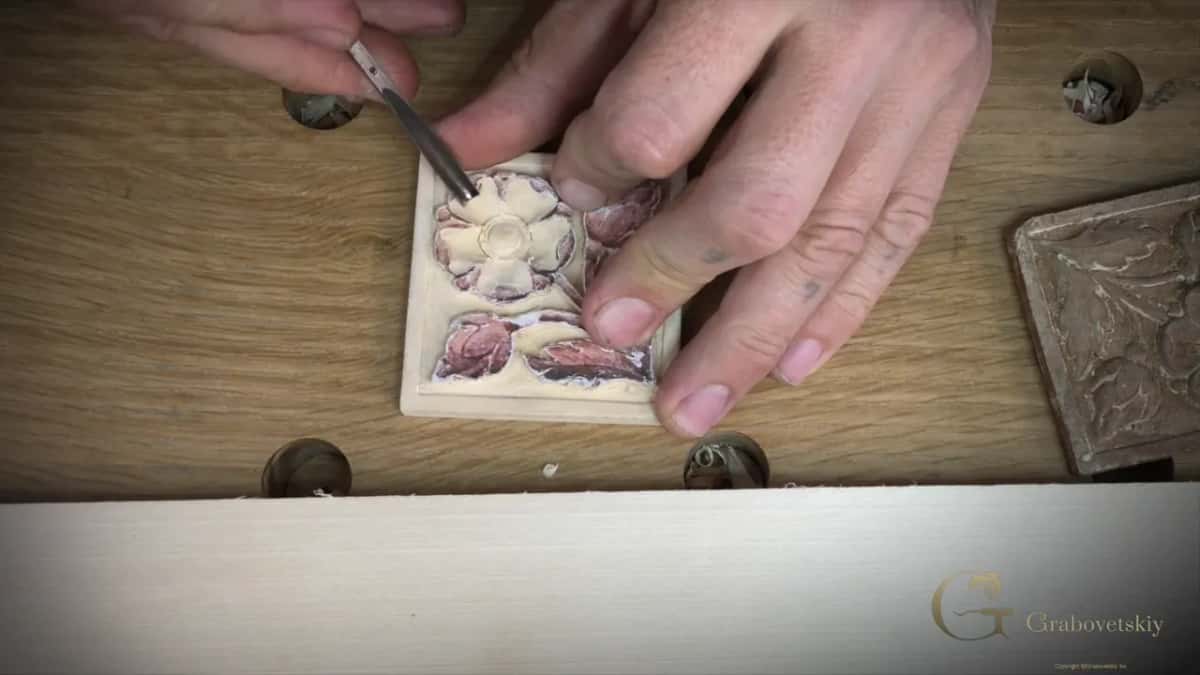
What I held up to compare was the carving itself. My rosette went next to the old brown original it copies, and it does look the same, I said, and I'm happy with that result. Most likely is a hedge, and the compare came straight after it, before the next job. That frame shows the copy on the left with pink paper still on its leaves, and the old brown one on the right.
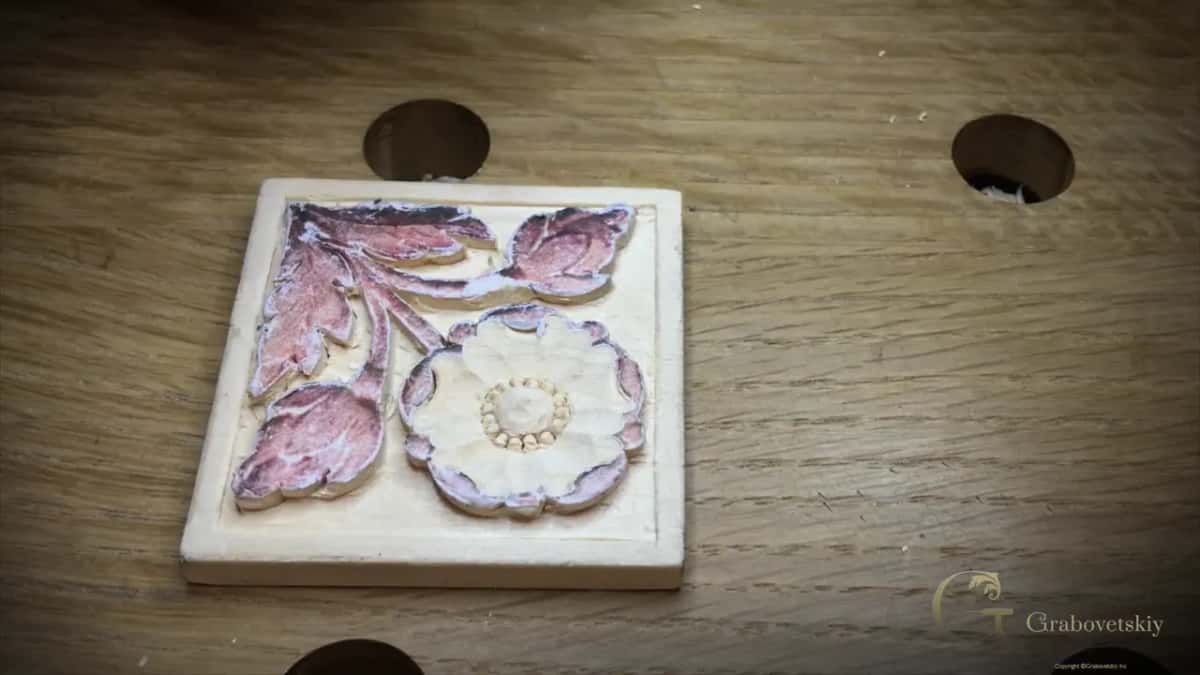
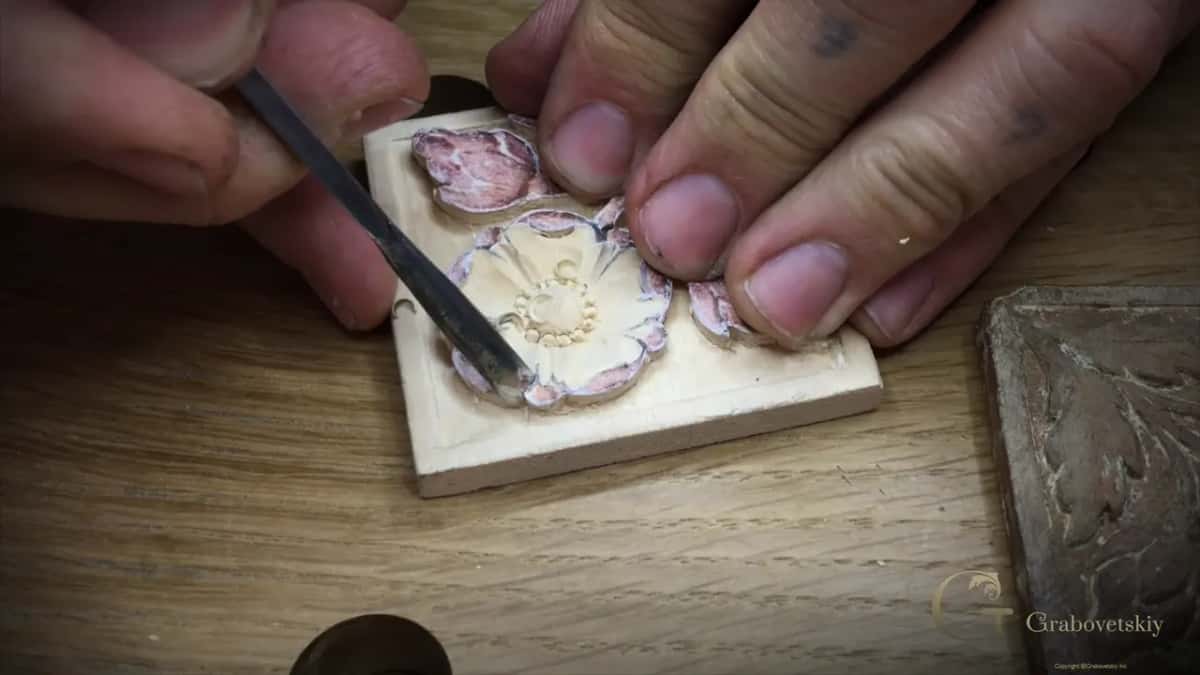
The next job was easy. I needed to reestablish my center, so I took my pencil, drew a straight line, and reestablished my petals. A V tool came next, the smaller one, down to the center. Then a number 6 went into one part, and I said that's number six, fits perfectly.
Is the width of an unmarked gouge a guess as well?
On two other rosettes it was.
Neither of them is a flower rosette like this one. One is a chamomile with a bow, and the other an oval rosette in the Venetian style.
In lesson 3 of the Chamomile and Bow Rosette I went ahead with a really tiny, small number 11. Its size was not marked anywhere, and I said I think it's about three millimeters, three and a half millimeters, something like that. A little bigger than one eighth of an inch.
Over on the Venetian Flowers Rosette, lesson 2, I wanted a number 11 too, and I said any number 11 will work, a small one of course. In that case I took maybe about four millimeters, 5/32 in. This one is not marked, so I'm not sure if it's four millimeters or so, I said, and I just defined it by eye, pretty much.
Read those tools back and you hear the same kind of words each time: approximately, most likely, I think, something like that, not sure. A millimetre or a fraction of an inch either way, and I said it honestly.
Can a brand of carving tools come with no markings at all?
One did on the Chamomile. Two parts later in that same lesson I picked up a tool and said that's six millimeters, about a quarter inch, and in this case I think it's number eight. That particular brand had nothing on it, I said, neither the size nor the sweep.
Some of my own tools carry no stamp either, as I said on the page about what a veiner gouge is used for. When a gouge does carry one, what the numbers on wood carving gouges mean and what the numbers on a Swiss gouge mean each have a page of their own.
Which tools in this lesson did I name by number?
Here are the gouges I named by number and then used on this rosette, with my words beside each one and the spot on the relief where it went to work.
| Tool | Said | Job |
|---|---|---|
| A quarter-inch 6 | Actually an excellent fit, I said, on the curls | First stabs on the curl |
| The plain 8 | Yes, number eight does look good, I said then | Went around all the petals |
| Unstamped 8, half-inch | No marking, so I named it just by eyeballing | First pass inside the petals |
| Quarter-inch number 5 | The same 5 we used before, I told the camera | Cleaned to the very center |
| A smaller 6 | Took over once the 5 would not work anymore | Made one petal center deeper |
| Tiny Dockyard 9 | Not marked, half round, so most likely a 9 | Rounded the micro details there |
| One more 6 | That's number six, fits perfectly, I said of it | Went in after the redraw |
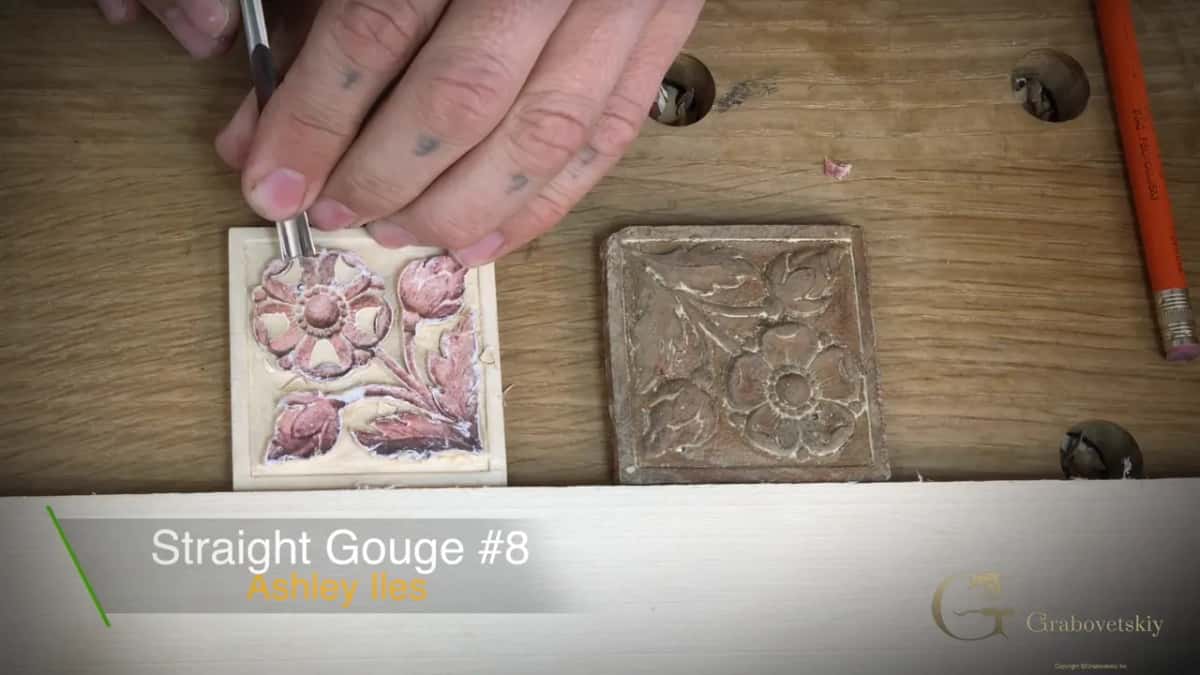
That very first pass used a small brass mallet with the quarter inch 6, just slightly, since I can snap out a part right there if I hit too hard. I know it's simple, I said. But it's still careful work, because there are a lot of weak spots, and push too hard and a piece is easily snapped out.
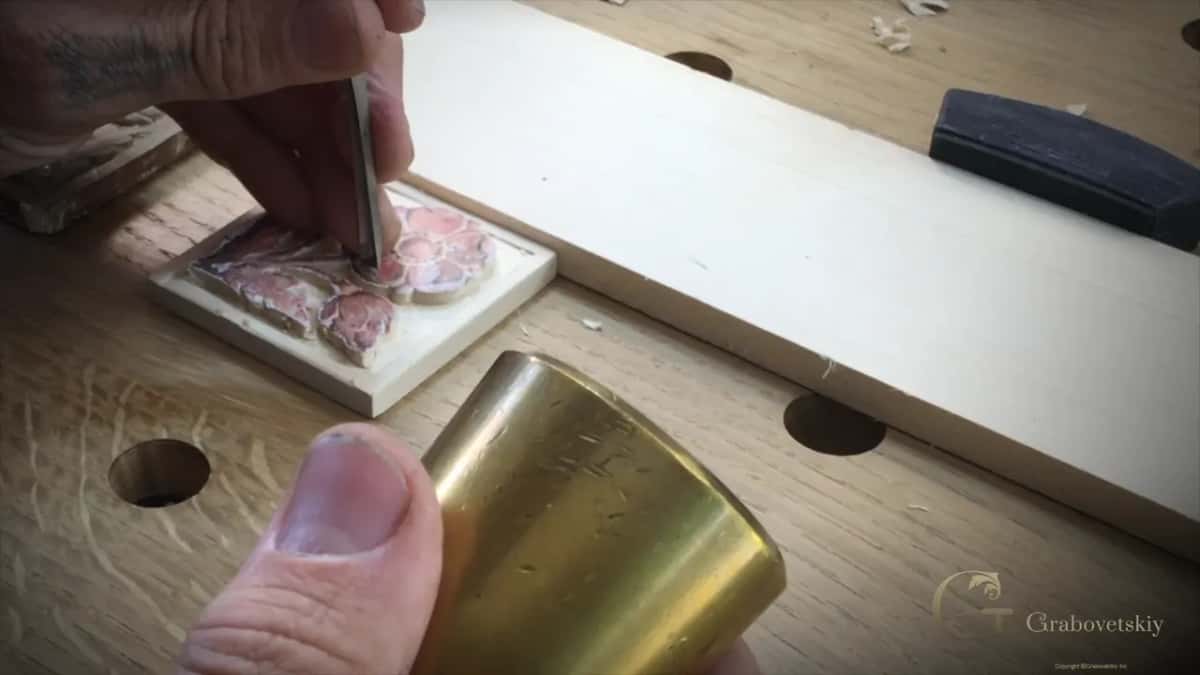
Back in part two the same quarter inch 5 had turned around the flower's middle. The ring next to it went somewhat lower, only about a thirty-second of an inch, under a millimetre, and I said I can't overdo it because I still need some material. There is another approach I could use, I said then: a bigger gouge to establish the dome first, inside and outside, and a smaller one to reestablish the middle. It would also work.
Part three kept the 5 busy. I placed it about a thirty-second of an inch away from my center point and made a groove around the middle, then took my ring even lower with that same number five. Little by little it cleaned the center part, and I said I'm not planning to use any sandpaper on it; I don't think it needs it. Only when it would not work anymore did the smaller 6 get its turn, to make the center of one petal deeper.
Were there other numbers in that lesson?
A few, and not all of them belong to gouges. For the micro details I said I do have a micro chisel, just a straight number one chisel, and I could use that, or a micro V tool, which makes sense since it's a little safer. I showed both ways.
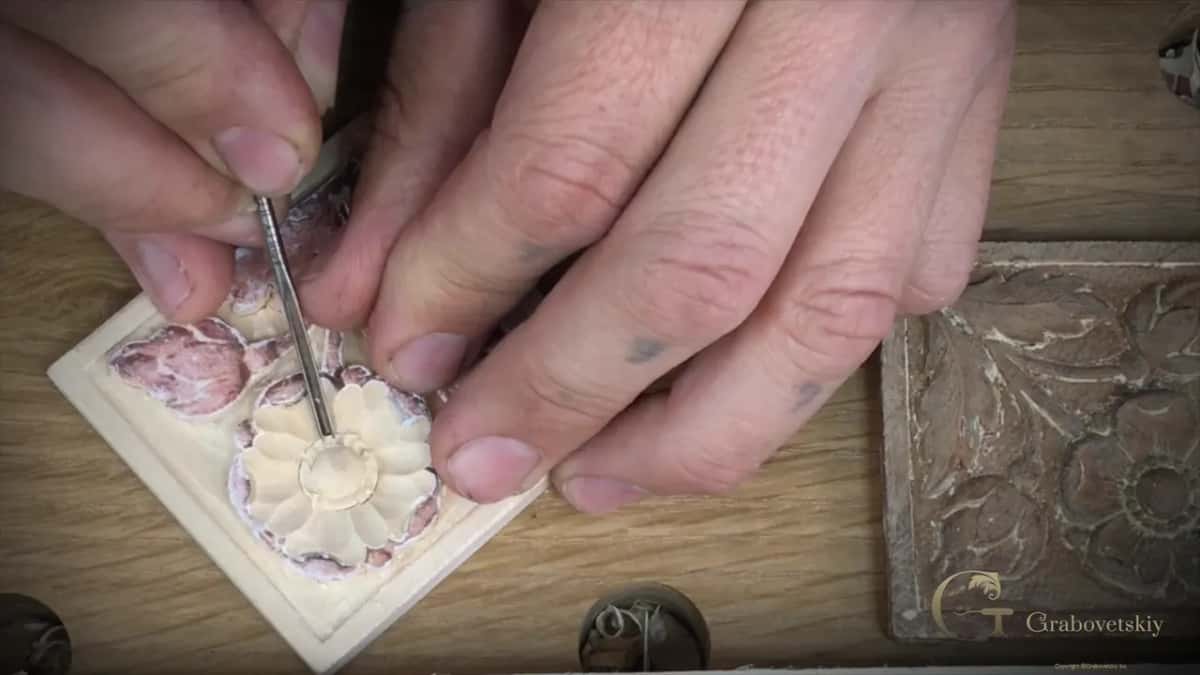
The small V tool went first, around the ring and straight to the center, and I said I think it works fine with just a small V tool. We're going to refine them and make them more round looking, I said, but for now, just to the center.
Later I took a number one micro tool, but first I said let me buff it. I can see it much better, I said a moment after, and the first pass went down into the wood.
To finish the flower I said my number 12, or any chip carving knife or detail knife, will do. Maybe I'll just use a micro knife, I said. That's actually not a bad old tool. It's American made, a Ramelson, and really good for the detail work. More passes around, and that's pretty close, I said: then we clean it, and the flower is done.
Part one carves the curls. Part two takes the flower's inside, and parts three and four take the middle down to the micro details and the knife.
All of it sits in the third lesson of Carving Flower Rosette, four parts and a little over half an hour of wood carving at my bench, a pencil beside the gouges. In the first lesson the first block decided which gouges fit. Tool numbers and what each one does fill All About Tools for Wood Carving, and edges have their own course, Carving Tool Sharpening.
Got a tool like that in a drawer? Then look at its curve, give it a number, and check the work, the way I did on that flower. New to all of it? First Cuts for Beginners is where I'd start you, and Tuition and Access are laid out on one plan page.
How it's done
- Read the curve. Hold the gouge and judge its edge by eye, the way I put a number 8 on one that carried nothing.
- Put a rough size on it. Say a near width. I called that 8 approximately, and the carving went on.
- Look for half round. An edge that makes half a circle is likely a 9. That is how the tiny Dockyard got its number, since I could easily rotate it.
- Compare with the original. Hold the carving beside the piece you are copying. I did that once the 9 had rounded the small shapes, and they looked the same.
- Send it to work. Use the named tool where it fits. My 8 made a first pass inside the petals and connected that side.
Frequently asked questions
Can you tell the width of a gouge by eye?
The third Flower Rosette lesson does it on camera, giving one unstamped gouge its width by sight. Over on the Venetian Flowers Rosette I took a number 11 of maybe 4 mm and admitted I was unsure of the size, so I defined it by eye.
What number is a gouge with a half round edge?
Going by my words over a tiny Dockyard gouge, a 9 is the likely answer. I could easily rotate it, and its edge made half a circle. Right after, I held my rosette beside the brown original, and the two looked the same.
Do all carving gouges have a number stamped on them?
One brand on the Chamomile and Bow Rosette came without a single mark on the steel, I said in that course. Flower Rosette 3 had two more without a stamp, a number 8 and the Dockyard, and I named both by looking at them.
What to carve next