
Alexander Grabovetskiy, woodcarver, School of Woodcarving · Published 2017
What is a grounding tool in wood carving?
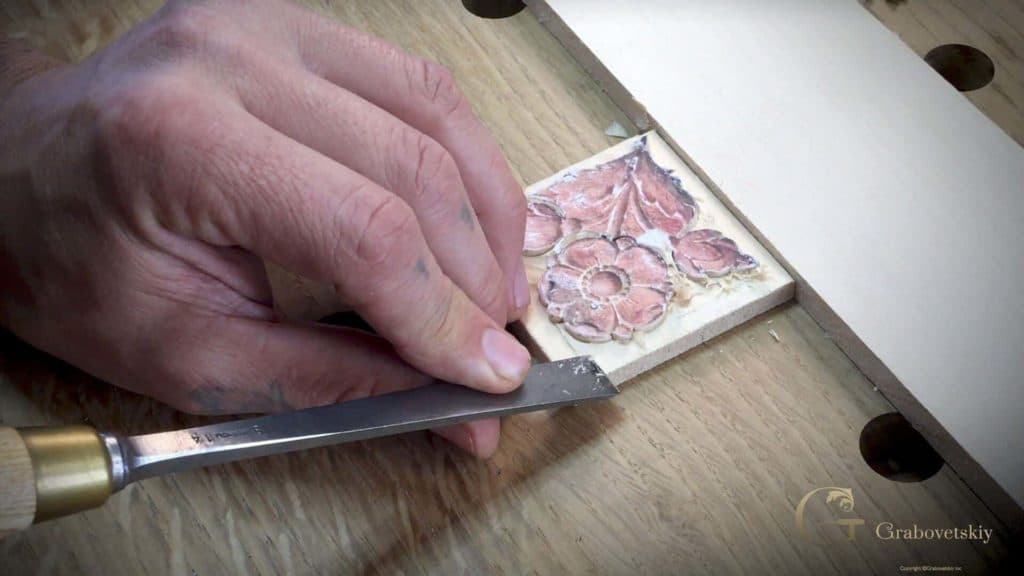
Quick answer: A grounding tool is a background tool, a shallow gouge used to clear the ground behind a carving. On one small flower rosette I worked three sizes of it to take ridges off, make return cuts and hook out waste, with a micro front bent for the tiniest spots.
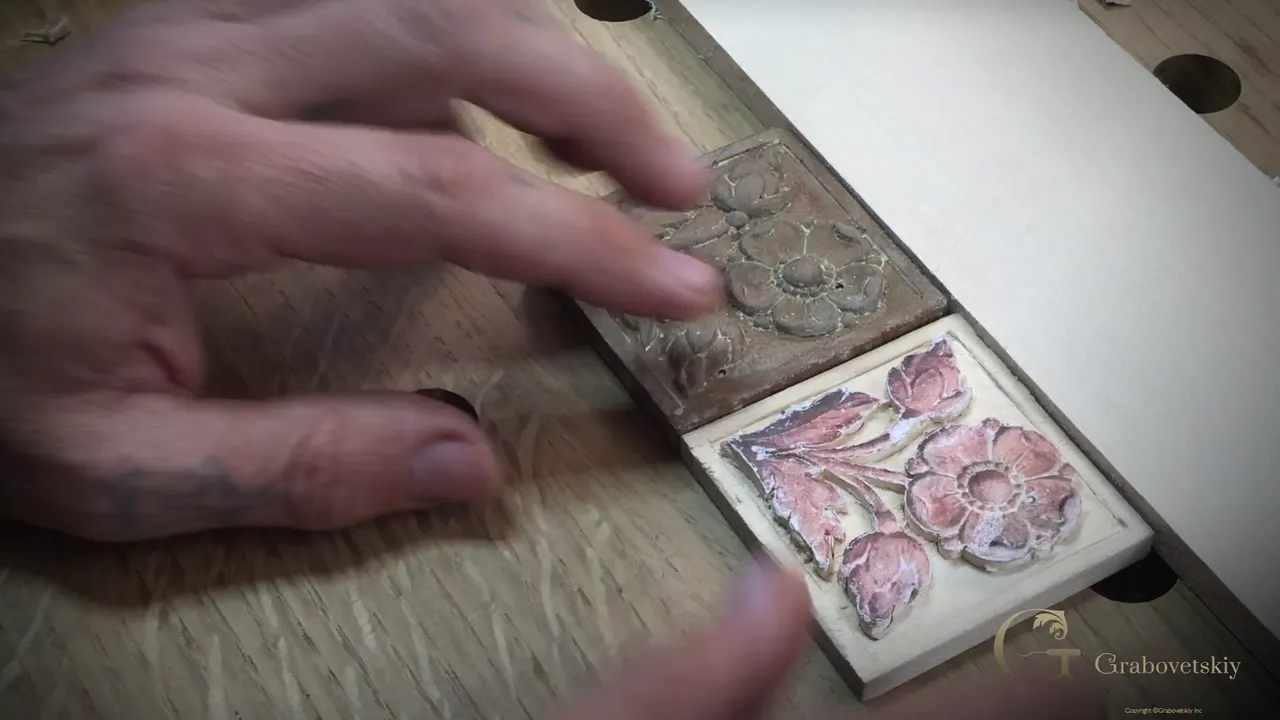
A grounding tool is a shallow carving gouge, and it works the background behind a carved shape. I call it my background tool just as often, and I mean the same steel. In lesson 2 of Carving Flower Rosette it took over once an ordinary gouge and a quarter inch #6 had worked the edges of a small flower.
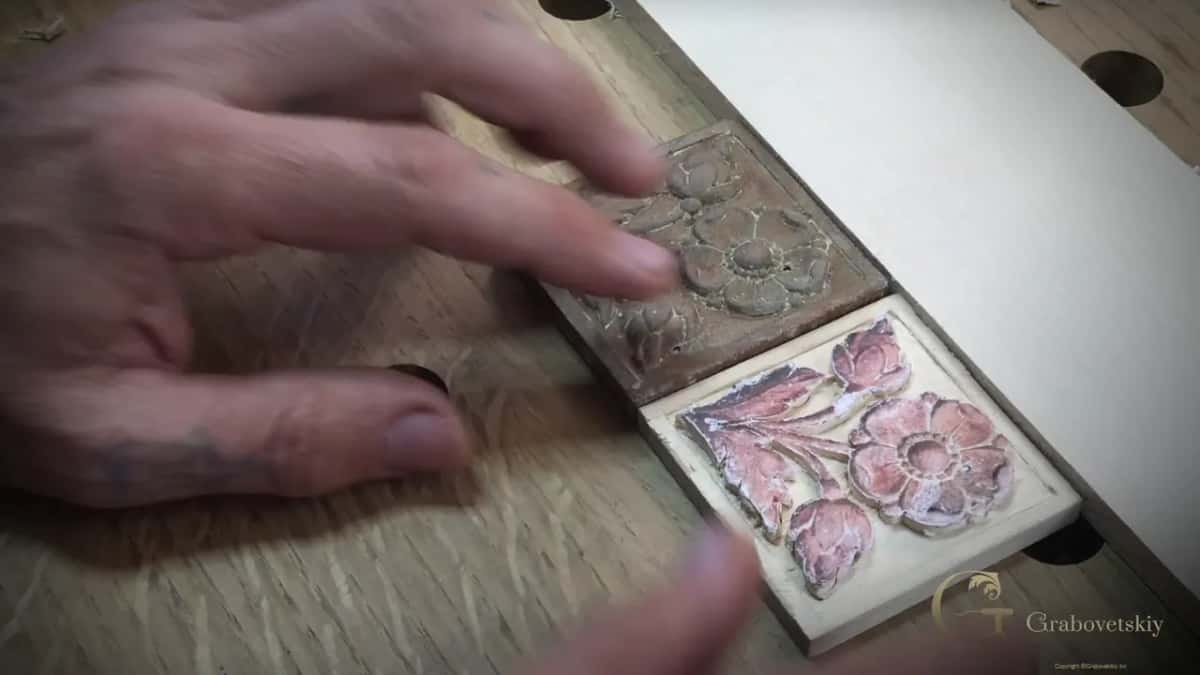
Lesson 2 is mostly about the relief carving background, the flat ground the flower stands up from. A rosette is a small ornament, and on one this size there is not much ground at all. Narrow strips run between the petals, and a thin band sits inside the border. My grounding tools did four jobs in there. They took ridges off the ground, made return cuts, cleaned up after smaller tools and hooked waste out. Where even the smallest was too wide, a tiny bent micro gouge reached in.
Have you ever seen an old carved panel where the ground behind the flower lies quiet and even? Would you like the ground on your own carving to come out like that? Then follow the tool with me, pass by pass, from the outside of the flower into its middle, the way I carved it on camera.
The grounding tool on one small rosette, in seven lines
- My first one was a number 3 from Ashley Iles, and its sweep looked smaller than its number.
- A bigger size took the ridges off, then a smaller one worked by the border.
- Return cuts got back inside lines already carved.
- For those return cuts, I said on camera, any number 3 will do.
- A V tool, a knife and a tiny Dockyard gouge went in before it, and it cleaned up behind them.
- Where the smallest grounding tool would not fit, a micro tool under 1/16 in (1.6 mm) did.
- I eyeballed the ground instead of measuring it, and stopped when it matched the old piece I was copying.
How is a grounding tool different from a number 3 gouge?
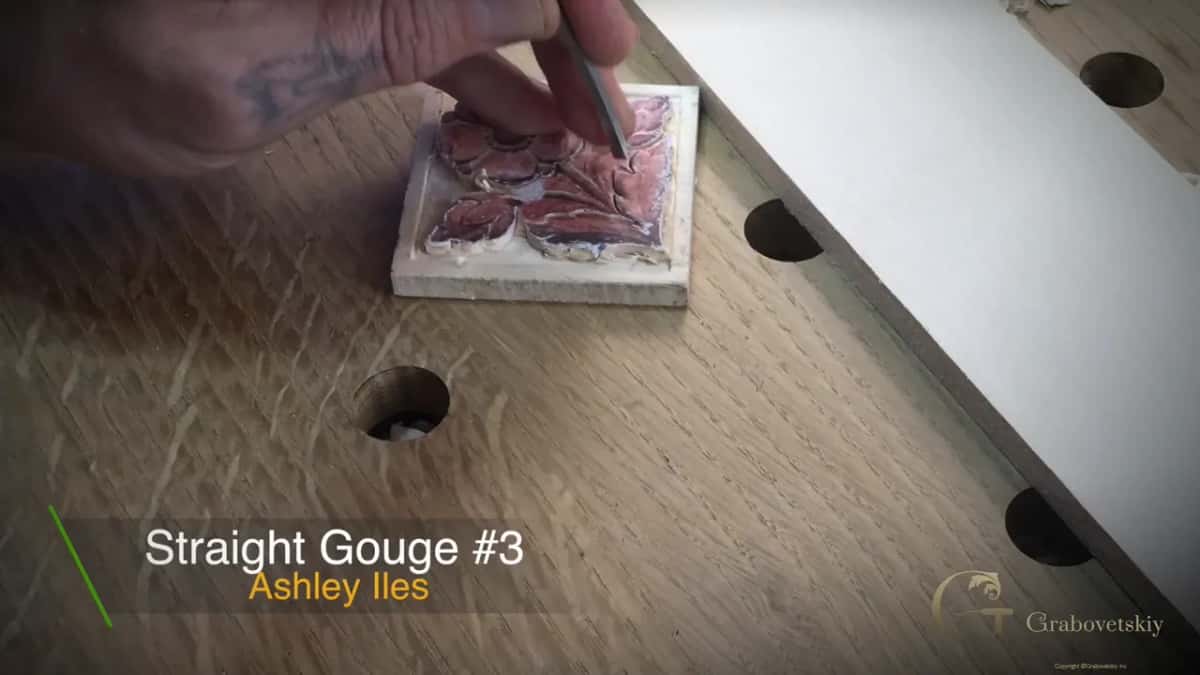
My first one in the third part was a number 3 by Ashley Iles, and still the curve of its edge looked smaller to me than the number on it. Sweep is the curve across the edge of a gouge, and a smaller sweep is a flatter edge.
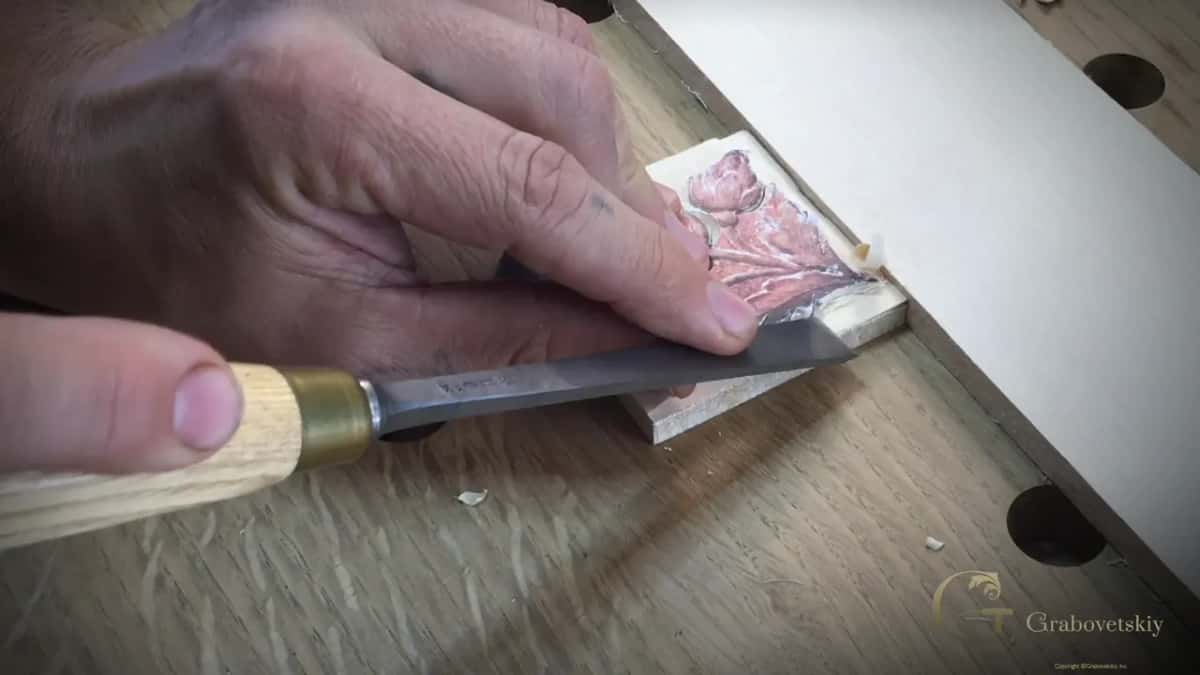
An ordinary number 3 had already done the outer edge in the first part. I called it a more flatter gouge, just slightly swept, and showed you the sweep. Then it went round the outside of the flower to the line, one side, a turn of the block, the next side. I didn't take too much at once, and I kept checking that I was not below my line. On the sides that ran against the grain I had to be even more careful. And I did not start a pass right at the edge, since I can miss there and I don't know what the grain is going to do.
Lesson 39 of Carving Furniture Panel puts it another way, in my words there: pretty much the same sweep as a number 3, with a slight curvature you see when you look at the tool from above. And on the antique style rosette I set one of these beside a straight background tool so you could see that slight bend.
How many sizes of grounding tool does a small rosette take?
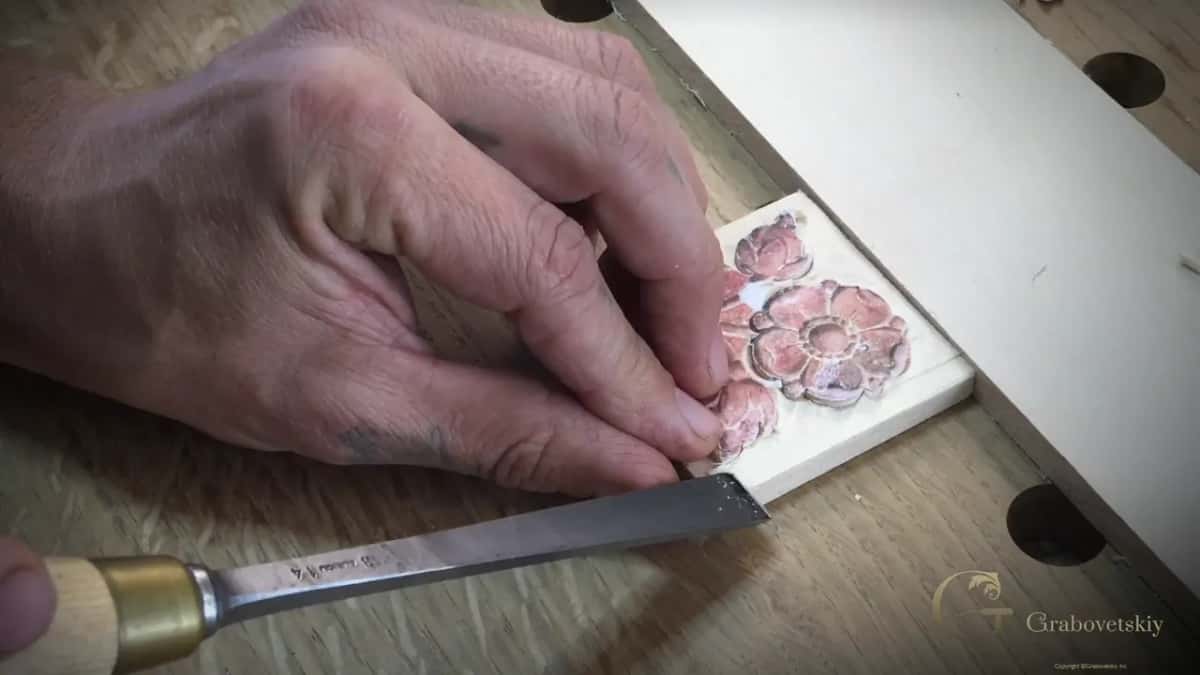
Three went through my hands in the third part alone. I picked up the first one, looked at its sweep and said let me get the bigger right now.
The bigger one was still a grounding tool. It gave me what I call a clean cut, removing those ridges on the ground, and a clean cut is one I have to be really careful with. For about forty seconds after that I said nothing at all and just worked the ground with it. Then I took an even smaller one for the next side. In places there was hardly any background. With a smaller one again I took the background off carefully, turned the block and worked from the other way, where the ground met the border.
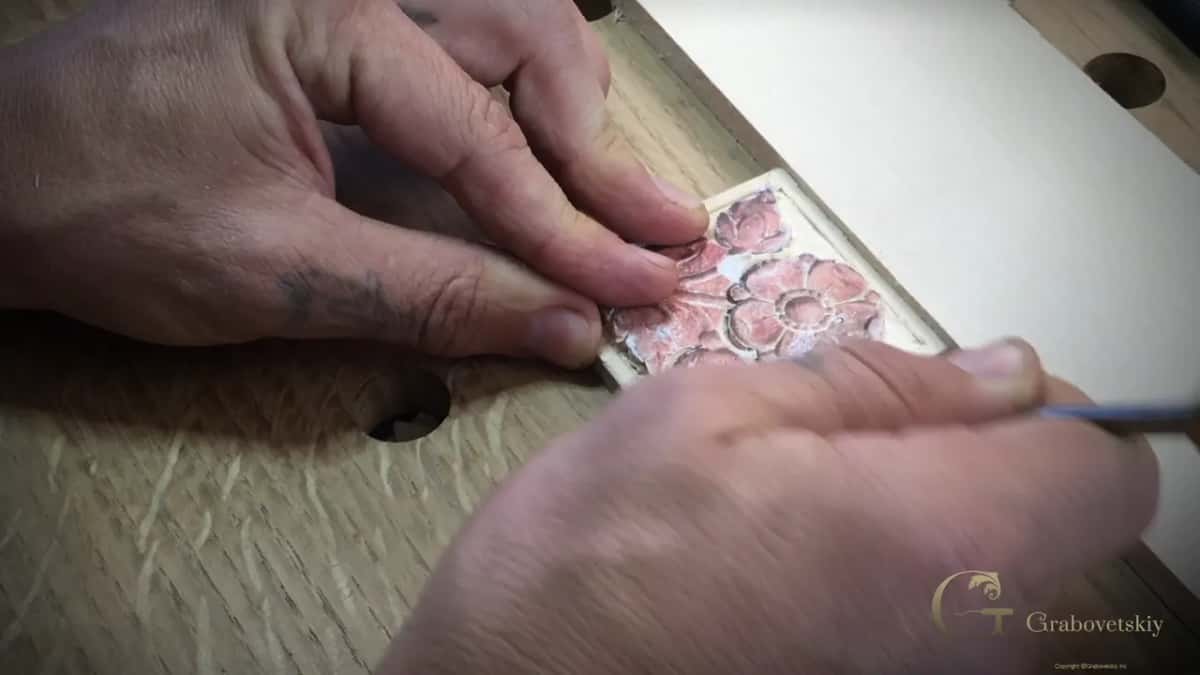
That last spot asked for the most care. The border edge there ran with the grain, and if I pushed too much and poked that point, it was going to take away the border, or the frame, whatever you call it. Slow hands.
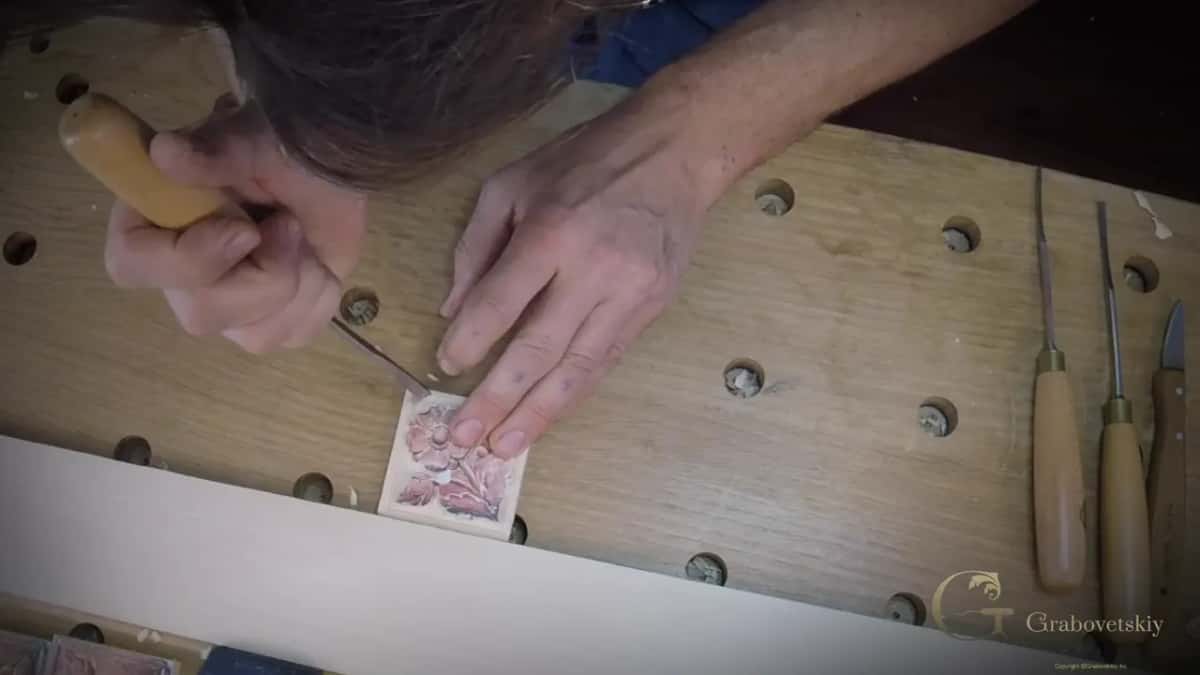
This rosette, I said, is an excellent piece to try, because it is shallow carving, the kind you can put on furniture, and the background part trains you not to go too deep. Near the end of the lesson I showed you a small grounding tool and said I could use an even smaller one in some sections. I come back to that tiny tool further down.
What is a return cut with a grounding tool?
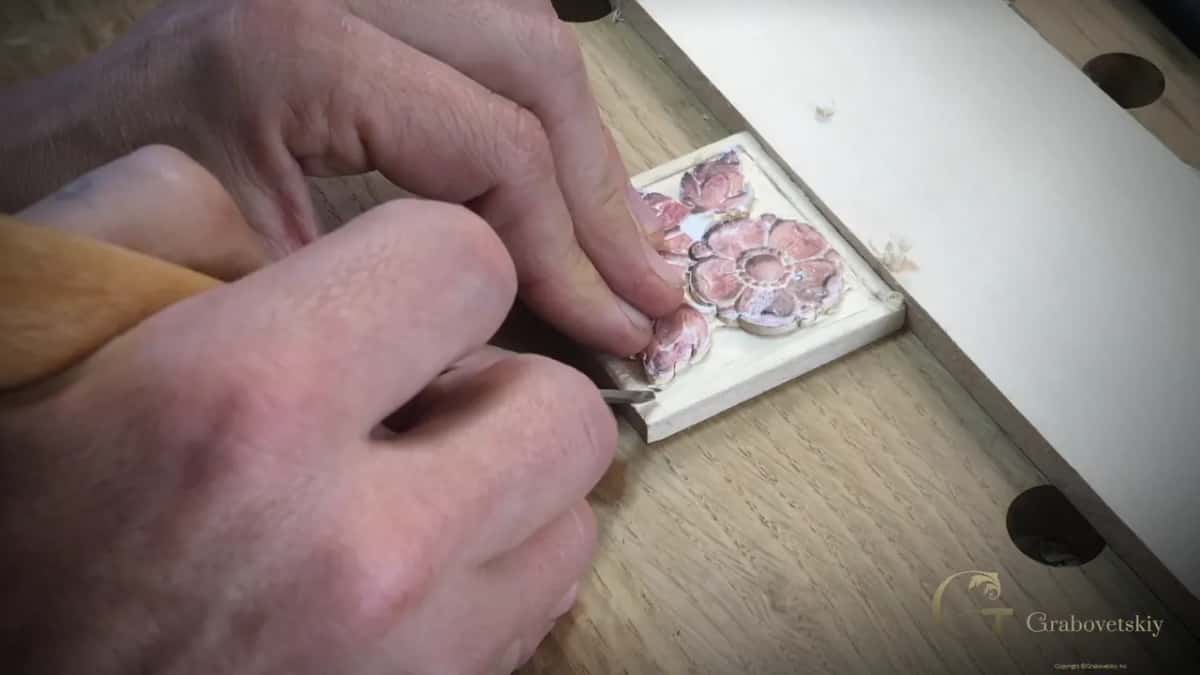
Return cut is my name for going back to a line that is already carved and getting inside it.
In the last part the outline round the petals was done, and it was time to work on the inside. I held my gouges against the drawn shapes first to see which one fit, and a number 5 at 3/8 inch, about 10 mm, sat on one curve just perfectly.
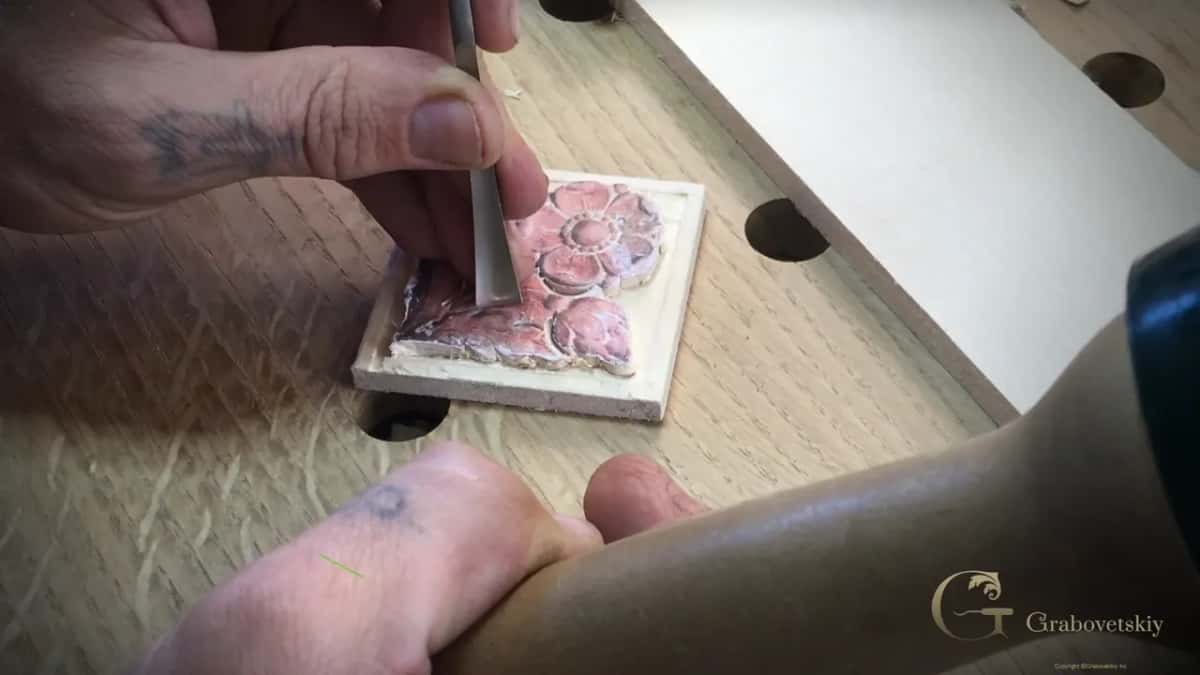
Then my background tool came back for the return cuts. I had carved that line already, and now I had to kind of get inside it. The tool worked just fine for that. If you watch the video at that moment, the card on the screen reads Straight Gouge #3, Ashley Iles.
Can a plain number 3 do the job of a grounding tool?
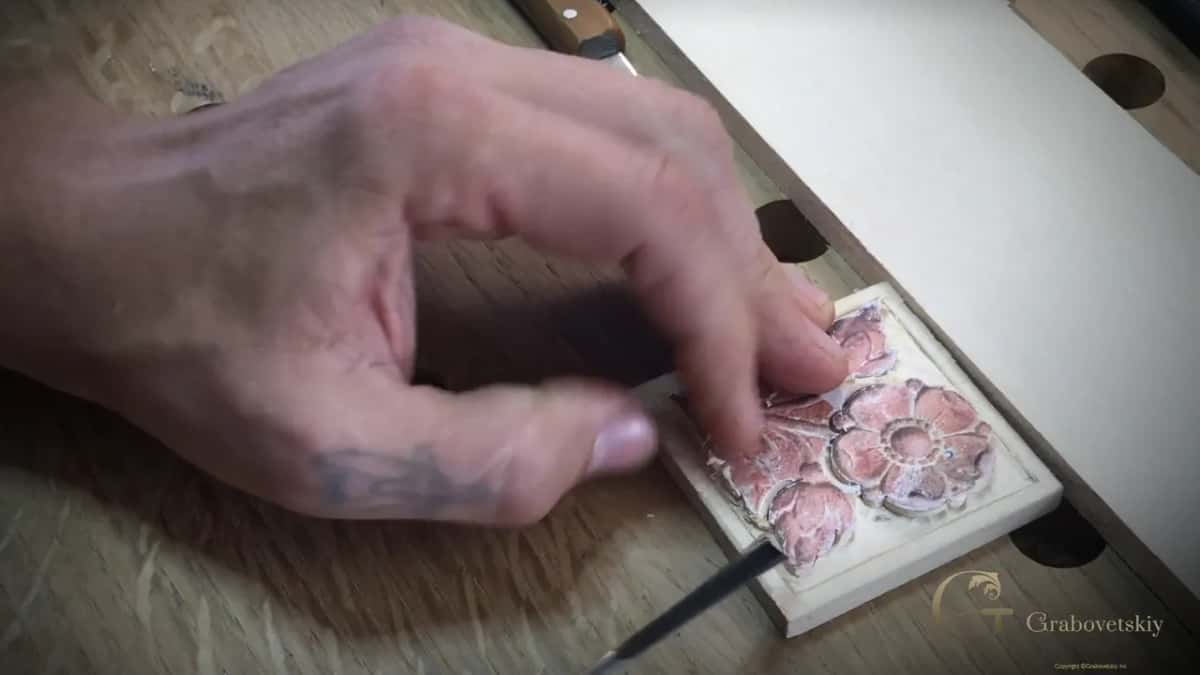
For return cuts on this rosette, any number 3 will do. Those are my words from part 2.4, and the next tool I picked up might even have been a different number 3. It worked really good, and I still called it the background tool.
Earlier, in the second part, the flower got in my way along the border, and some spots were almost impossible, but I still tried. My number 6 went in next, only a quarter of an inch wide, 6 mm, and it fit perfectly in one spot. Any small gouge will do, I told you.
Back in lesson 21 of Carving Furniture Panel I was plainer still: if you do have a grounding tool, that is an excellent approach, and if you don't, a number 3 is approximately the same thing. On my Greek acroterion I said it is nice to have a grounding tool set, but without one any flat, small chisel will do.
Which tools go into the flower before the grounding tool?
Inside the flower the weak points came first. Near the end of the lesson I showed you one and said that if I pushed too hard there, it was going to snap out. I did not want to see that, so I stopped there. That was plenty for me.
So a V tool went in first and outlined those spots slightly. I called it a relief cut, and I said it was a really good idea because the spots right there are kind of weak.
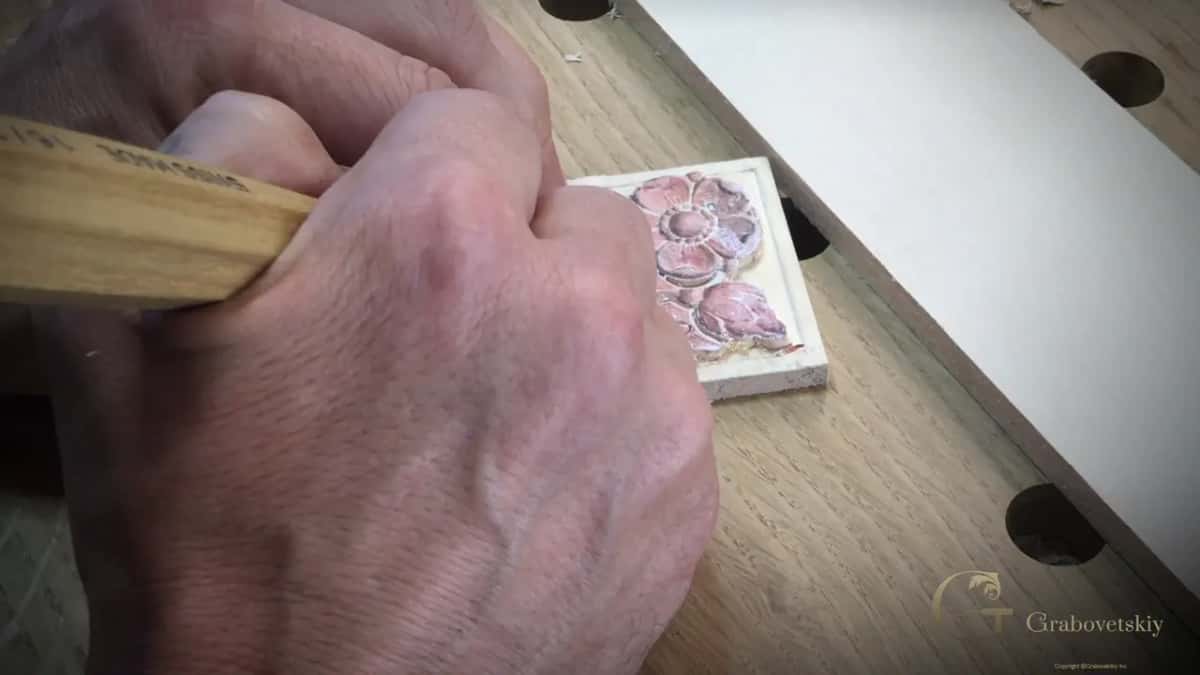
Then I went round with a knife, straight down. After that a small, tiny gouge by Dockyard worked its way in with a few passes in one direction, then on the other sides, and I kept checking that nothing went deeper than it was supposed to be.
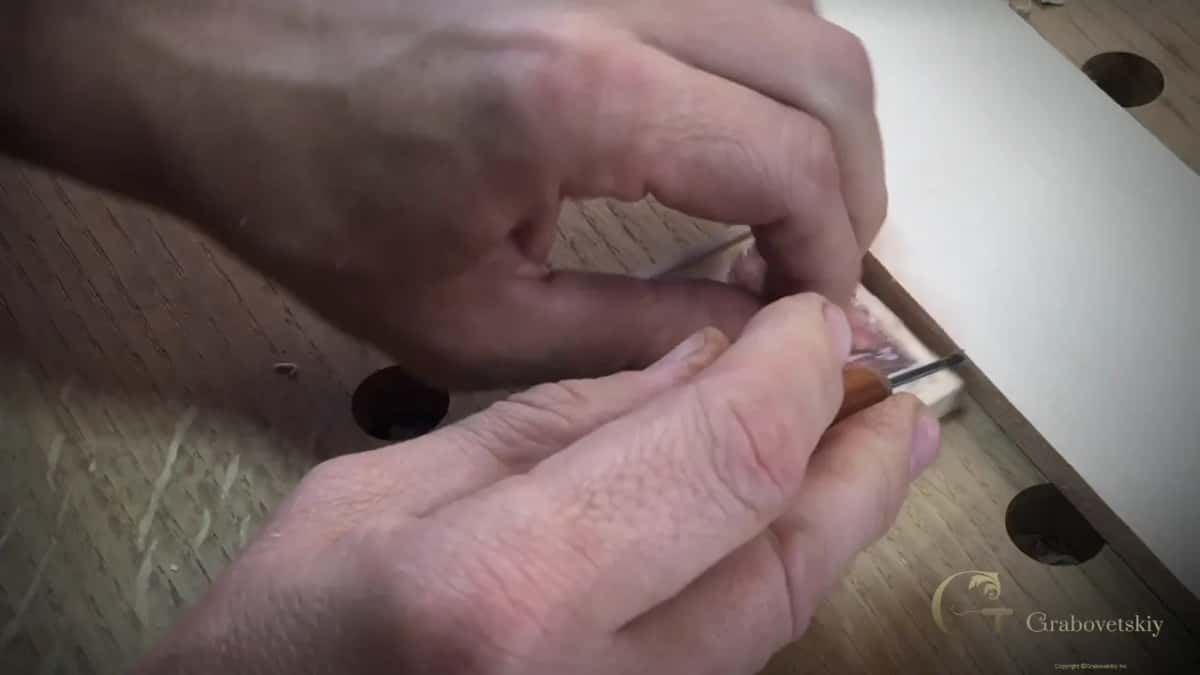
I could take the background tool right away, I said, but I thought it would be easier for me to make several passes first. Only after the Dockyard gouge had removed what I didn't need did the grounding tool come back and make those passes cleaner. It also showed me where I needed to go a little deeper.
Can a grounding tool hook waste out?
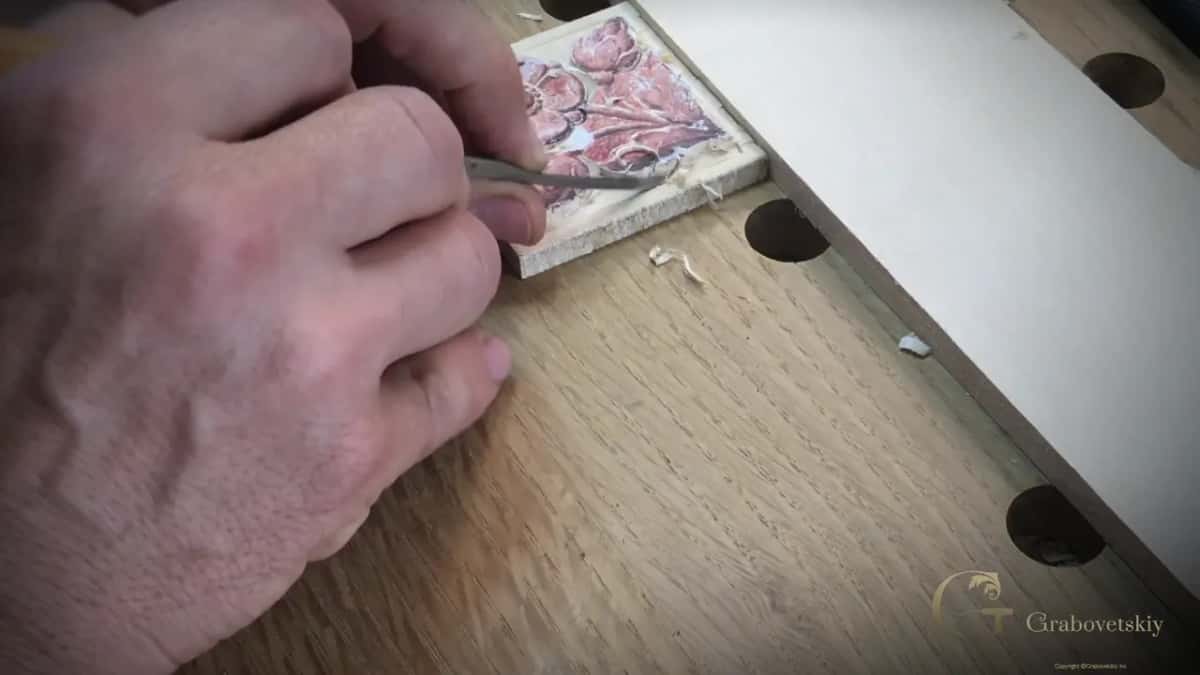
On this rosette it did, and that is how the last of the background came out. The routine ran the same way on each side, and each time the knife went first. My chip carving knife went a little deeper along the line. Then the background tool went in, hooked the waste and moved it out. When one side looked good, I told you which section was the last one left to remove.
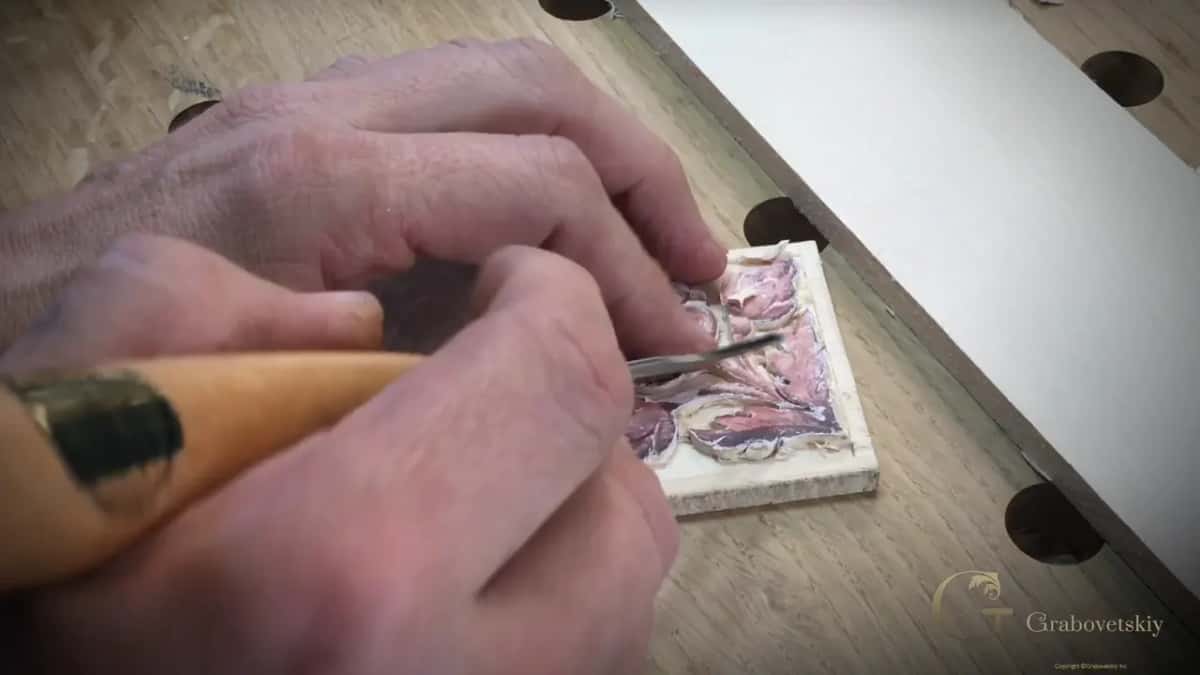
On the last section I said kind of hook it, raise it up, and there was my background, taken out. Some carvers say hooking can harm your tool, but I never harmed mine, because it is just wood versus metal, and metal is going to win. For more on the move itself, what hooking is in wood carving has its own page.
What do you use where the smallest grounding tool will not fit?
A micro front bent gouge. Mine is less than a sixteenth of an inch, about 1.5 mm, and it got me into the really tiny spots. I said I could use a micro gouge there, and then I did.
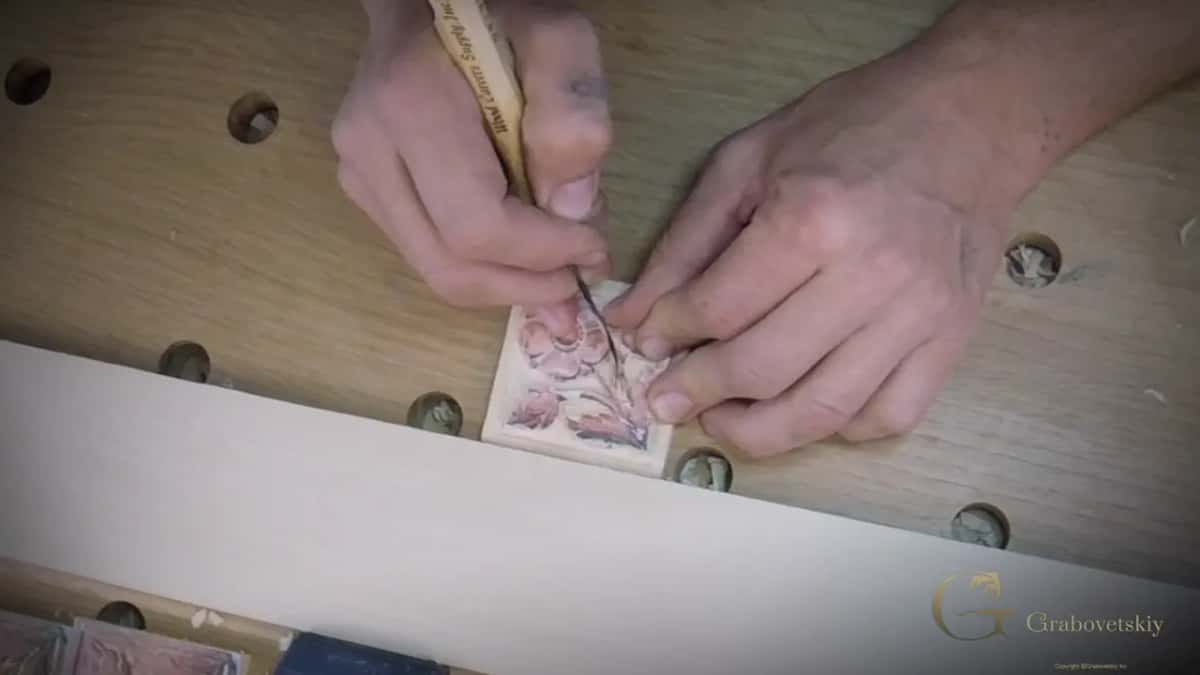
There were two sections like that. I hooked out the waste with the micro tool too and removed it, then did one more spot the same way. A little cleaning on one side, and the ground was finished. What micro carving tools are used for is a question I took up in the Venice Room, if you want more on these small tools.
How do you know when the ground around the flower is done?
When it looks like the original. Those were my last words in lesson 2: the background is done, I'm not going to do anything else to it, and it does look like the original.
At that stage I did not measure the background. I just eyeballed it.
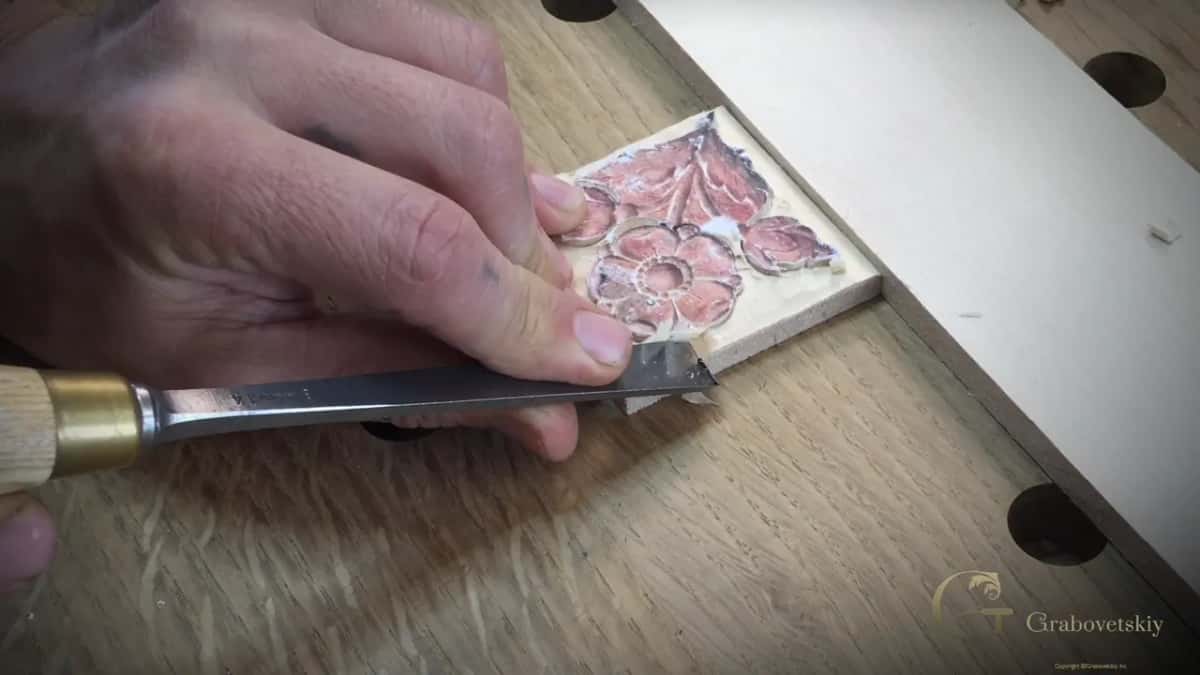
Back in part 2.1 I kept to the outside perimeter first, because on the inside the ground goes a little deeper. Reading the original, the inside goes down a little more than a thirty-second of an inch and a little less than a sixteenth, so somewhere between 0.8 and 1.6 mm. The border itself was set in the second part with a marking gauge at 5/32 inch, about 4 mm, the same as the original.
In that same part I also told myself I could not go deeper than a thirty-second yet, about 0.8 mm. The ground stayed almost level with the border because punches come later and push down, compress down some fibers of the wood. And in part 2.3 I did not worry that the ground was not clean yet, because the leaves of the flower still had to be shaped, and that would give me a lot more chance to get closer to the background.
Which tools touched the background in lesson 2?
| Tool | Job | Where |
|---|---|---|
| A plain number 3 gouge | cleaned round the flower all the way to the line | Outer perimeter |
| A number 12 knife | carved the border line a little deeper on all four sides | Border line |
| A #6, 1/4 inch (6 mm) | worked in close to the border and fit one spot perfectly | Border corners |
| Three grounding tool sizes | took ridges off, made return cuts and lifted the waste out | Whole ground |
| A V tool | outlined the weak spots inside the flower with a light relief cut | Weak spots |
| A tiny Dockyard gouge | opened the waste with several passes ahead of the grounding tools | Between petals |
| Front bent micro gouge | reached the tiniest spots at under 1/16 inch, or 1.5 mm | Tiniest spots |
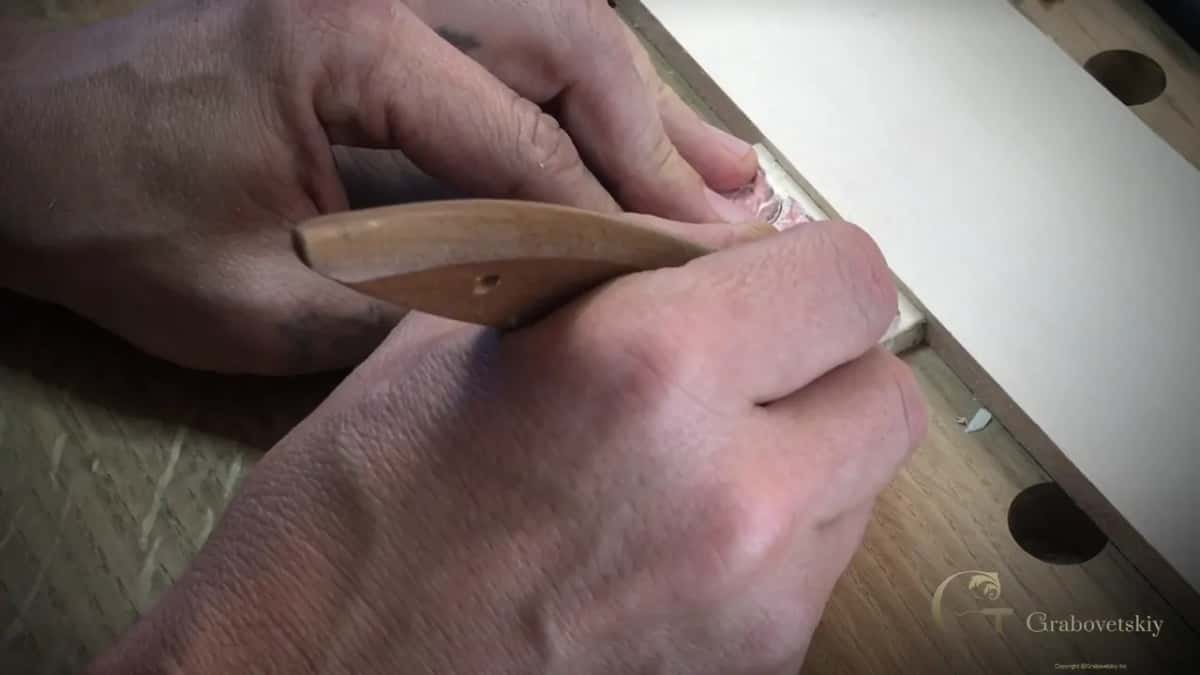
At the start of the last part I put my tools down right beside the block. A router plane is another way to level a ground, and what a router plane is used for sits on its own page.
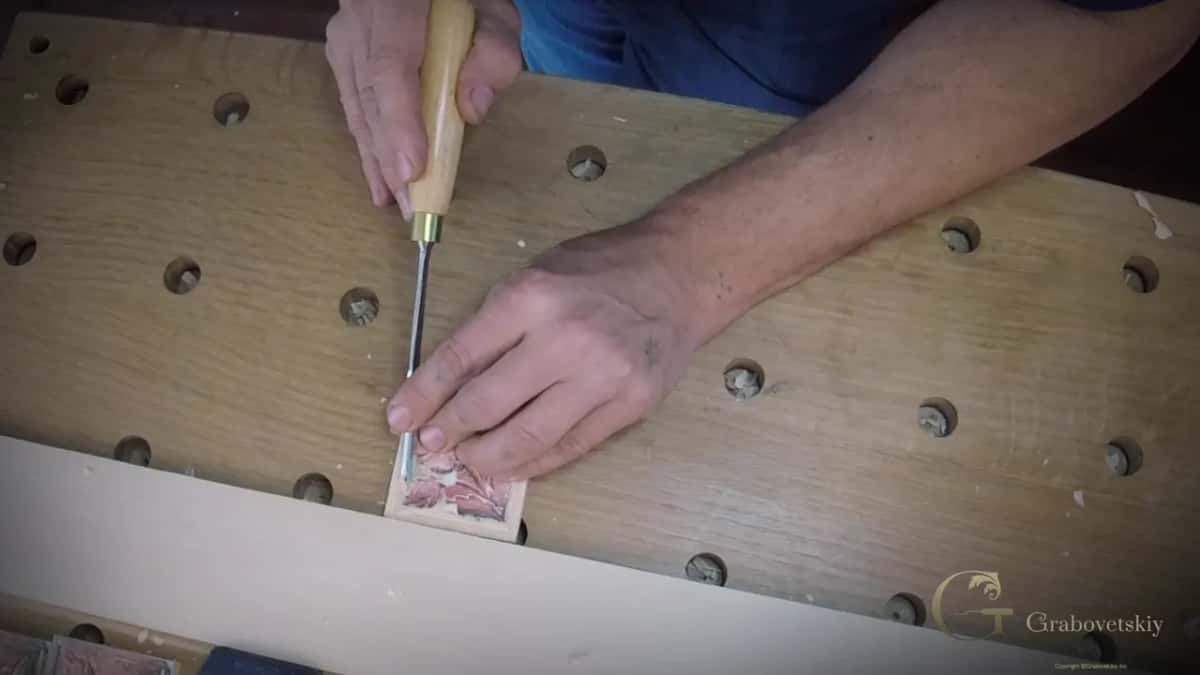
Where can you watch the whole rosette carved?
In the course itself. Every part of this lesson sits in the Carving Flower Rosette course, filmed at my bench, and lesson 1 begins with the batch of blocks and the paper patterns. How I carved a set of matching rosettes for one order tells that story. Later lessons carry the same flower on to the end. Lesson 2 itself is four short videos, a little over half an hour in all. One covers the outer edge, one the border, one the grounding tools, and the last one works in among the petals.
For the tools themselves, All about Tools for Wood Carving goes through which tool does what. If you have never held a gouge, First Cuts for Beginners is the place to start in wood carving, and the lessons map lays the courses out in order.
Is there a small flower you would like to carve with a clean, quiet ground around it? Would you like to watch every pass of it at the bench? Then come carve the rest of it with me. Tuition and Access sit on one plan page, with no surprises.
How it's done
- Clean the outer edge first. Take a number 3 round the flower's outer edge and clean it to the line, turning the block for each side. Take extra care on the sides that run against the grain.
- Lift the ridges with a grounding tool. Switch to a grounding tool, flatter than your number 3, and pass it over the ground until the ridges are gone.
- Change sizes as the ground narrows. Take a smaller size near the border. Where that edge runs with the grain, keep the push light, or the point and the frame come away.
- Open the inside of the flower. Outline the weak spots lightly with a V tool, go round with a knife, then take out the waste a little at a time with a tiny gouge.
- Come back with return cuts. Bring the grounding tool back to the carved lines and work inside them. A number 3 can do this too.
- Hook out the last waste. Run the knife a little deeper, then hook each piece out and raise it up. Where nothing else fits, use the micro tool.
- Stop at the original. Eyeball the ground instead of measuring it, and stop when it looks like the piece you are copying.
Frequently asked questions
Is a grounding tool the same thing as a background tool?
Same steel, two names. In part 2.3 I picked up my grounding or background tool, a number 3 whose sweep still looked smaller than its number, and later in part 2.4 I said background tool and grounding tool in one breath. Either name points at that nearly flat edge.
Can I clear a rosette background with an ordinary number 3?
For the return cuts on this flower I told you any of them would do, and a different one worked really good. In another course I called a number 3 approximately the same thing. A proper grounding tool remains an excellent approach, if one is already on your bench.
What comes after the grounding tool where the spots get tightest?
Smaller steel, a micro gouge with a front bend, under a sixteenth of an inch, about one and a half millimeters. Lesson 2 took it into two tiny sections where I wanted something smaller than my small grounding tool. I hooked waste out with it, lifted that clear, then finished one more spot the same way.
What to carve next