
Alexander Grabovetskiy, woodcarver, School of Woodcarving · Published 2017
How do you remove a paper pattern from a wood carving?
Quick answer: Paper removal on a carved rosette is a job for a tiny number 3 gouge. On lesson 4 it lifted the paper away once the main forms were carved, with the wood hardly touched, and then a V tool and a micro gouge rebuilt the fine lines by eye.
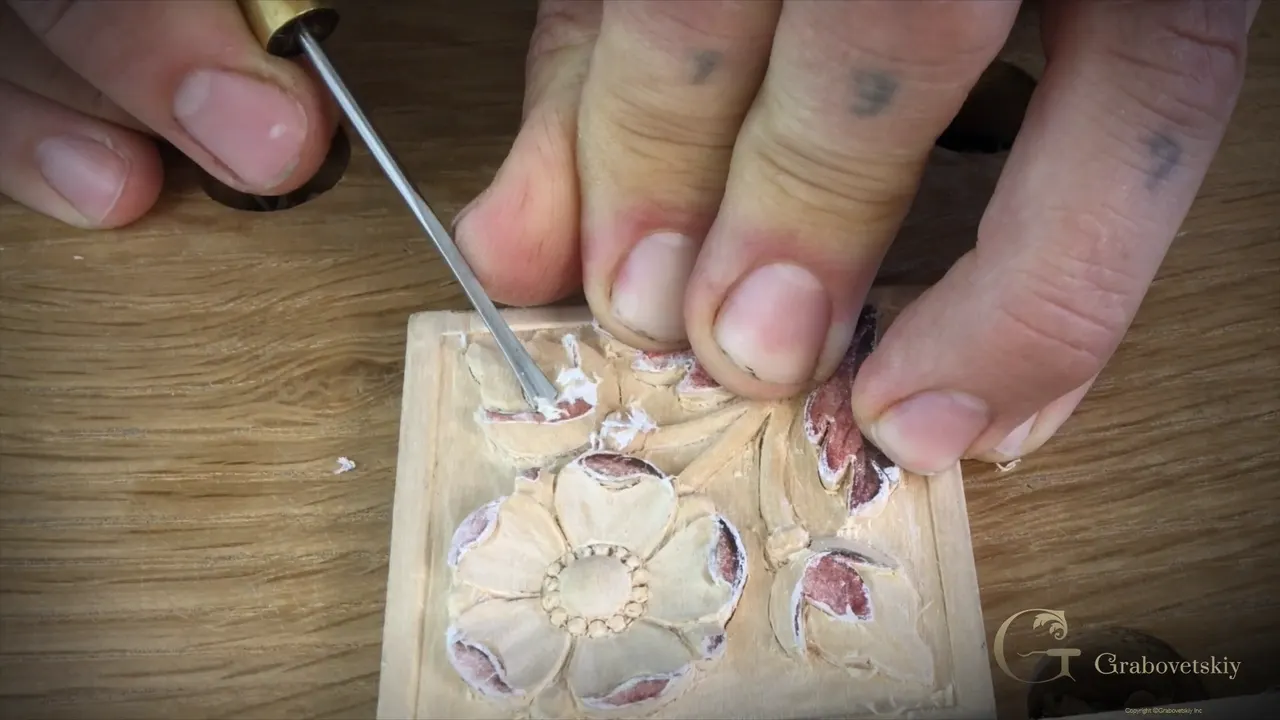
Removing a paper pattern from a wood carving is light work for a very small gouge, after the main shapes stop needing the drawing. In lesson 4 of Carving Flower Rosette I hooked the paper off with a really small number 3, almost not touching the wood. Next I put the fine details of the small flowers back by eye, looking at the original.
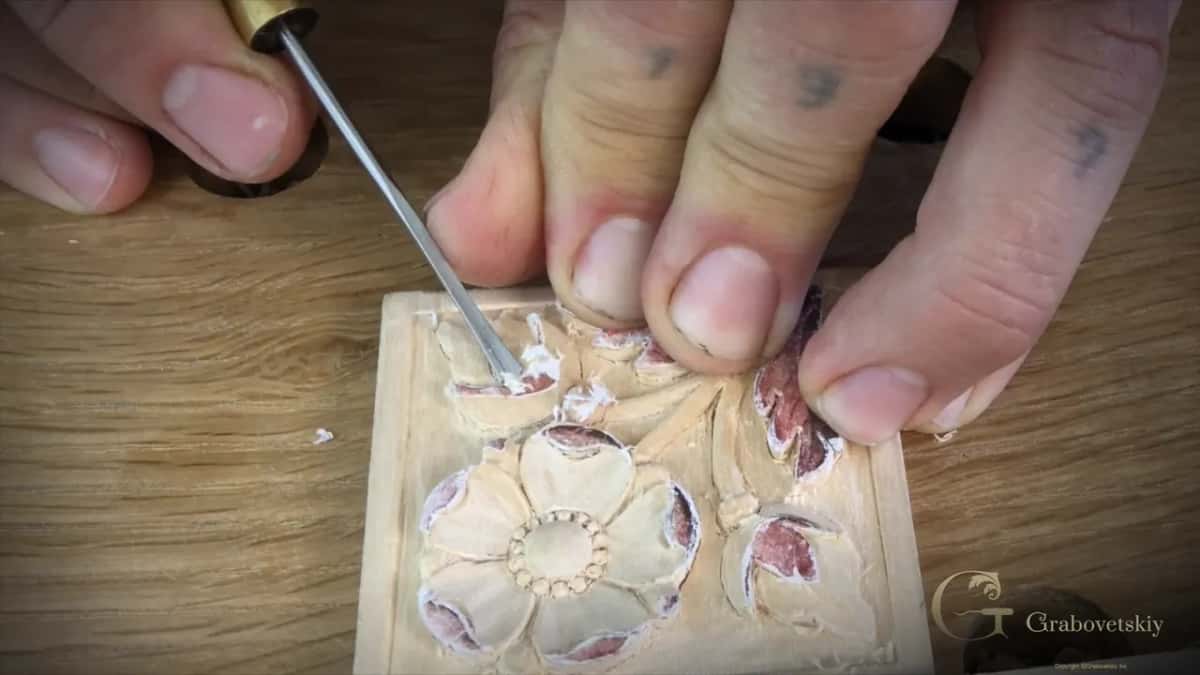
Printed wood carving patterns like this one go onto the block as paper, and on this rosette that happened back in lesson 1, with spray glue. By lesson 4 the flower has its shape. Much of the drawing is carved through. What is left of it has to come off at some point, over wood that is already carved. This page follows the paper on my bench, from the first V tool line to the moment it came away, and then on to what I said about paper on another rosette and on a furniture panel.
Did you glue a printed drawing onto your block? Has your gouge gone through most of it by now? Then the rest of that paper can come off with one small gouge and a light hand, the way it came off mine.
Lesson 4 and the paper, in six lines
The paper stayed on while a V tool, my number 12 knife and small gouges carved the leaves and the small flowers through it.
It came off when the details were next.
A tiny number 3, the one that had just taken the ridges out, did all of the lifting.
I barely hit the wood, just hooking the paper and lifting it, and on camera what comes up is paper, white and fluffy, from the top of the flower.
At the end of the lesson one big leaf still wore its paper.
With the drawing gone, a groove tool and a micro gouge put the fine lines back, copied by eye off the original.
What gets carved while the paper is still on?
Almost everything big. Lesson 4 starts with one section going lower, then the leaves, then the two small flowers, and every bit of that happens with the printed pattern still glued on top of the block.
I took my V tool first and ran the first line through the drawing. The knife alone would also be appropriate here, I said. Before going on I checked that the V tool had gone through everywhere. I do have that detail on both sides, I said, and I just want to make sure I'm not missing it. A couple more passes with the V tool followed, and that section went lower.
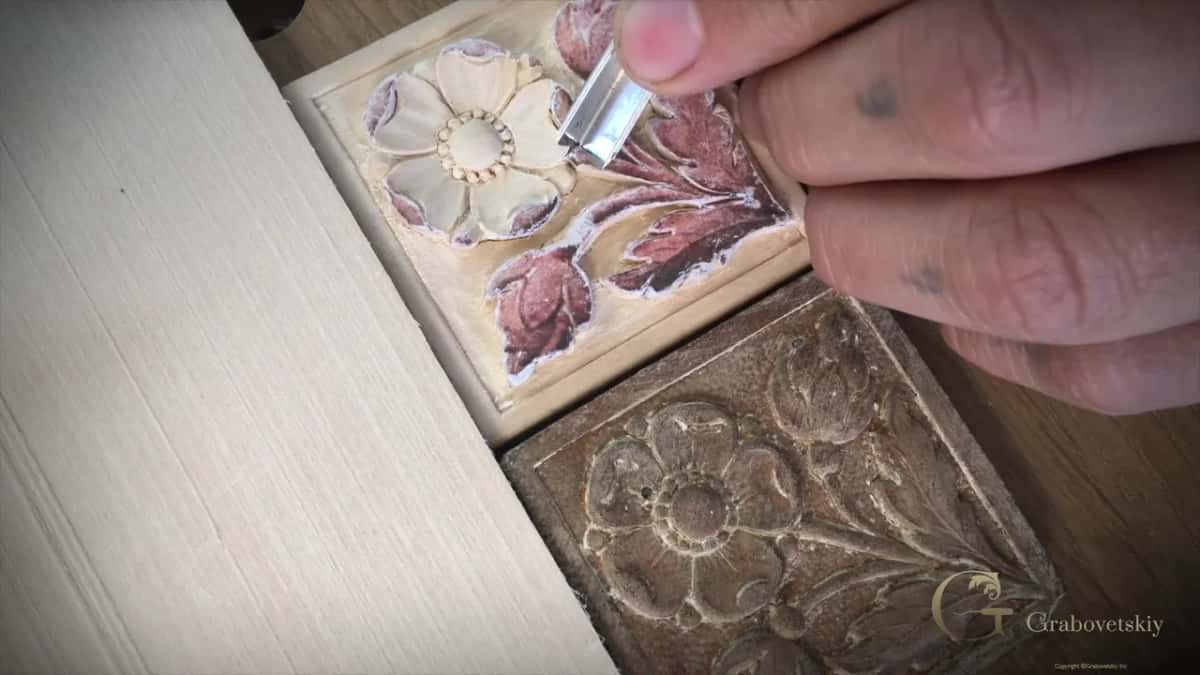
Next was my number 12 knife. With it I made another section lower, like an original one, and took the rest of that material away on one side and then the other. The shape had to get somewhat rounded next. Little by little, with the same knife. I have to be really careful not to overdo it, I said. It would be a big mistake.
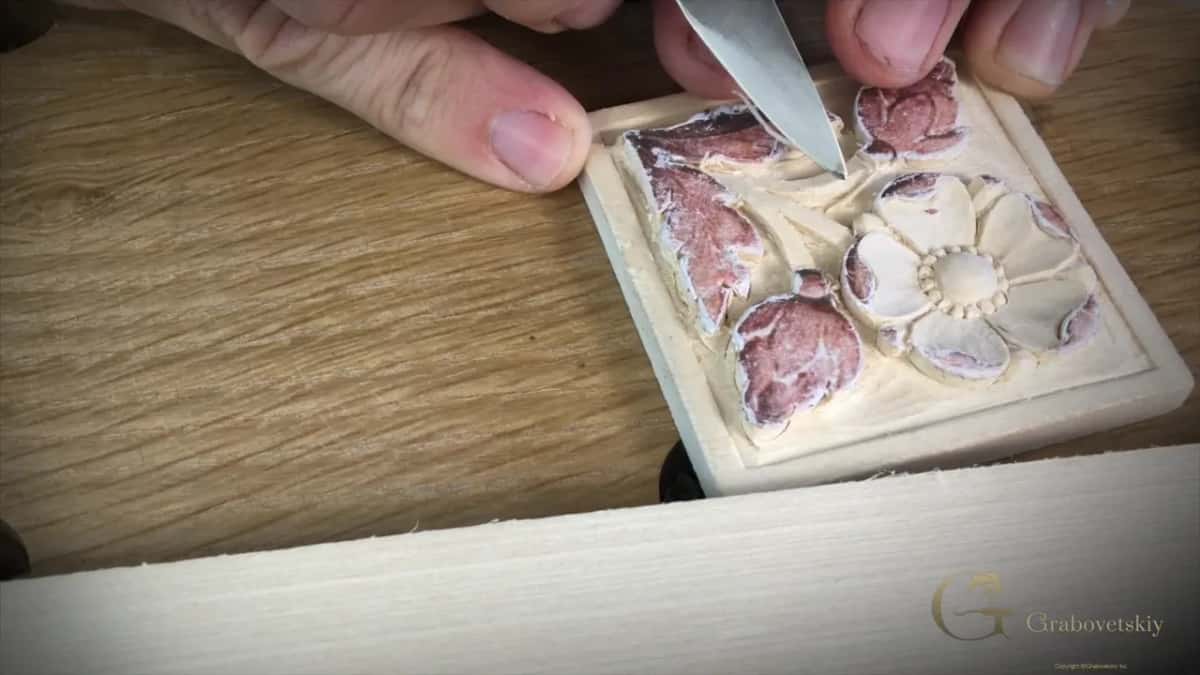
For the rounding I picked up a smaller number 3 and cleaned a little bit around. My grounding tool could have done it, I said, and then I decided this number 3 would be a really good tool to make that shape somewhat rounded.
The grain decided the direction. On the inside I started from my high point and moved with the grain, and on the opposite side of the same part the upper point sat in another place, so the gouge went the other way.
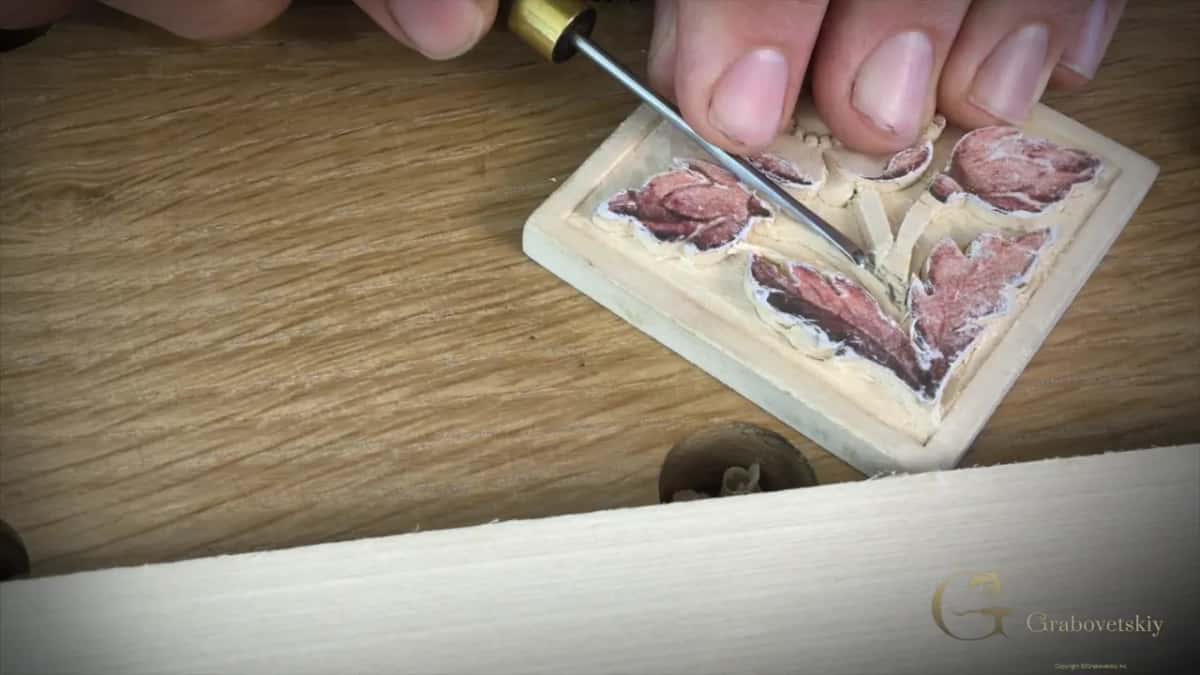
One more spot could have taken the knife again. Instead I picked up a micro tool, and I said it makes life much easier. Those are Peter Benson tools by Ashley Iles. I survived without them for a long time, and you don't really have to have them, but if you can afford them I would suggest you buy, because I'm reaching for those tools almost in every project.
One ridge came out next, and I made it a little more rounded. I want to make sure it looks exactly the same as original, I said. On the original, one side of the next section goes all the way down and the other is not quite the same, and I tried to keep that, like it was done by the same hand. This one is a little narrower, I said.
Part 2 opens with a separation cut by the V tool on two more parts, one side and then the other with the tool still in my hand, and a micro number 3 cleaned around them. I am somewhat happy, I said, although one of them needed to go a little lower. I left it there. Later on I can refine all those details, I said, but for now it's good.
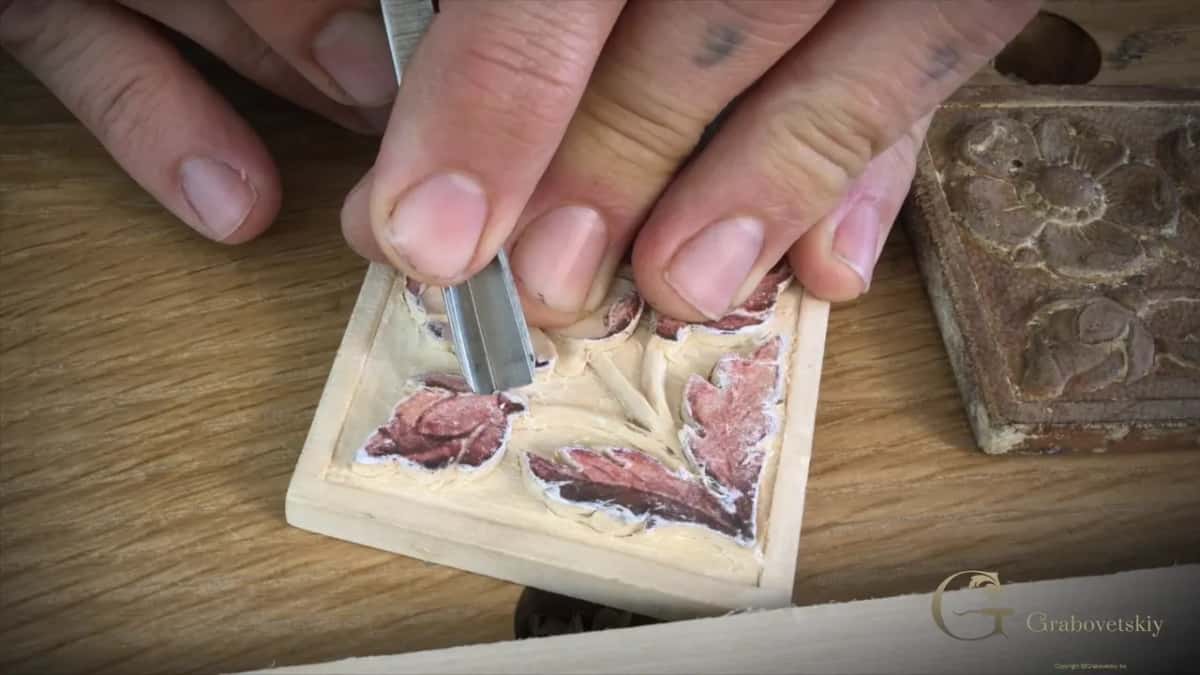
Where does the knife come in on the small flowers?
Right after a number 5 has gone around them. The flowers got their first form with the tool already in my hand. Make sure I'm not overdoing it, I said. That was the same warning as in part 1, and right after it a number 5 by Ashley Iles went around them, just like that.
Back to the knife. To follow the original design, its first lines on the flowers went straight down, and I did both sides at the same time.
Taking the wood out, I kept the blade at a really low angle and moved it away from myself. My finger pushed it, but I was still holding it really under control. If I push too much, I can snap this side, I said, and that's not going to look good. Better to make a couple of passes than snap it.
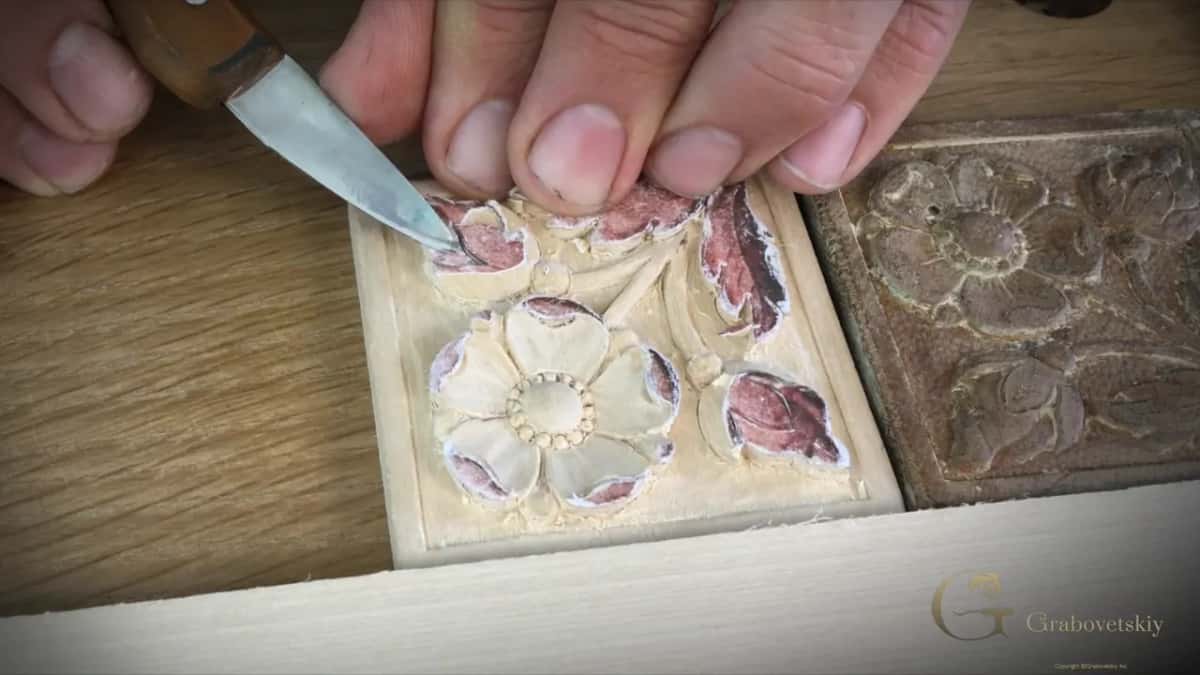
One more pass. The other side got the same exact thing, to make that form rounded too. In part 3 I went to the same knife again for one more side, exactly the same idea.
When does the paper pattern come off a rosette?
Right after the main forms. Around the center part a small number 6 went nearly to the bottom on both sides, and after it the little 3 took the ridges off.
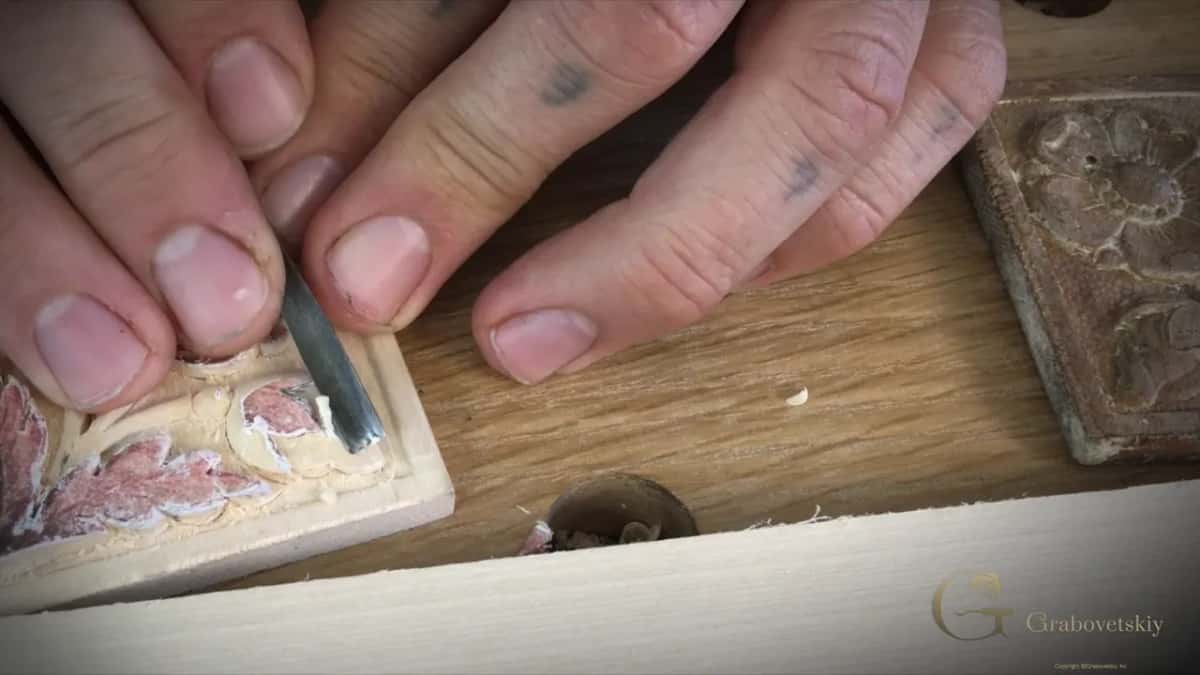
That's good, I said. But now I need to establish my details. And in the same breath, well, let me take this paper out also. I don't need that anymore.
On a furniture panel, in Carving Furniture Panel 38, I said nearly the same words, that I could probably remove that paper and I don't need that, since this part is done.
A panel can keep its paper far longer, and Furniture Panel 20 shows the paper doing a different job there.
Which tool lifts the paper off the wood?
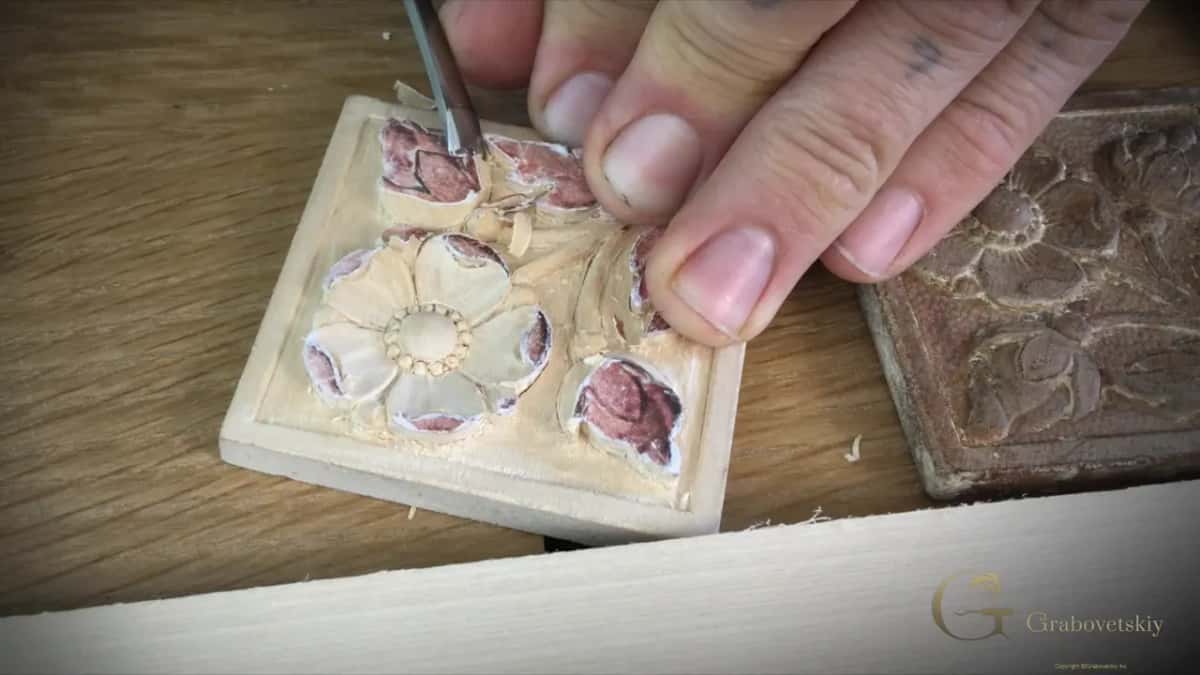
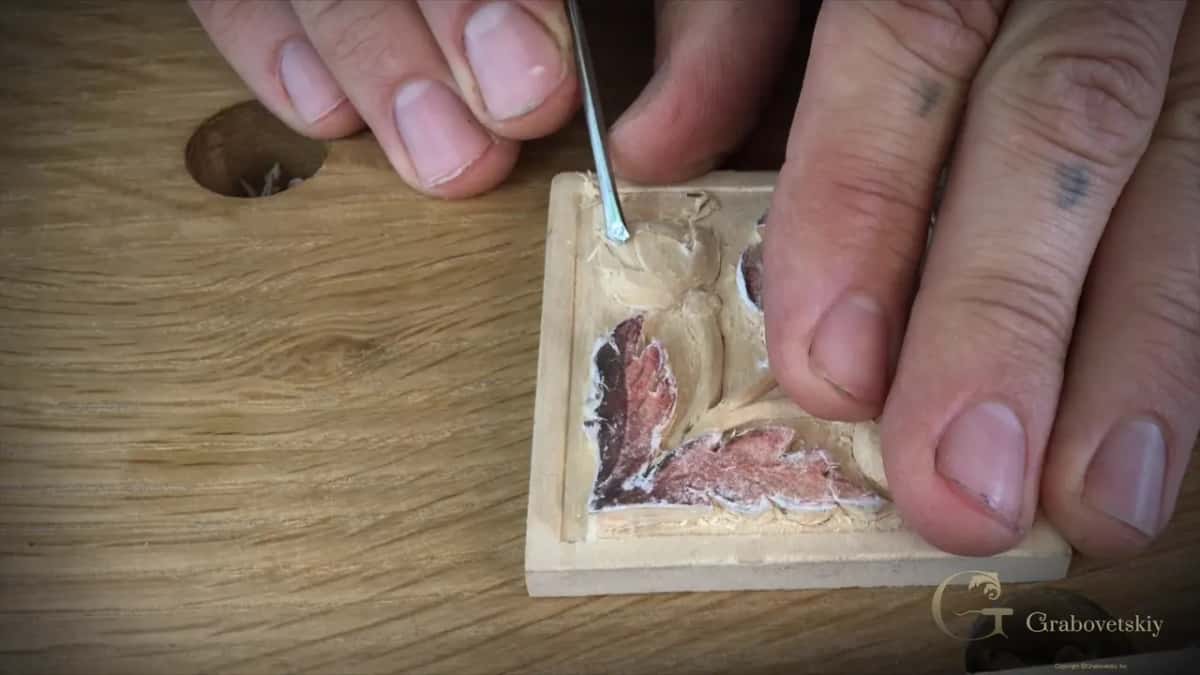
The same little gouge that had just cleaned off those ridges. I used it carefully, without digging too deep, and I barely hit the wood, just hooking my paper and removing it.
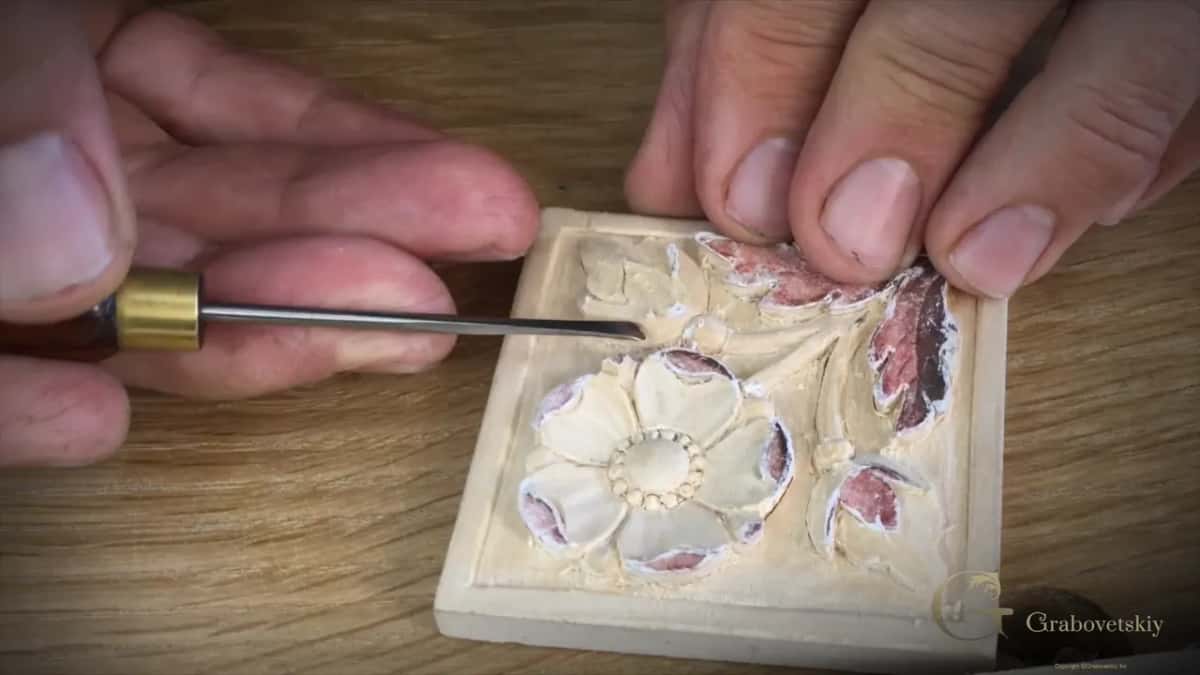
Just the paper, I said. The other side got the same, with the block turned round.
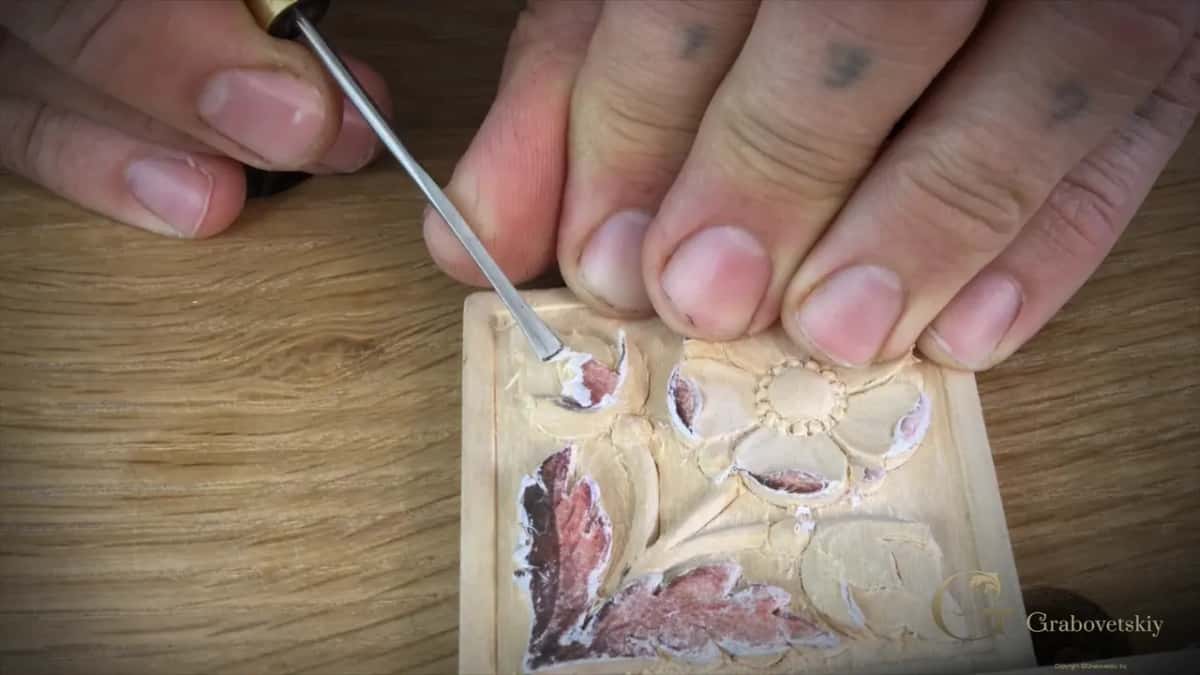
Up close it looks like white fluff coming off the top bud. The edge hooks the paper and lifts it. That gouge has a brass ferrule and a thin steel shank.
How close does the tool get to the wood?
Barely touching it. I'm actually almost not touching the wood itself at all, I said, and it's just the paper, which you can see on camera. When that side was done, I cleaned it.
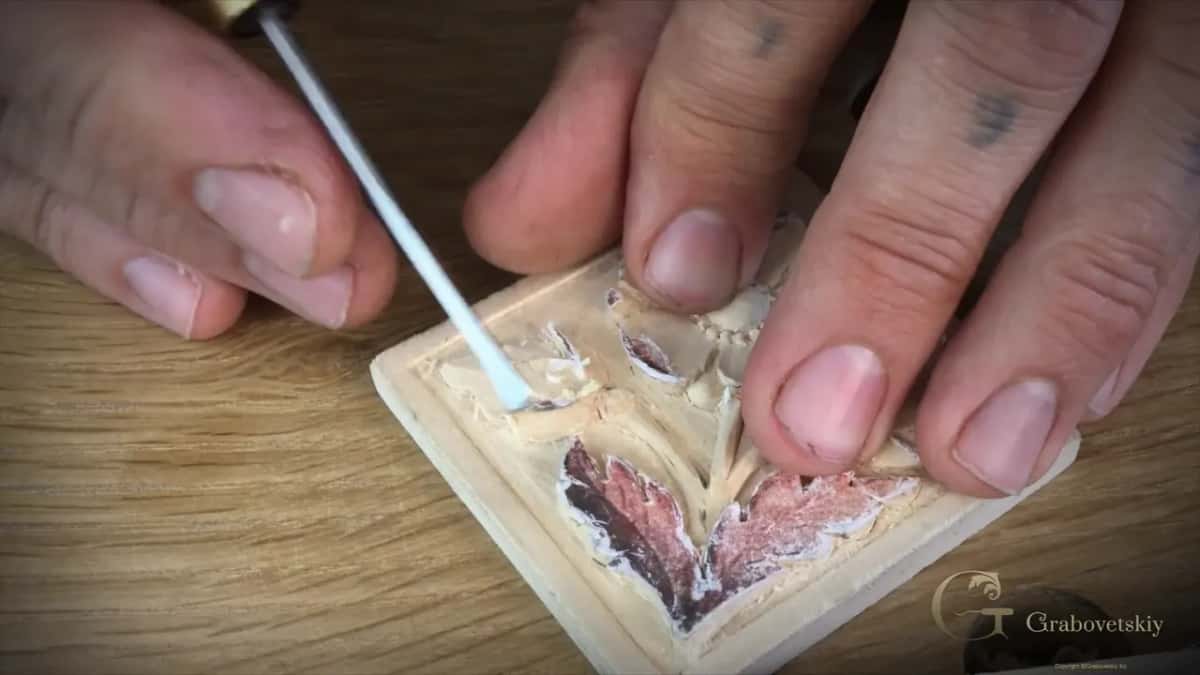
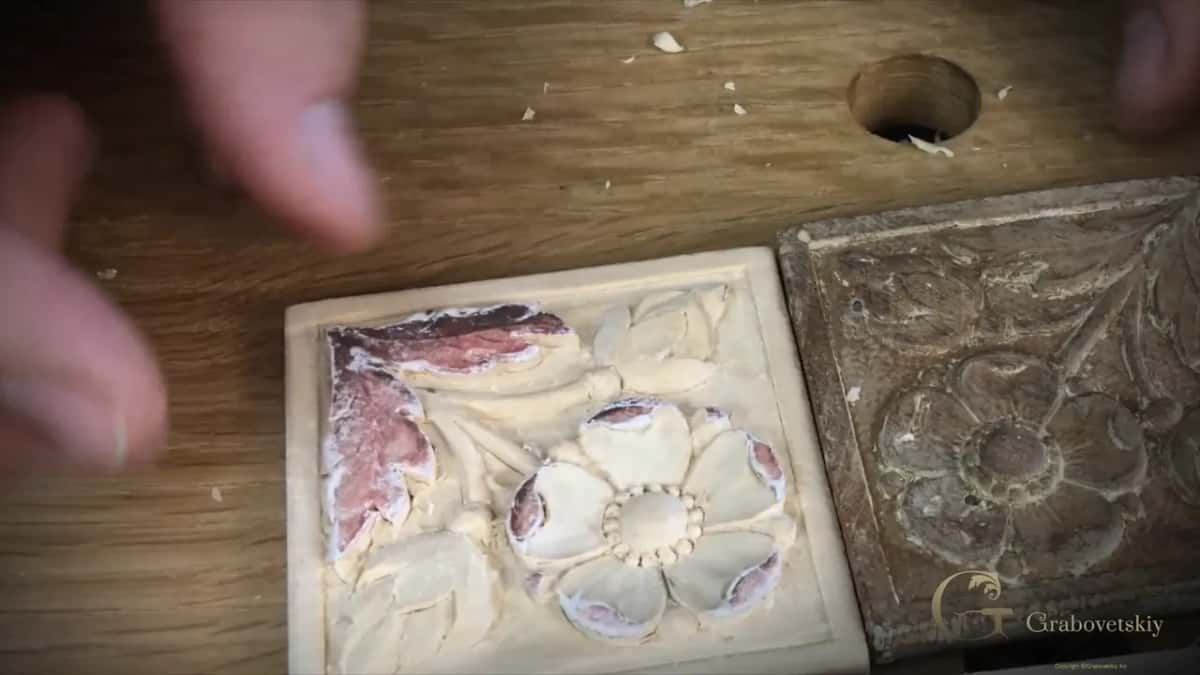
Paper did not leave everywhere at once, and at the end of lesson 4 there was still paper on one big leaf and on the edges of some petals, with the original lying right beside the copy.
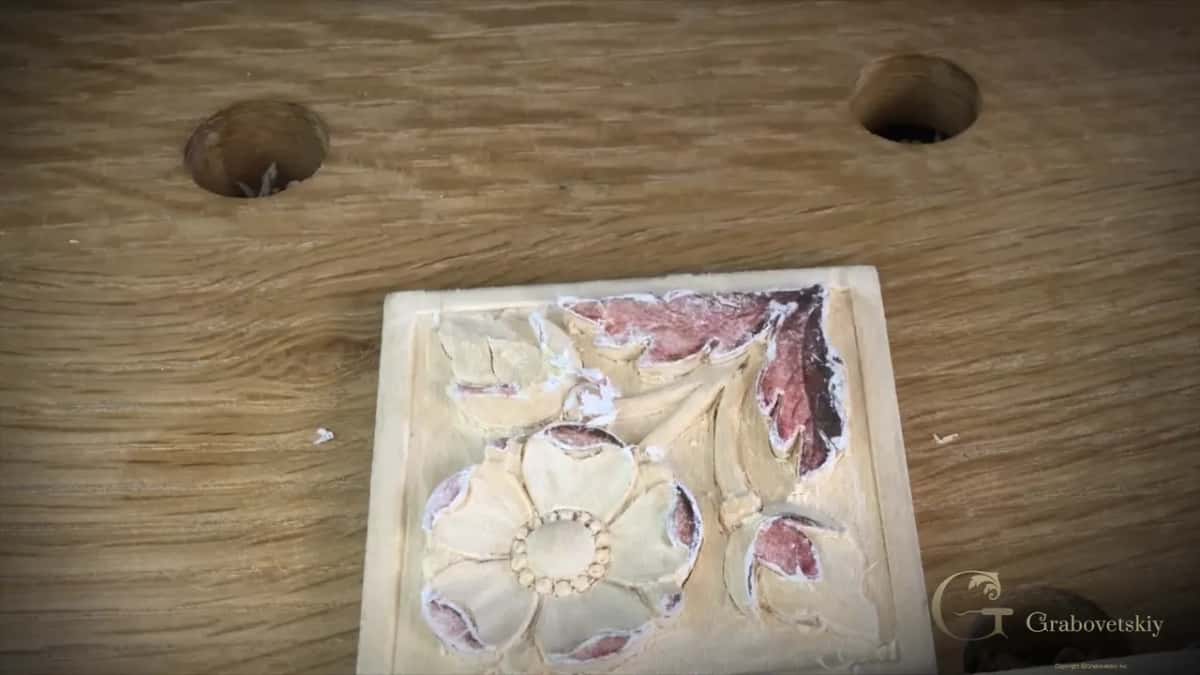
On another rosette, a chamomile with a bow, I called that half way look an eyesore. I said in lesson 4 of the Chamomile and Bow Rosette that it was going to be kind of eyesoring, probably just because I had some paper removed, but that is the idea. I flipped the piece over next and got rid of some of the paper. See, it's really strong, I said.
What happened right after the paper came off?
A small slip. One part was going down to the bottom, and the same on the other side. Oops, I said, I should not do that. But it is fine since it's just going all the way down anyway. I wanted that side a little more rounded after that.
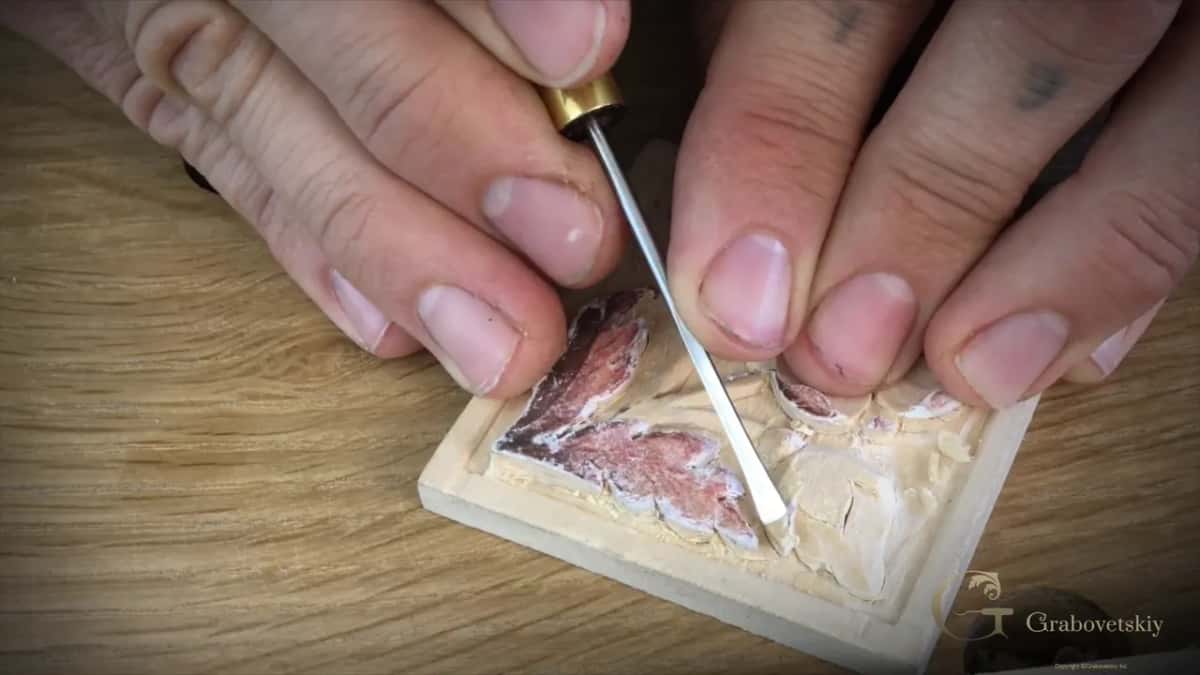
Part 1 had a moment like it. Rounding with the number 3, I said that's okay that I kind of hit this.
How do you put the details back once the drawing is gone?
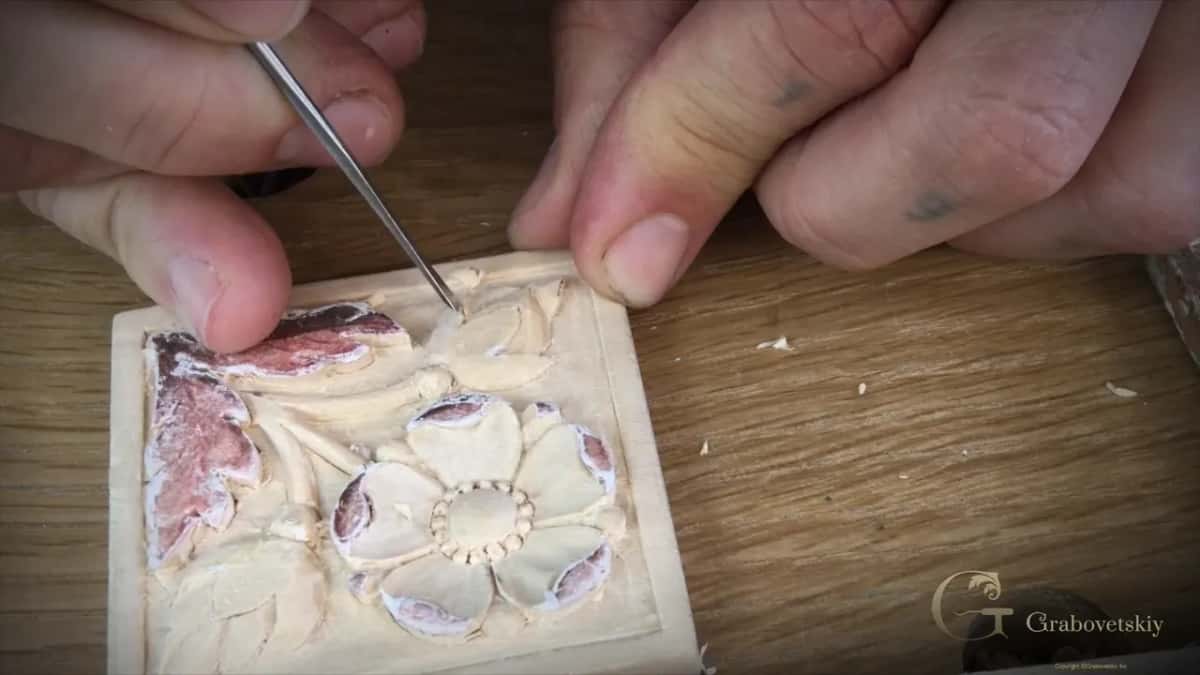
By eye, from the original, with two small tools. Let me reestablish the fine details of those flowers, I said, and the two of them are a little different.
To do that, all I need is just a V tool. I made grooves with it and did the other side next. Just the grooves.
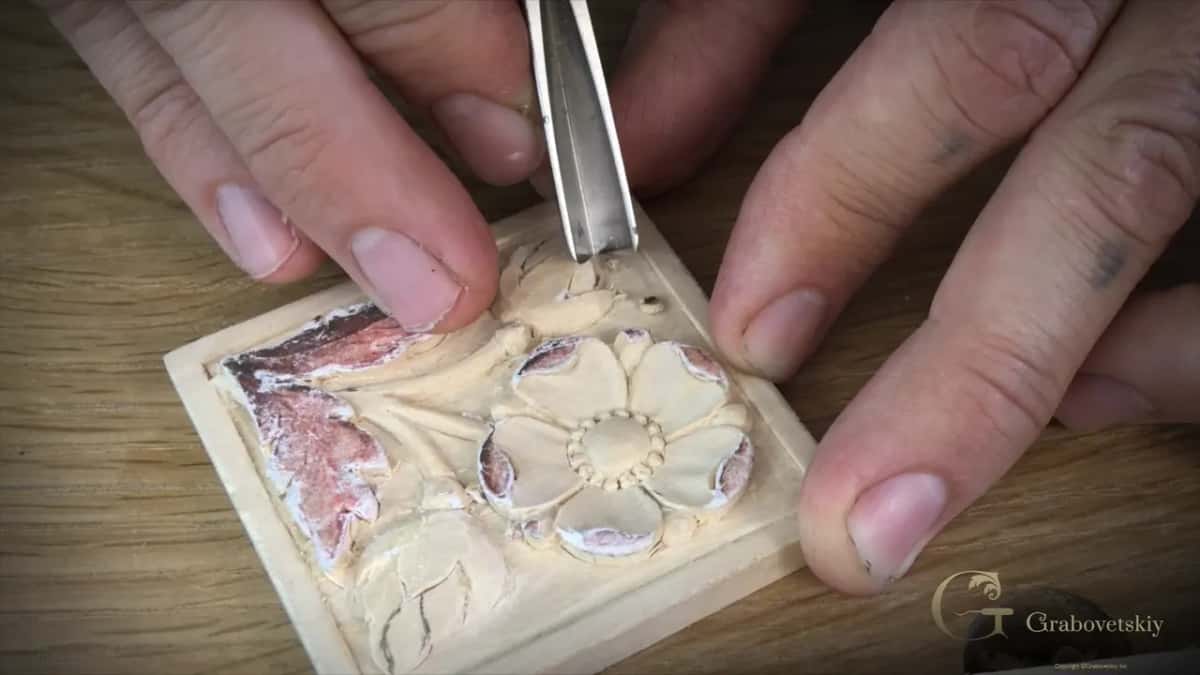
They needed a kind of rounding after that, and my micro 3 came back to refine that detail. I went a little deeper on each side to pronounce that a little more, and cleaned it again.
On one side I had to follow the grain, in tiny micro passes. A small mark made by a gouge showed on one section of the original, and I said we can do that, too. With details this small I have to be really careful how I carve each one.
Stage | Tool | Words |
|---|---|---|
Fine grooves | A V tool along the lines of each flower | I'll just make grooves |
Soft edges | The micro gouge rounding over what those grooves left | refine that detail |
Deeper lines | Going a little deeper on both sides, cleaned again | pronounce that a little more |
One side | Working along the grain in small micro passes | work with the grain |
Gouge mark | That small mark seen on the original | we can do that, too |
Last pass | Clean around and take the remaining ridges out | take those ridges out |
I cleaned around and did that side the same way. I'm not going to do anything else to those two flowers, I said. Let's compare them and see how they look. They look quite similar.
If you ever need the drawing back on wood you have already carved, workshop 39 of the Venice Room covers it. On a Corinthian leaf, Carving Corinthian Acanthus Leaf 6 tells what the outline looked like once its paper came off.
What takes over once the paper is gone?
The original does. It sat beside the copy on the bench, and in the three parts of lesson 4 the word original comes up six times.
A section went lower like an original one. A ridge came out so the copy would match it, and I showed that the two sides of one section on the original are not the same. Part 2 gave two parts a rounded form like the original, and the knife went straight down to follow the original design. With the paper gone, in part 3, a small gouge mark on the original caught my eye.
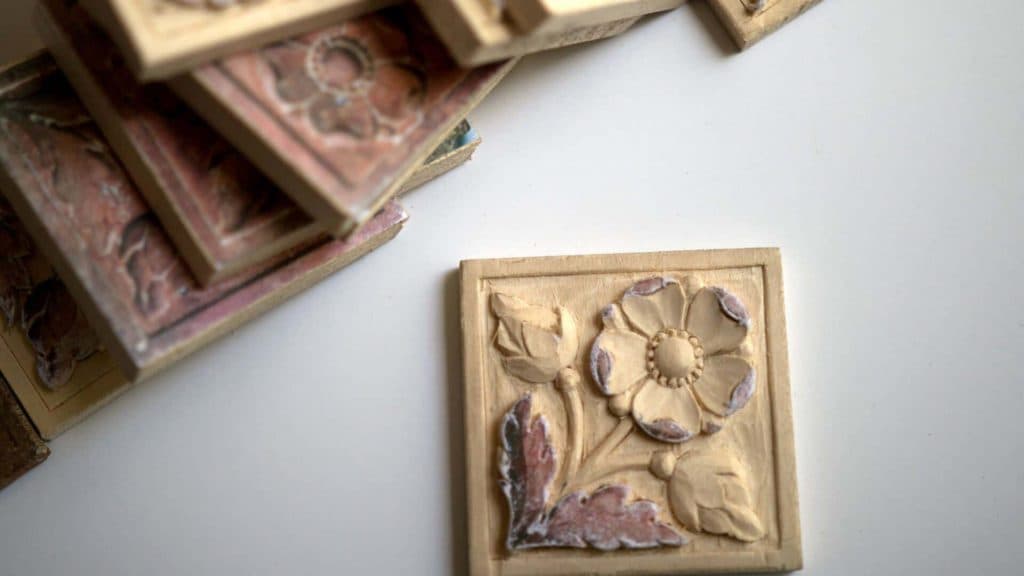
The last minute of the lesson puts the two side by side. The original is dark brown, and the copy is pale, with the red print still on one leaf.
Those are the same principles on a small scale carving as on a big one, I said near the end, only smaller, and on a small one every ridge makes a big difference.
What did I say about the glue and the paper on other carvings?
The glue came up most in lesson 1 of the Chamomile and Bow Rosette. I don't like to use a super strong one, I said. It's easy to just remove the paper after we've done, so it's going to be a clean removal.
I can show it to you, I said, and then you can just really peel it, and you can see it's clean. But it still holds really, really tight.
How the paper went onto this rosette in the first place, one spraying for ten blocks, is in lesson 1 of this course. Paper can also hold a blank in place of clamps, and the Byzantine acanthus lesson shows that.
And in the furniture panel's lesson 36 I said I could probably take the paper off now, and a moment later that with it gone I can see much better. What took the paper off a furniture panel in panel lesson 26 is told on that page.
Want to see the paper come off on camera? And would you like to watch the small flowers get their grooves back? Then come and stand at my bench for lesson 4, start to finish. The beginner course here is First Cuts for Beginners, and Tuition and Access are laid out on one plan page.
How it's done
- Carve the main shapes through the paper. Leave the pattern glued on while the V tool, the knife and small gouges set and lower the leaves and the small flowers.
- Take the ridges out. Go over the shaped parts near the middle with a small number 3 and take those ridges out.
- Hook the paper off. With that same little gouge, carefully and without digging too deep, catch the paper and lift it. Then turn the block and do the other side.
- Clean where it was. Clean the surface, then carry on lowering the parts that go deeper.
- Groove and round the details. Study the original, run a V tool where its grooves are, round the grooves using a micro gouge, and go a little deeper where they need to be pronounced.
- Compare with the original. Stop when nothing else is needed, set the copy next to the original, and see how they look.
Frequently asked questions
Can you carve straight through a paper pattern?
On lesson 4 I did, from the first minute. A V tool ran its first line through the drawing, my knife lowered one section to match the original, and the leaves and both small flowers had their first shape long before any of the paper came away.
What tool gets paper off a carved rosette?
The little number 3 I had just used for the ridges around the center. Held carefully and kept shallow, it caught the paper and lifted it away. Then I cleaned it.
Should the paper come off before the fine details?
On this rosette it came off right before them. The big forms were done when I said I need to establish my details, and I took the paper out, since I didn't need it anymore. The details then went back on by eye, looking at the original.
What to carve next