
Alexander Grabovetskiy, woodcarver, School of Woodcarving · Published 2017
Should you hit a background punch with a mallet or a hammer?
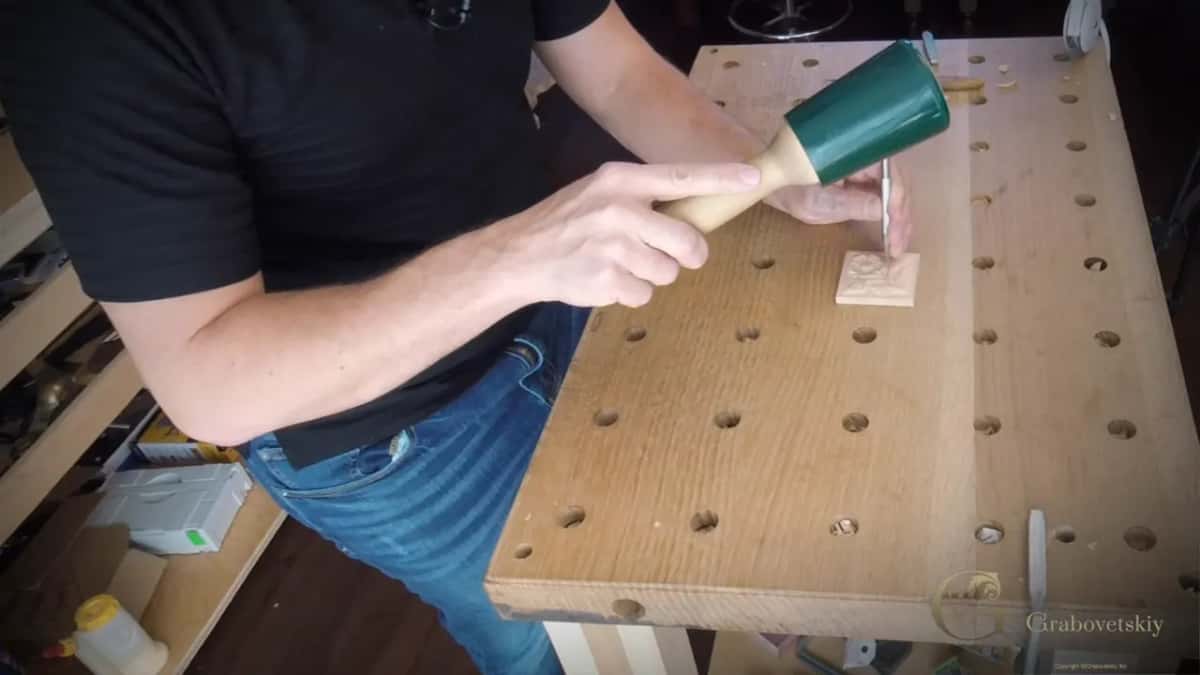
Quick answer: Striking a background punch is a job a mallet and a hammer both do well, so use either one. On my small flower rosette a mallet tapped the punch lightly, working my way round the flower and not hitting it too hard. On other pieces I drove it with a hammer.
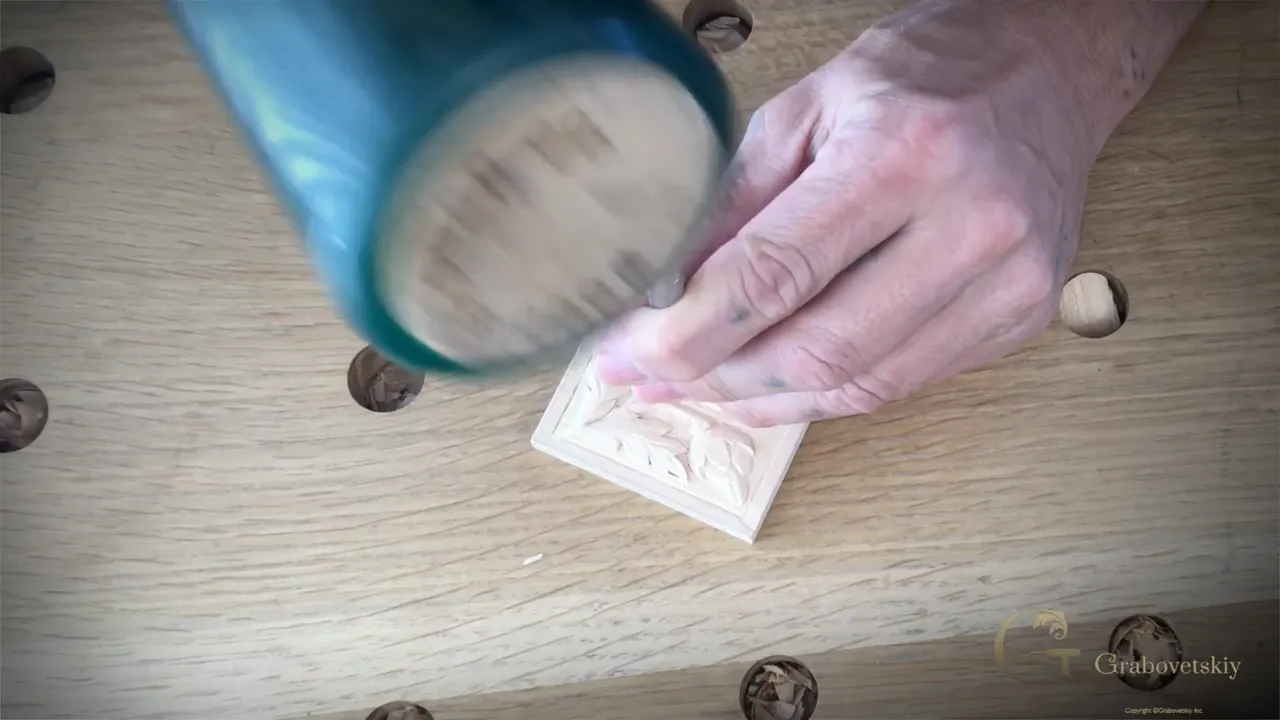
A background punch is a small steel stamp you tap into the ground around a carving, and you can drive it with either tool, the mallet or the hammer. On this small flower rosette I used a mallet. On other pieces I picked up a normal carpenter's hammer instead, and I can tell you both are fine. Here my wood carving background punches were really leather craft punches, sold as a set.
Do you have a punch, or a nail you could file? Is there something on your bench to hit it with? Then you have what it takes for the last step of this rosette. Below I finish it, and after that come the pieces where a hammer did the same work, each one linked to its own lesson.
Punches, mallets and hammers in six lines
A mallet and a hammer both drive a background punch.
The punch on this rosette was a leather craft tool, picked because its face came closest to the original.
I stopped the ground short, because the punch presses it down.
Light strikes, nothing hard.
Bigger punch for the bigger open spots.
Punching the whole ground took me a few moments.
Should you hit a background punch with a mallet or a hammer?
Either one. I have driven punches with both, and both are fine. In this lesson, where I finish the small rosette, I took the punch in one hand and a mallet in the other and just worked my way around the flower.
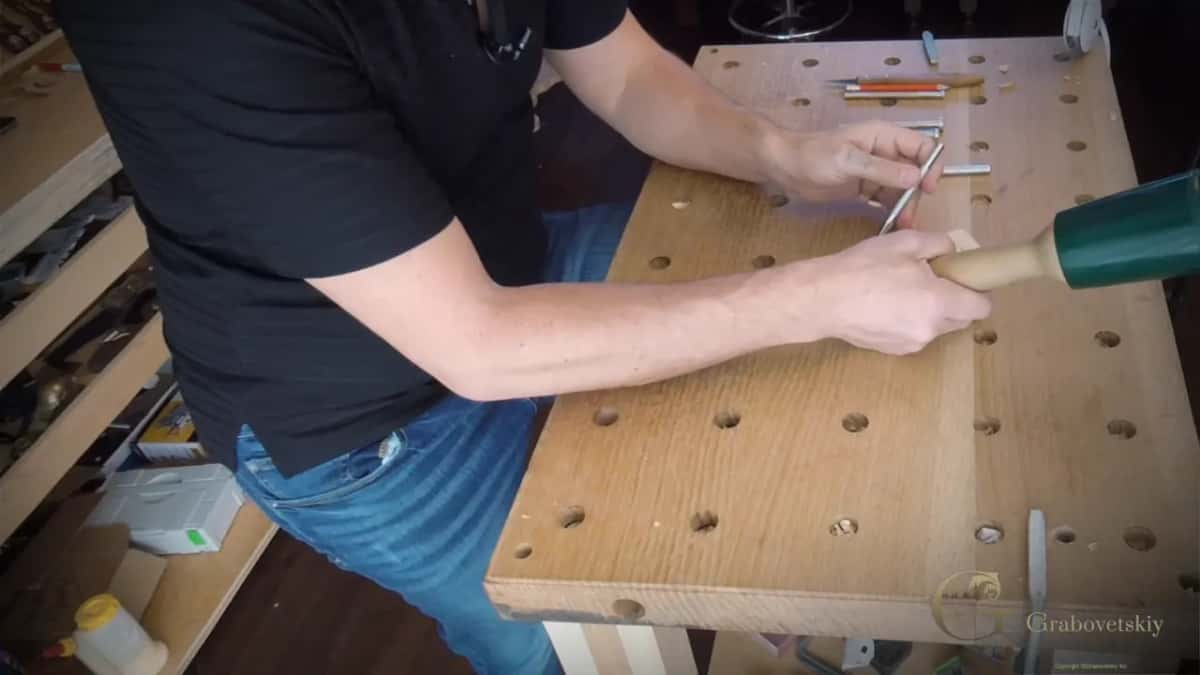
Other pieces went the other way. On the chamomile and bow rosette I picked up a normal carpenter's hammer, because the punch is metal and I didn't want to damage the mallet. The Venetian flowers rosette got a hammer again, and I was just punching around. For the vase with grape leaves a normal hammer did it too, not too deep, but over all of the background. And in the Grinling Gibbons class in Maine I asked the room for a hammer so I could punch a background with a nail, one that fades from the inside out.
The mallet has its own lessons as well. In the dotted background texture lesson I used a carpenter's mallet, said one with plastic or rubber on it would do, and said I wouldn't put a wood one on a punch, because wood against metal is going to get damaged.
Ask me which one is right and I'll tell you both. A mallet is fine. A hammer is fine too.
Which wood carving background punches went on this rosette?
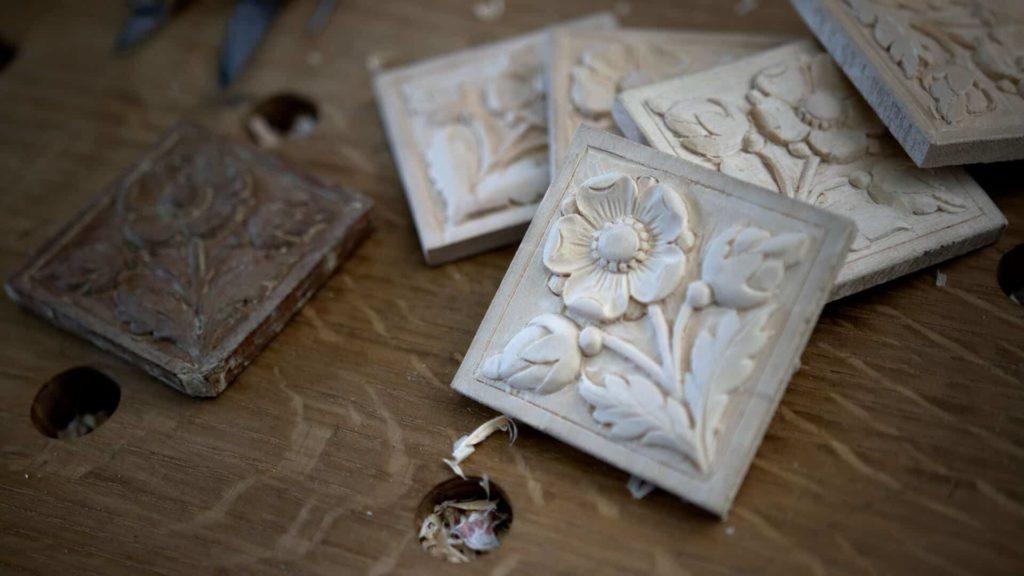
This small rosette is a replica of an older piece, and the original has a background. I call it a bubbly background. And the way to do it is actually easy. That's my name for it.
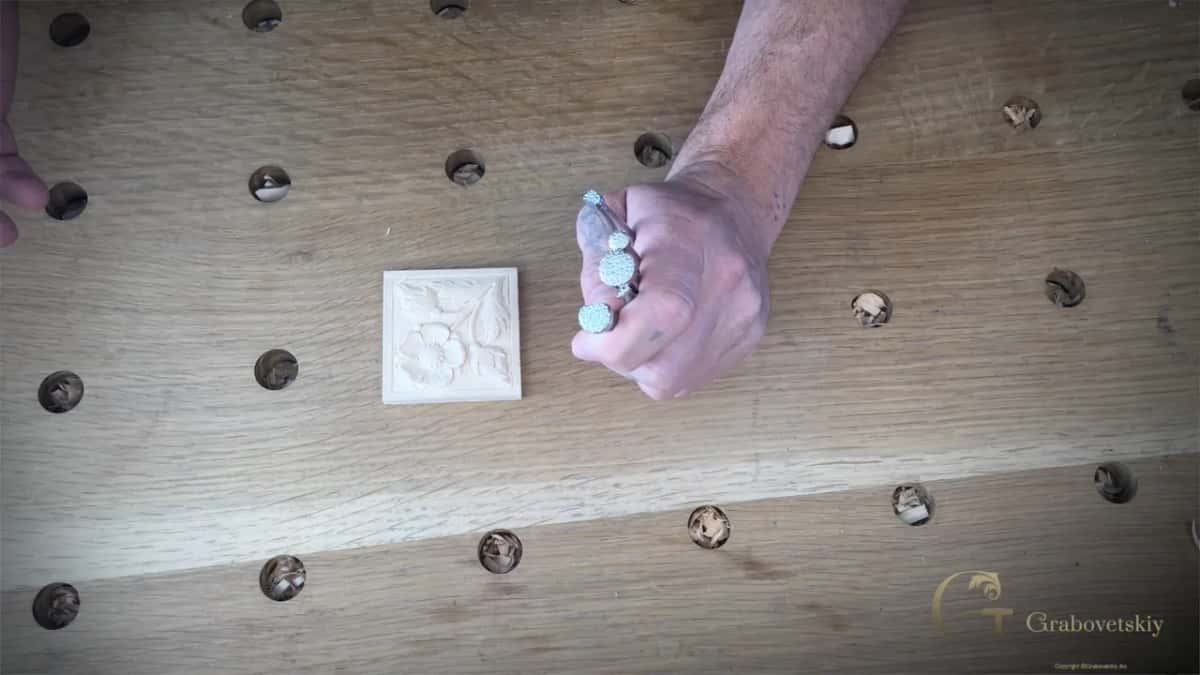
The tools for it were made for leather craft, and they come as a set with a different design on the end of each punch. So I looked for the one closest to the original, because I was making a replica. And it just happens that the bubbly ground on that old rosette looks like it was made with exactly the same tools.
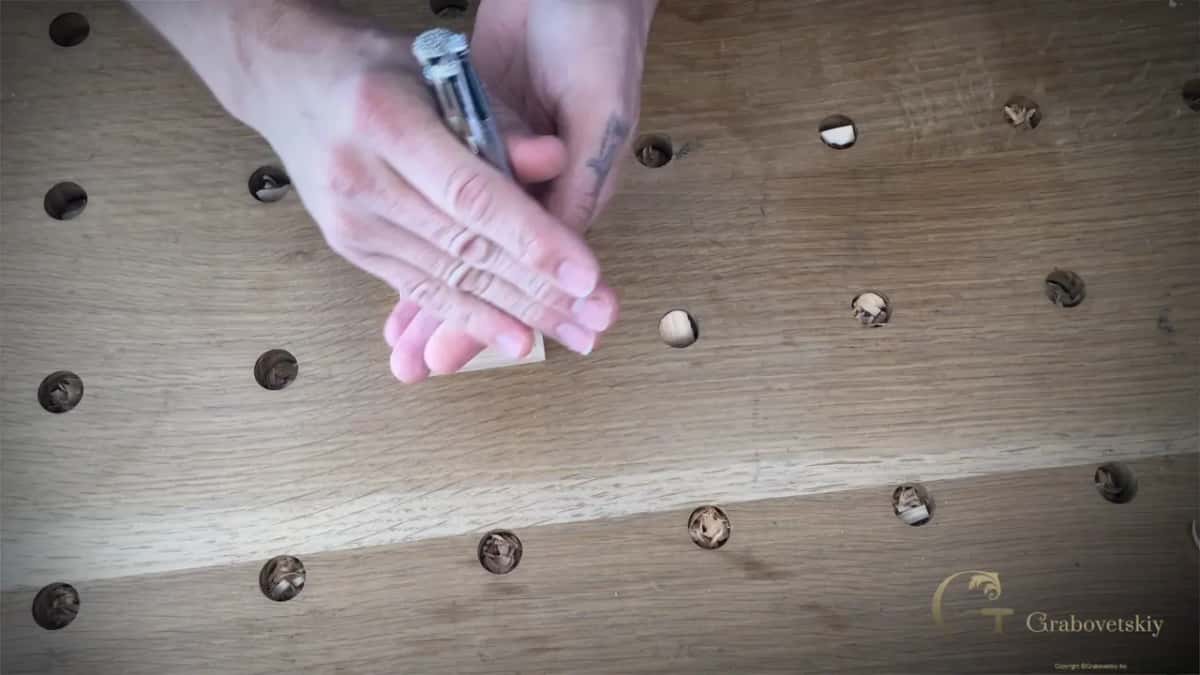
The set is not that expensive, but it's really handy. There are punches for backgrounds and punches for details, and so on.
This rosette is the extra one, too. I carved all of them and already sent them to my customer, but one I made to keep for myself, and that's the one on camera. The whole order started back in lesson 1, and lesson 6 comes right before this one.
Why leave the ground a little high before you punch?
On the original piece the background sits about 1/32 of an inch, 0.8 mm, lower than the border. I did not lower mine all the way. In some sections I went straight down around the border, came in at an angle, and left it that way.
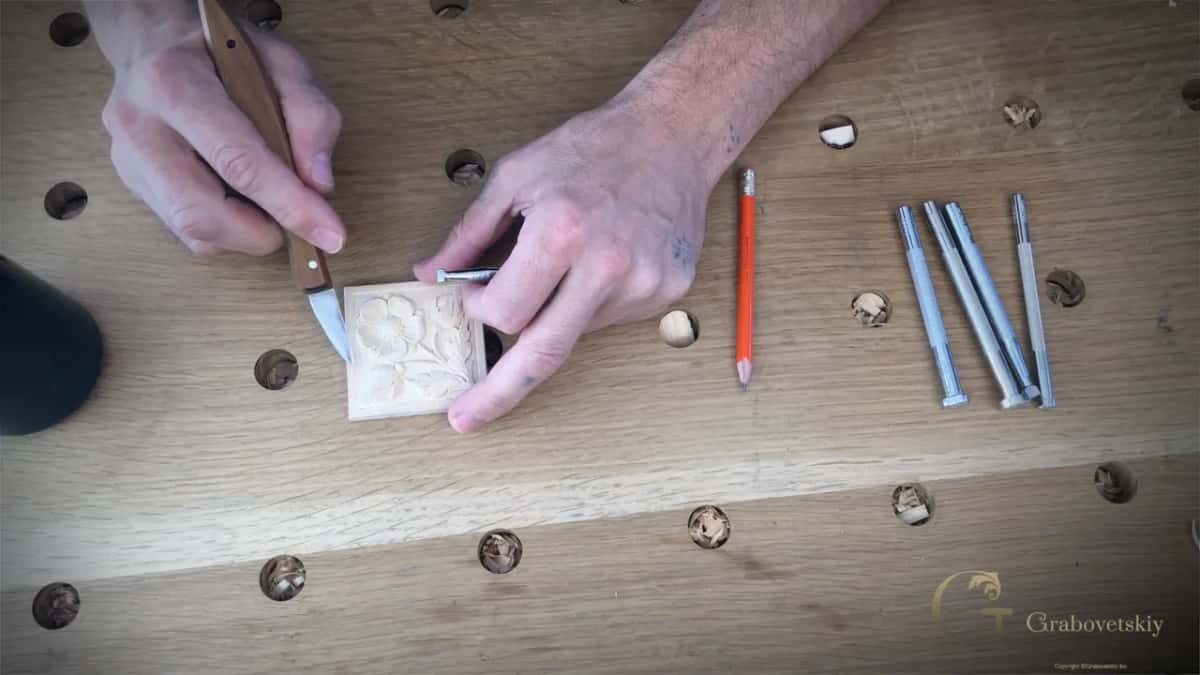
That comes from the punch. Once you punch the background, it presses the fibers of the wood down, and that gives you exactly 1/32 of an inch lower background. So it finishes the depth for you. In workshop 90 of the Venice Room the depth was about 5 mm (3/16 in) and would later go to a quarter inch, about 6 mm, and I said I'd do that with punches, because it was going to be textured. Outlining with a super sharp knife in workshop 92, I had to watch how deep I went, since the knife could damage the background, but there it was going to be okay, because that background was getting a texture. If you want every depth on this little relief, the course page has them.
Here is the punch work on this rosette, moment by moment.
Moment | Work | Words |
|---|---|---|
Choosing the face | Compared the leather set with the original | closest one |
Before the punch | Left the ground high along the border | press down |
The first strikes | Light taps of the mallet, working inward | don't overdo |
Circling the flower | Kept the punch moving carefully all round | carefully around |
Wider open ground | A bigger punch where the area allowed | bigger tool |
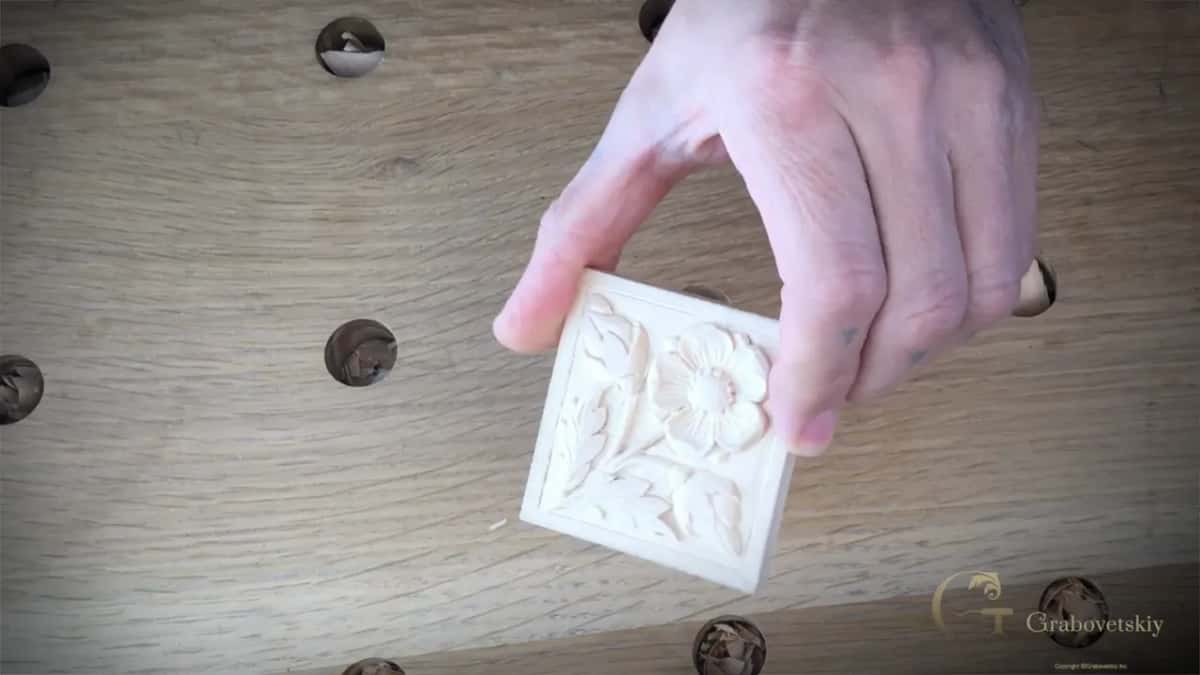
Checking the result | Turned it under another light, then closer | looks beautiful |
How hard do you strike the punch?
Lightly. I took one of those tools and just started working my way in. Just don't overdo it, I said on the first strikes, and a few seconds later you could already see the results. The ground was starting to look bubbly.
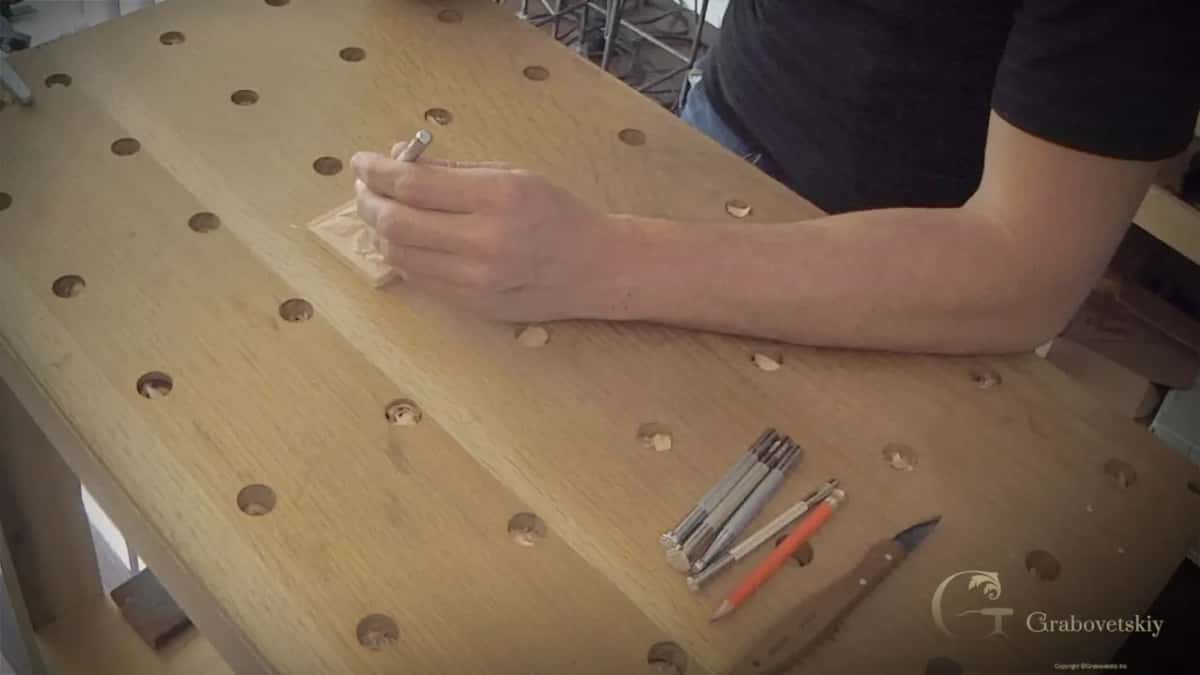
Then I said it again, a little later. Don't hit that too hard, and carefully go around with the tool.
I said much the same about the mallet in the bubbly background lesson, that you kind of have to feel it and not use it too heavily, since it's easy to overdo with the small punch, which goes deeper.
There's one kind of carving where I said punches don't belong, one-knife carving with no background at all, because in ancient times they did not use them.
What did a hammer do on the olive wood lily box?
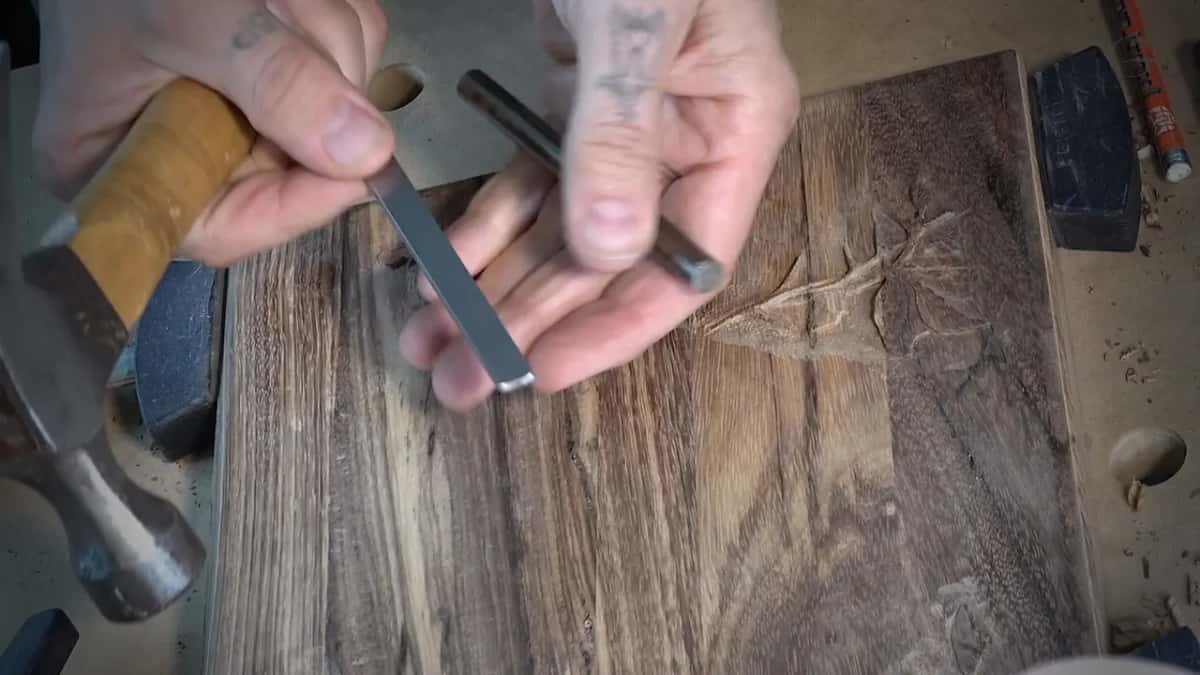
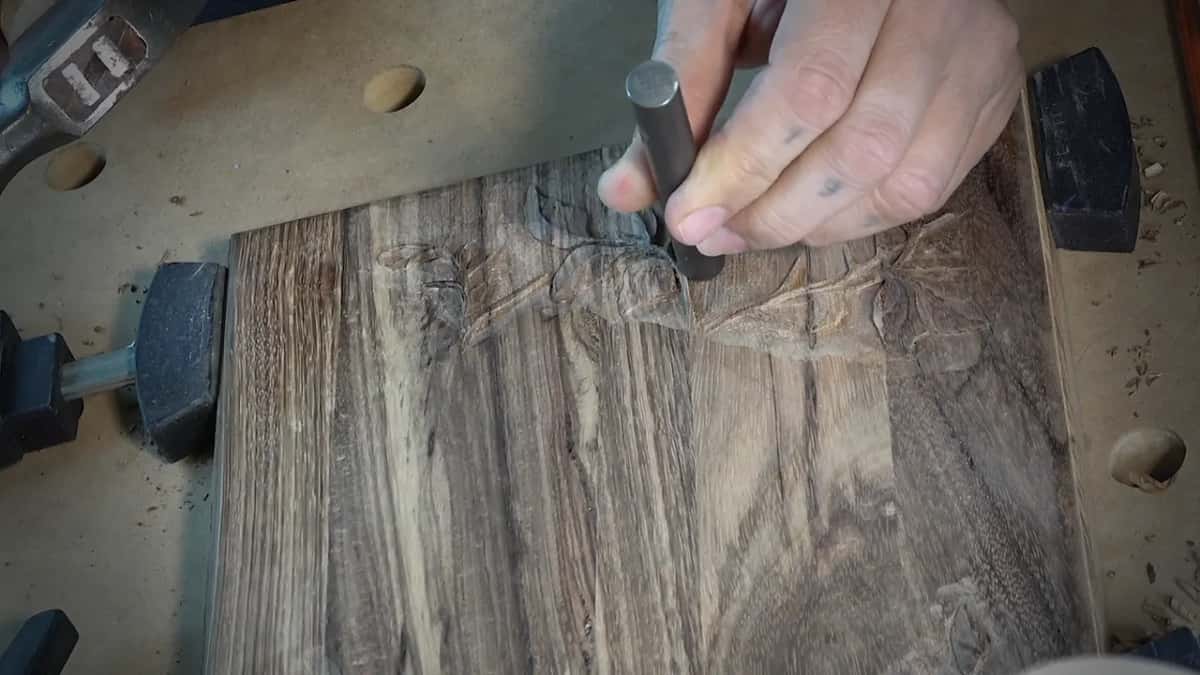
In lesson 3 of the olive wood Lily Box, the first layer was done, and I punched the background before gluing on the second layer, because after that some areas would be out of reach. There I used a hammer. I could hit the normal way, but I like to use the sides, and I feel I control the pressure much better. I started with the smaller punch and worked around near the design. The wood is dark. On a darker wood I want the carving to pop out from the background, and once a finish goes on, it soaks into the punched spots a lot more, so they turn darker still. I punched harder near the design and lighter toward the edge. Only some parts, not everywhere. Most of the time I use just two punches, the small one shaped like a rectangle and the rounded one. The square one I don't use much. It tends to leave a square pattern at the edges. And each time I hit with the hammer, I rotate a little bit, so it won't become a repeat pattern. More organic. It took me less than five minutes, and in my opinion it makes a huge difference to the design.

How do you keep a punched background from turning into a pattern?
For workshop 93 of the Venice Room I lowered the ground but didn't worry about making it super clean, because a texture was going on top of it. I had four punches there, the most common ones, from Woodcarvers Supply in Florida, and you could also make some yourself. Among them were a rectangular one and two round ones. Most of the time I used the round ones, plus the small one to get inside the corners, and a normal hammer drove them. There is nothing special about it, you just punch the background. But while I punch, I make a rotation movement, so the pattern runs in different directions. Where it got tight inside, I changed to a smaller punch, the rectangle. Maybe it's a good idea to get two sets and reshape some of them a little smaller, for the tiniest spots. Usually that isn't necessary, though, because the punches fit in most visible areas. And you can see it gives me a really beautiful textured background, a much cleaner look.
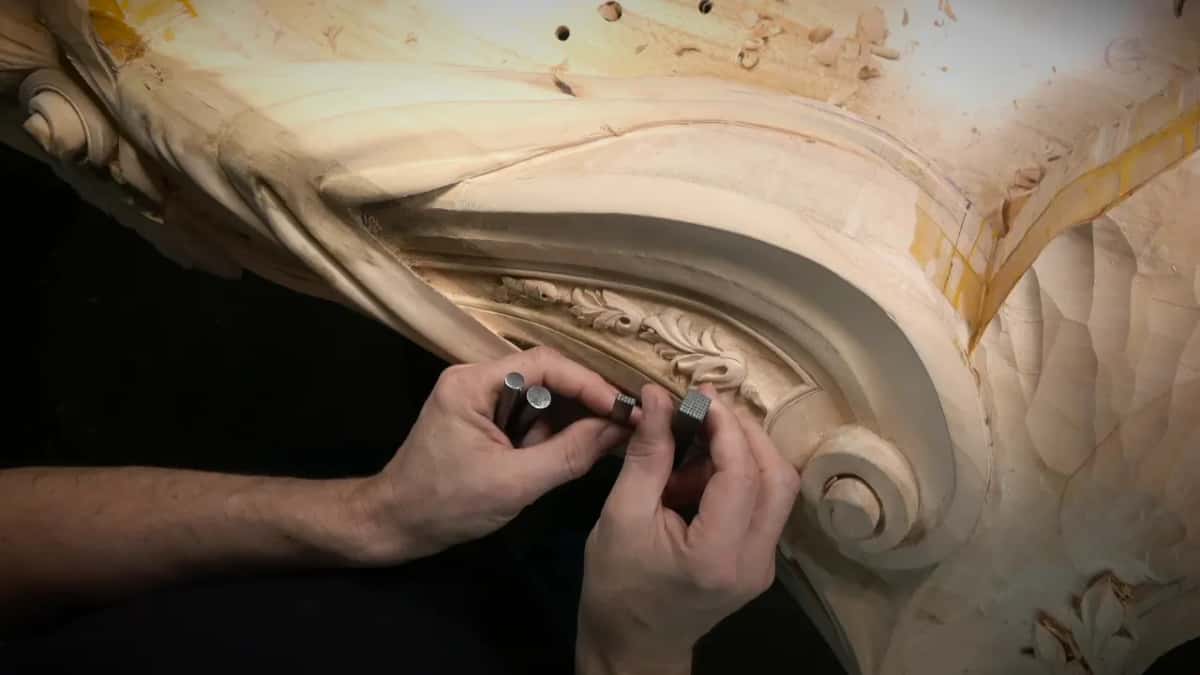
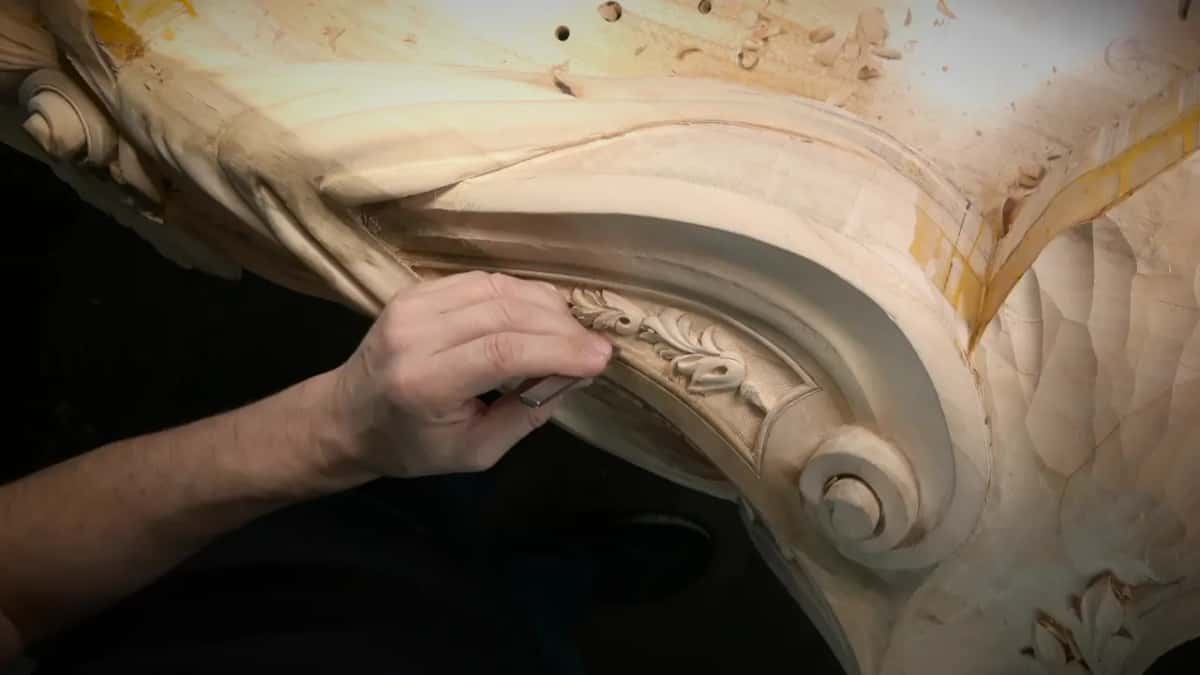
I didn't spend long getting one spot perfect in workshop 139, because I wanted to texture it with my punch, and once it's textured it looks more realistic, I would say. Back in lesson 2 of the lily box I had already said that its background could get punched later, and that I thought it would create beautiful detail. This rosette leaves less room. Next to the petals the areas are small, and where the ground opens up a little, that allows the bigger punch.
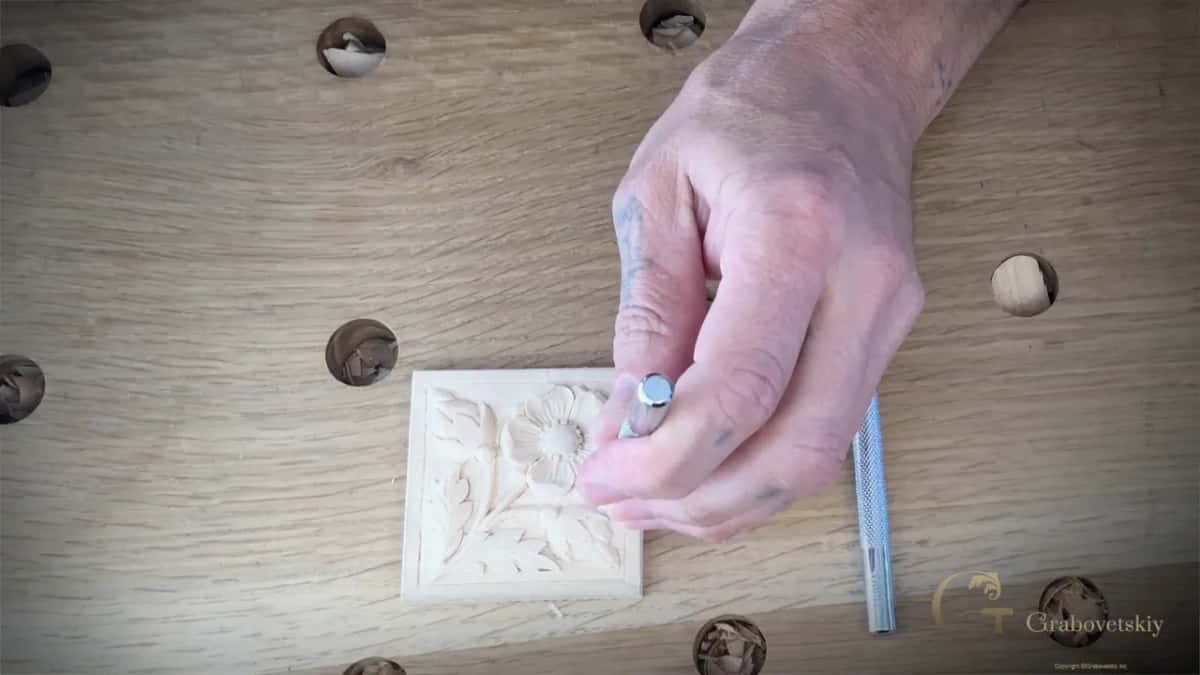
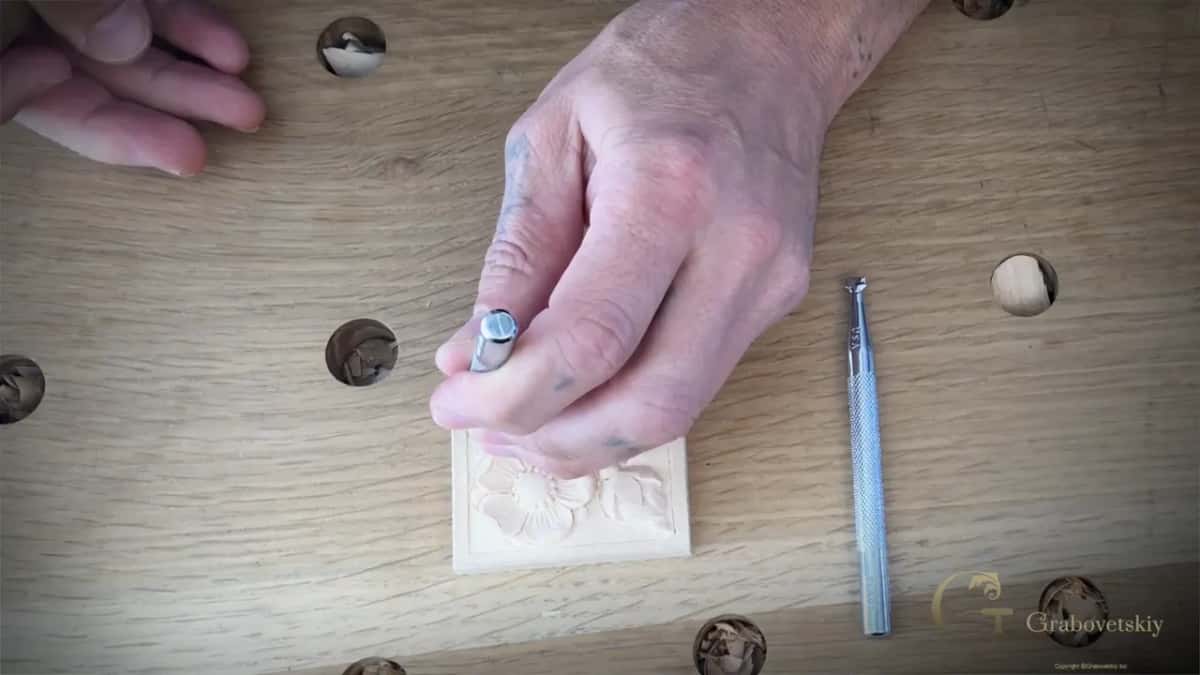
When is a punched rosette finished?
It took me just a few moments, and this rosette is absolutely 100% done. I showed it under a different light, and I think it looks just beautiful, then brought it up to the camera, really close.
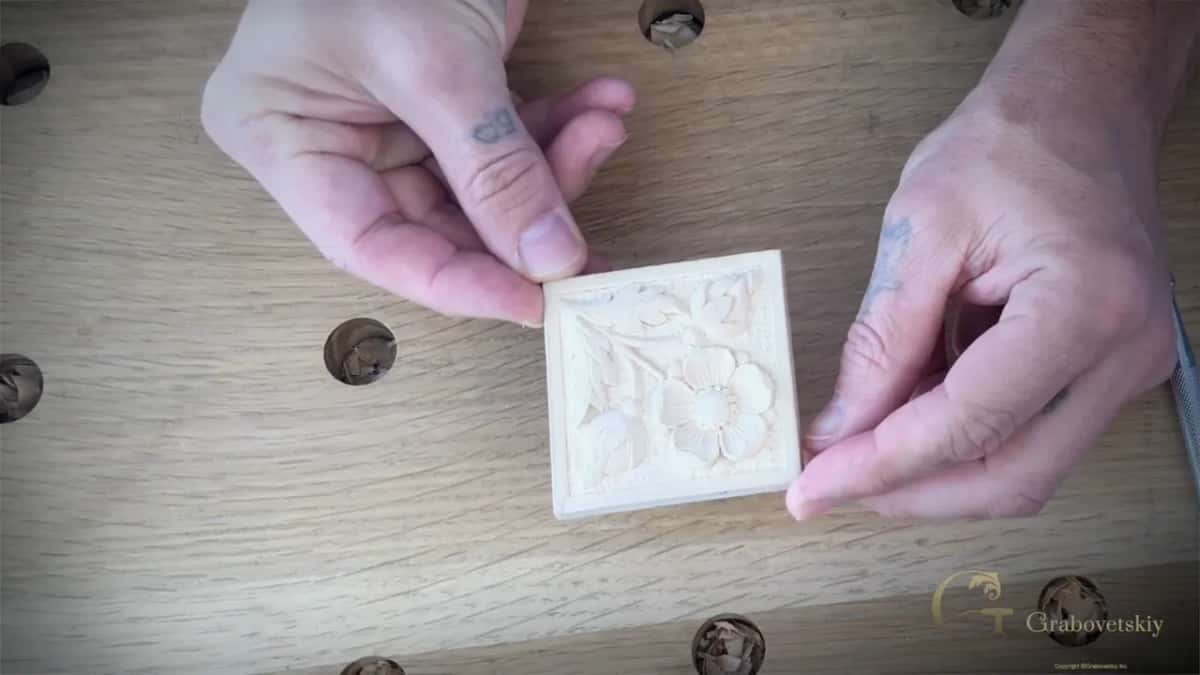
Carvers in previous generations punched a ground to hide unevenness or mistakes. If a carver made a mistake, or the background was not even, the punch made it look like an even background. You could use exactly the same idea when your own ground is not too even, because it's an easy way to make the background even. In some European cultures, using a background punch meant you were not a professional carver. That was the case. But I don't see why you wouldn't use something like that, because it gives you really good results. There are different background punches with different designs, and you can even make up your own designs, as I have before, from an ordinary framing nail and a file.
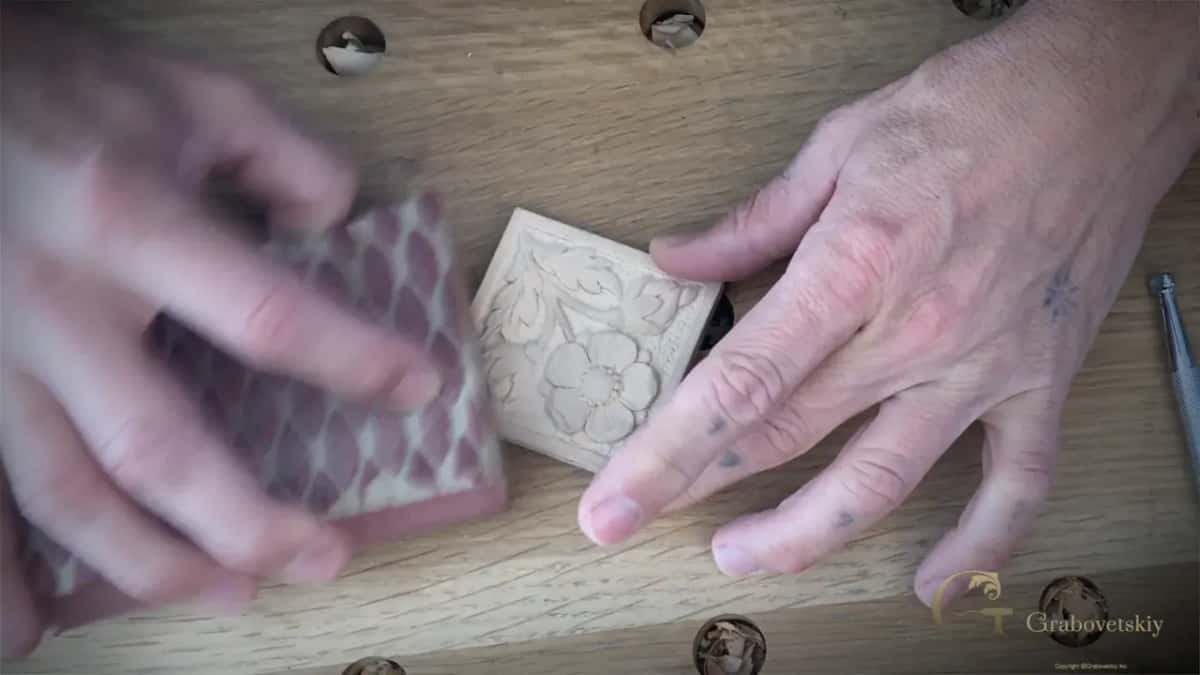
I usually leave these rosettes just as they are, with no sandpaper. If yours doesn't look nice to you, sandpaper is fine. For this one I took a sanding block marked 80 grit that feels more like 220 and went over the upper parts only, not the details.
For the whole rosette from the first line, the blog post on carving a rosette is a good start, and if you have never held a gouge, First Cuts for Beginners comes before all of this.
Does the rosette on your bench have its flower carved? Is the ground still a little rough? Then a punch and some light strikes will finish it. All of it is in Carving Flower Rosette, and Tuition and Access sit on one plan page.
How it's done
- Match the punch to the original. Hold each punch face beside the original rosette and take the one whose dents look closest to its bubbly ground.
- Stop short of full depth. Leave the background a little high, coming in at an angle along the border. The punch will press the rest down for you.
- Tap the punch lightly. Set the punch down and give it a light tap from the mallet. A hammer works too, so long as you don't overdo it.
- Go around the flower. Move the punch carefully round the whole flower, strike after strike.
- Use the bigger punch where there is room. Change to a bigger punch on the wider areas of ground.
- Look at it in a different light. Turn the rosette in a different light, then bring it close and check the texture before you call it done.
Frequently asked questions
Can you use a metal hammer on a wood carving punch?
Both work on a punch, a metal hammer and a mallet alike. On this small rosette a mallet drove it, with light strikes as it went round. Don't hit too hard. The bubbly look already shows after the first few.
Why does the ground drop after you punch it?
Punching pushes the wood fibers down. Along parts of the border I only sloped in and left it. The original rosette had its ground about 0.8 mm (1/32 in) below the border, so I stopped lowering mine early and let the punch take it the rest of the way.
Could a nail work as a background punch?
An ordinary framing nail can, once you work its end with a file. I have made up my own designs that way before, and a homemade face gives some interest to your carving. Store punches come in different designs as well.
What to carve next