
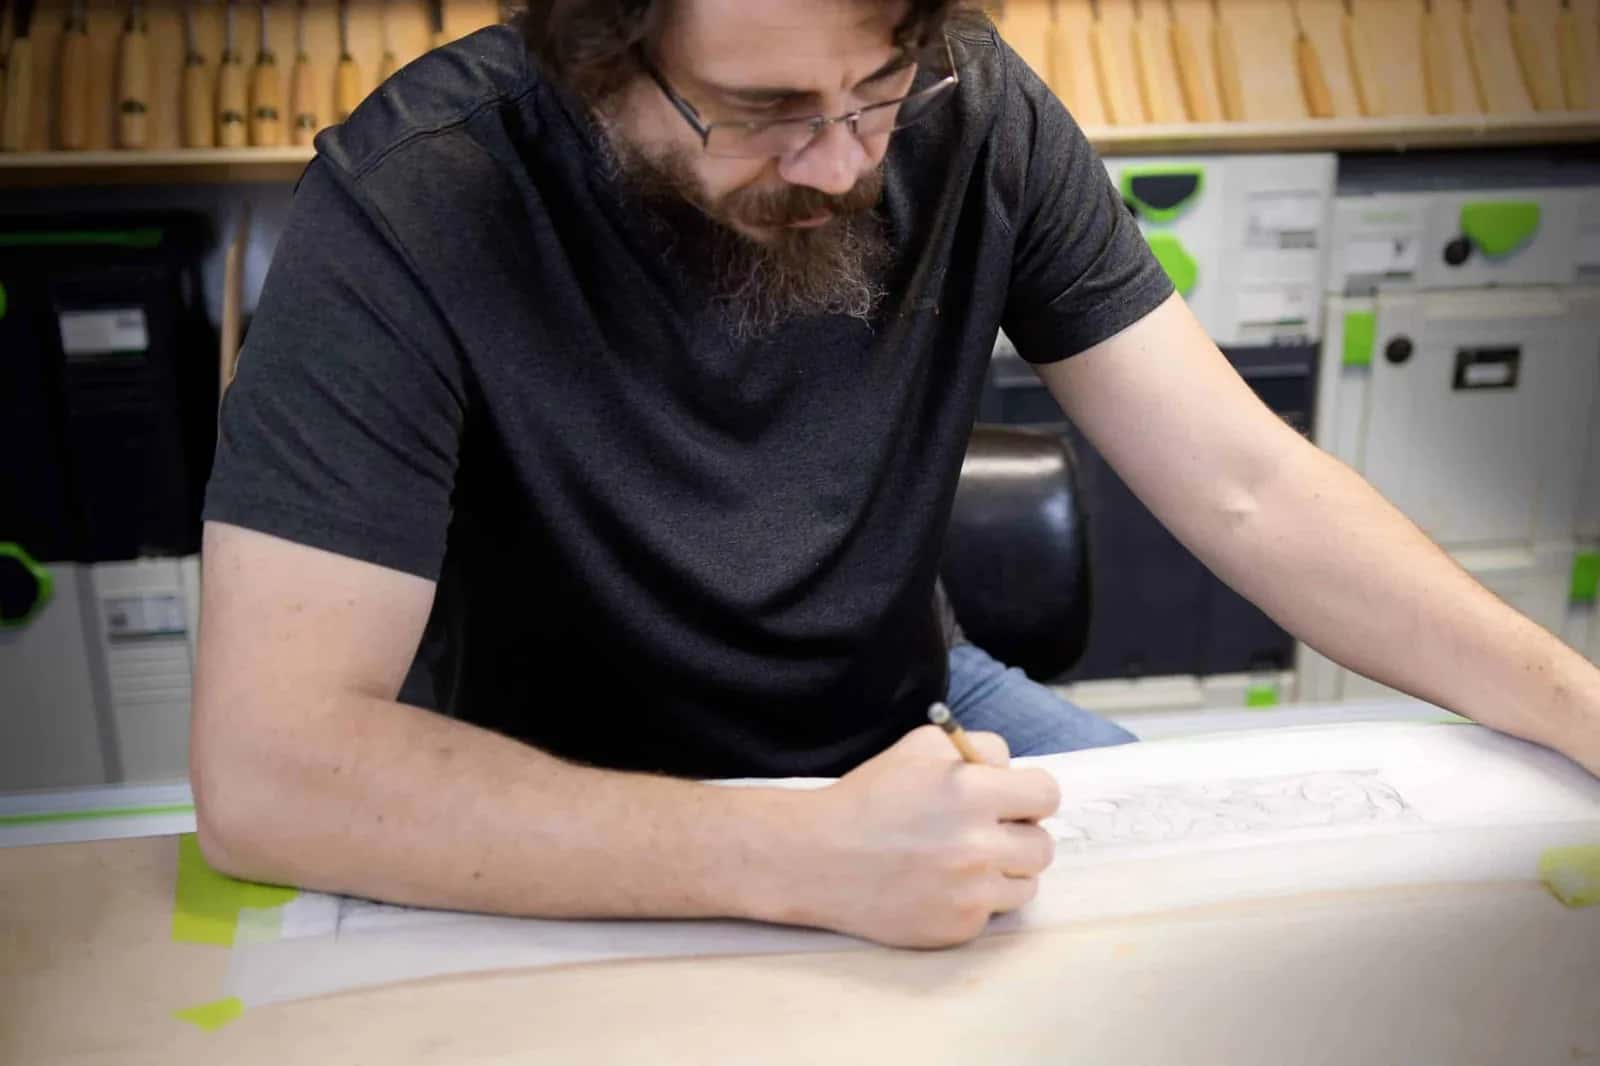
October 2, 2024 · Updated August 16, 2026
By Alexander Grabovetskiy — Master Woodcarver · Founder, School of Wood Carving · 11 min read
You do not need drawing skills to start wood carving
Drawing skills to start wood carving are not required. Print the pattern and glue it onto the blank, or press the outline through carbon paper, or rub a copy off an old carving, or copy a plate out of an old book. The line lands on the wood either way. Your eye sharpens later, at the bench.
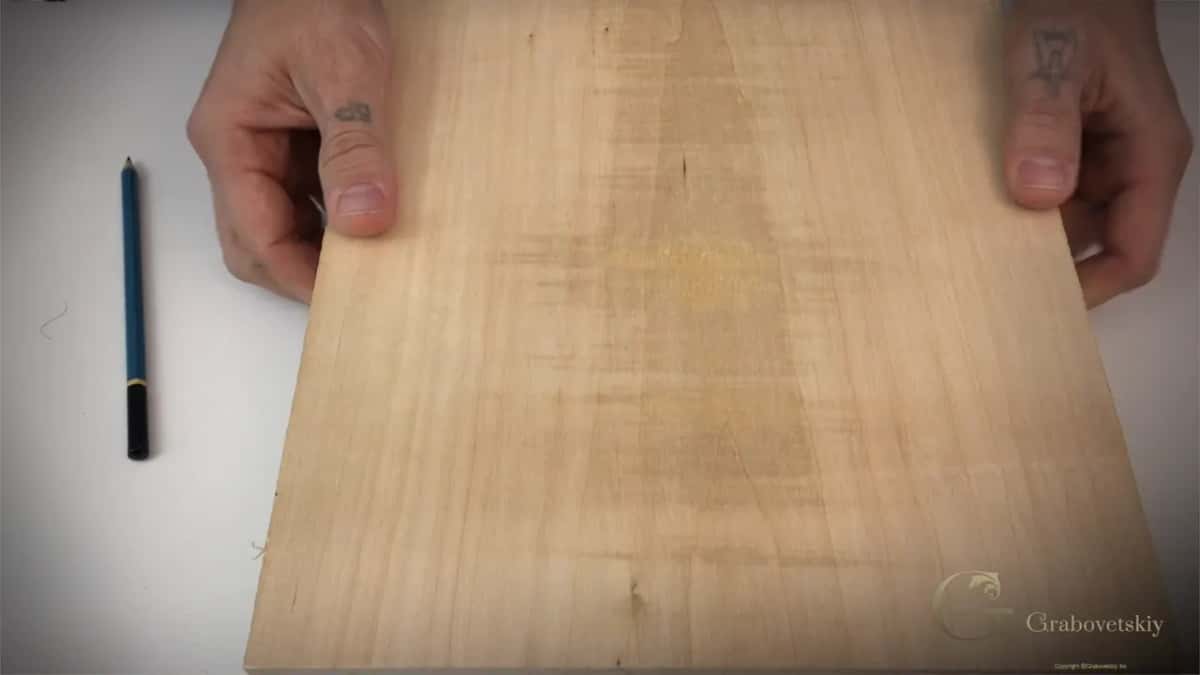
Nothing on it yet. That empty face is what stops most people.
I hear this in almost every livestream. Somebody types it into the chat while I am carving, and the wording barely changes. I cannot draw, can I still carve?
You can. In my shop a design lands on the blank four different ways, and only one of them asks your hand to invent a free line. The other three run on paper, glue and a soft pencil.
Nobody carves the paper. The gouge follows a line. It does not care whose hand drew it.
- The design reaches the wood on paper, so you never have to draw it.
- Print a pattern and glue it down with mild spray adhesive.
- Carbon paper puts an outline on a curved face where a glued sheet would buckle and lift.
- A rubbing lifts an old ornament off a real carving in two minutes.
- Blue marks mean the wood drops there. Red means it stays high.
- Your eye gets sharper from carving, never ahead of it.
Do you really need drawing skills to start wood carving?
You do not, and I have said so on camera more times than I can count. During an April 2020 livestream a man named David asked what to do if he could not draw at all, and whether copying was okay. I told him it was one of the best questions anyone had sent me.
Not too many people are actually able to draw. Although, personally, I believe you can learn to draw if you know some laws, some rules. It is actually not that complicated.
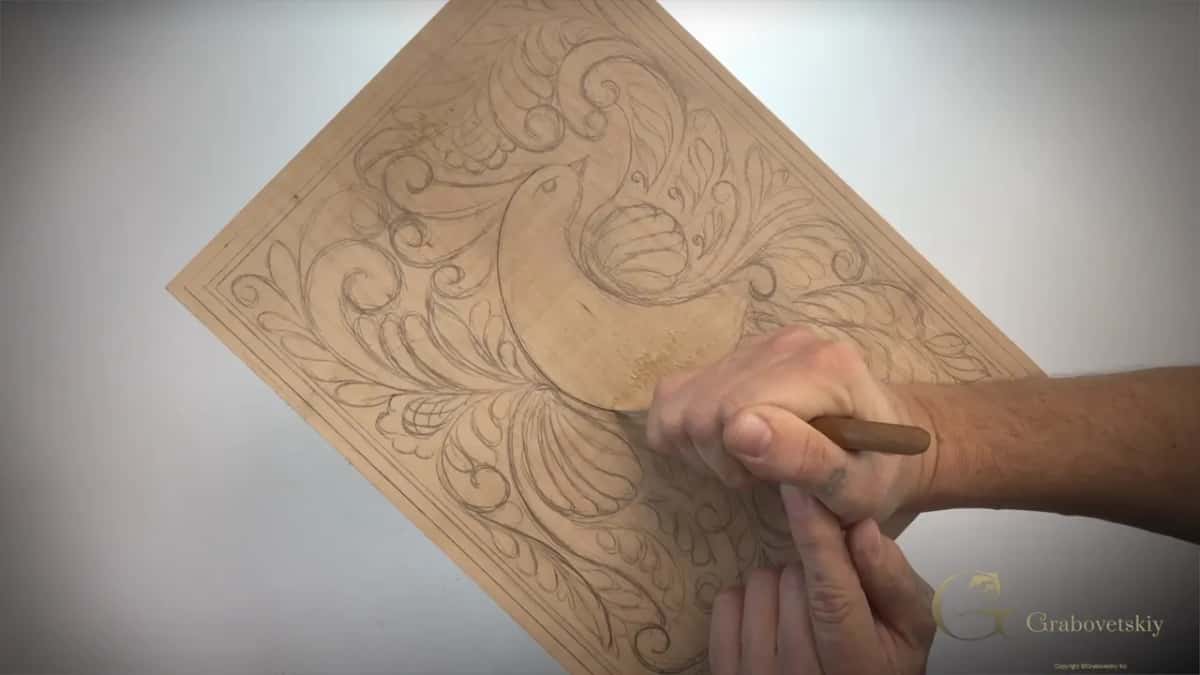
The blade only follows. Who put the line there is a separate question.
Then the part that matters more than my opinion. How else will you learn if you are not going to be copying? You look at somebody else's work, you copy whatever movements they used, and that way you start to understand the logic behind that carver.
My own teacher gave me three words and said them twice every time. Study, draw, and carve. Study, draw, and carve. He talked that way because the Soviet Union was locked down. All we could do was study pictures in books, and if you had a little money you went to St Petersburg and stood in the Hermitage looking at the real thing.
If your question is really about sculpture rather than ornamental work on a flat panel, note that carving in the round asks a different question of your eye. This page stops where a beginner has a line on a blank and can pick up a gouge.
How does a design get onto the wood if you cannot draw?
Four routes, and three of them never ask your hand to invent anything. I use all four, sometimes all four on one project.
The first is the printed pattern. Every project on my school site has a downloadable pattern, so you print it at full size, glue the sheet to the blank, and carve right through the paper. In my Roman acanthus leaf course a student suggested printing two copies, and I told him it was a wonderful idea. One lies on the bench beside you. The other one you glue on top of the wood, work through it, then remove the paper.

The paper is still on the blank here. It comes off in shavings.
The second is carbon paper. You lay the drawing over a dark carbon sheet, tape both to the wood, and press the outline through with a hard pencil. I do use carbon paper, though not too much, and I reach for it on curved work like a table apron where a glued sheet buckles.

Yellow tape holds the drawing. Press hard enough and the whole flower comes over.
The third is a rubbing, the same trick people use on old brass in English churches. Lay tracing paper over an old carving, rub the flat of a soft pencil across it, and the graphite catches every ridge. You end up holding an exact copy of a shape somebody carved two hundred years ago. Read how brass rubbing works and you have the whole method.
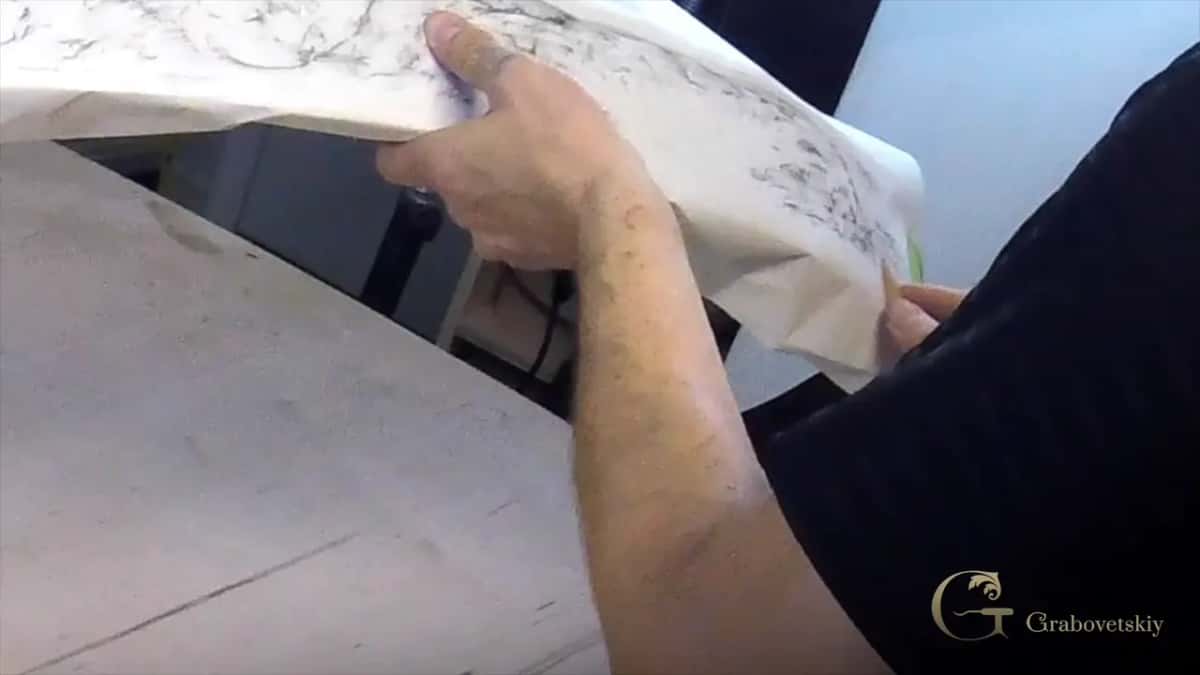
Two minutes of rubbing. No talent required, and no permission either.
The fourth is the old book plate. Nineteenth century pattern books are full of acanthus sheets drawn better than anything you or I will draw this year. Scan one, scale it to your blank, print it. The same study my teacher meant, except the library now fits in a pocket.
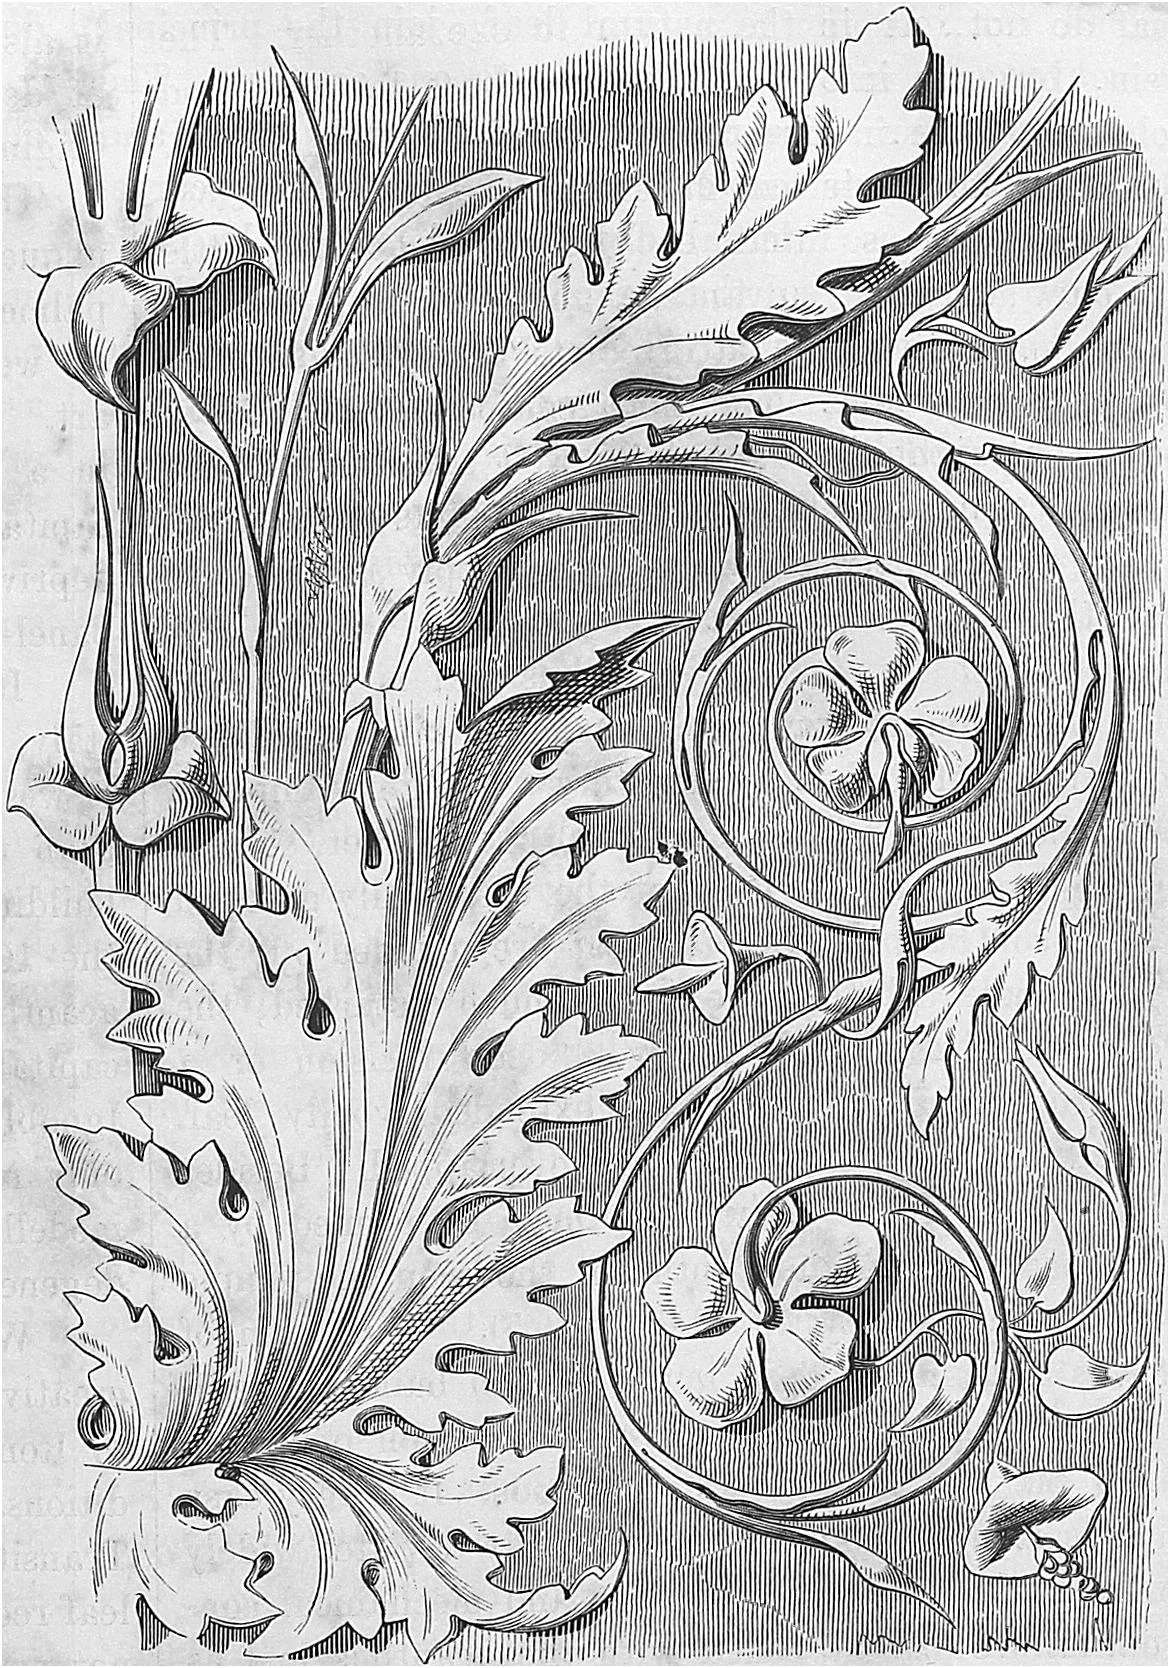
Pages like this taught carvers long before video.
Which way of getting the design on the blank should you use?
Pick by the shape of the surface and by how many copies you need. A flat panel for relief carving takes glued paper happily. A curved apron does not, so carbon paper wins there. When I need the same leaf twelve times along a molding, I print twelve sheets rather than draw twelve leaves.
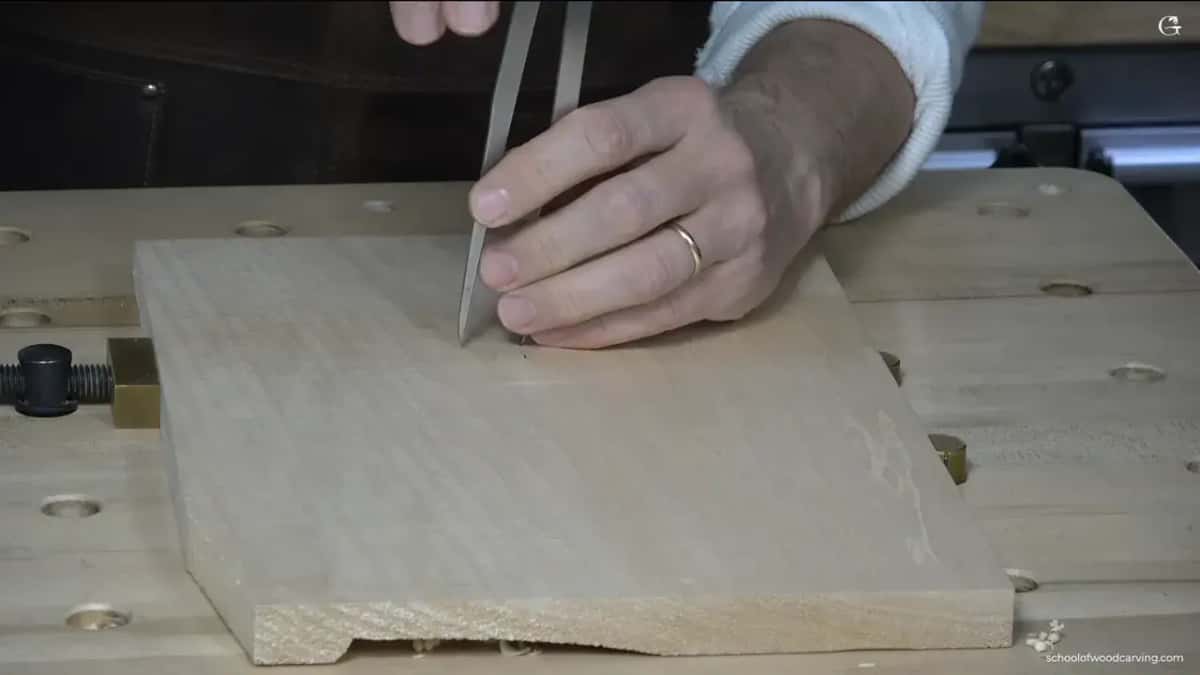
Dividers walk the spacing out. Your hand never has to guess it.
| Way onto wood | What you need on the bench first | Best for | The thing that goes wrong here |
|---|---|---|---|
| Printed pattern, glued | A printed sheet and a can of mild spray glue | Flat panels and repeats | Strong glue leaves gum in the wood |
| Carbon paper | Carbon sheet, hard pencil, low tack tape | Curved faces | The sheet slips and doubles your line |
| Rubbing from an antique | Thin paper and a soft pencil worn flat on one side | Copying old work | Thin paper tears on a sharp arris |
| Old book plate | A scan, a printer, and one honest credit line | Learning ornament | Scale drifts when you print it |
| Free hand on wood | A soft pencil, an eraser, and some patience with yourself | Small pieces | You rub through and bruise the surface |
Planning a design of your own is a different job, and I keep it on its own page about planning and sketching your carving design. Everything above borrows a line.
How do you glue a printed pattern onto a carving blank?
Photo mount glue, a printed sheet, and roughly five minutes of quiet work. This is the route I hand a first year student, and the antique style rosette course runs on it from the first cut.
Watch a pattern take shape on paper first, before it ever goes anywhere near a blank.
Step 1, print the pattern at true size
Measure the blank before you print. My hazelnut panel is the size of a sheet of printer paper, so it prints one to one. Print two copies while the printer is warm.
Step 2, square the blank and mark a border
Lay a steel rule across the face and draw the border line first. On a basswood panel I run that line about 6mm in from the edge, before anything else touches the wood.
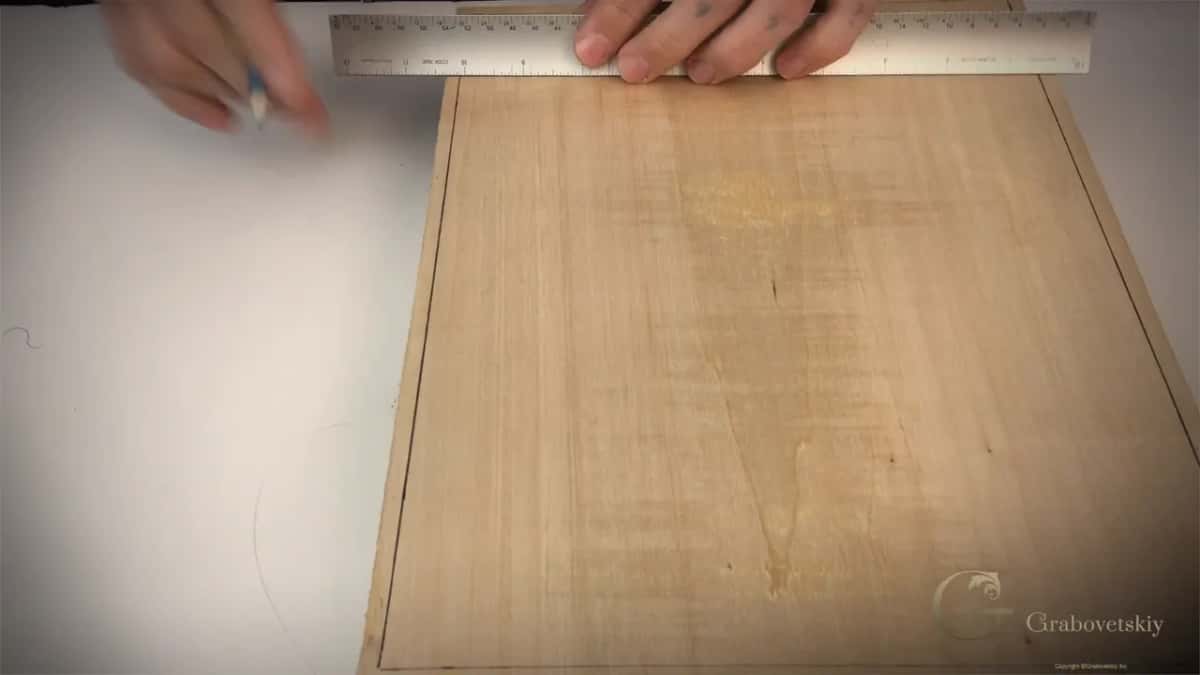
A straight edge has a steadier hand than any of us. Use it.
Step 3, spray the back of the paper
Photo mount glue is mild enough that it leaves no residue on the wood. Spray the paper, never the blank, and give it fifteen seconds before you lay it down. Yellow wood glue holds too hard and will fight you.
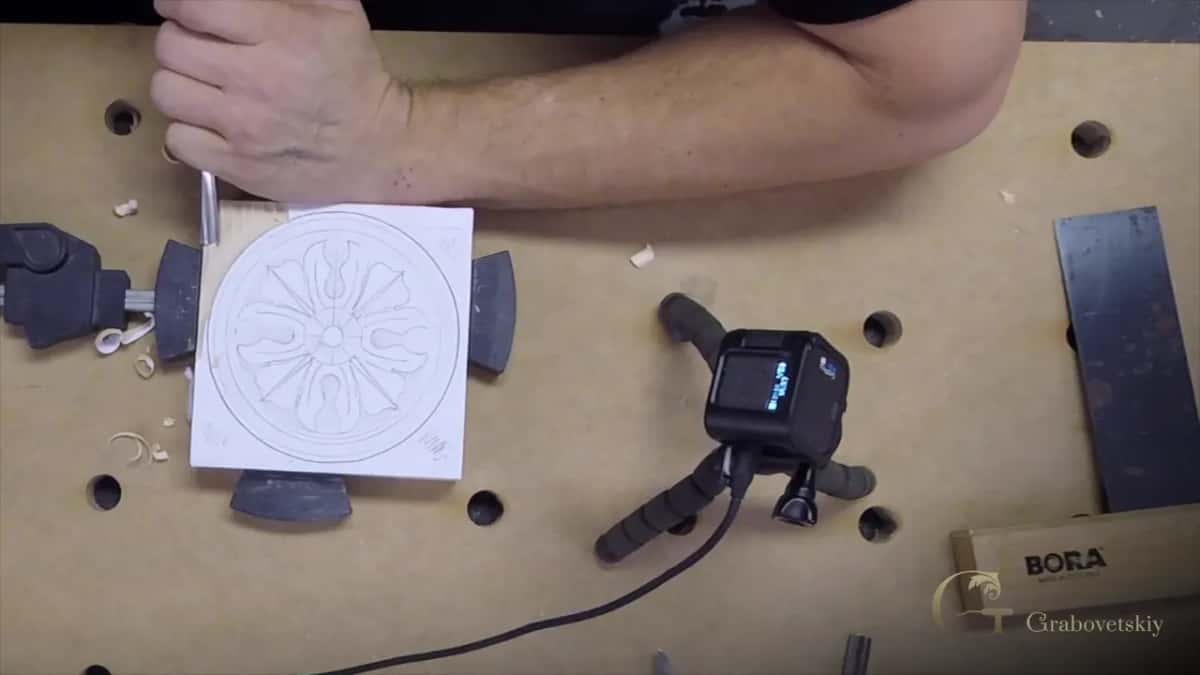
Mild glue only. This sheet peels away later without leaving a mark.
Step 4, set the sheet down from one edge
Land the far edge first, then roll the sheet down with the side of your hand. Air bubbles turn into wandering lines, and you will not see the error until the shape is wrong.
Step 5, cut straight through the paper
Set the gouge just outside the line so the line itself never gets bruised. The paper comes away in the shavings as the ground drops. Whatever is left, peel it off wet and let the panel dry.
Doing it once beats reading about it. The hazelnut carving course walks the whole transfer on camera, and the beginner carving course starts even earlier than that.
Why do carvers mark a blank in blue and red?
Blue tells you the wood drops away there, and red tells you it stays high. Sometimes I use a red marker or a blue marker. Blue probably makes more sense, because blue is deep and red would be high. Deep like ocean blue, and red like sun.
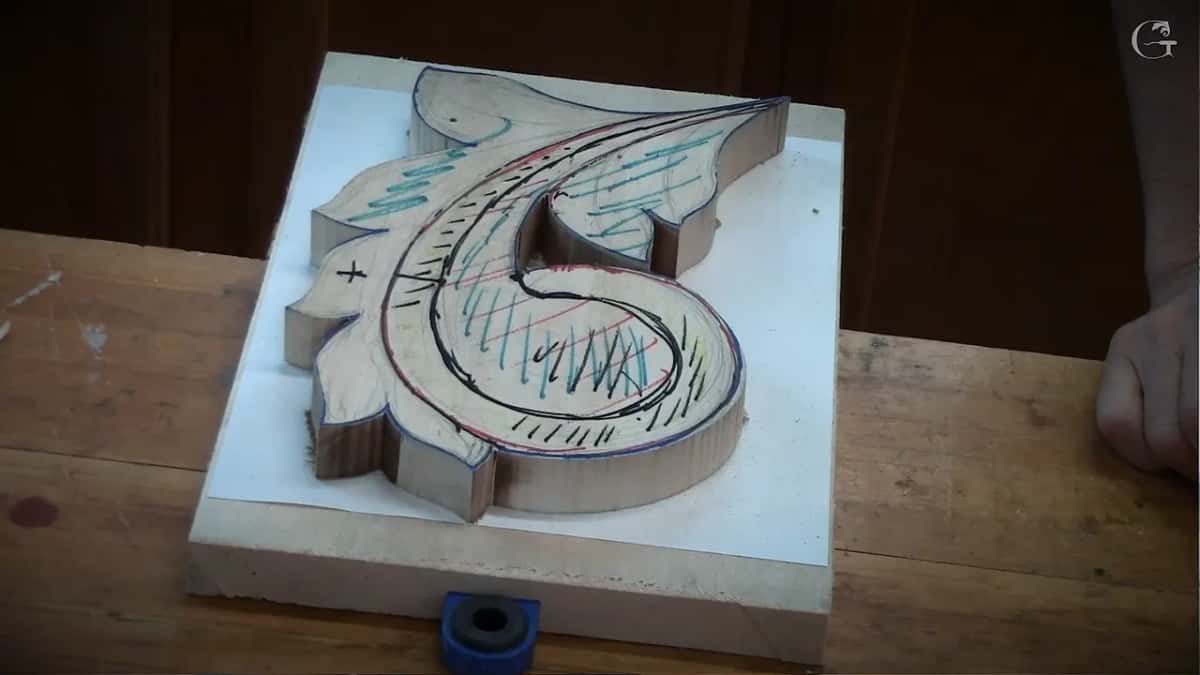
Three colors, one job. The blank now carries its own instructions.
That color code does something a drawing cannot. A line on a flat face says where a shape sits, and nothing about how far down it goes. Color adds the third dimension before a single chip comes off.
You do not need to draw to scribble blue over a lobe. Which is exactly the point. It is closer to painting a fence than to art, and it saves you from carving the background away before the shapes are settled.
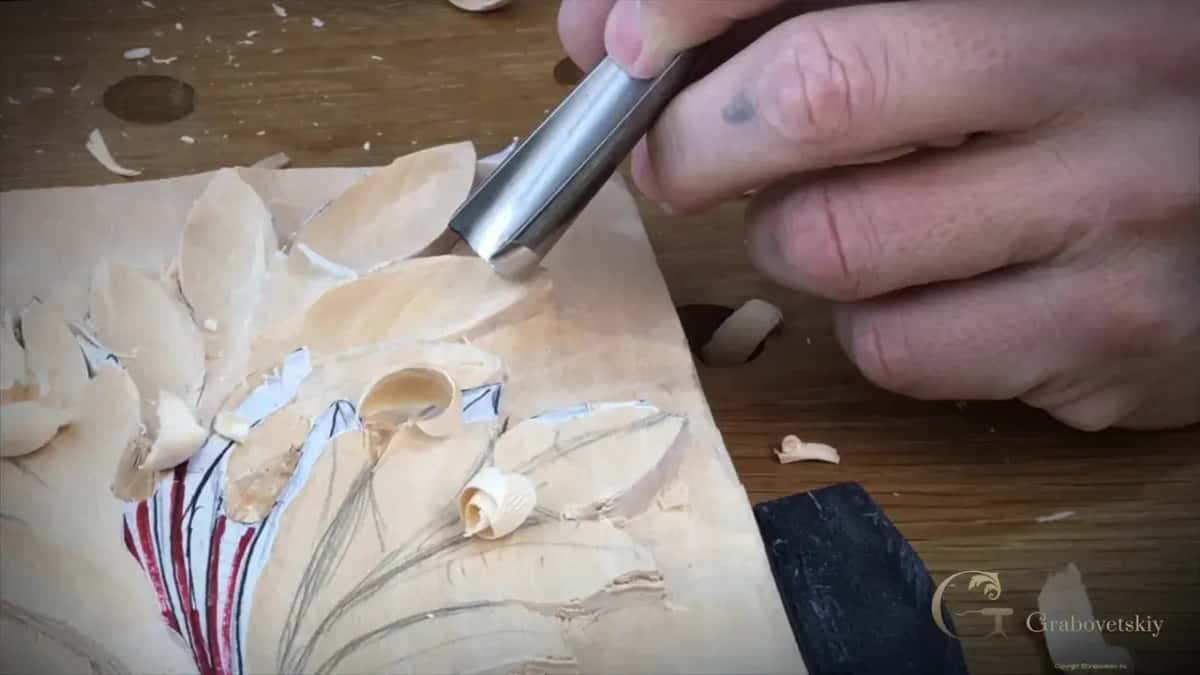
Keep marking as you go, since the first set never survives the shavings.
Does your drawing get better once you start carving?
Mine did, and it happened in that order, not the reverse one. Drawing is mostly seeing. Carving forces you to see, because the wood punishes a shape you guessed at, and it does that on the very first bad cut.
On the Greek acroterion lesson I set a corner to an eighth of an inch, and I say out loud that I kind of like to eyeball it. And when you eyeball it, it trains your eyes. The whole mechanism is right there. You guess, the wood corrects you, and next week your guess is closer.

Blue over red, second pass, because the carving keeps eating the layout.
Now the blunt part. A carver who never learns to draw stays a copier. You can copy for years, make beautiful things, sell them, and never feel the ceiling. Then a client asks for a panel that fits a doorway nobody has ever built, and there is no plate in any book for that. Copying is where every one of us started, and it is a floor, not a prison.
When you want to move past copying, learn the laws before the technique. Proportion, the golden ratio, and where the eye lands are teachable in an evening, and I teach them in the design principles course. You really do not need to draw all those lines and circles. There is an easier approach.
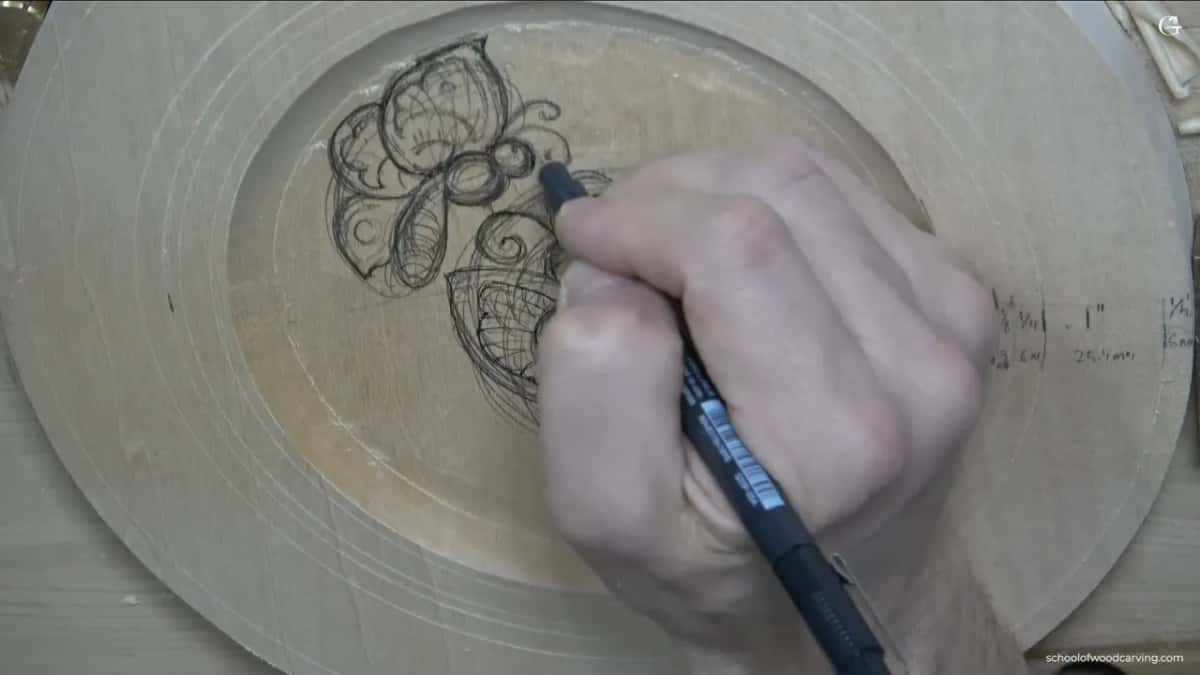
Years of copying bought the confidence to skip the pattern entirely.
If you want the drawing side taught by hand, I run an in person class on drawing what you intend to carve. The acanthus leaf you want to learn to draw has its own long lesson, because it deserves one. Look at what Grinling Gibbons left at the V and A, and you will understand why wood carving sits beside painting.
Frequently asked questions
Is it cheating to carve through a paper pattern?
Never. Every carving shop I have worked in used paper patterns, and the old masters used pricked cartoons for the same reason. The skill is in the gouge, not in the pencil. Carve a glued pattern well and nobody will ever ask how the line got there.
What pencil should I use on a carving blank?
A soft one. I usually just use pencils to draw, and I only reach for a marker when the camera needs to see the line. An 8B goes on dark and wipes off with a rag, while a hard pencil bruises the wood and leaves a groove you will still see after finishing.
Can I copy another carver's design and still sell the piece?
Copy freely while you learn, and say plainly whose design it is when you show the work. That is the rule I keep. Selling somebody's living design as your own is a different matter, so use old book plates, which carry no such worry, once money is involved.
Will carbon paper work on dark wood like walnut?
Poorly, because gray graphite on brown wood is hard to read. On walnut I glue white paper over the whole board and draw on that instead, or I use a white or yellow transfer sheet. Test a corner first, since some colored sheets will not wipe off cleanly.
How big should my first carved panel be?
About the size of a sheet of printer paper, near enough to 21 by 28 centimeters. That size prints one to one, sits flat under two clamps, and takes maybe a weekend rather than a month. Big panels punish a beginner slowly, and the punishment arrives after the wood is already paid for.
Do I need special software to scale a pattern?
Your printer dialog handles it. I moved to an iPad years ago because a client kept moving one acanthus leaf around a ten foot headboard, and redrawing that on paper took a razor blade and hours. On a tablet the same change takes a second.
Filed under
- beginner's guide to wood carving without drawing
- beginner wood carving without drawing skills
- can beginners carve wood without drawing
- can you carve wood if you can't draw
- can you learn wood carving without drawing skills
- can you start wood carving without drawing
- do i need to know how to draw to carve wood
- do you need drawing skills to start wood carving
- do you need to draw to carve wood
- how to carve wood without drawing
- how to start wood carving if you can't draw
- is drawing necessary for wood carving
- Learn Wood Carving
- no drawing skills needed for wood carving
- starting wood carving with no drawing experience
- starting wood carving without art skills
- Wood Carving Basics
- wood carving basics for non-artists
- wood carving for beginners no drawing skills
- wood carving techniques for non-artists
- wood carving tips for non-drawers
- wood carving without drawing skills