
August 26, 2024 · Updated October 7, 2026
By Alexander Grabovetskiy — Master Woodcarver · Founder, School of Wood Carving · 12 min read
How Do You Prepare Raw Wood for Carving?
A carving blank is what you get when you prepare raw wood for carving. You pick the best face, flatten it, square one edge, plane it to an even thickness, glue up for width, seal the raw ends, mark your design, then clamp it down hard.

Rough sawn stock waits in my shop, and some of these boards have been sitting here for ten years.
Most beginners lose a carving before the first chip flies. The board rocks. The back is not flat, the paper pattern slides, and every stroke of the gouge fights a target that keeps moving. I see it in person classes every year, and the fix is never a better tool. Prepare the wood properly and the carving turns quiet, because the block stops arguing with your hands.
- One flat face and one square edge. Every other measurement comes off those two.
- Rift cut and quarter sawn boards move least, so a blank stays flat under the gouge.
- Need width? Glue up, alternate the rings, and stagger the joints like brick.
- Wax or paint the raw ends. A board loses water through end grain first, and that is where it splits.
- Clamp the blank to the bench before you draw a single line.
What does a carving blank have to do?
A blank has three jobs: sit dead flat on the bench, stay put while you push steel into it, and hold its shape for a hundred years. Everything below serves those three. A pretty board that rocks on the bench is a bad blank, and a flat one full of hidden splits is worse.

Five rosette blanks, milled the same afternoon, waiting for their patterns.
I have carved many species over forty years, and the blank always mattered more than the wood. Basswood is my first choice, and you can read the numbers on the basswood page at the Wood Database. Walnut is my second. But a badly prepared piece of walnut will beat you, and a well prepared scrap of poplar will behave.
Which face of the board do you carve?
Carve the face that sat nearer the heart of the tree, and let the bark side become the back. Stand the board on end and look at the growth rings. They curve, and the curve shows you where the heart was.
Think about the force. Wood dries from the outside going in, and everything gets pulled toward the center, toward the heart of the wood, and you have to break that force. For a relief carving the answer is easy for me, and it is always the heart side.

Here is what I was taught. Closer to the center you get in the log, the less movement is going to happen. Wood near the bark swells and shrinks far more than wood near the heart. Wild swirling grain belongs on the back, or in the firewood pile.
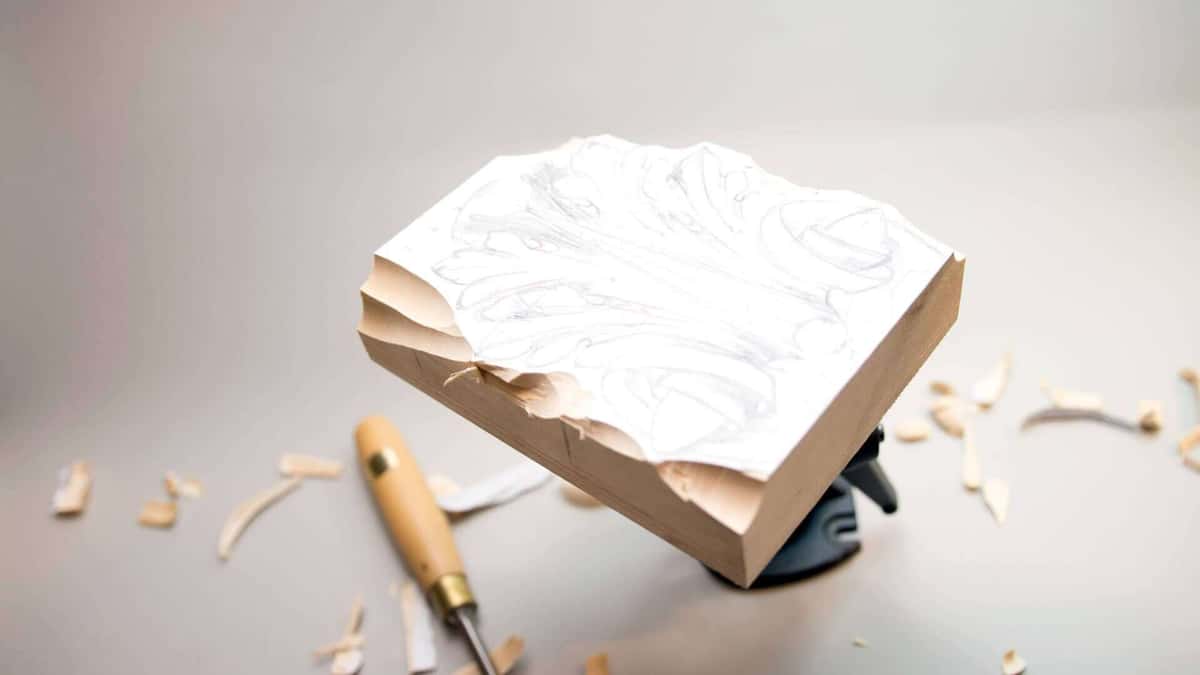
The pencil line runs across the face I chose. The other side went down.
Grain direction inside the design is a different question, and my article on reading grain direction with the gouge covers it properly. Here you only pick a face.
Eight steps from a rough board to a carving blank
Work in this order and each step gives the next one something true to measure from. Skip one and you will feel it three steps later, usually when the pattern will not lie down.
Step 1, read both faces before you touch a machine
Lay the board on a flat surface and press each corner. If it rocks, it is cupped or twisted. Mark the high spots with chalk. Look at the ends, count the rings, and decide right there which face carves and which face hides.
Step 2, flatten one face and call it the reference
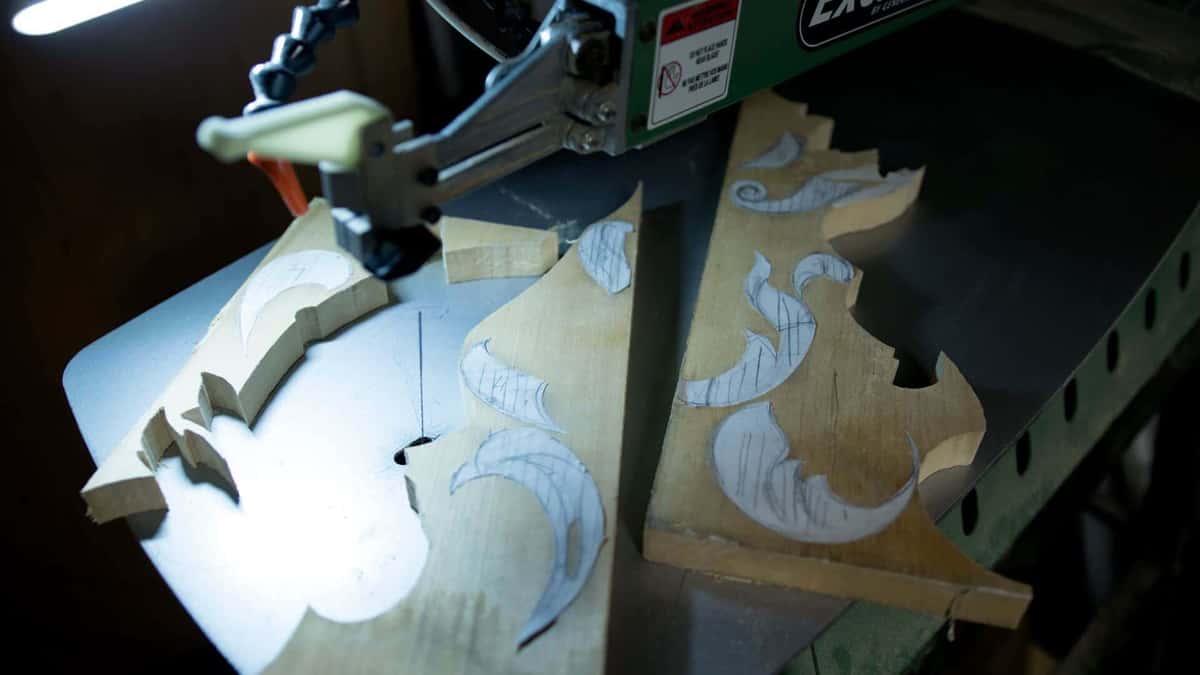
A hand plane does this. So does a jointer, or a thickness planer if you own one. I have a 25 inch planer and a 16 inch planer, so I can pass a wide board straight through, but a beginner with a block plane and a straightedge gets there too. Slower, and just as flat.
Step 3, square one edge to that face
Take one edge to ninety degrees against the flat face, then check it with a square in three places along its length. This edge is what your pattern, your borders and every glue joint line up against. Five extra minutes here saves an hour later.
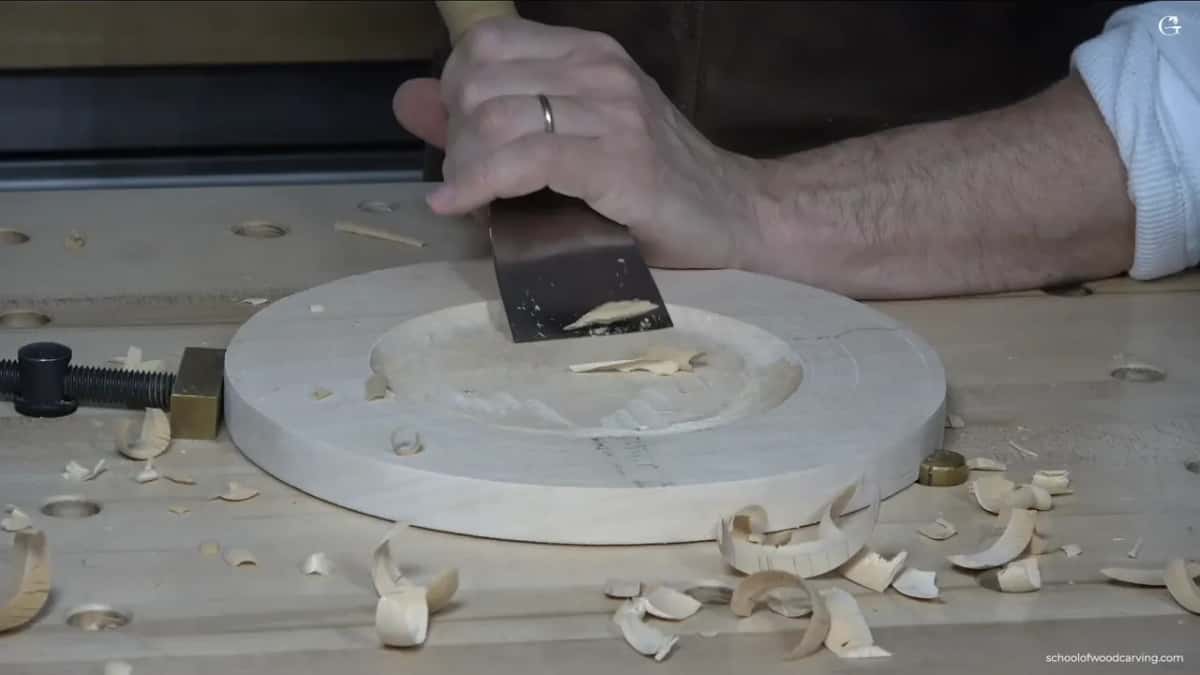
My widest gouge levels a hollow. The same reflex works on any surface that has to read flat.
Step 4, take the board down to thickness
Now flip and remove wood from the second face until the board is even end to end. For low relief on a panel I want about 25mm of basswood. For a deep acanthus leaf I want 50mm or more, and I would rather glue up than carve a thin block and run out of depth halfway.
Step 5, glue up if you need more width or depth
Two boards make a panel. Three make a thick block. The rules for that are in the next section, and they are not optional.
Step 6, take out the pith and seal the raw ends
If any part of the board still carries the soft center of the tree, saw it off. Then paint or wax both end grain surfaces. The ends breathe out water many times faster than the faces, and a board that dries unevenly splits at the ends first.
Step 7, mark out, and measure more than once
Glue the paper drawing down, or transfer it with carbon paper, or draw straight on the wood. I do all three depending on the job. Before any of it, I am measuring, remeasuring, checking, double checking, triple checking, seven times checking. Sounds excessive until you have moved a centre line after roughing out.


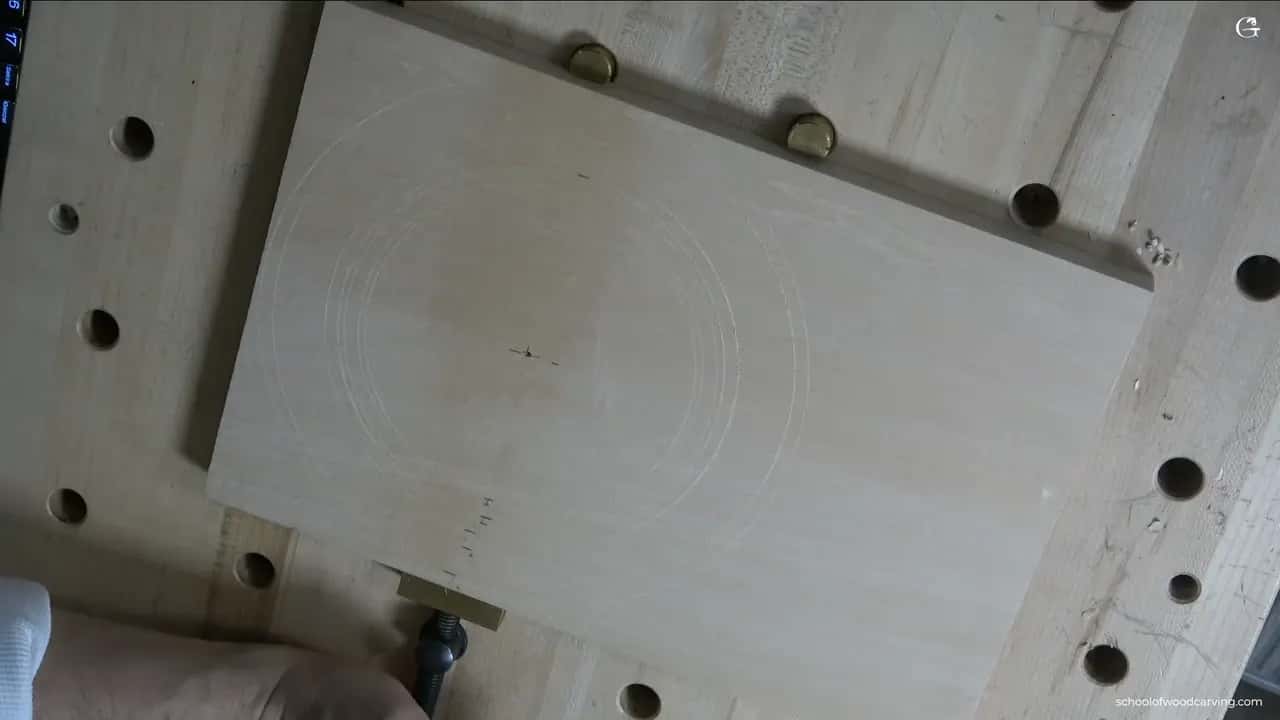
Brass gauge, one line, before anything else, because pencil smudges away and a scribed line stays put.
Step 8, clamp the blank down before the first chip
Fasten it really solidly. You either want to clamp it to the bench and attack it, or use screw clamps from Veritas from Canada like I do. Work that shifts under a mallet blow will tear a leaf edge you cannot put back.

Which sawing pattern gives the steadiest blank?
Quarter sawn wood is the most stable thing you can buy, rift cut is close behind, and plain sawn is what most lumberyards will hand you. So when I am buying wood, I am actually looking for a rift cut and better yet, quarter sawn.
It costs more per board foot. It also stops a finished panel from cupping in your customer's dining room years after you handed it over.
| Sawing pattern | Where the growth rings run across the board end | How much it moves | What it suits in a blank |
|---|---|---|---|
| Plain sawn | Rings arch right across the width in a wide flat crown shape | Moves the most of all four | Cheap practice blocks and offcuts |
| Rift cut | Rings meet the face at roughly forty five degrees | Fairly small | Long mouldings and slim carved rails |
| Quarter sawn | Rings stand almost straight up through the board thickness | Least of all four | Panels, glue ups, anything wide that must stay flat |
| Live sawn | Every ring angle appears, board by board | Depends on the single board | Wide slabs, but only if you sort them well |
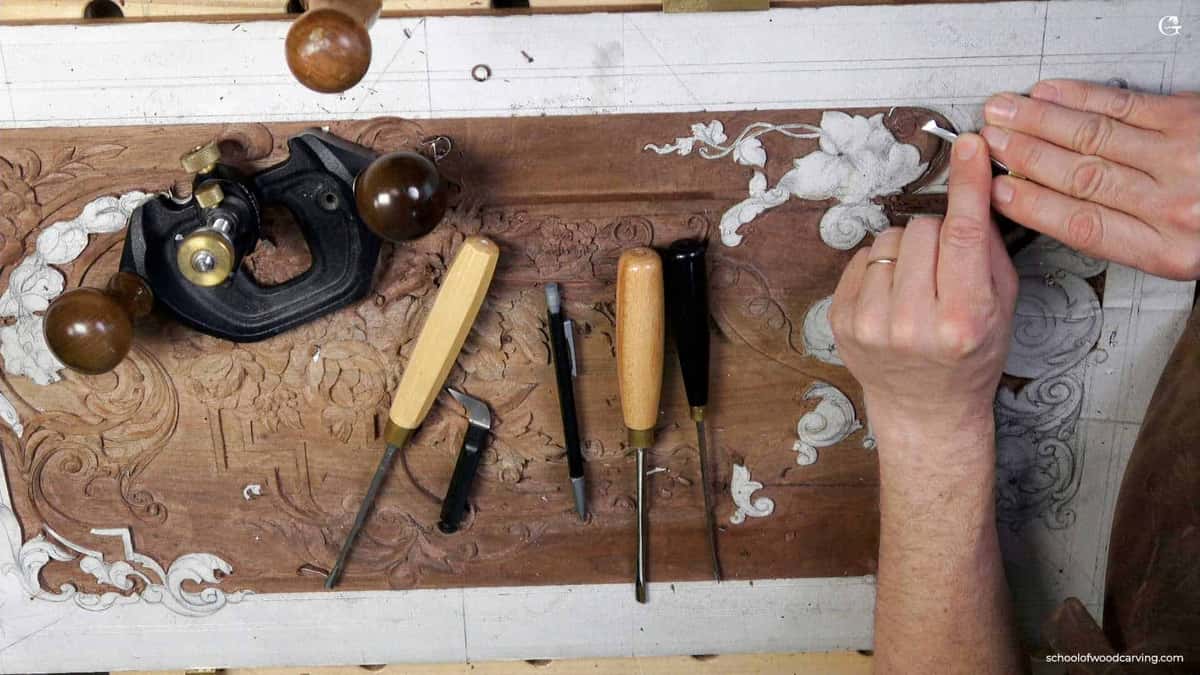
The plane and the gouges share one bench, which is no accident of tidiness.
Read the geometry properly at quarter sawing on Wikipedia, then look up your own species in the shrinkage numbers by species. Tangential shrinkage is roughly double radial in most woods, and that single ratio explains every cupped board you have ever cursed.
How do you glue up a wide panel that stays flat?
Flat joints, alternating rings, staggered joint lines. Miss any one of the three. Then the panel moves as one lump instead of cancelling itself out. I want to make sure I keep that surface absolutely flat where I can glue. A joint you can see daylight through will open in year three.
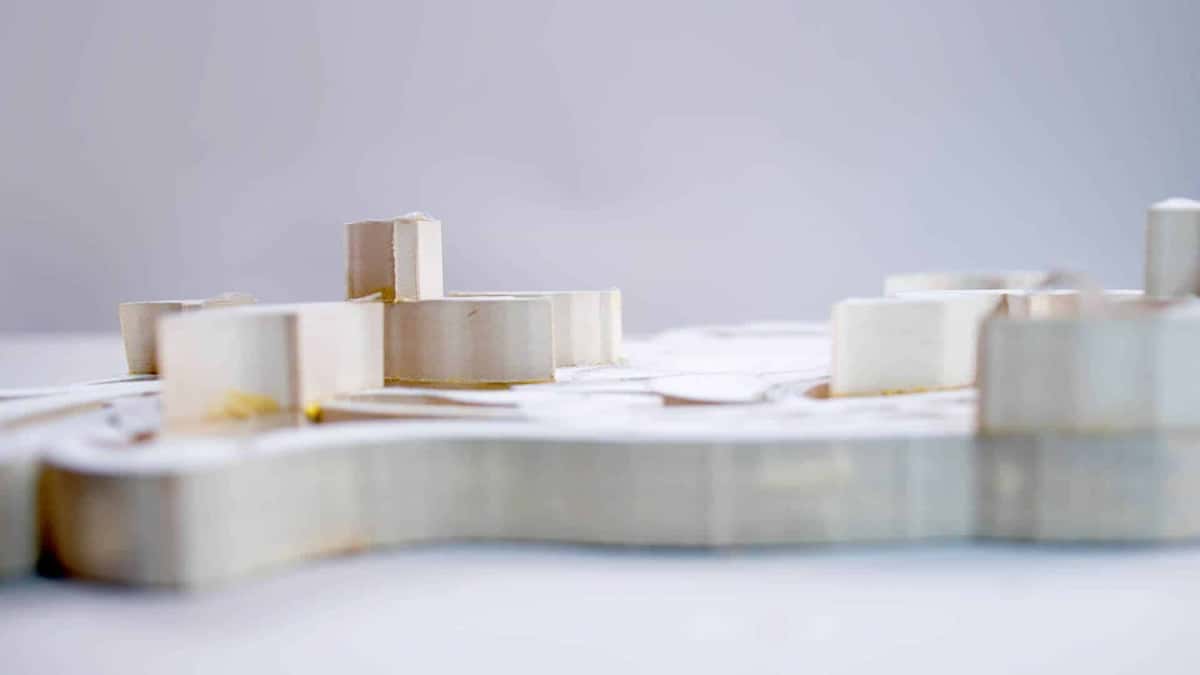
Yellow glue line under each block. That is how a shallow board becomes a deep one.
Then alternate. You have to alter the direction of the grain, so board one cups up, board two cups down, board three up again. The panel ends up as a shallow wave instead of one big dish. And I never place glue ups closer to the opening, so I stagger the joints almost like a brick laying.
You do not have to buy thick stock at all. Get four quarter material, which is three quarter of an inch, and laminate it together, and here you go, you got a thicker board. Any decent PVA works; there is a plain summary of wood glue types if you want the chemistry.

Why does the pith split a blank?
The pith is the soft dead core at the very centre of the trunk, and the wood around it shrinks in a circle while the pith does not, so it tears itself open. A blank that still carries the pith at the centre of a log will develop a star crack sooner or later.
Saw it out while the board is still rough and you never meet the problem.
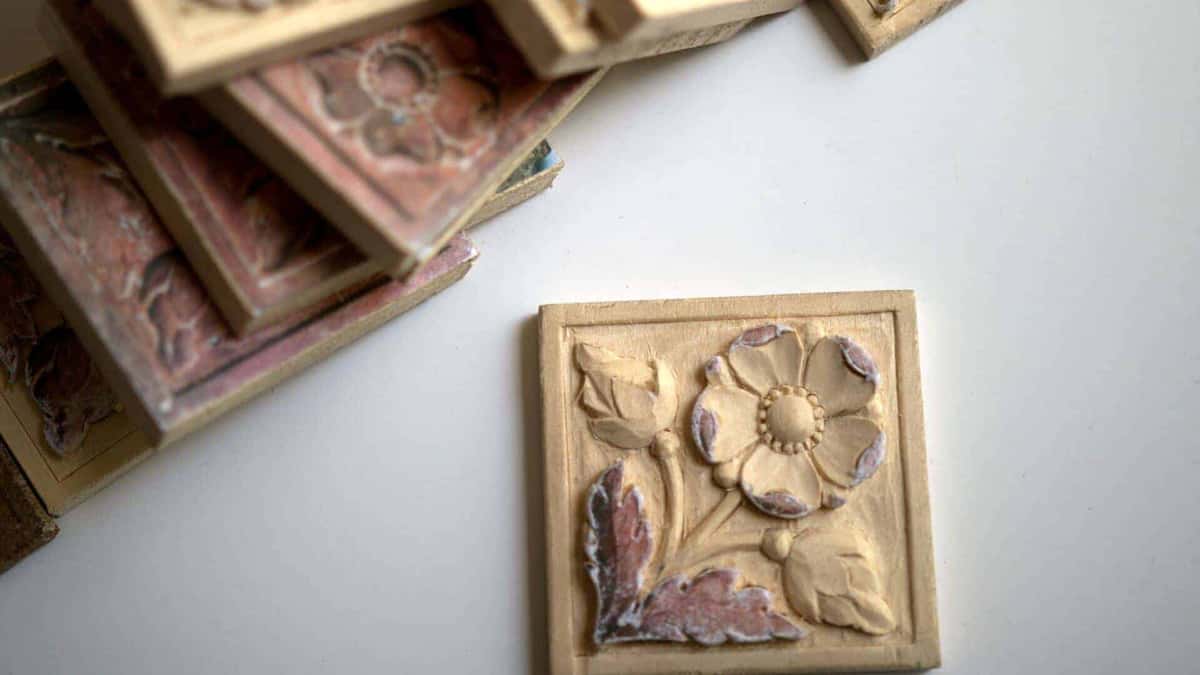
Cracks you cannot see are the real danger. Cracks like that have cost me finished work. Sometimes there are small micro cracks in the wood itself which are undetectable, and one project of mine had so many cracks in the wood that I could not save it. Tap a suspect board with a knuckle. A dull thud instead of a ring means trouble inside.
Sealing the raw end grain is the cheap insurance. Wax, paint, or a proper end sealer all slow the ends down so the whole board dries at one speed. The physics is set out in wood and moisture at the Wood Database and in the USDA Forest Products Laboratory wood handbook, which is the book everyone else quotes. Wikipedia has a short version of how lumber is dried too.
Whether the board should be dry at all before you start is a separate argument, and I answer it in drying a board before you carve it and in carving wood while it is still wet. Sealing a finished piece belongs to sealing a finished carving, which is a different job with different materials.
How do you mount the blank so it cannot move?
Screw it, clamp it, or hold it in a bench with dog holes, but fix it to something heavier than itself. My bench top is drilled on a grid so a hold down lands wherever the work sits. When a piece will be glued onto a panel later, I put a screw through the back from the gluing spot, where nobody will ever see the hole.
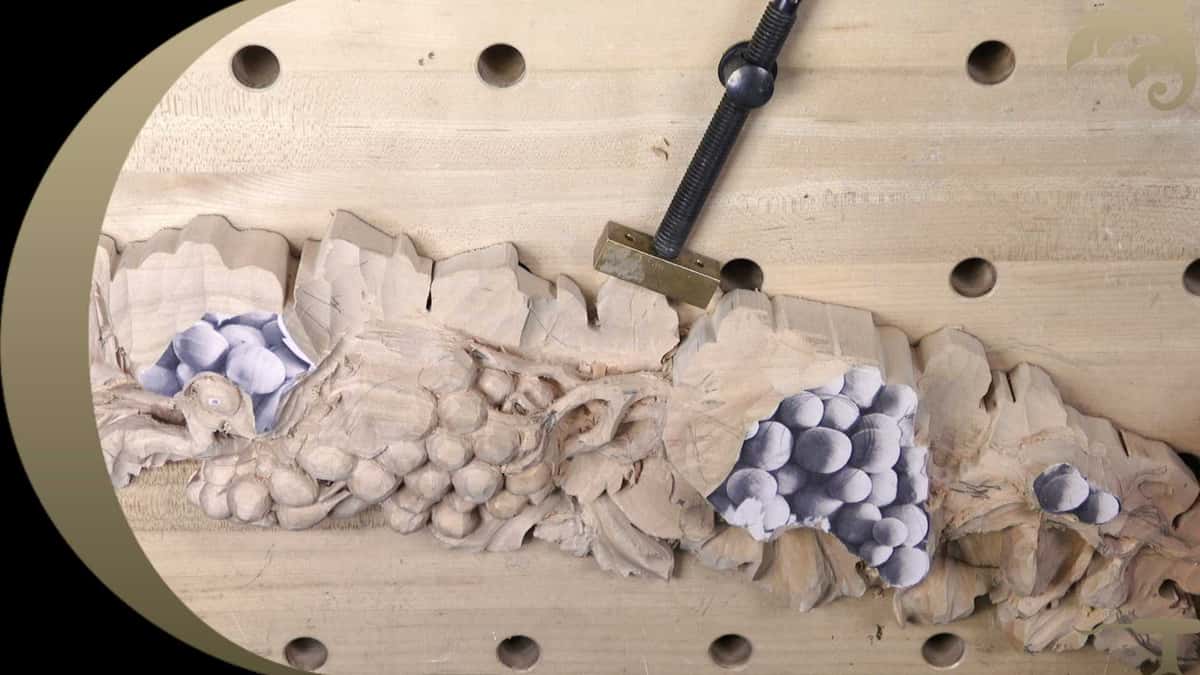
One brass bar and one threaded dog in a single hole have held this onlay still for three sessions.
Clamping has a cost, and I will say it plainly. When you are just clamping, you are still creating some limitation, because the clamp sits exactly where your gouge wants to go, and you unclamp and rotate and clamp again all day long. Two clamps on opposite corners usually beats four everywhere.

The bench under all of it has its own write-up, a carver's workbench and what actually earns its space. Good Veritas bench clamps from Lee Valley and sharp steel from Pfeil in Switzerland are the two purchases I never regretted.
What size should a first blank be?
Start at printer paper size, roughly 210 by 297mm, and about 25mm thick. That is big enough for a real acanthus leaf and small enough to finish before you lose heart. My first Roman acanthus study sits on a six by eight inch block, and that block has taught more students than any lecture I have given.
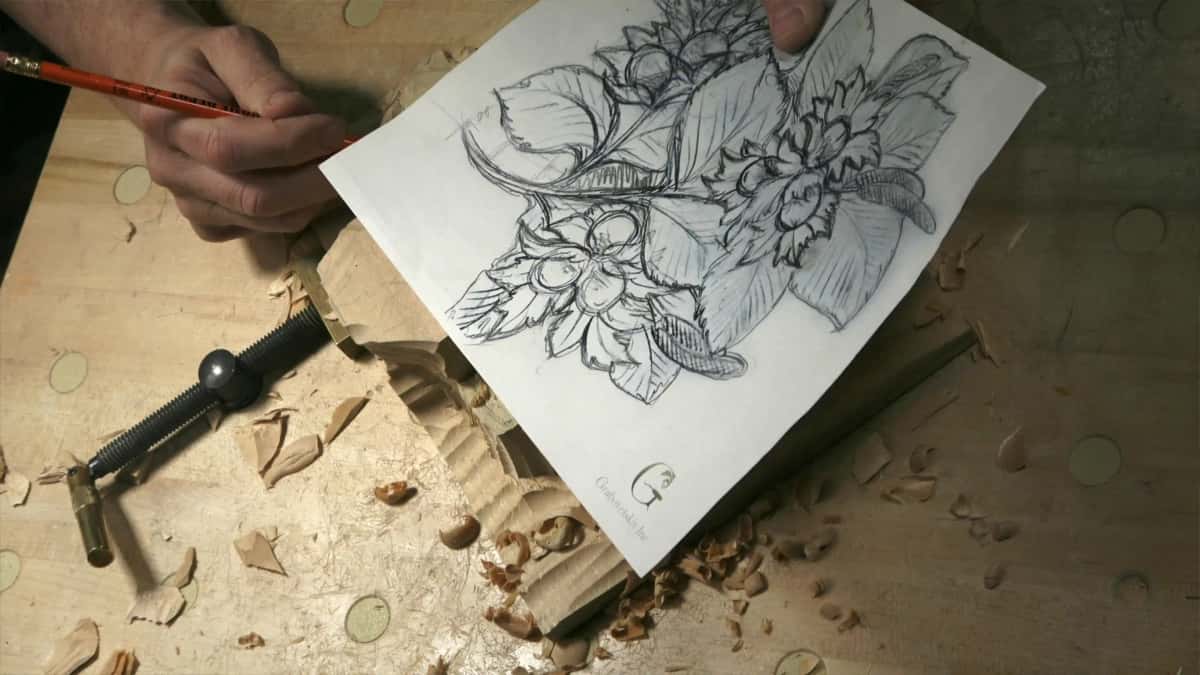
The drawing gets held over the blank first, to see if the leaf fits the wood.
Buy the board at a yard that sells to furniture makers rather than a construction supplier. If you can get really air dried lumber that would help a lot as far as the thickness of it, and some of my own boards have sat in the shop for over ten years waiting their turn. Starting from freshly sawn stock puts you on a slower clock, and how long a board takes to dry gives you the timetable. Species questions live in our wood database, and if the block you bought is fighting you, read softening a block that is too hard before you blame yourself.
Layout comes next, and planning and sketching a carving design picks up exactly where this article stops. The full method, with every division measured, is what I teach in my furniture panel design course and in the principles of design course.
Frequently asked questions
How thick should a relief carving blank be?
For low relief on a panel, 25mm of basswood gives room for three depth levels. Deep leaves and pierced work want 50mm or more. If your stock is thin, laminate two boards rather than settling for a shallow design.
Can I use a construction two by four as a carving blank?
You can, and it will punish you. Framing lumber is fast dried softwood full of knots and resin, and it dulls edges quickly. Buy a proper carving board from a hardwood yard instead; the cost difference across one project is small.
Do I need a planer to prepare raw wood for carving?
Machines make it faster, never better. A number four hand plane, a winding stick and a square will flatten a board perfectly well. Many carvers also pay a local cabinet shop a few dollars to mill their stock.
Which glue holds a carving panel together best?
Ordinary yellow PVA, applied to two flat surfaces and clamped until the squeeze out beads, outlives the wood around it. Skip cyanoacrylate for structural joints. Reserve it for filling a small crack you find mid carving.
How long should a board rest in the shop before I carve it?
Give a new board two to four weeks in the room where it will be carved. It has to reach the same humidity as your shop before you commit a design to it. Stack it flat, with air on every face.
Should I sand a blank before carving it?
Do not. Sanding grit embeds in the surface fibres and will wreck the edge of every gouge you push through it afterwards. A planed or scraped surface takes pencil beautifully and cuts clean.
Filed under
- allergic reactions to woods
- basswood advantages for carving
- best carving woods for precision
- best softwoods for carving
- best wood for beginners
- carving techniques for beginners
- carving wood grain effects
- choosing wood for carving
- detailed work in wood carving
- easy woods to carve for beginners
- green wood vs seasoned wood for carving
- how to prepare wood for carving
- preparing carving blocks
- preparing wood for detail work
- suitable hardwoods for carving
- tips for wood carving preparation
- understanding wood types for carving
- Wood Carving Basics
- wood carving tools needed
- wood selection for carving projects
- wood types for carving projects