
August 27, 2024 · Updated August 16, 2026
By Alexander Grabovetskiy — Master Woodcarver · Founder, School of Wood Carving · 13 min read
How do you soften wood before carving?
Water is the usual way people soften wood before carving, and for an hour or two it really does work. Soak the block, steam it, or wrap it in a damp rag, and the fibers swell. Then the grain lifts furry under your gouge, and the block can crack as it dries back.

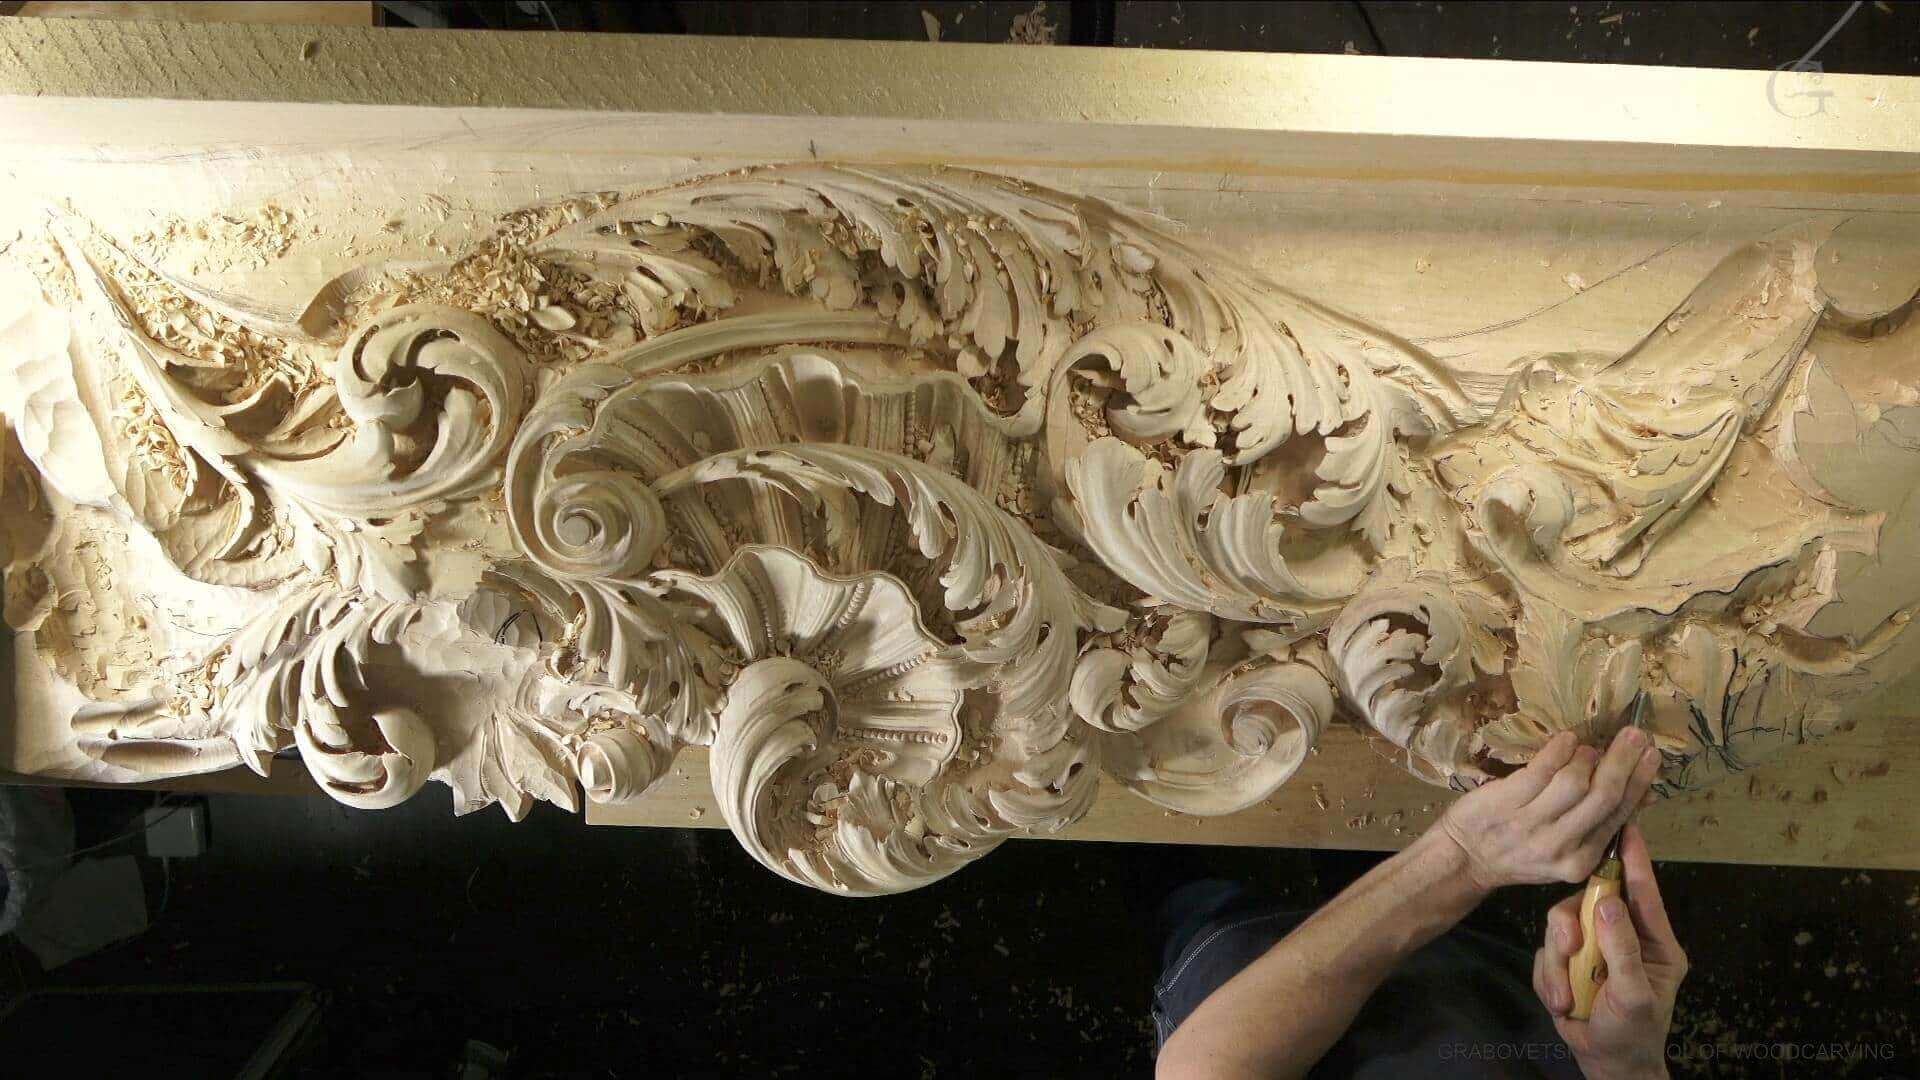
Two gouges parked while I decide the next cut. No bucket was involved in this leaf.
You bought a block, sat down with a new gouge, and the wood pushed back at you. So you went looking for a way to make it softer. I get that question almost every week.
I am going to be honest with you. Forty years at the bench have shown me what water does to a block, and it is rarely what the student expected when the block went into the bucket. Every softening method does something real. Every one of them sends you a bill later.
- Water has to reach the cell wall before wood swells at all, and that single fact is the whole mechanism behind every trick on this page.
- The bill is raised grain. Crisp edges go furry, and you cannot scrape a carved surface flat again.
- A soaked block shrinks as it dries, so glue lines open and end checks appear.
- Color and oil sit badly on wood that was wet.
- Ninety seconds on a strop changes a block more than a bucket of water ever will.
How do you soften wood before carving?
Put water into the wood and it does give, which people do five ways: soak the whole block, steam it, lay a damp rag on one spot, warm the blank, or brush on a bottled softener. All five do the same job underneath. Water travels in and the fibers let go a little.
Soaking is the version most people try first. An hour in a bucket for a thin panel, a full night for anything thick, and the outer layer really is easier to slice. Steam does it faster and deeper, because heat and water together plasticize wood, which is exactly the principle behind steam bending a chair back.
A damp rag is the local version. You lay it on one stubborn patch, leave it overnight, and only the top millimeter or so takes any water in. Warming the blank is the odd one out: gentle heat drives water off rather than in, so the wood you get back is drier and harder than the wood you started with.
Here is the same information in the order that matters, which is what each one costs.
| The softening method | What it does inside the wood | Time needed | The bill it hands you later |
|---|---|---|---|
| Soaking the whole block | Water floods the cell walls and every fiber swells | Several hours minimum | Grain lifts everywhere and the block later checks |
| Steaming the blank | Heat plus water relaxes lignin so fibers bend | Twenty minutes | Warping, color change, a furry face |
| A damp rag laid overnight | Only the top millimeter or so takes water | One long night | A raised patch that no longer matches |
| A bottled softener | Mostly carries water in a little deeper | Minutes to hours | Same raised grain plus stain risk |
| Warming the blank gently | Resin and wax soften a little, water leaves faster | Fifteen minutes or more | Drier wood, so it carves harder afterwards |
| Stropping the edge | Nothing at all happens to the wood you hold | Ninety seconds | None, and the block feels new again |

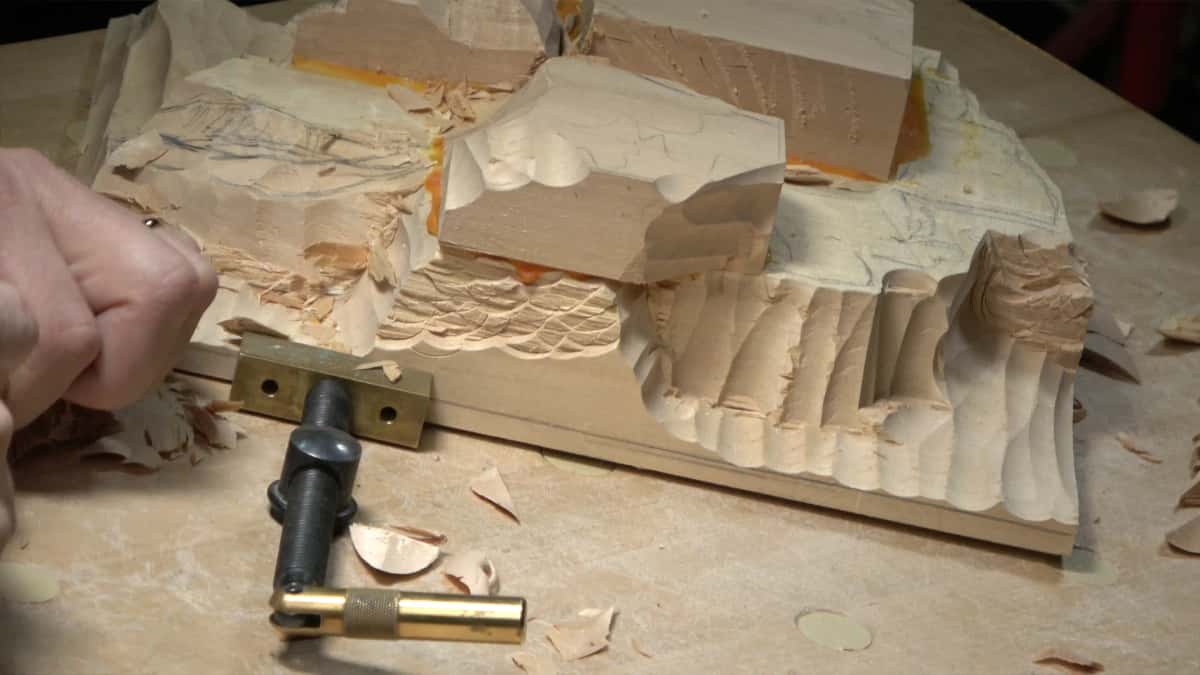
A sixteenth of an inch of ground, all the way round. The gouge did that, not water.
What does soaking really do to the wood?
Water swells the cell walls, and a swollen fiber stands up instead of slicing off clean, so the surface you worked hard for comes out furry. The surface has raised grain. Sanding takes it off a flat board without any trouble at all. On a carving you cannot.
The mechanism is worth knowing, because it explains why every method on this page behaves the same. The Wood Database explains that water sits in wood in two forms: free water in the pores, and bound water trapped inside the cell walls. Only the bound water changes the size of anything. Below roughly 30 percent moisture content, which that page calls the fiber saturation point, wood swells and shrinks with every bit of bound water it gains or loses.

Long shavings like these tell you the edge is right. Damp fibers roll up instead.
I say the same thing in my olive wood Lily box course. While I am blending color on the carved lid I stop and warn people not to be too crazy with the water, because too much water is going to raise the grain. That lesson is about color, not softening, and the wood does not care about my reason for wetting it.
Then there is the second half of the bill. Wood is alive. It sucks water in, swells, and then shrinks again, and the same block can carve normally one day, feel mushy the second day, and by the third day feel so different that it hardly seems like basswood anymore. I say that out loud in my Roman acanthus leaf course while a student watches me hit a soft patch. American basswood moves 15.8 percent by volume between green and oven dry, and the Wood Database entry for Tilia americana lists that number beside its 410 pound Janka figure.

Move that much water through a glued-up blank and something has to give. Glue lines open. End grain checks. If you want the long version of what drying does to a board, the Wikipedia page on wood drying walks through the defects one at a time, and the USDA Forest Products Laboratory wood handbook is the book behind most of those numbers.
Do wood softening products work better than plain water?
Bottled softeners still work by getting water into the cell wall, since water is the only thing that makes wood give, so the bottle buys you a bit more depth and hands you the same raised grain. No liquid known to me softens wood without wetting it.
Think about what would have to be true for a bottle to beat a bucket. It would have to move the fibers apart without adding water, and then hold them there while you carve. Wood does not work that way. It settles to whatever the air around it holds, which foresters call equilibrium moisture content, and a shop is drier than any bottle you pour on.
So the honest reading is this. A softener is convenient for one small patch on a nearly finished piece. It is a poor answer to a whole block that fights you, and it is an expensive answer to a dull gouge.
Why does the block feel so hard in the first place?
Most blocks that fight back are dry, dense wood being carved with a dull edge held flat into the fibers, which loads the tool like a wedge instead of letting it slice. Change the edge and the same block feels different in one minute.
When I started, I came to my teacher one day and told him he had given me a bad piece of wood. He looked at me and said there is no such thing as bad wood. It is dull tools. That is the only problem, dull tools. Sharp tools can do beautiful work even on the worst of the worst pieces of wood. I repeat that story in my tool sharpening course because students need to hear it before they reach for a bucket.

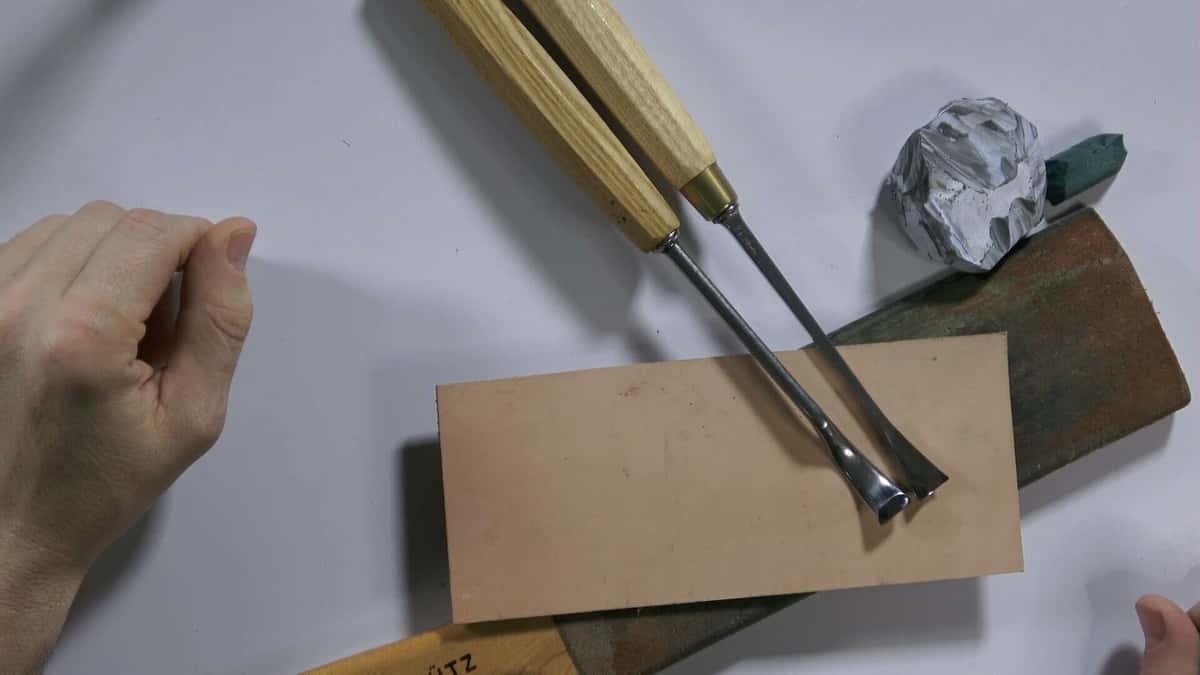
The middle tool is the one under discussion. Bevels always look shorter in a photograph than they measure on the stone.
The second cause is how you hold the tool. In my grape onlay course I watch people start with the flute up at twelve o'clock and drive straight in. You are still carving, in a way, but you are pushing into the fibers and you are fighting that wood really hard. A soft board forgives that and costs you nothing. Harder wood takes that same slip and charges you the whole cut.
The third cause hides inside the board. One panel can carry a patch so dense that the tool stalls in it, and I say exactly that while carving a lily flower, that this is a really dense area, really hard. Nothing was wrong with the block. Growth rings do that on their own, season after season.
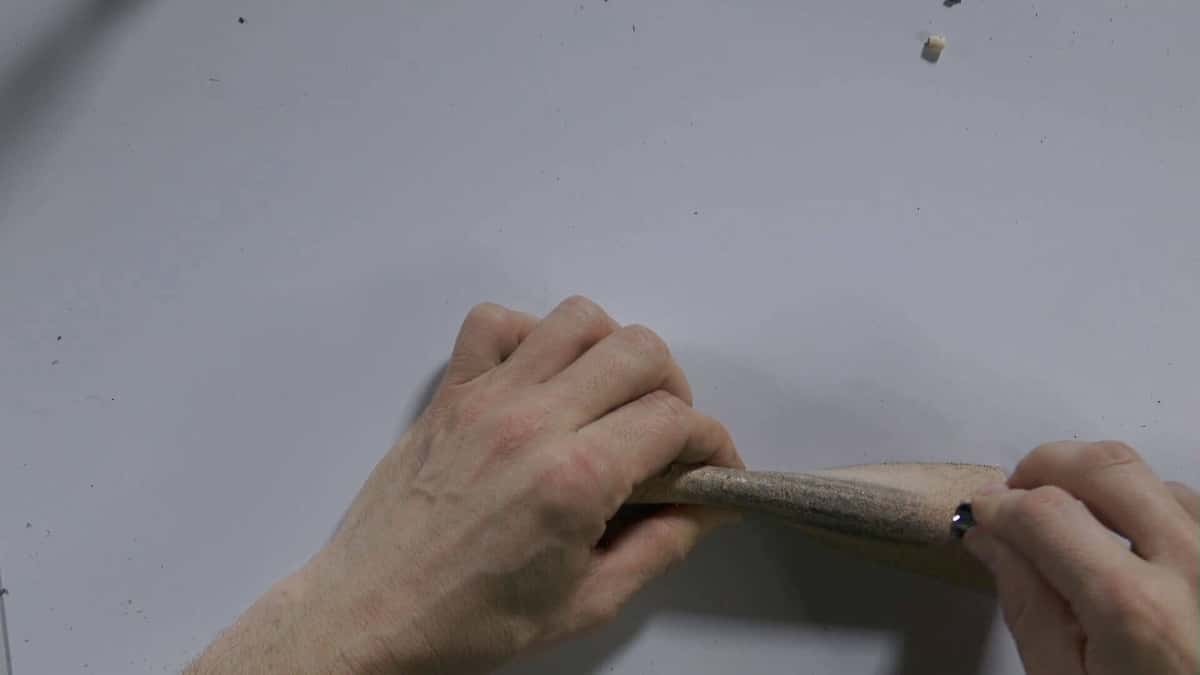
Pull the tool backwards, never push it. Then do the inside of the flute, the same way.
What actually makes wood easier to carve?
Three things change how a block feels under the tool, and water is not among them. Sharpness comes first by a wide margin. Then the species you picked, then which way you drive the gouge.

Step 1, strop the edge before you blame the block
A minute and a half of leather and compound is the cheapest experiment in this whole article. Do it, then carve the same spot again. Even a new tool needs it. I tell students so in my tools course after opening a fresh set: it does not matter what brand you buy, you still have to sharpen those tools, even if they come out of the box sharp and ready to go. Pfeil in Switzerland grinds a good edge, and it still goes dull by Thursday.
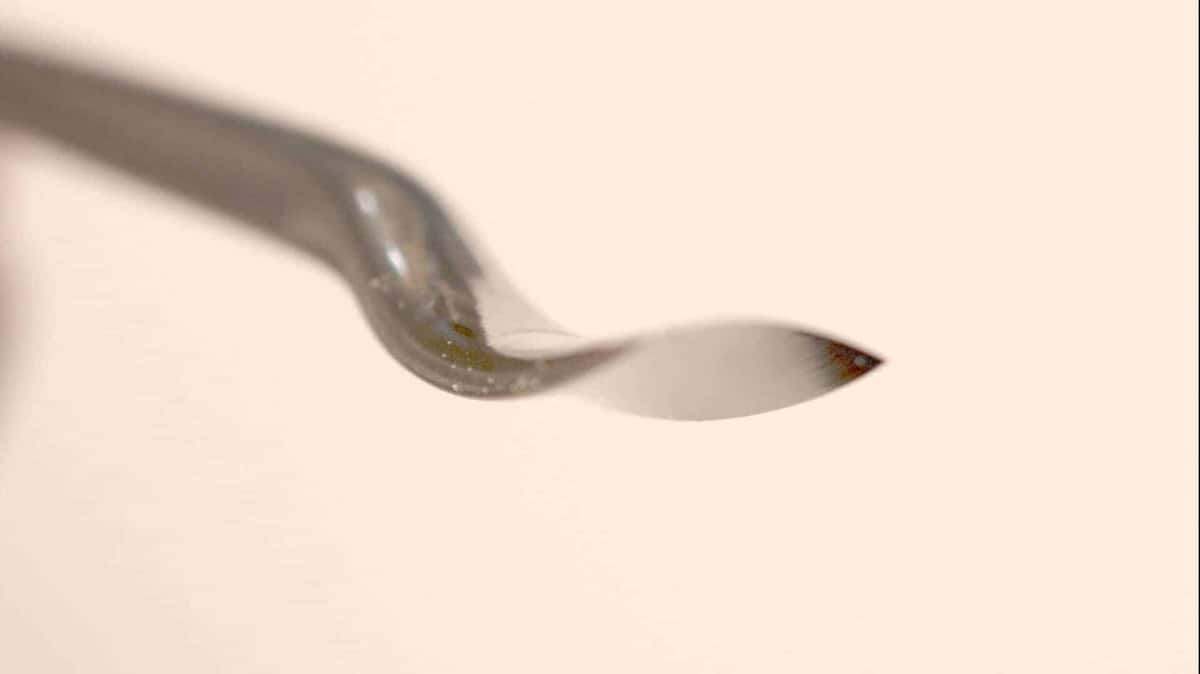
That thin bright line is the whole argument on this page. Put it under a lamp.
Step 2, grind a bevel that suits the wood in your vise
A long, thin bevel slices soft basswood beautifully and folds over in oak. A shorter bevel puts more steel behind the edge, and it survives dense hardwood without folding. One gouge cannot be at its best in both, so pick for the board in front of you.

Step 3, roll the flute over so the edge slices
Start the tool at eleven o'clock rather than straight up, or turn the flute the other way entirely. The edge then travels sideways through the fibers rather than crushing down through them. Same tool, same wood, half the effort.
Step 4, read the grain before the mallet moves
Carve one way and the fibers lift ahead of the edge like a splinter. Carve the other way and they lie down and shear clean. Even now I say out loud that yes, it fights me, because I am carving against grain, and then I turn the piece around. Grain reading is a skill of its own, and I have written a separate piece on handling different grain directions in a carving.
Step 5, pick a block that fits the job
Basswood sits at 410 pounds on the Janka hardness test. White oak sits at 1,350. The gap is not small, and no amount of soaking closes it. Which species suits which project is its own subject, so read my notes on the best wood for carving and on the woods that are hard to carve.

Mahogany, pierced right through and undercut. The butterfly antennae there are wire, not wood, and they always were.
Hard wood is not the enemy. That flower spray above is mahogany, and black walnut at 1,010 pounds Janka holds detail that basswood simply cannot hold. Nobody softened either one.
When is wetting the wood a fair trade?
Wetting earns its place in a few narrow spots, and the best one is a stubborn patch of end grain on a piece that is nearly finished. One damp pass buys a clean slice there, and you can deal with the furry surface afterwards.
The rules for that trade are short. Wet the smallest patch you can and no more than that. Use a rag rather than a bucket. Carve it while it is damp, let it dry fully, then cut the raised fibers off with a sharp tool instead of sandpaper, because sandpaper rounds the edges you just cut.


Two other cases look like this one and are not. Carving green timber straight from the log is a whole different way of working, which I cover in whether wood should be wet before carving. Getting a wet board down to shop moisture is a separate job again, and that one lives in drying wood before you carve it. Squaring and gluing the blank itself belongs in preparing raw wood for carving.

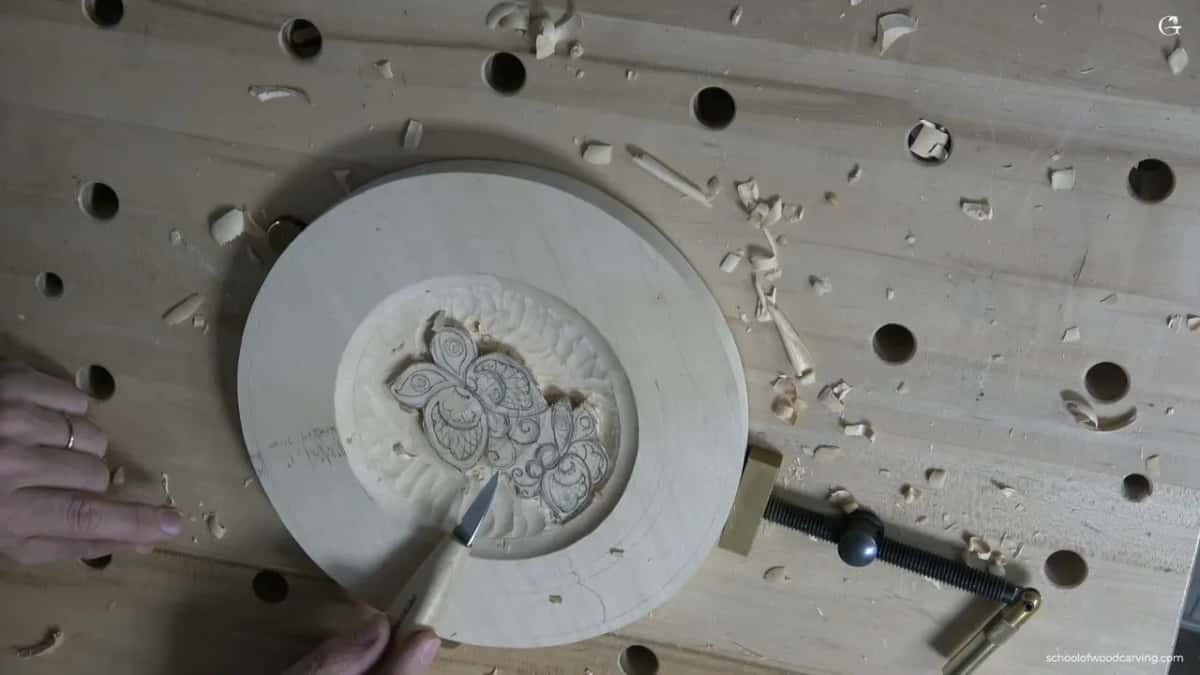
The pale areas are the transferred drawing, still sitting on wood that has not been touched yet.
So the short answer to the question people actually mean. If a block fights you, sharpen. When it still fights you after that, look at your grain direction. If it fights you after both, you bought the wrong wood for that project, and a bucket will not fix the purchase.
Frequently asked questions
How long should you soak a block before carving it?
Long enough for the water to reach where your tool goes, which for a thin panel is about an hour and for a thick blank is a full night. Going longer does not make it softer past the fiber saturation point. It only adds swelling.
Does soaking wood stop it from splitting while you carve?
It reduces splitting for the hour or so the wood stays damp, then it makes splitting more likely afterwards. Water leaves the outside of a block faster than the middle, and that uneven shrinking is what opens end checks. Basswood alone moves 15.8 percent by volume.
Is a mix of alcohol and water better than plain water?
Alcohol carries the water in faster and lets it flash off faster, so the damp window is shorter and the block dries sooner. The fibers still swell while it is in there. You get the same lifted grain in less time, which is a fair trade only on small patches.
Can you soften just one small patch of a carving?
A rag on one spot is exactly how to do it, and it is the only wetting method I use myself. Keep the damp area smaller than the detail you are cutting. The border between wet and dry wood carves at two different speeds, and that line will show.
How do you deal with raised grain once the block dries?
Wait until the wood is fully dry, then take the standing fibers off with a very sharp gouge or knife, working with the grain. Sandpaper looks faster and is worse, because it rounds every crisp edge and drags dust into the pores where color will later go blotchy.
Will a block that was soaked still take a finish evenly?
Often it will not. Wet fibers stand up and drink more color than the flat areas around them, so oil and stain go dark in exactly the places you wanted to stay light. On a carved surface those patches sit in the hollows, where they are hardest to correct.
Filed under
- basswood for carving
- benefits of softened wood for carving
- best carving tools for soft wood
- best wood for carving
- carving safety tips
- easier wood carving techniques
- enhancing control in wood carving
- how to prepare wood blanks for carving
- how to soften wood for carving
- is softened wood better for detail work
- preventing tool damage when carving
- reducing hand strain while carving
- softwood advantages in carving
- soft wood types for carving
- softwood vs hardwood for carving
- splitting issues with soft wood
- types of wood for beginner carvers
- why use soft wood for carving
- Wood Carving Basics
- wood carving blocks compared
- wood carving tips for beginners