
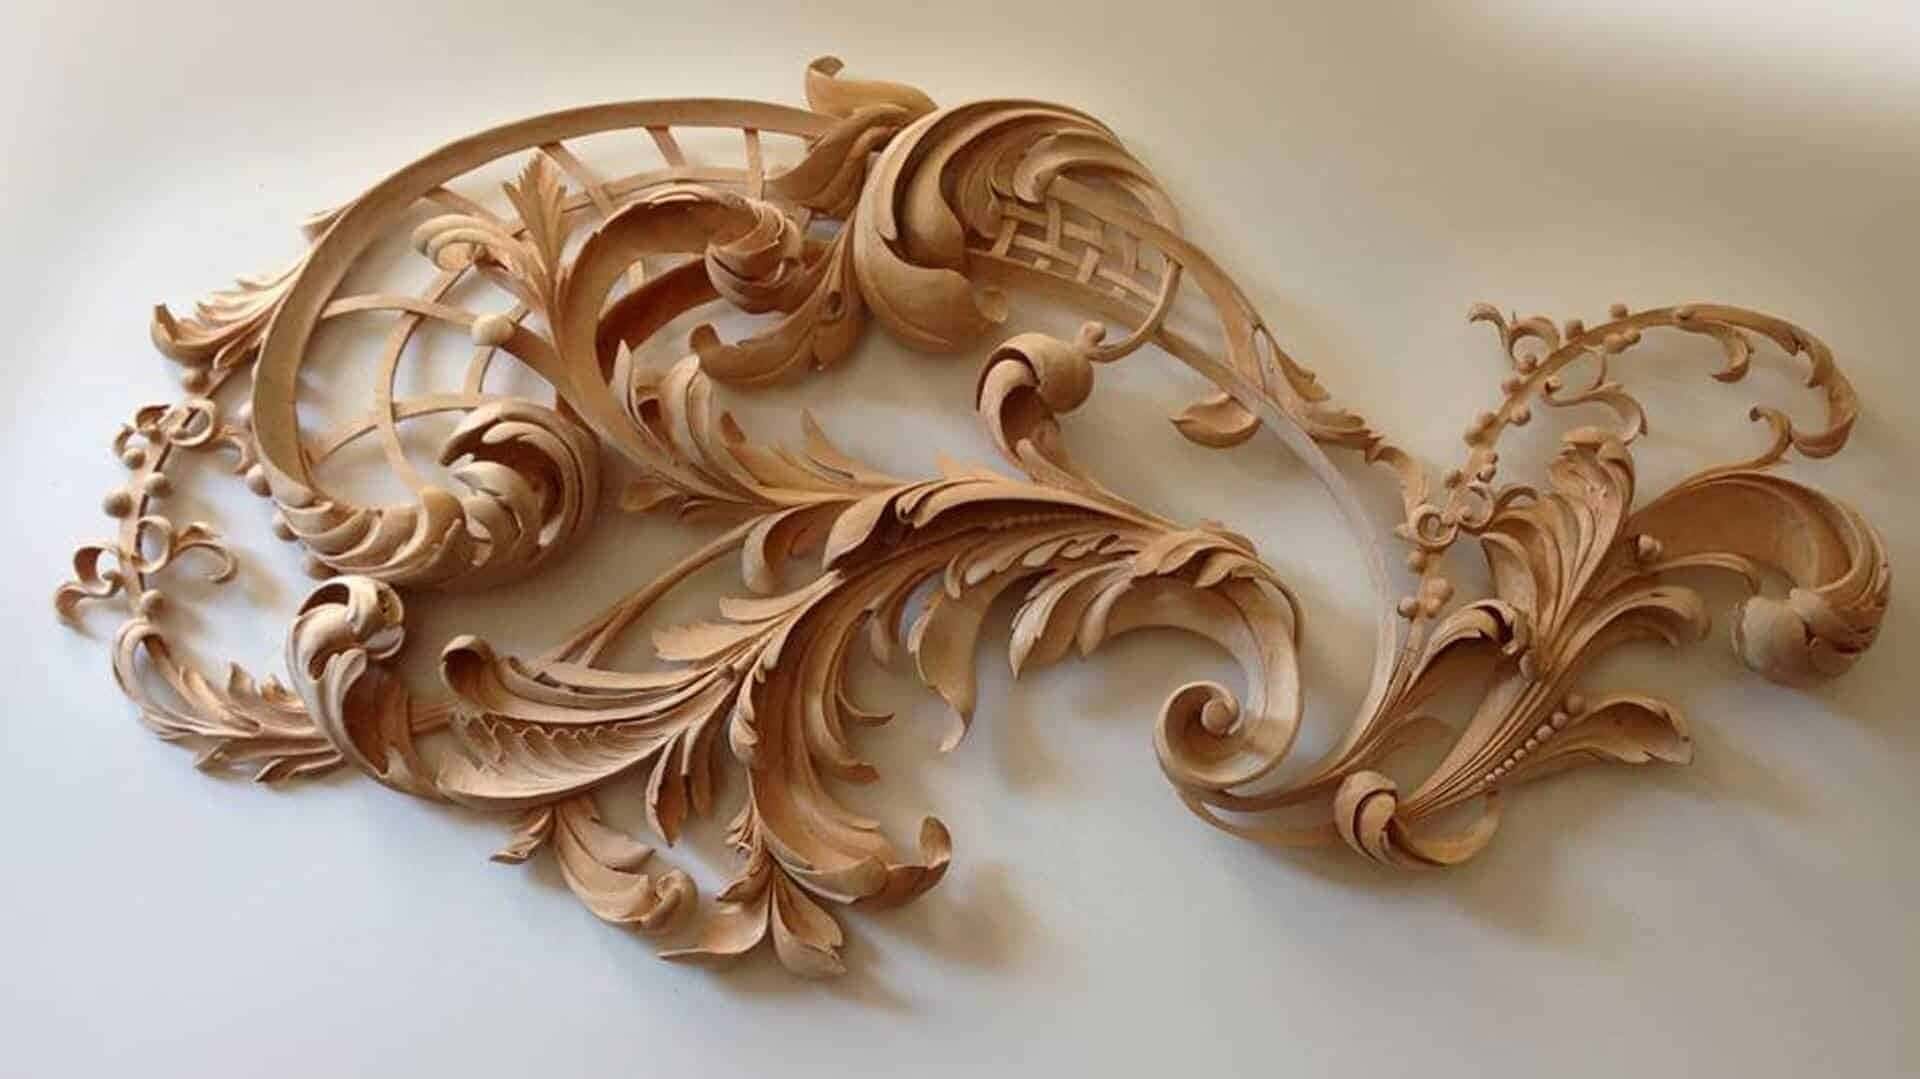
September 9, 2024 · Updated August 16, 2026
By Alexander Grabovetskiy — Master Woodcarver · Founder, School of Wood Carving · 13 min read
How do you handle different grain directions in wood carving?
Grain directions in wood carving are read pass by pass, because the fibers turn while your gouge is still moving. On a leaf or a volute they reverse where the curve rolls over. Find that spot first, mark it in pencil, then carve downhill into it from both sides.
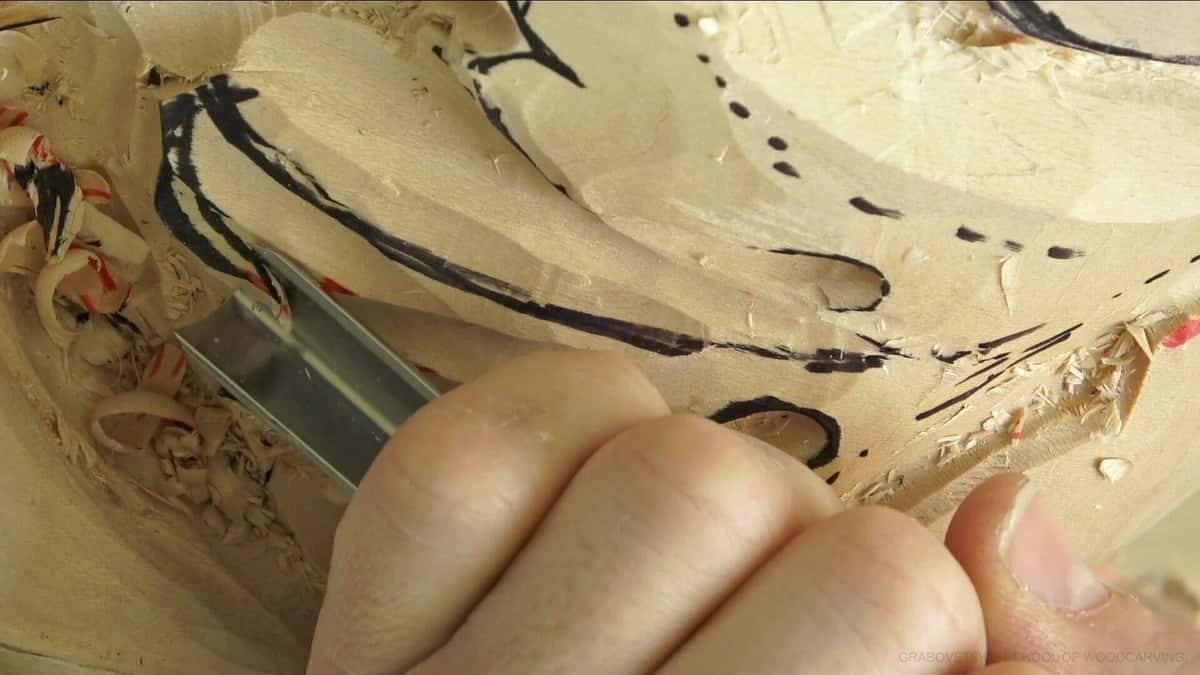
A Venice Room leaf. The black line is my drawing; the fibers under it decide which end I start from.
You already know the old rule. Carve with the grain. Then a leaf lands on your bench and the rule falls apart, because one sweep of that leaf runs three ways before it ends. After forty years of acanthus I still set the gouge down and study the surface, hunting for the place the fibers turn over. Only the wood can tell me that.
- Draw a pencil arrow on the blank before any steel touches it.
- Inside a curved leaf the fibers roll over, and the roll sits near the crown of the arch.
- Downhill means the edge follows the fibers as they dive under the surface, so the chip lifts away and breaks off clean instead of tearing.
- Torn wood looks grey and fuzzy; a blunt edge leaves a bright streak.
- End grain wants a small gouge, a slicing motion, almost no push.
- One torn fiber is a glue job, so stop the moment you feel the wood grab.
How do you read the grain on a blank before the first pass?
Stand the blank on edge and study the end first, because the end shows the fibers head on. The long face then shows which way they travel. Two minutes of study saves an hour of repair.
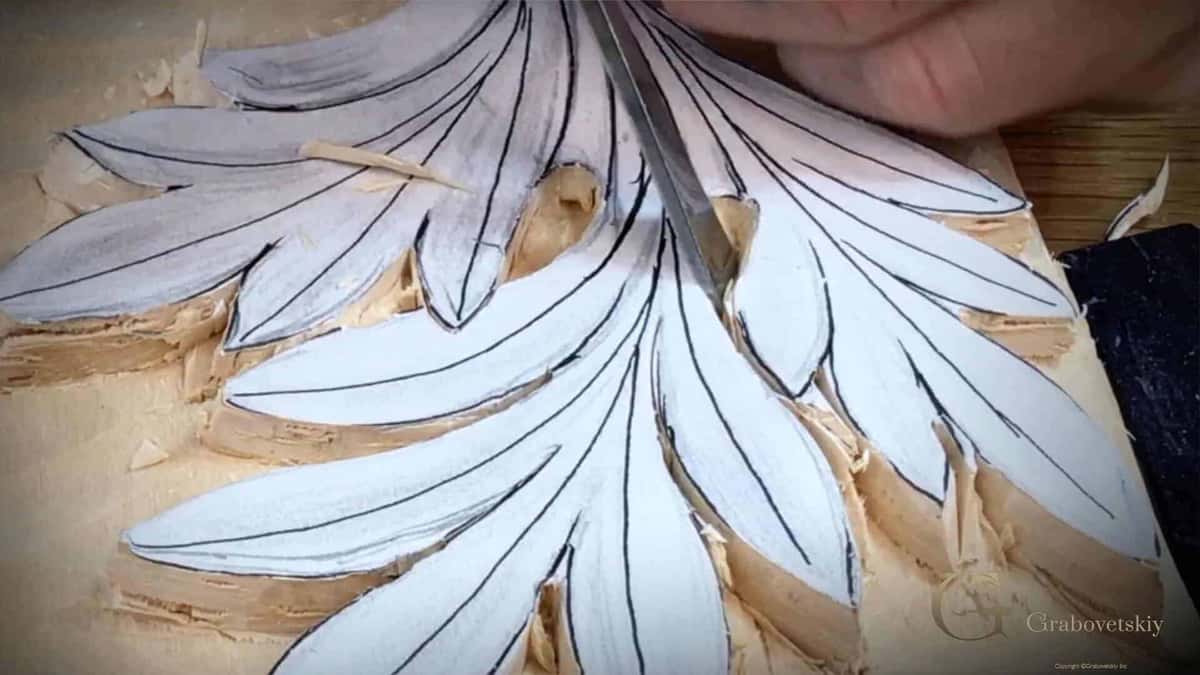
Antique style rosette, drawn and clamped. That block side is the page I read before picking up steel.
A square blank gives you all three faces at once. Teaching the Corinthian acanthus leaf, I put the gouge down on a lobe and say it while the camera is on the wood: you can see the fibers on this side are weaker than on that side. There is the whole trick. Half of your line is strong, half gives up early, and the weak half tears when you push at it.
Sawmills do not saw boards to suit carvers, so you get whatever the log gave. If your board arrived rough, flattening it is a separate job I cover in getting a rough board into a flat carving blank. A planed face shows the slope of the fibers plainly, and the plain word for that slope is grain.

Paper pattern on the blank in the Corinthian course. I turn the paper, not the board, until the tips point somewhere safe.
Now draw the arrow. Draw it big, in the waste, where it survives two hours of chips. Mine goes on in soft pencil, redrawn every time the surface drops. On basswood the slope hides itself, so I hold the blank up to a window and turn it until raking light picks the fibers out.
Where does the grain reverse inside one curve?
The reversal sits near the crown of the arch, where the curve stops climbing and begins to fall away. Under that spot the fibers dive one way. Past it they dive the other.
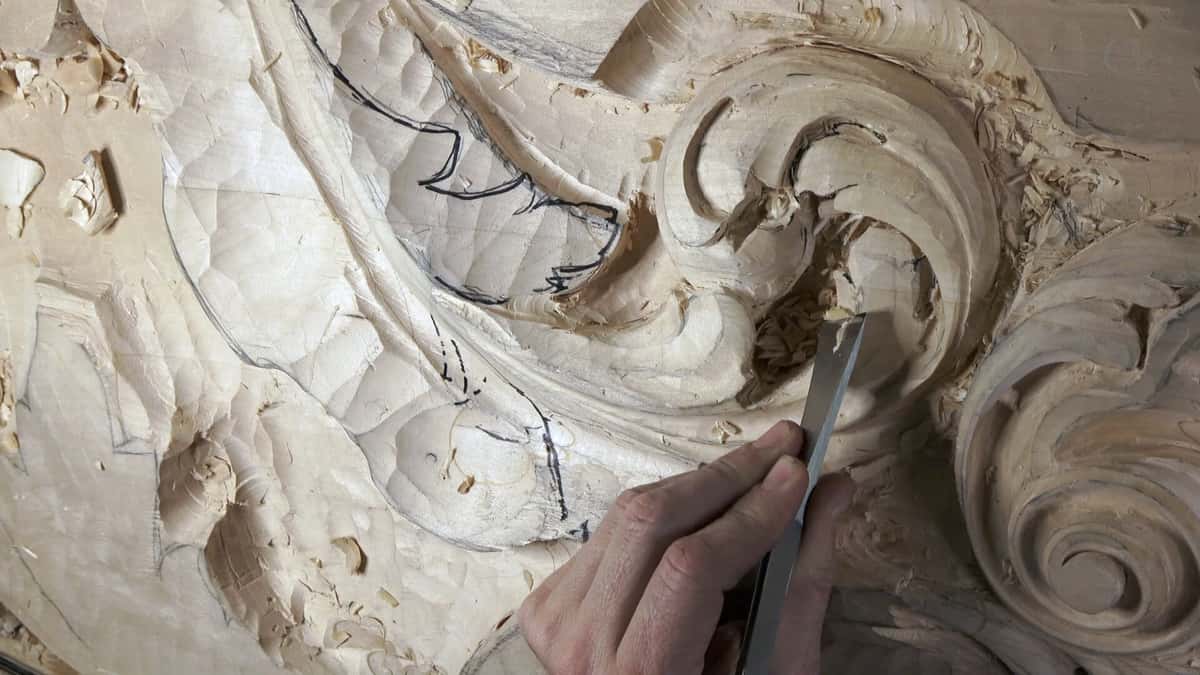
Straight chisel entering the eye of a volute, chips packed into the curl where two directions have to meet.
Nobody writes this part down, so here is the moment as it happened. Workshop 146 of the Venice Room catches me about to lay a line along an arch, and I stop and say it out loud: it is an arch, and the grain runs that direction, so the grain will change. Then I start on this side. I never begin a curve at one end and run the whole sweep. I begin at the reversal and work away from it, twice, once each way.
My Carving Plate with Butterflies course gave the spot a name. A marriage line, the place where grain changes direction. Then I corrected myself on camera, because the truth is finer than the name: the grain does not change direction at all, the fibers keep going the same way, and only your angle of attack makes it feel like they turned.
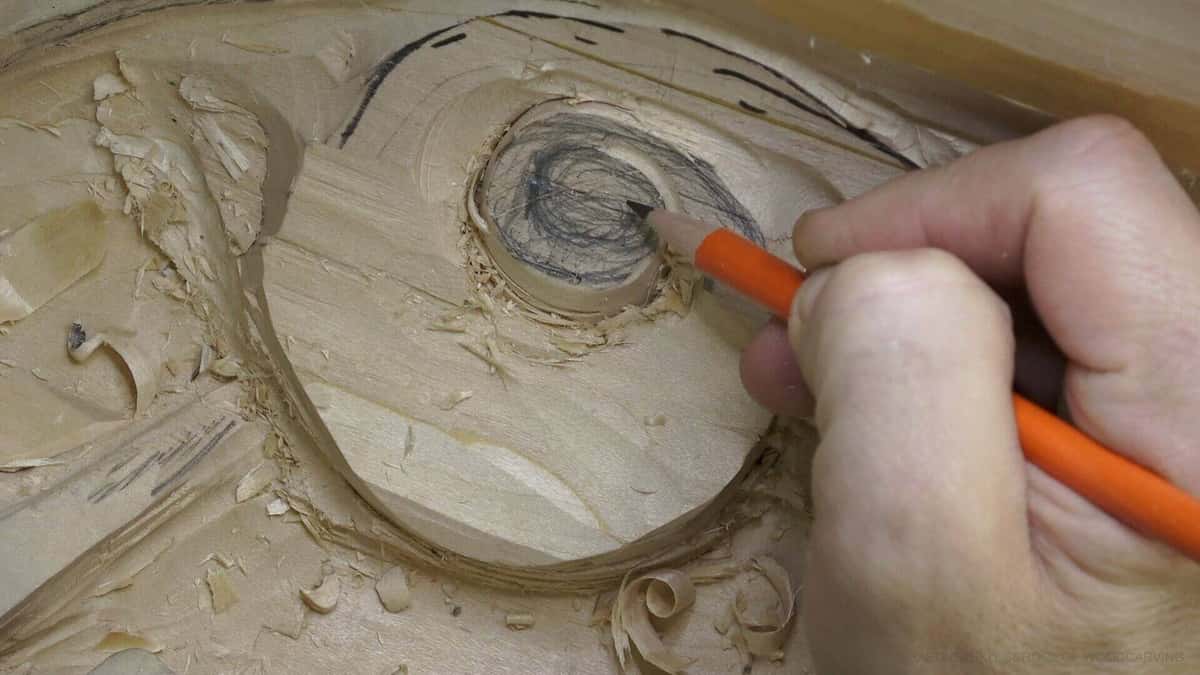
The volute center, drawn again once roughing is done. Graphite is cheap and a torn leaf is not.
A volute holds two of these places, sometimes three, and so does any leaf lobe that curls under. If the ornament itself interests you, the acanthus has a long history as a carved motif, and my own reading of it runs through the Greek acanthus leaf course. In its fifth workshop I make a straight down cut, move the tool toward the right hand side, and say: there you can see my grain change the direction. Now I can rotate and work from this side.
Which way is downhill, and how do you drive the gouge there?

Downhill is the direction in which fibers duck below the surface instead of rising out of it. Go that way and the chip lifts free. Go the other way and the same edge lifts a splinter out of your ornament.
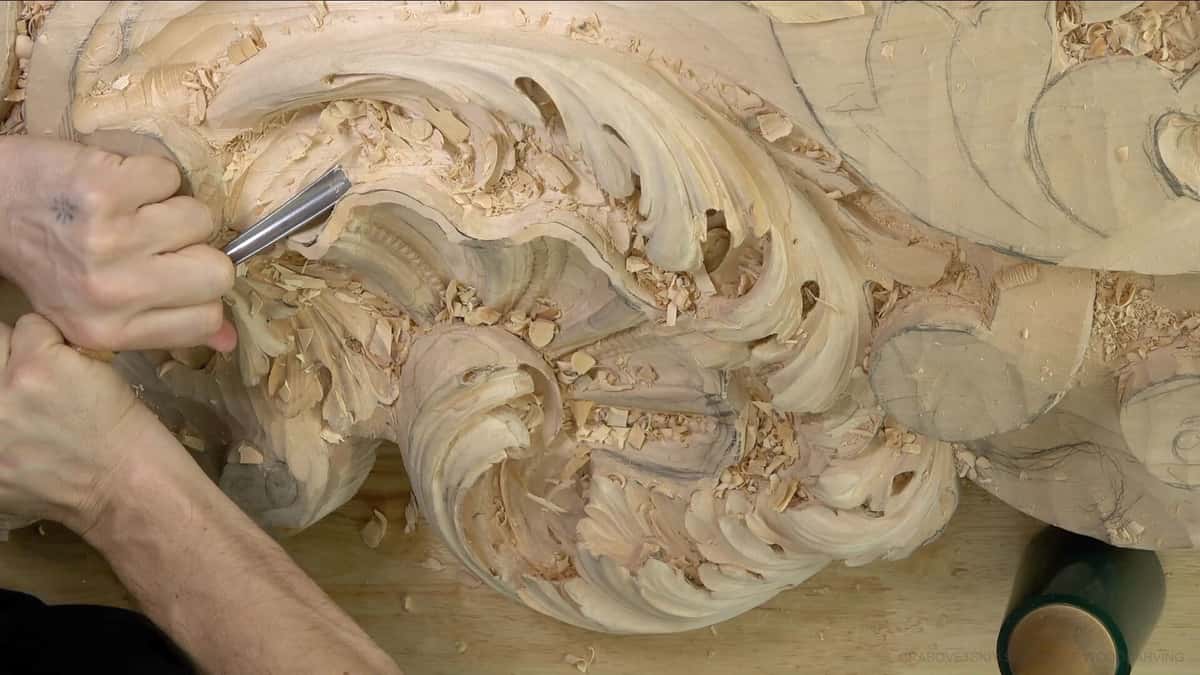
One long sweep along a rococo scroll, arm behind the gouge, fibers running away from the edge.
Step 1, stand the blank up and find the end grain
Study the end of the board before anything else. Those fibers face you like the ends of a bundle of straws, and they crush under a push, slice under a draw.
Step 2, mark the reversal in pencil before you rough
Put a line where it rolls over. Add an arrow either side of it, pointing the way you will drive. Two arrows, one line, and your hands stop guessing.
Step 3, start at the reversal and work outward
Set the gouge just clear of the pencil line and carve away from it. Then walk around the bench, or turn the piece, and carve away from the same line the other direction.
Step 4, slice, and take almost nothing
Slide the edge sideways as you push forward. A slicing edge parts fibers. A square push crushes them, and crushed fibers stand back up hours later when the surface dries.
Step 5, let the chip grade you
A good pass gives a chip that curls and holds together. A bad one gives dust, or a splinter. Chips on the bench are the fastest feedback in this craft.

Roughing a large rococo panel. Thick chips standing on end, pencil lines still readable underneath.
Sometimes the bench beats you and there is no room to walk around. Teaching the Corinthian leaf I say it plainly, sometimes you just cannot rotate the piece, while on a small grape onlay blank I say the opposite, that I would obviously rotate the piece and attack that way. When the work cannot move, the tool has to.
What does tearout look like next to a dull edge?
Tearout is grey and fuzzy and sits below the line you wanted, while a blunt edge leaves a bright crushed streak sitting on top of the surface. One is a direction mistake. The other means your edge wants two minutes on leather.
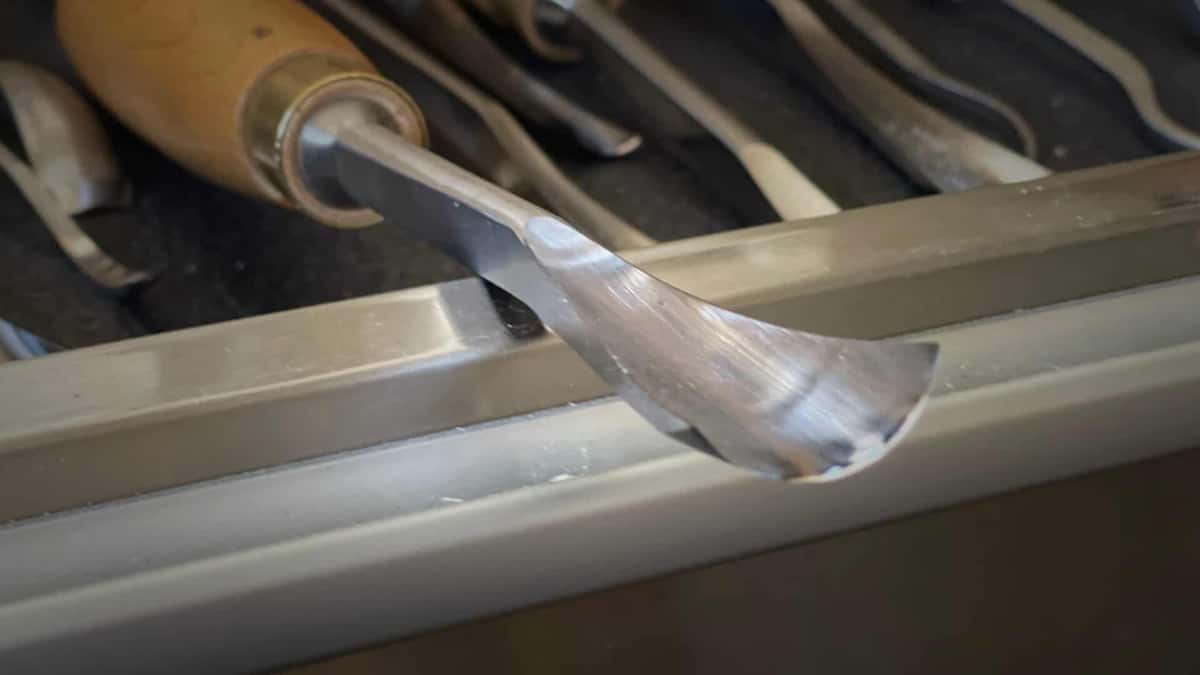
A wide fishtail, back on the tray. What this edge does to wood changes with every stropping.
| Surface look | What it tells me about the fibers | My next move |
|---|---|---|
| A long shiny facet | The edge went downhill and parted them without tearing | Keep driving the gouge that way |
| Grey fuzz | Fibers lifted out ahead of you | Reverse your direction |
| A bright streak that returns | The edge pressed the fibers flat instead of parting them | Strop the gouge and take lighter passes |
| Chip breaks short | You have arrived at end grain right here | Smaller gouge, slice sideways |
| Splinter runs past your pencil line | The curve rolled over and you kept going straight | Stop now |
There is a moment in my Roman acanthus course I repeat every year, because students keep asking about it. One wall of a separation line comes out clean and shiny because of the grain, and the opposite wall of that same line is not shiny and not clean, for exactly the same reason. So I attack from two sides to make the cut clean. Why direction matters at all gets its own answer in why carving in the direction of the grain matters.
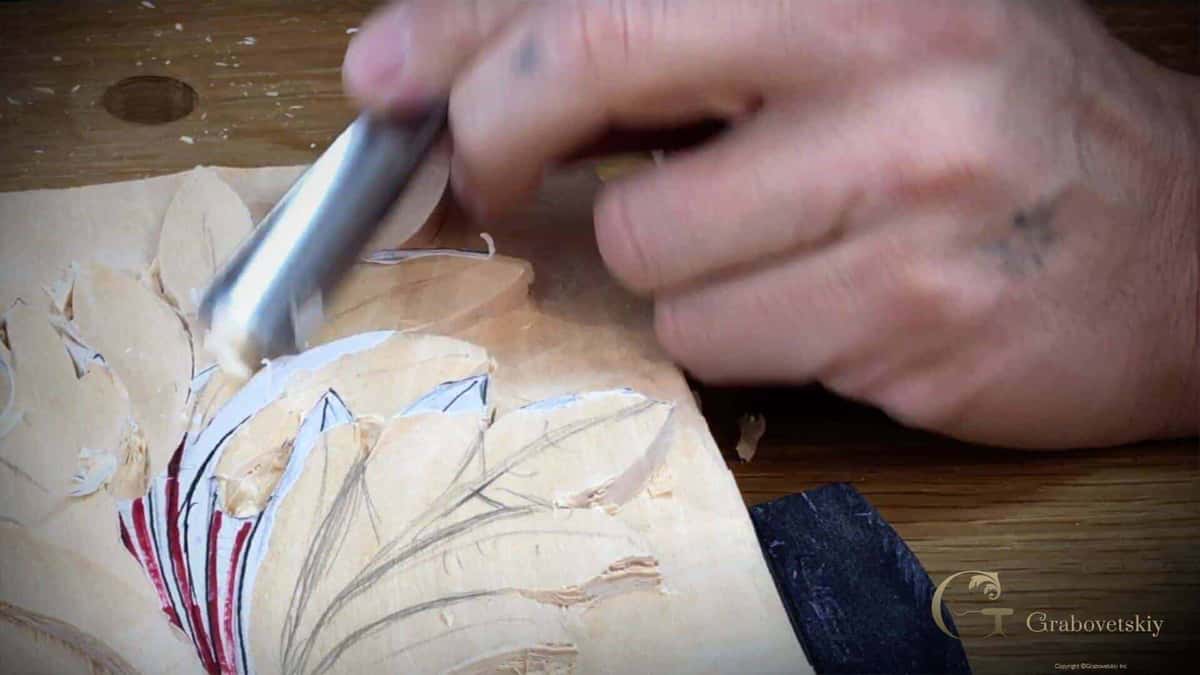
Modern acanthus from a 1903 design. The gouge is working the exact seam where my two directions have to meet without a step.
A blunt tool fakes every symptom on that list. My strop and compound live within arm's reach of the vise, and the whole method sits in my sharpening course for carving gouges. Good steel helps, and I have used Pfeil gouges from Switzerland for decades, but steel will not read wood for you.
What is different about end grain on a leaf tip or a petal?
Drop to a small deep gouge, slice sideways, take almost no depth per pass. End grain does not peel. It breaks, unless the edge travels across it as well as into it.
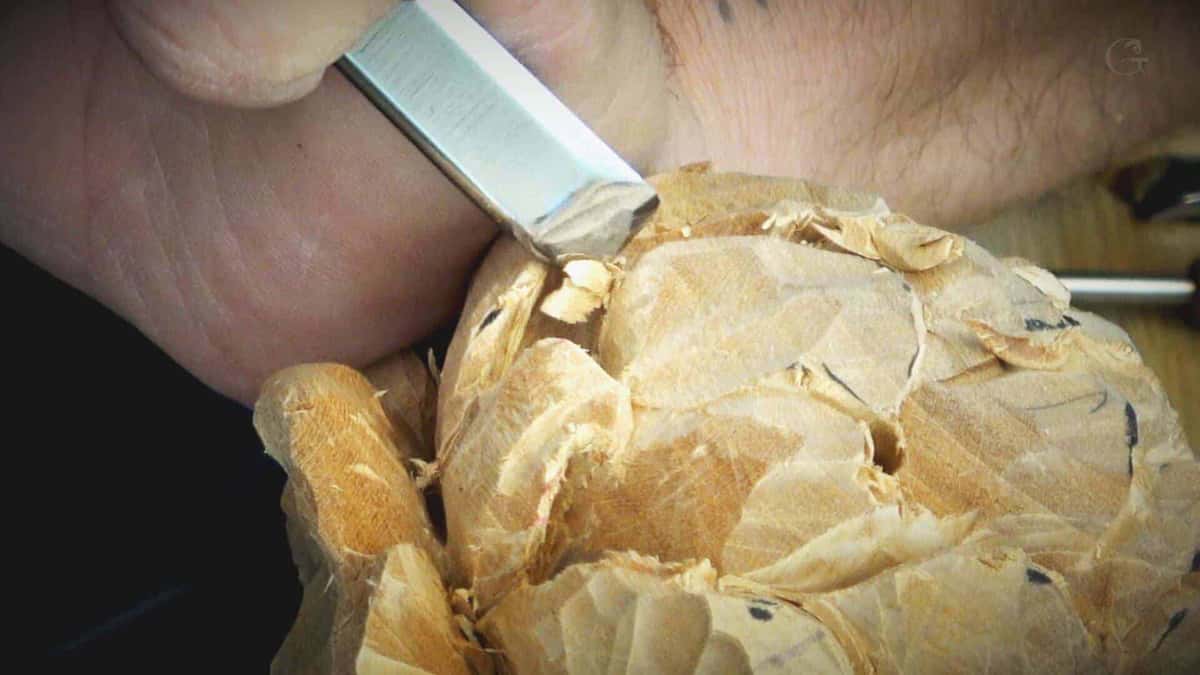
Flat chisel against a carved petal ball, torn fiber ends showing pale around the blade.
Here is a real number instead of a rule of thumb. Workshop 43 of the Hashemi flowers course has me naming what is in my hand and why: a quarter inch, six millimeters, a number nine, because of the end grain. A number nine is a deep sweep, so its corners stay clear of the wood and only the middle of the edge works. On a petal that decides between a face and a crater.
Every leaf tip on a curved ornament arrives at end grain sooner or later. Working through my hazelnuts course I say it out loud, that it is a tough area because it is end grain. Tough, not impossible. Woodcarving Illustrated and the general history of wood carving both show you finished work, and every one of those pieces crossed end grain dozens of times.
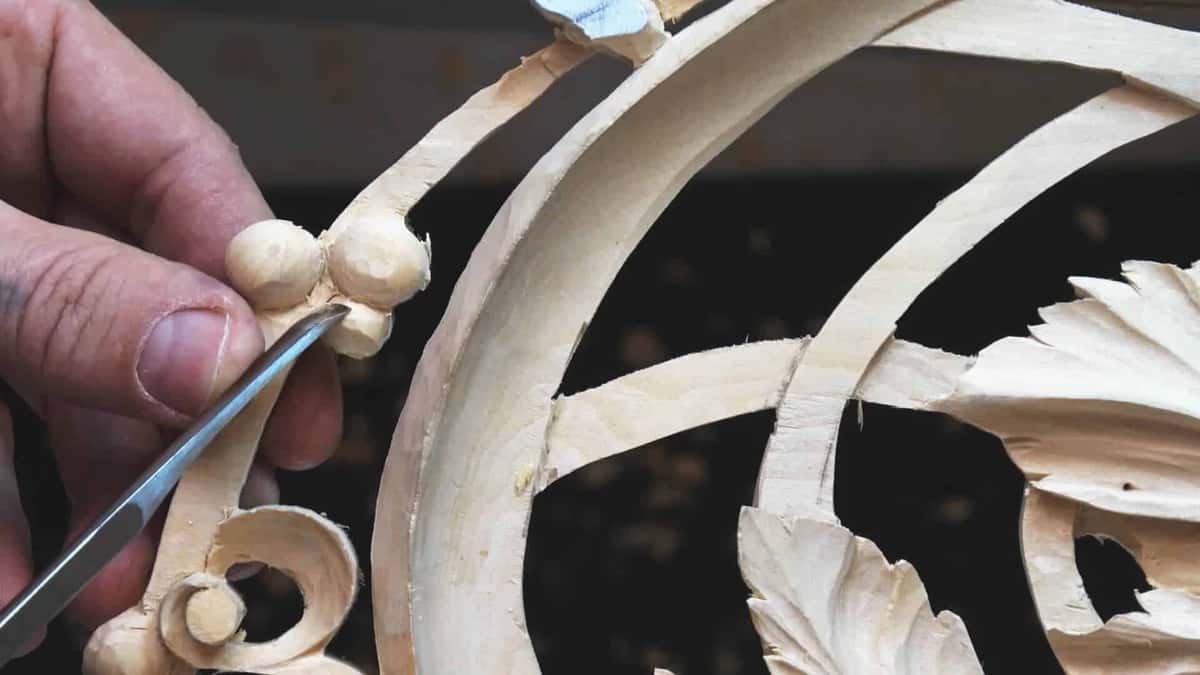
Pierced wreath, short grain everywhere, which is why the tool never gets a push behind it here.
What do you do once a fiber has already torn?

Stop carving that spot, see how deep the tear went, and glue the piece back while it is still on the bench. Deepening an ornament to hide a tear is how a small repair becomes a lost panel.
Workshop 13 of the Greek acanthus course catches one on camera. I spot a micro crack in the piece, say plainly that I made a mistake, so I have to glue it back. Then the glue goes on. No drama, because everyone who carves ornament does this.

Furniture panel in dark hardwood. Small gouge inside a curl where fibers change their mind twice in one inch.
Some damage hides on the day and shows up later. Working the background in my furniture panel course I explain what pressing does: those fibers smush both ways, and later on, even if you clean nicely, those fibers are going to pop back. The wood was never carved there, only bent. Moisture moving in and out of the cell walls lifts them again, and the USDA Forest Products Laboratory wood handbook is where to read the mechanics properly.
Tearing wood also tempts people into shortcuts. Soaking a stubborn block is one, treated on its own page about softening wood before carving and what it costs you. Most tears I see in student work are not softness problems, and the rest of that list lives in the mistakes beginners make in wood carving.
Do harder species change how you read grain directions in wood carving?
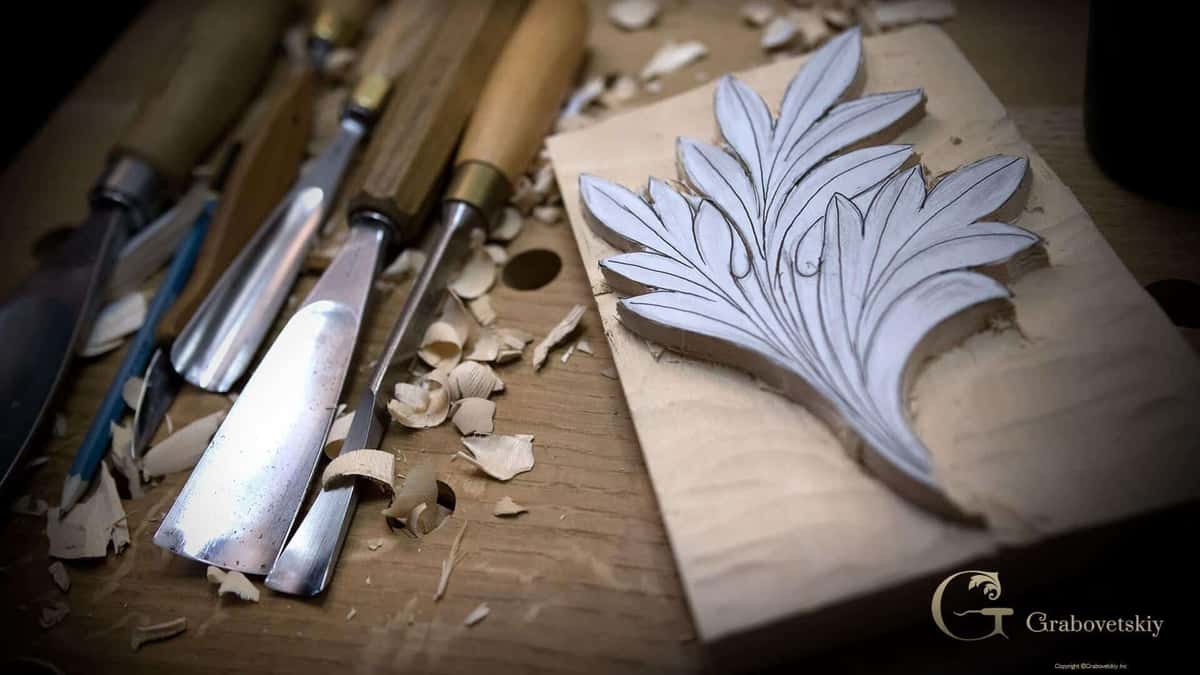
Harder wood punishes the same mistake faster, so your reading has to be better, not different. Basswood forgives a wrong direction with fuzz. Walnut answers with a chip out of your leaf.

A furniture panel roughed out in dark hardwood, half the design still under white paint.
I carve black walnut and mahogany for furniture work, and European beech turns up in old carcass work. Density is measurable, and the Janka scale puts real numbers on it, though no number will tell you where a curl reverses. Which species suits your project is answered in my guide to the best wood for carving, with the awkward ones under what makes some woods hard to carve.

Three sweeps side by side. When the work cannot turn, tool shape is what changes my approach angle.
In a hard species your budget for error shrinks. A fuzzy patch in basswood lifts off with two light passes. In walnut a wrong direction takes a wedge out below your line and the leaf stays thinner than the drawing forever, which is why I mark more, study longer, and shorten every pass on hardwood.
My deepest work on this lives inside the long Venice Room series, where a single rococo panel offers fifty reversals to read. Workshop 146 sits in part thirteen of the Venice Room, workshops 144 to 155, and the two courses that teach the reading itself are the Roman acanthus leaf and the plate with butterflies.
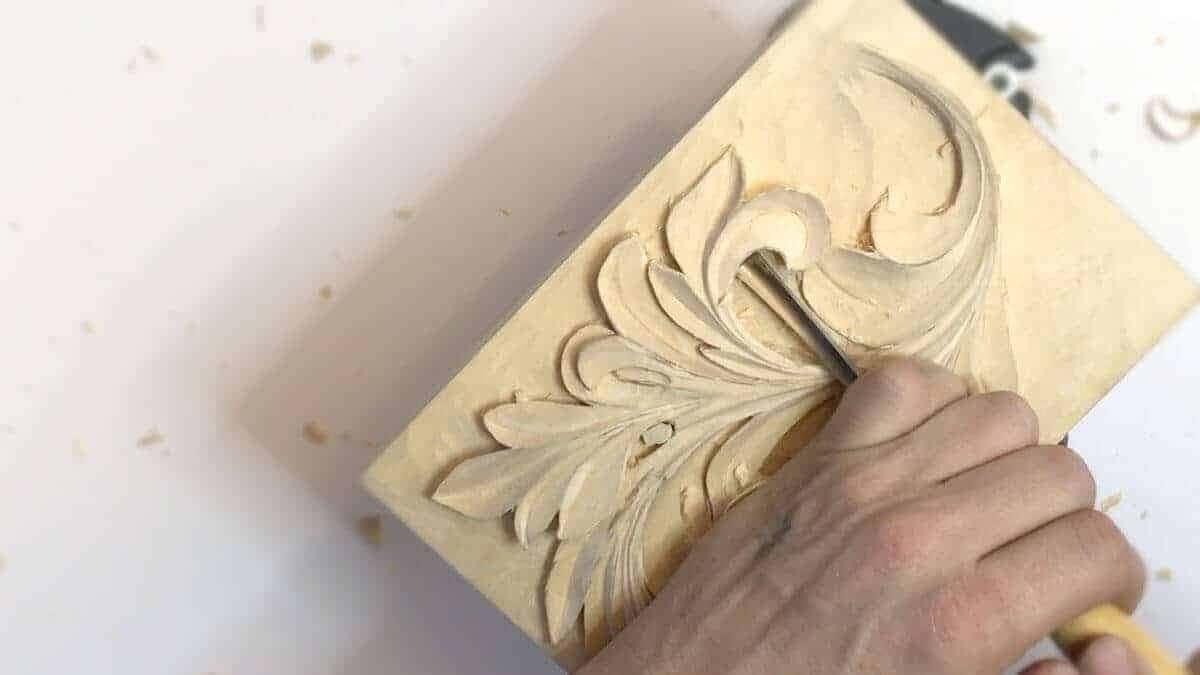
Greek acanthus on a small board, held up so light rakes across the leaf and shows the fiber slope.
Frequently asked questions
Can I carve a whole leaf without turning the board around?
Rarely. A curled lobe needs two approaches, because its fibers roll under halfway along the sweep. Only a shallow leaf whose lobes all lean the same way lets you finish from one side, and even then I turn the board to check the far wall before I call it done.
How do I mark grain direction so I can still see it while carving?
Draw a fat arrow in the waste area, never on the ornament, and redraw it every time you drop the surface. Soft pencil works, and a coloured one on dark walnut. That mark only has to survive until the reversal is carved.
Why does one wall of a groove come out shiny and the other rough?
Both walls face opposite fiber slopes, so one gets a downhill edge and its neighbour gets an uphill one. Work each wall on its own side. I make two passes toward the middle rather than one pass along the whole groove.
Is uphill carving ever the right choice?
Yes, and I do it on camera often. Venice Room workshop 142 has me walking around the bench to attack from the opposite side against the grain, then saying the rest out loud: to make it smooth I really have to slice. Slow hands, sharp steel, tiny bites.
Does a smaller gouge help where the fibers reverse?
It helps a great deal, because a narrow edge crosses less of the reversal at once. I swap a wide flat tool for a one millimeter gouge in the tightest curls of a volute. Less width means fewer fibers arguing with the edge.
What about a glued-up blank made of two boards?
Read each board separately, because a glue joint puts two different slopes side by side. Mark an arrow on every piece before the clamps come off. Afterwards the joint line is your warning that direction may flip right there.
Filed under
- analyzing wood growth patterns
- beginner's guide to wood grain direction
- best practices for wood grain direction
- common wood carving mistakes
- effects of carving against the grain
- grain direction in various woods
- grain direction mistakes to avoid in carving
- how to identify wood grain direction
- how to practice finding wood grain
- importance of wood grain in carving
- improving carving skills through grain knowledge
- learning from wood carving pros
- recognizing rays in wood
- techniques for wood grain identification
- tips for wood carving grain direction
- tools for examining wood grain
- understanding wood fiber direction
- Understanding Wood for Carving
- understanding wood growth rings
- using vases to find grain
- wood types and grain direction