
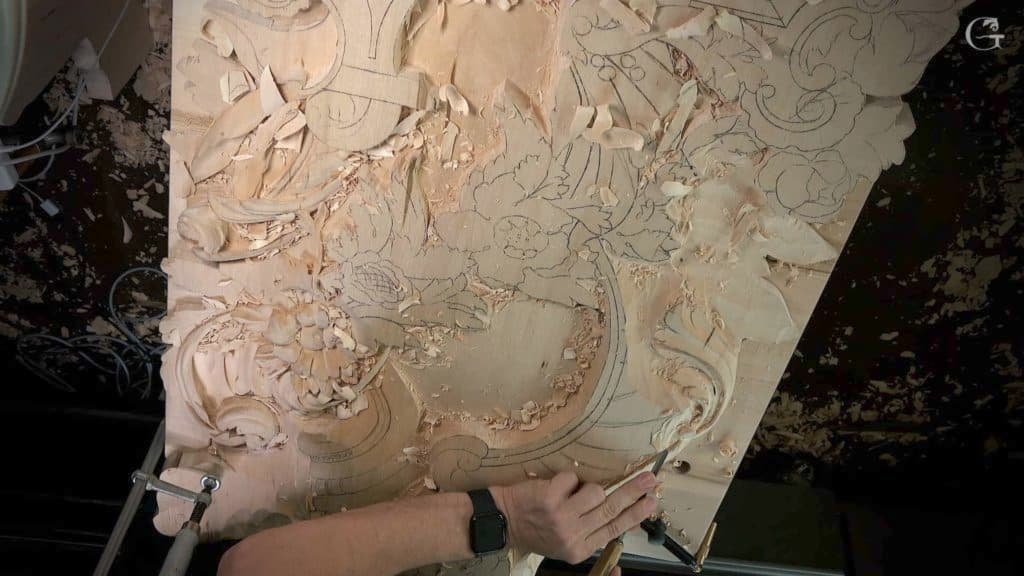
Alexander Grabovetskiy, woodcarver, School of Woodcarving · Published 2021
What does a wood carver mean by "one more time"?
Quick answer: In Venice Room 129, video 2, I say the words as a plan for a number two, and a side still to clean. In other lessons they come beside a spot to attack again, a wall to blend, a view I show you and the edge of a tool.
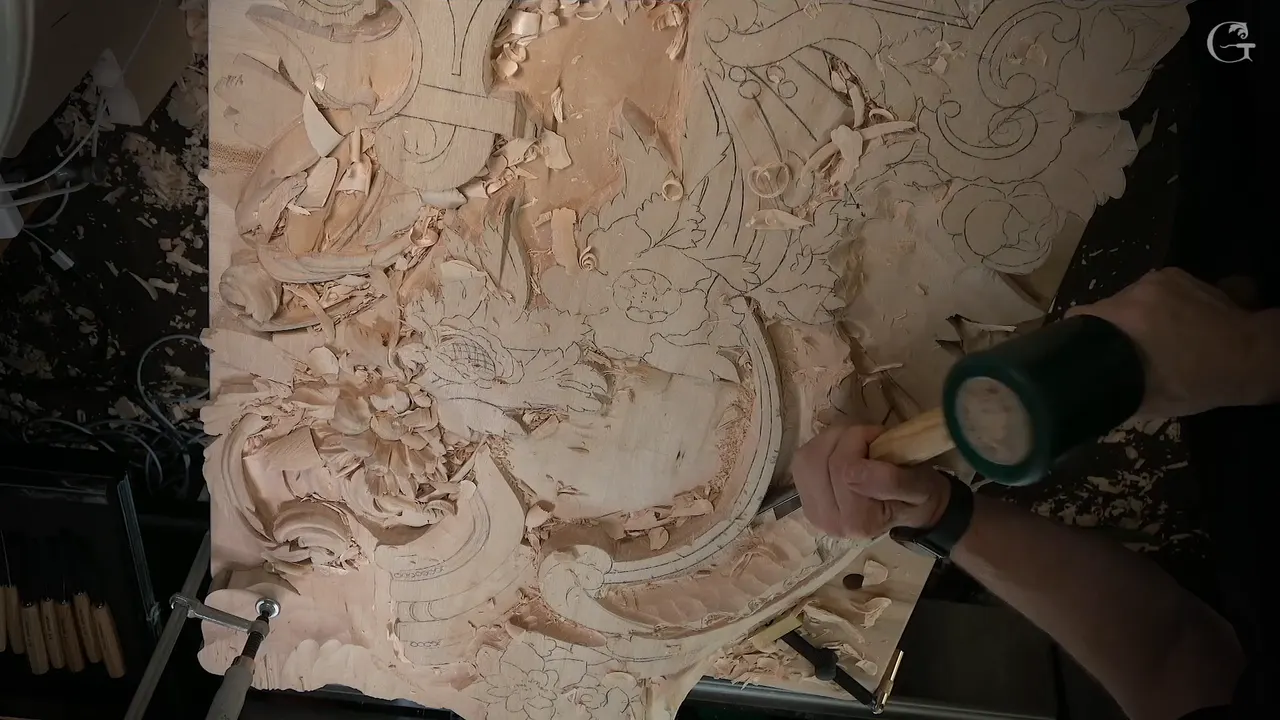

In video 2 of Venice Room 129 I say, "let me one more time just to walk around with the number two." A plan to clean one side comes after it. Below, the same words travel through my other lessons, each one with a cue behind it.
Ever gone over a spot, stopped, and looked at it from another side? Did you then go in again with the same tool? Here is where I said the words, in order, with a cue behind each place.
What do I say in video 2 of lesson 129?
Video 2 opens with a tool. "I guess I need to get a smaller, like 20 millimeters now" (0.79 in), I say, "for the areas right here, because 30 millimeters is a little bit too big for this area." The 30 is 1.18 in.

"Wonderful," I say, and then "That is absolutely wonderful." The height call follows: "I think that is enough. I am approximately five millimeters higher than the lowest spot right here, so don't want to overdo it." Five millimeters is about 0.2 in. "Really don't need to," I add.

I plan to hit again with a number two. The words are "Straight down cut 90 degrees." "And now all it's going to take, just clean up pretty much," I say, "before we work on the shell itself." "I like it so far," I add, and "Clean this way, too."

A shadow comes next: "it's all about the shadows, okay?" Of more concavity on the inside I say, "that's going to give me a shadow casting." I name "number seven." I could "hit that" with it, "just like that." And "That is good."

The line from the top of this page goes on with "And look from above." After it, "of course, that part is going to be lower, so I need to clean this side." I also say "But I don't want to overdo it, but I'm going to start somewhere right here."
What does video 1 of lesson 129 add?
The big tool is the plan in video 1. "Again, I'm going to take number 11 and 30 millimeters" (1.18 in), I say, to "attack" and "remove all that mess." "Start from here somewhere," I add. Then a number two, "with the big mallet" comes before a later line: "Again, 30 millimeters, number 11. And again, I have to remove all that mess."

When do I mean another pass over a spot?
"I'm not too happy how it looks right here, but that's okay" is how I put it in Venice Room 7 (video 6). Developing that side is the plan, and then "I can just attack that" another time, "and I can make it perfect." As of now, "it looks good." One more idea follows: "Maybe I should undercut a little more underneath of those beads." The words open Venice Room 15 (video 7) with a plan: "let me attack it" again. "Get a little bit underneath. Just like that. And maybe clean a little bit the edge of it." The next spot is planned "exactly the same right here with this separation," the same idea "because the light is going to hit from that side."

A tip for you comes in Carving Plate with Butterflies 11 (video 1): "don't worry if it's not clean right away from the first try, recut, attack that" again. The second step is to "chop again" and find "the best position" and "you're going to feel it, the grain direction." Then "90 degrees cut, almost 90 degrees, of course."
In Acanthus over Moldings 9 (video 3), "I think I have to probably remove plus some more," I say, and "that's not good. I don't like that." Next up is "number 11," "two and a half millimeters" (0.1 in), and "I'm gonna attack that" with it once more. "Looking pretty clean pretty much inside," I say of Venice Room 21 (video 1). It goes on: "I know you don't see it, but it is looking good." Then comes "the number 11" at "maybe 2 millimeters" (0.08 in), to "kind of hit that" again "and clean it." Afterward: "So now I can see how I can create my separations on this one."

How do I go around a line again?
Number two again, to work around once more, is the plan in Venice Room 157 (video 1). "Straight down cut. Just a 90 degrees down, okay?" A doubt follows: "I don't like what I see, so I need to reduce slightly my movement right here." Moldings come up in Venice Room 149 (video 1). "Don't undercut if you're working with moldings," I say, and "that would be a big mistake." "Position of the tool should be 90 degrees" and if end grain gives you trouble, go again with number 11: "Relieve it." With a sharp tool, "you shouldn't have any problem to do that."

A short line in Venice Room 138 (video 2) is "And around." An option follows: "I could use 1 millimeter now right underneath of here" (0.04 in).

The Greek acanthus course (lesson 15, video 2) talks about a marking gauge: "I'll just use my same number 12 knife" and "I'll just mark that around." "Approximately an eighth of an inch" (about 3 mm) is what I say, then "A couple passes all around." Next: "I did this side" again, "And the last side." Lesson 1 of that course (video 3) has "let me rotate" again, and then "You know what? Maybe I don't have to." "I'll just attack and clean this line right here" is the plan. My thought: "number three, or number two will work" at "Three quarters of an inch" (about 19 mm). The plan is to place it "right on the line" with a pass straight down.

"I can actually make it deeper since I do have plenty of the material," I say in Hashemi Flowers 17 (video 1). "Nice long pass." Then "And do it" once more, and "I'll just repeat on this side." On depth: "I would say I went down approximately maybe 3/16 of an inch, about five millimeters" (about a fifth of an inch), "But I should go little deeper, maybe all the way to the quarter of an inch" (about 6 mm).

Where do I clean or blend it again?
"Nice and deep shadow," I say in Venice Room 27 (video 8). Next: "number 11, 10 millimeters, three-eighths of an inch, and hit that again and clean it." The aim is to "blend all the cuts together until it's all connected and clean." Number nine "I could use," but "I really like the idea that I'm hitting with the U shape." Some of you "really do like the whole idea of tool marks," I say in Furniture Panel 21 (video 1). Cleaning the wall again is the plan. Of it I say "that is good for now because we're going to have a flipping right here." One part is "going to go downhill" and "that is going to go underneath," so it will be "a really nice and interesting movement."

The direction changes in Venice Room 91 (video 2). "I have to change the direction," I say, and go again along "this direction." "You don't see that probably. That creates beautiful transition." The fold is "laying right on top of the main surface." As for undercutting, "I really don't need to undercut in this area really deep. It's going to be one millimeter undercut later on" (about 0.04 inch). A pass comes up in Venice Room 63 (video 11): "So just relieving them, and" again "right here." "Now it's already looking different." "I can probably just give a much better shape now to this detail. I like it, by the way." And "it's not done yet, but still, preliminary, I think it looks really good."

"Fix this side a little bit to make it look like it's flipping this direction," I say in Hashemi Flowers 16 (video 4). Number seven is next, to "make another attempt to clean inside." After it come the words "Eighth of an inch, number nine."
"Once I use that reed brush as a sanding, I can actually see exactly what is going on," I say in video 8 of the same Furniture Panel lesson. "If I need to attack" the edge again, "I'll do it." "What I can do now, I can actually undercut underneath of here" and "let me try to use first one millimeter, number 11" (about 0.04 inch).
A flower in Lily Box 11 (video 3) is one I "almost didn't sand at all." "I see a lot of scratch marks on this one," I say. "Even if I've done it, maybe I can just hit that" once more. It "did not blend right here," I add, and "maybe I should" "blend it nicely right here." On tools: "dull my tool, but that's okay." "That's why you need to know how to sharpen it anyway." "I want to get rid of this mark," I add.

Why show it to you again?
"Very often I just go back and just check that under a different light condition, like at night," I say in Venice Room 6 (video 4). "I just turn one side, and I turn another side, and I can see exactly what is going on." Then "So let me cut" again, and "one of the spots just gives me trouble a little bit, which is this one right here." A look at the overall picture comes in Venice Room 61 (video 5): "You can see how it develops in overall picture." "And I really like that idea. I really like that detail for some reason. It's something different." "I'm using number nine, by the way," I add, "that would be 13 millimeters" (0.51 in), and "I guess it's a little too far for you. You can't really see what I'm doing."

Venice Room 67 (video 4) talks about the overall movement: "I've got this pipe done pretty much, but I still have to work up this particular section." I plan to show how it develops, and "I think it looks really good." For the shell: "I'm still going to do future development of the shell." The beads are planned "just off camera," because the shell is "hard for me to film it. Otherwise, you're going to look at my head all the time."

Chamomile and Bow Rosette (video 1) has "So that is the part with the rosette, okay?" Then "It's not equal-equal both sides, and it looks organic."
I say "that is what I actually did right here, too" in Grinling Gibbons Maine class 18 (video 1), and "Let me show that" again: "It goes right. It's just like a bulging out. And that way I could create a beautiful shadow." And "I introduced slightly some kind of texture."
"I really didn't like what I saw," I say, "I wasn't 100% happy after I just stared at it" again, in Designing Furniture Panel 9 (video 1). And "make it longer move" and "maybe I can even subdivide that in a couple more movements."
In Floral and Molding for the Panel 12 (video 1) the plan is to go right underneath and subdivide it. "It looks like I have to subdivide even more" and once more. "That's what I did, but right there." Then "I don't have to actually make that subdivision. I think that is plenty." Number 11 at 3 millimeters comes next, "about one-eighth of an inch" (0.12 in).

What about a tool edge?
"See how beautifully it's finishing?" I say in the Sharpening Straight Gouge lesson (video 3). Next, "I think it's time to flip this wheel" again, "to a higher grit." A correction: "I said it's 8,000, but I just noticed that's actually, I wrote on the paper itself, it's a 6,000 grit." And "we are establishing just the main bevel. It's not the micro bevel yet."
The edge comes up too in Venice Room 65 (video 3): "I did off-camera some of the honing done" and "that gives me a nicer finish." "But still not there yet. I need to do it" again, "maybe just above it now." Then "Oh yes, now it's perfect. I took it to the felt on my workshop, and now it just cuts perfectly even against the grain."

What do these lines have in common?
Lesson 129 had the words beside a tool and a side to clean. Elsewhere they came beside spots to attack, walls to blend, parts to show you and tool edges. All of it was wood carving, and the table sorts the places.
Five places where the words showed up
| Beside | Seen in these lessons |
|---|---|
| A spot to attack | Butterflies 11, Venice Room 7, 15 and 21, Acanthus over Moldings 9 |
| A line to go around | Greek Acanthus 15, Hashemi 17, Venice Room 138, 149 and 157 |
| A wall or a surface to clean | Furniture Panel 21, Lily Box 11, Venice Room 27, 63 and 91 |
| A view to show you | Maine class 18, Furniture Panel 9, Venice Room 6, 61 and 67 |
| A tool edge | Sharpening Straight Gouge 3 and Venice Room 65 |
Which spot on your board needs another pass? All the videos for this panel sit inside one tuition plan. Workshops 122 to 131 live on the Part 11 course page, and lesson 129 holds all three of its videos. You will see the tools I name, in inches and millimeters, and a gouge at work.
How it's done
- Pick a smaller tool. For the areas right there I said I needed a smaller one, like 20 millimeters (about 0.8 in).
- Check against the lowest spot. Five millimeters (0.2 in) of height over the lowest spot was enough, I said.
- Hit again. My plan was to go again with a number two, a pass straight down at 90 degrees.
- Clean up before the shell. All it would take, I said, was to clean up pretty much, before we work on the shell itself.
- Walk around it. I planned to walk around with number two and look from above.
Frequently asked questions
Which tool did I name for the shadow in lesson 129?
A number seven. I said I could do even more concavity on the inside, and that it was going to give me a shadow casting.
How high above the lowest spot was I in video 2?
About five millimeters above it (a fifth of an inch), and I said that was enough. Video 1 has me saying five millimeters higher than the other side, for concaves and convexes.
Which lessons show me at the same spot again?
Several Venice Room lessons show it, and Butterflies 11 too. In each one I talk about going at the spot again, to attack, clean or blend it.
What to carve next