
Alexander Grabovetskiy, woodcarver, School of Woodcarving · Published 2020
What does excavating mean in wood carving?
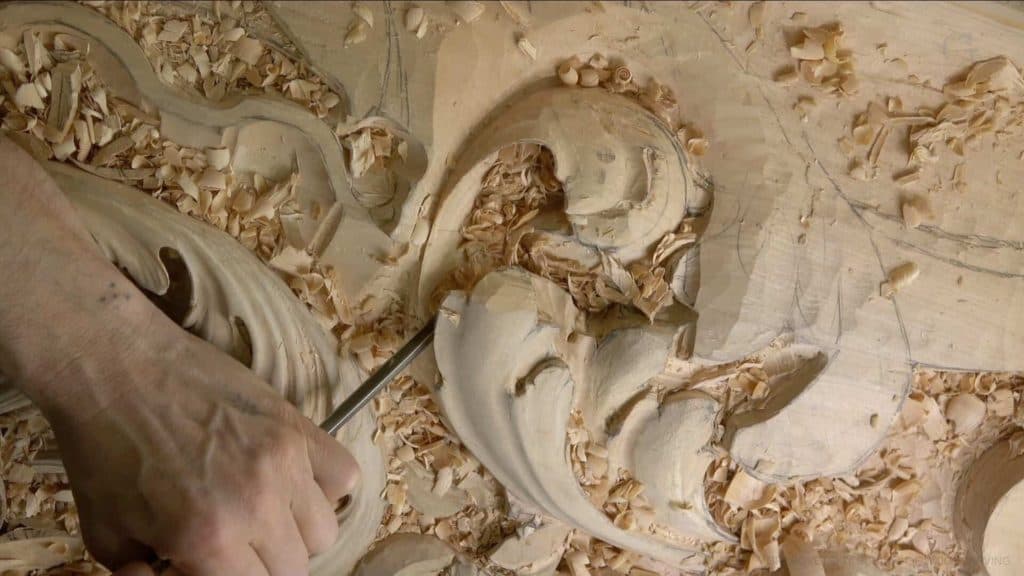
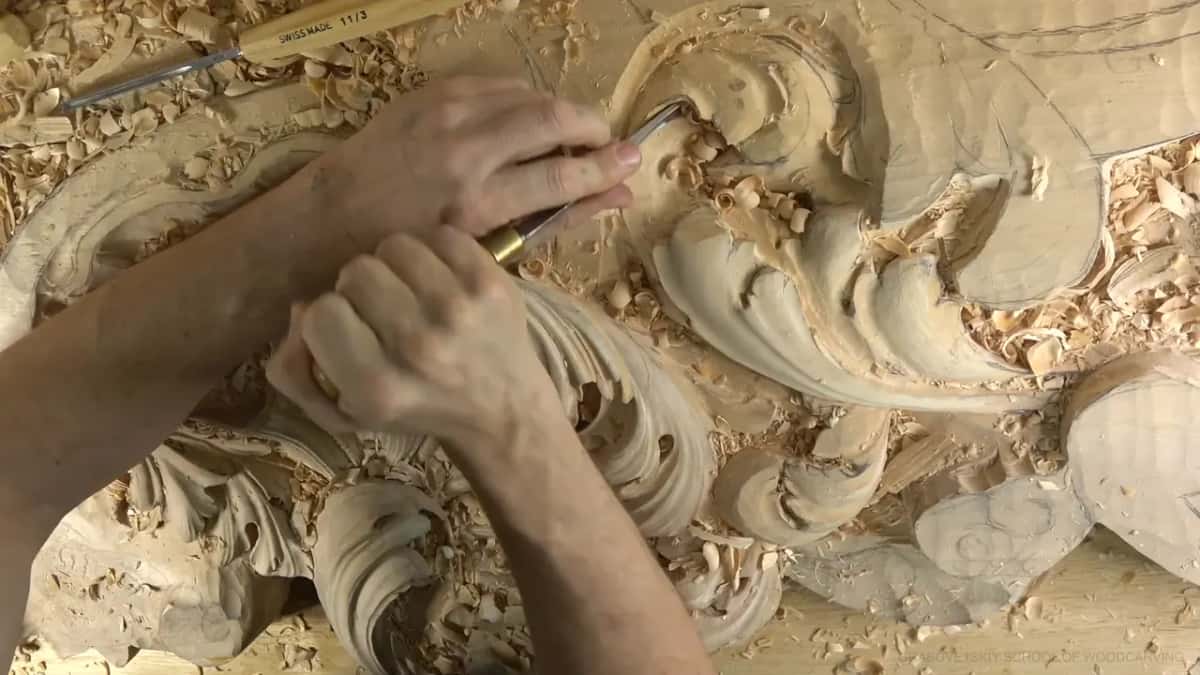
Quick answer: Excavating is the job of taking wood away around, inside and under a carved shape until it can stand free. On my Venetian ceiling board I dug around a leaf first, then under it to see what wood was left, and I stopped where a wall would go thin or the shadow was deep enough.
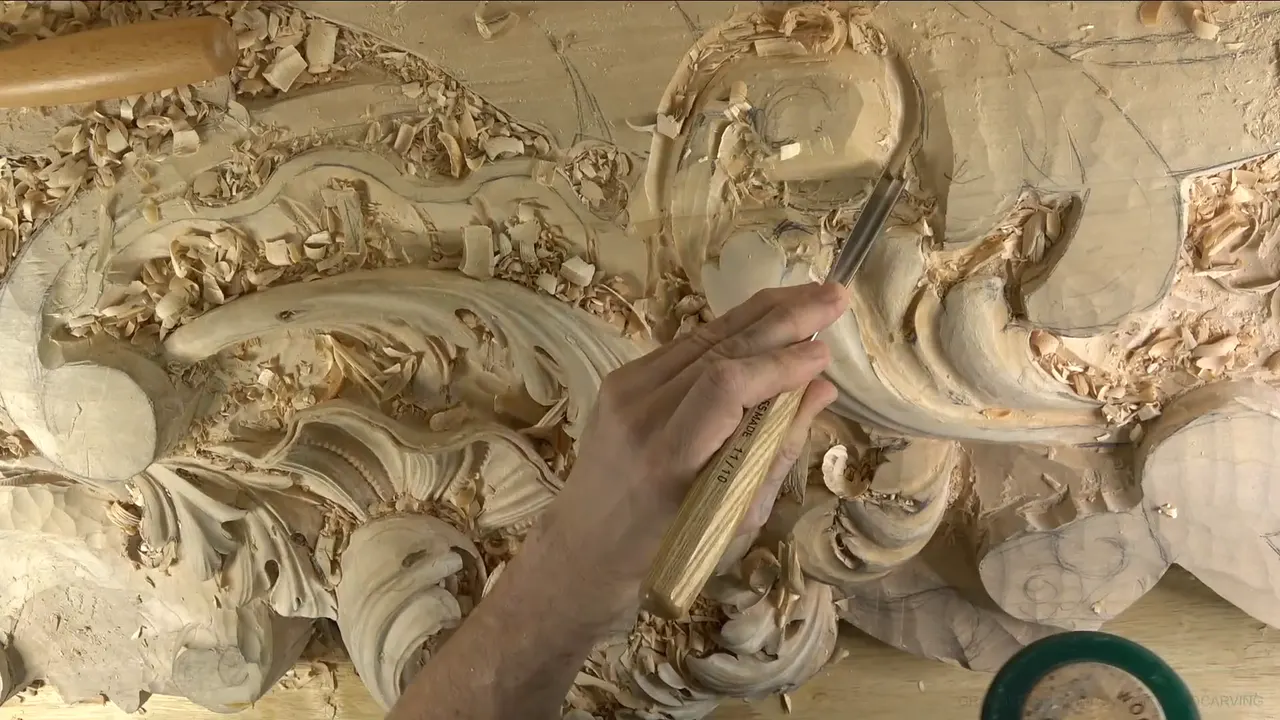
Excavating in wood carving is digging wood out around a shape, inside it and underneath it, until the shape has room to stand. In deep relief carving that is the job that makes the depth. I use the word, one way or another, thirty-one times in workshop 27 of my Venice Room, across twelve short parts, all on one element of a ceiling board.
Would you like your leaves to stand off the board, with a real shadow behind them? Would you like to see where all that wood goes? Then dig first and shape later. I'll follow the wood out of one Venetian acanthus leaf here, in the order it left the board, and at every stop you get the reason I gave the camera.
Six things excavating did on one ceiling board
Digging around the head came first, because that is how I get the overall shape.
Underneath came next, partly to see what wood I still had.
One pocket gave up its waste in blocks once a #9 turned in it.
I kept things shallow until the form was right, and only then went deep.
About 19 mm, three quarters of an inch, came out of one hollow, and that spot wanted more.
Each place I stopped had its own reason, and every one of them is below.
Where does excavating fit in deep relief carving?
Excavating comes before the shape, and it keeps coming back until the last shadow is carved. Early in workshop 27 I put it about as plainly as I can. I need to excavate around first, just to get the overall shape, and then I can make it feel like it's flipping.
Boasting is a different stage, with its own lesson in the floral panel course. There the movements get their surfaces. Excavating makes the room those surfaces sit in, and on this board the two take turns all through the workshop. I dig a little, round a little, then dig again.
Roughing out a flat panel follows a depth rule of its own, and I would read that one before you dig into a panel at home.
Why dig around a leaf before you carve it?
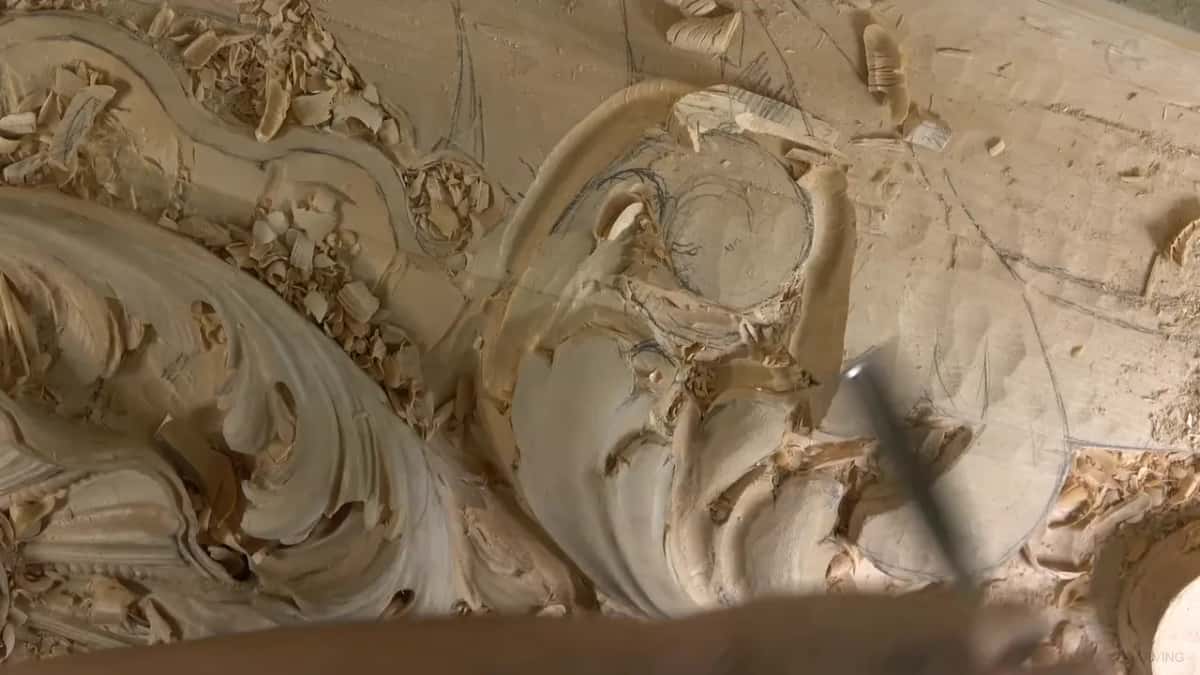
Digging around it first shows you the overall shape, and it tells you whether your plan still fits the wood that is left.
Let me tell you a story. Before I began, I thought about how the element would look from below, in real life. As of then it was kind of small, just a head that goes backward, and I wanted it a little bigger. We'll see if I'll be able to or not, I told the camera, because I already excavated a lot.
Wood you took away never comes back.
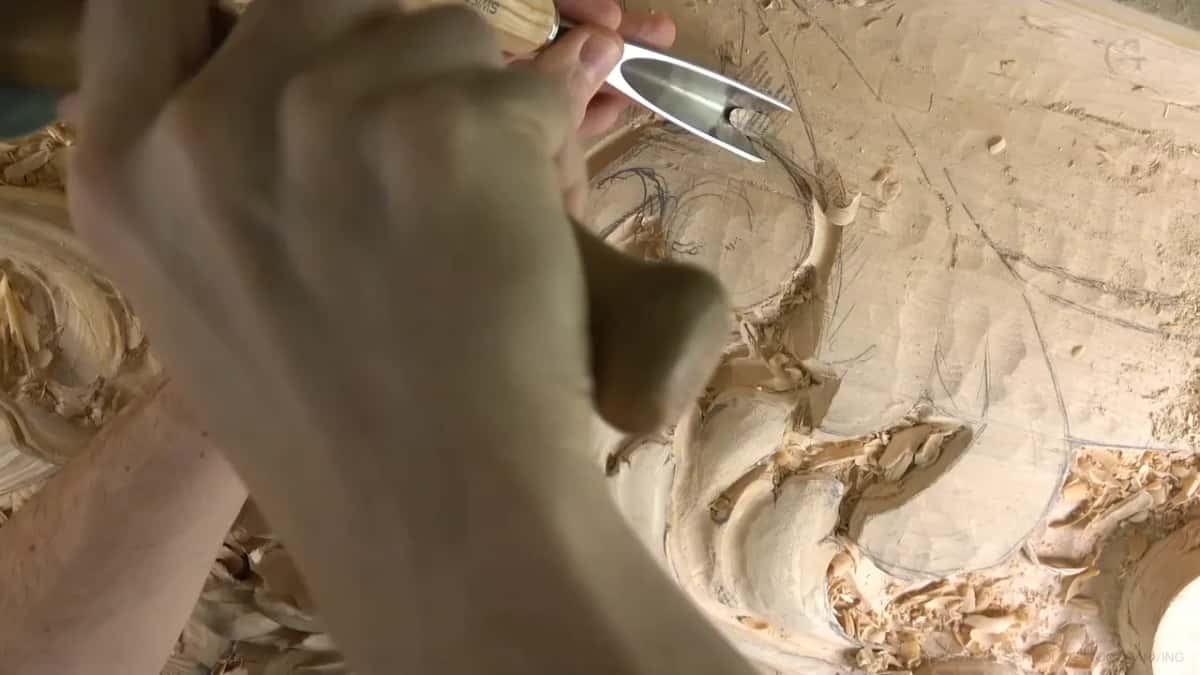
So the first job was to dig around it and find out. I took a #9 or a #11, either would do, 20 mm wide, about 3/4 of an inch, and came at it from the opposite direction. That side is part of a different acanthus movement. For a flatter pass I thought about a #5 at one inch, 25 mm, decided it probably wouldn't work, and chopped with a #3 of the same width instead.
I also reminded myself to stay off the future acanthus, a leaf that isn't carved yet. One area in part 3 bugged me, and I really needed to get it deeper somehow, so in went a #9 at 14 mm (9/16 in). Oh, I got so much material I don't need right here, I said a few minutes later.
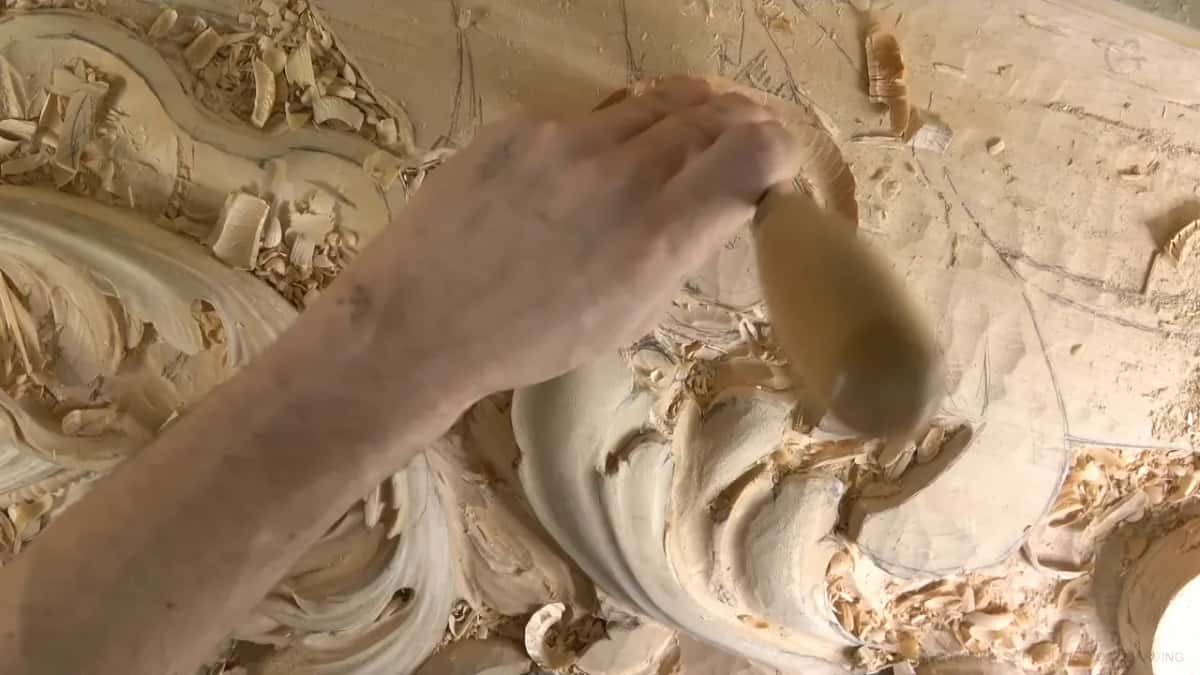
By the fourth part I had my answer. Plenty of material was there, and I could develop this movement with no problem, and I said so twice in a row.
How do you find out how much wood is left underneath?
Dig under the upper part and look.
My plan for part 4 was to excavate underneath, where I could see much better what material I had. First in was a #11 at 7 mm, a little bigger than a quarter inch, and I wasn't even sure a straight tool would reach.
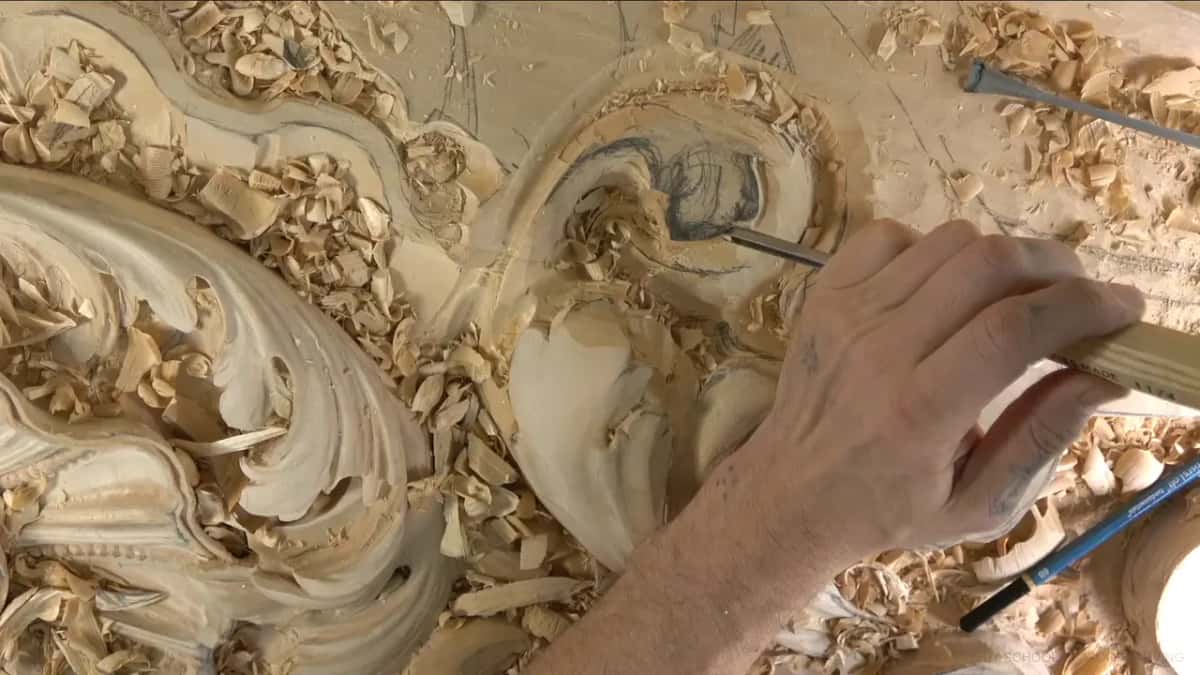
While I was down there, one section sat too close to the upper level for my taste. So I knocked it down right away and went really low, and it looked much better to me. Chips were everywhere by then. I stopped and brushed, because I couldn't see what I was doing.
At the end of that part I found a mismatch that only deep digging could fix. One division was wide, and the leaf meeting it was a lot smaller, so that smaller leaf had to go underneath, inside the upper part. The only way to do that, I said, is a really deep undercut. So the inside had to go kind of deep, because I needed that material, or it would look awkward.
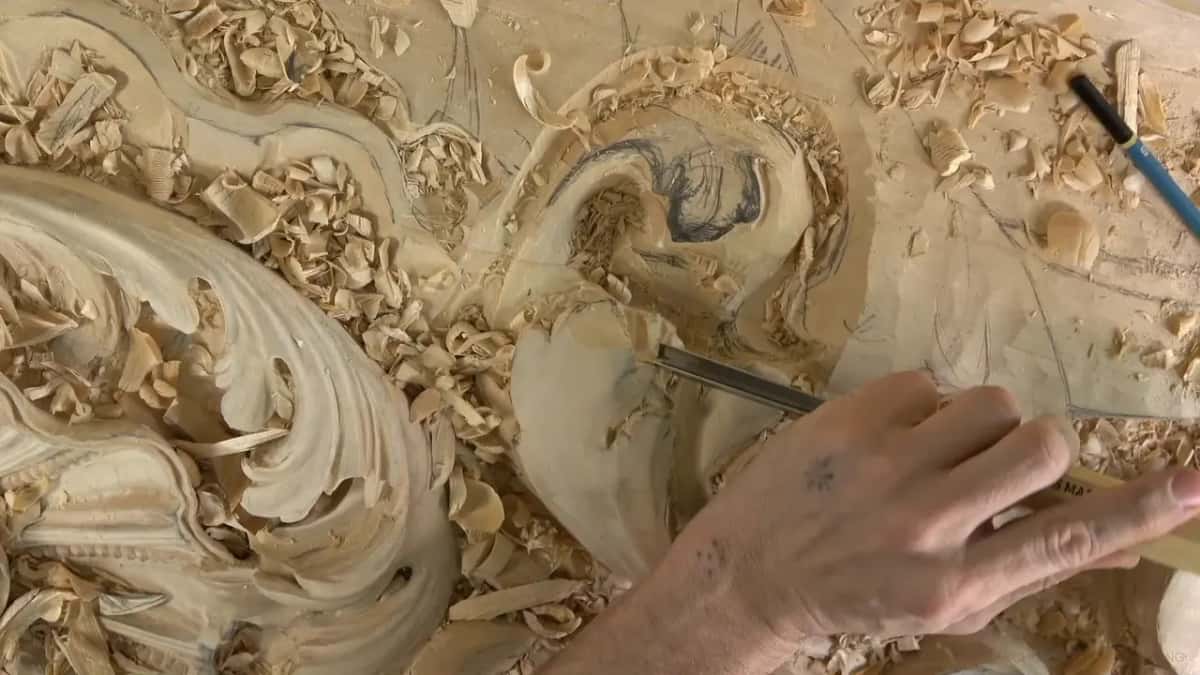
The fifth part went deeper, with a #11 at 4 mm (5/32 in). I had to be careful there, since the tool could only move so far in that spot. A moment later I stopped myself. That is enough, I said, because if I push too hard, I'm going to break that.
How far down the space under a leaf can go is a question the Greek leaf course takes on.
How do you clear the wood out of a deep separation?
Poke a #11 straight down on two sides, then turn a #9 in the gap until the block pops out.
That happened in part 5, on a separation I needed to relieve, since otherwise I wouldn't be able to see what is going on. The #11 was a bigger one, 10 mm (3/8 in), and I poked it straight down on each side.
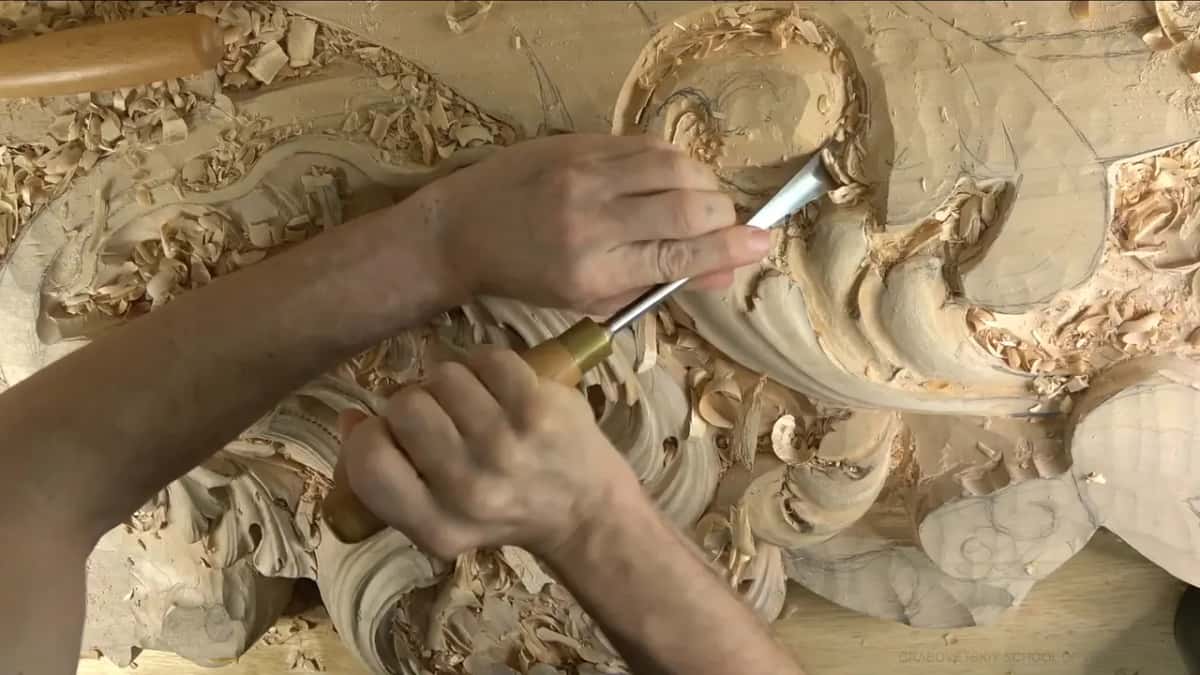
I said a #8 would do the same idea, and a #9 is even better, because with a #9 you can rotate. So I took a 10 mm #9, rotated it and excavated, and the blocks just popped out. Right after, you could see the separation and the first rough movement of the leaf.
That turn of the wrist is a close cousin of the plug cut in the furniture panel course, which has a lesson all to itself.
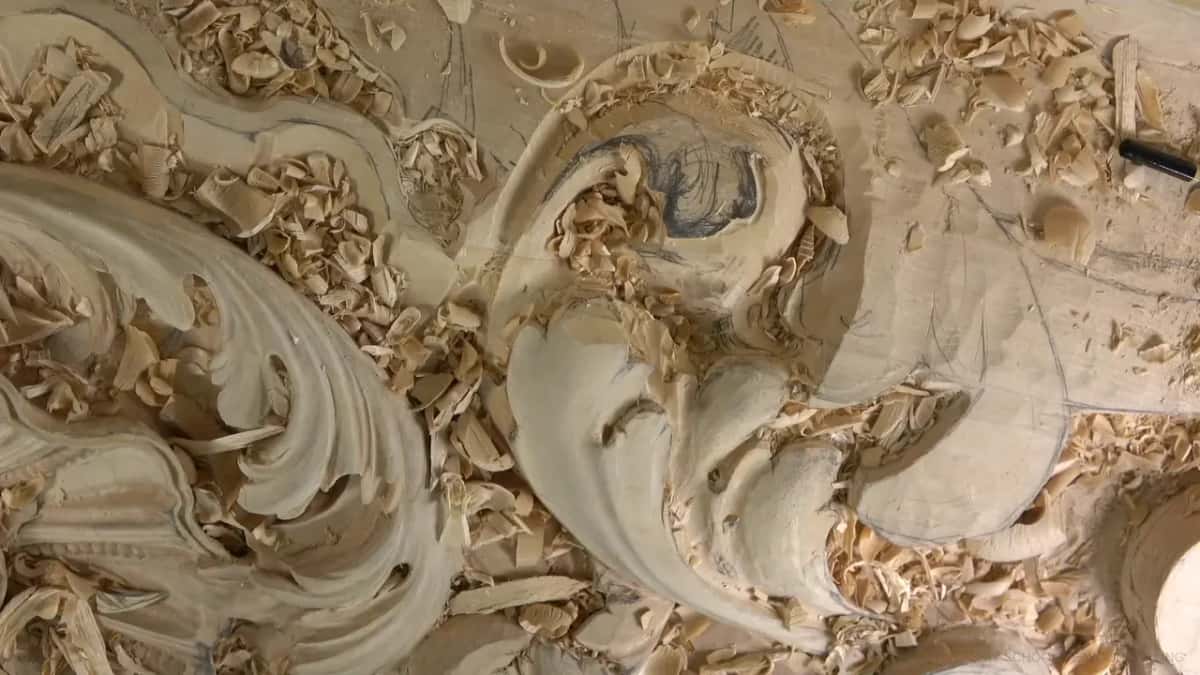
Before I went on, I chopped out what I didn't need wherever it would distract my view, and I cleaned the junk out of the inside. So much junk. When it was gone, I called what was left a canvas. An eye showed up in there too, and I said I could make a second one, a little one.
Here is where the wood came out of this one element, what I dug it with, and what made me stop or keep going.
| Where | Tool | Stop |
|---|---|---|
| Around the head | Either a #9 or #11 at 20 mm (3/4 in), then a 25 mm (1 in) #3 | Overall shape came first |
| Beneath the upper part | A #11 at 7 mm, then 4 mm (5/32 in) | Stopped before it could break |
| One deep separation | Straight down with a 10 mm (3/8 in) #11, then a #9 turned | The blocks just popped out |
| Inside the flip | Spoon of 10 mm, then #5 up to #8 rotated downhill | About 19 mm deep, more wanted |
| Near the ceiling transition | The same #11 as before, used far less | The deepest I could go there |
| The pseudo ceiling | Shallow here, no need to go deep | Never visible or accessible |
How deep should you go before the form is settled?
Only deep enough to find the form. Twice in this workshop I held back on purpose.
Back in part 3 I said not too deep yet, because I still had to establish the final form of the movement, and later on I would go really deep. Working inside in part 6, with a #11 and a 10 mm spoon gouge, I held back again until the main concaves and convexes were in. Maybe I should do those first, I said, and I did.
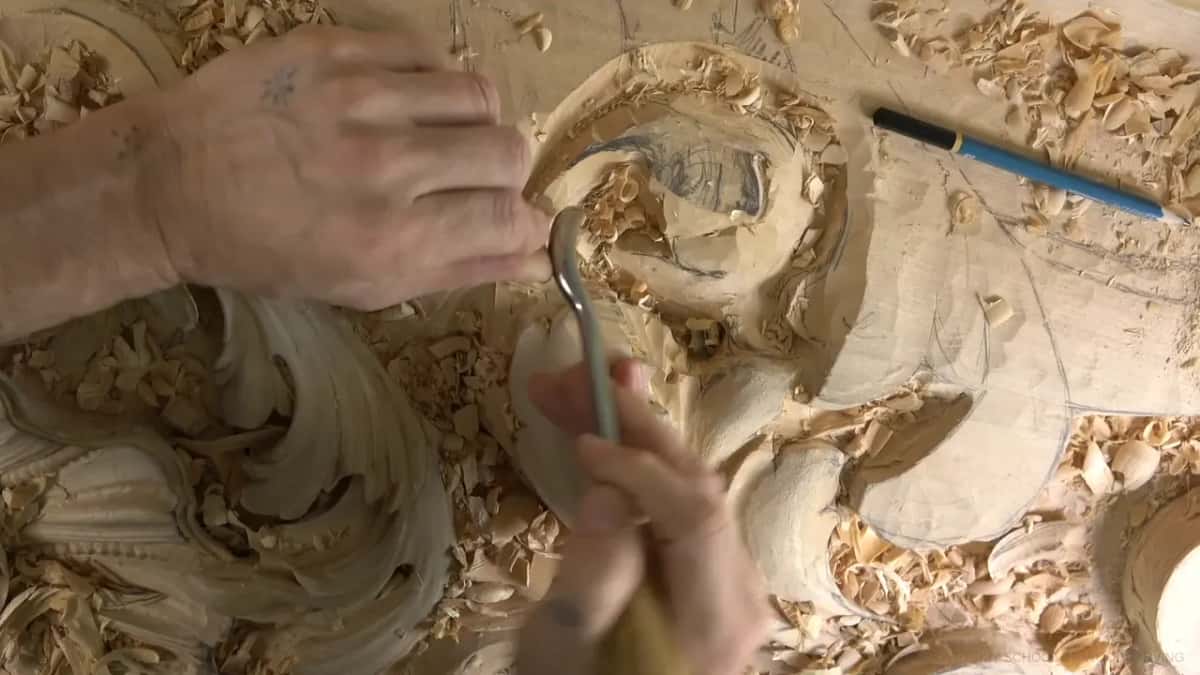
Once the form was right, I let the gouge go deep. By part 8 I had excavated about three quarters of an inch (19 mm) inside, and I said I still had to make it feel like it's flipping, and that area needed a lot more.
I started that stretch with a #5 and moved in little by little, then changed to a #7 or a #8, and closer in I rotated the tool and went downhill. Later I switched to the spoon again. A #11 of 10 mm went back in with a little wiggle, I came at it from the opposite side too, and I said that in some spots I could even use a mallet. Wiggling the gouge like that has a lesson of its own in the Hashemi flowers course.
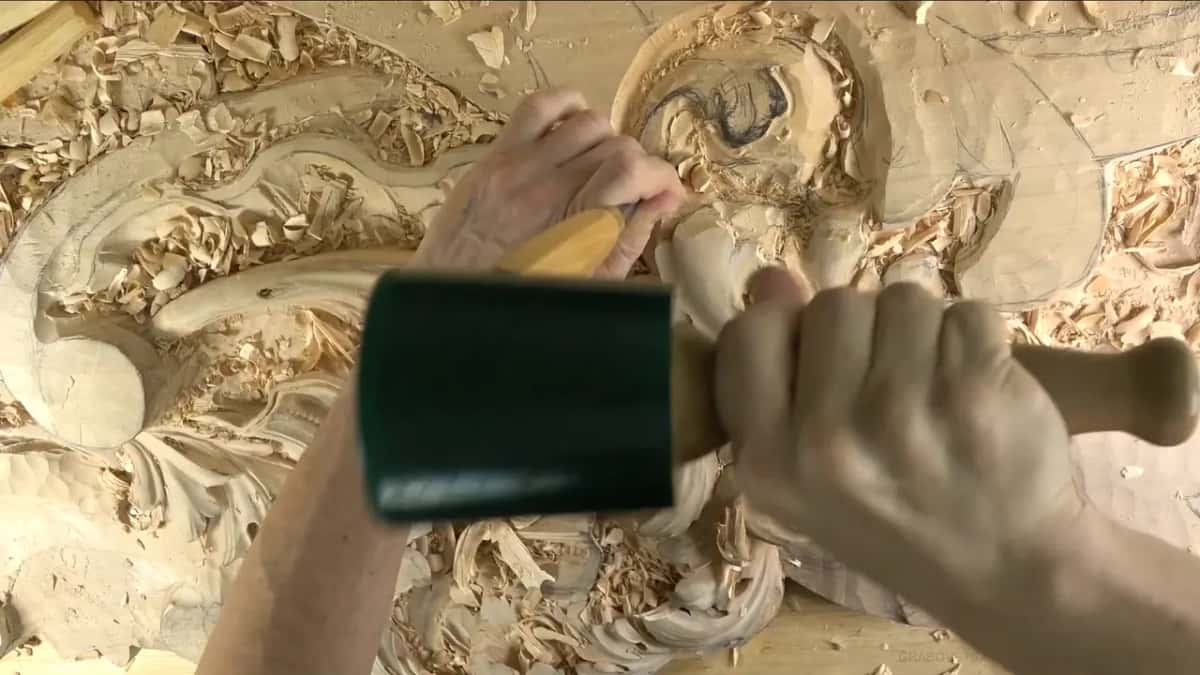
For some rounding in part 7 I used a back bent #5, 20 mm or 3/4 inch. It is marked 25/20, and on Swiss made Pfeil tools that 2 up front only means it belongs to the back bent group. I could have used a #9 for the last of the inside, but I like the U shape of a #11 hitting that upper part, because it cleans as it goes.
How deep each concave on the leaf should be is a separate question, worked out on a Venetian head in workshop 22. Paint is coming for this board too, and carving for it is covered in part 1 of this room.
When should you stop digging?
Stop when the next pass would take wood you still need, and this workshop gave me four reasons to stop.
The first came in part 9, at a line I didn't want to hit. I wanted to keep some of the material there, because if I hit that line, the transition to the ceiling won't be as nice. That is probably the deepest I can go right here, I said.
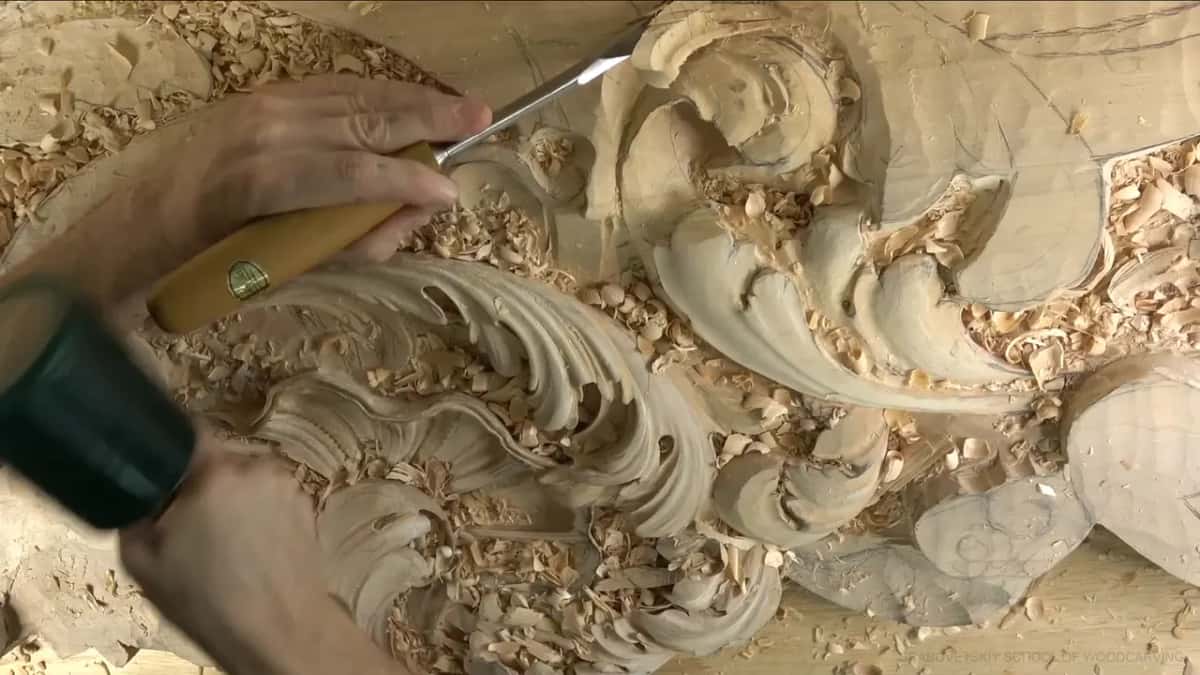
The second was a spot with no reason to dig at all. That part is going to be pseudo ceiling, I told the camera in part 10, and it's never going to be visible or accessible, so I don't really have to go deep. I apologized for blocking the view with my head, too.
The third is a thin wall. On the other side of my final line, which I got to within about half a millimeter (1/50 in), I said I don't want to make this too weak, which is always possible. For the undercut on that side I took a small tool, a #11 of 2 mm (5/64 in), because I didn't have much material left there. Part 11 still left me a weak spot, and I chopped it out, fixed it, and said that was okay.
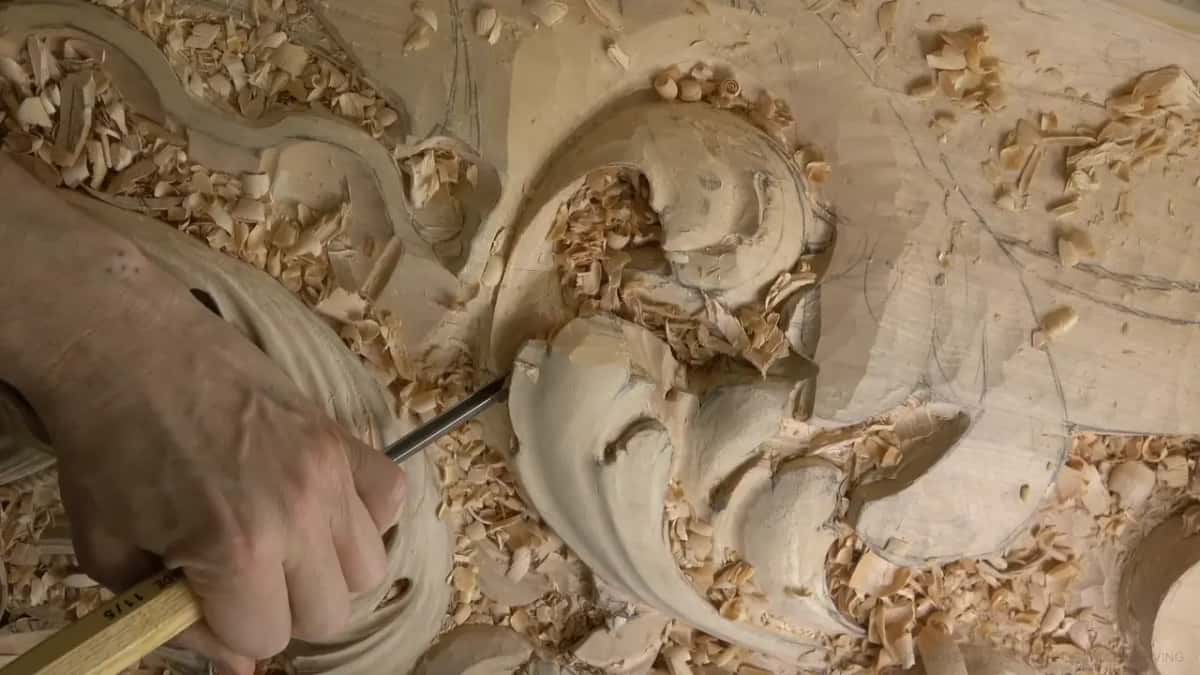
The fourth stop works both ways. During part 9 I went even deeper, because I need that shadow, I really need that shadow. In part 11 I warned myself about a movement too weak and, in the same breath, about underdoing it, since depth gives extra definition. At a certain point, I said, I just have to stop.
And once the neighbor decided for me. A shell will sit there, I said in part 10, so I stopped right there. Knowing when a detail is enough gets a lesson in part 1 of this room.
What happens if you dig too fast?
Wood breaks, and it matters a lot where it breaks.
Part 2 cost me a section. I chopped it and lost it, and I said that was absolutely okay, because I can establish it again, no problem. Then I told myself to be more careful and not to rush anything. Here it was fine. In some spots, I said, it would be a huge mistake.
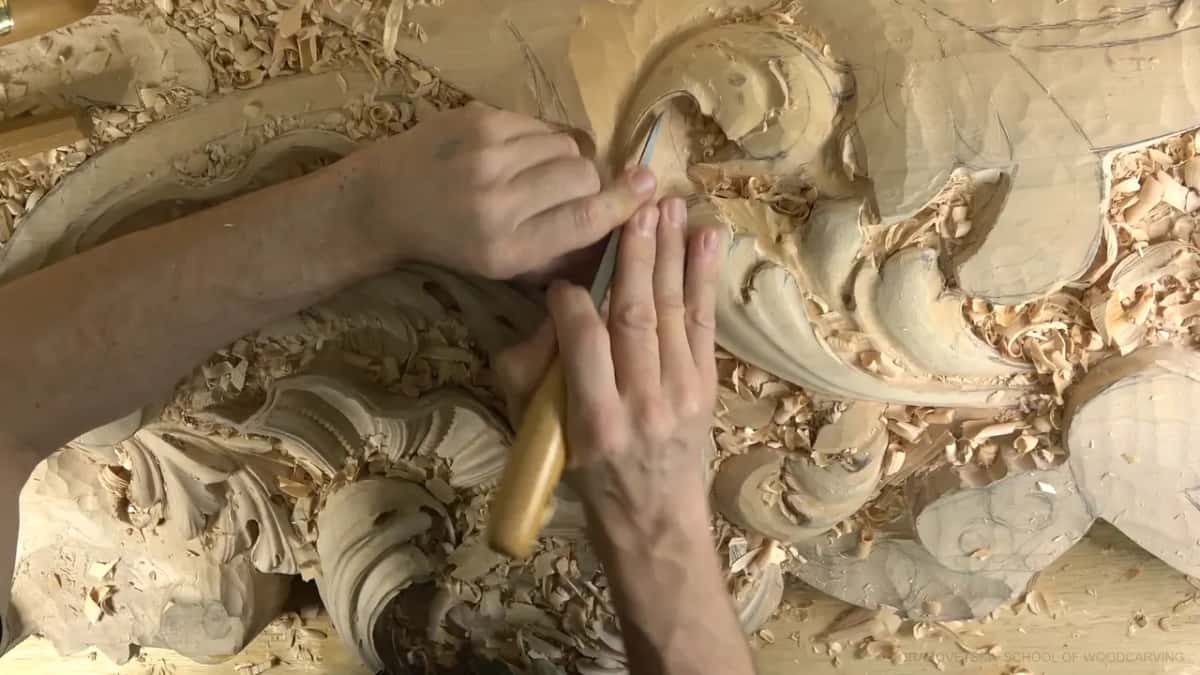
Early in part 4 I broke a piece. It still looked good to me, but I could have avoided it and didn't, and I guess I was rushing too much. Workshop 25 asks when a loss like that stops being fixable, and workshop 26 comes right before this one on the same board.
What gets cleaned while you are still digging?
Rough spots that could hurt your hands, and the floor of any deep pocket.
In part 9 I said it's not wise to leave areas like that, because I'm always placing my hands on top of the work. A spot that rough can give you a splinter, and I don't think you want a splinter. It wasn't the final cleaning yet, just me removing a danger to myself.
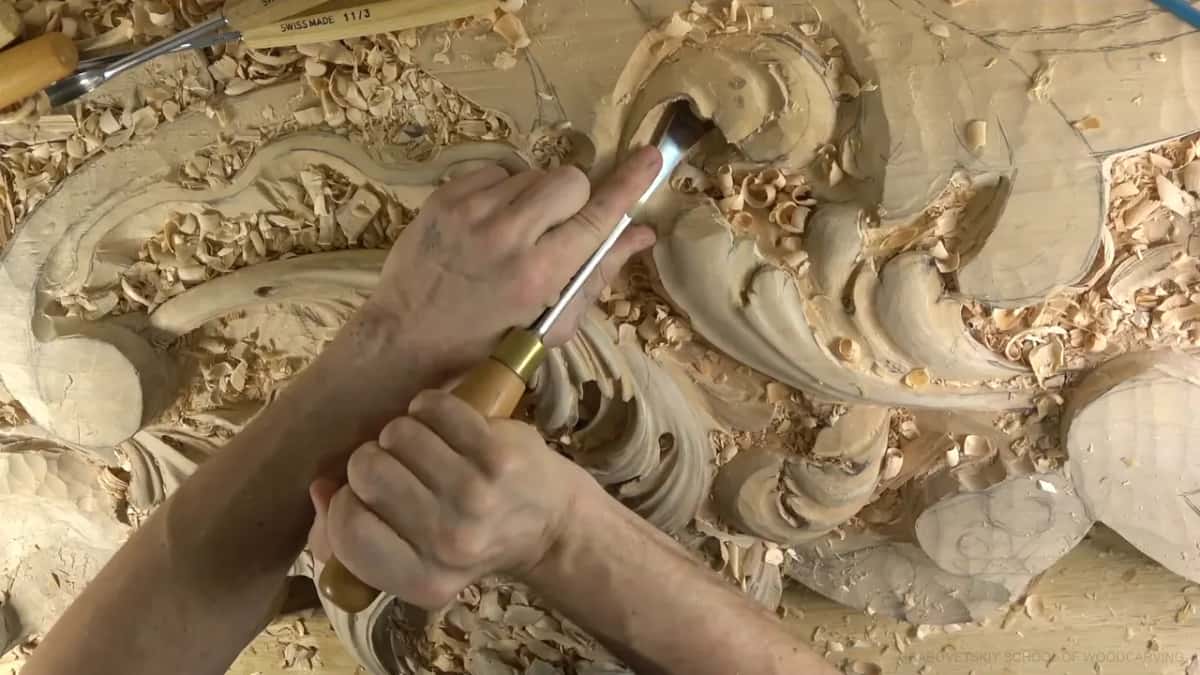
Deep inside the flip I cleaned for a different reason. I wanted a smooth transition there, with no hump or bump, so I went over it with a #7 at one inch (25 mm). The shadow in there came out nice and deep, and then a 10 mm #11, three eighths of an inch, blended all the passes until they were connected and clean. I know you don't see it on video, I said, but I am trying to get as clean as possible down there.
Where the digging goes after workshop 27
Workshop 28 carries on with the same board, and workshops 38 to 49 take it further still. If you're coming in fresh, part 3 of the room holds all twelve workshops of this stretch of wood carving.
If the numbers stamped on gouges are new to you, the tools course walks the whole rack. Tuition opens every workshop in this room, and every ornament in it.
Want to feel a block of waste pop loose on your own bench? Take a scrap of wood, press a deep gouge in on both sides of a small square, and turn a #9 in the gap. Brush the chips away before you judge it, the way I had to in part 4.
How it's done
- Clear the ground around the form. Take waste away all around the shape with a deep gouge before you model anything on it.
- Look underneath. Open a small window below the upper part, just far enough to read what is left to work with.
- Lift the separations out. Press a narrow #11 in on both sides of the waste, then twist a #9 of equal width in the gap. The block comes loose.
- Stay shallow for now. Keep depth modest until the concaves and convexes are in.
- Go deep where it counts. Dig deeper where the leaf has to look like it flips over, and wherever the light will throw a shadow.
- Know your stops. Leave wood along any line that meets a plain field, skip parts no one will ever see, take a smaller tool as a wall gets thin, and quit once the shadow reads.
Frequently asked questions
Is excavating the same thing as undercutting?
Undercutting is one kind of excavating, the kind that goes in beneath an edge so a shadow falls behind it. On my Venice Room board I also dig around the leaves and deep inside them, and neither of those goes under anything. All three take wood away.
Which gouge do you excavate with?
Mostly a #11 or a #9, and on camera I said it doesn't really matter which. A 10 mm #11, 3/8 of an inch, came out again and again. A spoon of the same width went into the hollow, and a 20 mm (3/4 in) back bent #5 did some rounding.
Do you brush the chips away or blow them?
Both, on this board. In these twelve parts I brushed more often than I blew, and I said sorry each time I blew. A compressor is sometimes a good idea, but the chips fly all over my studio, and then I have to collect them from everywhere.
What to carve next