
Alexander Grabovetskiy, woodcarver, School of Woodcarving · Published 2026
Why do you keep the leaves thick while you undercut a high relief carving?
Quick answer: Keeping leaves thick while you undercut is saving wood until the form is settled. On my hazelnut panel the early undercuts stopped short. Deeper work was for smaller tools, I said. When I finally went about an inch and a half under one spot, I still left a half inch of thickness above it, so it would not look flat.
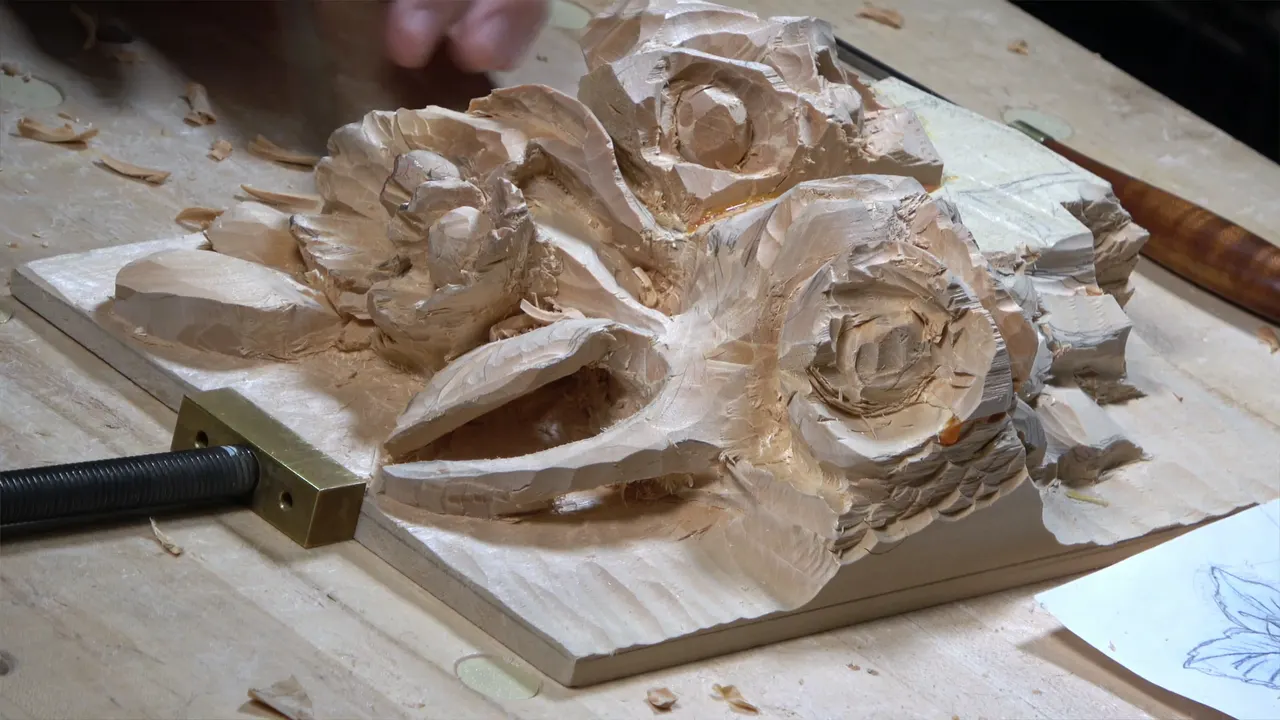
Keeping the leaves thick in a high relief carving is how you save wood for a shape you have not found yet. Lesson 8 of my hazelnut panel is full of undercuts, and the first ones stay shallow on purpose. By the last video I was about an inch and a half (38 mm) under one spot, and the part above it still had at least half an inch of wood.
Ever dug below a leaf and felt the wood go thin before the shape looked right? Want to see where I stop, and the words I used each time? You get my own numbers from three videos, the tools I held, and the spots where spare wood made a mistake okay on this relief panel.
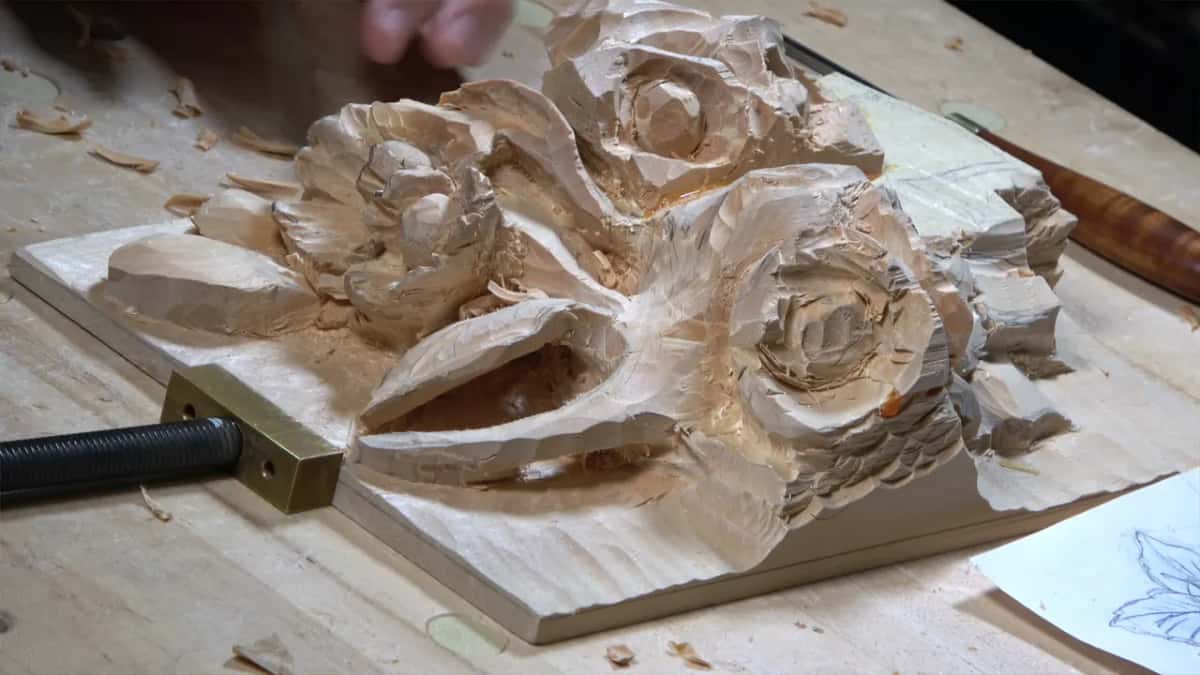
Lesson 8 and the thick leaf, in six lines
My first undercuts went about half an inch in, and then I stopped.
Details waited while I found the form.
Husks and leaves kept their thickness until the shape had settled.
Leaf ends were left alone while slopes might change.
When the form was right, I went far under and still left a half inch on top of that hollow.
Fragile, thin wood comes last, and it's optional.
What did the panel look like when lesson 8 started?
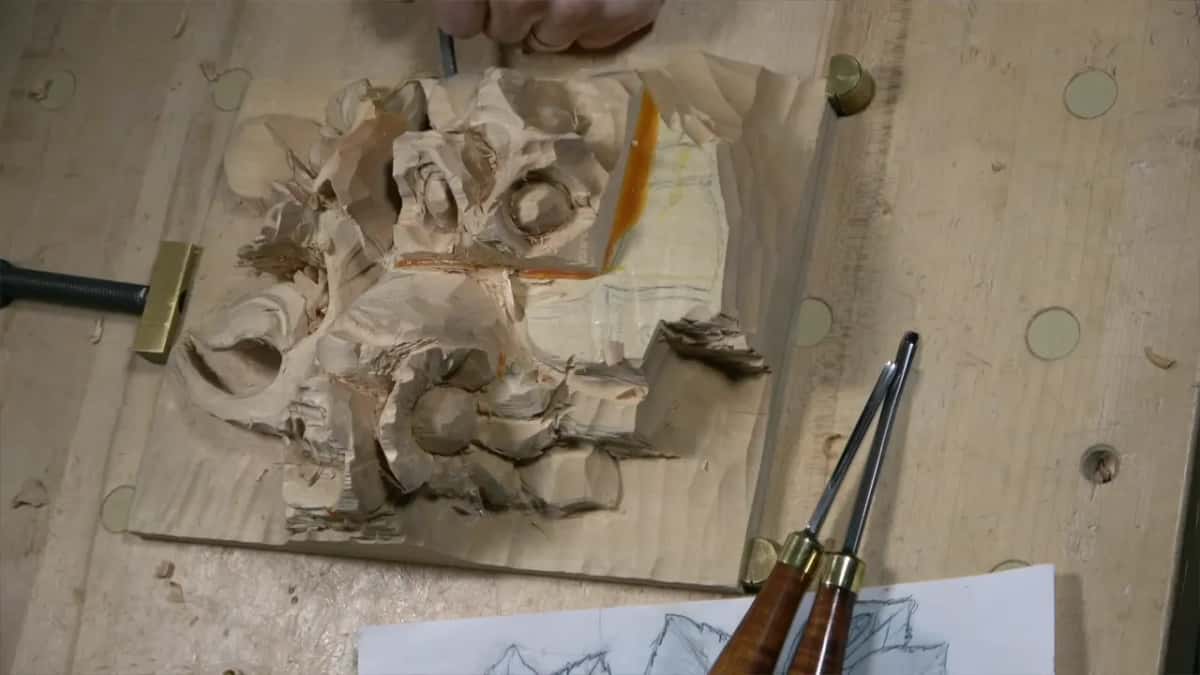
Rough. Orange glue lines still showed on the edges of the blocks I glued on in Carving Hazelnuts 1, and one huge chunk that would turn into a leaf was in my way. I chopped it down with a knife and moved it downhill. Any tool would work there, I said, and any flatter tool gives a good result.
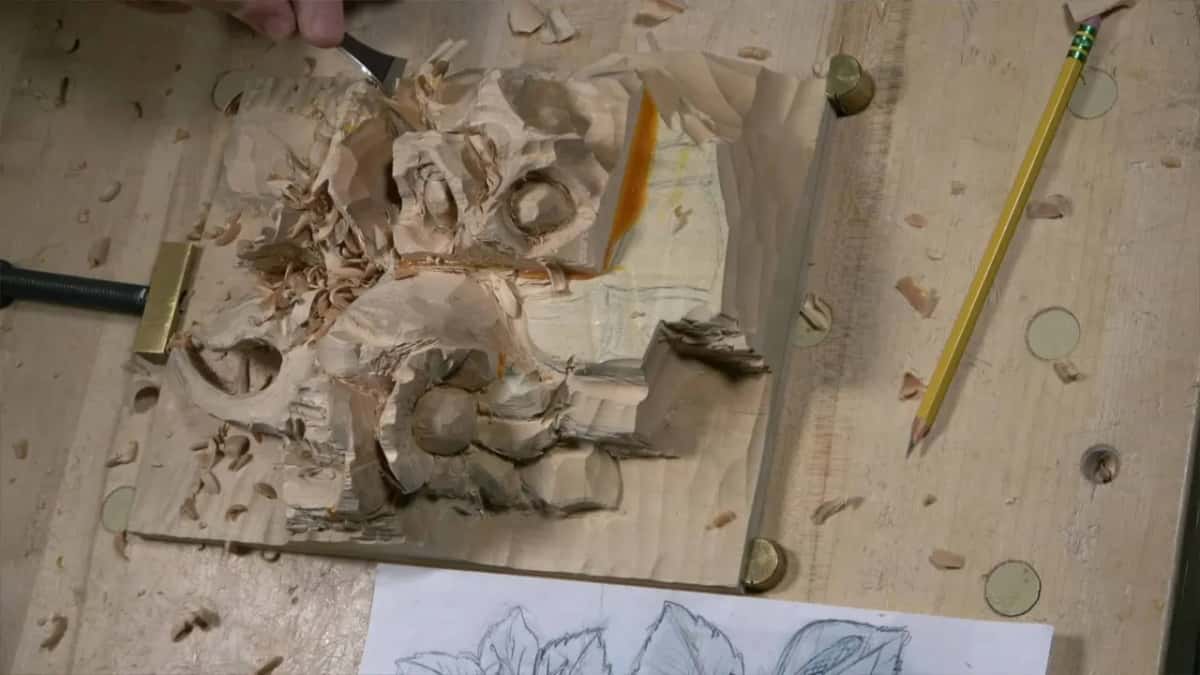
The glue came off bit by bit as I worked. My veiner ran into some of it below the bunch, and later I said there was still a lot of glue. Then a thick number 3 gouge by Marples and Sons, about a half inch wide, went over the spot with its flute the normal way up. There is a glue line, I said, and it has to be gone. Then it was definitely gone.
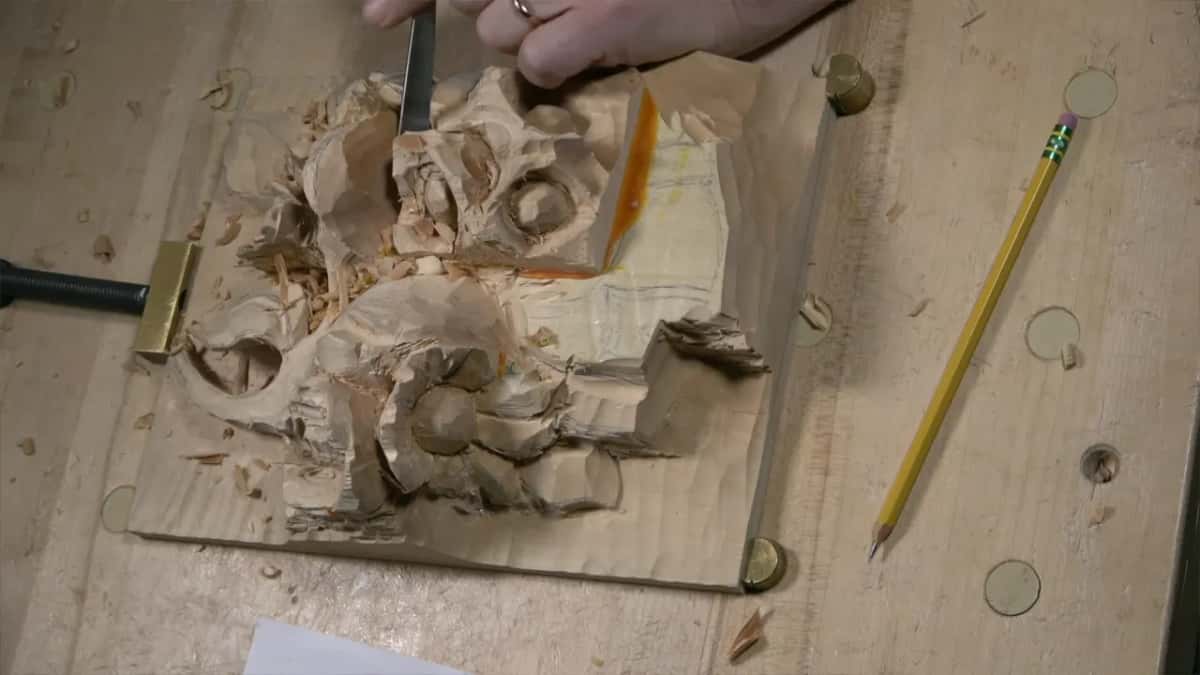
Why were the first undercuts in lesson 8 so shallow?
Smaller tools go deeper later. That was the reason I gave in the first video, under the bunch, where I undercut with a Swiss made veiner from Pfeil, a number 11 of 10 mm (3/8 in).
I went in maybe a half inch. See how it casts the shadow, I said. That is what I'm after. I don't want to overdo it, because later on the smaller tools will get much deeper.
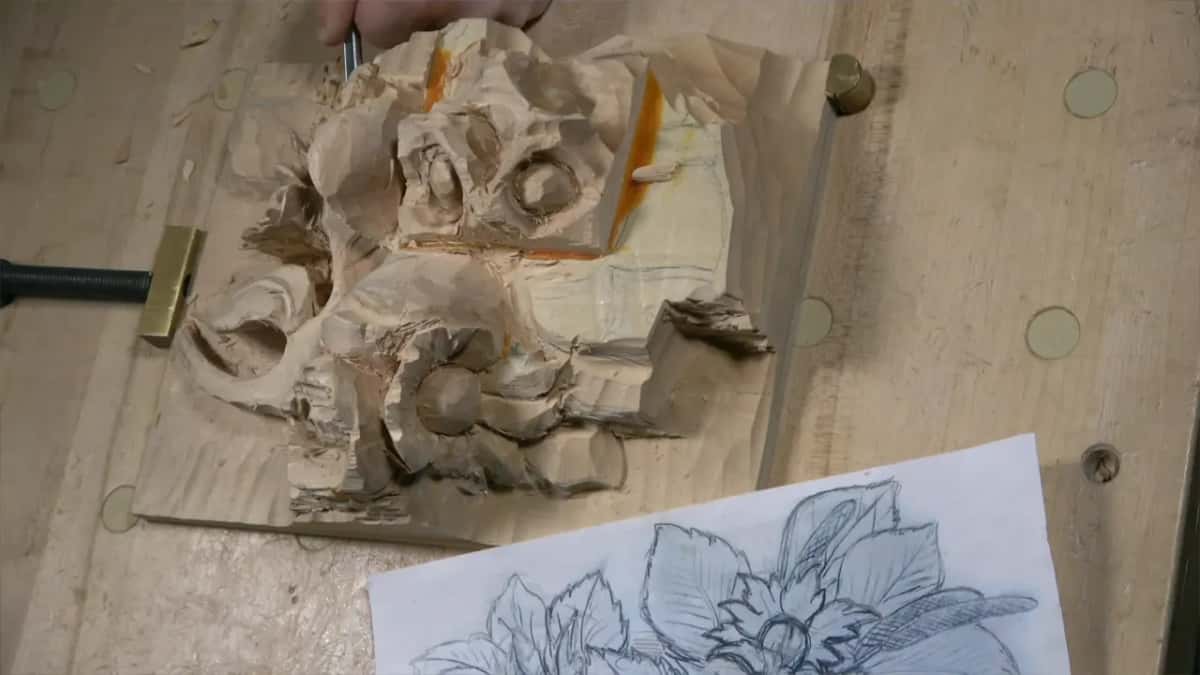
At another spot earlier in that video I went the other way. With a 5 mm number 11 (3/16 in) held perpendicular to the grain, I was going beneath the husk, and I said I could do a little more extreme undercut there, because I need that shadow. Wood carving is all about shadow, I said, and a light of course. Both things happened. One spot got its shadow right away, and the next one stopped at about a half inch.
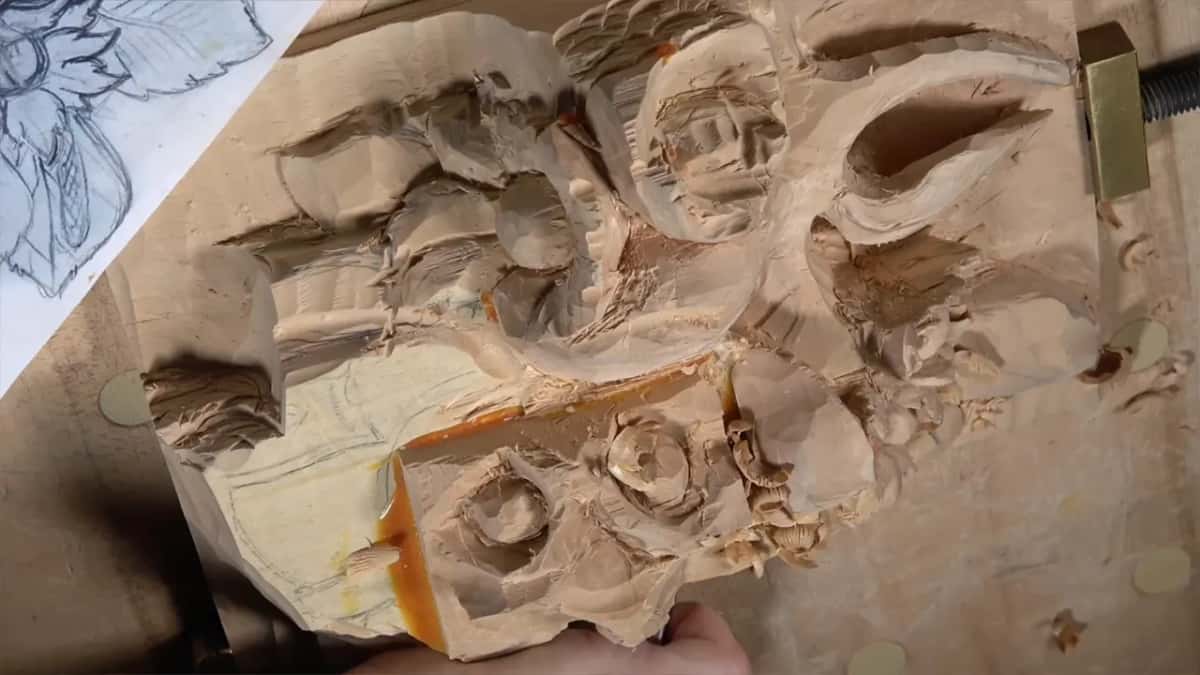
What does it mean to find the form before you go deep?
Finding the form, the way I used the words in this lesson, is still looking for the final shape before any details go in. The second video says it plainly. Don't undercut too deep yet, I said, we are still trying to find a form, we are still too early in a stage.
Still blocking in, I said, no details yet. But I could see a light at the end of a tunnel. Blocking in had its own place earlier in the course, in Carving Hazelnuts 5.
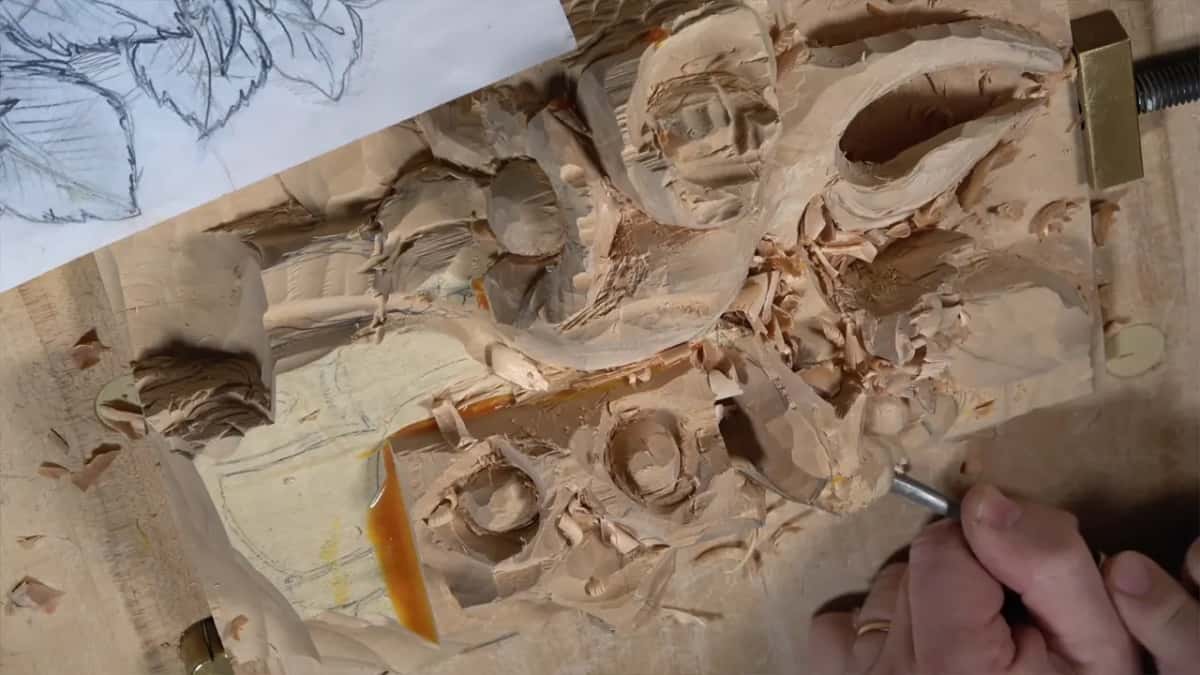
The first video puts it another way. We are not working on details yet, I said there. It is too early, and I am still looking for the final shape, the final form. Between two leaves, with a number 11 of about 5 mm, I only wanted to see clearly where the leaves were supposed to go, and no deeper, because it was not a final look.
In between, I had dug a little too much in one spot. The fix, I said, would be to chop a little of that leaf later, before I find the true shape, since I did not want to take too much off. An undercut under a leaf that lies over its neighbor was just an indication yet, with the same small veiner.
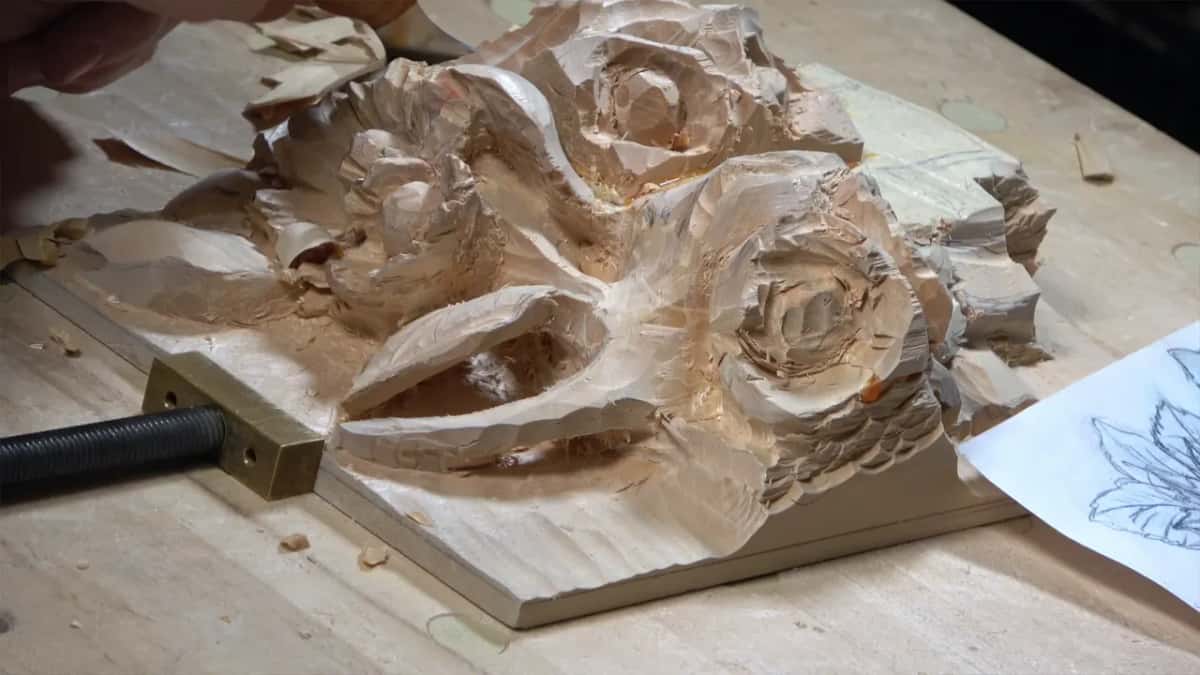
How much wood do you leave on a leaf in high-relief carving?
At least a half inch, about 13 mm, of the overall thickness stayed on my panel, even over a deep undercut. I gave that figure in the third video, and my reason was that it would look flat otherwise.
Before that figure, the rule had no number. Back in the first video I rolled the future husk under a leaf with the 5 mm veiner. No overdoing it, I said, since I still needed to keep some of the thickness. But I could see what was going on.
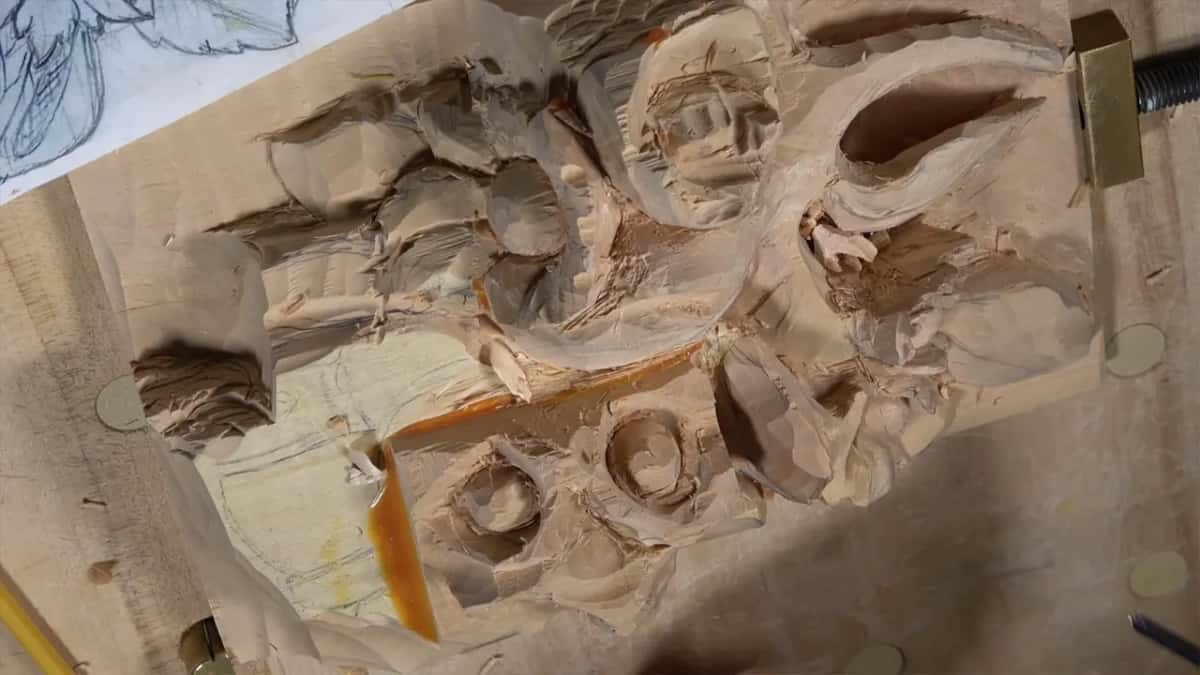
Below another husk in the second video, I used a small number 11, an eighth of an inch (3 mm), made by Herring Brothers, and came at it from two different positions. I still have to keep the thickness of this husk, I said. With a 3 mm veiner a while after that came the short version. Don't make it too thin yet. We're going to make it really thin, but later.
What does the spare wood save you from?
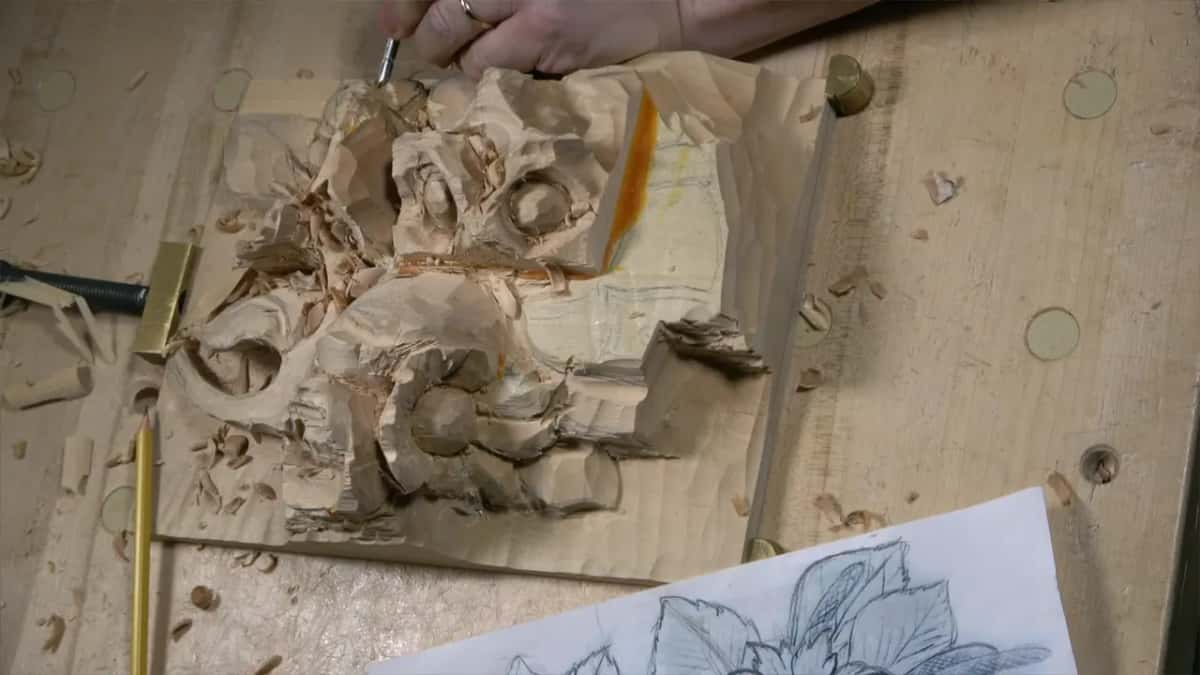
Mistakes, mostly. A leaf tip broke in the third video. See what I just did, I said. It's okay in this case, since I have plenty of the material, but be careful. That is no good. Sometimes it happens, and what can I do?
Later, working beneath a leaf with a number 3, flute upside down, the tool hit the edge of the leaf. A back bent would be the better tool there, I said, because I had limitations. But it's okay. Plenty of material was left.
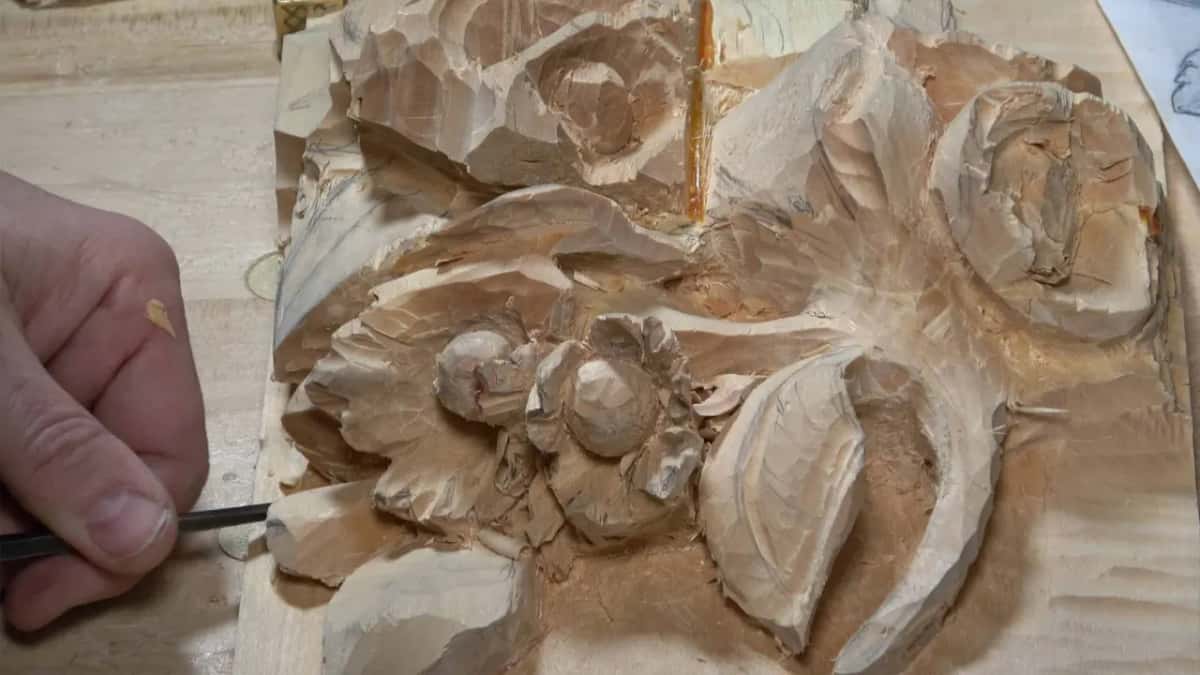
Spare wood also leaves room to change your mind. The ends of two leaves stayed alone early in the third video. None of the ends got undercut, I said, because I was still probably going to change some slopes. We want to use all the material, I said. A lot more twists are coming. But some areas could not stay too high, since they would be really hard to clean on the inside.
Video two had its own worry. Chopping one motion away might not leave enough material for a beautiful motion. Which leaf goes under which one was weighed in that same video, and that part belongs to its own story.
When is the form found well enough to go deep?
When you know where the shape is going. Partway through video two I knew the leaf had to go underneath the husk, looking to the right in my case. I set that overall motion, and then I said it. Now I am safe excavating. I went a little deeper and still had plenty of space for later. Later in that video the curvature was only somewhat final, not really final, final, I said, but still a good shape.
The third video gives the same signal from another side. I was happy with the right side of one leaf, really good balance overall, and I was not going to change it much. That means, I said, I can go ahead and take a lot of material out of this cavity.
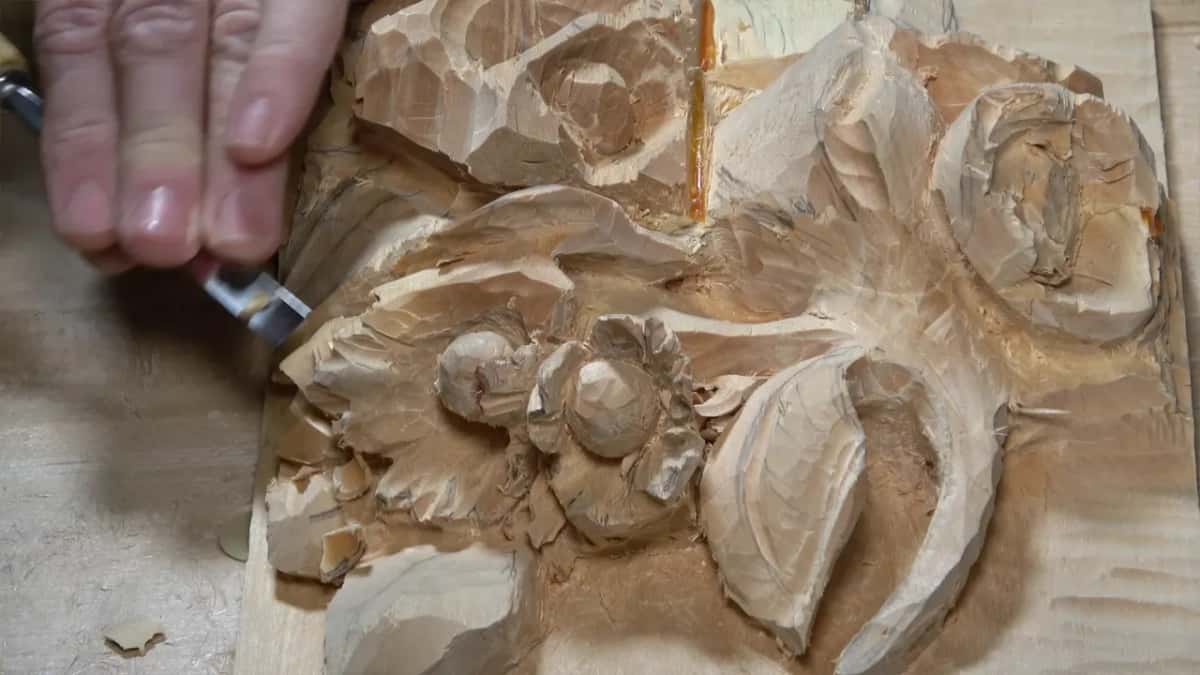
Spot by spot, in order, this is how the depth went across the lesson, with the tool and my words at each spot.
Spot | Tool and what it did there | What I said |
|---|---|---|
Beneath the bunch, first video | My 10 mm Pfeil veiner opened a shadow, then stopped | See how it casts the shadow |
Husk tucked below its leaf | The 5 mm number 11 rolled the future husk into place | I still need thickness |
Second video, under leaves | Smaller number 11, 3/16 in, flute near 9 o'clock | Don't go too deep yet |
Below another husk | Herring Brothers number 11, an eighth inch, from two positions | Keep the thickness of this husk |
Ends of two leaves | Left whole while a number 11 cleared the cavity between | Slopes may still change |
Third video, under one part | Quarter inch number 8, tool upside down, far underneath | Still leaving plenty of material |
How deep did the undercut go in the third video?
About 1 1/2 in (38 mm) under, measured from one point inward. It is deep, I said, really, really deep already, and that is what we are after. Just don't overdo it.
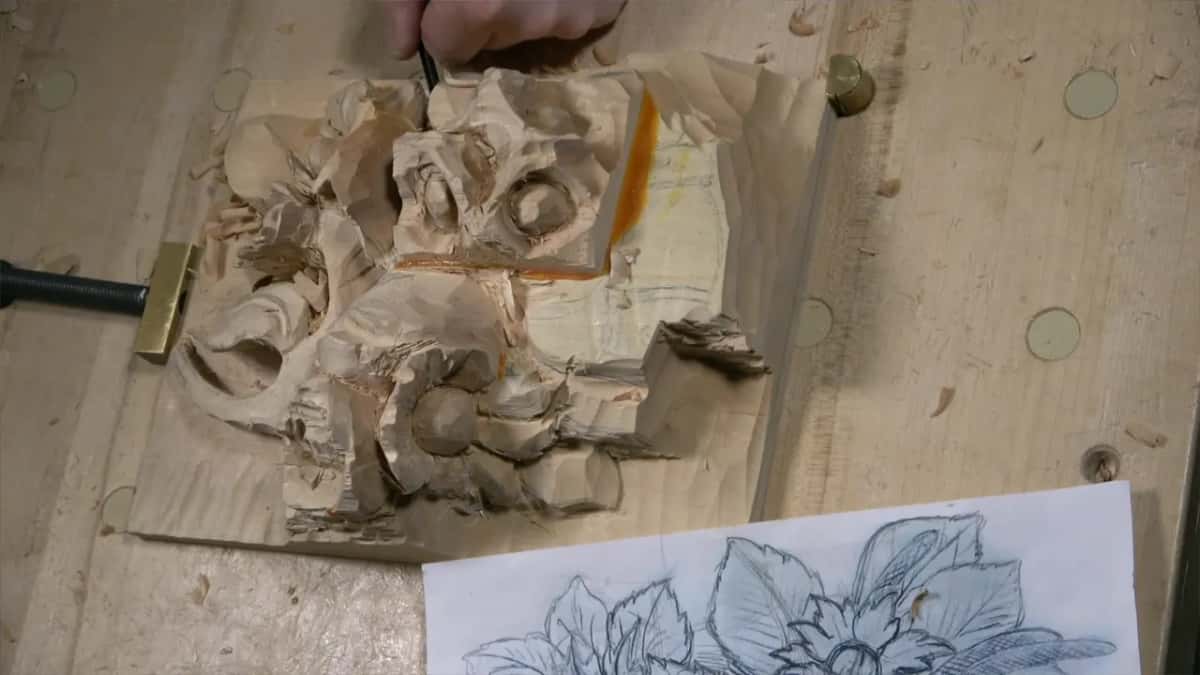
Getting there took small bites. A knife opened the sides first, little by little, and then a 1/8 in number 11 did the close work. Near the leaves I twisted the tool to the right or to the left and started to undercut. My bites were no more than one eighth of an inch each. A small tool takes only a little at a time, I said, and I can always clean it with a bigger tool later.
For the next section the small tool sat at about 8 o'clock, and I was still slicing, not just pushing it. Then a number 8 of about a quarter inch went in, tool upside down. You could use a number 9, I said, but I used the 8, back and forth with the number 11. My camera could not get to that side, so I told you what I was doing instead.
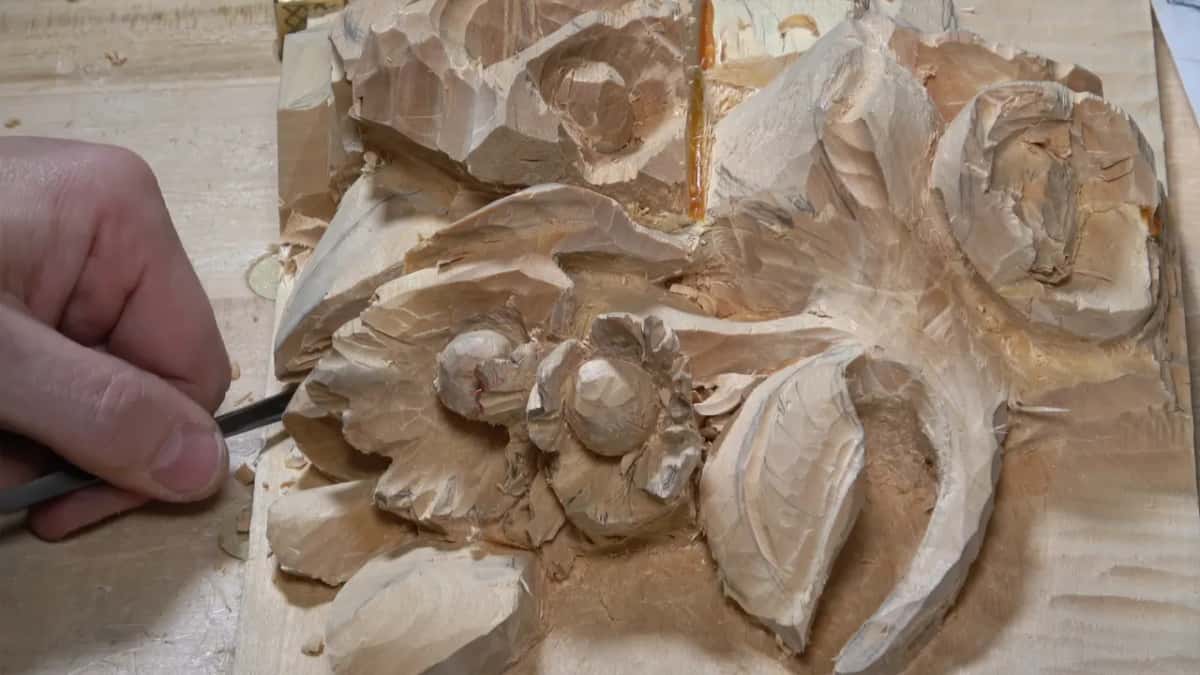
That hollow gets a plug cut from another side before the video ends, and that is a story of its own.
What about the background while you go deep?
The background was still a little above the final one in this lesson. Initial background, not final background, I said late in the first video. Cleaning around the leaves in video two, I said I was still not on the final line, but now at least I could see how a clean, cleanish background would look.
For that cleanup I used a knife whose handle I made really thin. Some of you probably wondered why. I can lay it really low when nothing is in my way.
Keep an eye on the line of the background, the first video says, so you don't damage it too deep. These habits kept it safe. Attack from outside inward, which I called always safer, from the outside toward the center. And don't dig toward the center, or you won't get the same thickness of the background. One more came in the second video. Raise your handle too high and you dig to the final background, and you don't want to do that yet.
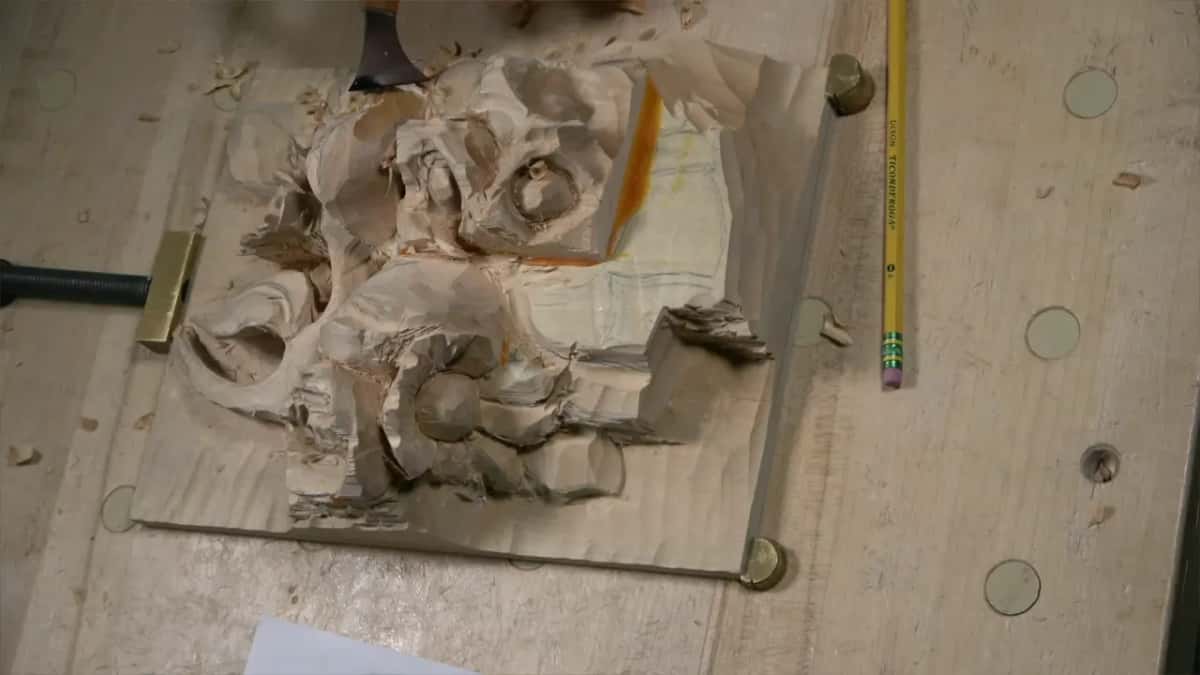
I also cleared the sharp chips as I went. You can catch a splinter if you don't, I said, and the small number 11 with its flute outward took them off.
Do the leaves have to end up thin and fragile?
Later, on this panel, and only by choice. We are going to take it really thin and really fragile later on, I said in the third video. Then came the honest part. You don't have to.
If you want to be a super advanced carver, I said, it's really important to make it really thin, in all projects. People are going to ask you what happens if you break it. I answered that short. Don't break it. It's going to be fragile, but it depends how you're going to use it.
Where did lesson 8 leave the leaves?
Defined. Toward the close of the third video I showed you the deep spot. It goes on inside, I said, and inside it is slightly messy, but see how we excavated it. We defined pretty much leaves. You can see the overall shape of the leaves, and they are good.
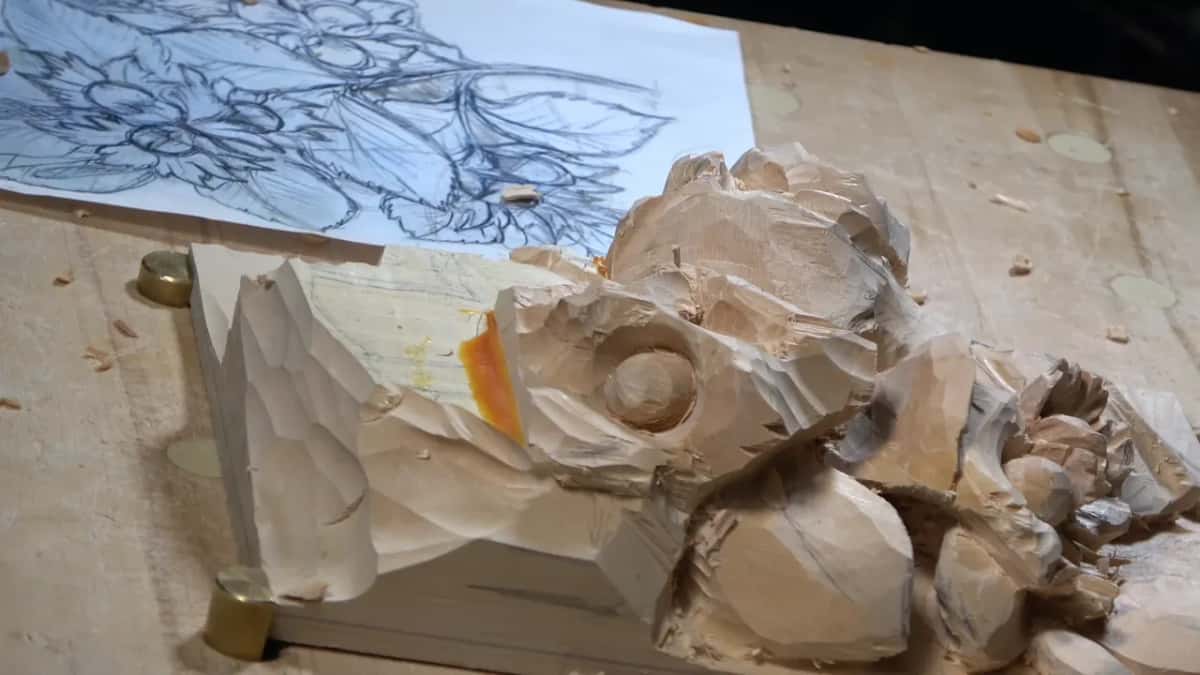
One spot still bugged me a little, it was that messy, so I cleaned it with a knife. A lot of stuff bugs me, I said. It's messy, but little by little we are taking shape. That was enough for one day.
The course page for Carving Hazelnuts has the whole panel, and every lesson before this one, from Carving Hazelnuts 2 on, is listed there. The leaf work right before this one is in Carving Hazelnuts 7, and Carving Hazelnuts 6 comes before that. Carving Tool Sharpening is there for the edges, and All about tools for Wood Carving is the course on the tools themselves. More technique lessons sit in one place, the lessons map shows where this panel sits among the others, and Advanced Carving, Venice Room is there too. The wood itself is basswood.
All three videos of this lesson are part of Access.
Got a block of basswood glued up and a veiner on the bench? Go in for the shadow, stop at the first good one, and keep the wood.
How it's done
- Open the shadow, then stop. Take a veiner under the future leaf, held across the grain. Once it throws a shadow, leave the rest for the smaller tools.
- Take the glue line off. Run a flat number 3 over the glued seam, flute the normal way up, until the line is gone.
- Keep the husk thick as it rolls under. Tuck the husk beneath its leaf with a small veiner, from two positions if you need to, and keep its thickness.
- Set the motion before you excavate. Decide where the leaf runs. Mine went toward the right, beneath the husk, and after that digging was safe.
- Leave the leaf ends for now. Hold off on the ends while a slope might still change.
- Go deep in small bites. Work under with a small tool, twisting right or left near the leaves, no more than 1/8 in (3 mm) a bite. Watch the background the whole time.
- Stop with spare thickness. Keep a half inch (about 13 mm) or more of overall thickness, and leave the really thin work for later.
Frequently asked questions
How thick should a leaf stay during undercutting?
On my panel I kept a half inch or more of overall thickness, even with a hollow about 38 mm deep below it. My reason, given in the third video, is that a thinner piece would look flat. Thin comes later, if at all.
Why not undercut deep from the start?
Deep work belongs to the small tools, later on, and early in the lesson the form is still moving. Video two has me saying we were still trying to find a form, still too early in a stage. Going deep waited until I knew where the leaf would run below the husk.
Do you have to make the leaves thin at the end?
You don't have to, I said in the third video, though a carver who wants to be super advanced makes it really thin in all projects. Somebody will ask what happens if you break it. Don't break it, and whether fragile is fine depends how you're going to use it.
What to carve next