
Alexander Grabovetskiy, woodcarver, School of Woodcarving · Published 2026
How do you carve a leaf in relief so it looks like it floats above the background?
Quick answer: Floating a leaf in relief carving is digging under it until the tool comes out the other side, as I did on my hazelnut panel. I kept the leaf thick, worked under it from two sides, and went through. I said the light then travels under it.
Relief carving leaves that float are leaves you dig under until the tool comes out the other side. That is where the leaf in lesson 7 of my hazelnut course ends up. Out loud, I said it: I am all the way through. Light then travels under it.
Does a leaf that lifts off the board look too thin to survive the digging? Would you like to watch one get there while the wood is still thick? Lesson 7 has three videos. In them I carve the leaves of my relief panel and leave the veins for later.
Leaf work in lesson 7, in six lines
A small tool goes first, since it bites smaller sections.
Reference points show where a leaf begins.
Nothing stays flat and no line stays straight, though a little of it is fine.
A concave casts a shadow.
Digging under starts at one corner of the tool.
The center line sits off the middle, and the veins wait until the shape is right.
Where do you start a leaf that has to go under another part?
You start at the stem. The main stem runs to the center of the bunch, and the leaf has to start somewhere right there.
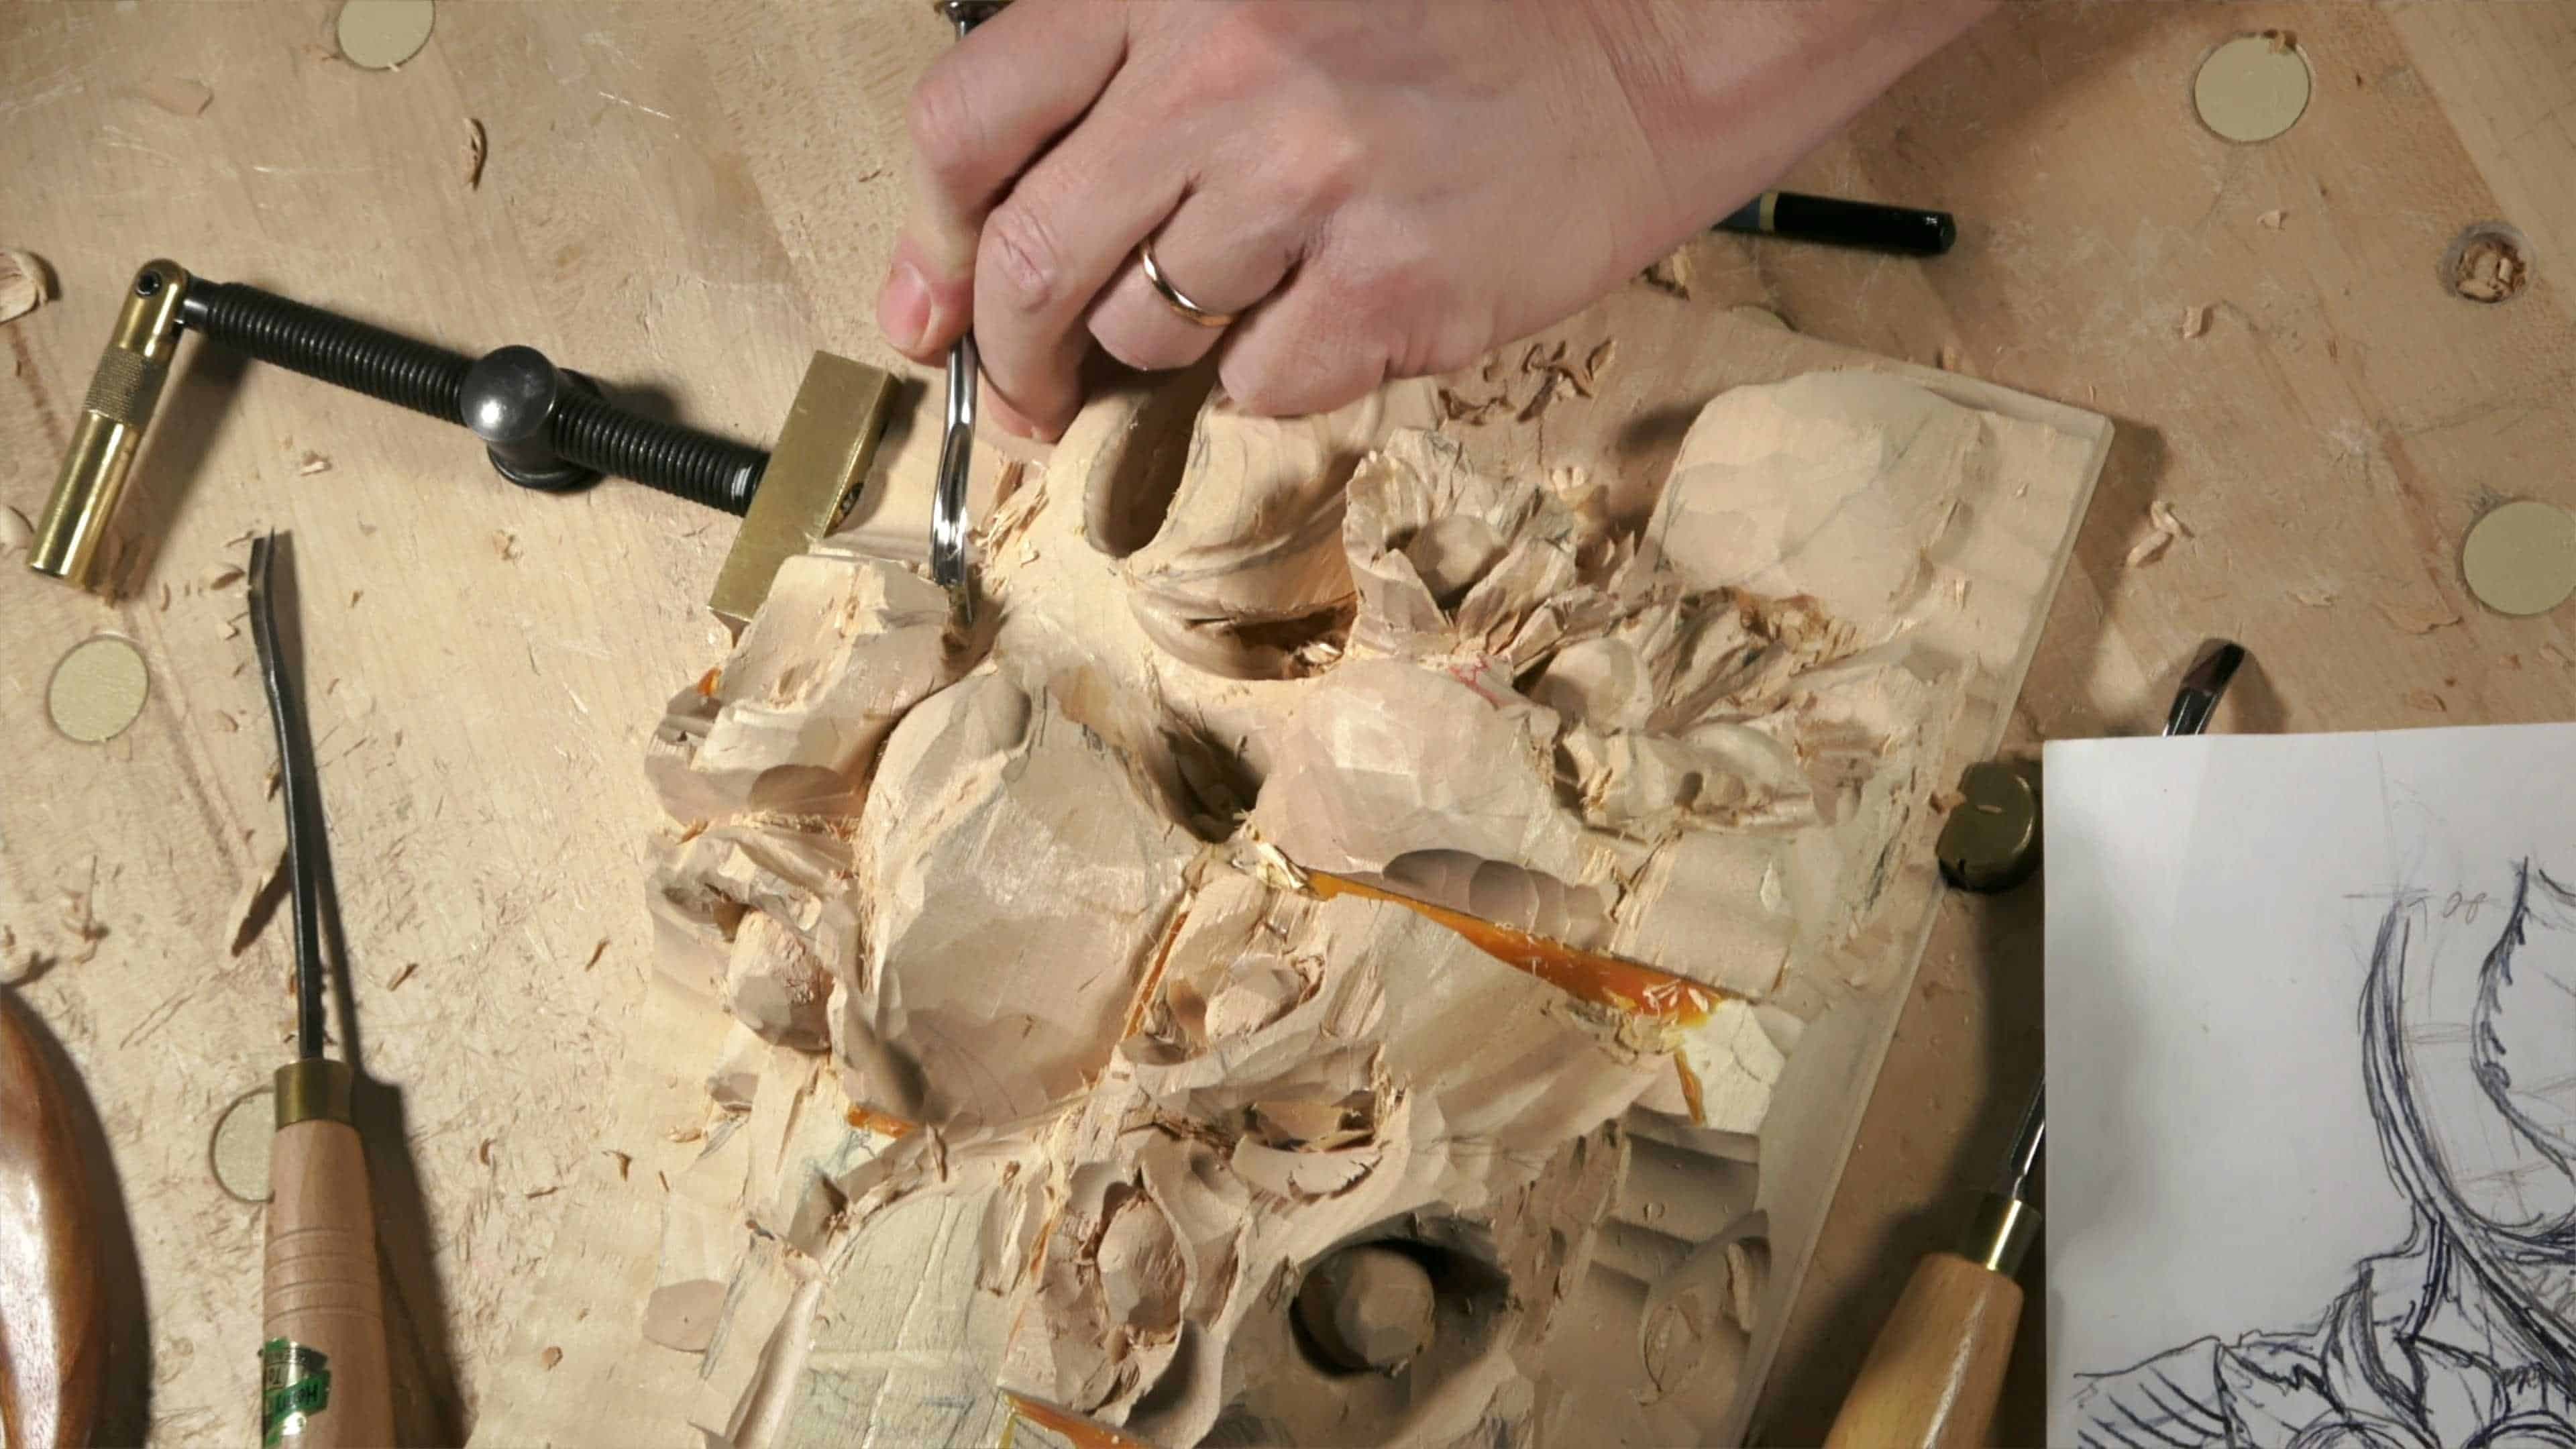
My first tool that day was a number 6, about 10 millimeters or so (3/8 in). This leaf goes underneath a section I had not excavated yet, so I said I would just eyeball it. I like to carve from outside inward. Here I broke that rule, and it is fine as long as the tool is sharp.
Two points on the panel gave me a reference, about 15 millimeters (5/8 in), a little less, maybe 9/16. Another pair came to approximately one inch (about 25 mm). A 7 millimeter number 11 looked a little too big for that opening, and a 5 millimeter one, 3/16 of an inch, took its place. A number 11 is a veiner, a U-shaped tool. The hole came out about half an inch deep.
Near the stem I did not want to lose the idea of it going to the center. So I deviated slightly from my original design and opened a bigger hole, leaving extra material, because I can always take it down later and make it much thinner.
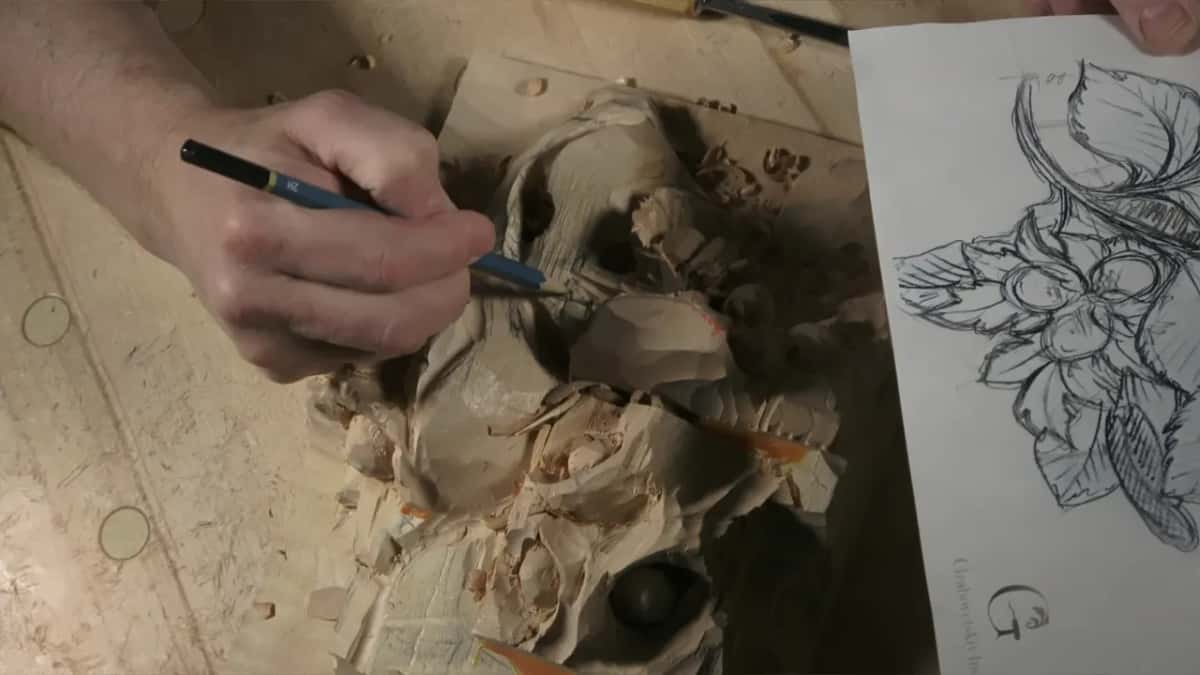
Don't be afraid of deviating from the original picture. We carved that one in person a few years ago, on two-inch stock. The slope from the stem into the leaf got a fix of its own, with a knife and the number 11.
Why does nothing stay flat or straight on a relief leaf?
If you want the full 3D, nothing should stay flat, and that goes for straight lines too. A few are allowed. Not many.
A hump on the panel was straight line and straight line, and I said it's not good. The number 7, a big one at about 30 millimeters (1 1/4 in), chopped more of it. Then there were absolutely no straight lines. Really flowing, and that is what I'm after.
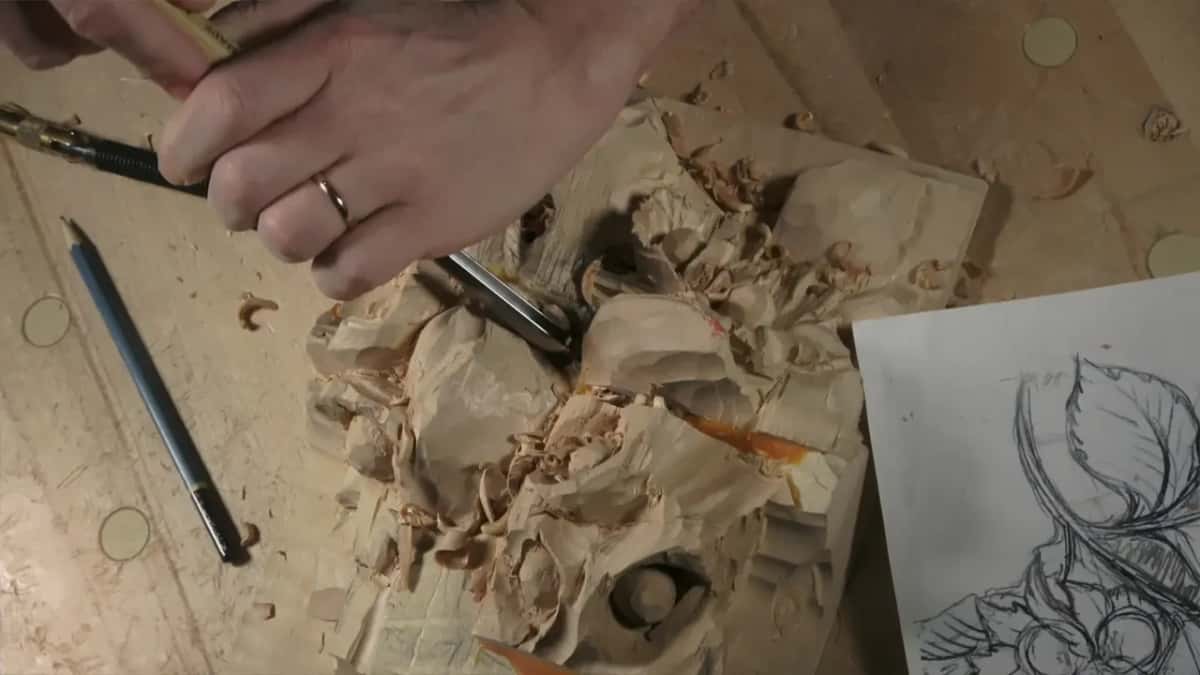
Another section looked flat from above, and in 3D it should not. That side slopes downhill. A skew of about one inch sloped the whole thing, and a valley came out of it. A valley gives a much better result, I said.
My drawing changed too. One angle in the original came out almost like 90 degrees, and I did not like it. I redrew it with more flow before it was too late. A flat part still showed in the second video, from above and from the side. A little motion on the side helps, but not much, since too much makes the leaf too curly.
What makes relief carving leaves cast a shadow?
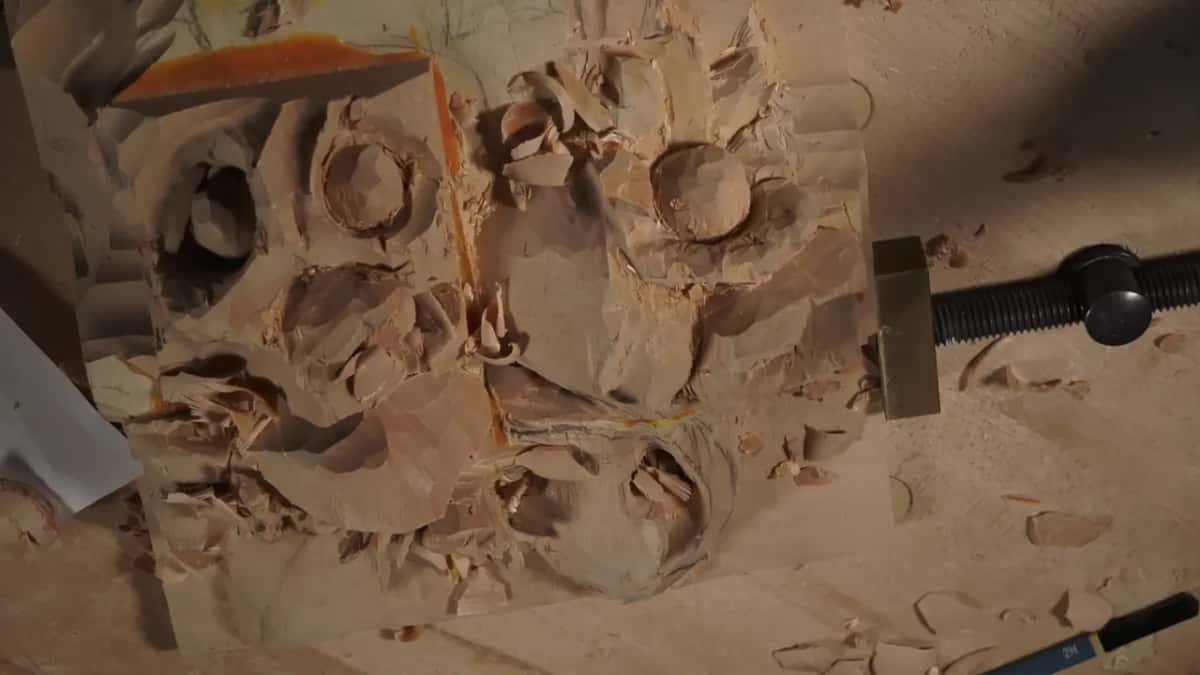
A concave. Every time you introduce one, it casts shadow.
I could carve a convex alone, or a convex and a concave, which is also legit. For one section I chose the concave. It blends much better with the background, and it gives me extra shadow. Carving it took a number 7 of 30 millimeters. Then I redrew the shape, maybe like a letter S, and carved with the number 7 upside down, then flipped it.
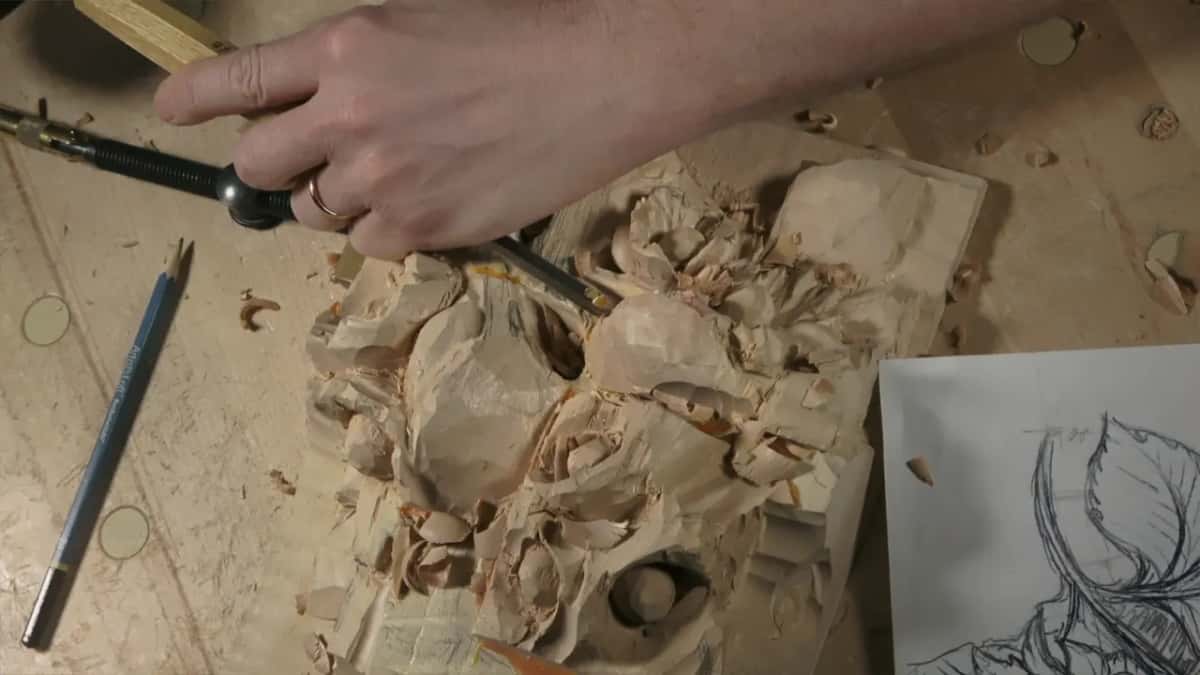
I did have a shadow, although my lights go from both sides, so it was not too good. A second leaf, the one going under the bunch, got a concave motion of its own. Every concave gives us a shadow, I said again. Further on I carved my concave with the same tool.
Then a curl. One curl on the edge, maybe curling backward, and a smaller version first. It is not the final look. I was just trying to find a form. The curl gives extra shadow with the right lighting, of course.
What keeps a leaf from breaking while you dig under it?
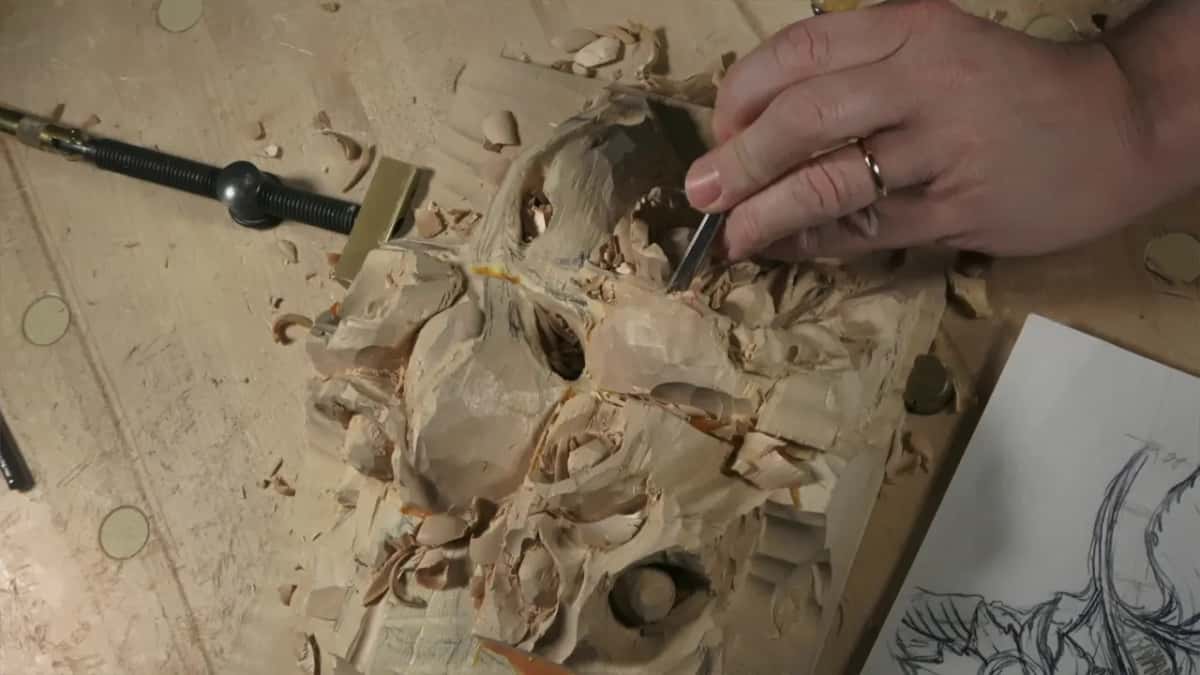
Always ask yourself how you will undercut it, and don't excavate too deep, since going too deep gives you trouble a little later.
A leaf has to go uphill slightly. Go too deep, and cleaning on the side underneath turns into a big problem, and carving the veins there is almost impossible. I stayed about 5 millimeters (3/16 in) from the edge, where the grain goes wild. A mallet gave me much more control here. With a mallet you can do really accurate work.
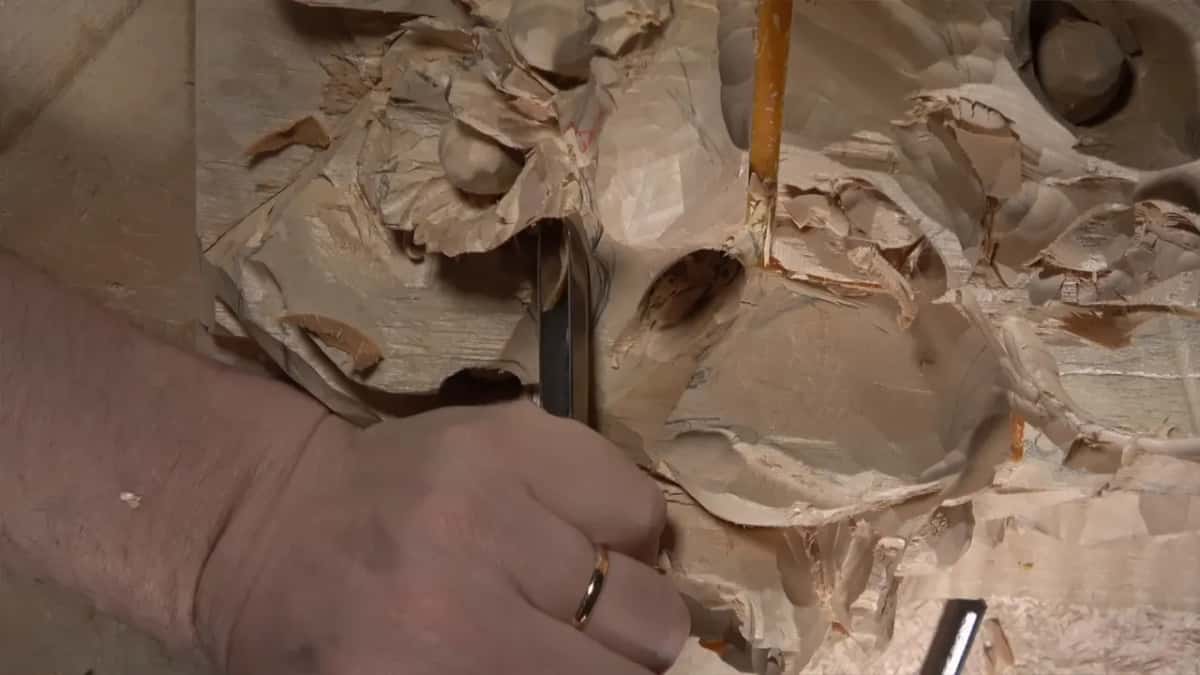
The flute of the number 11 sat at about five o'clock, then at 6:00 when I flipped the tool and began somewhat undercutting. Not much, but it makes it easier to see later what is going on. Then the flute sat at about 9:15 on the clock face, and the inside came to a half inch deep. Keep an eye on the background, because going deeper than that is a big problem. I have done it. Guilty. Not in this case, but on other jobs.
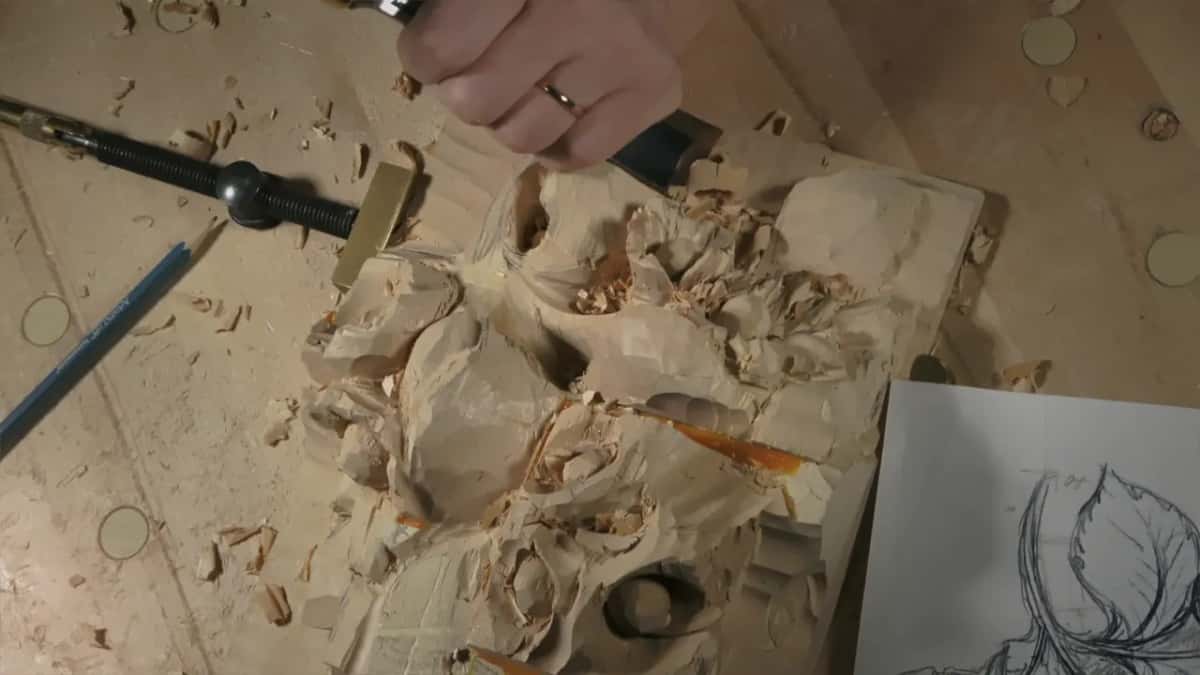
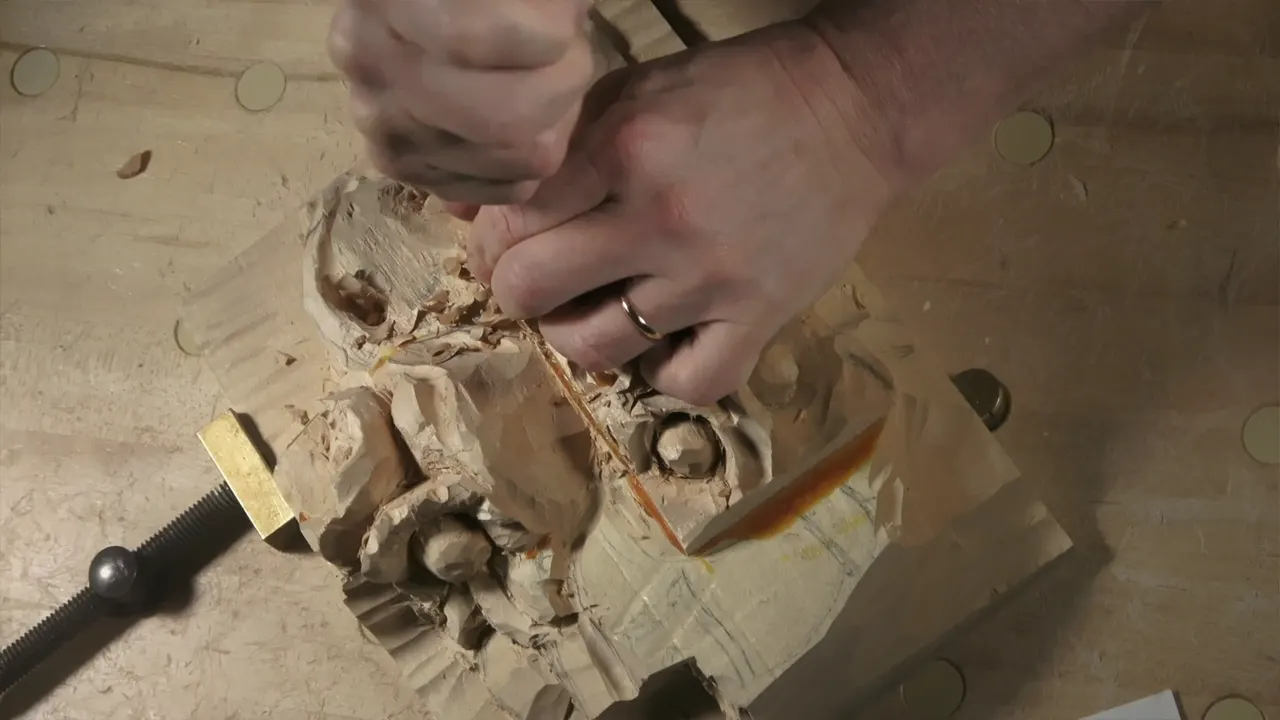
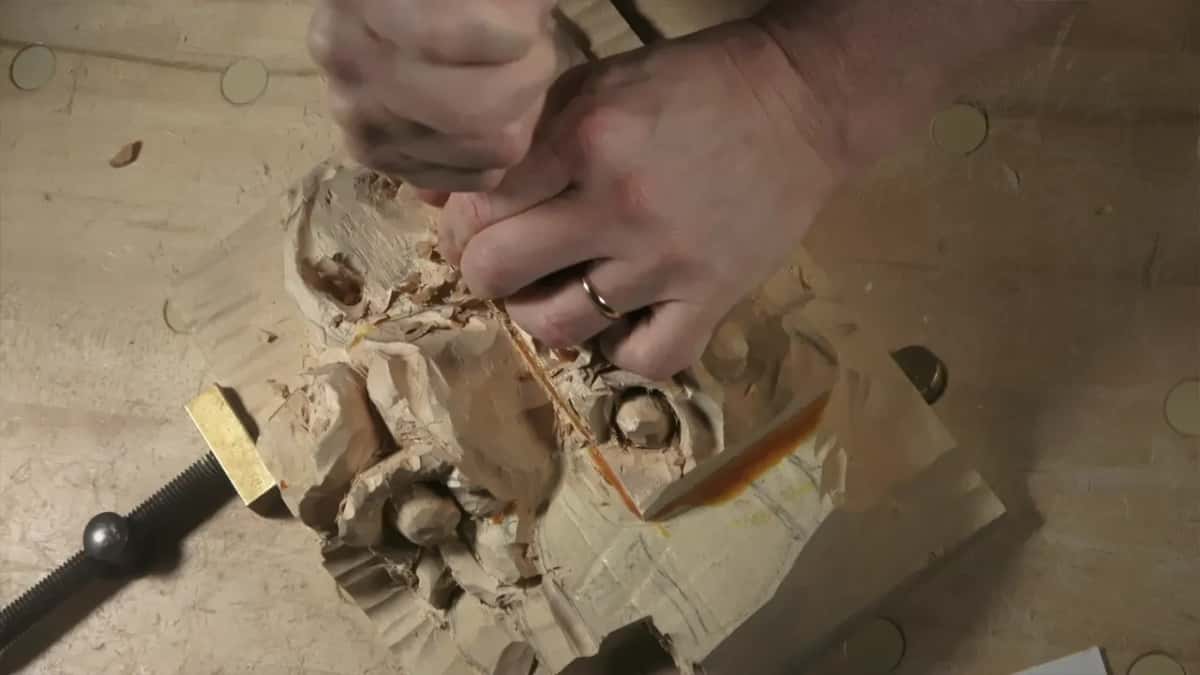
Then the corner. In slow motion, I dig with one corner, and then I slice in. This way you get really extreme undercuts without breaking the tool. Once inside, you start on a corner and then take the whole body of the tool. You don't just push it.
Where the husk stood in my way, a spoon gouge turned upside down dug inward.
How do you open the stem so light passes under the leaf?
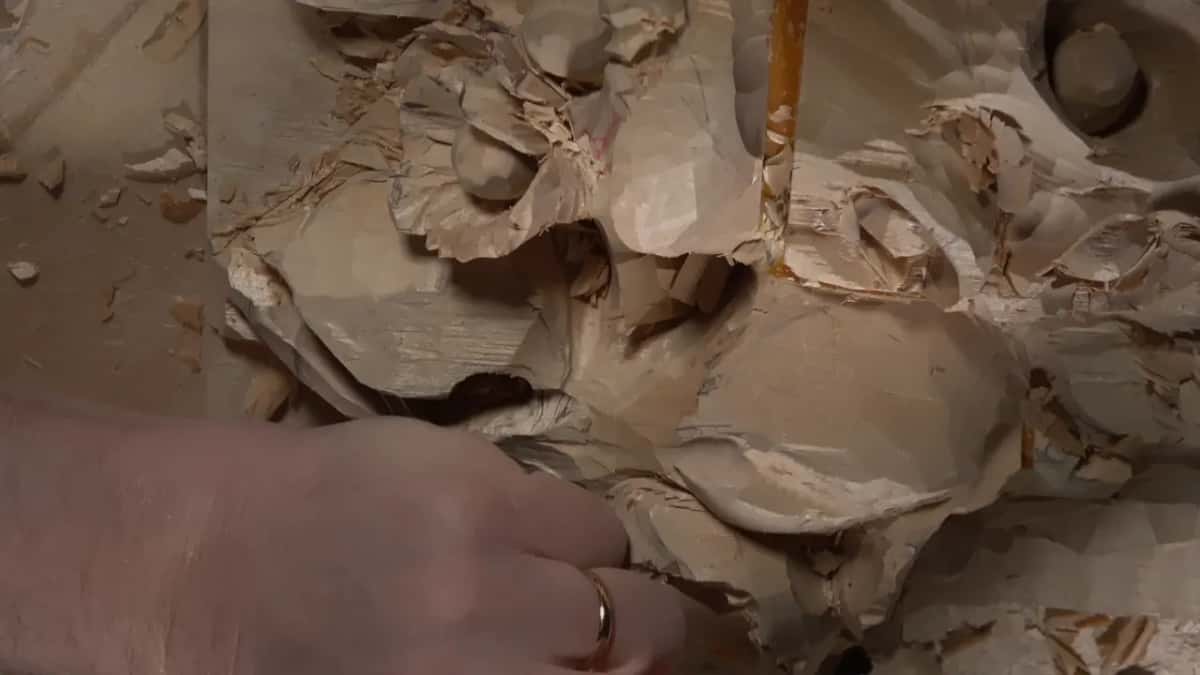
You separate the stem from the leaf, and then you go deeper. The stem was going to be airborne, I said, and that gives an even more beautiful look. We were just roughing in.
I started from the back. The grain runs that direction, and if I dig too deep from the front, I can chip it, make a big crack and lose the material. Sometimes it is better to start from the back and excavate backward, when you work against the grain. Change the direction, and it is much easier.
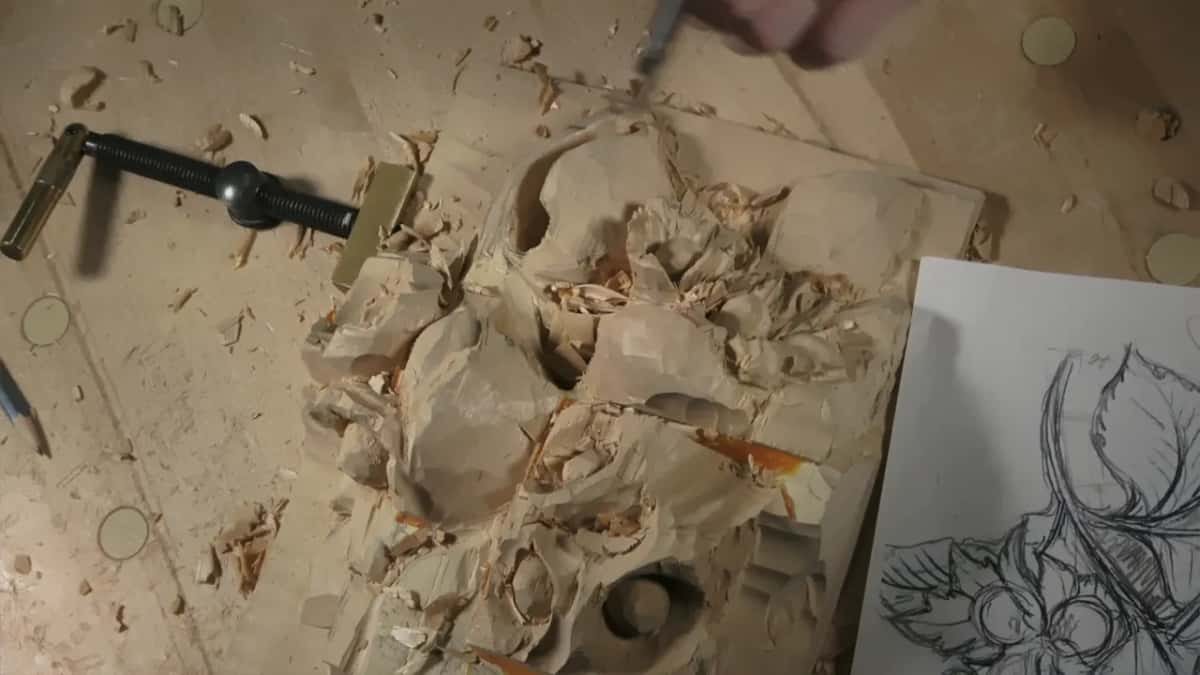
The stem needed a decision. Straight, or an S curve? Right approximately the golden ratio spot, I said, 60/40. Don't undercut close to the end of it.
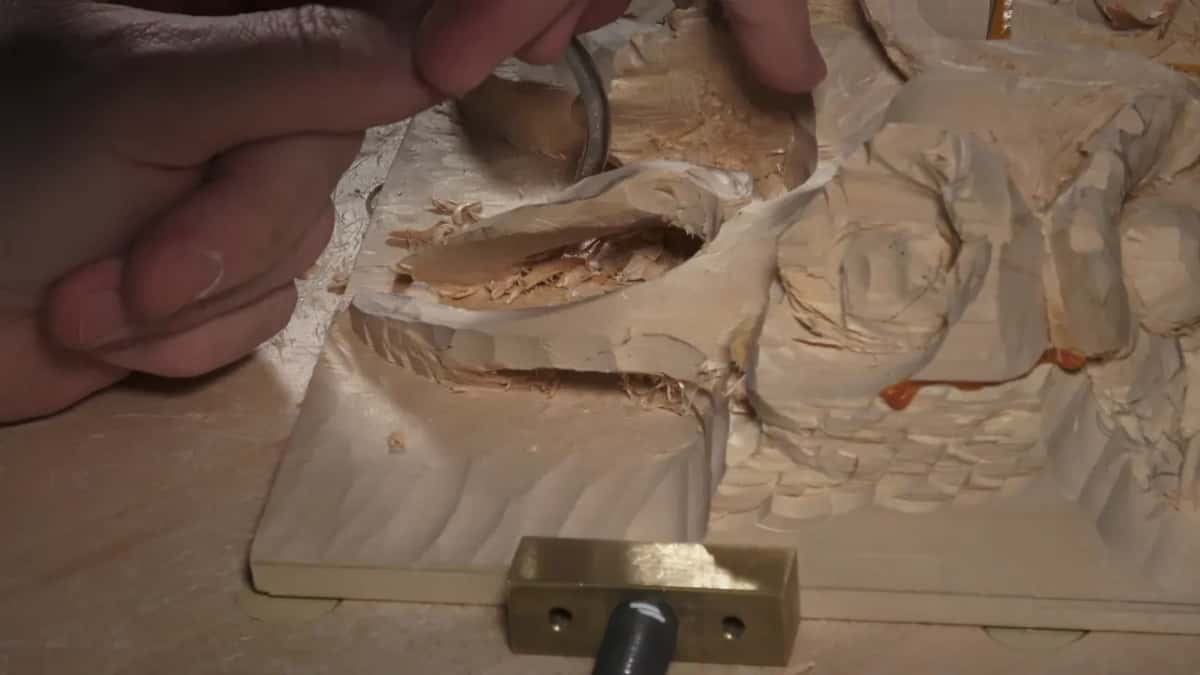
A half inch number 8 back bent by Ashley Iles goes right underneath. I added a 5 millimeter spoon and worked from two sides, keeping the handle from rising too high. Then I was through. That makes it much easier to clean the inside, underneath the leaf, and it gives some light casing, so the light travels all the way through.
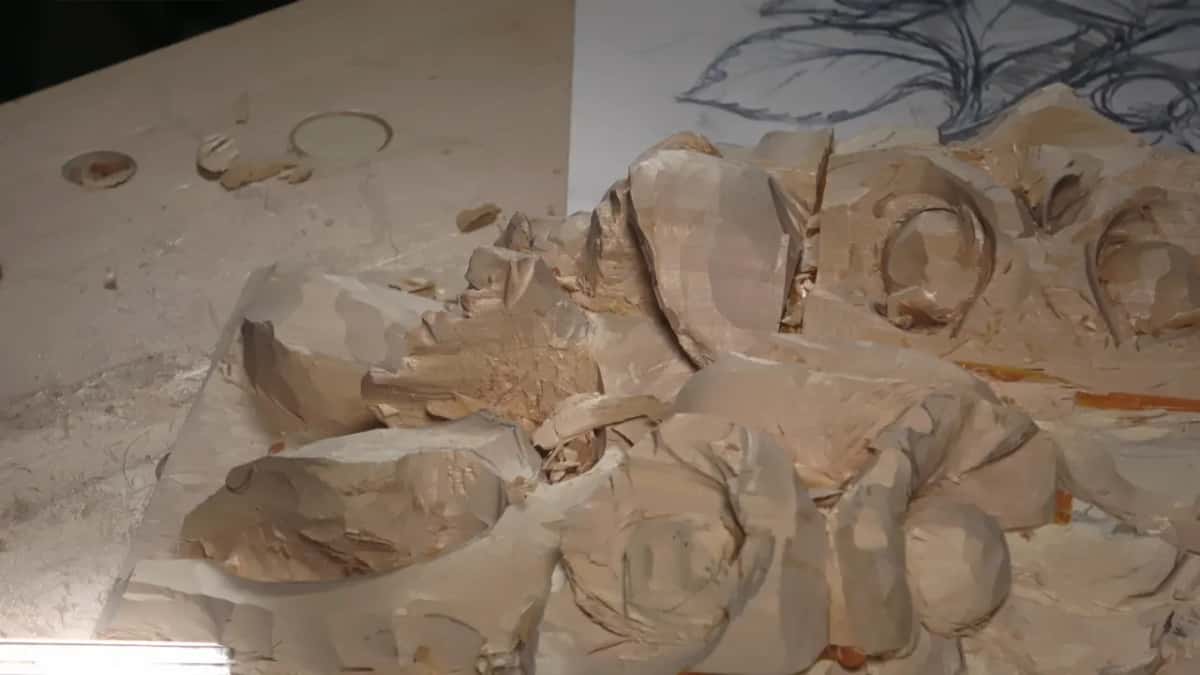
What do you use inside the hole once the leaf is through?
Any flatter tool will do. You don't have to have a back bent, although it gives you a lot more chance to make the work nicer and cleaner. Even with one I slice inside, not push. To prove the point, I took a normal number 3 gouge and went underneath the same way.
Not all of you have a back bend, I said, but if you want to get more professional with wood carving, it is a good idea to buy one. A back bend lets me make a leaf really thin later, though at that point the leaf was 1/2 in thick. The husk blocked a back bent from one side. Inside the hole I could use a smaller one, a quarter inch, to excavate.
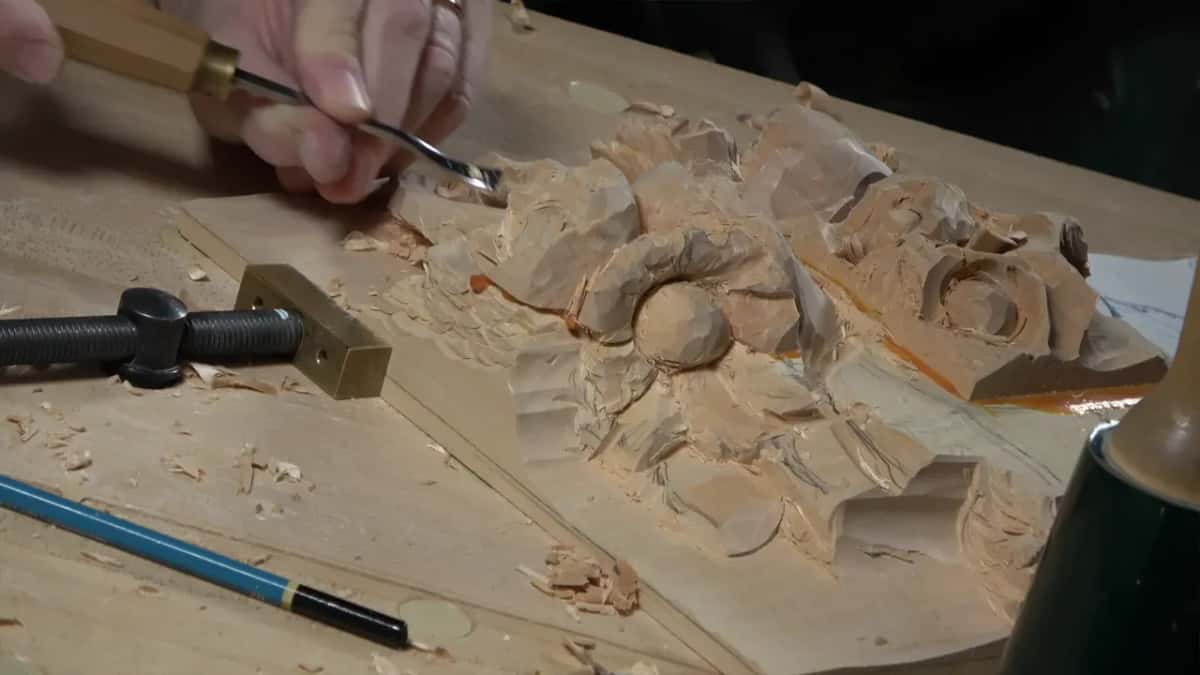
Under one leaf I said you don't have to do the airborne effect, yet in that case no other tool would do it. Both lines are mine, from two different places.
Cleaning from the hole gives you much more of an angle of approach. My number 6 worked into the grain, which left rough surfaces, and I said that is okay, I can clean it later. A flat number 3 spoon that is also a fishtail, wider at the corner, reached that corner.
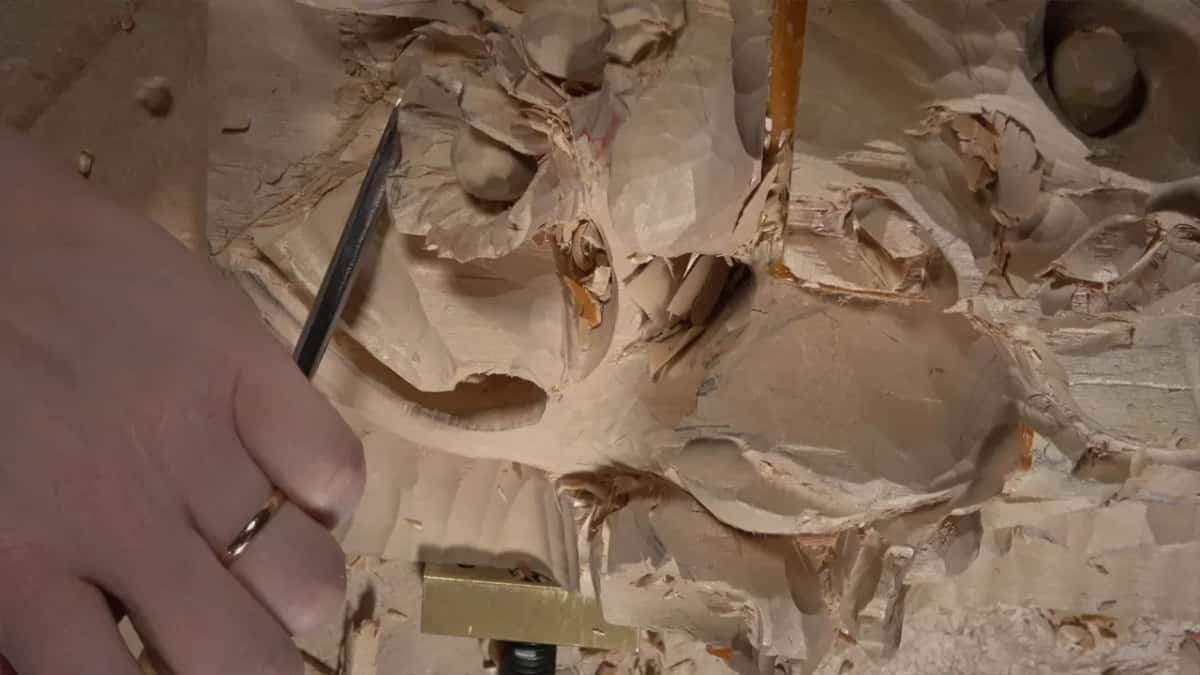
What keeps a floating leaf from being too fragile?
Keep it connected somewhere. I hoped one of the edges would lay almost flat and connect, since otherwise it is going to be too fragile.
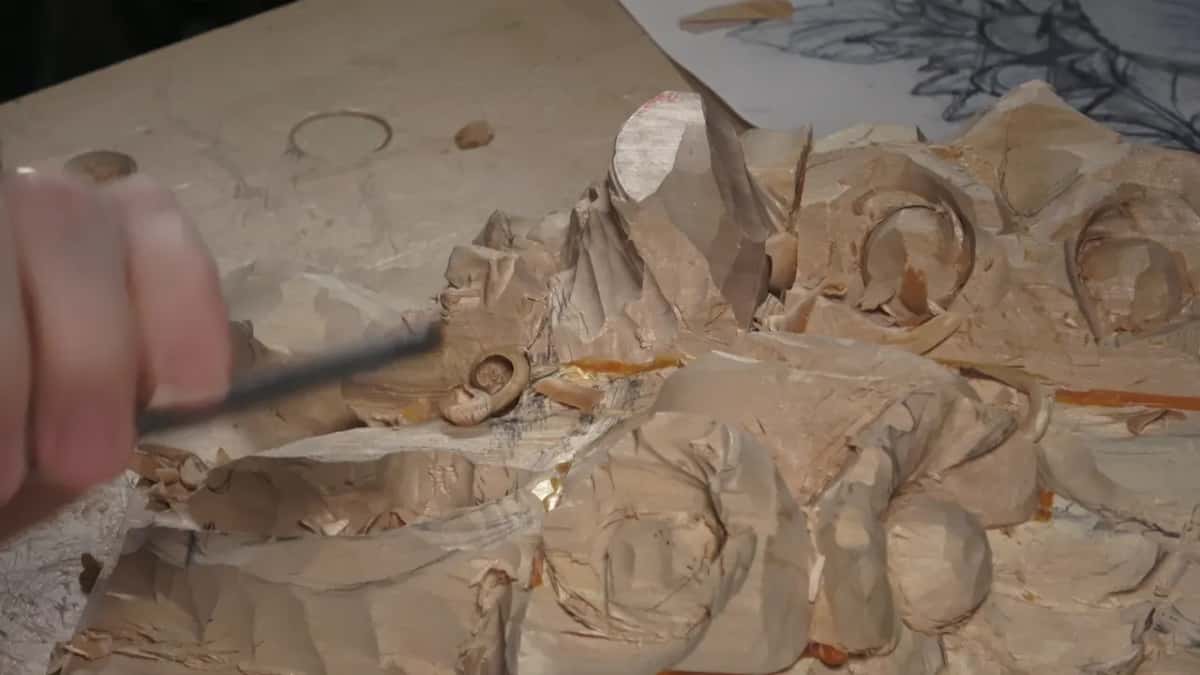
Near the end a 3 millimeter number 12 V tool, a spoon V with the flute at about 2 o'clock, undercut a sharp line. The leaf looks not connected. But it is connected. You still have to keep some point of connection. Right now it is solid, and I am not able to break it. But it is always a possibility.
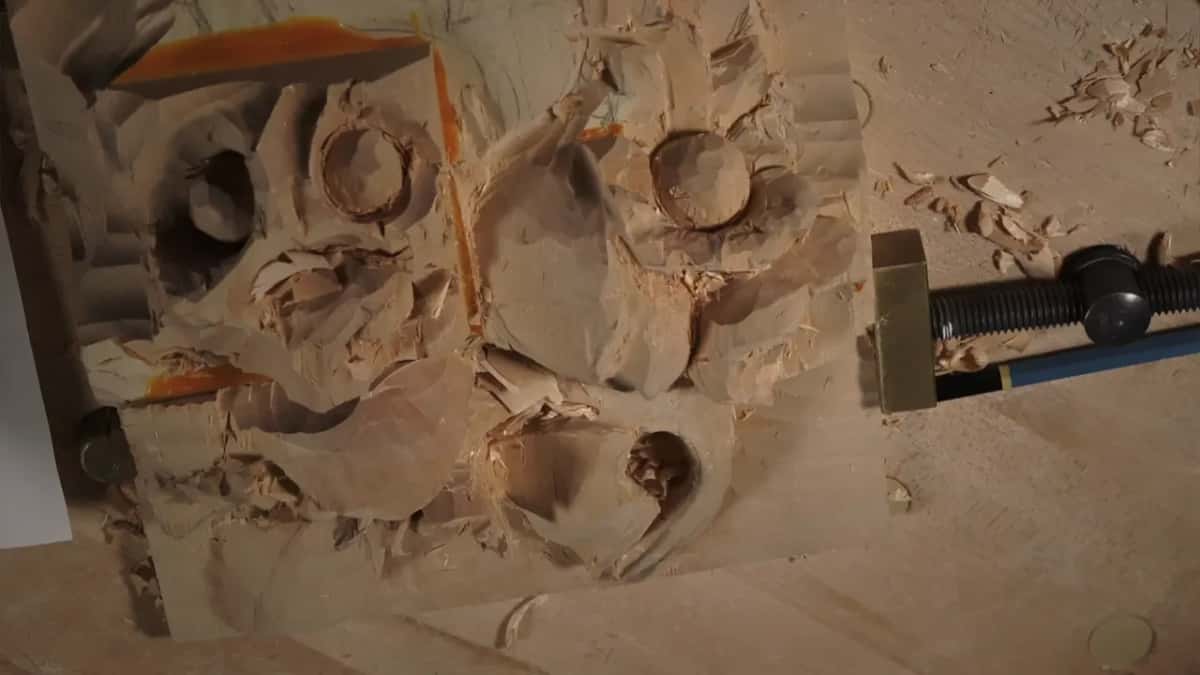
One stem was in my way, and I got some damage from the tool. Keep it thick, I said, for you can always clean it later. A slightly damaged leaf edge didn't worry me while I had plenty of material, since I can always change the design. I also watched how thin the husk of the bunch was, and I didn't want to overdo it.
The thickness stayed at least 10 millimeters in the second video, three-eighths of an inch. I can make it thinner later, but I didn't want it too fragile right then. Please don't start the details before you find all the forms, because you might want to change them.
Where does the center line of a leaf go?
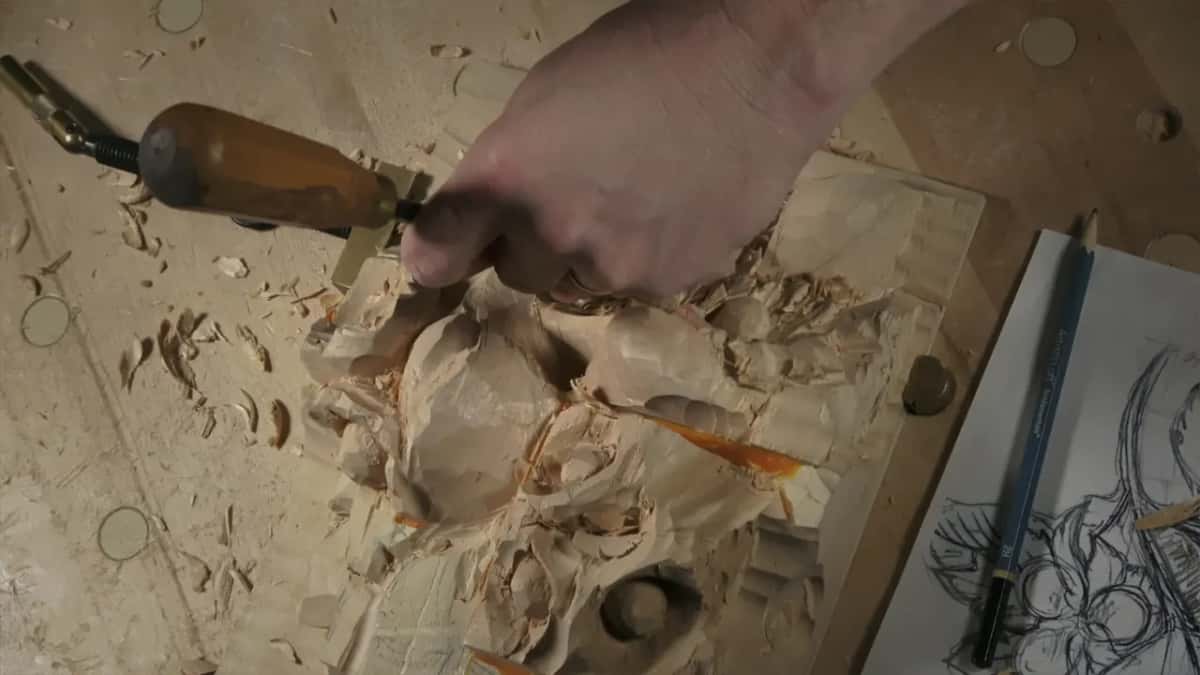
At 40 and 60, not in the middle. I drew my center line following the golden ratio, and it will look more pleasing to the human eye.
I don't usually draw one. Here I wanted to see how it connects the overall motion, and whether I needed to move something. A shallow pass beside that line caught some shadow, and the shadow shows me what is supposed to be there. Later we do the veins, but not before I am 100 percent happy with what I see.
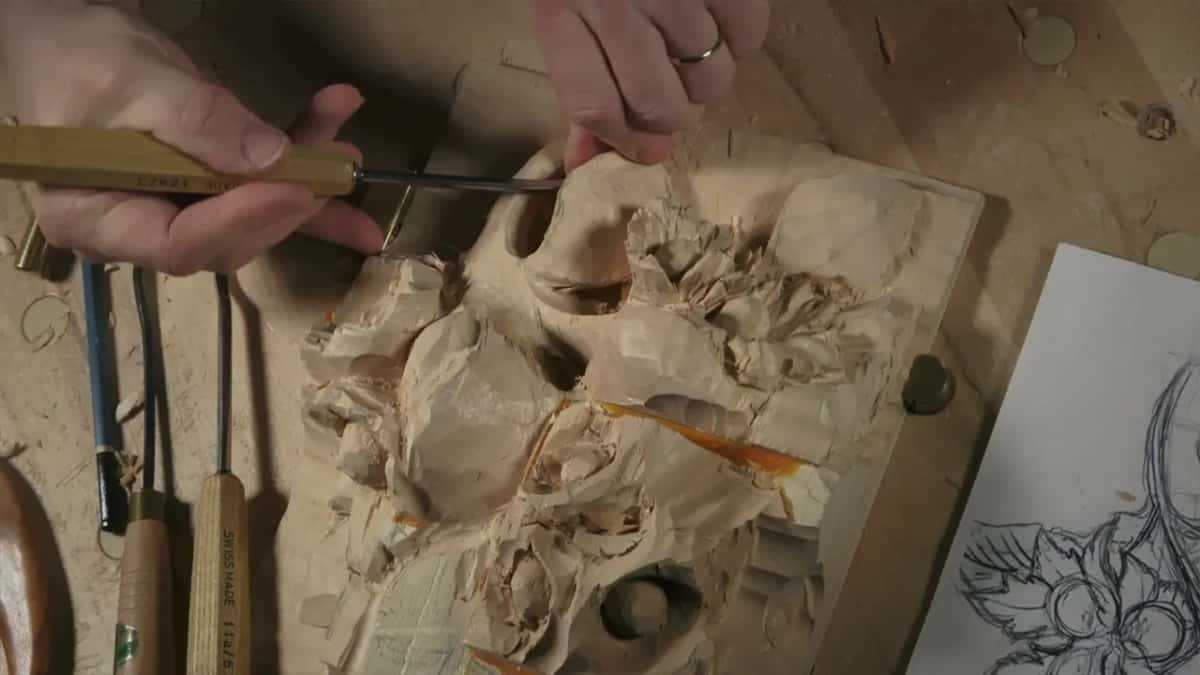
The tools of lesson 7, in the order they came out
Tool and size | What it did on the leaf | Where |
|---|---|---|
Number 6, about 10 mm (3/8 in) | Took the first small bites, since it bites smaller sections | Seen in 7-1 |
Veiner, number 11, 5 mm (3/16 in) | Opened a veiner hole about half an inch deep | Used in 7-1 |
Big number 7, about 30 mm (1 1/4 in) | Chopped more of the hump so the line could flow | Shown in 7-1 |
Skew chisel, about one inch (25 mm) | Sloped a flat section downhill, so the line from above stopped being straight | Found in 7-1 |
V tool number 16, 6 mm, ground at 35 degrees | Reached tiny spots without the wing hurting the neighbors | Seen in 7-2 |
Back bent number 8 by Ashley Iles | Went right underneath the stem and removed some of the material | Used in 7-2 |
Small V tool, number 12, 3 mm | Undercut a sharp line on a leaf edge | Shown in 7-3 |
When is a leaf done for the day?
When you like how it slopes and how it looks underneath. At the end of the third video I liked both. It was pretty clean. I still left plenty of the material, and I did not want it looking too thin too soon.
Approach from different points, because right now it matters how it looks. Don't worry about making it perfect, though. You will have a chance to clean up a little later. I know it is not the final look, but you can already see how it blends together. Want to work ahead of me? Feel free to be creative.
Where does lesson 7 sit in the course?
The panel began in lesson 1, with the glued blocks. Planning the high and low parts came in lesson 2, the in-cuts in lesson 3, and the place of the nut in lesson 4. After that came the hazelnut that must not look like a grape in lesson 5, then the order for one nut and its husk in lesson 6. The whole run lives on the Carving Hazelnuts course page.
Never held a gouge? First Cuts for beginners is the place to start. The tools course covers carving tools, short technique lessons sit in one place, and the lessons map shows where this panel sits among the other courses. The same tools, back bent included, come back in Advanced Carving, Venice Room, and grapes, the shape a hazelnut must not look like, get carved in Carving Grape Onlay.
The three full videos of this lesson are part of Access.
Got a thick piece of basswood and a number 11 veiner in your hand? Draw a stem, and right there the leaf begins.
How it's done
- Find where the leaf starts. Use a reference point on the panel and judge the distance by eye. One of mine came to about 15 millimeters (5/8 in), another to about an inch.
- Open the space under the leaf. A 5 millimeter number 11 veiner opened the hole. Stay about 5 millimeters from the edge, with wild grain nearby.
- Slope every flat spot. If a section looks flat from above, slope it downhill. A one inch skew did it for me, and I looked from the side too.
- Add a concave. Every concave casts a shadow, and it blends with the background. A number 7 of 30 millimeters carved mine.
- Dig under with one corner. Dig in at one corner of the tool, then take the whole body in. Don't just push it.
- Go through, but stay connected. Work from both sides until you are through, and keep some point of connection so the leaf is not too fragile.
- Draw the center line, hold the veins. Put the line off the middle, on the golden ratio. Carve the veins only when you are fully happy with the shape.
Frequently asked questions
Do you need a back bent gouge for a floating leaf?
Any flatter tool will do, I said in the second video, though a back bent gives a cleaner result. Under one leaf, I said in the third video, no other tool would do it. A plain number 3 gouge did the same job in the second video, sliced underneath.
How thick should a leaf stay while you dig under it?
At least 10 millimeters in the second video, about three-eighths of an inch, and I said I can make it thinner later. The third video had another leaf at 1/2 in thick. I wanted neither one too fragile yet. At that thickness, I said, the first one was solid.
Where do you put the center line on a carved leaf?
At 40 and 60, not in the middle. Following the golden ratio looks more pleasing to the human eye, I said. I don't usually draw one, but here I wanted to see how the overall motion connects, and to move something if I needed to.
What to carve next