

Alexander Grabovetskiy, woodcarver, School of Woodcarving · Published 2021
How do you clean the chips out of a small hollow while you carve a flower?
Quick answer: Cleaning a small hollow while you carve a flower is, on my Venetian rosette, a second visit with a smaller tool. Spoon gouges dug concaves in two petals. Later a smaller gouge removed the mess from one, a flat number 3 of 3 mm blended the ridges, and I named a half millimeter number 11 as handy for that job.
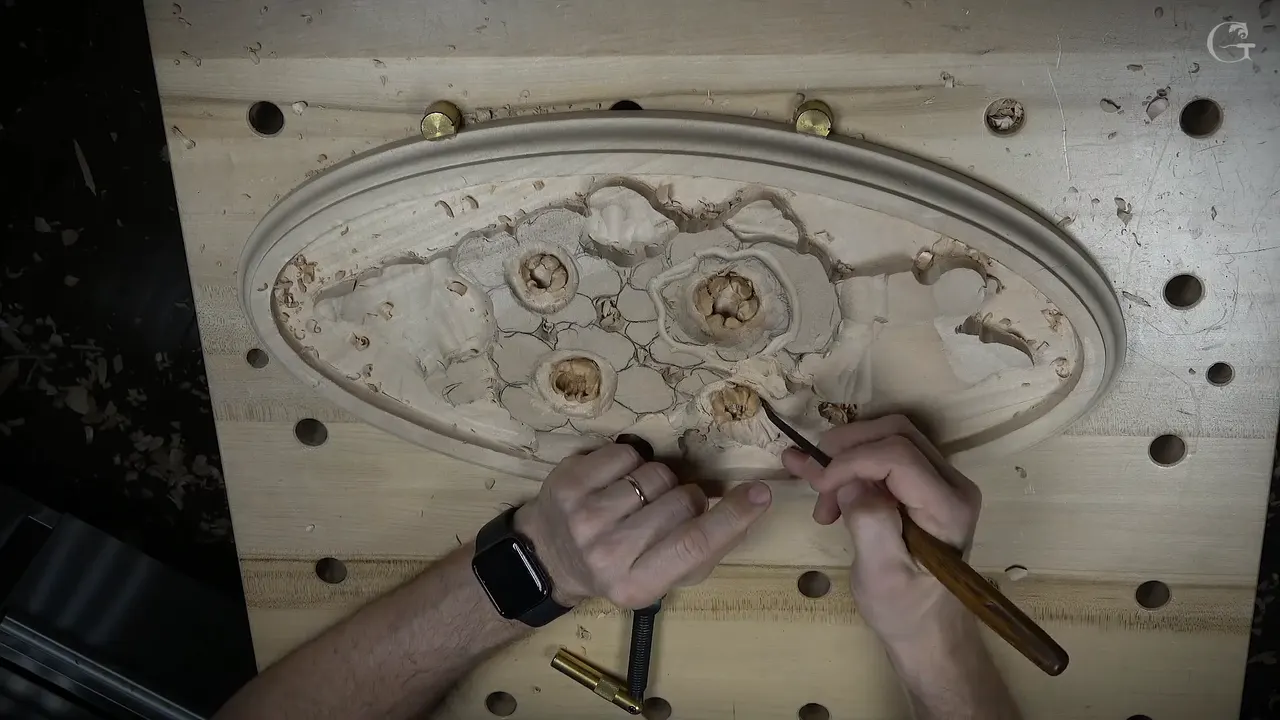
Cleaning out a small hollow as you work on a petal is, on my Venetian rosette, going back in later with a smaller tool. A spoon gouge dug a concave, and I left it rough in the wood for later. Later, a smaller gouge took the mess out of the next petal. After that a flat 3 blended the ridges, and I named an 11 of half a millimeter as handy for the same job.
This is carving cleanup inside a petal hollow, done while the flower is still being shaped. Dusting a finished piece is another subject. It sits under how to carve details in wood, in the smallest corner of it.
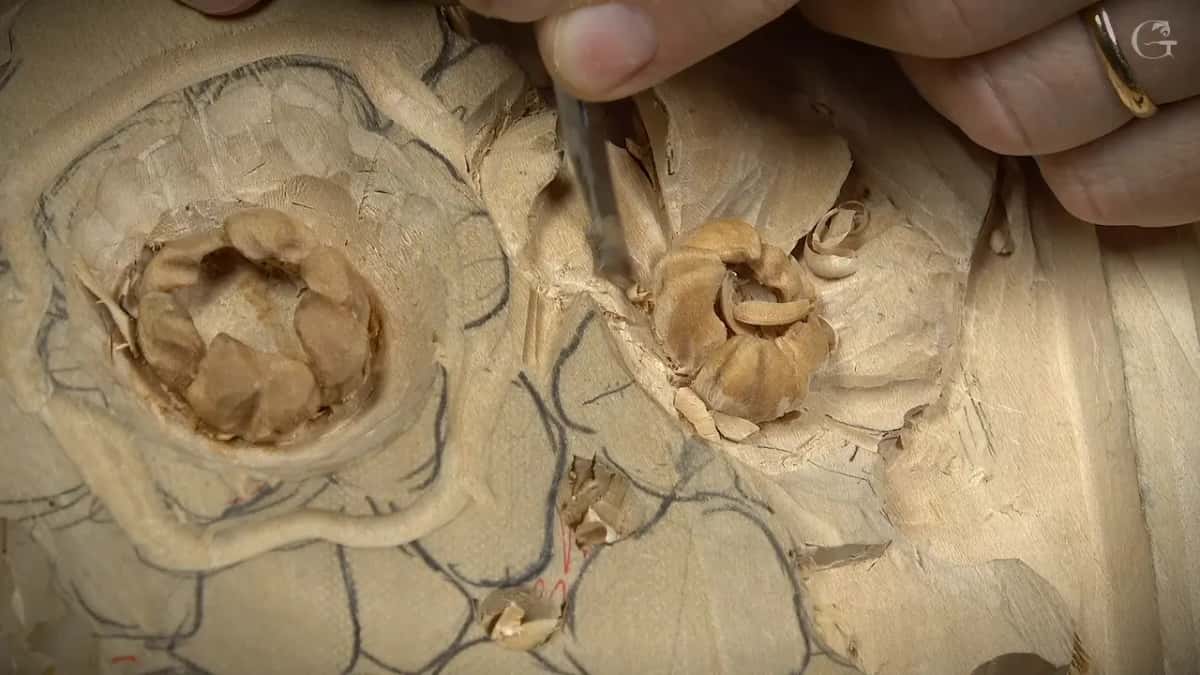
This video is part 2 of lesson 3 of Venetian Flowers Rosette. My first petal on that flower already curled up. I attacked the next petal right away, then the one after it, and two of them got a concave dug on the inside.
Have you dug a little hollow with a curved gouge? Did you look down into it and see bits still standing on its floor? Leave them there for a while. Come back with something smaller.
I'll go through what went into my hollows tool by tool, and add what I said about the same kind of mess, from the Hashemi Flowers course, where other petals needed it.

My petal hollow cleanup in six lines
- My spoon gouge digs the concave, and its floor stays rough for now.
- Later, something flatter goes in for a little cleanup underneath.
- A smaller gouge lifts the mess out of the deep spot.
- Ridges get a number 3, flat, 3 mm (1/8 in) wide, and it still reaches deep.
- For the last of it I named that tiny 11.
- Blending waits.
What is the mess in a petal hollow?
Mess is my plain word for whatever my own passes leave behind in a hollow. In Hashemi Flowers, lesson 30, I took a V tool and said it straight, clean that mess what I just left.
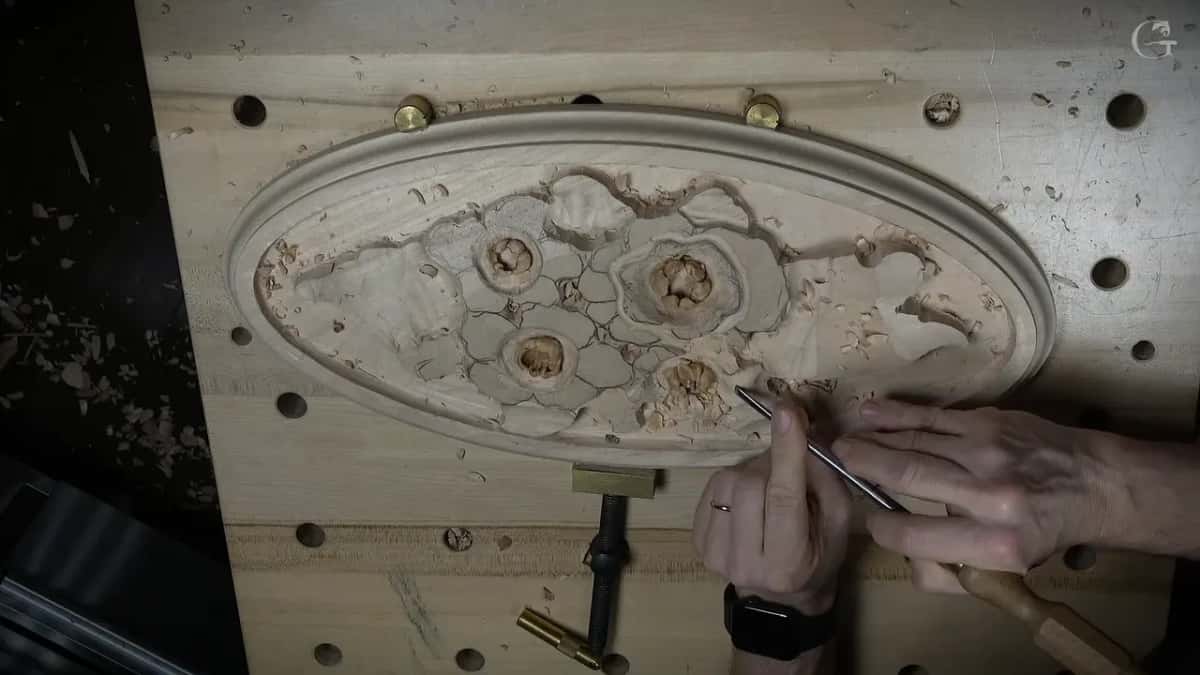
My second petal on the rosette got a spoon inside it. The petal next to my curl had to keep its height. Right away I went inside it with a spoon gouge, a number 7 with a really short bend, to make the inside a little more pronounced. Let's take it out, I said next.
That concave on the inside followed the same idea as the petal before. More shadow in this section, I said, and it's going to look more natural. A second spoon gouge came after it, a small number 8 of about four millimeters (5/32 in), for a deeper concave right there.

Why leave the first hollow rough?
My own words over that fresh concave were later on, I'll clean it, but for now, it's good.
Right after, the section changed. I had to decide how I wanted it developed, and first of all it was a little too long, so I shortened it. Next I set the piece in with a number 11. When I say set in, I just outline it, so I don't lose the overall picture. The edge of the second petal waited too, and I said I'd decide how to develop it a little later.
Earlier on that petal a flatter tool, a quarter inch number 3, like six millimeters, had blended a little. Little later, I'm going to blend it much better, I said. For now it would work, I added. A few minutes on it looked somewhat rough yet, and I said we'd have a chance for refinements a little later.
In lesson 36 of Hashemi Flowers I did the same. Let me leave it like that for now, I said, although I could clean it a little bit.
Lesson 40 of that course put the habit in more words. I said I might clean all my carving a little later, off camera. The cleaning does take a lot of time, actually a long time, I said, and all you do is take the same tools you used and make everything clean with them.

Which tool goes back into the hollow first?
A flatter one first, and a smaller one after it, on my third petal.
The pencil came out first, for my separation. I began that concave with a number 11 of about a quarter inch, six millimeters. Probably a different tool would be a good idea, I said, like a spoon. Then came one with a really short bend. Extremely short.
When the spoon had done its digging, I said, get a flatter one, and gave the spot a little cleanup going on underneath.
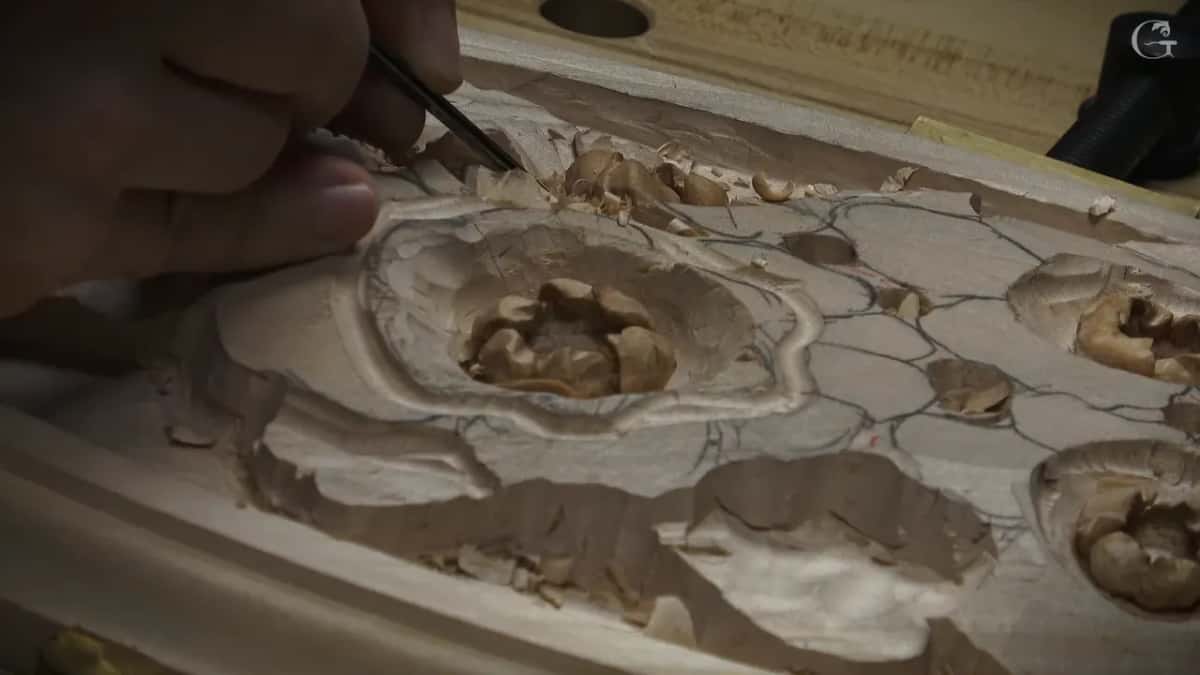
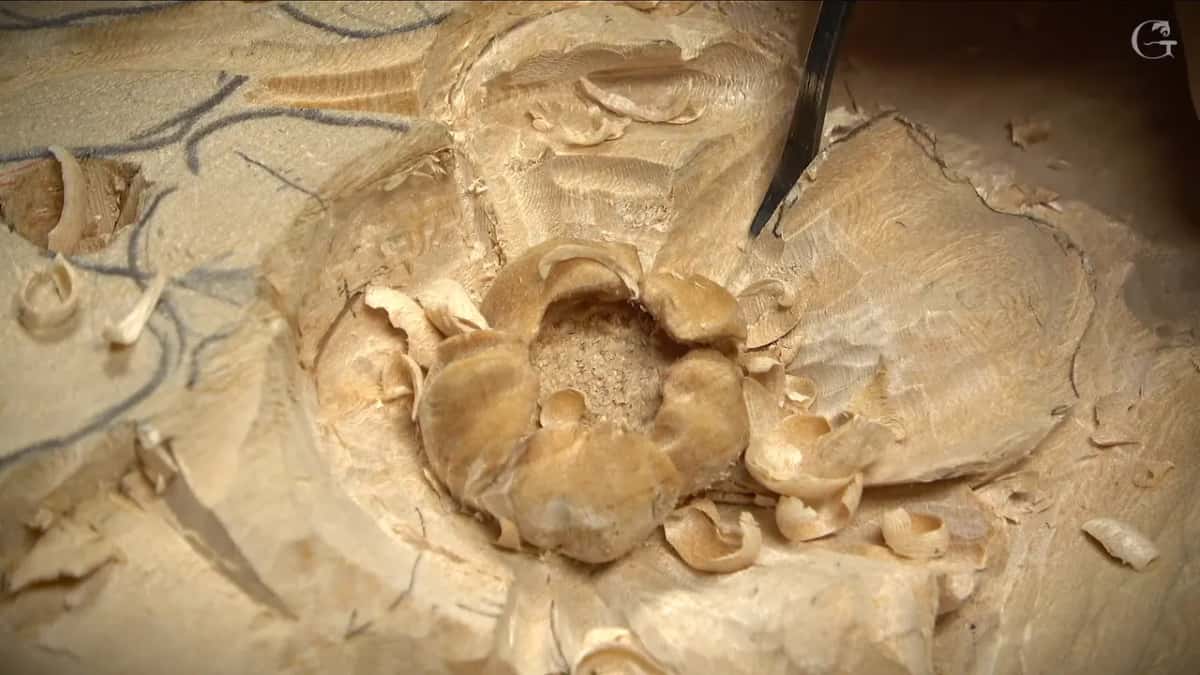
The middle of that petal got its own concave later. I made it kind of extreme, because I wanted to see a shadow. To clean it I took just a smaller gouge and removed the mess.

In that Hashemi lesson there was a lot of mess underneath one petal, and I took a number 9 of 4 millimeters, about 5/32 of an inch. It doesn't have to be 4 millimeters, I said. It could be an eighth of an inch (3 mm), it could be 3/16 (about 5 mm), but something small. Then I removed that whole mess, and it looked good.
During lesson 37 I said I could probably use just a knife, then removed a wall by coming at it from the backside. After that a smaller number 5, like a quarter inch (6 mm), cleaned the mess on the inside. Just remove the majority of the mess, I said. A little later I said I think I need to clean a little bit right here. Just on my way.

How do you carve details in wood where the hollow gets tiny?
The tiniest tool I named for it on my rosette was an 11 of half a millimeter, about 1/50 of an inch.
I also could take out all that mess with it, I said, and it's also a handy tool for that type of operation. A very fine tool went in right then. See, I can remove all that stuff, I said, and now it looks pretty clean.
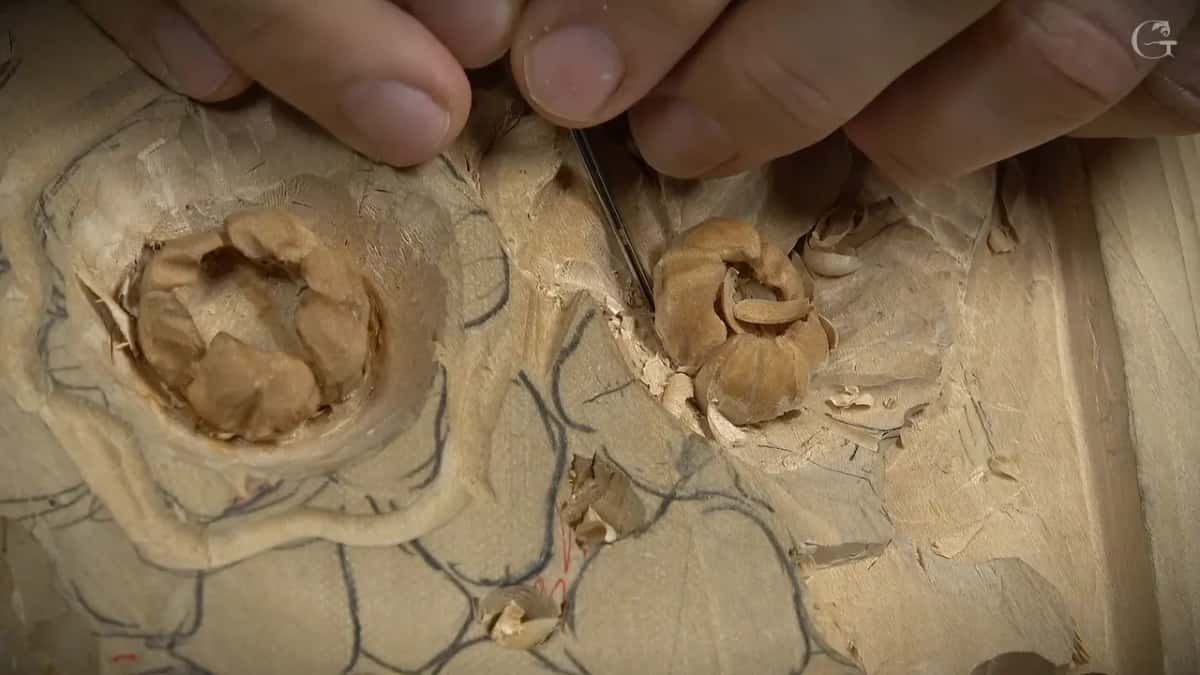
Going smaller had started earlier, between two petals. I took a small number 11 to get a little deeper in that section. Then, let me take even smaller one, number 11, I said, and once more, even smaller one.
In lesson 13 of the Hashemi course, I carefully set up my main form first. Then a number 11, one millimeter wide (about 1/25 in), went in to clean the mess that was on the inside, and the same number 5 as before excavated even deeper. Let me fix my overall flowing line, I said after that.
Two videos later in that lesson I said I definitely needed some cleaning. Lots of cleaning, actually. A small gouge of 1/8 of an inch went in, and clean that mess out, I said. I think you see now the overall idea of how it's supposed to look, I told you there, and that part was completely in the air, not connected to the lower one.
Pencil marks got in my way two videos later in this rosette lesson, and a one millimeter number 11 spoon gouge took out some of that mess. In the video between them I said one section was not easy to clean with just the normal tools.

What about the ridges a hollow leaves?
Ridges get a flat tool, and on this petal they needed it. Those ridges, obviously, I need to take care of, I said, because they don't look too good.
My flatter tool was a number 3 of one-eighth of an inch, three millimeters, and I blended them together with it. Even here, with the same tool, I can get actually really deep, I said.
Higher up, the blending began with a gouge turned upside down. I called it a number six or seven and said this one doesn't have a number. Then, okay, it's actually number five. But whatever fits, I said, and I wanted to see that raised part.
A small number 5 of a quarter inch went in upside down on Hashemi Flowers too, in lesson 30, to remove some of the wall of a future petal. Just carefully remove that, I said.

Around the middle of a flower on my chamomile rosette, lesson 1, a really tiny number 3, about 1/8 inch, came in from the sides toward the center. Just before that, while I made sure the middle was not a perfect round, I said don't worry about all that mess.
How deep does the cleanup go?
Really deep, with the same little number 3, on my rosette.
A couple of concaves could go in the middle of that third petal, I said, or a single concave will work also. I made it extreme. I really want to see a shadow, I said, and this concave I can actually exaggerate.
Between two petals earlier in the video I held back. I don't have to be really deep, I said, because I have to keep in mind that I have to paint that later, and somehow I have to get there. On the other hand, I added, probably I'll be able to with no problem.
Tools that cleaned my petal hollows
| Tool | What it cleaned | Where |
|---|---|---|
| A flatter one | a little cleanup going on underneath that petal | this oval rosette |
| Some smaller gouge | the mess left in my extreme concave there | same rosette petal |
| Flat number 3 | ridges at 3 mm wide, and deep inside | right after that |
| Four millimeter 9 | a lot of mess underneath one Hashemi petal | Hashemi lesson 36 |
| Quarter inch 5 | the majority of the mess on the inside | lesson 37, Hashemi |
| One millimeter 11 | the mess inside, after I set my form | Hashemi lesson 13 |
Every row is a relief carving of mine, and the sizes are the ones I said out loud. The spoon gouges that dug the hollows stay out of it, since this table is only about the cleaning.

Does a spot nobody will see need cleaning?
I called it a good idea to take care of it anyway, back in the Hashemi course.
That was lesson 30, right after the V tool cleaned up what I just left. Lots of it will be hidden by the upper layer. But sometimes when people look from the side, they can catch little tiny details.
A V tool can do the cleaning too. Lesson 36 had a smaller V tool, a number 16, 3 mm or 1/8 inch, which made one spot just kind of undercut. And lesson 40 had me say I'll just use a V tool to clean the mess there.

What if the petal looks wrong while you clean?
Mine did, and I said so on camera.
One section of the third petal had to be gone, and a small gouge could do it, I said, or a number 11 will work also. I took a small 11, like two millimeters (5/64 in), and carefully attacked it from two sides.
And that doesn't look too good, I said, but I'll be able to fix it. It's not a big deal. I'll fix it just like that. Once I undercut it, it's going to look really nice. Earlier, once a separation was in, I said from above it looks actually awesome.
Blending the upper part, I said it once more. Once the ridges and the mess were done, it was okay, that's good, it is good. I'm going to spend a little more time probably blending all together, I said then, but I'll do that little later.
Do you need my exact cleanup tools?
In the Hashemi course I said something small, and the exact size could move.
Back in lesson 36, just past the number 9, I said sometimes I'm grabbing tools on my workbench, because I already naturally train what I need. I don't think about what the next tool is going to be. I'm just grabbing whatever naturally comes to my mind.
The rosette got the same open door. Blending the edge of the second petal, I said a number 9 will work and a number 11 will work, but I'll take a number 9. For the section that had to go, a small gouge or a number 11 would both work, I said, and for the upper part, whatever fits. More flowers like these wait in Carving Hashemi Flowers.
The next hollow on your bench
Dig the concave first and let it stay rough. Come back with something smaller, and give the ridges something flat.
The rosette carries on in lesson 4, and the petals before this one are in lesson 2. The whole piece starts on the Venetian Flowers Rosette page, and all four videos of lesson 3 open with Access to the school.
Is there a hollow on your bench with bits still sitting on its floor? And a gouge in your roll smaller than the one that dug it? Then that is your next tool.

How it's done
- Dig the concave with a spoon. Go inside the petal using a spoon gouge. Mine was a number 7 bent really short, then a small number 8, about 4 mm (5/32 in), for more depth.
- Leave its floor for later. I left the fresh concave as it was and kept shaping the petal, with the cleaning saved for later.
- Go back in underneath. Something flatter gave my third petal a little cleanup down under it.
- Lift the mess out. A smaller gouge took the mess from my extreme concave. On a Hashemi flower a 4 mm number 9 did it, and any small size will do, I said.
- Blend the ridges. A number 3, 3 mm wide, smoothed mine together and could still go deep.
- Finish with the tiniest tool. For this kind of work I called a half millimeter 11 handy. A thin one went in next, and the hollow came out pretty clean.
Frequently asked questions
What tool cleans the floor of a tiny concave?
On my rosette petal a smaller gouge went first. Later I named a half millimeter 11 as good for that kind of work, and then the hollow looked pretty clean. A Hashemi flower of mine got a 1 mm eleven for the same chore.
Should a fresh hollow be cleaned right away?
Mine waited. Over a new concave I said I'd clean it later and that it was good for now, and soon after I shortened that same section. For a whole carving, I said in the Hashemi course, the cleaning can happen off camera, since it eats up a long time.
Can a V tool take out the mess?
On my Hashemi flowers it did. In one lesson I wanted the mess from underneath gone, and a number 16 V of 3 mm (1/8 in) made the spot kind of undercut. In another lesson of that course I reached for a V tool to clean up what was left.
What to carve next