
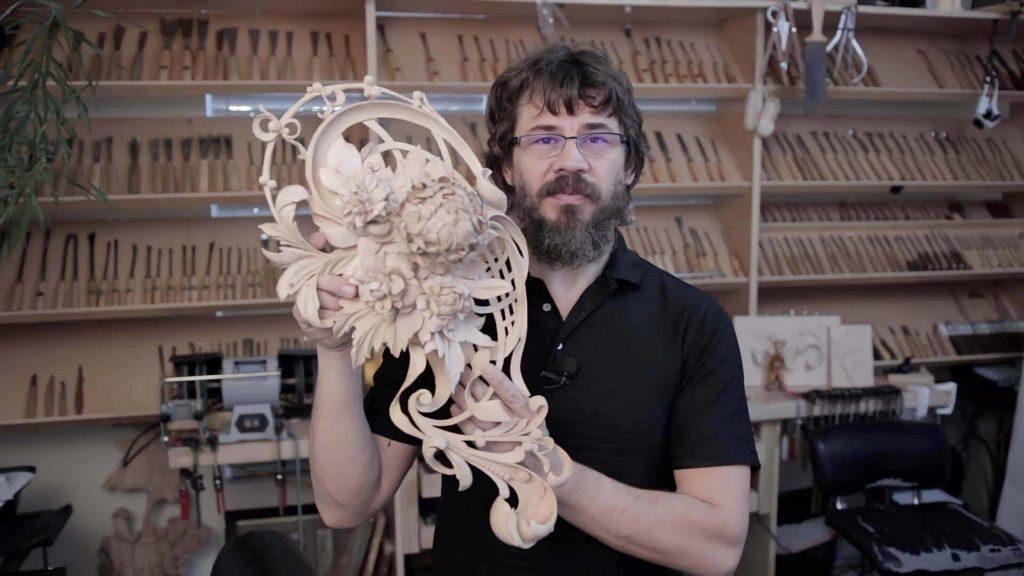
Alexander Grabovetskiy, woodcarver, School of Woodcarving · Published 2018
How do you carve flowers in wood?
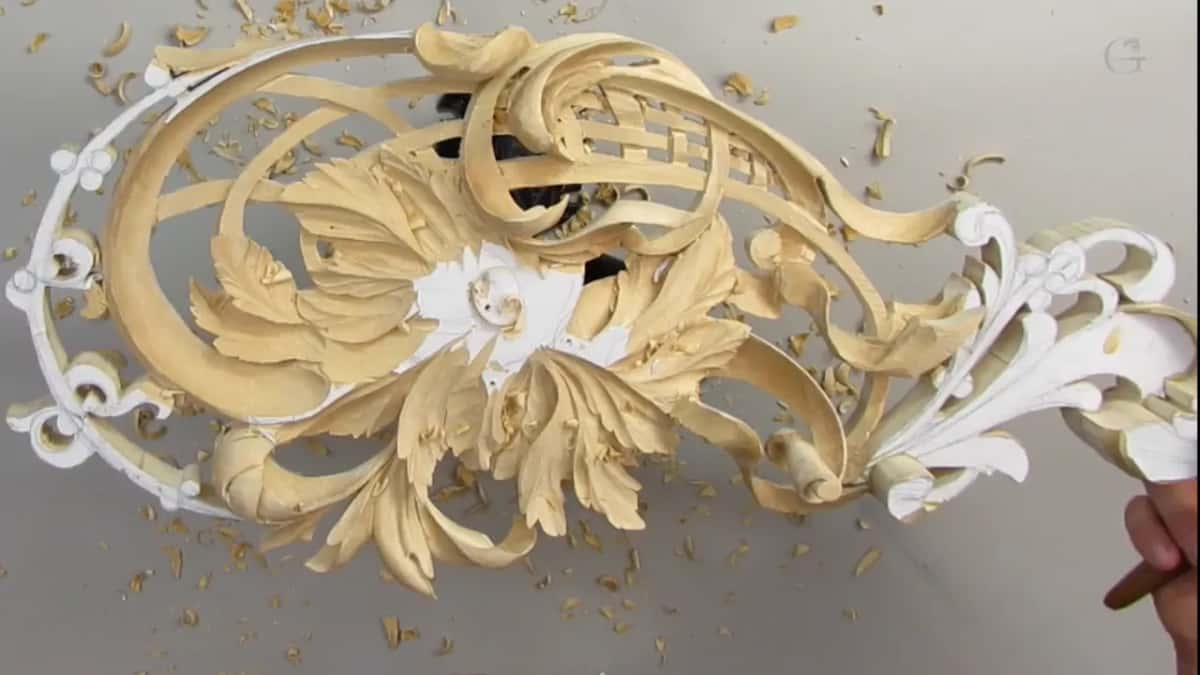
Quick answer: Carving flowers in wood, the way I do it on the Hashemi panel, is building height with glued layers and then carving down into them. Offcuts from the scroll saw go back on top as higher levels. About four basic tools shape the petals, and undercuts and tool marks make the shadow.
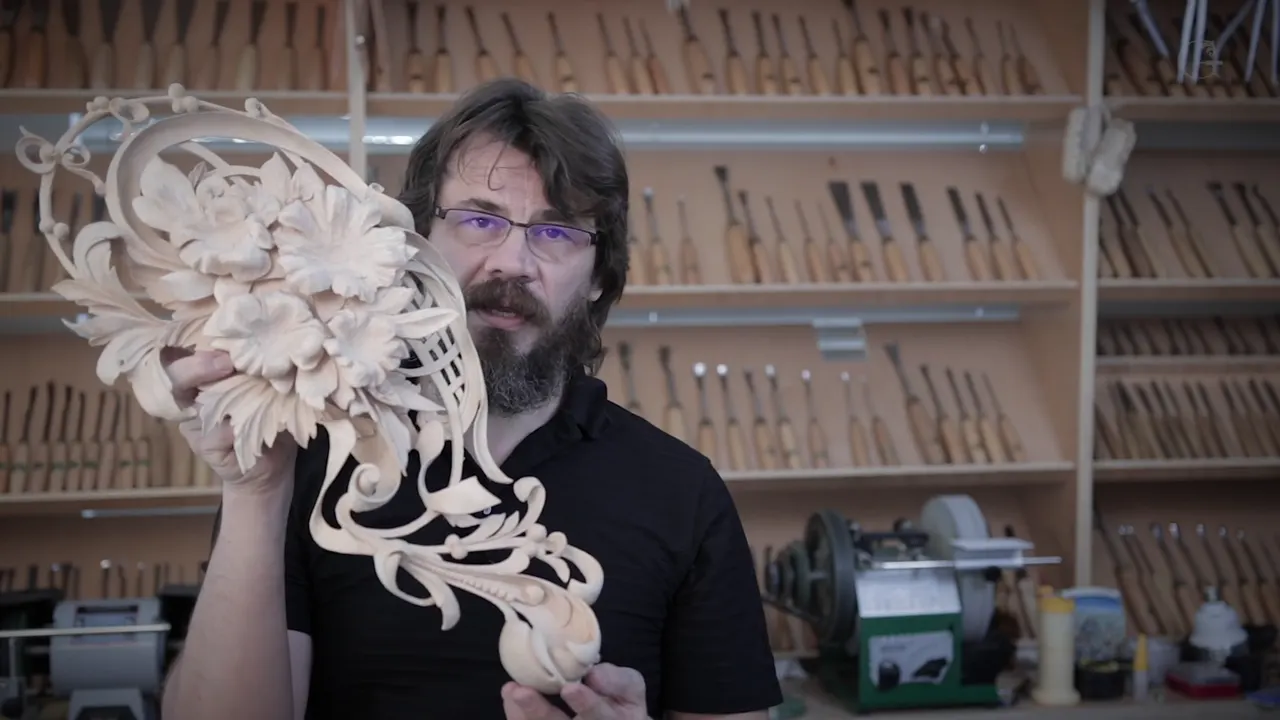
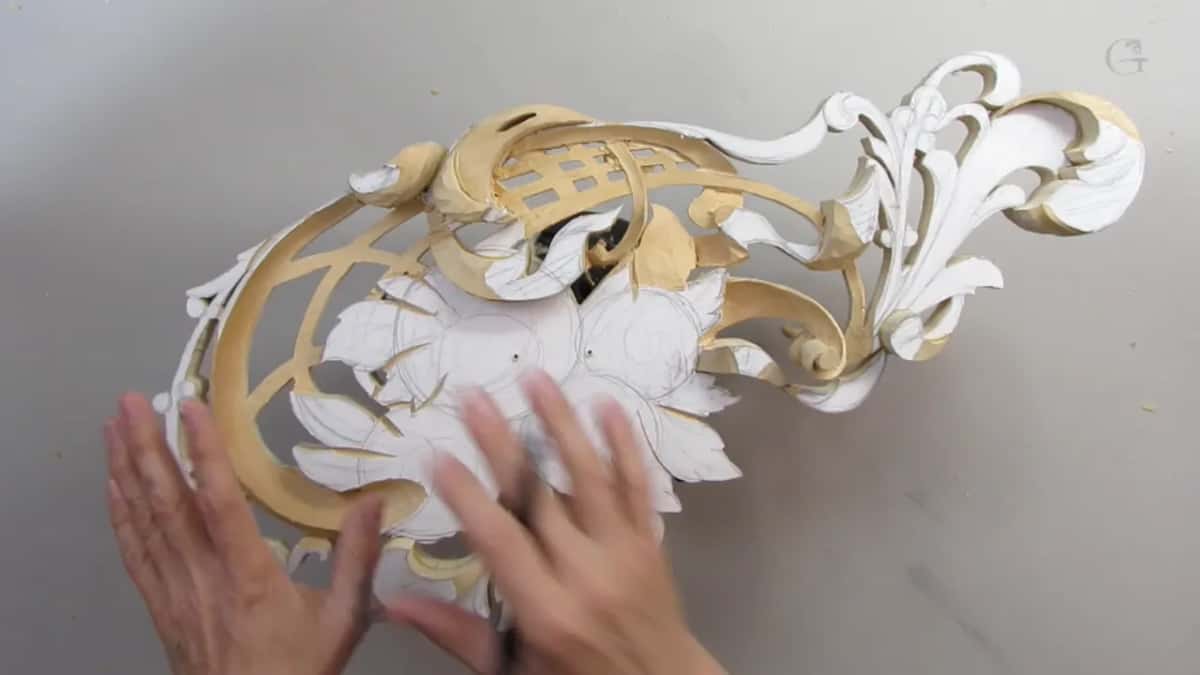
Carving a flower panel in wood is layered relief work. On this course I start with a limewood board about 12 by 24 inches (305 by 610 mm) and only about 7/8 of an inch (22 mm) thick. I draw the design on paper, glue the paper on, saw around it, and keep every offcut. Then those same pieces go back on top as a second and a third layer, so the board grows only where the design needs height.
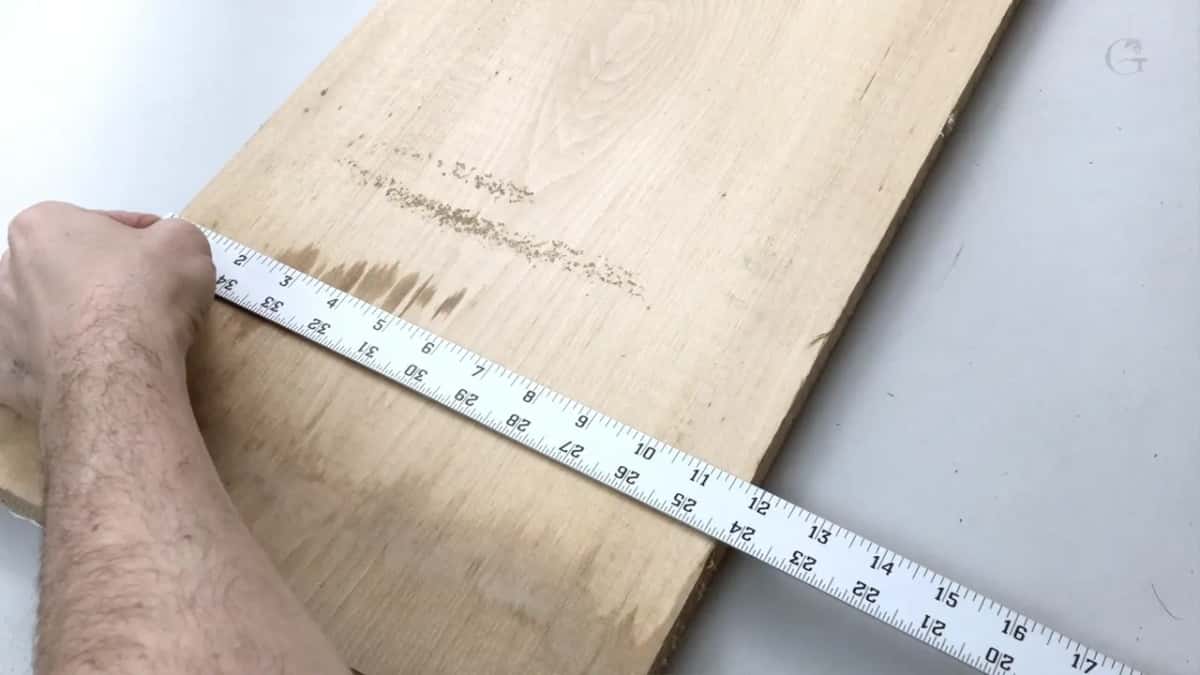
Have you ever looked at a carved panel like this and asked how in the world anybody carves it? Would you like to carve one from a board under an inch thick, without a block four inches (10 cm) deep? Then keep every piece that falls off your saw.
That question is fair, and I said as much on camera in the first lesson. This kind of design looks really complicated, and it can scare you off. But it is all about the techniques, and once you know them it is not as complicated as it looks. This is the method I used on that panel, which I made for a customer.
The Hashemi panel in five short lines
The board starts thin and grows with its own glued offcuts.
A Veritas corner vise on the back lets me turn the panel and work from different angles.
For the flowers you need a V tool, two number 11s and a small gouge.
On a petal I want it wavy, deep and clean, and the deeper it goes, the harder it is to clean.
I leave the tool marks, because every facet casts a little shadow.
Why glue the offcuts back on instead of carving a thick block?
Gluing the offcuts back on saves wood and gets you into places a solid block won't let you reach. I could have used a two inch board, or even a four inch board, and carved from the solid piece. My goal was to show you that you don't really have to. That saves material, and you use every inch of it. Dig the whole design out of one piece and there is a lot of waste, and some areas you can't even get to.
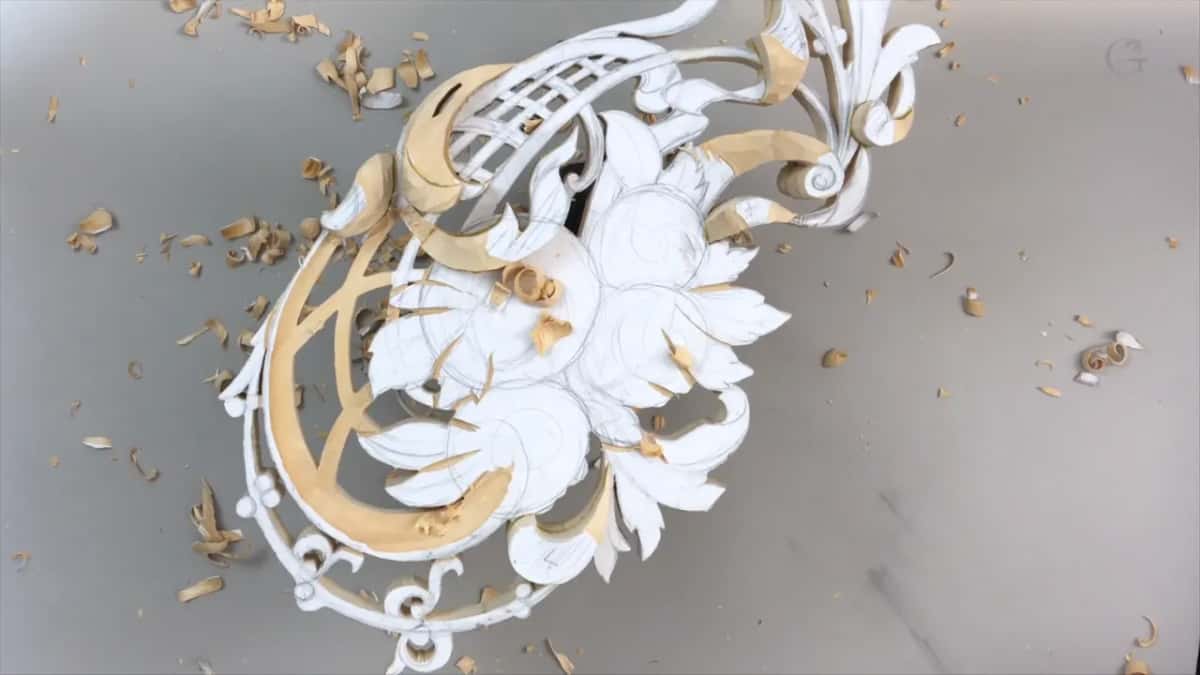
At the scroll saw it went like this. I drew the design on a piece of paper and glued it to the board with photo mount glue. I scrolled around the lines and kept all the offcut pieces. Then I peeled the paper off, which that glue makes easy, and put it back on the offcuts. Draw the direction of the grain on each piece and match it, and try to find a piece close in color, so the new layer won't be noticeable.
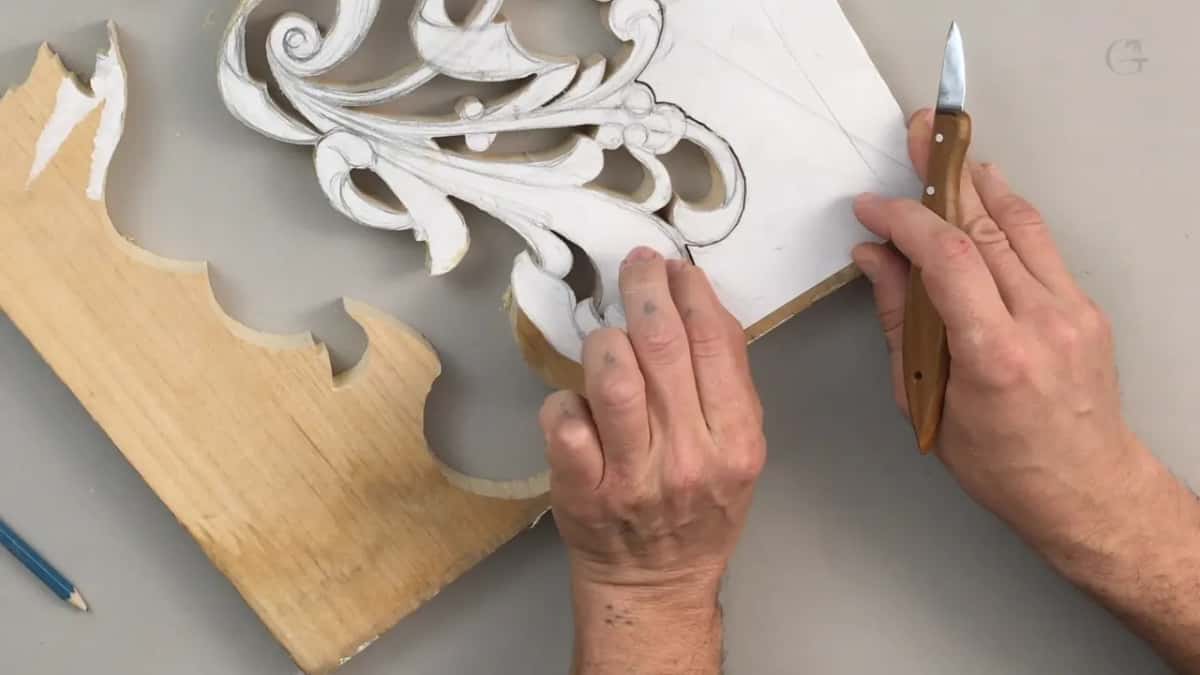
Some pieces went on as a third layer, in a couple of spots I wanted as high points, one on a scroll. That is how a board under an inch thick reached almost three inches. Overall, I said in the first lesson, the panel would come to about four to six inches (10 to 15 cm) thick.
What holds the glued pieces if you use no clamps?
The glue holds them by itself. When you apply the glue and rub the piece against the background, it makes some kind of vacuum, and the piece clamps itself. That let me place each one straight on the line. With a clamp the piece can still slip, and in some odd spots you can't even get a clamp on, so I don't see any need for one here.
I glued mine about half an hour before I started to carve, and it was not completely dry yet. I would suggest you wait about 24 hours, until it is all dry.
And the seam? You won't see it. Once you carve into the glued layer, the grain matches and there is no glue line to find, because it is the same wood. In the first lesson you can watch my seam start to disappear while I lower the pieces with a number 3 fishtail, 20 millimeters (about 3/4 in) wide.
How do you hold a panel this size while you carve?
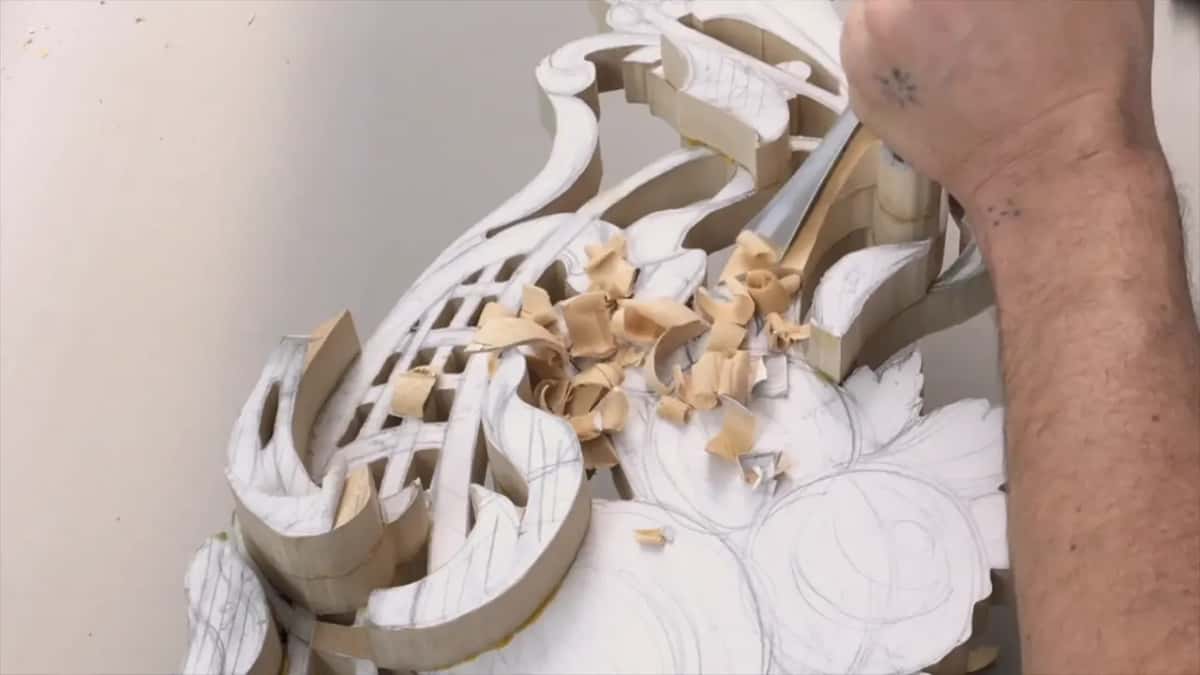
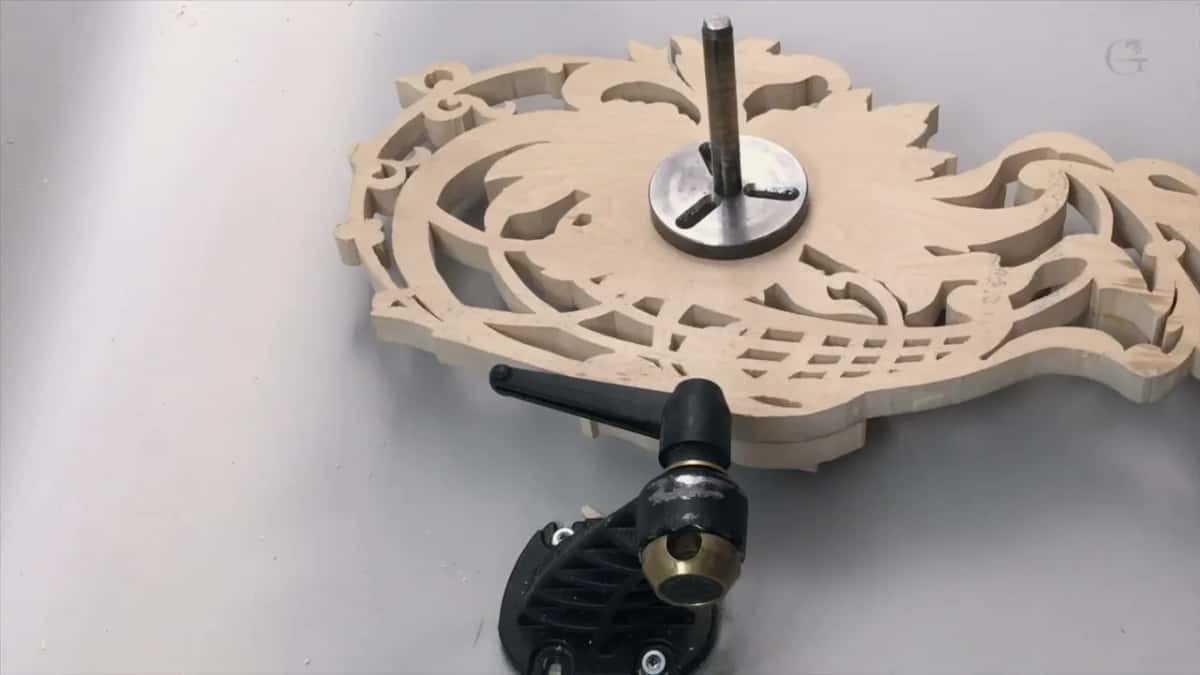
I screw a Veritas corner vise to the back of it, approximately in the middle. That is why I left a solid spot on the backside: the vise needs something to hold, and later it can take some kind of hanging system. I used screws about one inch (25 mm) long.
You could clamp the piece to the workbench instead, or glue it to another board with a piece of paper in between. I really like this vise, and I use it on almost all of my projects. Once it is on, I can rotate the panel and work from different angles. You still see some shakiness. That's solid enough for me. Later in the course I weigh a carver's post against a couple of vises.
What gets carved under the flowers?
Leaves get carved below the flowers, even where the next layer will cover most of them. On my drawing, the round parts look like the flower positions. They are only the background of the flowers. The flowers themselves get raised a level higher, and below them I develop some leafage, because it looks much better. You still catch it when you look from the sides.
I keep some flat spots to glue on the next layers and carve leaves around them. First I outline the leaves with the V tool and a mallet. Most of it, I said, you won't see once the carving above covers it. But still. These lower leaves come back in lesson 6, the background leaves.
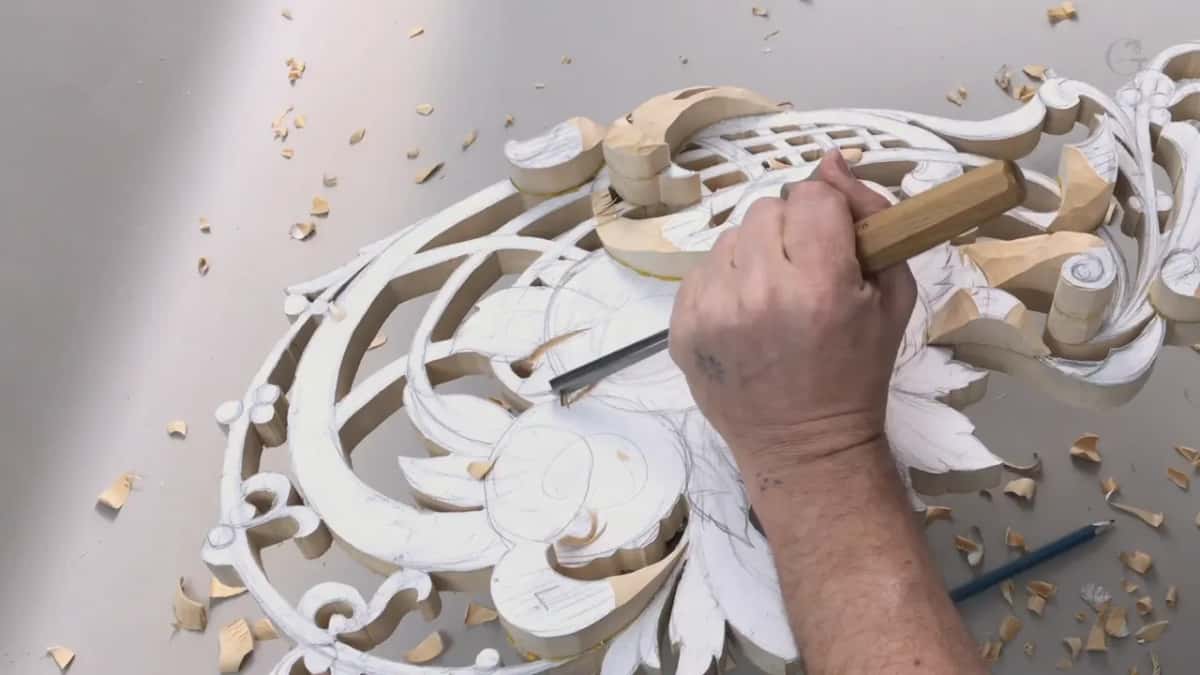
I use the mallet because it gives me much more control. On one element I made a deep concave with a number 9 about an inch and one-eighth (29 mm) wide, rotating the tool like slicing with every pass. That makes the illusion of something underneath, even where you can't see it. It still catches the shadow.
Which tools does a carved flower take?
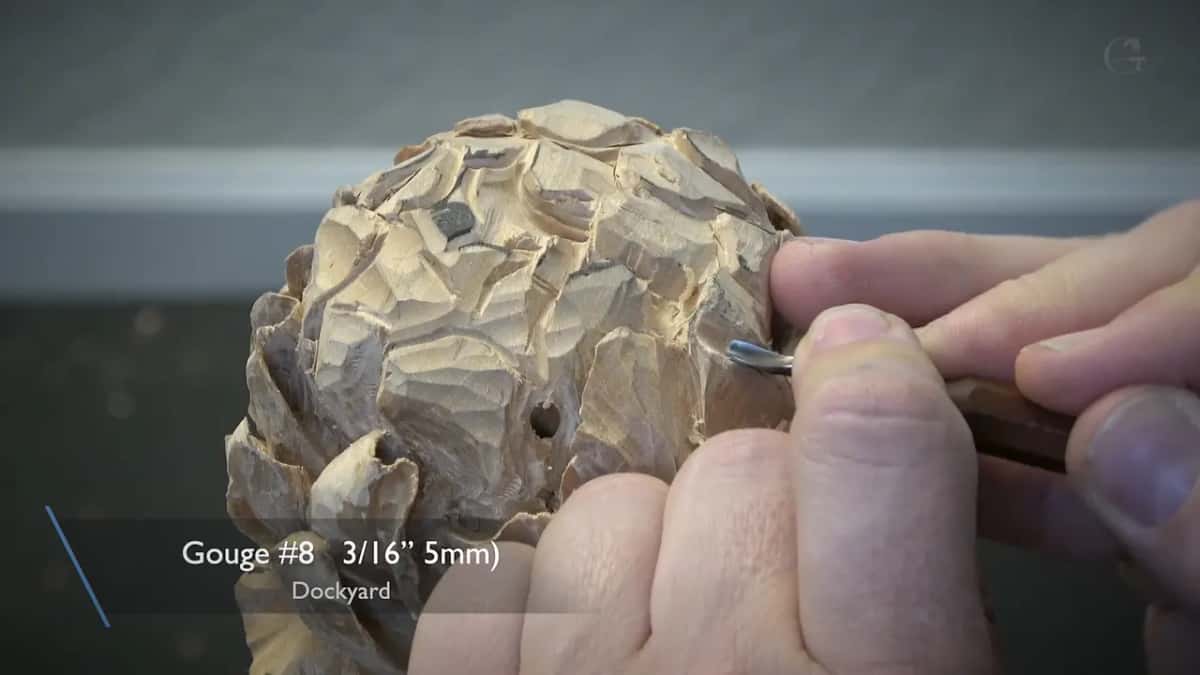
About four basic tools, I said at the start of lesson 49. Any V tool will work, and I really like a number 16, because it has a really sharp angle. Then a number 11 of one millimeter (0.04 in), another number 11 of half a millimeter (0.02 in), and those small, tiny gouges. The one in my hand was about five millimeters (3/16 in). With those, you can do unlimited types of flowers. There are specialty tools too, like a small number 8 by Dockyard, but four or five main tools are all you need for the flowers.
| Tool | Where it worked on this panel | Lesson |
|---|---|---|
| Fishtail number 3, 20 mm | Took the glued pieces down toward the main board | 1 |
| V tool and mallet | Outlined the leaves under the flower positions | 1 |
| Number 9 gouge, about an inch and one-eighth (29 mm) | A deep concave, rotating like slicing | 1 |
| Back bent marked 37 | Reached spots that no other tool would let me get to | 9 |
| Small gouge, about 5 mm (3/16 in) | Concave toward the center, then turned upside down for the convex | 49 |
| Two number 11s, 1 mm and 0.5 mm | Undercut lines that leave a shadow | 49 |
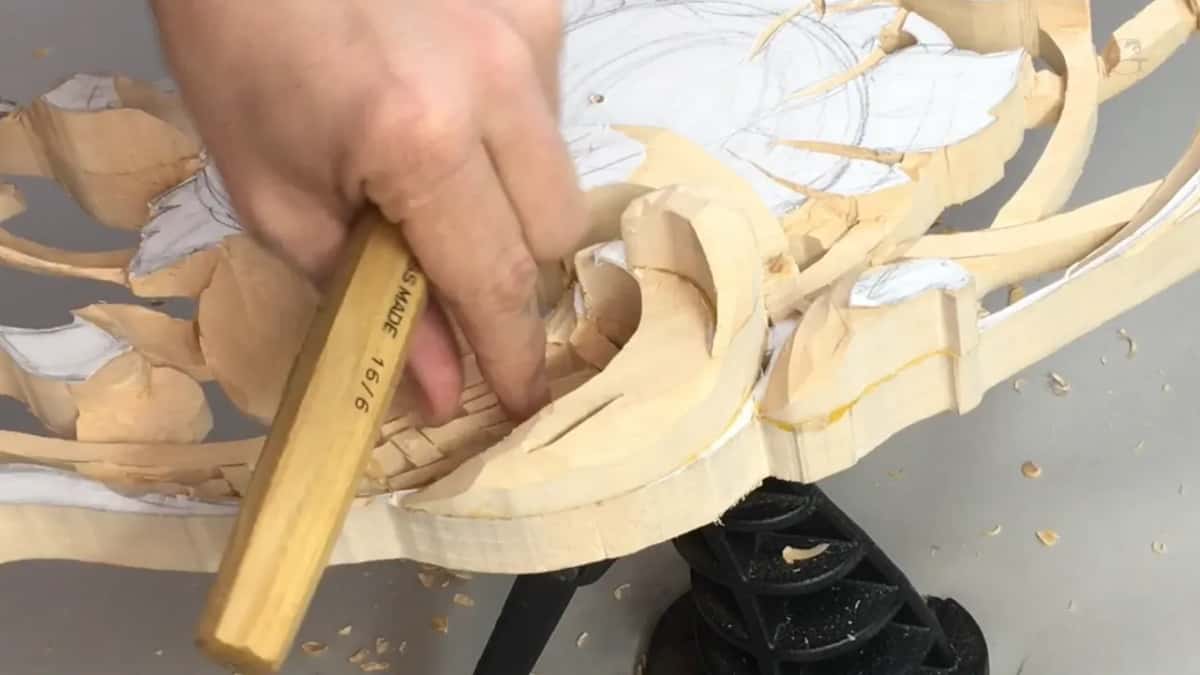
On brands, my opinion is still the same: traditional tools made in England, by Ashley Iles and Henry Taylor. Ashley Iles tools are machined, but they are nicely done, and I really like the quality. With Pfeil you can get some unique tools Ashley Iles doesn't provide. Tools have a course of their own, All About Tools for Wood Carving.
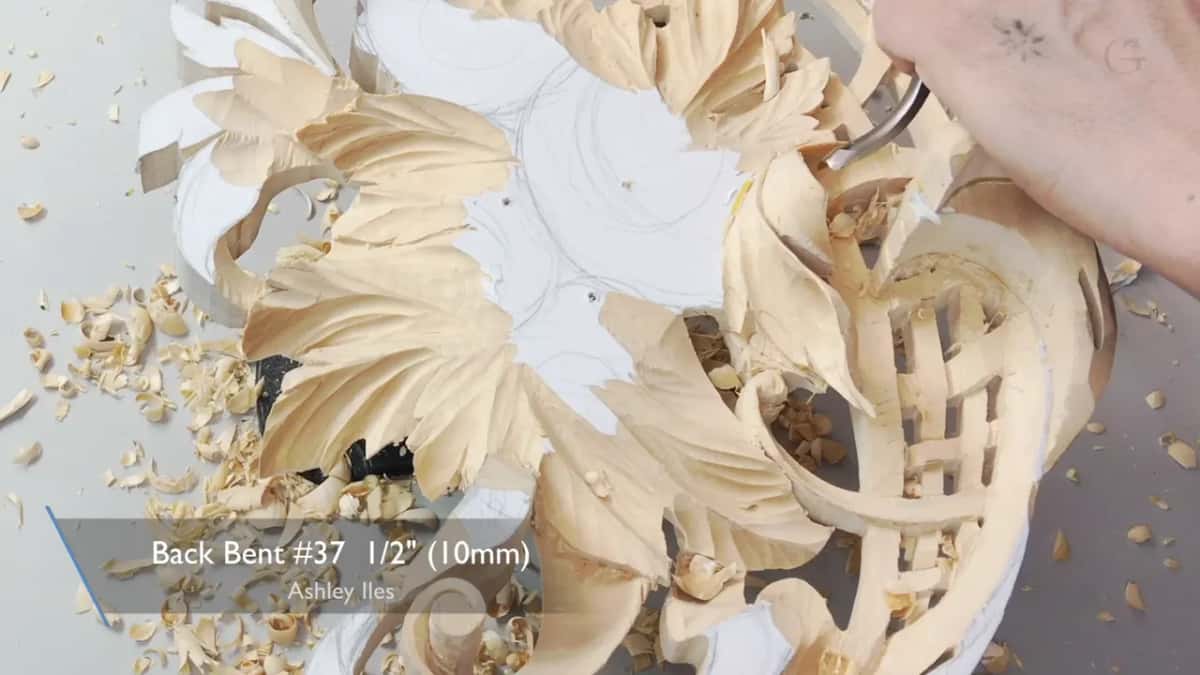
One thing to know about Ashley Iles. They mark their back bent tools a little differently, so my number 7 back bent by them is marked 37.
And keep every edge sharp. With dull tools you won't be able to do what I do here. Sharp tools, I said more than once, are the biggest secret in wood carving.
How deep and how wavy should a petal be?
As wavy as possible, as deep as possible, and as clean as possible. Those are the three main things I named in lesson 49. But I don't want to go too extreme, because the deeper you go, the more complicated it becomes and the harder it is to clean.
On the flower in that lesson, the center sat slightly offset. My movements went from all sides toward that point. I took a small gouge, five millimeters, and made the concave cut from about the middle of the petal toward the center. Then I turned the same tool upside down for the convex side. Lesson 39 comes back to concave and convex.
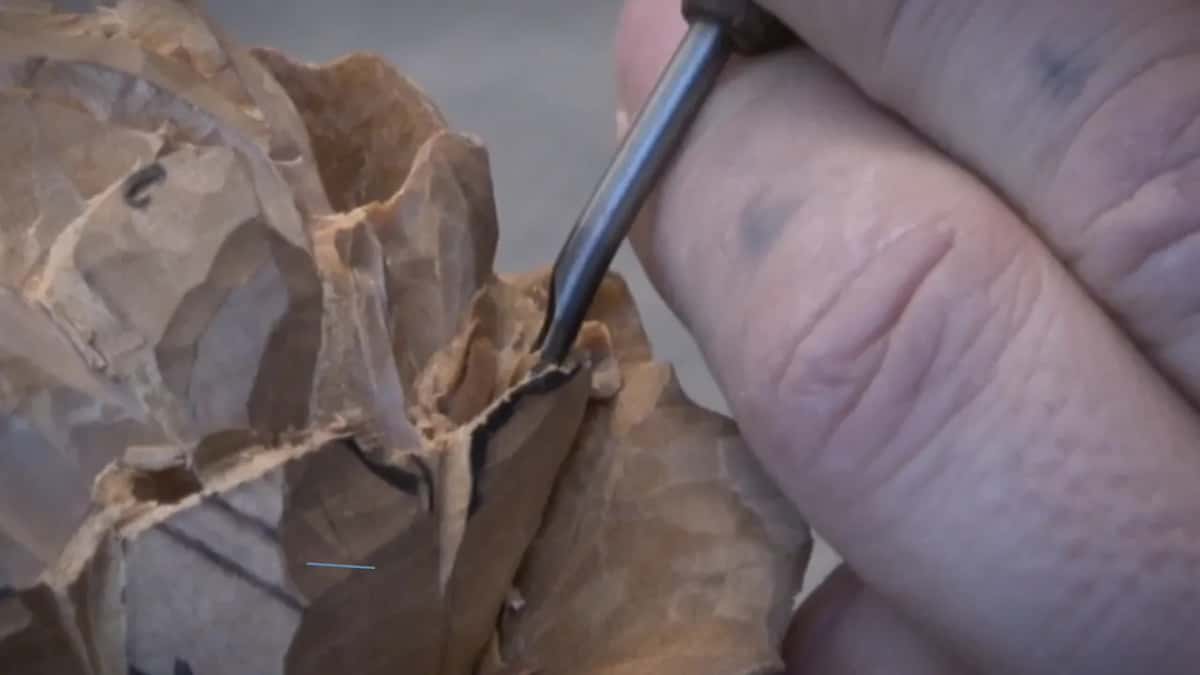
On one petal I took out the petal below first. That builds a kind of wall, some depth, so I can make the wave deeper. I don't have to. I kind of like that waviness and unevenness, and I think it just looks better. When you look at real flowers, a lot of them are wavy. Not all of them, I should say.
Then the undercut. On the petal before it, with that same small gouge, I made the undercut and the curl, and then I took the number 11, one millimeter, and the half millimeter after it. Same sequence. You don't have to have the half millimeter, but it makes a beautiful deep line you can't even detect, and it still makes the shadow. Wood carving is all about the shadow.
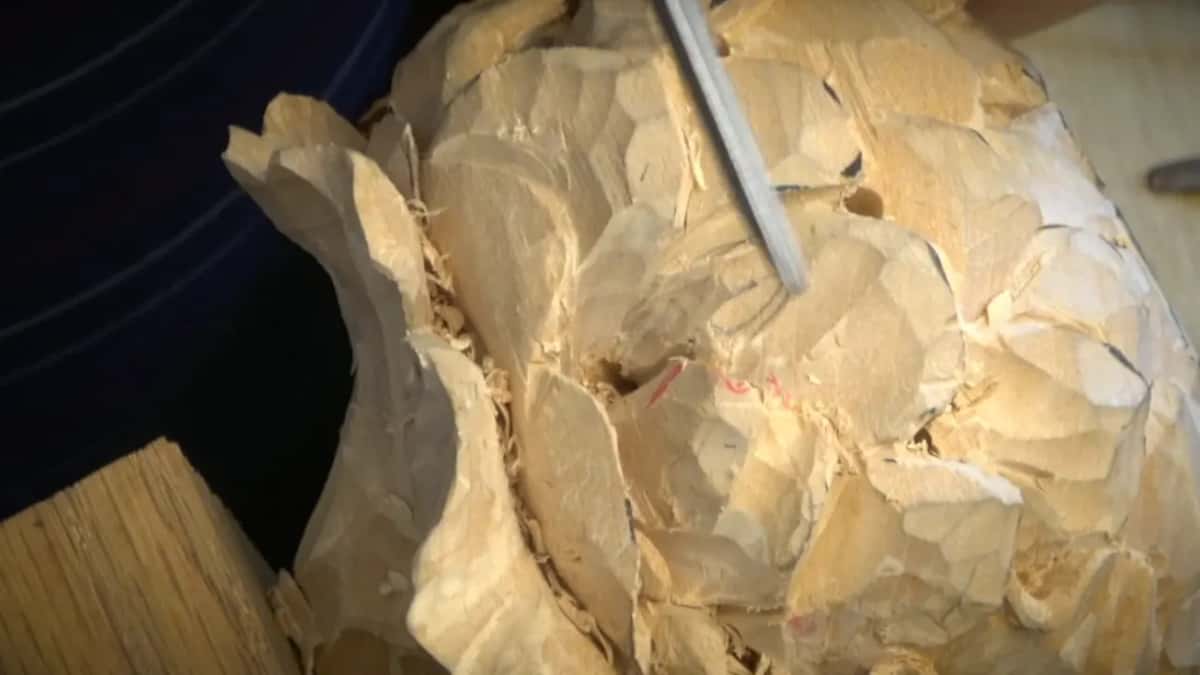
More waves, more unique the flower. I said that in lesson 47, and I agreed it is challenging. But if you can carve a complicated flower like that, all your other carving projects get really easy. In lesson 48 a petal goes down to a 16th of an inch. No more.
If a thin board and four small tools sound like a panel you could carve, every lesson of it is behind Access.
Why are the flowers carved separately and set in sockets?
A flower carved in one piece would have needed a block six and a half inches (165 mm) thick, and there's no reason for that. The tall flower already sat on two inches of wood and needed about three and a half inches more. Carving down into a block that thick, it is really hard to reach the areas and really hard to undercut.
In lesson 27 I counted three ways to do the flowers. Carve everything from a solid block 16/4 thick, about four inches. Carve every flower and leaf on its own and apply it, which was done in the 18th and 19th century on carvings in some beautiful palaces. Or carve sockets.
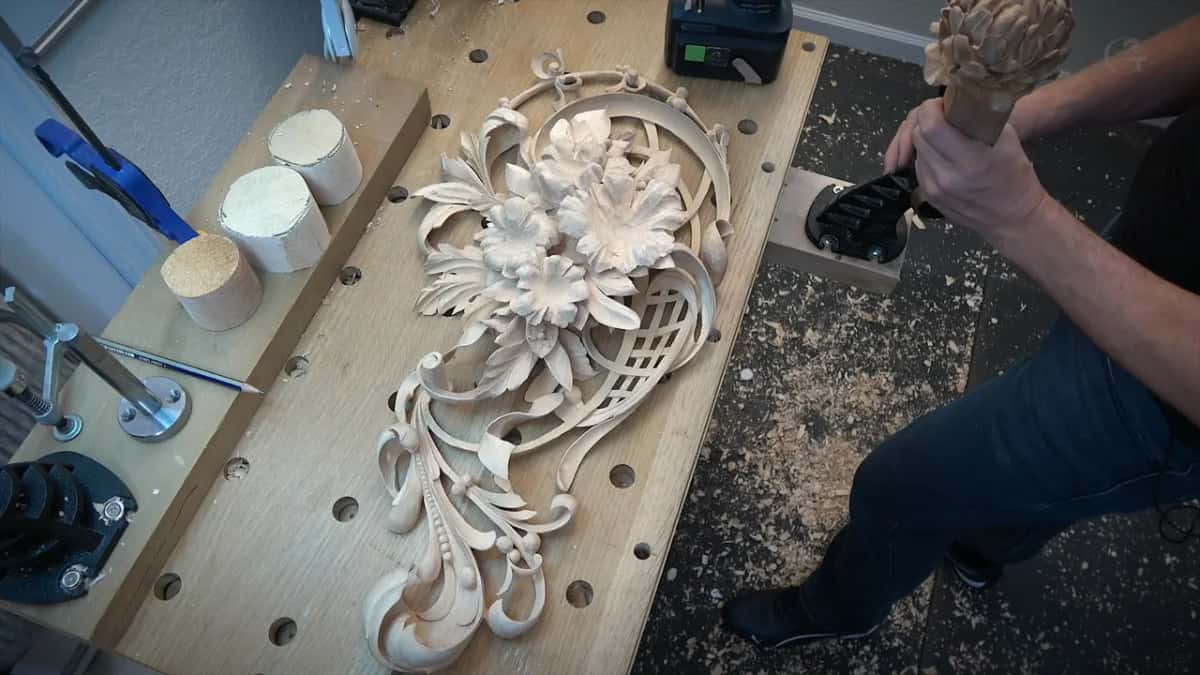
I took the third way. I carve a socket, drill through its middle, and a screw or a wood dowel holds the flower. The middle of the flower is carved from a separate piece and goes in. It looks like one solid piece, and the connection points stay hidden. Lesson 42 goes into the blocks.
For the peony I cut a block about 3 5/8 inches (92 mm) thick. The socket is about one inch deep, so only two and a half inches (64 mm) stand above it. I love carving roses, but the peony, I said in lesson 43, is a lot more complicated than a rose.
The last filmed lesson ends on what I called the moment of truth. I blew the first flower clean with the air compressor, took out two screws, and tried it in its place. It fit from everywhere. I left it unfastened, because the other three flowers still had to go in, and if I need it lower, I can always do that.
Why leave the tool marks instead of sanding them away?
The tool marks stay because they make the shadow. I leave the flowers and both layers a little rough while I establish the main form. Then it all gets glued together, and only after that do I do the final cleaning, from the points that catch the eye most.
Even then I don't go extreme. No sandpaper either. I really like the chisel marks and the facets the gouge leaves from the side, and they create the shadow, and even the tiniest shadow makes a big difference. The ridges between gouge passes on one leaf in lesson 6 even looked like its veins.
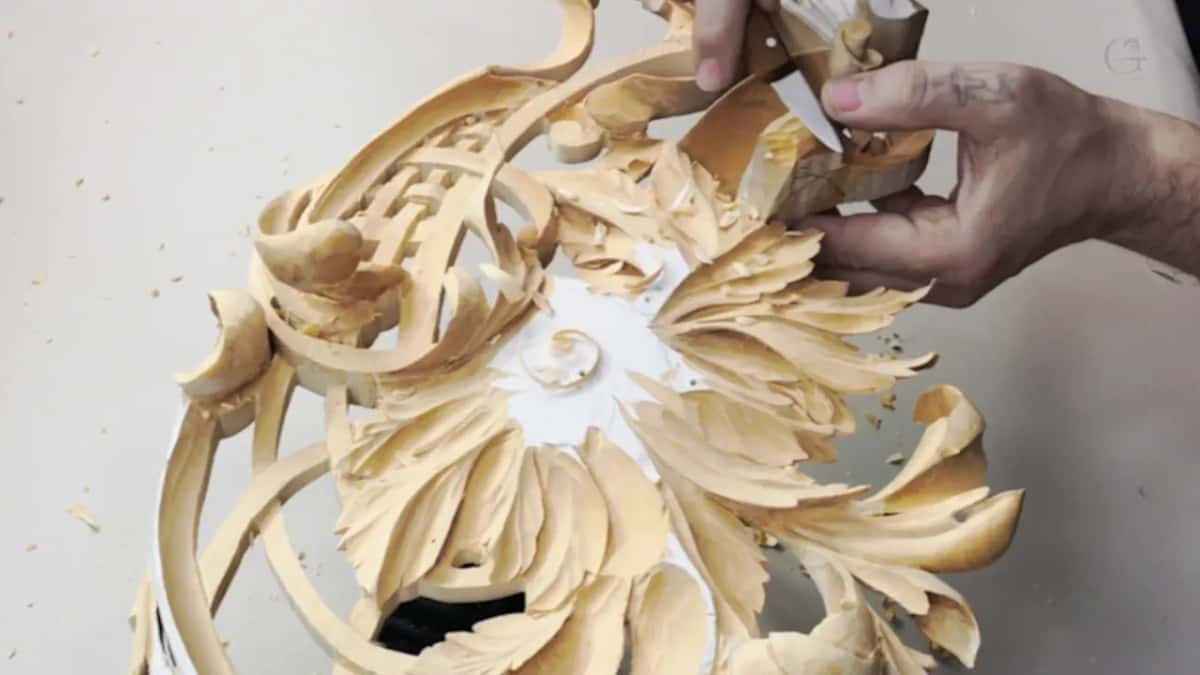
If you want to use sandpaper, it's okay with me, 100% okay. It just doesn't look the same. Some customers even ask me to sand a carving smooth and paint over it. As long as they pay, I'm okay with that. But in my opinion it looks better with tool marks, and I talk more about that in lesson 24, trade, craft or art.
Whose name goes on the ribbon?
Hashemi goes on the ribbon. The panel has a couple of ribbons, and on one of them I'll carve the name Hashemi. Your own name can go there just as well.
Some people look at those ribbons and think they are complicated because of the twists they make. They shouldn't be complicated at all. The ribbon grows from underneath going upward, makes a flip on its side and flips back, and I want that movement to look 3D. Lesson 14 carves it, twist by twist.
Is this panel a project for a beginner?
This is not a beginner's project, and I said so in lesson 5.
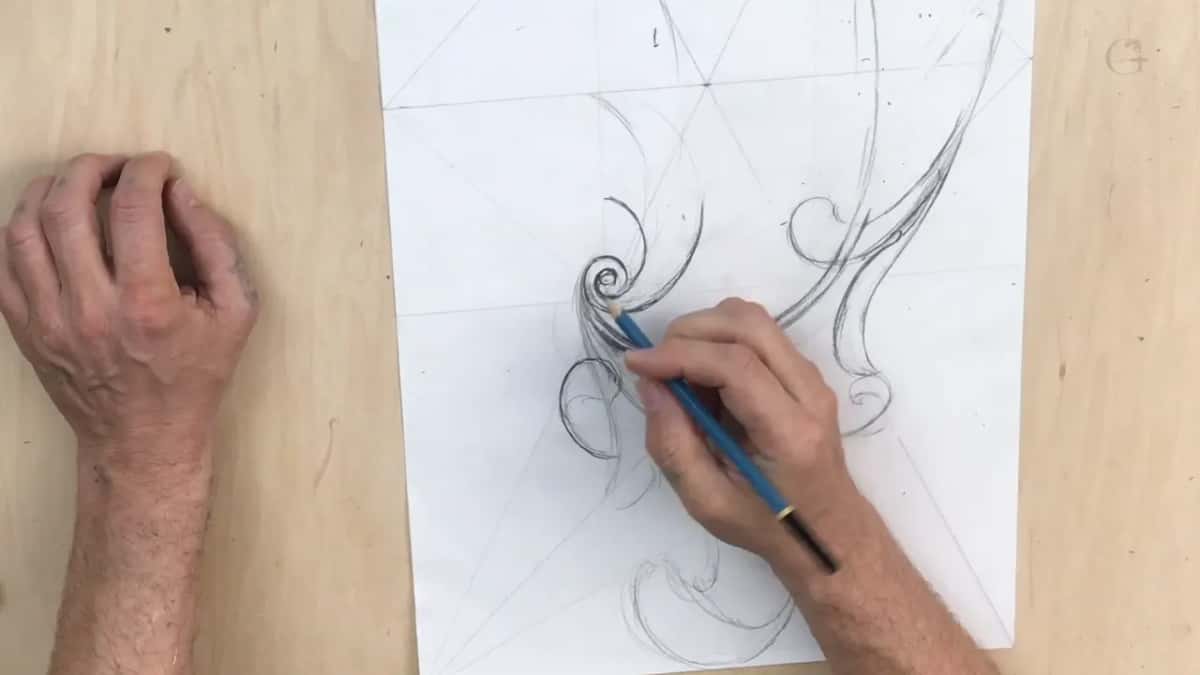
The design starts on paper, and I uploaded the first and second layer to the school as a PDF, with the dimensions. The Hashemi pattern download is part of the course.
The course has 50 lessons, 49 filmed ones and the pattern download. Together they hold 248 video parts, all on this one commissioned panel, from the first glued layer to the first flower tried in its socket. By the end you should see there is nothing complicated about carving a complicated flower. It is the same work, over and over and over again.
The hard part, for me, is how far to take the final look. Take it as far as you wish. There is no end to it, because you will always find some imperfection, something to fix or do differently. My teacher would tell me that the day you look at your work and say you couldn't make it better is the last day of your artistry.
The school has smaller flower courses too, the Carving Flower Rosette and the Chamomile and Bow Rosette, and a course called Wood Carving for Beginners.
Tuition here funds orphan and widow charities, and it sponsors talented children from poor families who can't pay for art school, just like I couldn't when my father left us. Access runs monthly or yearly. It renews automatically every month or every year until you stop it, and you stop it yourself from your own account. If you're not sure where to begin, start here.
So do you want your flowers to sit flat on the board, or to stand up off it, close to three inches before the first flower even goes in?
How it's done
- Draw the design and glue it on. Draw your preliminary design on paper and glue the sheet to the board.
- Scroll out the design. Saw around every line and keep all the offcut pieces. There won't be any waste.
- Glue the offcuts on as higher layers. Peel the paper, put it on an offcut with the same grain direction and a close color, then rub it down so it holds.
- Screw a corner vise to the back. Leave a solid spot near the center of the backside and fasten the vise there with screws an inch (25 mm) long.
- Lower the glued pieces. Bring them down toward the main board using a number 3 fishtail, 20 mm, and keep the high spots.
- Outline the lower leaves. Use the mallet on a V tool first, and keep flat spots for the next layer.
- Carve each petal concave, then convex. Point your movements at the flower center, hollow it with a gouge of about 5 mm, then turn the same tool upside down.
- Undercut, then clean after assembly. Undercut with a one millimeter number 11, then the half millimeter. Final cleaning waits until the layers are glued together, and the tool marks stay.
Frequently asked questions
Can you carve a tall flower from a thin board?
A thin board works when you add the height on top of it with glued pieces. My first layer was about 7/8 of an inch (22 mm). Glued offcuts took it to almost three inches (76 mm), a two inch second layer went on, and the middles of the flowers came from separate blocks set into sockets.
What glue holds a paper pattern on the board?
Photo mount glue, which became my favorite one, and I use it a lot on my carvings right now. Easy to apply, easy to work around, and no mess. Once the board is scrolled out, the paper peels right off, so I could put the same pattern back on the offcut pieces before they were glued on as higher levels.
Do you need clamps for the glued layers?
On this panel I used none. Rub the glued piece against the background and it makes a kind of vacuum, so it holds itself and sits straight on the line. I glued about half an hour before carving, though I'd suggest you wait about 24 hours until it is completely dry.
What to carve next