
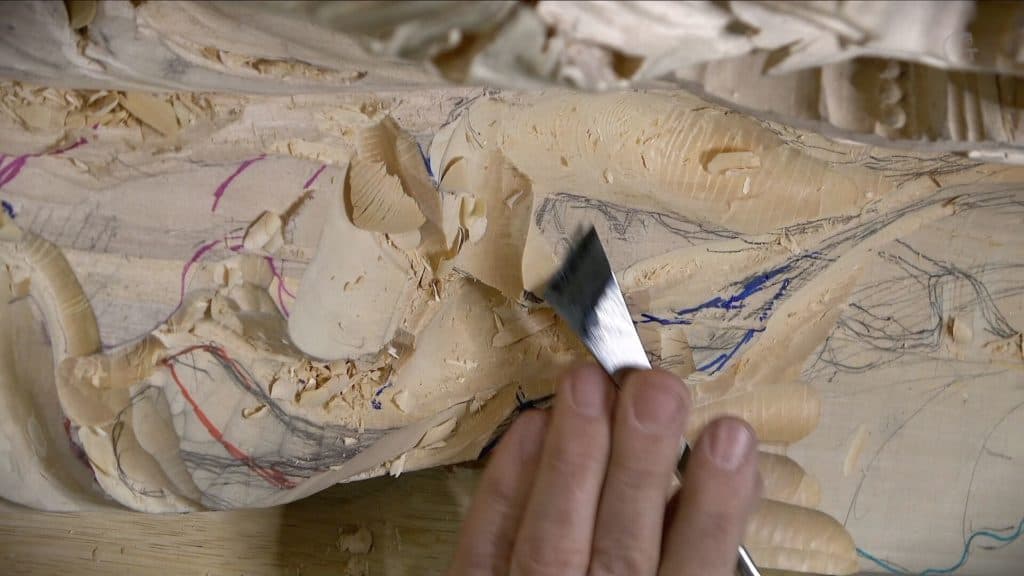
Alexander Grabovetskiy, woodcarver, School of Woodcarving · Published 2020
What does a wood carver mean by "ability"?
Quick answer: In workshop 70, part 10, I said I could lower down one area even more, and that this was what would give ability to undercut. My other lessons use the word beside narrow necks, skews, long bent gouges, bigger tools, small knives and my hand laid on the wood.
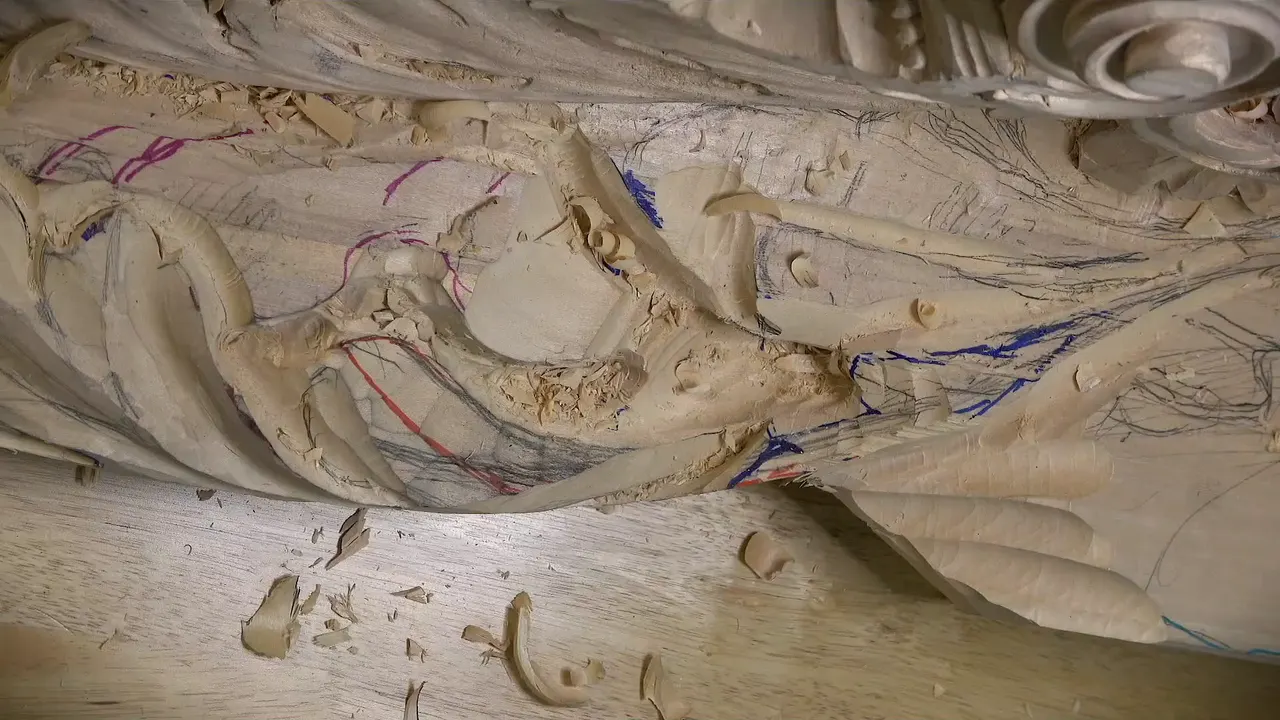

Part 10 of workshop 70 has me using the word ability for a cut underneath a section I planned to lower. My other lessons use it in wood carving beside narrow necks, skews, long bent gouges, bigger tools, small knives and a hand laid on the wood.
Ever stood over a deep hollow and wondered how a tool could get under the wall beside it? Ever picked a tool, felt it was the wrong size, and wished for another? Come through part 10 with me, then through every lesson where I use the same word, to see what the word opened up for me in each one.
Where does the word sit in this part of workshop 70?
I was thinking about where one point would go. "There's going to be a point somewhere, which I'll decide later where it's going to be my main point." And there was another way to see it, "maybe it's a good idea to move it somewhere right there and have some interesting movement."
Then came the lowering. "But again, the way I could do this section, I could actually lower down even more in this area. And that's what going to give me ability to create a cut underneath of this section," and the line ended on "ability to undercut."

A short line followed. "So I'm not sure if you understand what I mean by that, but you will see." Once more: "You will see it."
After that I asked myself "But now, am I doing the right thing?" and said "Yes, that is going to go movement like that." Divisions came into the plan with "some divisions like this," and I said "And I think it should be fine."

What did I say about small tools at the start of the part?
The first line was a plan. "So maybe it's a good idea to use the smaller tools first, and then clean it with the big tools." Right after it, "A smaller tool is a lot easier to control."
On the time it takes, I said a smaller tool "is going to take much longer, but I'm okay with that," and again, "If it's going to give me much better control, I'm okay with that."
For the size, "I'll use number nine and 10 millimeters," which is about 0.4 inch, "and carefully start excavating little by little."
On pace, I said "it is better sometimes not to rush it. Well, actually, it's always better not to rush it. I found that when I'm not rushing, I'm getting much better results." Then, about the grain: "And just across the grain."

A bigger tool was an option. "And you know what? In this area, I could use probably a bigger tool. I could use just to try to hit that with the huge tool with the grain, I mean, along the grain like 30 millimeters, number 11" (about 1.2 in). "I feel safe."
A condition came with it. "As long as I'm not going on escape too much. So I feel okay."

How deep did the hollow get in part 10?
I wanted depth. "But in this area, I want to get really deep." I also thought it would make "a beautiful transition to the ceiling."
Then a worry. "I'm not sure how I'm going to cut inside right there because I do have the main body already, so that would be kind of tough to undercut." And a little more: "But it's not impossible." Then, "But it's still possible, but different technique I should use."

Then, "Really nice. Really nice and deep." The number was "almost one inch deep, like around 25 millimeters or so." That is 0.98 in for the 25 millimeters.
Next, "Attack that from two sides." A question followed, "how am I going to do undercut right there?" With it came "I need to make sure this part is much lower."

Which jobs were left at the end of part 10?
The last lines of the part are plans, and a very short one starts them off. "Let me get rid of some of that stuff." Next: "But now, let me start developing this side. But what I want to do, I want to give a slope a little bit because right now it's just too flat. It's just a little too flat."
Last, "And I'm going to use a skew and give a little slope. Not much, but a little slope." That slope is my plan in this part.

Part 11 offers another option. "So now what I could do, I could create the plug cut on inside. And give that area really beautiful shadow before I make all the divisions."
The word shows there too, said about a number 11 beside a number nine that I can wiggle: "But number 11 will work also. But a lot less ability to wiggle."
An undercut on this side, too, would not be easy to reach underneath with my tools, so I said "we're going to use back bends."

Which tools let me go deeper in other lessons?
Workshop 56 shows it, in part 4, with a short tool I showed: "a really short region for the carving and really narrow neck." What it does, in my words, is "ability to go really deep and work in some areas that people can't even get with other tools." I added "And other tools, it's impossible to get in," and, on why I did it, "I need that shadow around."

Venice Room 73, part 9, is about a curl. "I think I like what I see right now." Next to it I put "ability to create much deeper shadow in this section," and "a more interesting look, I would say." My pick was a plan, "Let me use 3/4 of an inch, 20 millimeters, number nine." A stop followed, "I'm stopping before I hit the wall," along with "I really don't want to damage any of this."

My plan was a heavier mallet in Venice Room 47, part 7. Afterward I said "Okay, that is good. I think it's good enough. And it's actually gave me ability to get a little more three-dimensional movement right here."

A hand can do it, too. In the kitchen cutting board lesson 7, part 1, I was talking about a knife: "when I'm carving, I'm not hanging that in the air, so there is no space between my hand and the piece of wood. I am laying, actually, my hand solidly on a piece of wood to support myself." Of that hand and finger work, "ability to cut much deeper."
Where was a spot hard to reach?
A chunk was in my way in part 4 of Workshop 58. "I do have a challenge because I cannot carve upward right here because I do have this chunk on my way, and I have to switch to another tool." The tool was "a long bent," and my words for it were "ability to stay above and not hit with the handle the parts already done." And by the way, "that is a number four long bent, and that's 25 millimeters, one inch."
A tool for tiny spots is in Lily Box 11, part 11. "Like a skew and it's a gouge." Also "So there is two sides, right and left." About it, "ability to get really in tiny spots with just that point right there." Next, "But most of you probably don't have it anyway, so let me use just the normal tools."
Repositioning is in Venice Room 76, part 11: "Let me reposition it like this. Again, see the advantage of it?" Of it, "ability to attack and work on that piece from any point."
Hashemi 43, part 1, was about mounting a smaller plate for the vice, "only two inches plate" (about 51 mm). "Now I can place it in my vice. It's my preferred way to work around," I said, and then I put it as "ability to work around."
In part 3 of Acanthus over Moldings 3 I named a spoon, "number seven spoon." For that tool I said "ability to attack that from the right position."
What helped me carve cleaner?
In Workshop 50, part 4, I said "Think I could use probably number eight, and about one inch" (25 mm), and pointed out "look how big my bevels are." The line ended on "ability to carve cleaner."

In Venice Room 61, part 12, I said "the easiest would be just to use a skew," and for its job I put "ability to move downhill almost to the line." Also, "I kept maybe about three millimeters, I would say" (0.12 in). And "skew gives me just a clean canvas, okay? So clean surface to work with."

In Roman Acanthus 8, part 3, I said "Just rotate and just attack it from this side, from opposite side," and "I'll try to make my cuts as long as possible," and "ability to clean those cuts going all the way," I said.

In Venice Room 105, part 3, I talked about a chisel: "it's just number one chisel, but this one is three inches" (about 76 mm). I compared the pass to planing, "Almost like planing, if you like woodworking planes." Of what it also does, "ability to take care of the high spots." Then, "Although it's not the final, final finish yet."
My hand is part of it in Acanthus over Moldings 1, part 1. "I'm really solidly placing my hand on the surface, okay? So that way I can have a lot of control." Next, "I can do it really slowly and make the full rotation with my tool," and "ability to do a slicing cut."
In Roman Acanthus 16, part 2, I talked about number nine and number three. "It's much easier for me just clean with number three and leave absolutely flat, almost planed surface." But "I should not start with number three just because of number nine," I said, then "ability to remove a lot more material at once, okay?"
Why use a bigger tool?
The same lesson has the big tool talk. "When you're using big tools like this, what I'm holding right now, that would be like flying." Medium-sized tools were "like driving a car." The smallest was "like a quarter of an inch but number three, it's like walking, okay?" (about 6 mm)
About the bigger tool my line was "ability to use just a side of it, just a corner of it. And when I need to use the full property, I'm using the full property of the tool." I ended with "So that's why I'm using bigger tools most of the time when I can, okay?"
How did smaller tools help?
I planned to lower a part with a small knife in Lily Box 7, part 10: "Maybe I can actually lower this part right here. And for that, I'll use a small knife." My words for it were "ability to control with the smaller knife, overall movement." My line after it, "Again, that's all about three-dimensional world, okay?"

A worry came first in Venice Room 33, part 3: "a little tough for me to undercut a little bit that direction." Then a plan, "I think I should use a smaller number 11. Get maybe one-eighth of an inch" (about 3 mm). I added "And I know it's not the final cut yet," and "ability to make it more round, I'd say."
Venice Room 36, part 11, is a weighing: "I could actually give a small acanthus movement on that side." I said "ability to kind of tie that together," and "Maybe I should do that."
Where do these tools sit side by side?
Each lesson on this page, the tool or move, and the word.
| Lesson and part | The tool or move I named for it | The word |
|---|---|---|
| Workshop 70, part 10 | an area to lower, and a cut under it | an undercut |
| Workshop 56, part 4 | a short tool with a really narrow neck | going deep |
| Workshop 58, part 4 | a long bent, number four, 25 mm (1 in) | staying above |
| Workshop 61, part 12 | a skew, with a little wood kept | moving downhill |
| Workshop 50, part 4 | maybe a number eight, about one inch (25 mm) | carving cleaner |
| Roman acanthus 16, part 2 | number nine at the beginning, three to clean | more material |
| Lily Box 7, part 10 | a small knife for the overall movement | more control |
| Lily Box 11, part 11 | a skew gouge, and just that point | tiny spots |
| Workshop 33, part 3 | a smaller number 11, maybe one-eighth of an inch (3 mm) | more round |
| Cutting board 7, part 1 | my hand laid solidly on the wood | much deeper |
Where can you watch part 10 and the lessons on this page?
You can watch part 10 in Venice Room 70. Workshops 62 to 73 sit together in Venice Room Part 6. The other lessons on this page have pages of their own, linked above, and each one is open to you with school access.
Want to hear the word in my own voice, with the slope and the skew still to come? This page starts you.
How it's done
- Pick a smaller tool. Smaller tools could go first and the big ones could clean, starting with a number nine of 10 millimeters (0.39 in).
- Go deep where you want depth. In one area I wanted to get really deep, and I reached almost an inch (25 millimeters, 0.98 in).
- Ask the undercut question. I asked how I was going to undercut right there, and said I need to make sure this part is much lower.
- Name the lowering. I could lower one area even more, and that would give a cut underneath the section.
- Plan a gentle slope. The surface looked just a little too flat, so I named a skew for a little slope.
Frequently asked questions
Which tool sizes did I name in part 10 of workshop 70?
A number nine of 10 millimeters (0.39 in) for excavating, and a number 11 of 30 millimeters (1.18 in) that I could try along the grain. For a little slope at the end, I named a skew.
How deep did the hollow go in part 10?
Almost an inch deep, around 25 millimeters (almost 1 in), and I added that you don't see that. Then I asked how I would get an undercut there.
Which tool let the handle clear finished carving?
A long bent of 25 millimeters (one inch), shown in part 4 of workshop 58. Its carving part is really bended, and it lets me stay above and not hit the parts already done with the handle.
What to carve next
- Venice Room 70 lesson
- Venice Room Part 6 course
- Venice Room 56
- Venice Room 73
- Venice Room 47
- Kitchen cutting board lesson 7
- Venice Room 58
- Lily Box lesson 11
- Venice Room 76
- Hashemi lesson 43
- Acanthus over Moldings 3
- Venice Room 50
- Venice Room 61
- Roman Acanthus 8
- Venice Room 105
- Acanthus over Moldings 1
- Roman Acanthus 16