
Alexander Grabovetskiy, woodcarver, School of Woodcarving · Published 2017
How should you hold a knife for chip carving?
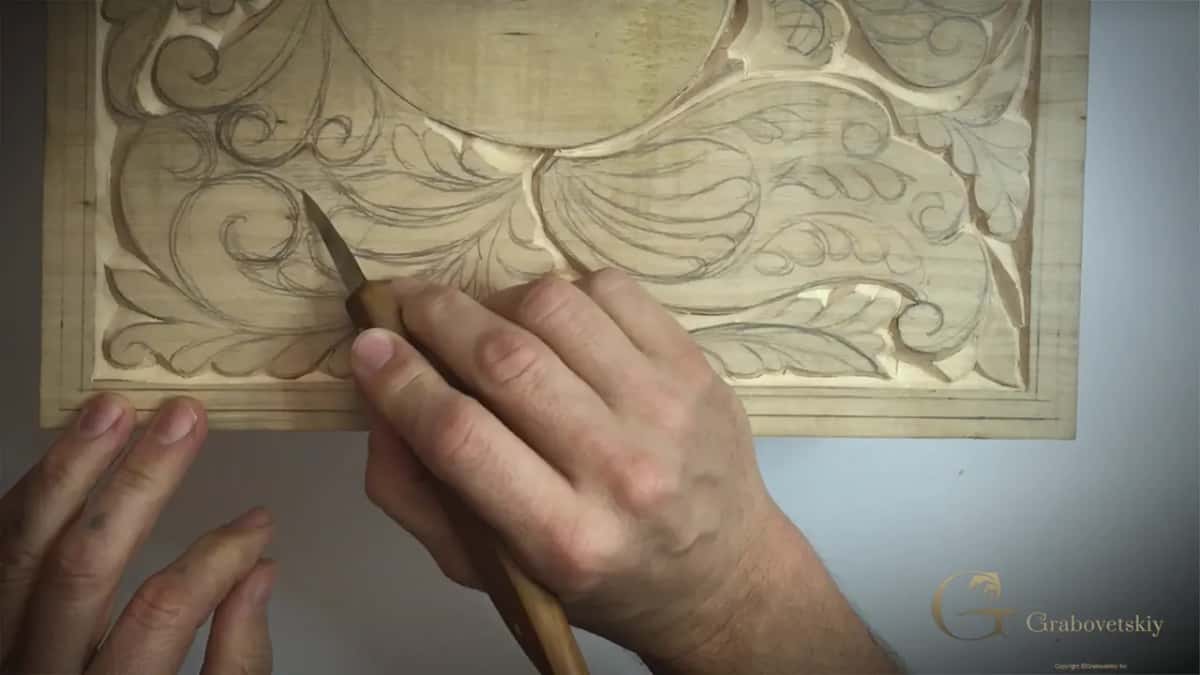
Quick answer: Holding a chip carving knife is a matter of contact, not strength. Put your palm heel onto the panel, the handle sits inside your hand, and you draw the blade back using only the small muscles below your wrist while one finger braces against the board.
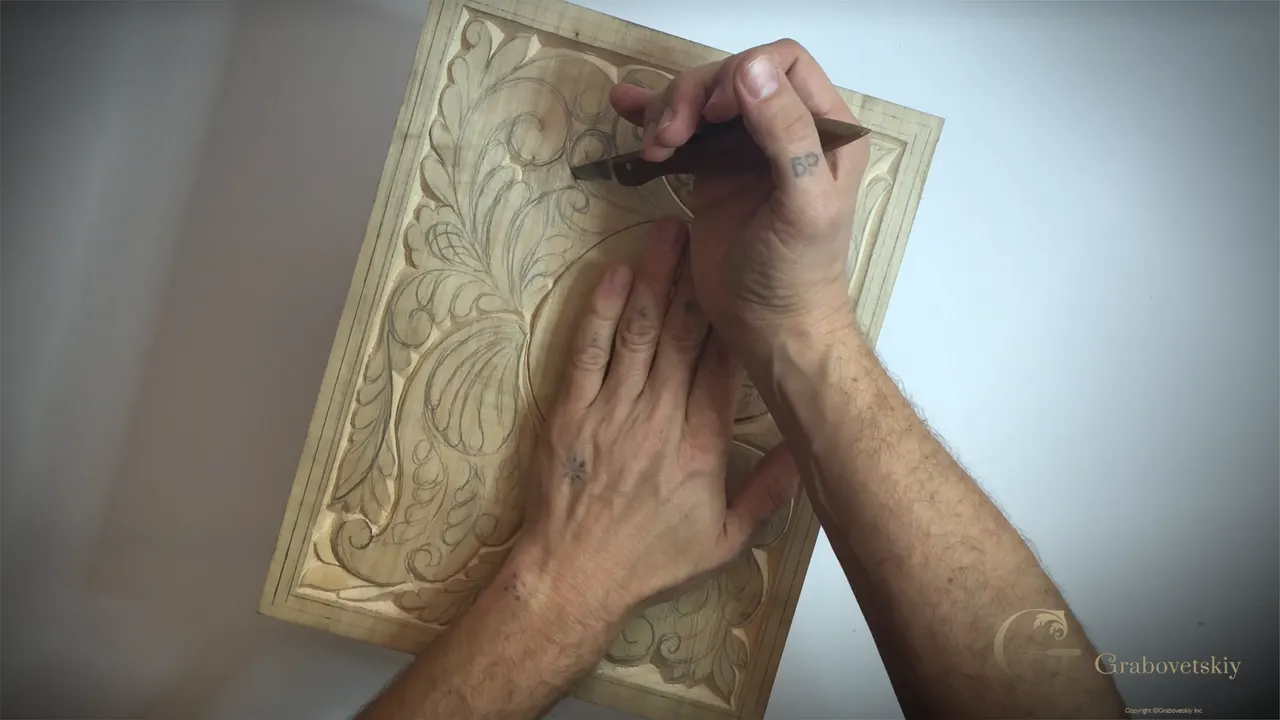
Holding a chip carving knife properly means the hand never floats. Lay your carving hand flat on the board with no air beneath it, grip the handle inside your palm, and pull with the finger muscles while a second finger levers against the wood. Control comes from that contact, and so does the ability to go deeper.
Does your knife wander when you want a straight line? Do your forearms ache after twenty minutes at the bench and you have no idea why? Then look at where your hand is sitting.
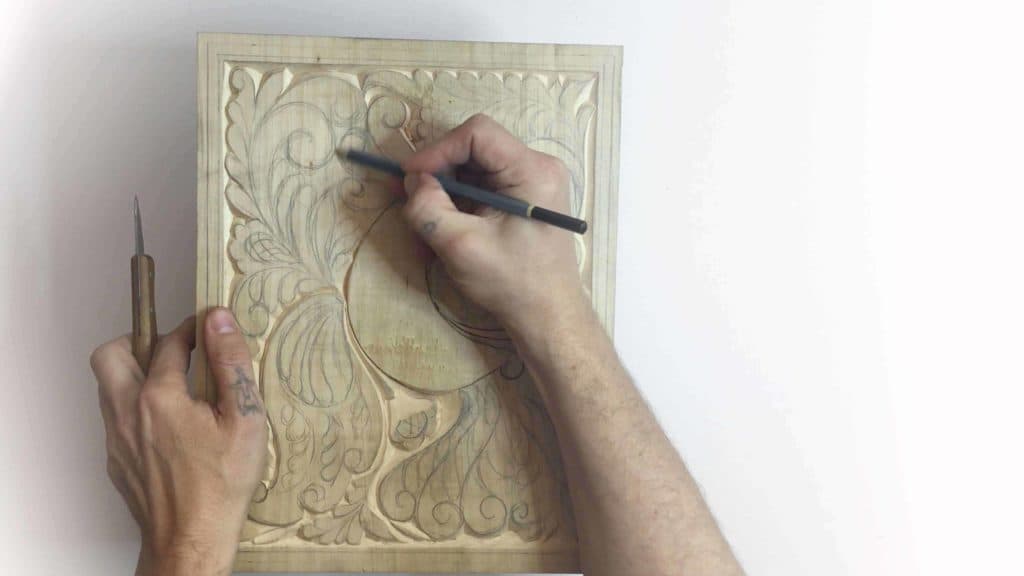
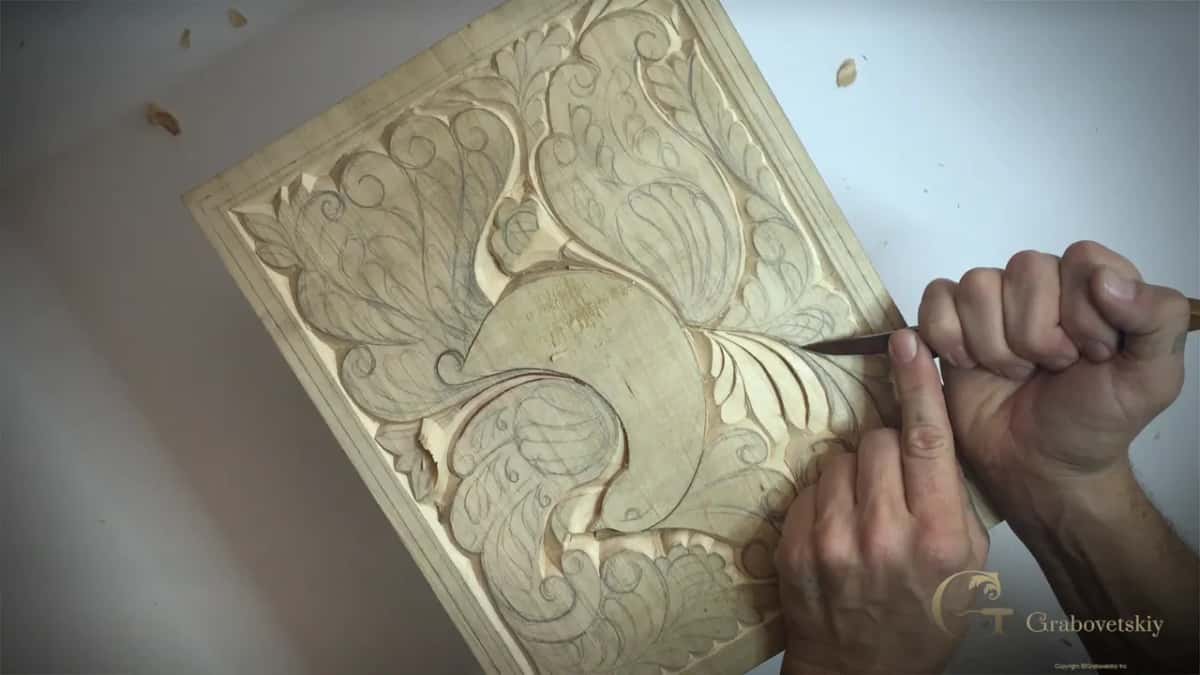
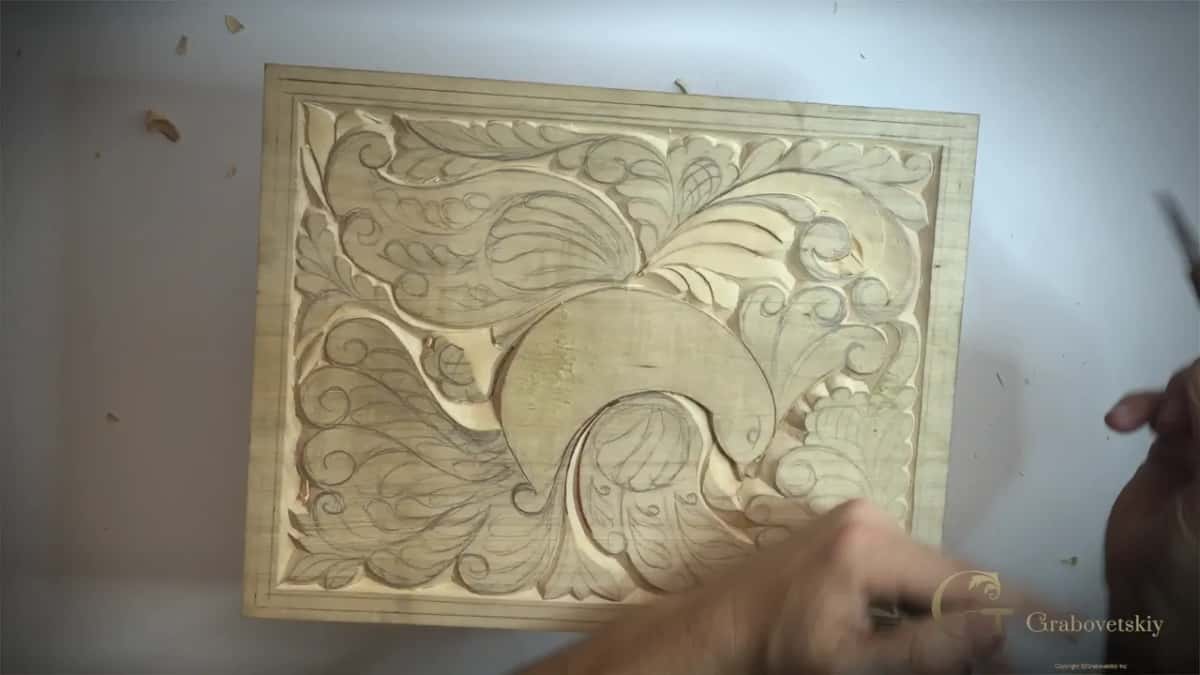
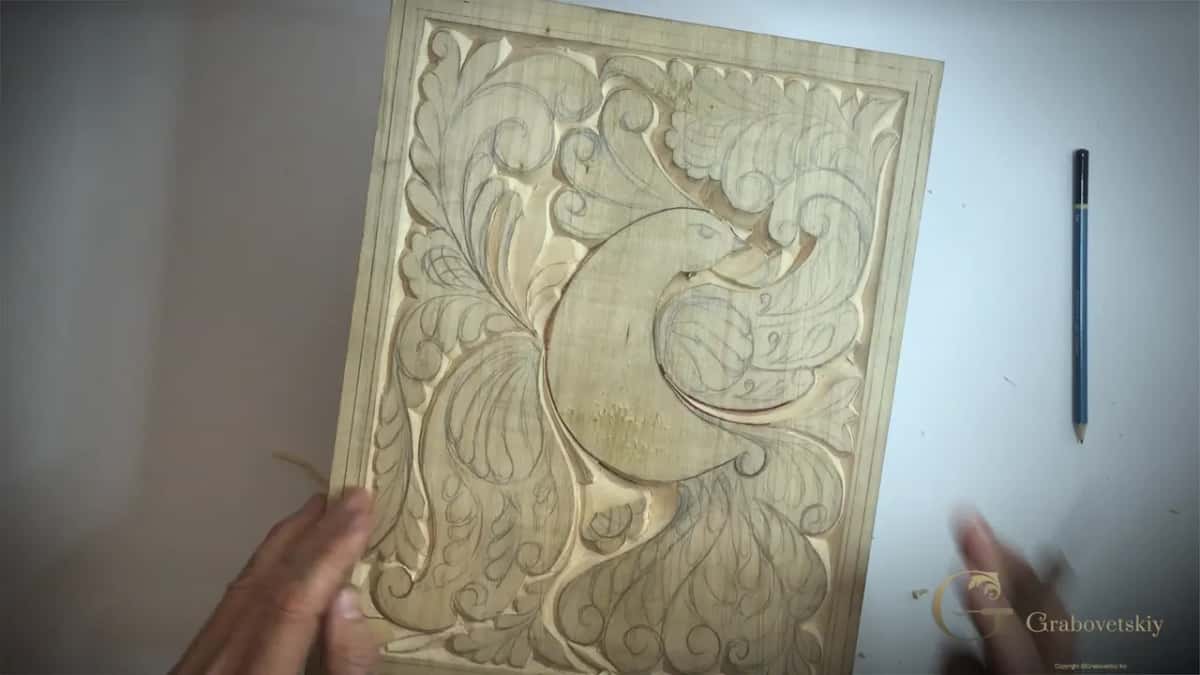
Nobody teaches this part, which is strange, because it decides more than the edge does. Six words of it would save every beginner a month. Workshop 7 clears a wide area beside the bird and then starts on the fine details, and the whole session is really about one thing: the hand stays down, the fingers do the work, and the arm stays out of it.
What decides whether a line comes out straight
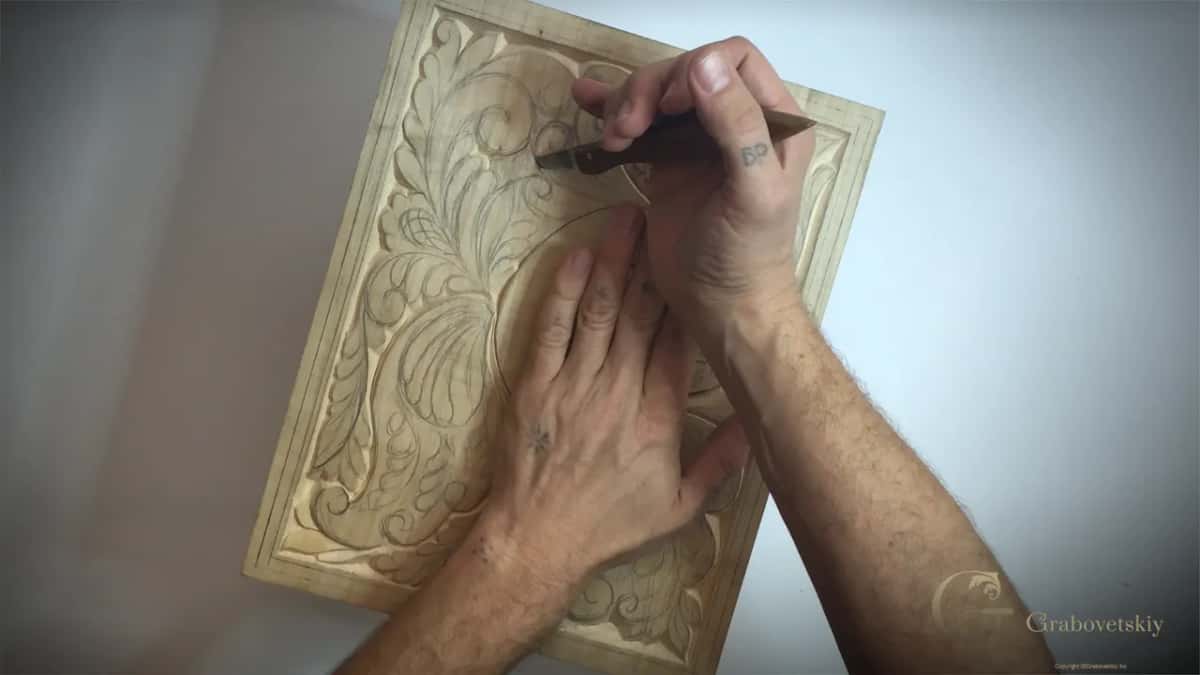
- The heel of your knife hand rests on the panel itself, with no gap under it anywhere.
- Power comes from the small muscles in your fingers. Arms are for lifting boards.
- A second finger braces on the panel, and that brace is what safely buys extra depth on a heavy pass.
- Lowered fields here sit a hair under 2.5 mm. Five, where I want heavier shadow.
- Pressure drops to almost nothing as the blade nears the edge of a shape, or the line breaks off.
Where exactly should your hands be?
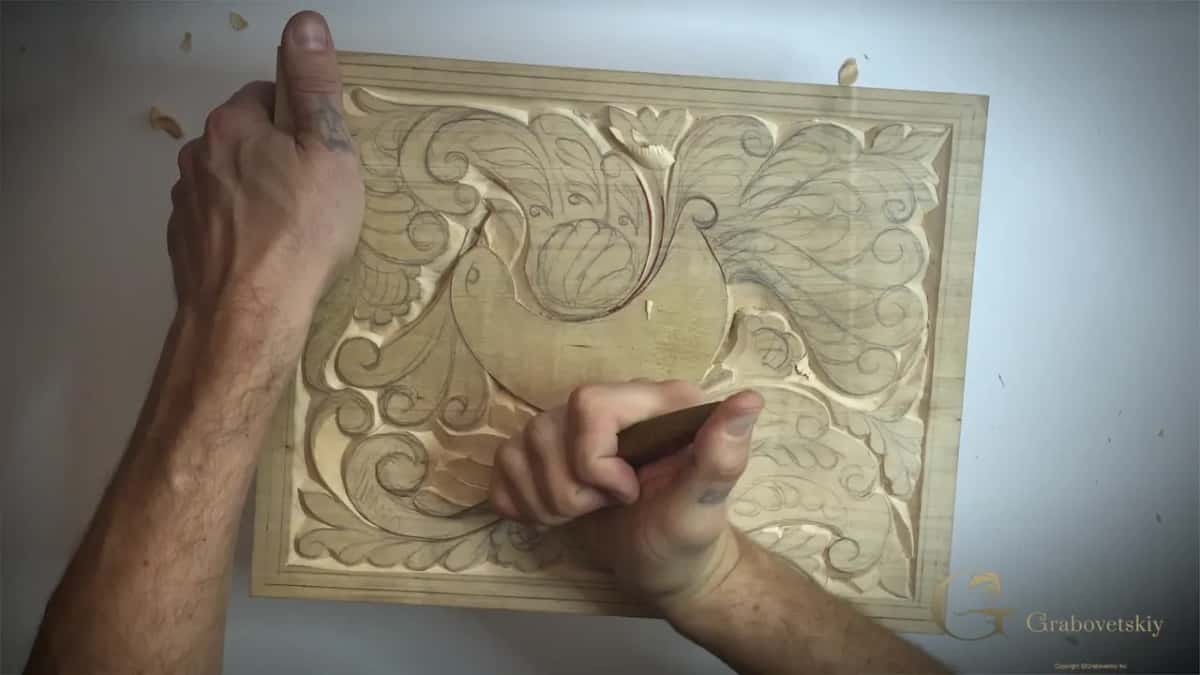
Down on the wood, both of them, with no space underneath. Watch a beginner and you will see the knife hand held in the air like a pen above paper. Every tremor in the shoulder then arrives at the edge, magnified, and the line wanders.
Put the heel of that hand down on the board and the tremor has nowhere to go. From there the blade can only move as far as your fingers allow, which is exactly the amount of travel this work needs. Your second hand steadies the board from a spot the blade will never reach.
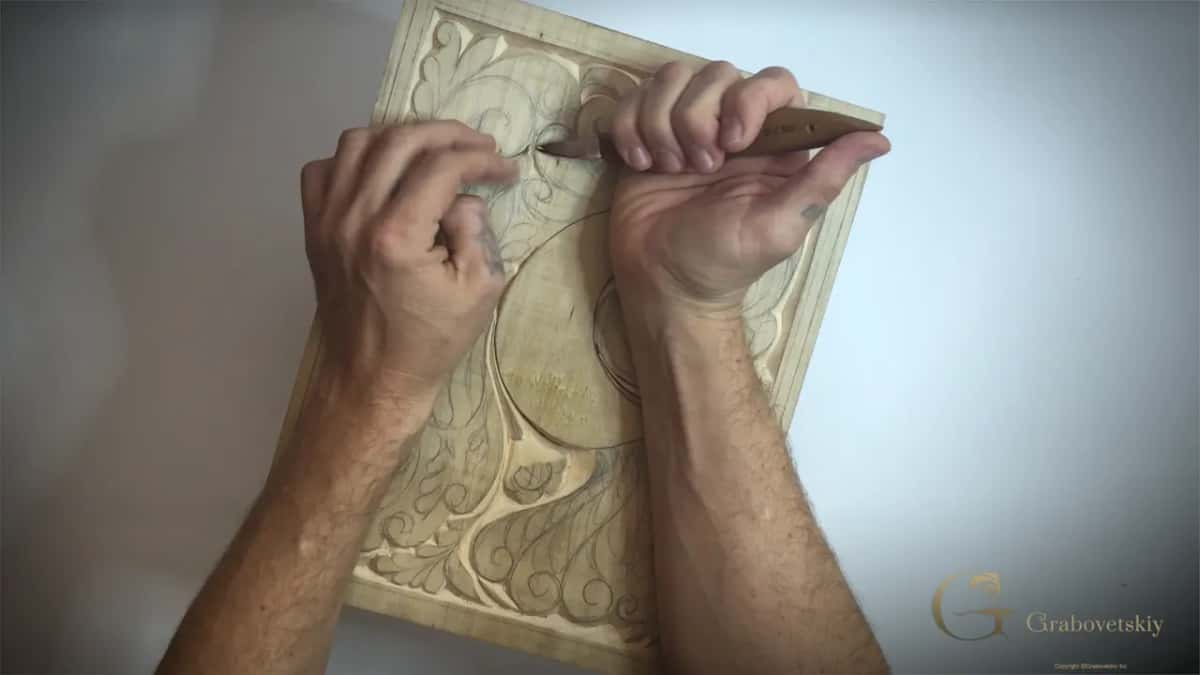
Which muscles are supposed to pull the blade?
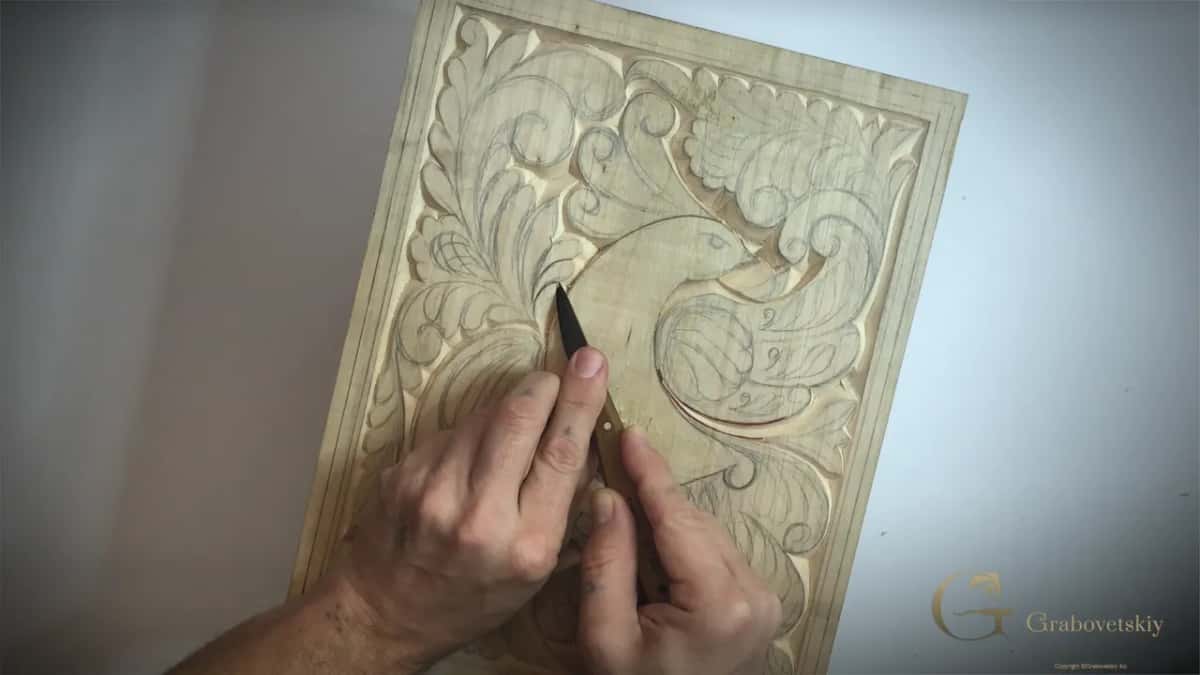
The small ones inside your hand, and nothing above the wrist at all. An arm has power and no fine control at all, and an arm driven pass overshoots the line and then keeps going into the shape beyond it.
Try both on a scrap and the difference is immediate. Finger power feels weak for about a minute, then you notice the blade stopping precisely where you intended. Depth is no problem either, because the lever finger presses down while the pulling fingers draw back, and between them they produce more usable force than a whole arm.
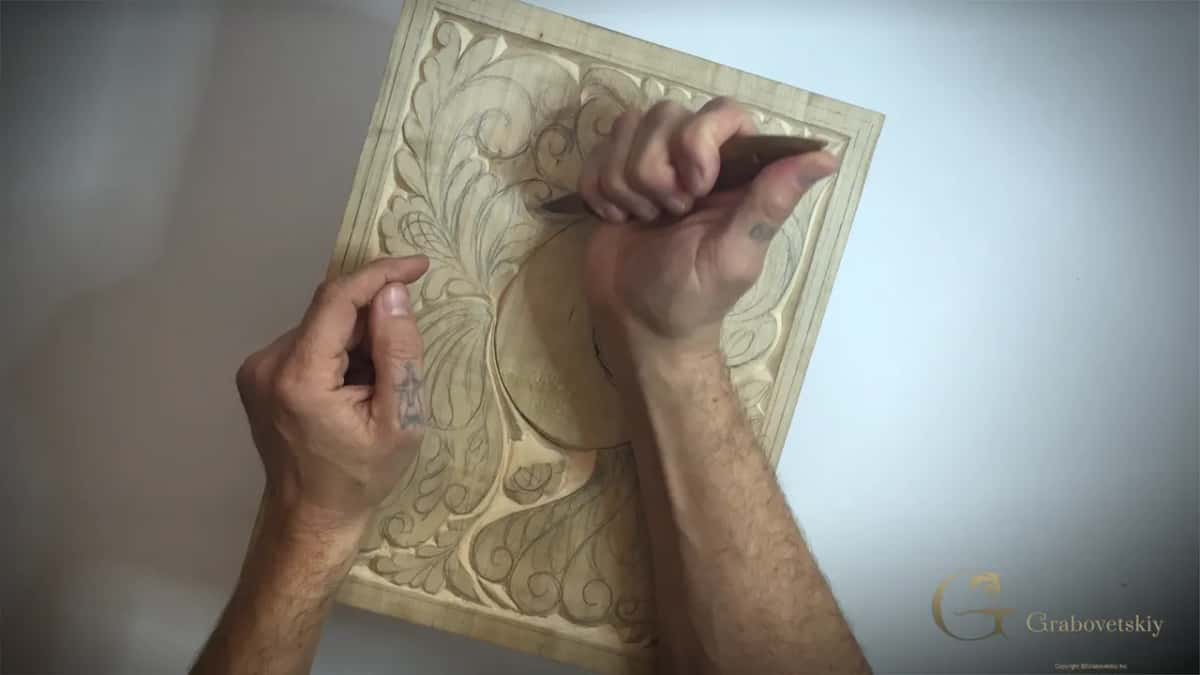
Does that change when you carve away from yourself?
The hand still rests on the wood. Grain direction will sometimes force a pass away from your body rather than toward it, and the temptation then is to lift off and push from the shoulder. Resist that.
Same contact, same finger muscles, and simply reverse the direction of the small movement. My rule is short: whichever way the blade travels, that heel stays referenced against the piece. Everything else about the grip stays untouched.
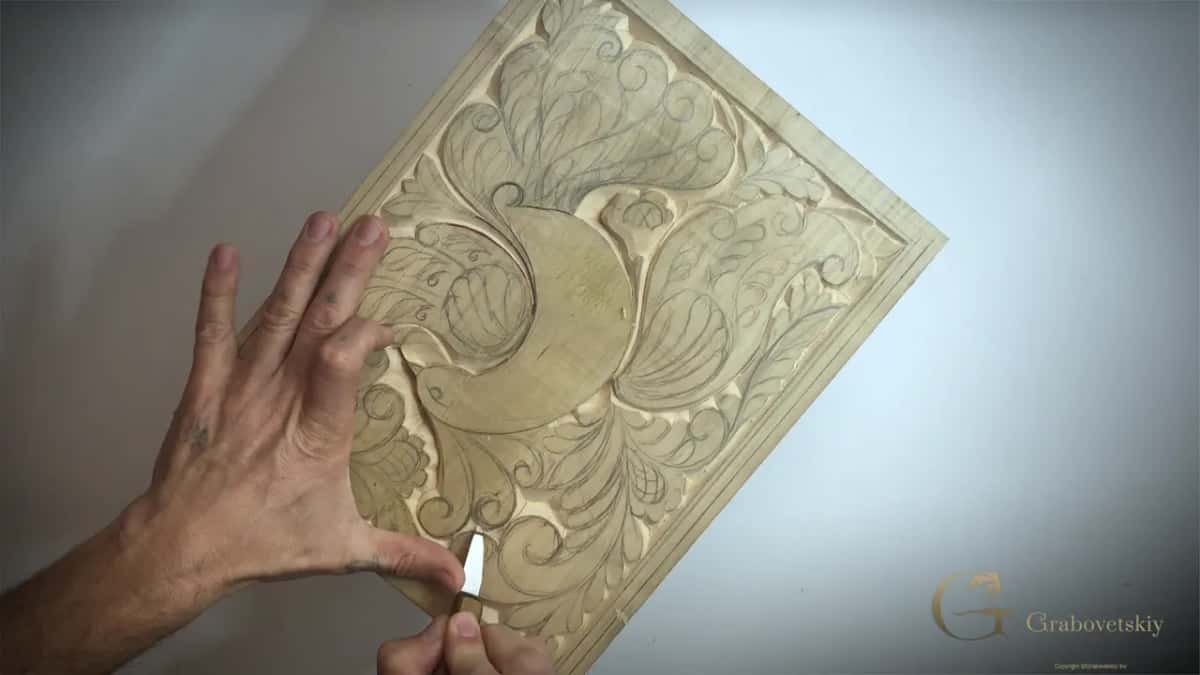
Why do carvers talk about shadow and light so much?
Wood carving has no colour to work with. A painter chooses a palette, and that choice does half the job before a brush moves. Our surface arrives one colour and stays one colour, because a clear coat keeps it, wax keeps it, and even a stain followed by glaze leaves the whole panel much the same shade. Wood finishing of the traditional sort, linseed oil or beeswax, deepens the tone a little and changes nothing else.
What remains is the way light strikes the surface and where the shadow falls. That is the entire vocabulary, and it is why the bird's outline was carved at ninety degrees while everything else got a bevel. An upright wall casts a hard dark line. A sloped wall casts a soft one. Painters call the same idea chiaroscuro, and in relief work it is all you have.
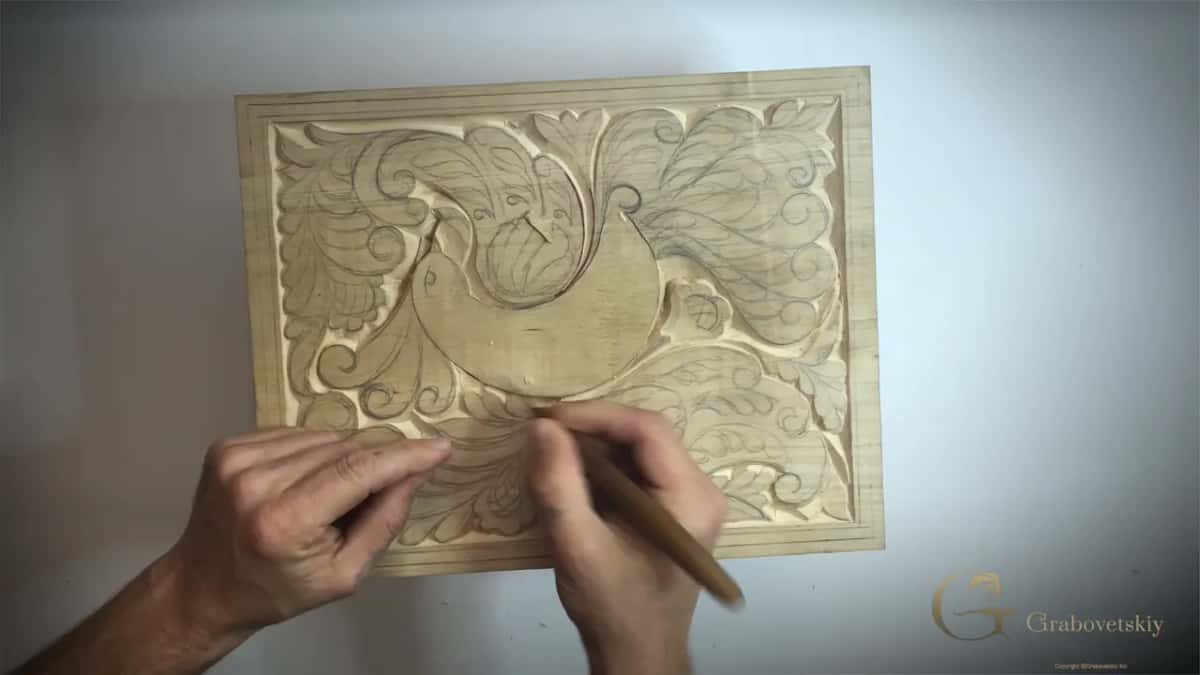
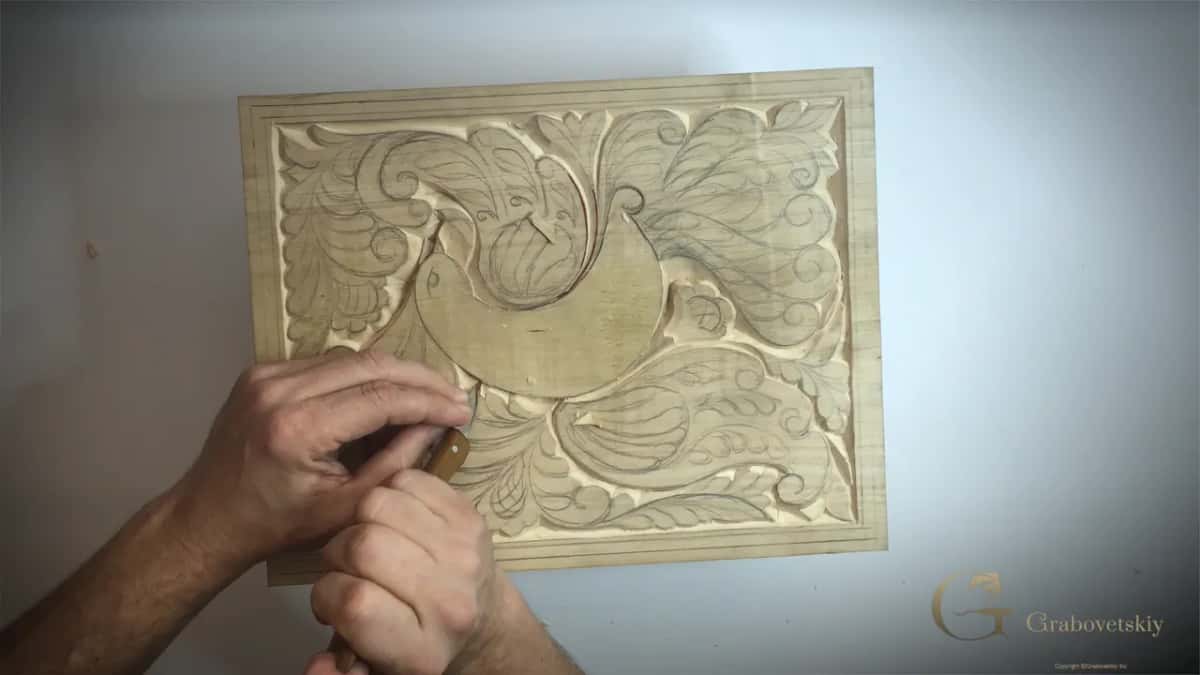
| What you carve | How far the surface drops in that place | The shadow | Where it belongs on a panel |
|---|---|---|---|
| Outline around the bird | Upright, as deep as that shape can safely carry it | Hard line | The single element a design turns on |
| Lowered detail fields | Just under 2.5 mm, judged by eye | Soft edge | Leaves and curls behind the bird |
| Deeper ground | About five millimetres, three sixteenths | More weight | Ground that drops right back |
| The four border bands | One steady bevel held around the whole perimeter | Long line | A frame, carved after everything else |
How deep should the lowered areas actually go?
Call it two and a half millimetres for most of them, or three thirty seconds of an inch if you think in fractions. That figure is not a law. It is simply where this panel looks right, and I go to about 5 mm, three sixteenths, in the places that need to fall further back.
Pick your own depth and then hold it. A panel where every lowered field sits at a different level reads as damage rather than design, so choose a number, carve one area, and match the rest to what you see there rather than to a ruler.
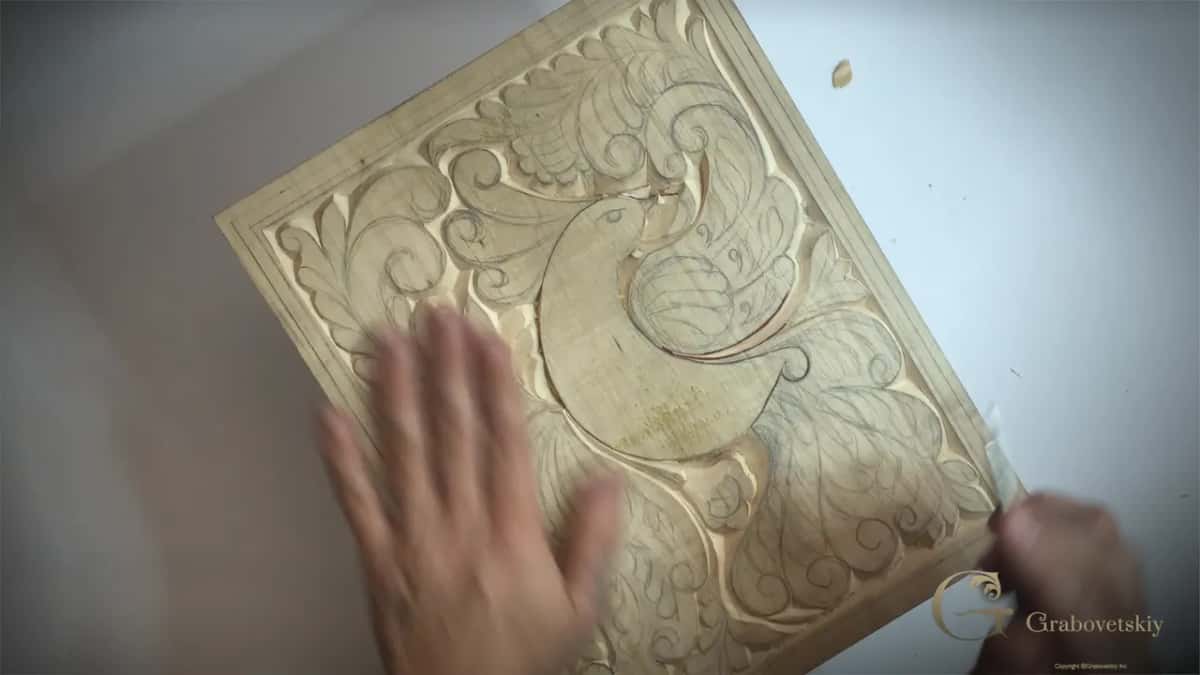
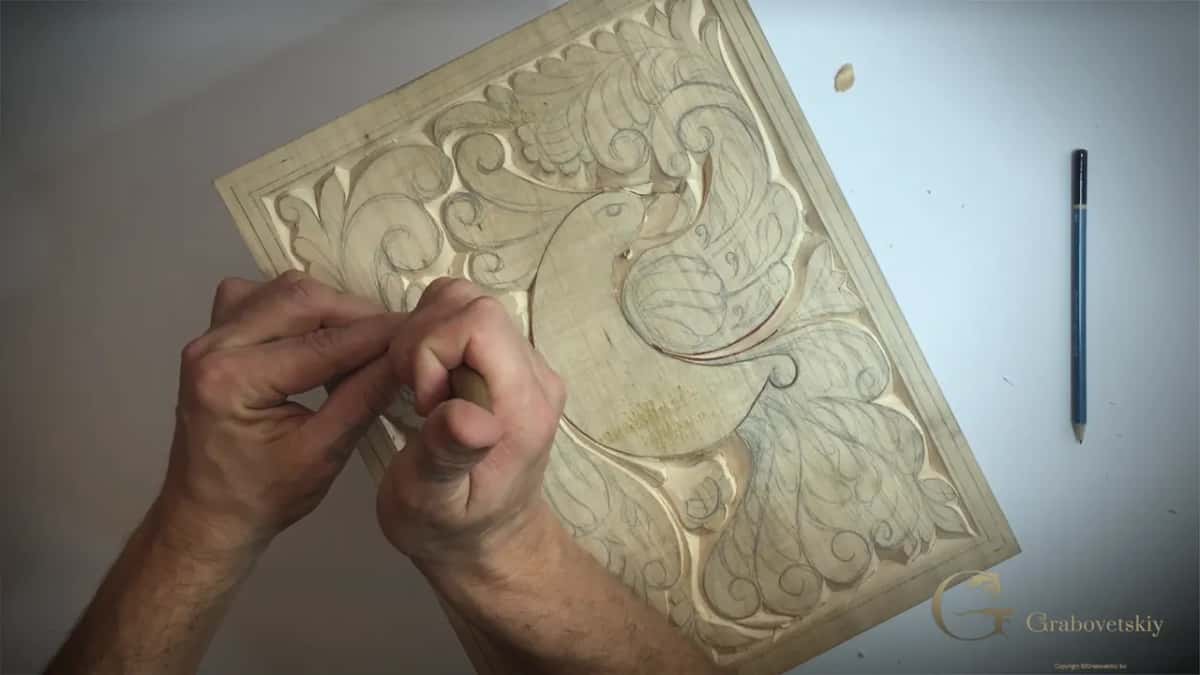
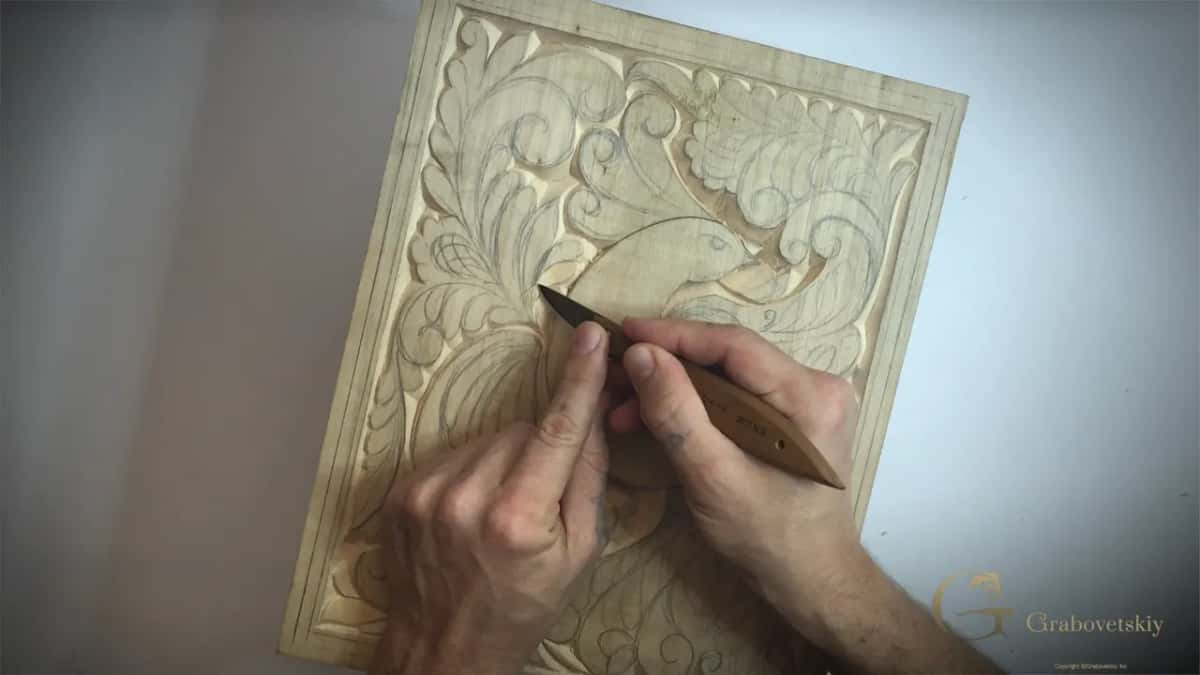
My pencil lines are carved away. What then?
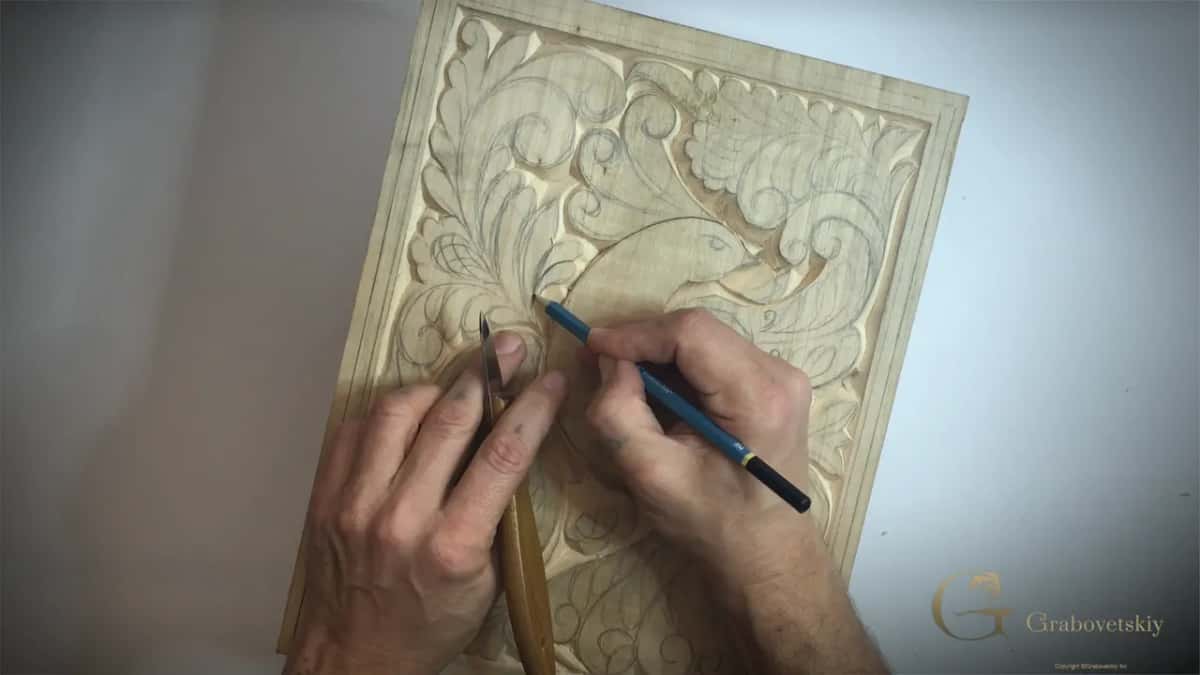
Draw them again, and expect to do it several times. Detail lines vanish as the surrounding wood comes off, which is normal and not a sign that anything went wrong. Keep the pencil beside the knife for the whole project.
Redrawing is also a second chance. A line that felt right on a blank board sometimes looks wrong once the ground beside it has dropped, and that is the moment to change it. My own flowing lines shift by a millimetre or two in this session simply because I could finally see what the panel was doing.
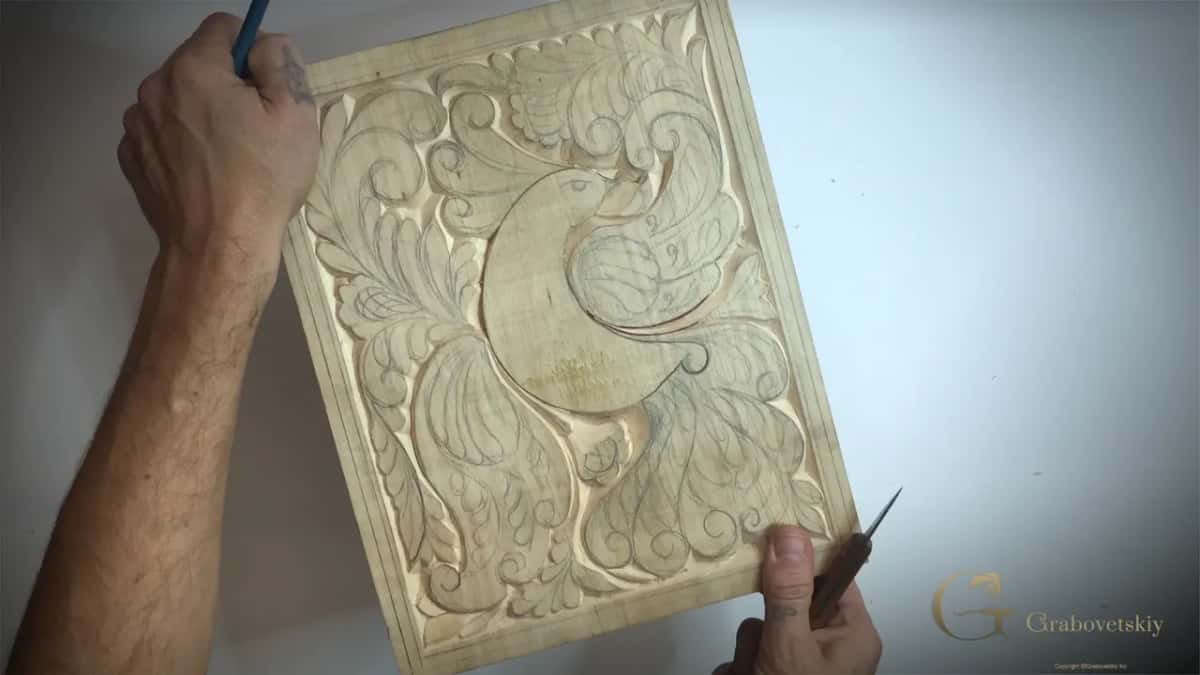
What do you do where the grain runs two ways?
Work outward from the high point in both directions. Locate the peak of the grain inside that shape, travel downhill from it one way, then turn the board and take the remaining half downhill as well. Two passes, one shape, no tearing.
Stopping at the right moment is the skill. Push a pass beyond that reversal and the blade dives under the fibres, lifts a chunk out of your drawing, and the design is damaged rather than the surface. A pass that starts feeling wrong is wrong. Stop there, turn the panel, and take what is left from the far end.
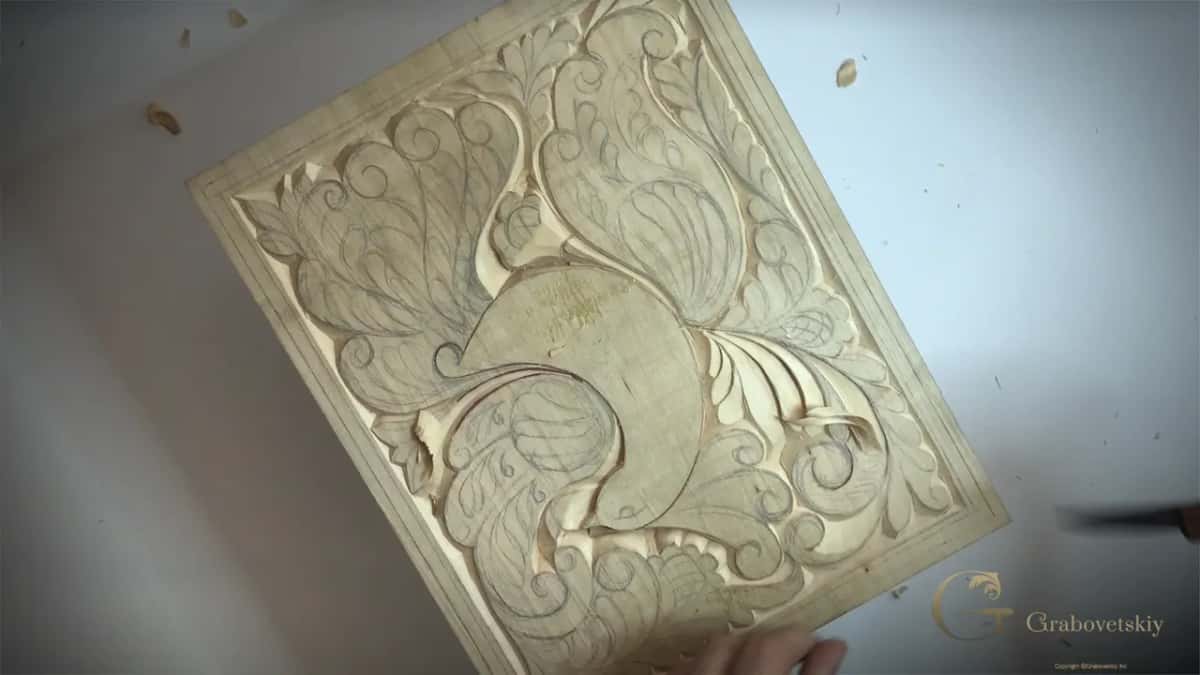
Why keep two knives of the same number?
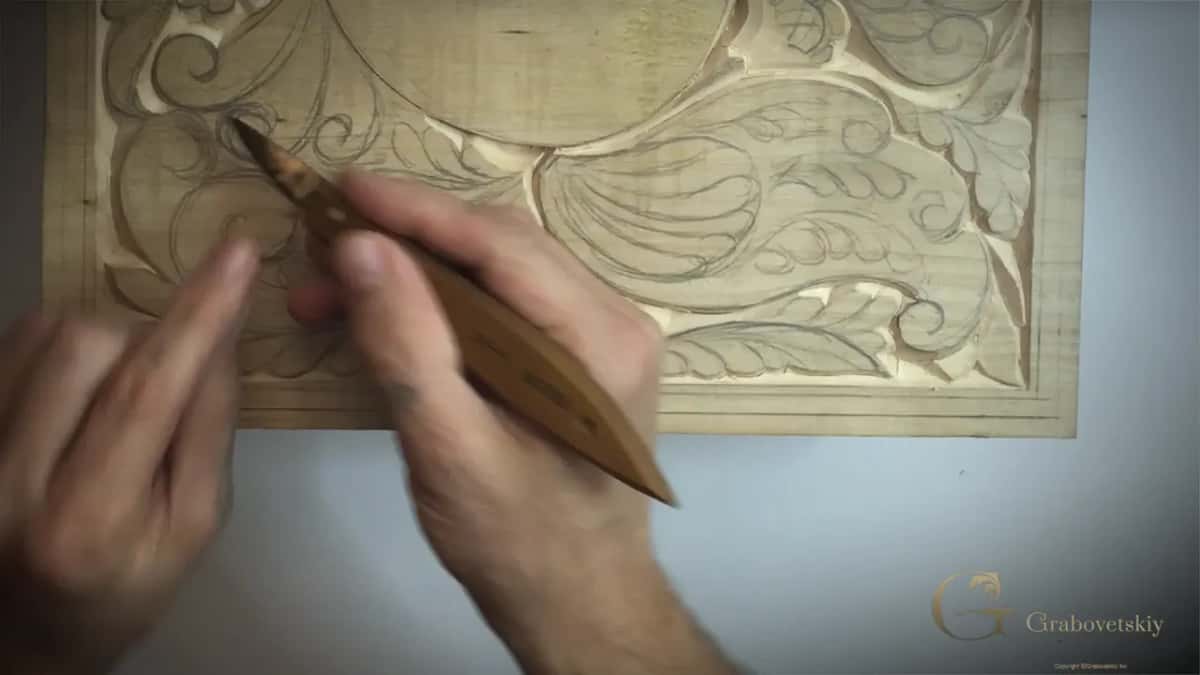
Blade length changes what the knife is good at. The longer of my two number 12s clears wide areas quickly because more edge meets the wood on each travel. The short one refines, because it sits closer to my fingers and I feel everything it does.
Both came from Pfeil and neither cost much. A beginner needs one of them, not two, and a short blade is the better first purchase. The long one can wait until you meet a panel with a lot of ground to clear.
Why do my lines break off at the end?
Pressure, almost every time. A pass that behaves across the middle of a shape turns dangerous over the last few millimetres, because the wood ahead of the blade is thin and unsupported and simply gives way. What breaks off is a piece of your drawn line, never just a shaving.
Pressure falls away to nothing as you approach. The same rule applies wherever a bevel runs out to meet air rather than more wood. The blade should be barely touching by the time it reaches the outer edge, and any waste remaining after that comes off on a separate travel from the other direction. This costs ten seconds and saves an hour of repair.
How do you make one element pass under another?
Lower the one that goes behind, all the way to where it meets its neighbour. The idea sounds obvious and it is the single thing that turns a flat pattern into something with layers, because your eye reads whatever sits lower as being further away.
Decide the order before any carving. On my board the small leaves run under the flower, the flower sits over the ground, and each of those choices has to be made in advance and then carved consistently. Change your mind halfway and you get two elements both trying to be on top, which is the commonest fault in beginner ornament.
What is the first job when you sit down again?
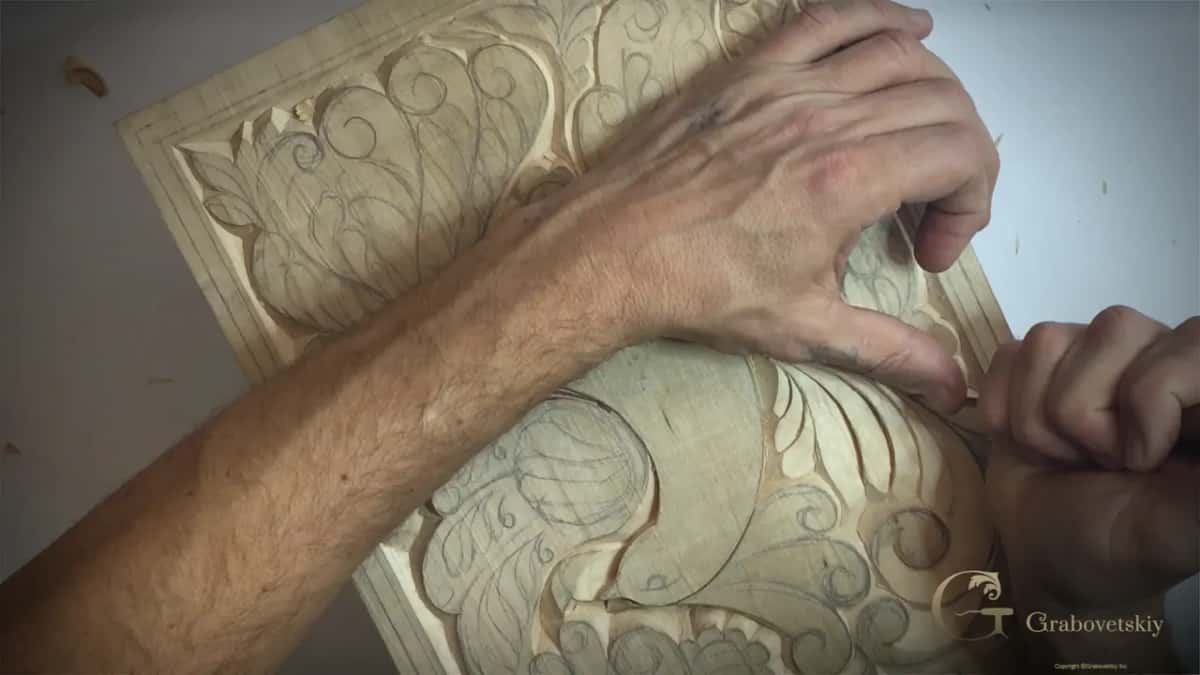
Find the thing you missed last time. I open this session by looking over the previous one and spotting a wall I never gave its cleaning travel, and that repair happens before a single new shape is touched. Carving over an unfinished area only buries the fault deeper.
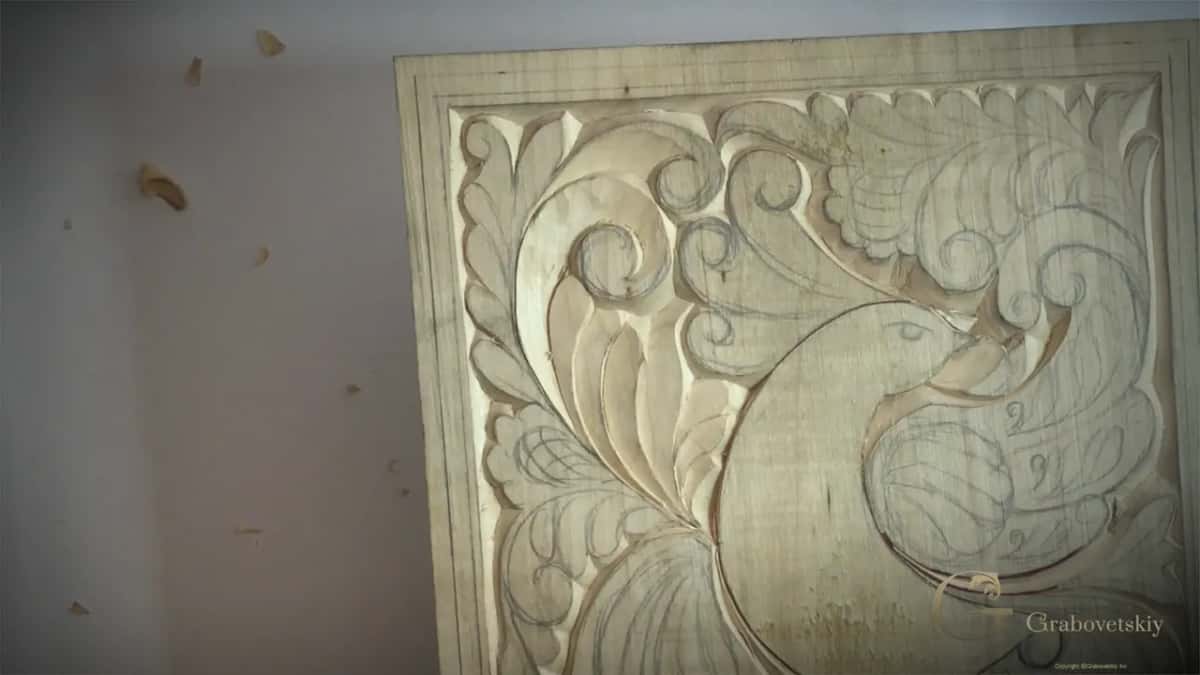
Stand the board up and move your head, that is all it takes. Light from a different angle shows ragged walls that were invisible while you were bent over them, and thirty seconds of looking saves a great deal of woodcarving time later.
Does it matter how the board sits?
Turn the work rather than twisting your arm. Any pass that forces your wrist into an uncomfortable angle will wander, so move the panel until the travel comes naturally toward you. I rotate this board constantly, which is why a vice that grips without marking is worth having.
None of this needs special equipment. A cutting board is heavy enough to sit still on a mat, and plenty of carvers work exactly that way. The habit is what matters. When a pass feels awkward, move the wood rather than forcing the hand.
How many passes does a small detail need?
Three at least, four more often. Outline it, take the waste off one side at a low angle, take the other side, then run a cleaning travel along both. That sequence is the whole of chip carving repeated a few hundred times. Waste that refuses to lift has simply not been freed on one side, which is a reason to travel again rather than to press harder.
Speed arrives on its own. Beginners who insist on one pass break blades, tear fibre and finish slower than the person taking four light ones, every single time. Basswood is soft enough to punish impatience in a very visible way, which is one more reason the beginner projects use lime rather than anything harder.
Is flat carving really easier than relief?
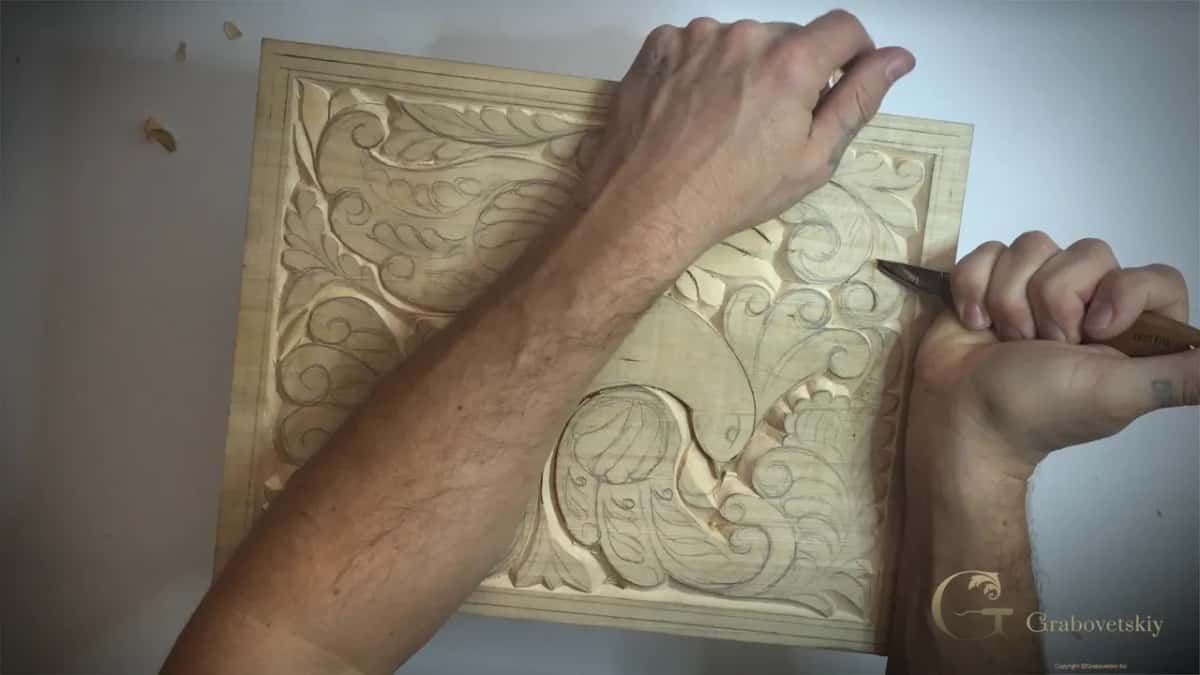
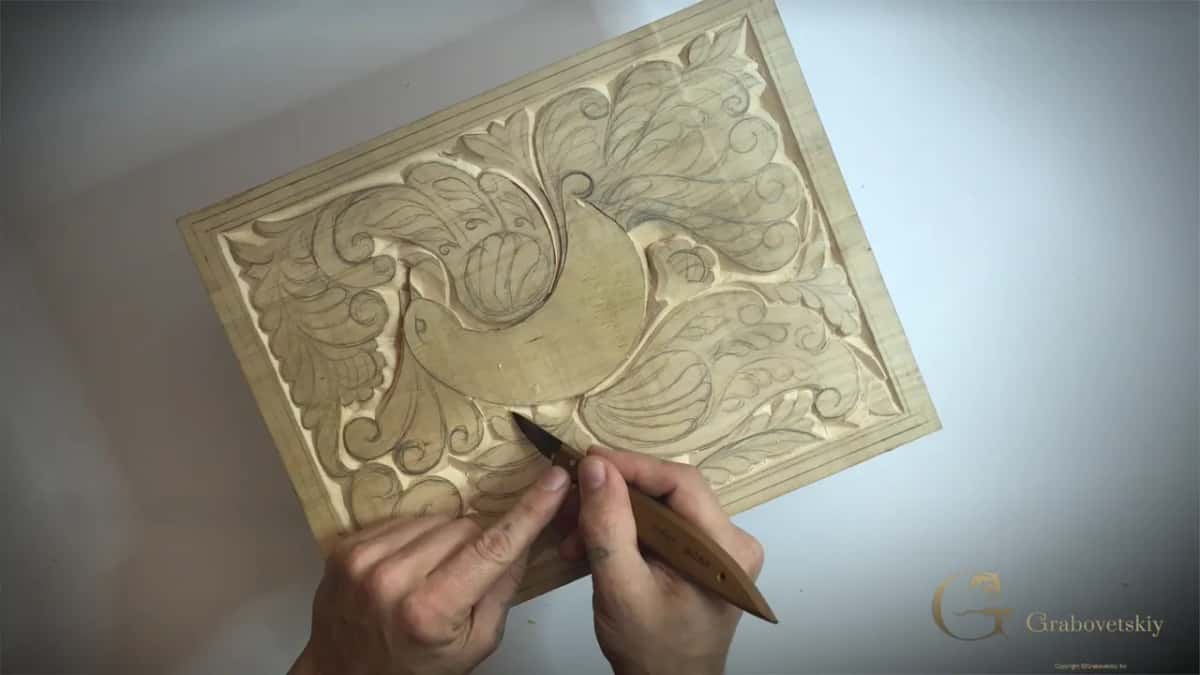
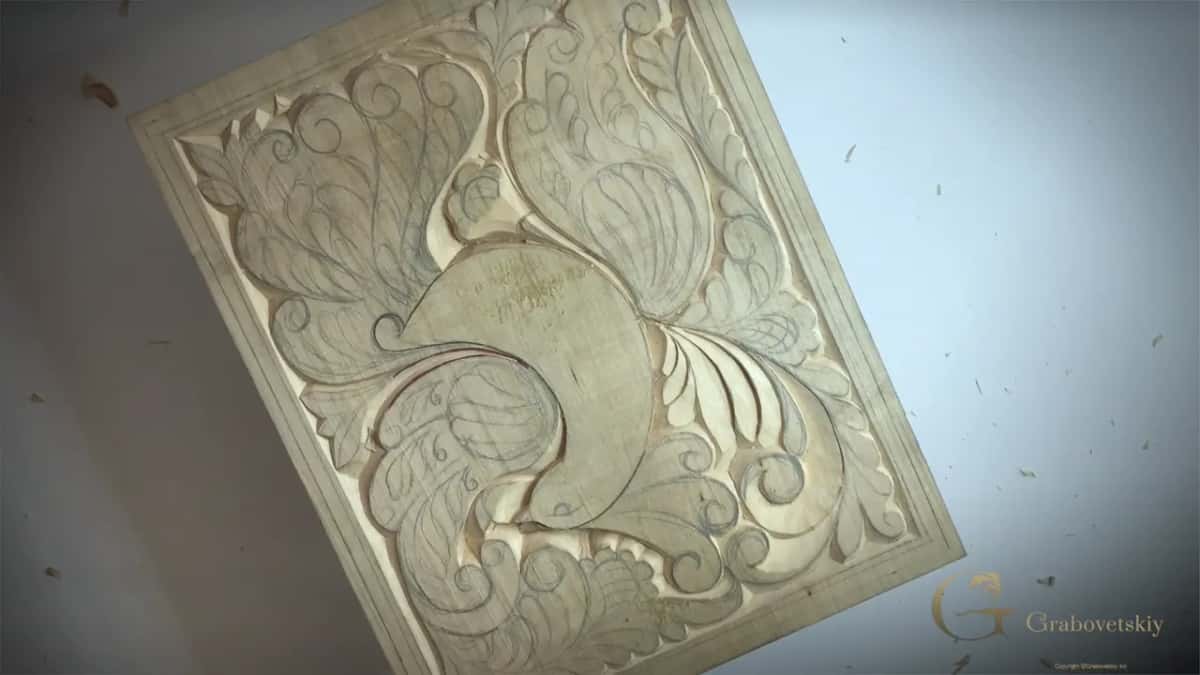
Different, and harder than it looks from a chair. Students watch this project and assume a knife must be simpler than a rack of gouges, then try one pass and change their minds. A gouge brings its own shape to the wood, so half the decision is made for you. A knife brings nothing at all.
Every curve here comes from a straight edge travelling along a line you drew, held at an angle you chose, to a depth you judged by eye. That is three decisions per pass and a few hundred passes per panel. The reward is that the training carries into everything afterwards, because a hand that can hold one angle for an hour can hold any of them.
What is on the bench, and where does this lead?
One knife, a pencil, and the panel from Workshop 6. An edge that will not free a chip cleanly makes all of this impossible, so the sharpening course comes first if yours is dull, and the tools course answers what to buy.
The reasoning behind which element sits on top belongs in principles of design, and the whole run of this project lives in the beginner course inside the school. Next comes Workshop 8, which answers the sanding question for good.
Four parts, about thirty one minutes. Part 7.1 clears the big waste area and explains the grip, 7.2 lowers the detail fields with real depths, 7.3 works two volutes, and 7.4 makes the last details match their neighbours.
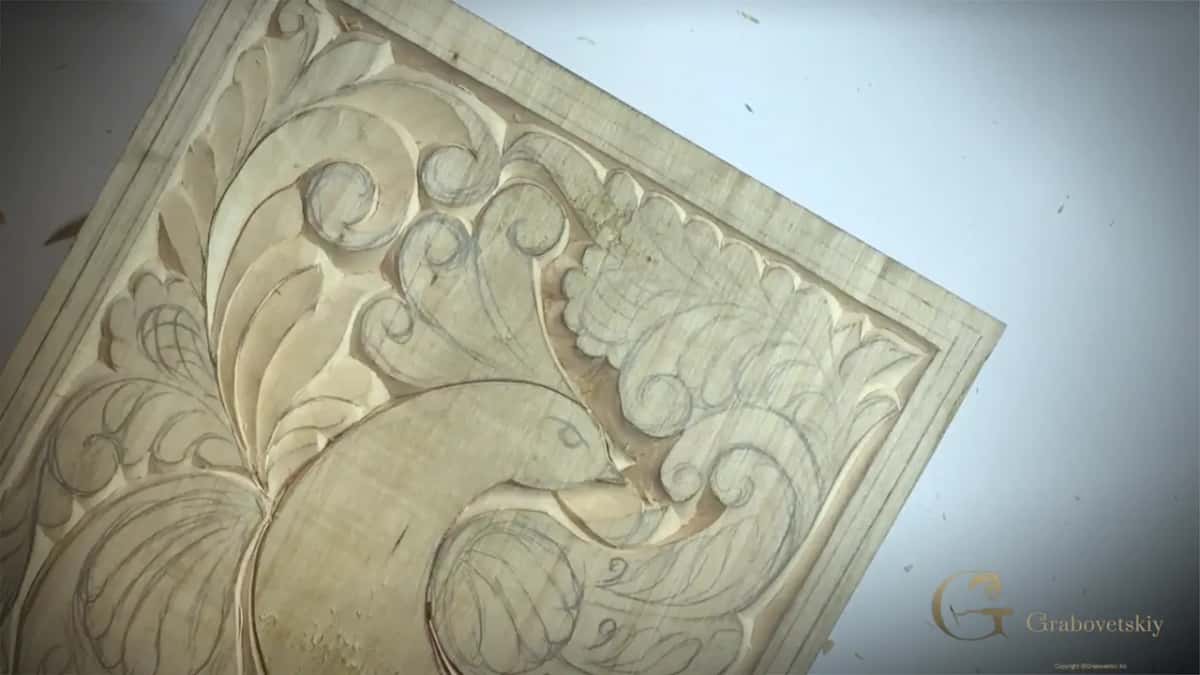
Try the grip on a scrap before you touch the good panel, and give it a full ten minutes rather than two. Ten minutes of that grip will tell you more than this whole page did. Palm heel on the board, and pull with your fingers. Feels wrong for about a minute, does it not? Shall we carve?
How it's done
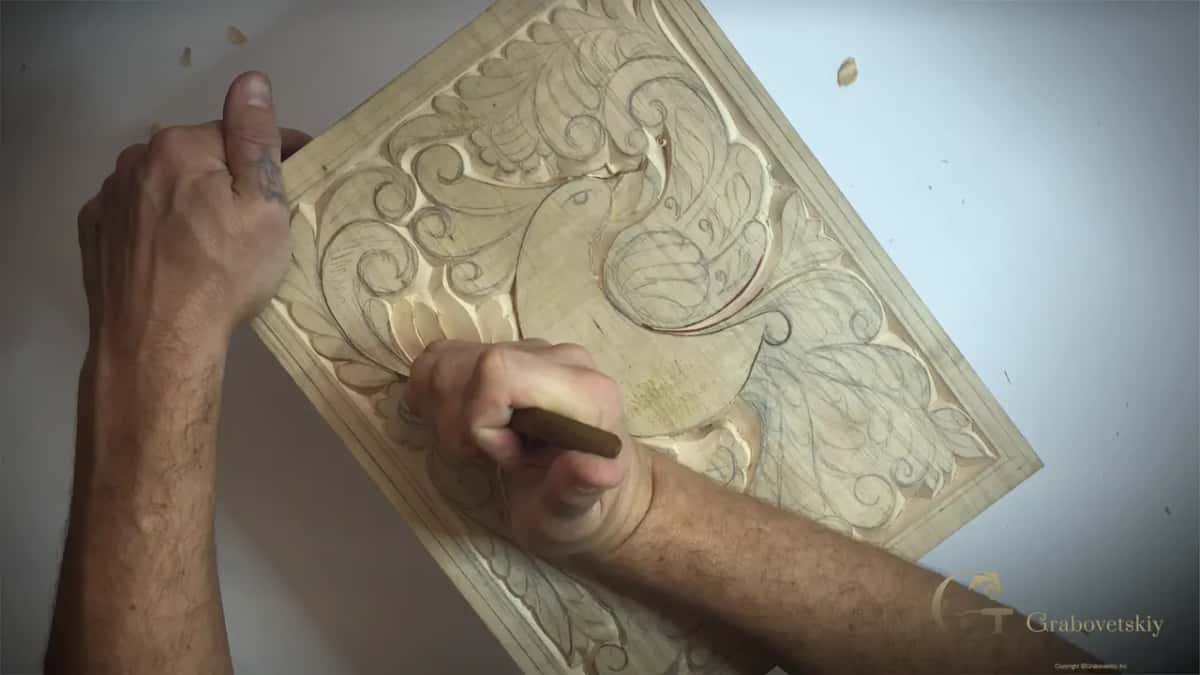
- Get the hand down. Set your palm heel directly onto the panel so nothing is left underneath it. A hand held in the air passes every shoulder tremor straight to the edge.
- Hold the handle in the palm. The handle sits deep in your hand rather than between fingertips. Short grip, blade close to the hand, and a short blade suits fine work better for the same reason.
- Work from the fingers. Draw the blade toward yourself using the small muscles of the hand alone. Let the arm stay still; it has power and no accuracy.
- Brace with the other finger. Set one finger down behind the blade to push against. That lever is what adds depth without adding the wild force an arm would bring.
- Ease off near the edge. Pressure fades to almost nothing over the last few millimetres of any travel. Thin unsupported wood there breaks away and takes the drawn line with it.
- Turn the board for the other half. Once grain reverses inside a shape, stop, rotate the work, and take what is left downhill from the opposite direction instead of forcing the pass through.
Frequently asked questions
Why does my hand ache after carving?
Most likely you are driving the blade from the arm or shoulder. Put the heel down, work from the fingers, and a long session stops hurting almost at once.
Should I pull the knife toward me or push it away?
Grain decides that, never preference. Travel downhill from the high point whichever direction it turns out to be, and keep the heel down either way.
How deep is a lowered background in flat carving?
About 2.4 mm on this panel, dropping to five millimetres where the ground has to fall right back. Choose one depth and repeat it rather than measuring every area.
What to carve next