

Alexander Grabovetskiy, woodcarver, School of Woodcarving · Published 2020
What does a wood carver mean by "main body"?
Quick answer: "Main body" is a phrase I said in Venice Room workshop 73, part 10, while I worked toward a section I had to protect. Other lessons use it for a box lid, a molding, a petal and a form I wanted to reveal.
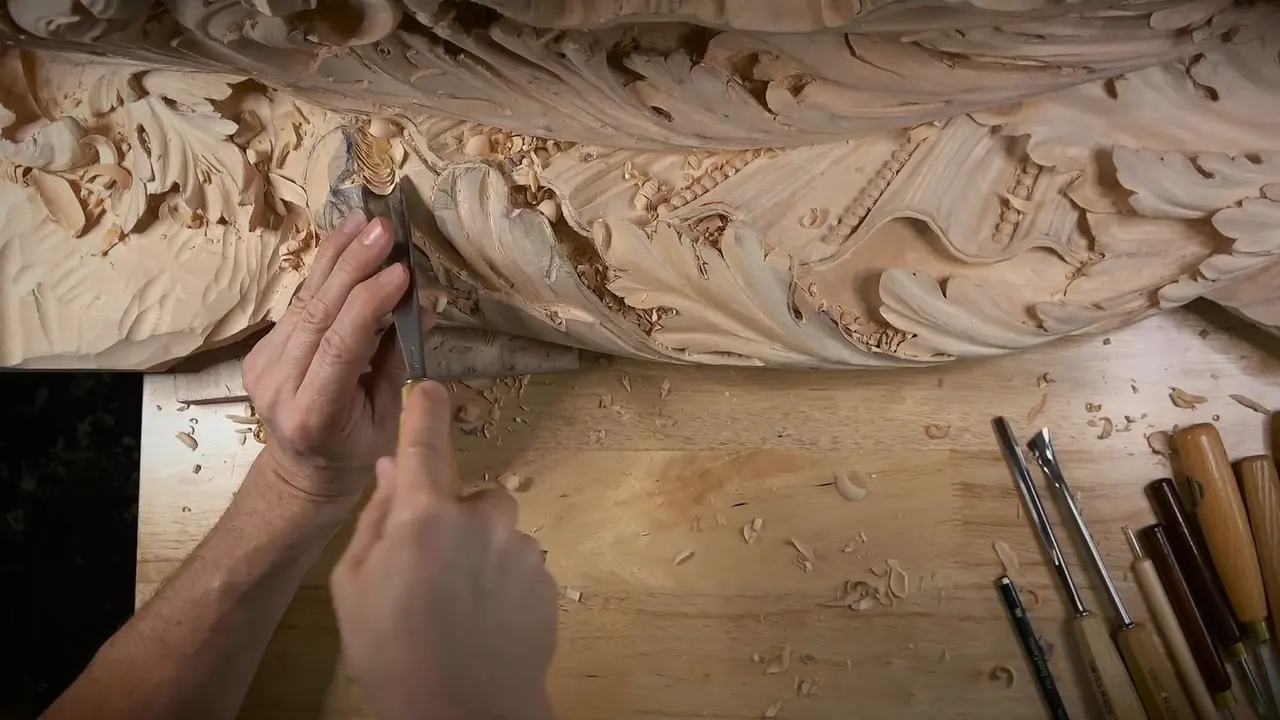

"Main body" is a phrase I said in Venice Room workshop 73, part 10, while I worked up to a part of the carving I had to protect. In other lessons it named a box lid, a petal, a molding and a form I wanted to reveal.
Ever carved toward a line you did not dare cross? Did your hand slow down on its own? Come through part 10 with me, then through the lessons where I said main body out loud.
What did I say about the main body during part 10?
A plan for depth opens this part. This section would take "less excavation, much less," I said, and the closer I got to the end, the more it would be "much deeper excavation." About the spot I was in, "I'm getting really close to the slope. I'm already actually pretty much on a slope." Next up was a number nine. I would "shave my way in" little by little.
"Again, I have to be really careful when I'm approaching my main body." Those were my words. Then, "So I've got to make sure I'm not doing the wrong thing, okay? Really important." One slip there, I said, "would be a big mistake."

"That's why I didn't do the detailing yet on inside. There is a little groove," I said. On one side the groove was already there, and on the other I had not done it, since I wanted to finish this movement first.
The same part has a question in it. Early on I asked, "Am I doing the right thing? That's the question I have." Later in the part, "I still have doubts if I'm doing the right thing."

Which tools came after the warning?
"That has to be gradual," I said. Next, "So I need to use probably just the number 11 now." First came "maybe five-eighths of an inch" (about 16 mm), and then "about half an inch, about 12 millimeters" (0.47 in), number 11 veiner.
I changed my mind once more. "You know what? I probably should use even smaller. Maybe even just a seven millimeters" (0.28 in). A smaller tool also meant "a lot less resistance," and I added that I can always clean what needs to be cleaned.

Underneath was a job for later. "Later on, I will have to go right underneath. But you can see it's already casting shadow, and that's beautiful shadow," I said, and then "I don't want to undercut right now because I still have to establish movements on this piece."
Then there was roundness. "I think it's a good idea to actually create the same idea what I've done right here, like roundness." That would make it "easier for me to determine how deep" to go on the opposite side. After it came "the concave and a concave on both sides." Probably the same tool as before, I said, a number 11 at 7 millimeters (0.28 inch).

How did a back bend help beside the main body?
I planned a back bend for one section. "So I'll take a number five and half an inch back bend" (about 13 mm), I said. Then "It doesn't have to be skew, okay? Don't panic. So you really don't need to." And "any back bend will work."
Then came the reason, and I put it this way. "If I would just show that to you. See? With the normal tool, I can hit only this section right here," and "So back bend is my solution." About moving myself, I said "It would help me also. But I don't think I need it."

What do the neighboring parts say about the main body?
Workshop 73's ninth part says it too. "It's almost impossible to undercut this way," I said, because of the main body "on the way." It would be visible, so I had to be "really mindful." And "It's got to be really gradual."

Another side shows up in part 1, one I could not reach from the other way. "I cannot attack from opposite direction because you understand there is a main body." Then came a short fix. "The only solution is to make my tool a lot more sharper," I said, and "skew also helps to make it much cleaner."
Part 12 goes the other way round. On an edge, I did not want the concave I had made "on the main body, on the main view." Right here, I said, "it's different idea." It sat "right on the ceiling," and the edge would be "the main convex," and then "somewhat concave." I wanted it to look "really good from all points of view," so I would do "a little different from the main body." These parts sit in Venice Room 73.

Did the main body stop me from undercutting in workshop 70?
It made undercutting tough, and in workshop 70, part 10, I wanted to get "really deep" in one area, for "a beautiful transition to the ceiling." And "I do have the main body already, so that would be kind of tough to undercut. But it's not impossible." I called it "a little challenging."
"But it's still possible, but different technique I should use," I said. "I went almost an inch deep. You don't see that, but it's almost one inch deep, like around 25 millimeters or so" (0.98 in). And "Attack that from two sides."

A line about it sits in the twelfth part of that lesson, too. "Like smooth transition to the main body. I like it. I like it actually a lot." Further on, "When you look at this stage, it looks really messy, not really appealing, but it's okay." And any gouge will do to begin rounding, I said, like a number six or a number seven.

Lesson 70, part 5, has one more. The words were "I'm not going to have division toward that side," and the rest would go only "toward the main body."
Workshop 70 gives a warning in part 9. A concave called for being smart, since "it's right on the slope," I said, adding "it's not really convenient." The plan was "maybe number nine and a spoon," taking care "not to hit my detail on the main body." And "it's really close already."
What overlaps it in workshop 69?
In Venice Room 69, part 8, I had a choice to make. Because the spot would be "visible from the bottom," I said it made more sense to "overlap the main body, the main structure." I could also "get extra division on inside."
My plan for depth was "about maybe 3 millimeters or so deep" (0.12 in). I added, "Otherwise, I'm going to lose my feel of a sphere."

Did it steer a cut in workshop 72?
It did. In workshop 72, part 10, "I'm carving against the grain, and it doesn't give me a really good cut," I said. "But I'm not able to actually go from this side because it's almost impossible for me." I named the main body next.
A skew was the answer. "But I can fix it with the skew and just go against the grain and still create a clean cut." I said "I like the movement." Part 9 of that lesson has a shell that "is equal to what you see on the main body," and I would have "a few more spots like that."
Which marks and measures came with it in workshops 86, 90 and 91?
Workshop 86, part 1, has "Let me right away get the number three." Then "I have a mark, which you don't see, of the main body in this section." Next, "otherwise, it would be too late for me," I said, which is why I "didn't do too aggressive cuts."

Workshop 90, part 12, gives a number. The words were "really nice and close to the main body." Then "you're going to leave approximately six millimeters in this case" (0.24 in). Then "I really want to get a really deep shadow underneath," and "this part could be airborne."

And in workshop 91, part 8, I said "I need to get with my number seven and completely lower that down below the main body." Next, "Maybe I have to actually lower that quite a bit because I have a main body really far. So maybe I have to actually just get rid of a lot of material and redo some of the concaves because it doesn't look too natural as of now."

How did I reveal the main body, or lay it on a leaf?
Over in workshop 82, part 7, I said "I can expose this and make it look really, really, really, really nice." Then "that way, I will reveal that main body form, okay?" And "in this case, it's a 7 millimeters, number 11" (0.28 inch), and "I have a mark below how far I can go." I would rather not go too deep.

From workshop 42, part 4, comes "this part, the main body, lays on top of this folded leaf." Next came "I need to start undercutting all the way up, and carefully approaching to this division. Kind of hard not to break it, but it's not impossible."

What was the main body for the Lily Box?
In Lily Box 6, part 4, "this ridge of this second volute is little too high versus my main body, the main lid," I said. "So I need to take this ridge really, really much closer than what I see right now. But it has to be gradual, like a three-dimensional movement."
"I need to use probably number nine and carefully, again, try to create my cuts little by little," I said. Then "see, it's catching the grain right here. It's really crunchy. I need to really slice it."

Lily Box 5, part 5, has a slope. "This main body has to slope like this and that way," I said. "And before I do that slope, I need to make a cut between this part and the future slope, and I'll use 1 millimeter again" (0.04 in).

Was the word on the panel and on a petal too?
Both had one. In Furniture Panel 19, part 2, I said "I don't want to make mistakes," and then "Just attacking that, like on 45 degrees. I'm going to approach to my design just like that." Next, "which makes that one is just a little higher than the main body of that molding."

In Hashemi Flowers 44, part 5, a petal had one. "Now I need to clean the main body of this petal with just a knife," I said. After that, "take again number three and establish the main movement upward." Then "number 11 and 1 millimeter" (0.04 in), and "half a millimeter, just to clean that old junk from inside."

Does the Greek leaf have it too?
In Greek Acanthus 14, part 3, I said "we're going to use it in our own advantage. So the overall design is not going to change." Then "We still have the main body left, which is okay." And "Kind of lower down a flow line. So I'm talking about downhill flow line."
Then "let me take a V tool and cut downhill, just that direction." After it, I said "I'll take my number 1 and blend in this cut." And "I think it looks good."

How do the lessons line up side by side?
Each lesson on this page, with the main body named beside it.
| Lesson | Role | Then |
|---|---|---|
| This part, 73.10 | A groove I did not do yet | Detailing waited |
| Part 1 of the same lesson | Opposite direction blocked | The only solution was a sharper tool |
| Lesson 70 | Tough to undercut in part 10 | A different technique |
| From part 8 of Venice Room 69 | Visible below | Overlap it, about 3 millimeters deep |
| Venice Room 86 | A mark that you do not see | Not aggressive |
| In part 12 of workshop 90 | About six millimeters | Stay close, with a deep shadow beneath |
| Workshop 91 | Lower that below the main body | A number seven |
| In part 7 of Venice Room 82 | The form | Use a number 11, 7 millimeters |
| Venice Room 42 | Part that lays on a folded leaf | Undercut carefully |
| Part 4 of Lily Box 6 | The main lid | Use a number nine, then really slice |
| Panel 19 | Spot above the molding's main body | Approach, 45 degrees |
| From part 5 of Lily Box 5 | A slope | A cut of 1 millimeter first |
| Hashemi Flowers 44 | The body of a petal to clean | Number three |
Where can you watch part 10 and the lessons on this page?
You can watch part 10 in Venice Room 73. Workshops 62 to 73 are in Venice Room Part 6. The other lessons on this page have their own pages, linked above, and each is open to you with school access. A workshop number means the Venice Room, and every other lesson carries the name of its own course. Each of these is a wood carving lesson from my school, and painters call the play of light and dark chiaroscuro.
Want to hear me say it in my own voice? Start here.
How it's done
- Name the tool for the next move. Part 10 names a number nine first, and later a smaller tool.
- Go gradually near it. Gradual was my word, with a smaller tool for a lot less resistance.
- Hold a detail back. I did not do the detailing on the inside yet, because there was a little groove I wanted to leave until I finished the movement.
- Reach with a bend. Where a normal tool could hit only one section, I said a back bend was my solution.
Frequently asked questions
Which words about it did I use in workshop 73?
A wrong move near the main body would be a big mistake, so I had to be really careful. The groove on one side was not done yet, and I wanted to finish that movement first.
Which tool did I name beside it in that part?
My plan began with a number nine, then a number 11 veiner at about 12 millimeters (0.47 in), and after that "even smaller." I also named a number five back bend for a spot where a normal tool hits only one section.
How much did I leave near it in workshop 90?
Approximately six millimeters (0.24 in), I said in workshop 90's part 12. A really deep shadow underneath was what I wanted there, and of one part I said "could be airborne," though I was not sure I would do it.
What to carve next