
Alexander Grabovetskiy, woodcarver, School of Woodcarving · Published 2017
How do you keep a carving knife sharp during a project?
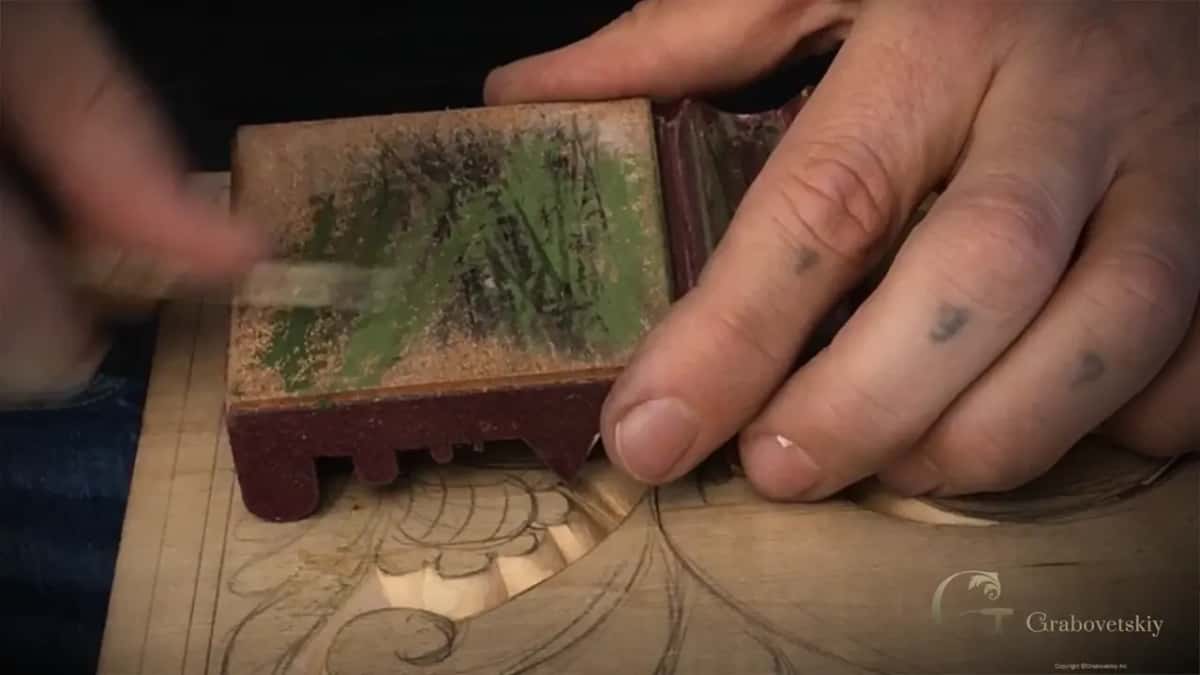
Quick answer: Stropping a carving knife mid project takes a leather block, a smear of green compound, and about twenty strokes each way. Watch the leather: when it darkens, that colour is steel leaving the edge. I stop and do this partway through every session, long before the blade feels blunt.
Stropping a carving knife mid project takes a leather block, a smear of green compound, and roughly forty pulls in total. Watch the leather: when it darkens, that colour is steel leaving the edge. I stop and do this partway through every session, long before the blade feels blunt.
Has your blade ever started fighting you and you carried on anyway? Do you know what a really sharp edge sounds like going through lime? Then stop where you are and strop it, because that noise is half the feedback this workshop runs on.
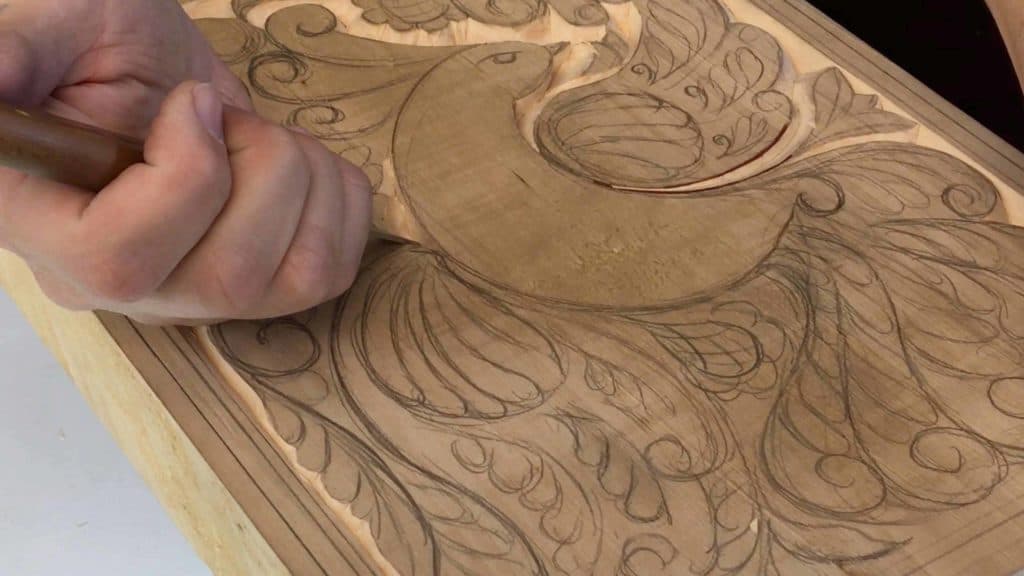
I am going to be honest with you. Workshop 5 looks like more of the same outlining, and in one sense it is. What changes here is everything around the blade: where two bevels meet, how much waste to take at once, when to put the knife down and touch up the edge, and why one shape on this panel gets treated differently from all the others.
What this workshop actually teaches
- Strop with leather and green compound whenever the edge stops throwing crisp waste. Forty pulls, split between the two bevels, is plenty.
- Both walls lean inward on nearly every shape, which closes the groove into a V underneath.
- Next to the bird itself, one wall stays vertical instead. That single choice is what makes the bird sit above everything else.
- Take waste in slices rather than one heavy lift. A blade driven hard into a vertical wall leaves marks you cannot remove.
- There is no gauge for depth. Your hand learns it, and that learning is the real point of a beginner project.
What does it take to strop a blade halfway through a panel?
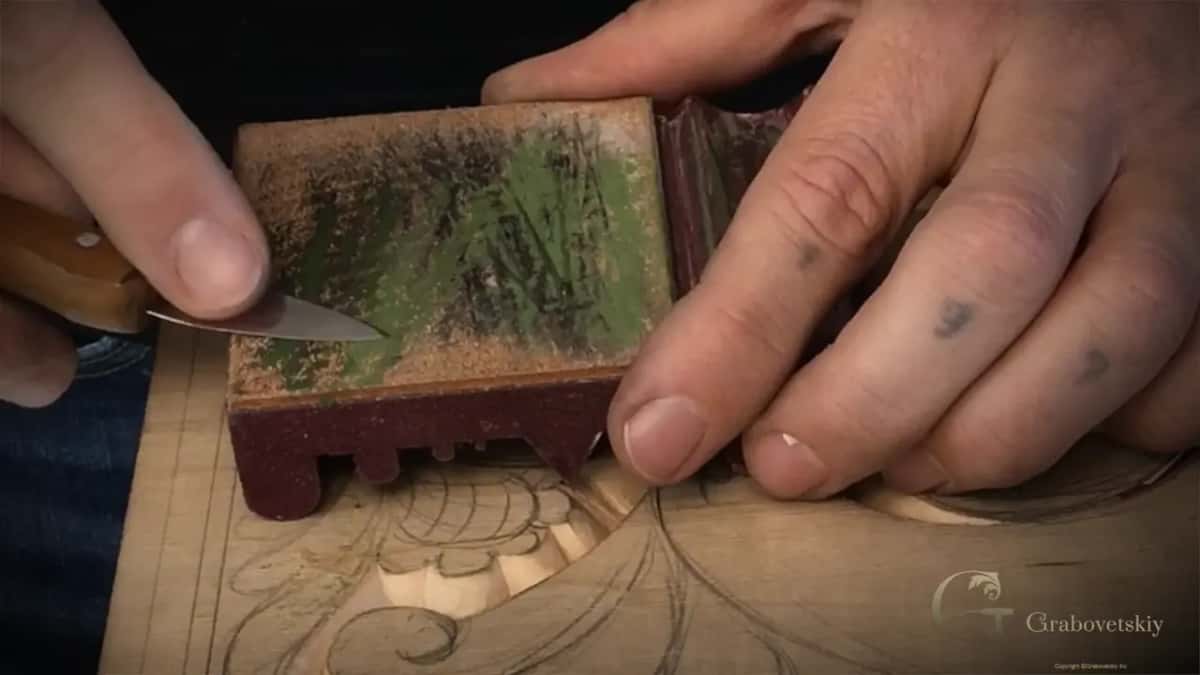
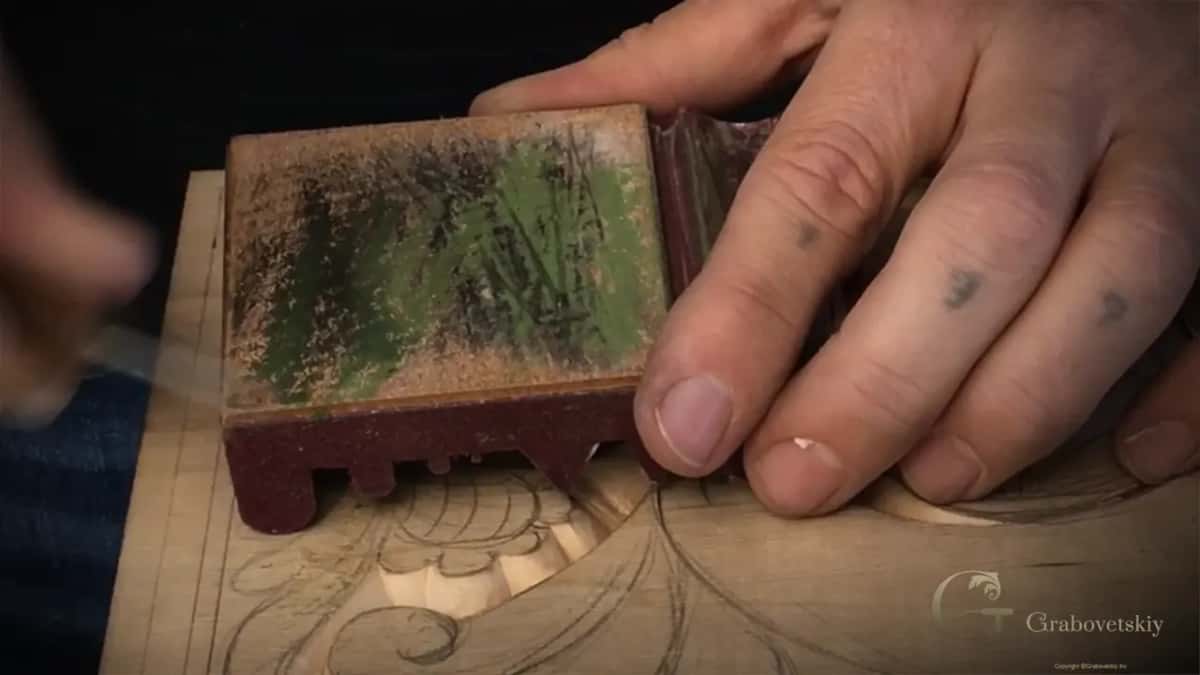
Leather, compound, twenty strokes, both sides. Load a leather block with green compound, lay the bevel flat on it, and drag the blade backward, spine first, never edge first. Count twenty. Turn the knife over and count twenty more. Your edge comes back sharper than the stone alone ever left it, and it takes under a minute.
Look at the leather after a minute of that. Black streaks mean you are moving metal, which explains why a strop works. Green compound is chromium oxide, a very fine abrasive, and old carvers had none of it. Plain leather still works, more slowly, and their panels are in museums.
How often should a beginner strop?
Far more often than feels necessary. Waiting until the knife obviously drags is waiting far too long, because by then you have already torn fibres you will see in the finished panel. I strop partway through a sitting, sometimes twice, and the whole thing costs under a minute.
Full sharpening on a stone is a different job and belongs to a different day. Read the difference this way: stone changes the shape of the edge, leather only polishes what is already there. Anyone who has not learned that split yet should work through the sharpening course before spoiling a good board.
What is the marriage line in a V groove?
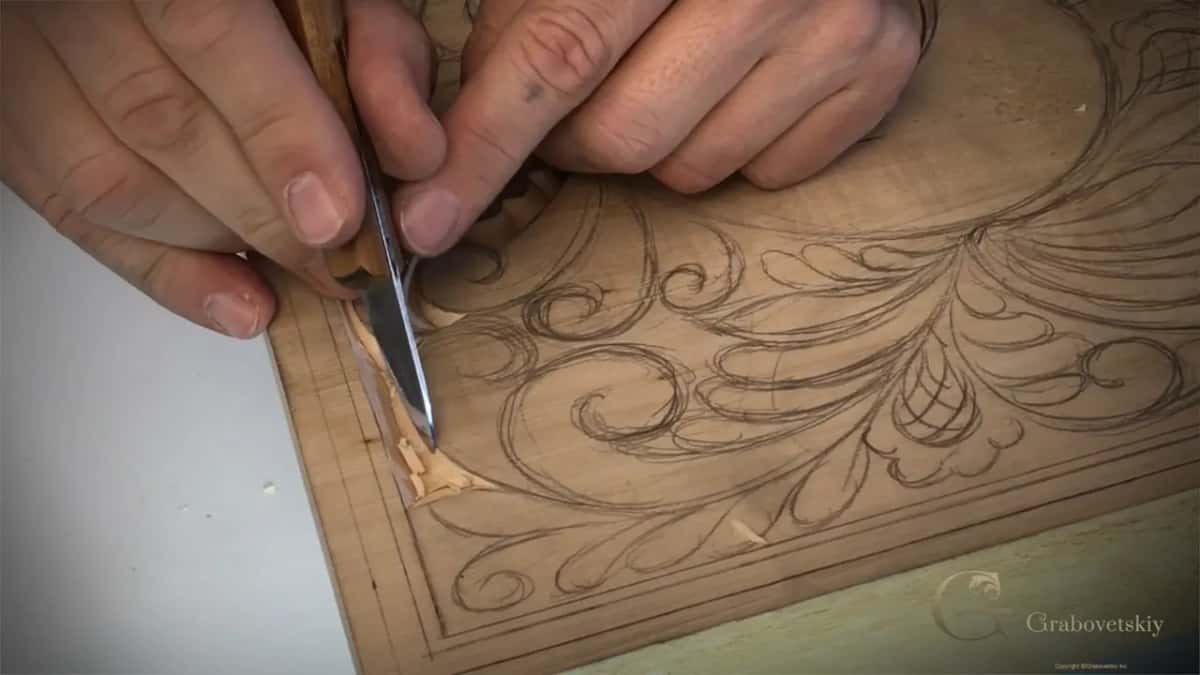
Where the two bevels meet at the bottom, and I call it that because the two sides marry together down there. Run one bevel from the left, run its partner from the right, and if both are true they touch along a single crisp line with no ragged strip between them.
Miss it and you get one of two faults. Either a flat ribbon of uncarved wood sits in the bottom of the groove, or one bevel has travelled deeper than the other and the line wanders off centre. Both are fixed the same way: put the blade back on the old angle and run a cleaning travel right down to where they should meet.
How deep should the groove go?
Deep enough that the two bevels touch, and nobody can give you a number for it. There is no way to measure this in practice. Your hand learns how far to travel before the bevels meet, and it learns it by carving a lot of shapes badly and then slightly less badly.
Which is exactly why a project like this one exists. Eighty or ninety volutes on one board, all the same family of shapes, and by the last of them your hand holds an angle it cannot describe in words. People who think a beginner course is too easy have usually not tried to keep one angle for four hours.
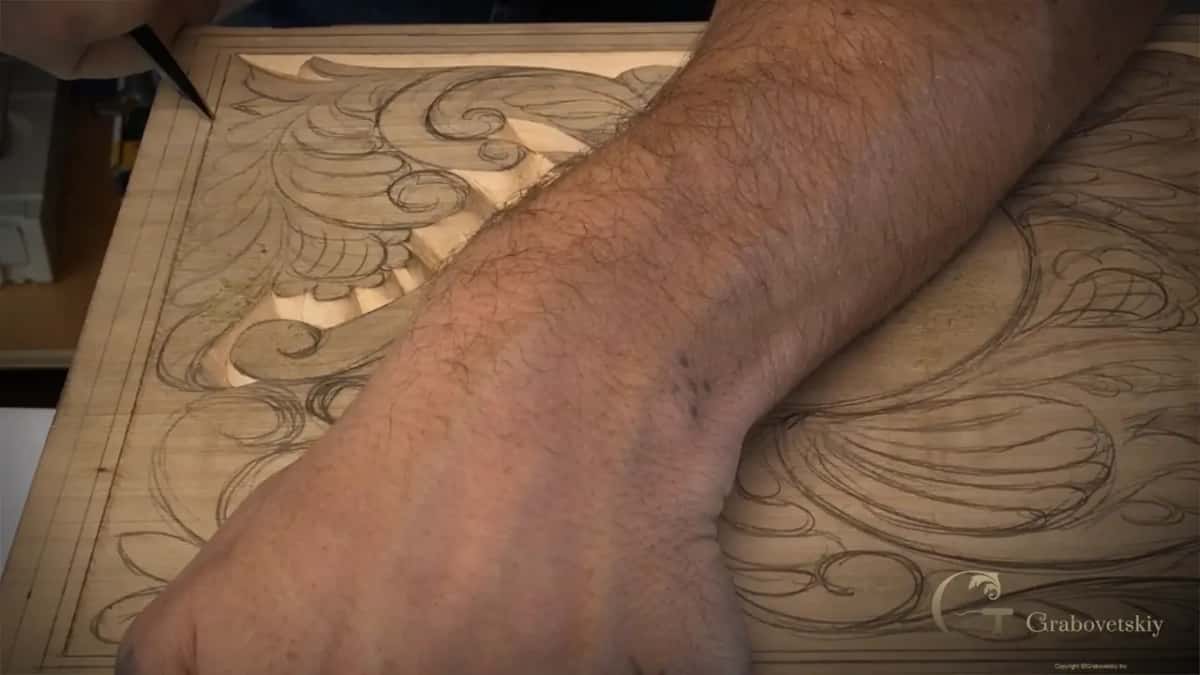
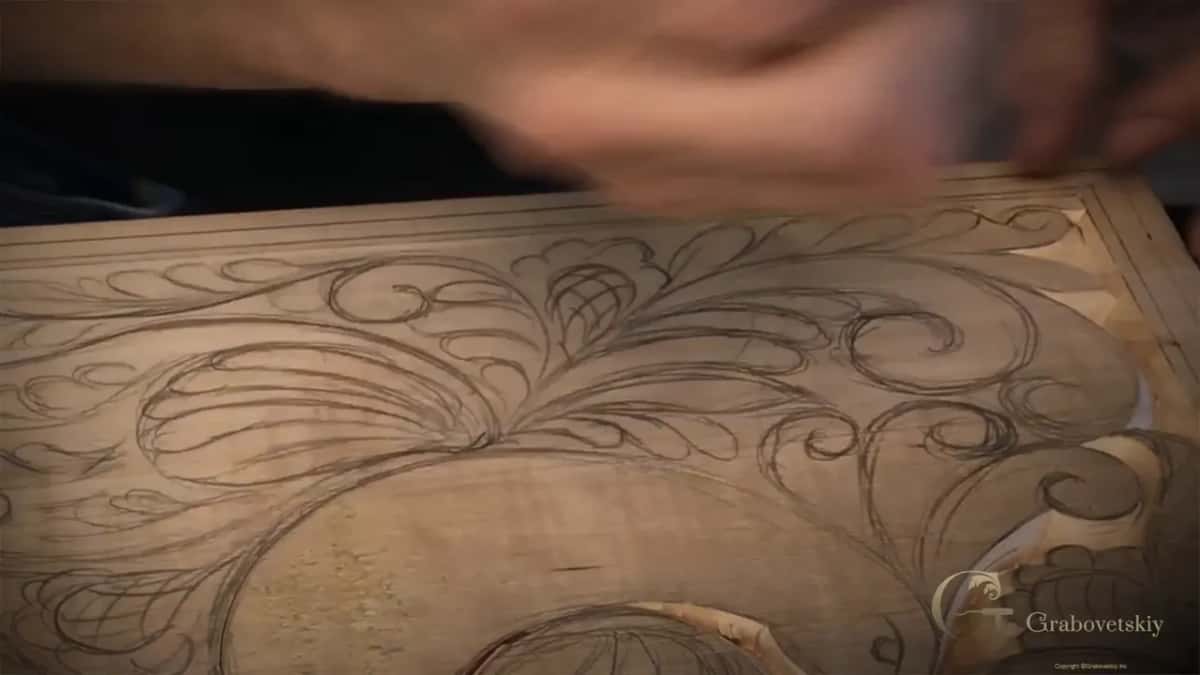
Why is one line carved straight down instead of angled?
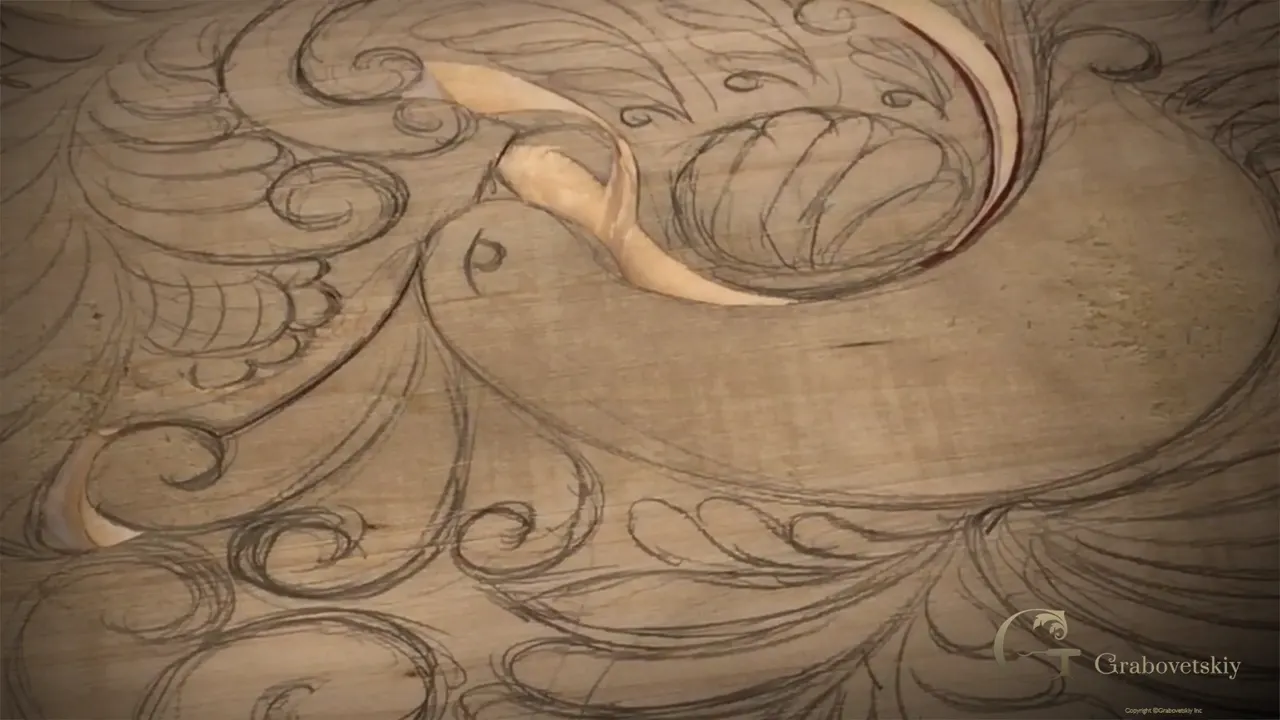
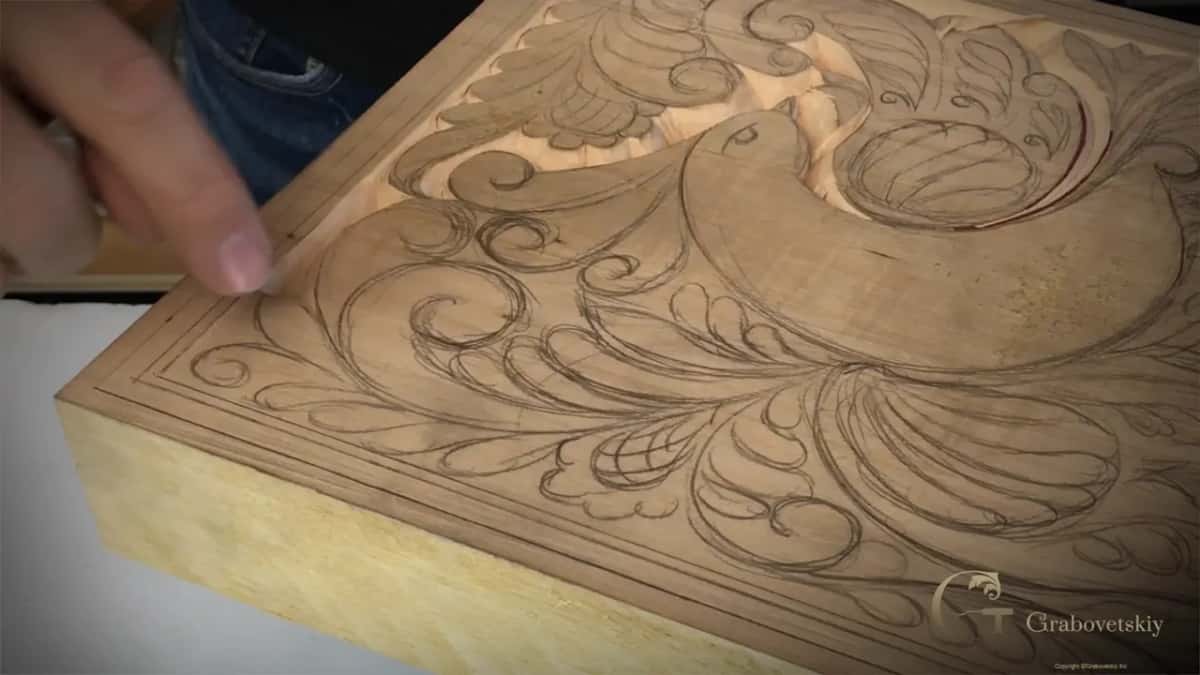
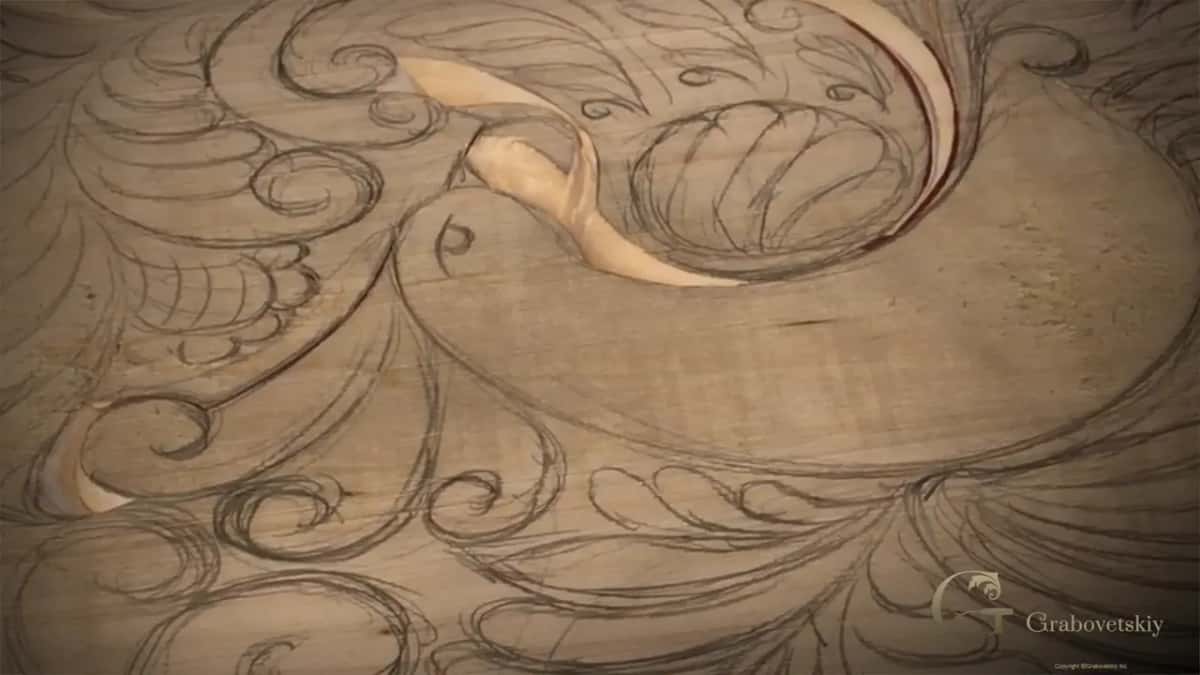
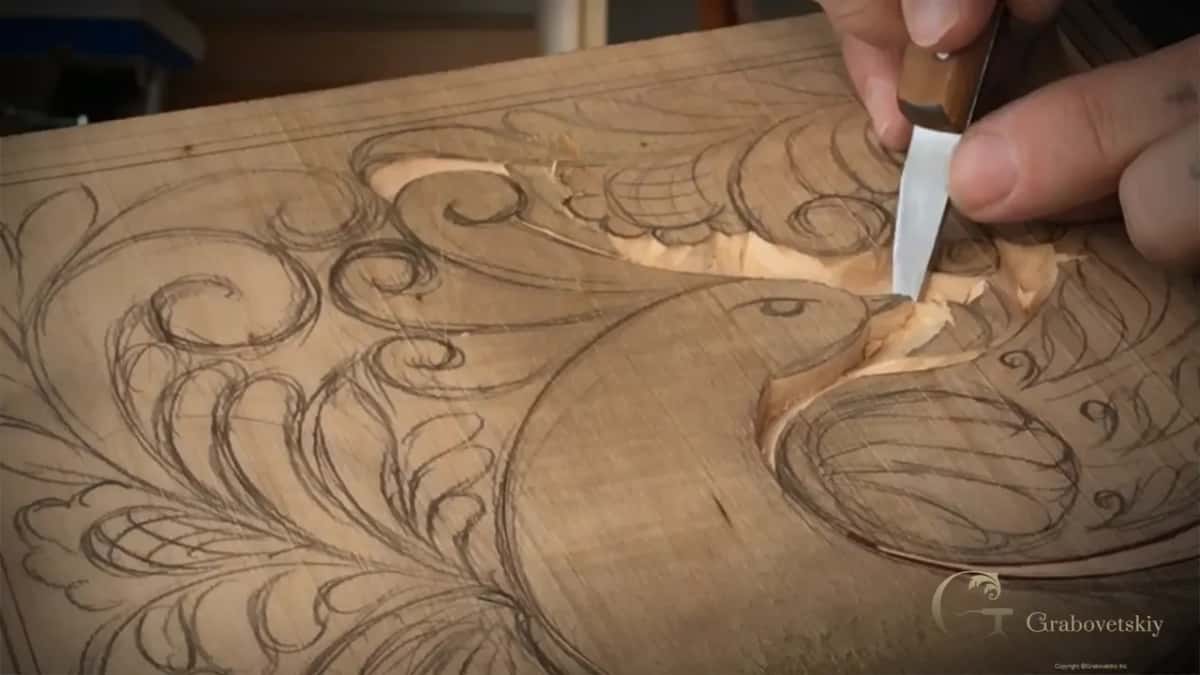
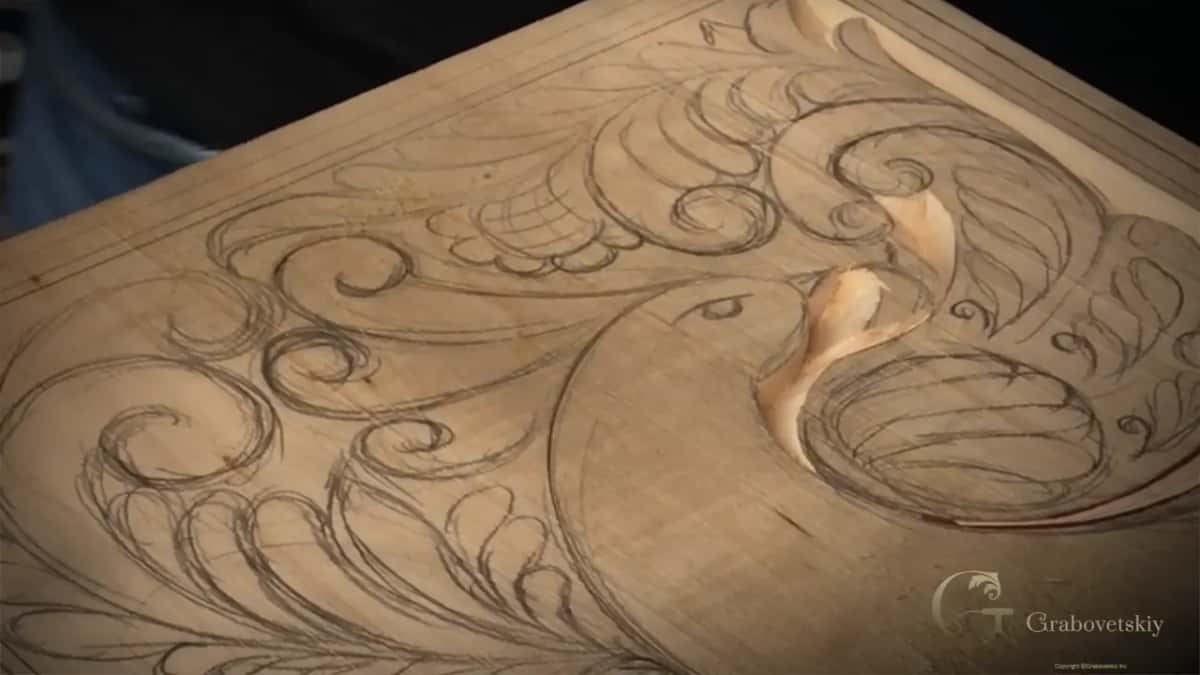
Only on the bird, nowhere else. Every other shape on this panel gets two leaning walls, so the groove narrows to a V and reads as a line. The bird's outline gets one vertical wall instead, which leaves its body standing proud of everything around it.
What that buys is shadow. A vertical wall throws a hard dark edge and the eye reads the bird as sitting on top of the ornament, even though the whole carving is barely 3 mm deep. Shallow work of this kind is all shadow management, and picking which line stands upright is the biggest decision in the panel.
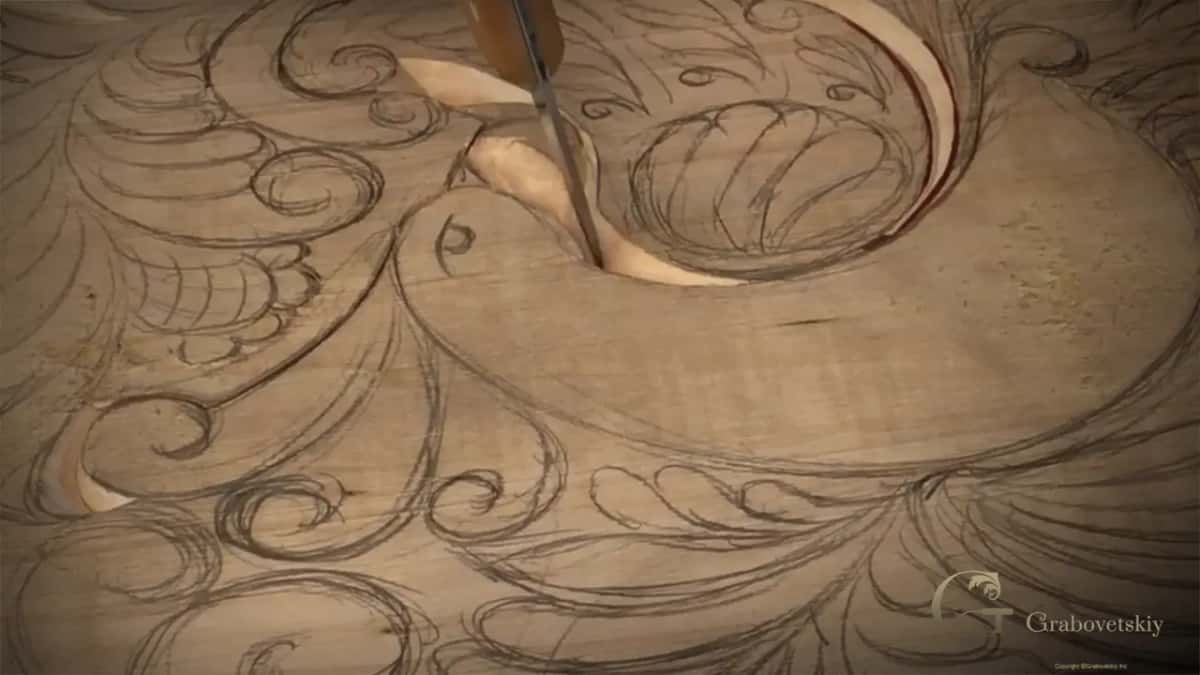
| Where you are | How the two walls are carved on this board | Depth | What your eye reads on the finished panel |
|---|---|---|---|
| Beside the bird itself | one wall upright, its partner leaning gently in | Deepest | a hard shadow, and the body sitting on top |
| Curls and leaves | both walls leaning toward each other | Medium | a drawn line, crisp on both edges |
| Small filler shapes | shallow, both sides | Light | texture rather than a real line |
| The border bands | one steady angle held the whole way round | Even | a raised lip that catches light |
Should you remove a big chip in one go?
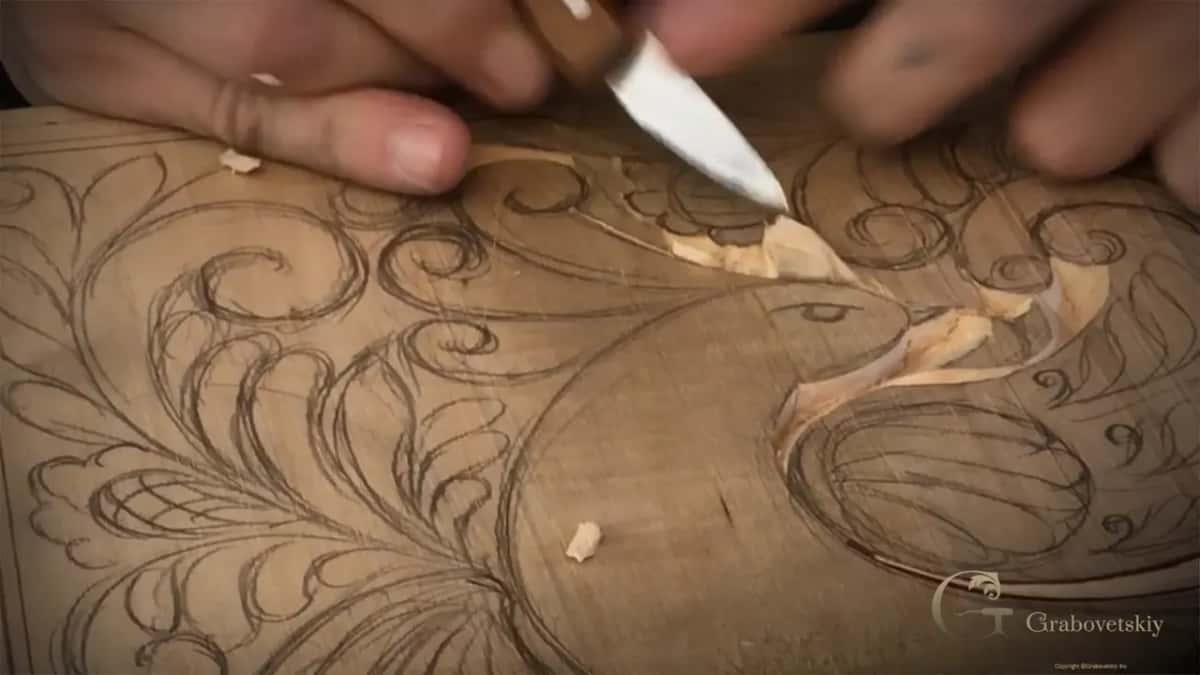
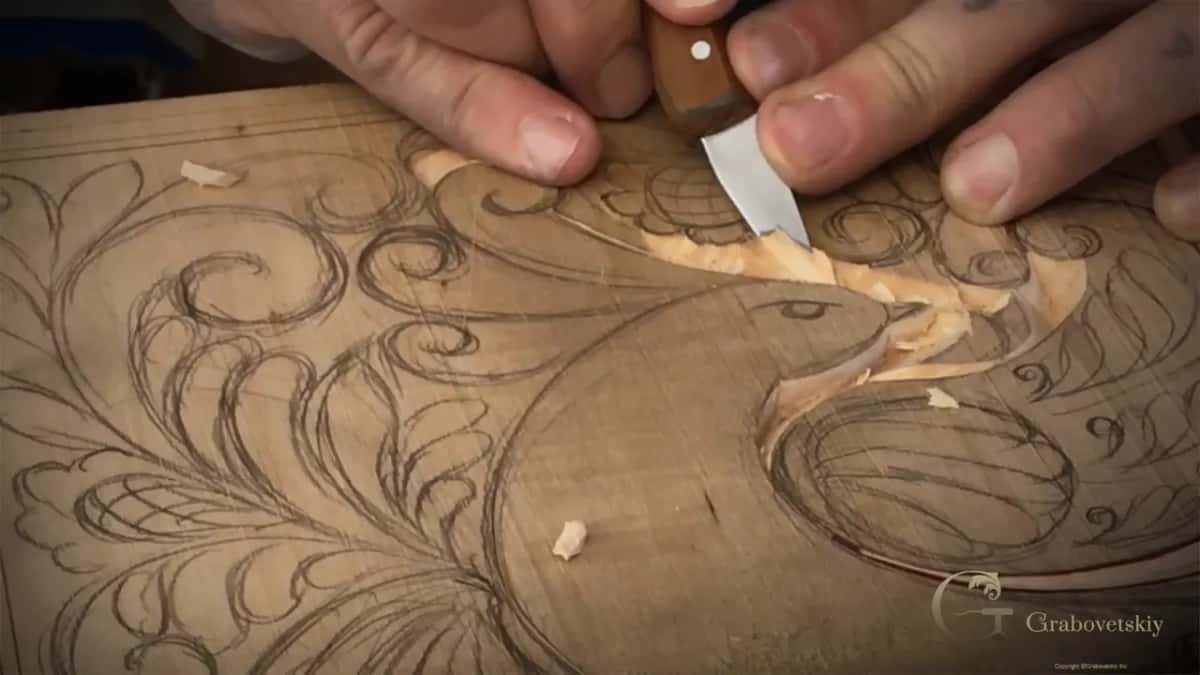
Shave it off in stages instead. Where a lot of waste has to come away, take slices and work inward rather than driving the knife in and levering a lump out. Speed gained there is paid back twice over in repairs.
Hitting a vertical wall hard is the specific danger. The blade bruises the fibres, leaves tool marks down the face, and no later travel will lift them out because you are not allowed to sand. So the chunk comes off a bit at a time, and the last slice arrives at the wall gently.
What does a freshly stropped edge feel like?
Easy, and slightly alarming the first time you meet it. Waste comes away with barely any push behind it, the wall left behind has a faint sheen on it, and the scrape you were used to becomes a dry hiss. Most beginners have never met that state and assume their knife was fine before.
Test it on a corner of scrap rather than on the panel. A properly stropped blade will take a paper thin curl off end grain, which is the hardest thing you can ask of it. If yours tears instead, the edge needs a stone, not more leather, and those are separate jobs with separate tools.
My angle drifts halfway round a curl. What now?
Turn the board instead of turning your wrist. Wrists want to travel in an arc, and a spiral asks you to hold one constant angle while the shape rotates underneath, which is a fight nobody wins. Rotate the work so your hand stays in the position it likes and the curl comes to you.
That is why I keep saying to rotate rather than reach. Reaching costs accuracy every single time, and you see the result as waviness in a line that should be smooth. Even so, drift happens. When you find it, do not carve deeper to hide it. Return to the original angle and take one light travel along the whole length, which evens the wall without sinking it.
Why does a simple panel take so many hours?
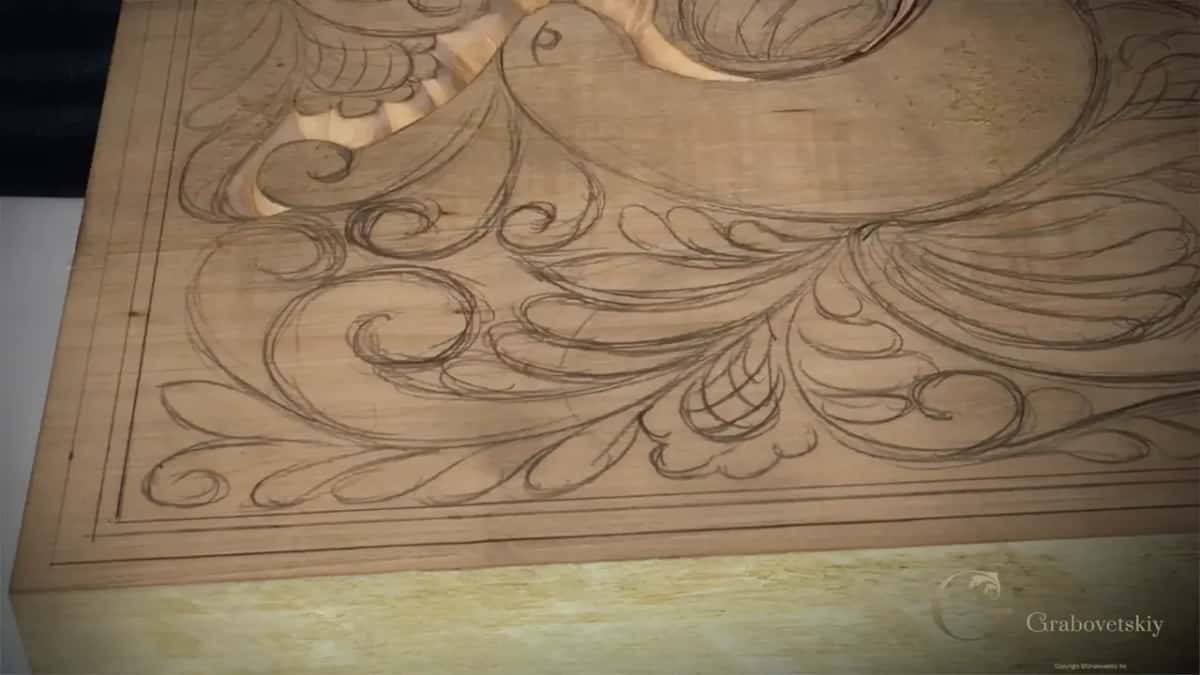
Almost every shape needs three or four travels, not one. Beginners count the shapes and multiply by one pass, and then wonder why their evening produced two curls. A clean groove asks for an outlining travel, a bevel from each side, and usually a cleaning travel after that.
Do that across a board carrying dozens of volutes, leaves and flowers, and you have several evenings of quiet work ahead of you. Nobody who tells you this is quick has carved one. The upside is that the hours are not wasted practice, they are the actual project, and at the end you own a panel instead of a pile of test scraps.
How old is this style of carving really?
Older than the Vikings, which surprises most people. Picture yourself in the ninth century on a boat with one knife in your belt and months of water ahead, and ask what you would make. The honest history, though, is that this ornament was already running through European cultures, Norman and Danish among them, before the raids that gave the Viking Age its name.
The rolled spiral has the same story. Greeks named it a volute and it became an architectural term, yet carvers in Europe were making the shape long before any Greek wrote it down. You will find it again on Corinthian capitals and on ornament of every later century, and you are carving it today on a kitchen board.
What else can this style decorate?
Bowls, dishes, boxes, and one object it suits better than any of them. A love spoon carved in this manner is about as authentic as you can get, because spoons and this ornament come from the same shops and the same centuries.
Jewellery boxes take it well too, on the sides and across the lid. Shallow work sits happily on a curved surface where deep relief would be wrong, and a knife reaches into places no gouge fits. Once your hand knows these shapes you will start seeing places to put them.
What tells you the carving is going well?
Waste leaves on its own and the board stays quiet under your hand. A travel that is going properly ends with the piece lifting away by itself, and a blow across the surface carries off every crumb. Anything that stays put is sitting on torn fibre.
Your ear helps as well. A sharp edge in soft lime makes a dry, even hiss. When that noise turns to a scrape, the edge has gone off and the leather is waiting on the bench. I keep mine within arm's reach for exactly that reason.
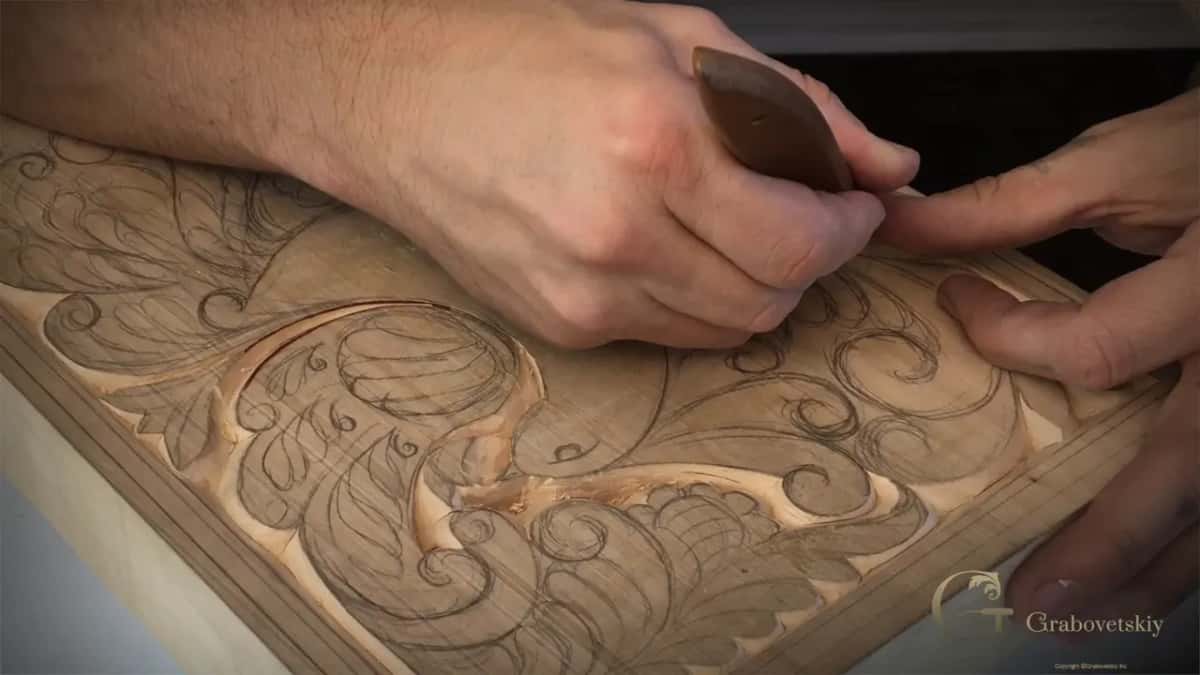
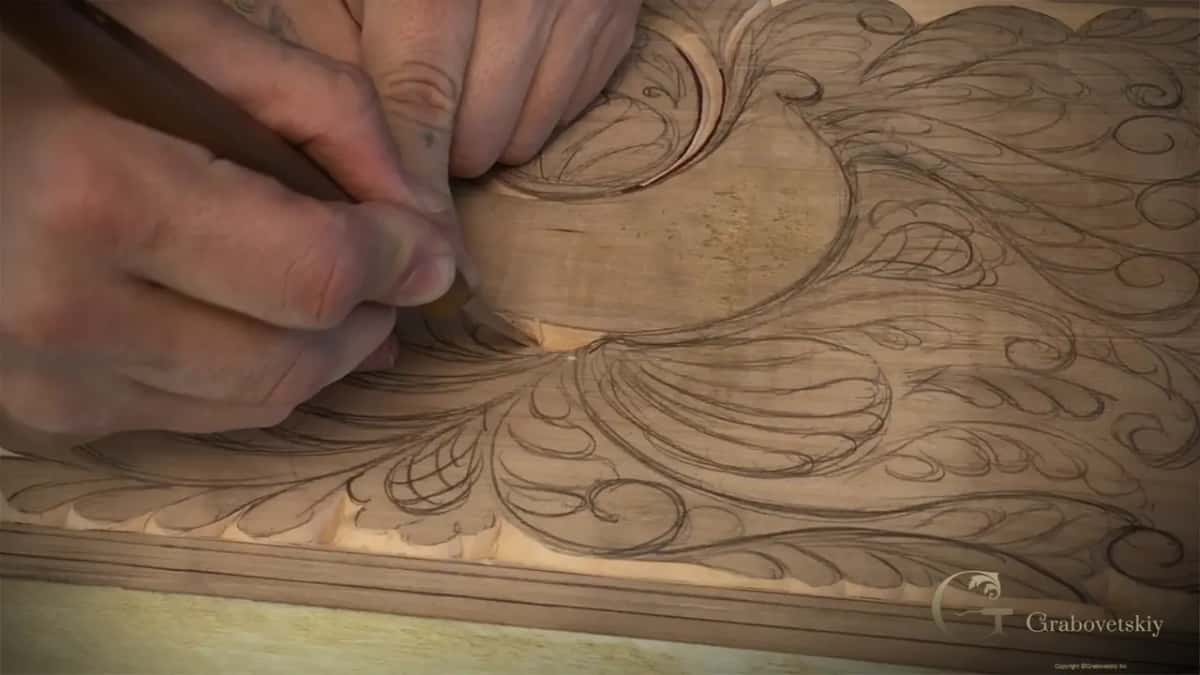
How does a panel like this get finished?
Later, and deliberately so. Finish goes on at the end of the project, and I want to try an old style finish on this board rather than reaching for a modern can. The methods people used before us were not simple, and some of them were genuinely clever.
Whatever we end up using, the surface has to be ready for it first, which is another argument for clean walls. Modern wood finishing can hide a multitude of sins on a flat board. Shallow relief hides nothing, because every bit of the effect lives in edges that oil will only make more obvious.
What should you have on the bench for this one?
The board from Workshop 4, your knife, a leather strop and a holdfast or vice of some kind. Mine is a Veritas, which lets me leave it clamped and rotate the work, and any vice that holds a panel without marking it will serve.
Everything else is time. This course carries the same board through sixteen workshops, and the gouges arrive soon. If you are still deciding what to buy, the tools course compares brands honestly, and the school keeps every workshop in order behind one door. The pattern itself came out of Workshop 3, and the reasoning behind shapes like these is taught properly in principles of design. Next comes Workshop 6.
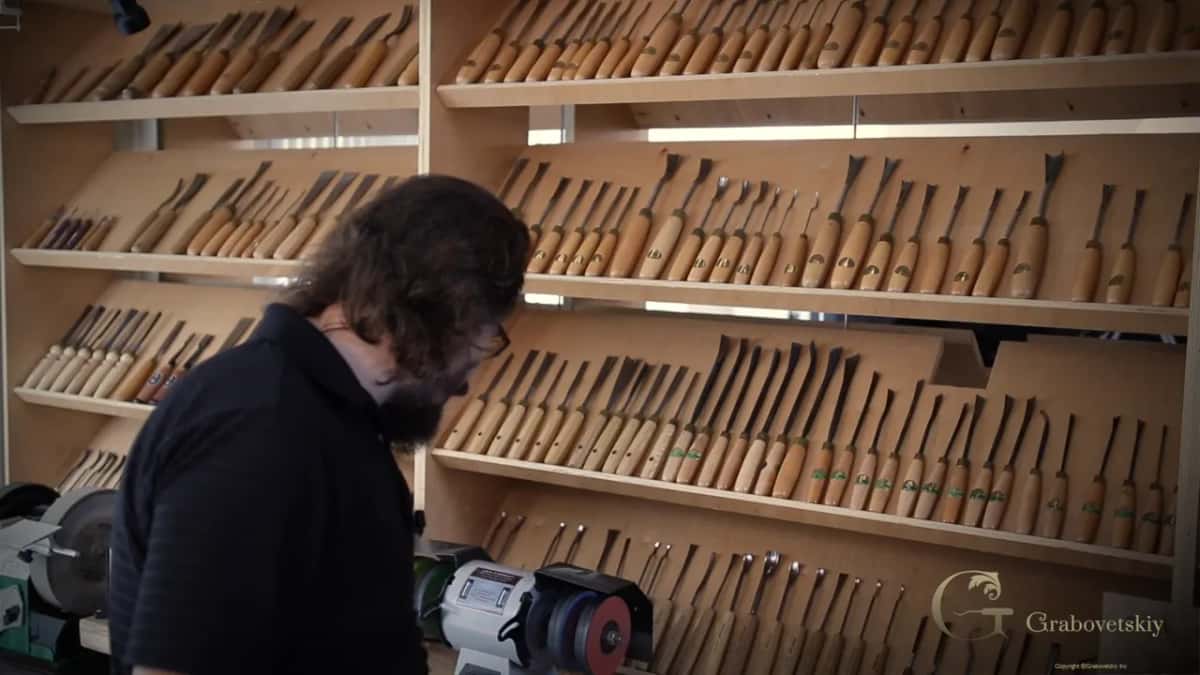
One last piece of honesty about this workshop. I do not carve fast on camera and I do not cut the boring parts out, because the boring parts are where the skill lives. Watching me take four travels to free one chip is more useful than watching a finished panel spin on a turntable.
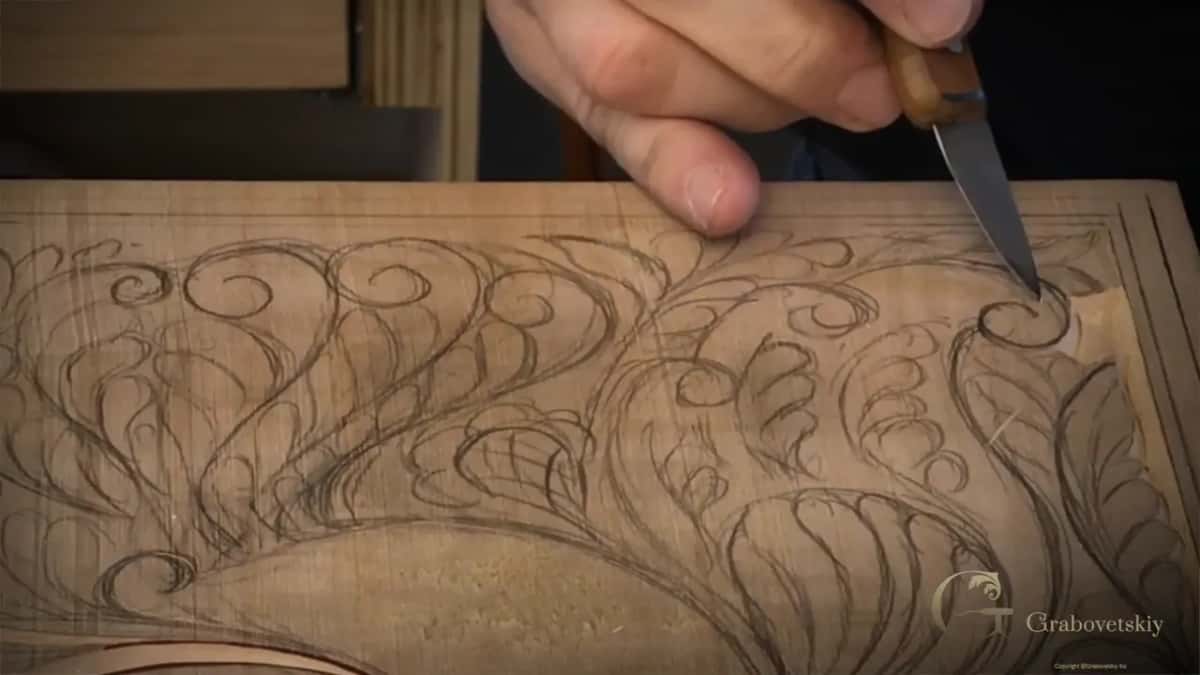
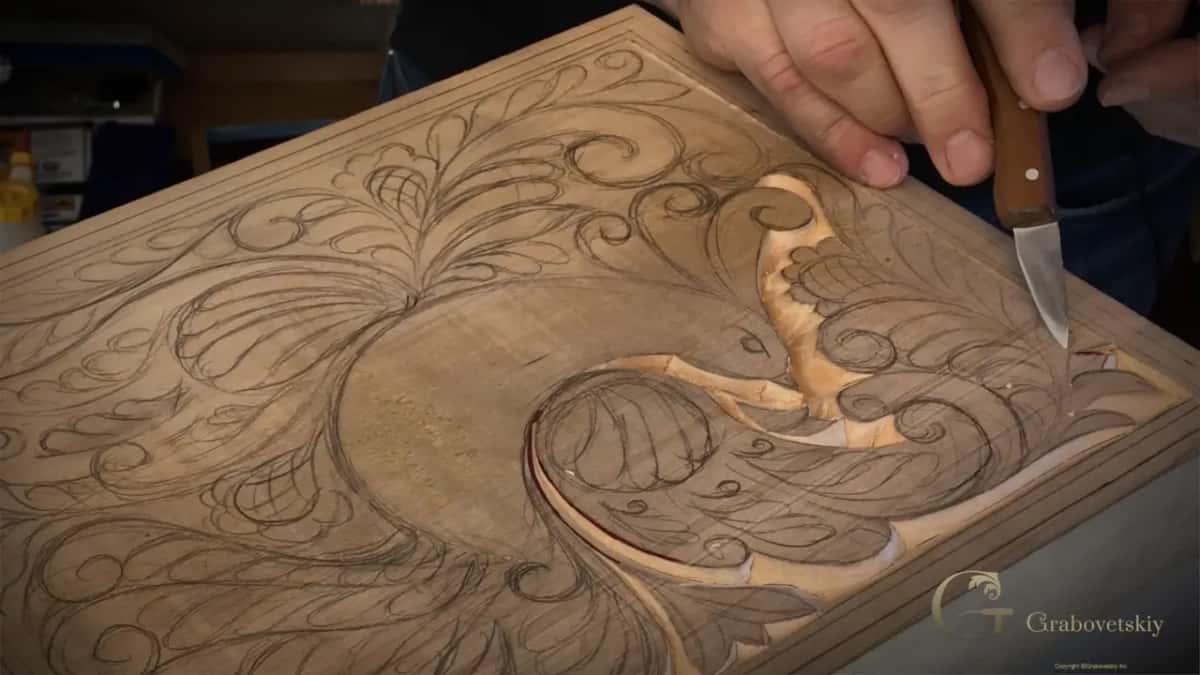
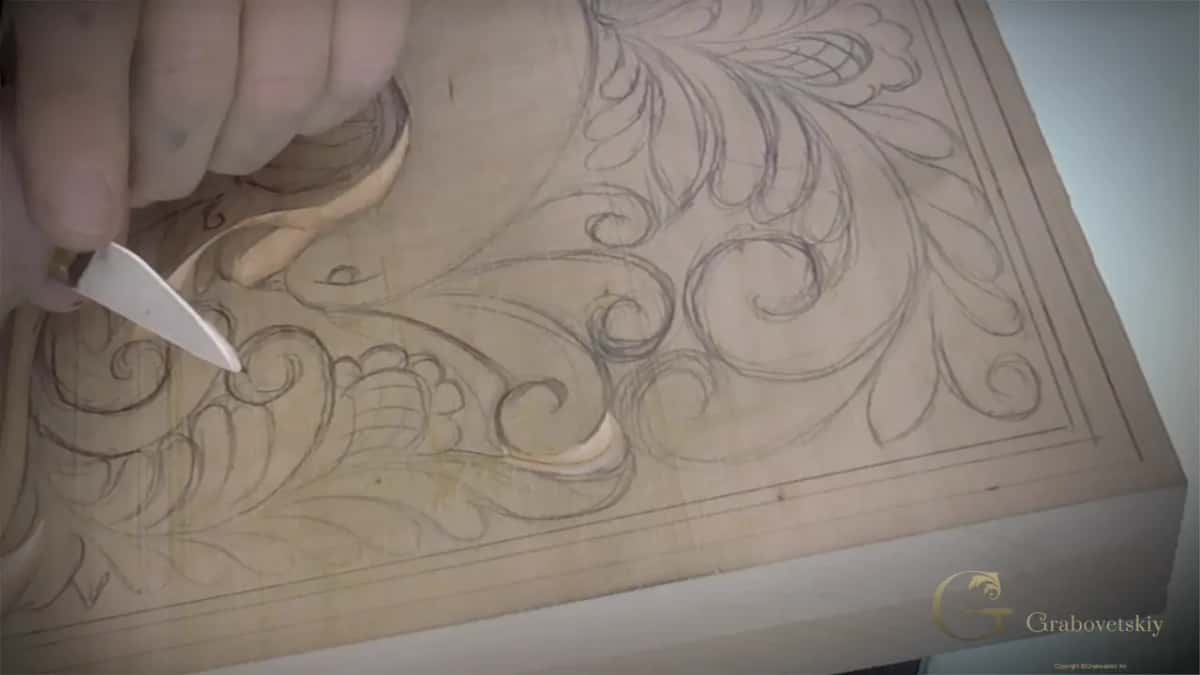
Three parts here, about twenty six minutes of video. Part 5.1 works the ground beside the bird, 5.2 stops to strop the blade and then finds the marriage line, and 5.3 works round the flower while talking about where else this style belongs.
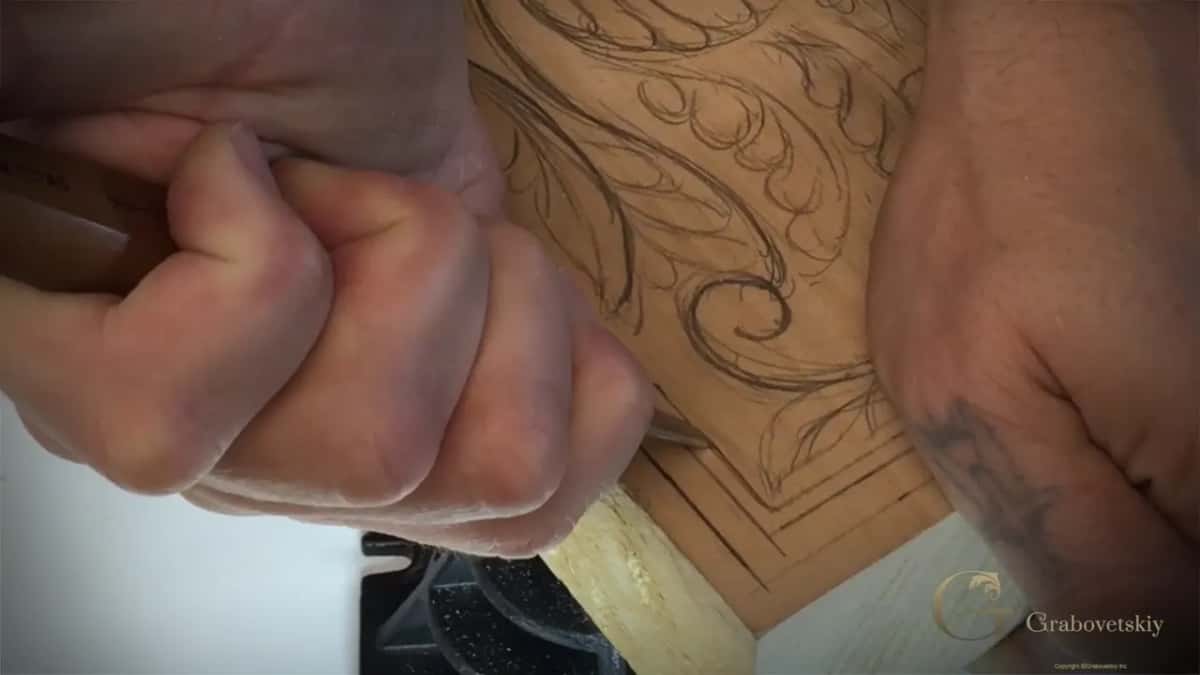
Carve along rather than watching, even if your board looks nothing like mine. A shape carved badly on your own bench teaches more than a shape carved perfectly on mine.
Your leather is loaded and your board is half carved. What is the worst that happens if the next travel goes wrong? Shall we carve?
How it's done
- Load the leather. Rub green compound across a leather block until the surface carries an even film. Bare leather does the same job more slowly if you have no compound on the shelf.
- Drag the blade spine first. Lay one bevel flat on the leather and pull the knife backward, away from the edge. Never push forward, because that rolls the very thing you are trying to polish.
- Count twenty, turn, count twenty. Twenty pulls on one bevel, then the same number on the other. Look for black streaks in the leather, which show steel is actually moving.
- Carve the leaning walls. Back on the board, run one wall in from each side at a matched angle, and the groove will narrow toward its own bottom.
- Meet in the middle. Travel a cleaning pass right down until both bevels touch along one crisp line, with no flat ribbon of wood sitting between them.
- Blow, look, repeat. Clear the dust with one breath. Crumbs that refuse to move are riding on torn fibre, so repeat the cleaning pass on the old angle until they go.
Frequently asked questions
Can I strop without green compound?
Bare leather polishes an edge perfectly well, just more slowly. Carvers had nothing else for centuries, and their panels are still crisp in museums today.
Which direction does the knife move on leather?
Backward, spine leading, edge trailing. Pushing an edge forward into leather rounds it over, which undoes the work of every stone you used earlier.
Why does my groove have a flat strip in the bottom?
One of your two bevels has not travelled far enough. Set the blade back on its original angle and take a cleaning pass on that side until both faces touch.
What to carve next