
Alexander Grabovetskiy, woodcarver, School of Woodcarving · Published 2017
How do you get depth into a shallow carved panel?
Quick answer: Depth in a carving like this comes from bevel angle, not from digging. When every shape on a board looks alike, something has to win, and you win it by dropping the bevel flatter next to that shape and running a few light passes to the outer edge. My wing rises above the ground by a hair, and the eye finds it at once.
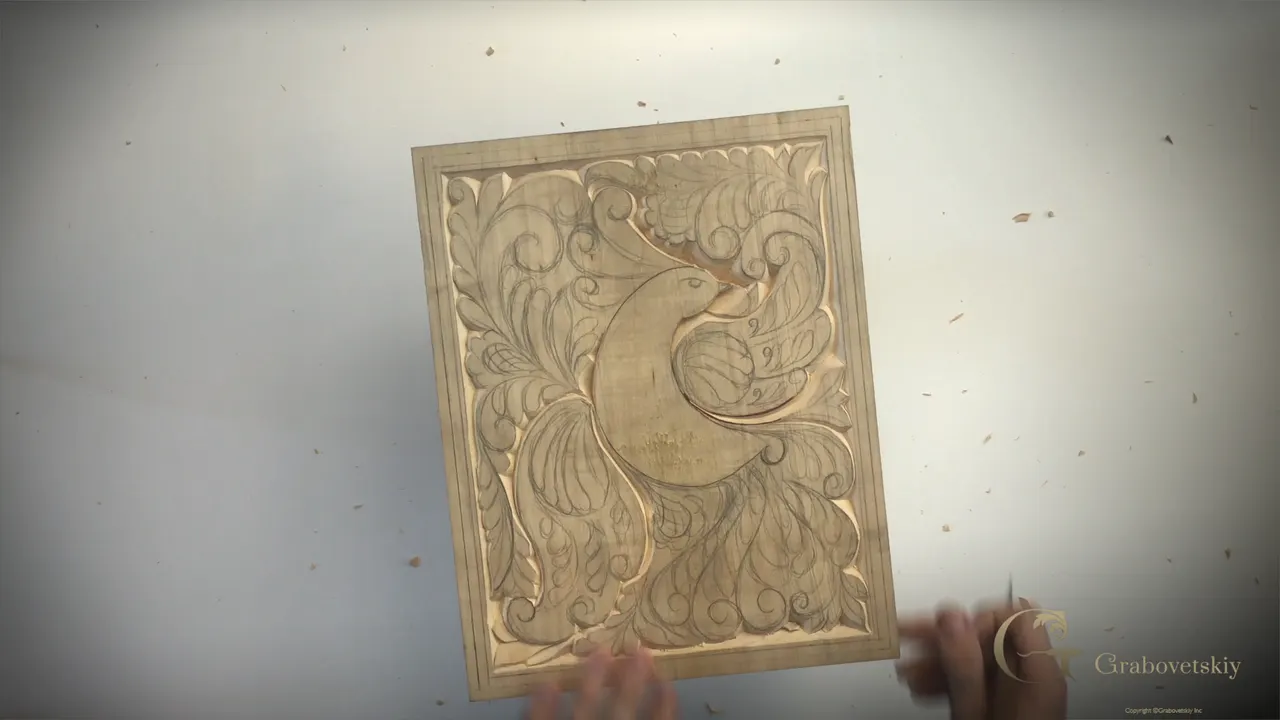
Depth in a carving like this comes from bevel angle, not from digging. When every shape on a board looks alike, something has to win, and the way you make it win is to drop the bevel flatter next to it and run a few light passes to the outer edge. My wing rises above the ground by a hair, and the eye picks it out at once.
Ever finished a panel and found it reads as a grey mess? Do you know which shape on your board is supposed to be the loudest? Then the answer is not a deeper hole.
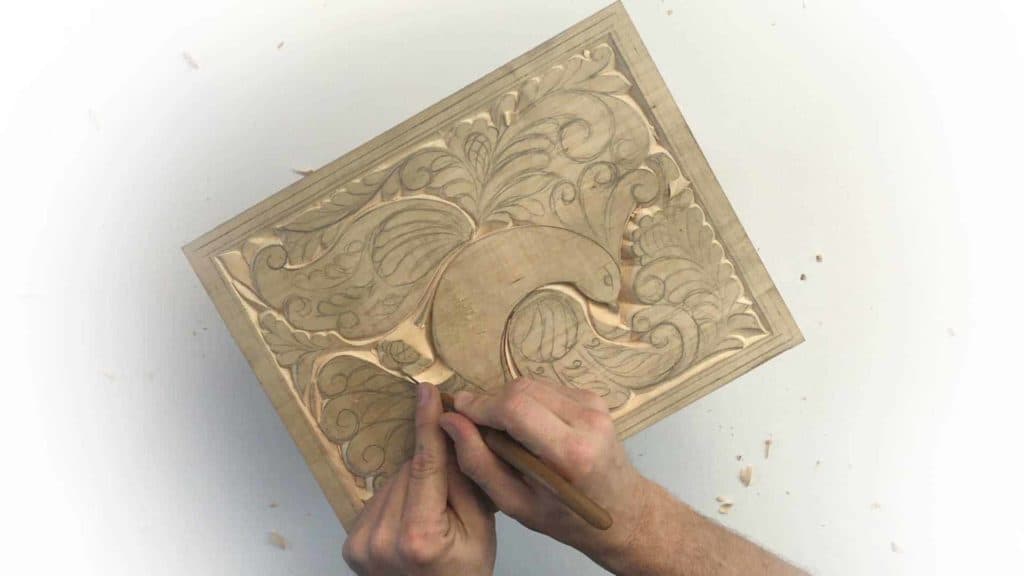
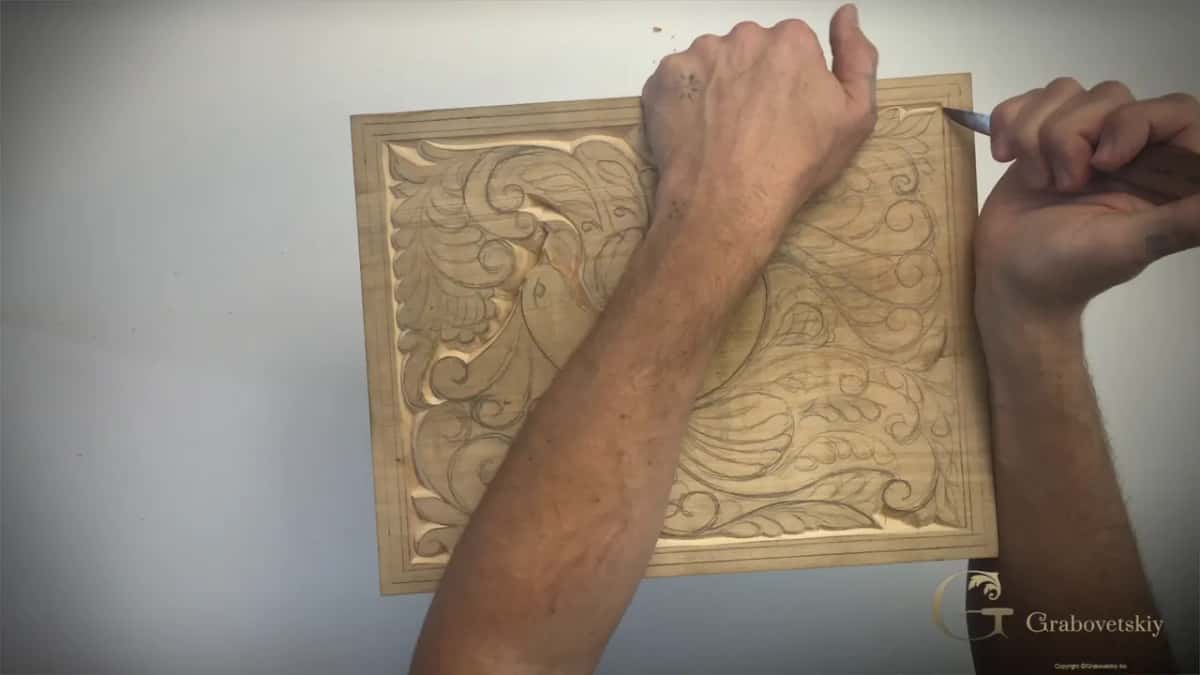
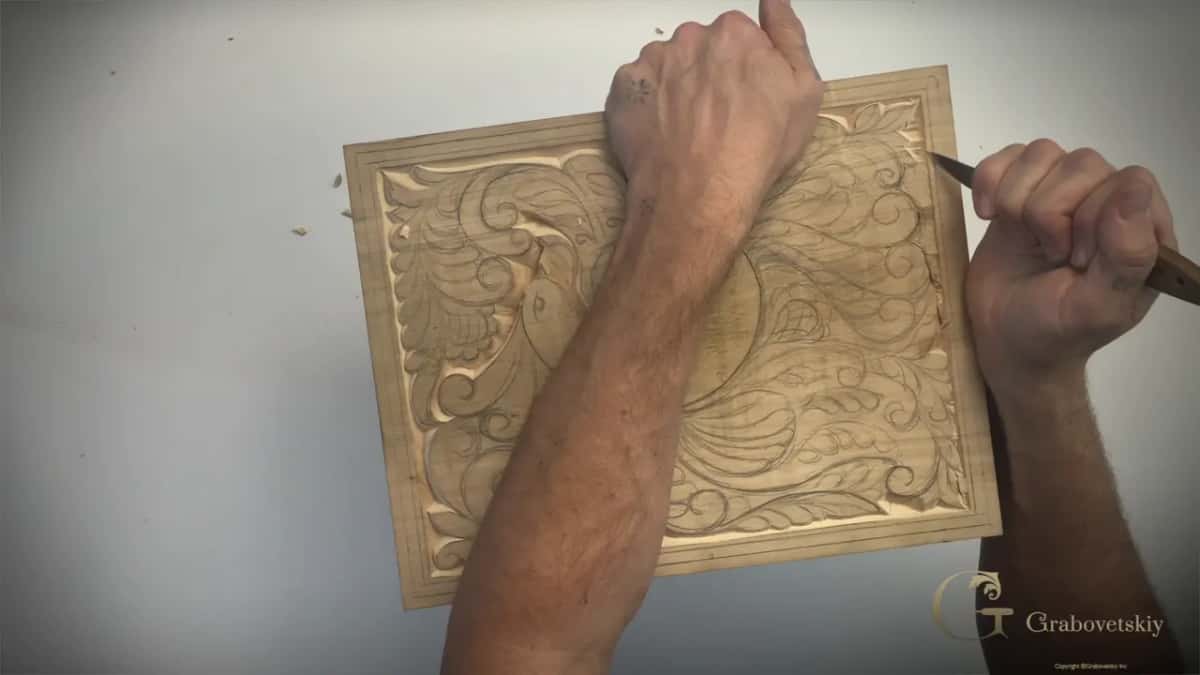
Workshop 6 is where the panel goes wrong for most beginners. By now you have thirty or forty shapes carved, all in the same family, all about the same depth, and the picture starts to disappear into itself. I spend this one fixing that, with the same single knife, on a board I keep turning in the vice rather than reaching around.
What actually creates depth in flat carving
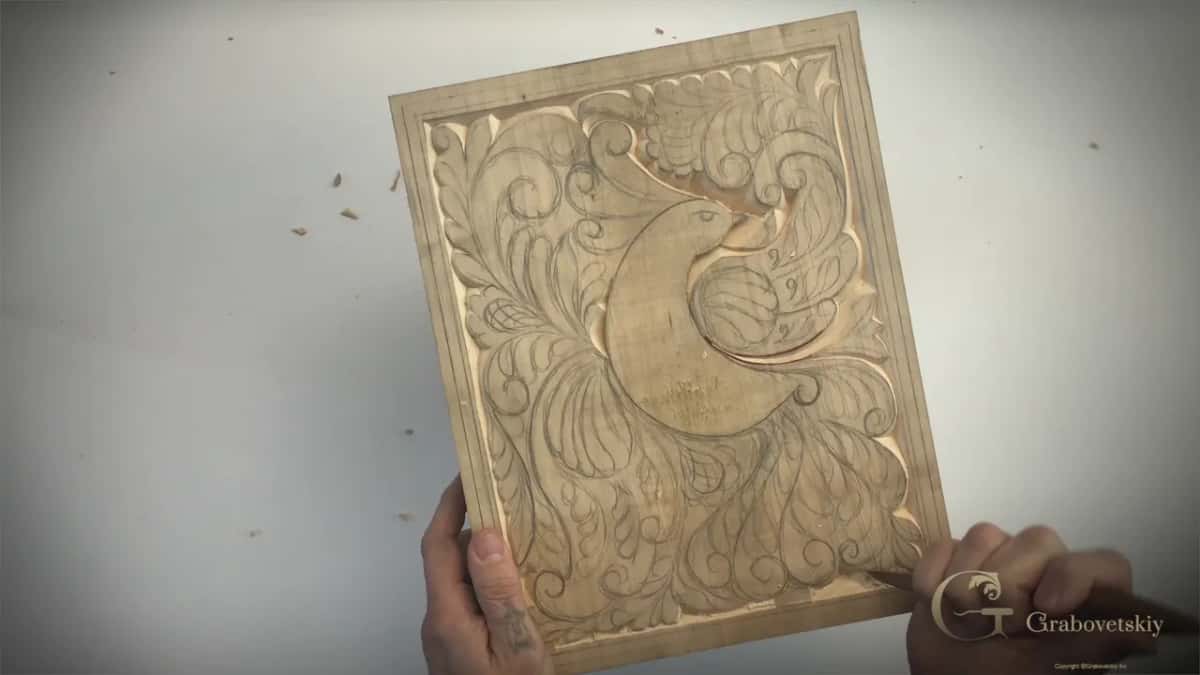
- Lower the field next to a shape and that shape looks higher. Nothing gets carved deeper anywhere.
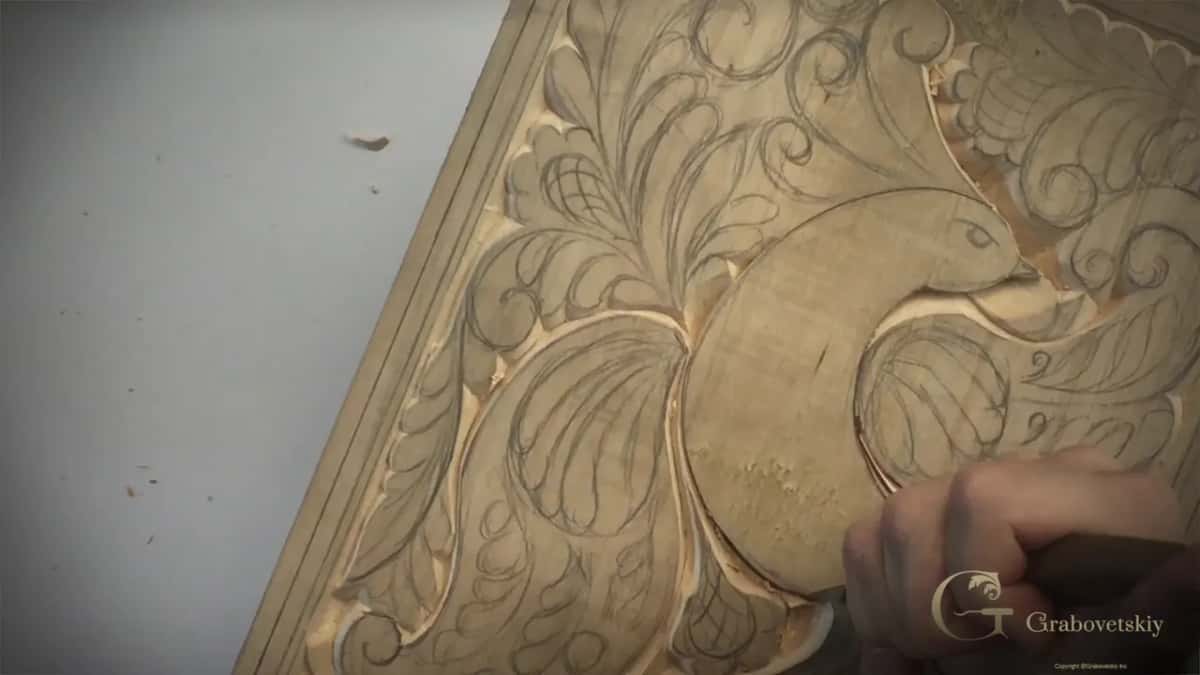
- The bird got an upright wall in an earlier workshop, which is why it throws a hard shadow and everything else does not.
- Big open ground wants a bevel, never an upright pass, or you end up with a hole you cannot fix.
- Every shape needs several passes. One heavy pass snaps blades and tears fibre.
- When two shapes read the same, lower whichever matters less until they stop competing.
My carving looks busy and flat at once. What went wrong?
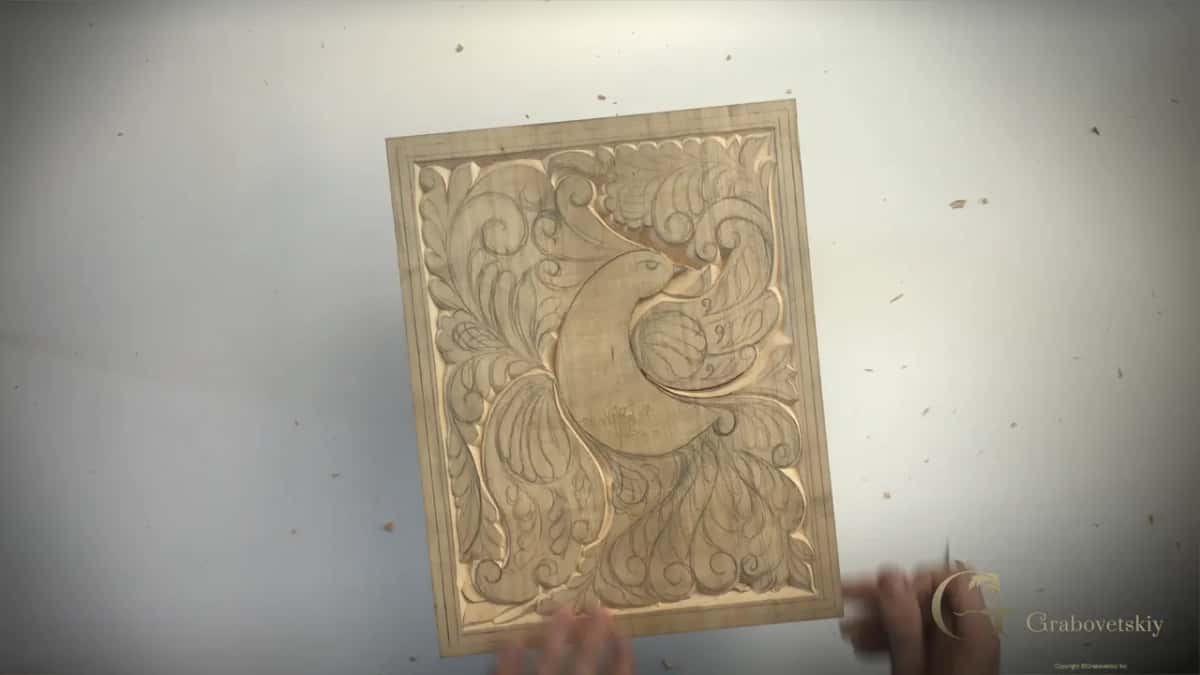
Everything sits at one level. Carve forty curls to the same depth and your eye has nowhere to land, so the panel becomes texture instead of a picture. What saves it is a hierarchy: bird loudest, wings after that, and the ground quietest of all.
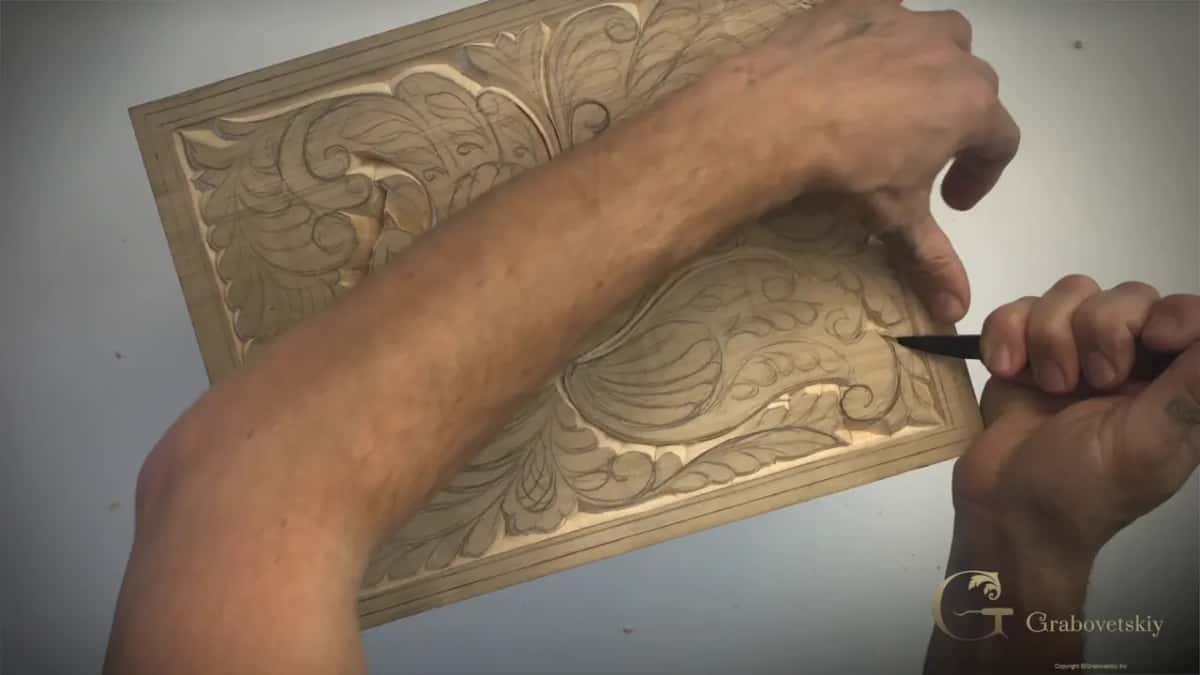
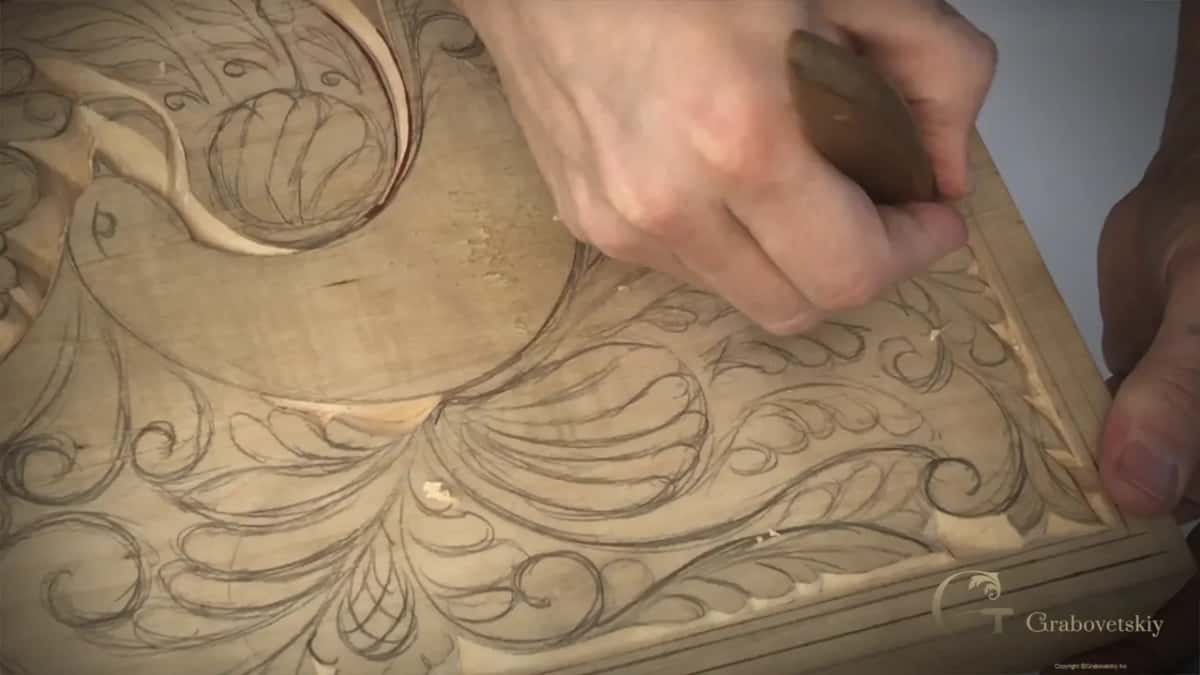
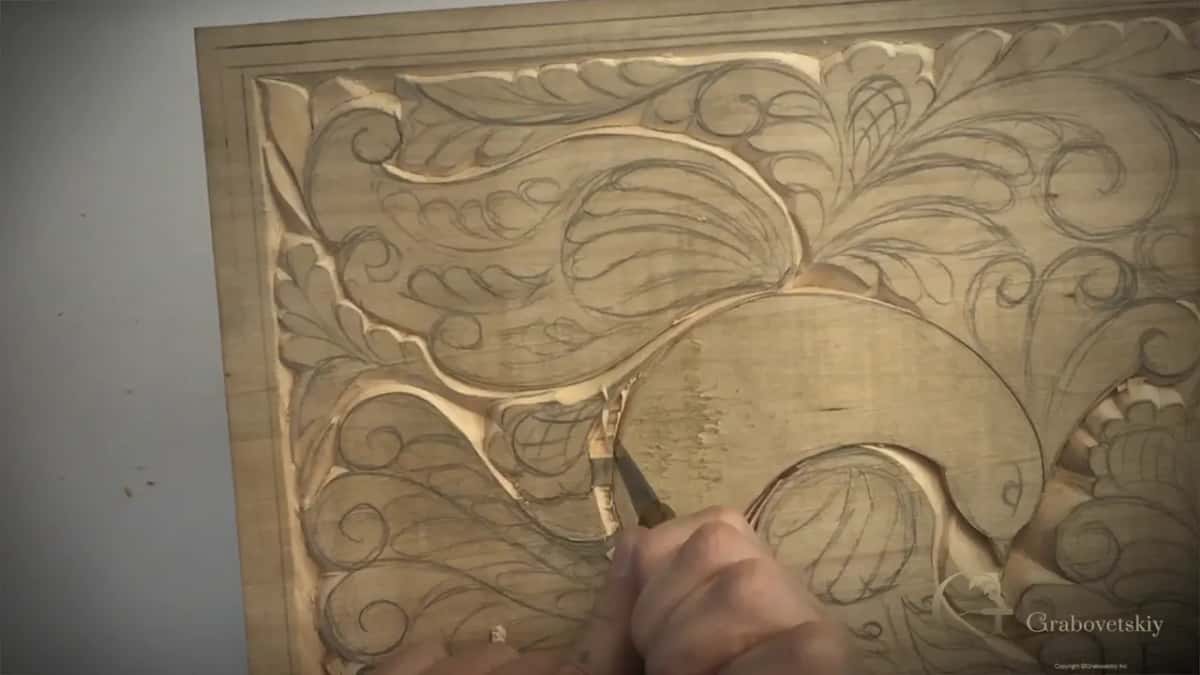
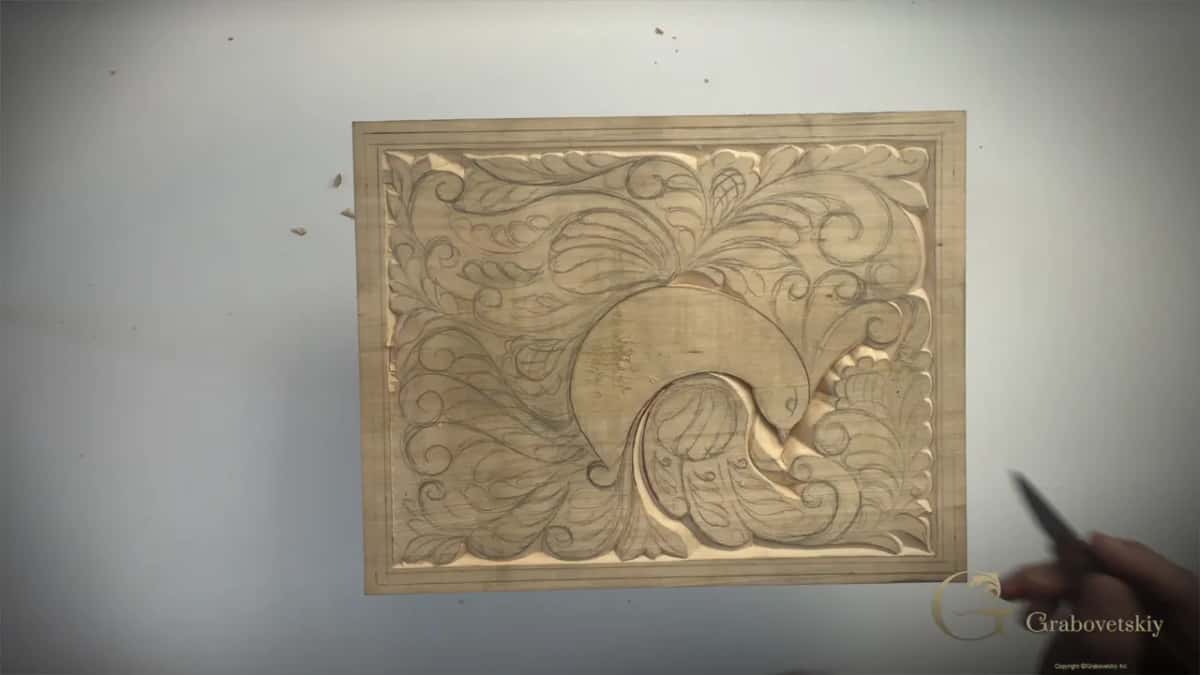
My own board hits this exactly here. I have a triple leaf in one corner, triple volutes on the tail and triple curls on the wing, all within a hand's width, all looking similar. So I pick the wing, lay the bevel as low as it will go, and take a few passes right to the outer edge until it lifts. Nothing else changes.
Why a bevel instead of an upright pass in open ground?
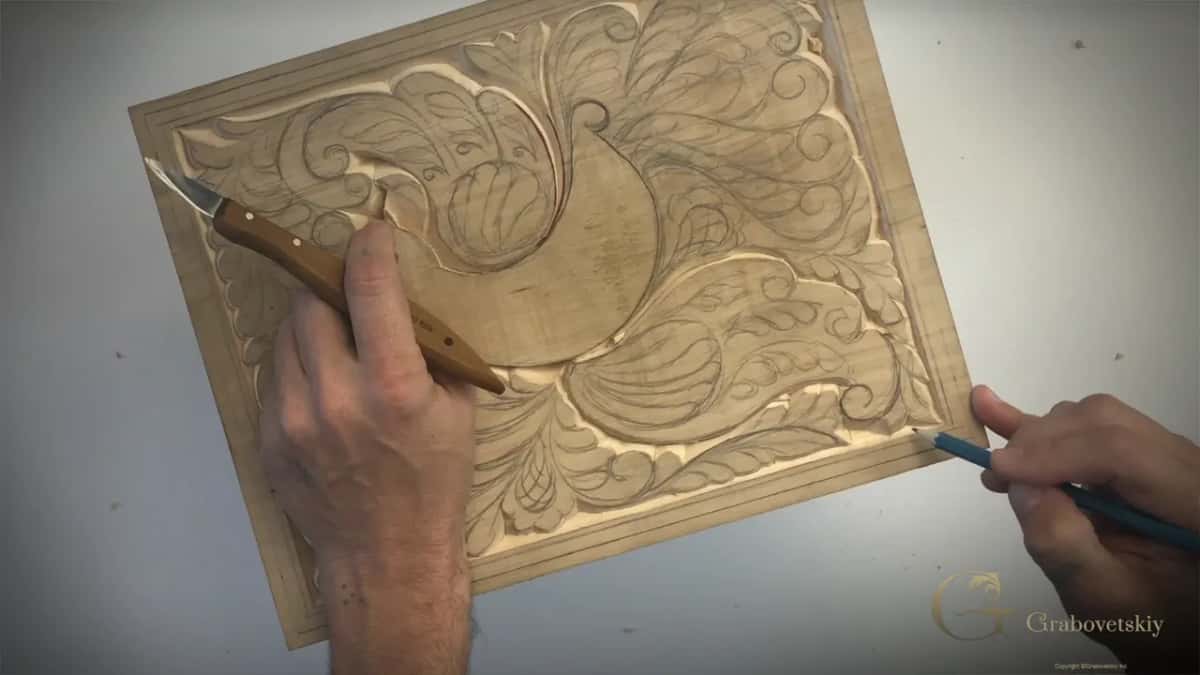
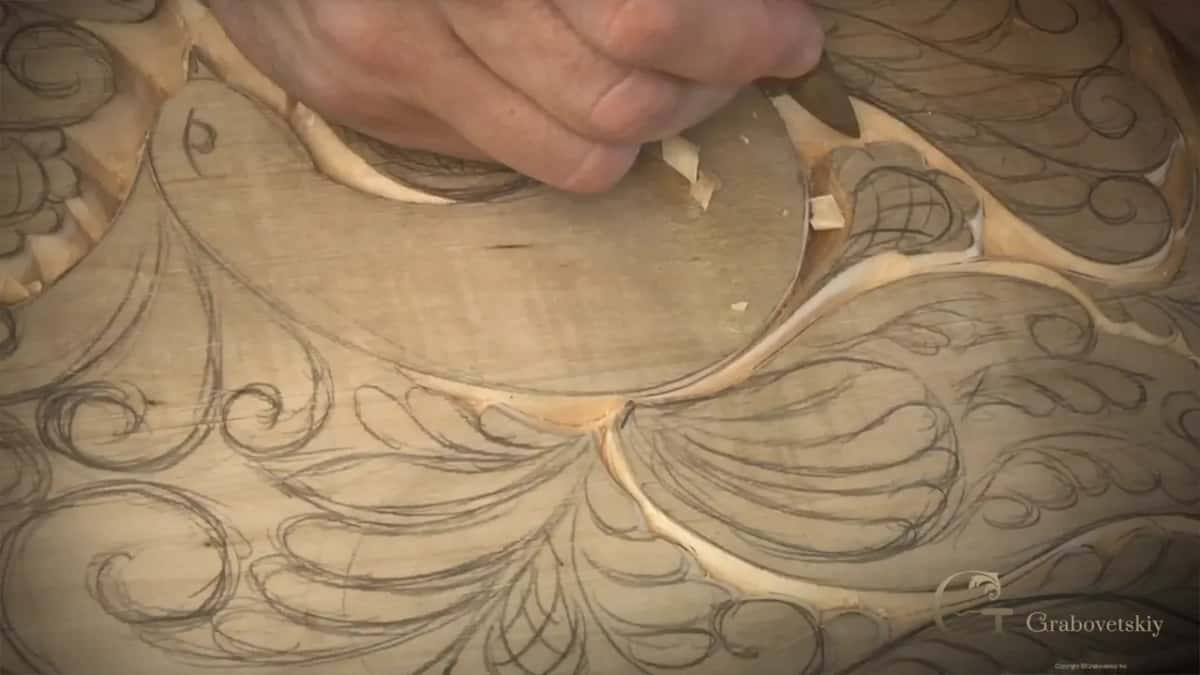
An upright wall in a wide space leaves a pit. Where the gap between two drawn lines is small, a straight down pass gives you a crisp line. A wide gap turns that same pass into a hole deep enough to look like damage, and in a panel only a few millimetres deep there is nothing underneath to rescue it.
So a wide area gets a shallow bevel carried from the drawn line as far as the edge of that space. The surface drops gently and reads as a lowered field rather than a trench. That single judgement, upright or bevel, is made dozens of times on a board this size, and it is really the whole skill of chip carving ornament.
What happens if I force the knife?
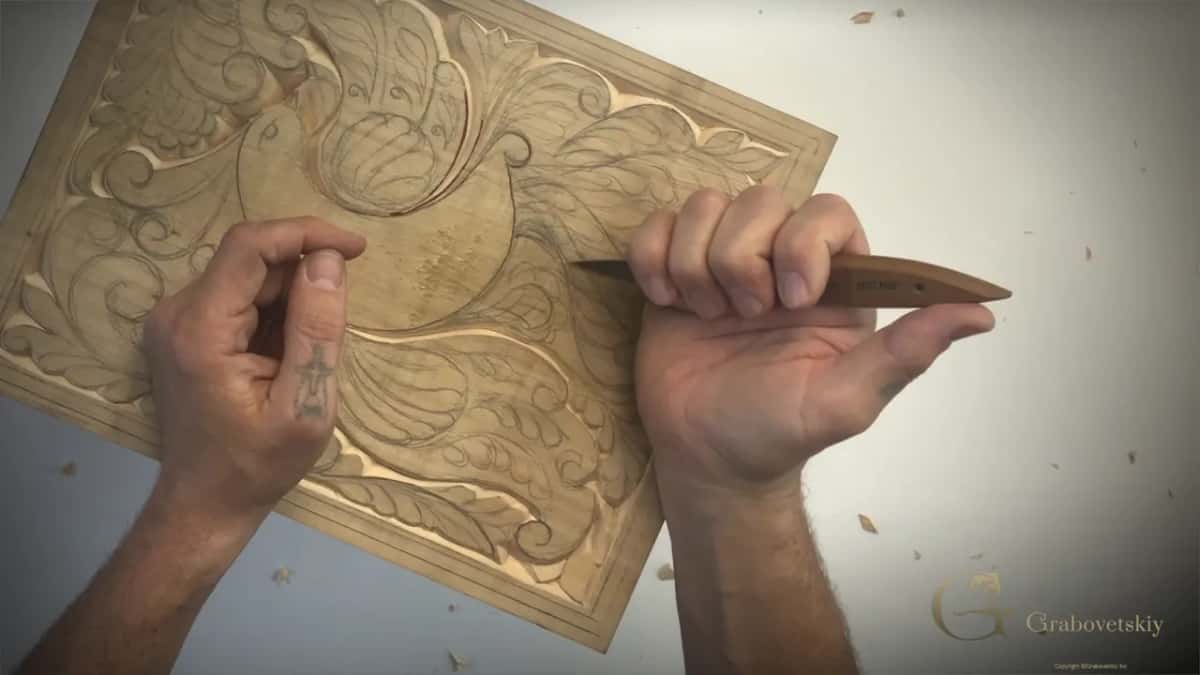
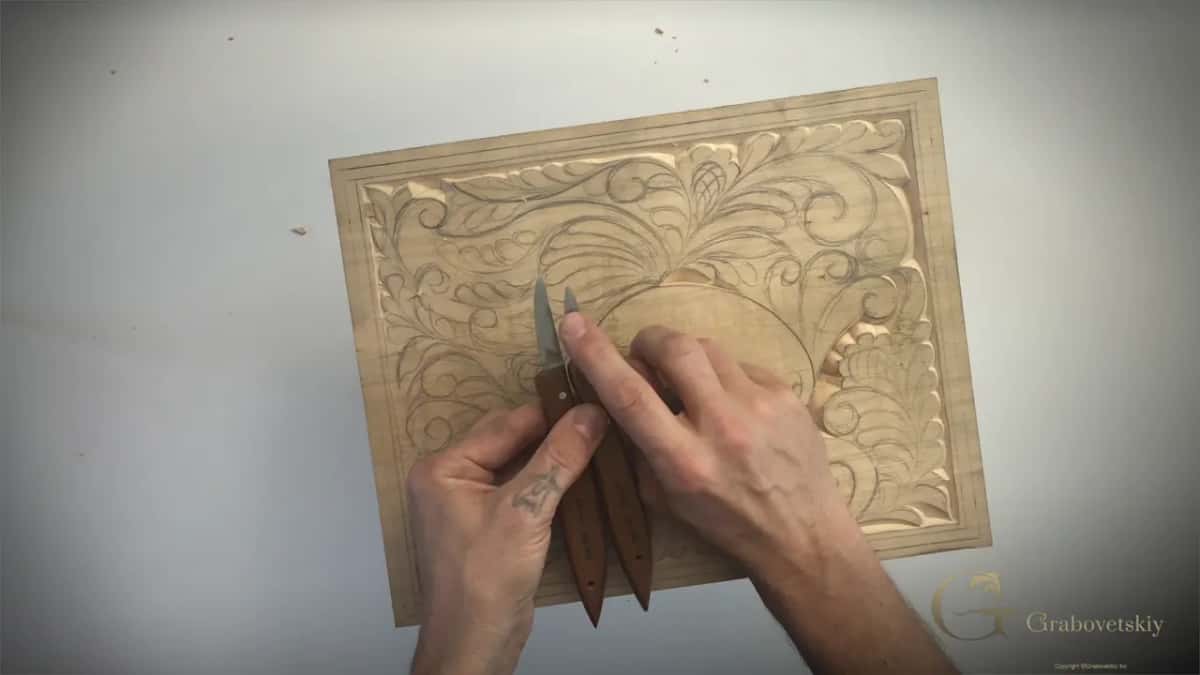
The blade snaps. Mine did, and the shorter of my two number 12 knives is the result of that break plus a long regrind on the stones. I keep both on the bench now, and I reach for the short one more often than the long one.
The break turned out to be useful. A shorter blade sits closer to your fingers, so you feel what it is doing and you control it better. Anyone buying a first Pfeil knife can simply choose a short one and skip my education on the subject.
| What you face | The pass that belongs in that spot | The result | Where the wrong choice takes you |
|---|---|---|---|
| A narrow dividing line | Upright, at ninety degrees to the surface of the board | Crisp edges | A bevel there blurs the two shapes together |
| Wide open ground | A low bevel taken as far as the boundary | Gentle drop | An upright pass digs a visible pit |
| The leader | Flatter bevel beside it, several times | It lifts | Everything flat, one grey panel |
| A big waste lump | Thin slices taken at a very low angle first | Stays safe | The blade snaps and your line goes |
What makes a flower look like it grows from somewhere?
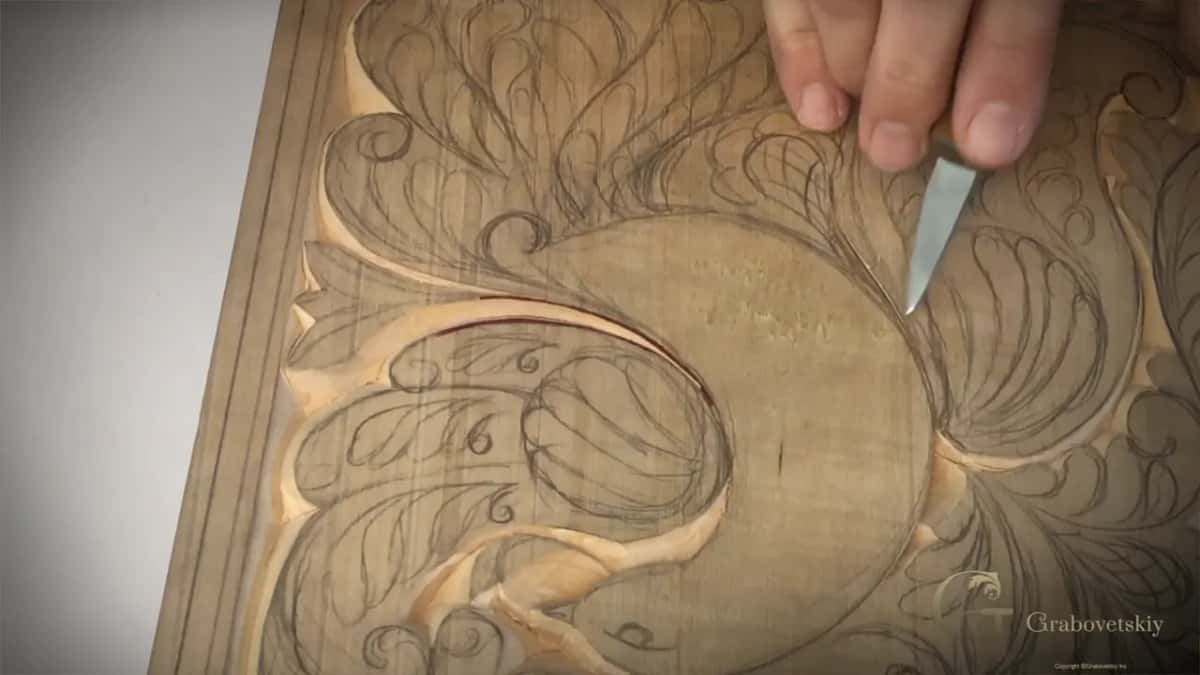
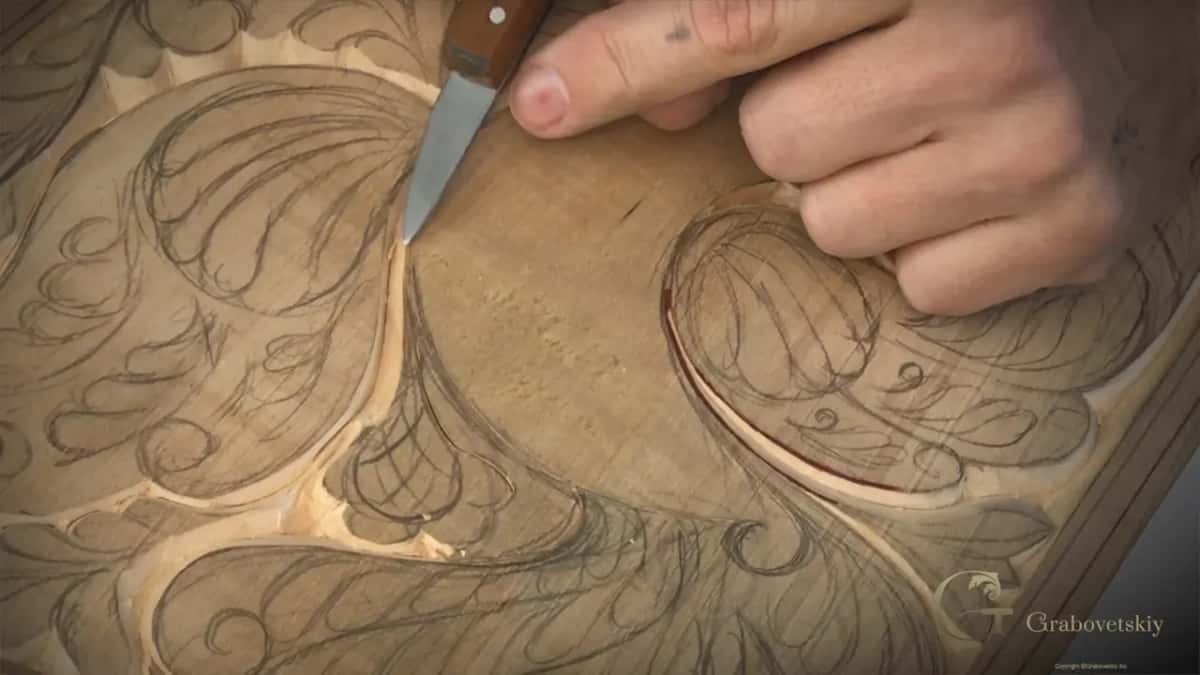
Split one line into two bevels. Where a stem should rise between two drawn lines, put the knife on one side and take a bevel, then go to the other side and take its partner. The flower then grows out of the sharp central line where they meet, rather than sitting on the surface like a sticker.
Logic decides where that line falls. A stem comes from the middle of the space, not from one edge of it, so measure the gap by eye and split it. Do it right and the edge you get is the sharpest thing on the whole board.
What is the point of repeating one shape three times?
Repetition is what holds this style together. Three volutes down the tail, three curls in the wing, three leaves in the corner, all cousins at different sizes. Take that away and the panel stops looking like it belongs to any tradition at all.
Repetition is also the trap. When a dozen details look alike the main picture gets lost, and it happens without you noticing because you are six inches from the board. So the rule that saves the style from itself is simple: repeat the shape, vary the level. Same family, different heights, and the eye sorts them out on its own.
Could you stop here and still have a finished piece?
Honestly, yes, you could stop. Gouges are coming into the project and the flowers will be better for it, but I could leave this board as knife work alone and it would look right. Old pieces in this style are exactly that, and nothing about them reads as unfinished.
Worth saying out loud, because beginners assume every carving must end in deep relief with undercuts. Flat carving is still carving. It answers the same question differently, it fills a surface better than deep work does, and a knife is the whole toolkit. Anyone telling you that thirty gouges are required to begin is wrong about this style at least.
Why is end grain so much harder?
Fibres stand up to the blade instead of lying alongside it. Down the length of a board the knife slices between fibres; across the end of them it has to sever each one, and the wood tells you so immediately. People watch this project and call it easy. Try one pass into end grain and the opinion changes.
Direction is half the answer. Find the high point of the grain and travel downhill from it, then turn the board and take the other half from the far side. The rest is a sharper edge, a shallower angle, more passes, and patience. Soft lime forgives more than most timbers here, which is another reason beginners start in it rather than in oak.
Can one knife really carve an ancient pattern?
That is how nearly all of them were made. Look at a Celtic knot, at the interlace on an old chest, at any weaving movement that looks impossible to lay out. Most of that work came off a blade very much like the one in my hand, using the same bevels I am running on this board. That rolled spiral a book would call a volute sits at the centre of all of them.
The freedom is the surprising part. Every gouge limits you to its own sweep, while a knife will follow any line you can draw, and that is the reason ornament of this kind turned out so inventive. Depth is the only thing you give up, and depth is not what this style was ever about.
How many passes does one shape take?
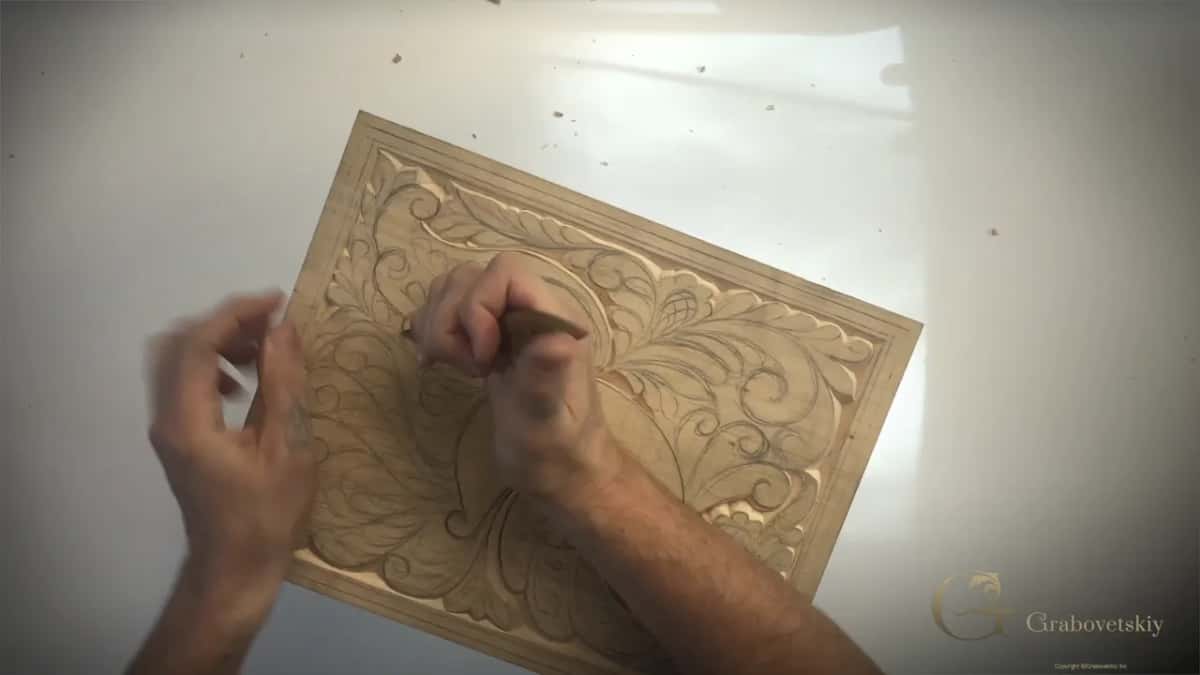
Three or four, usually, and sometimes more. Outline, bevel from one side, bevel from the other, then a cleaning pass. Waste that refuses to lift is telling you the two walls have not met yet, so you go round again on the same angle instead of levering. Big lumps get different treatment again: slices at a very low angle until hardly anything is left, so the final travel arrives at the wall carrying no force at all.
Patience is the whole lesson of this workshop, and I say the word three times on camera because students keep asking how I get walls that clean. There is no technique behind it beyond willingness to run the same pass a fourth time.
Does the carving have to be perfect?
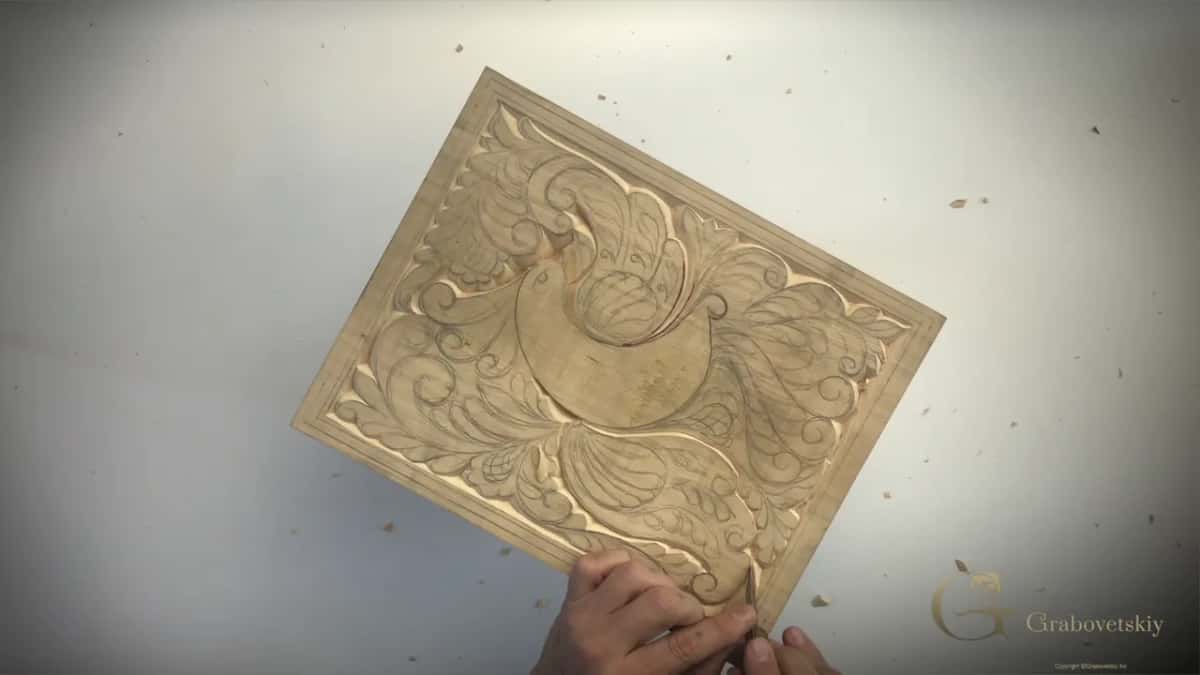
Absolutely not, and chasing that ruins more panels than any bad technique. You are not a machine. Nor a CNC router, and you should not try to be one. Let the piece look like a person made it with their hands, because that is exactly what happened.
Small wanderings in a line disappear once the board is finished and light is on it. A torn wall does not disappear, and neither does a shape sitting at the wrong level, so spend your worry there instead. Machine work and hand work are two different objects, and only one of them is worth owning. You know which one.
What keeps one bevel consistent across four sides?
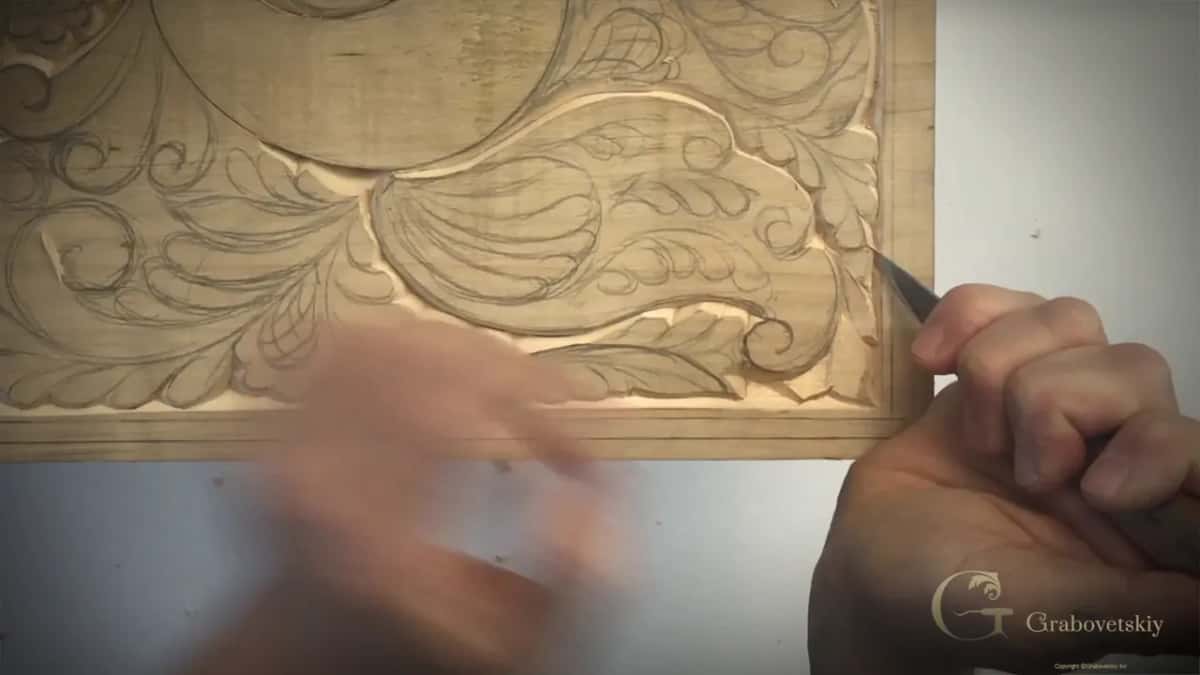
Your hand remembers the angle, and you protect that memory by not interrupting it. Three sides of this border were carved in an earlier session at one bevel, so the fourth has to match, and matching is harder than setting the angle in the first place.
What works for me is going straight to the fourth side at the start of the session, before the hand has been doing anything else. Set the knife down beside the old work, copy the angle by eye, run one light pass and compare. A wrong angle shows up as a change in the way light runs along the border, which is far easier to see than to measure. Nothing about woodcarving at this level gets measured with an instrument.
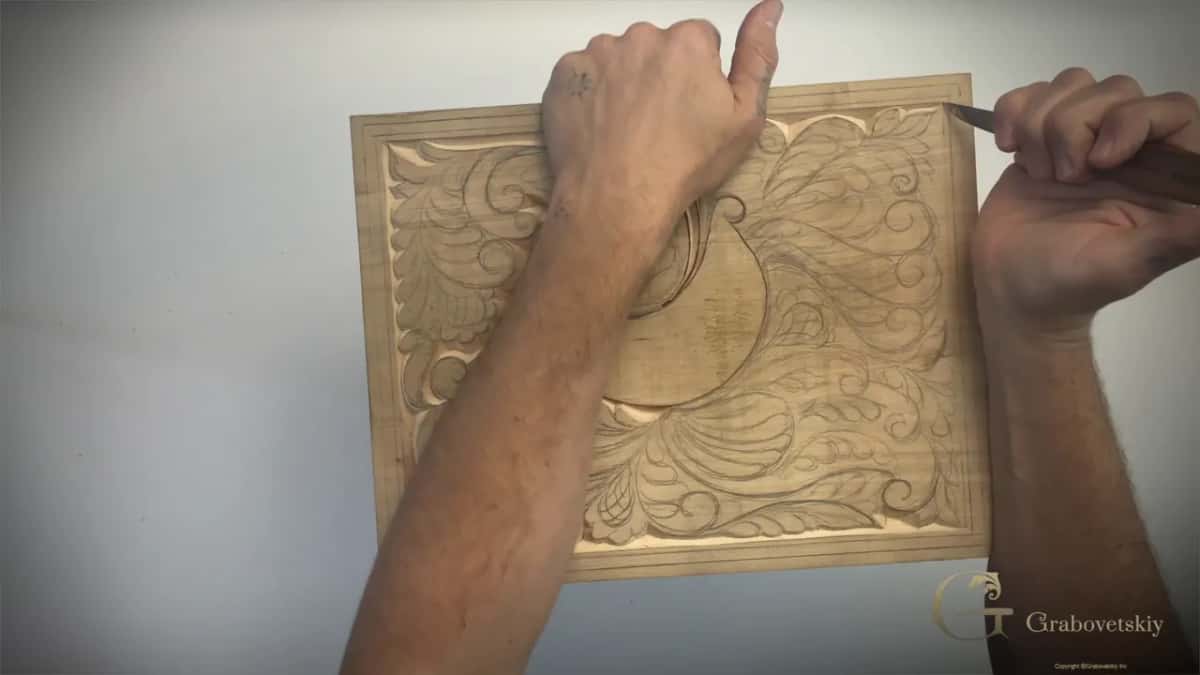
What do you look at when a session starts?
Last week's work, seen from a distance, before any blade touches anything at all. Sit the board up, walk back, and the faults you could not see with your nose against it become obvious: a wall you never cleaned, a shape that drifted, a corner too crowded.
Fix those first. A session that opens with corrections rather than new ground keeps the panel honest, and it stops you carving forty fresh shapes on top of an error. I rework a triangle in this workshop simply because I did not like the look of it, and nothing about that decision was technical.
Does a vice matter for a project like this?
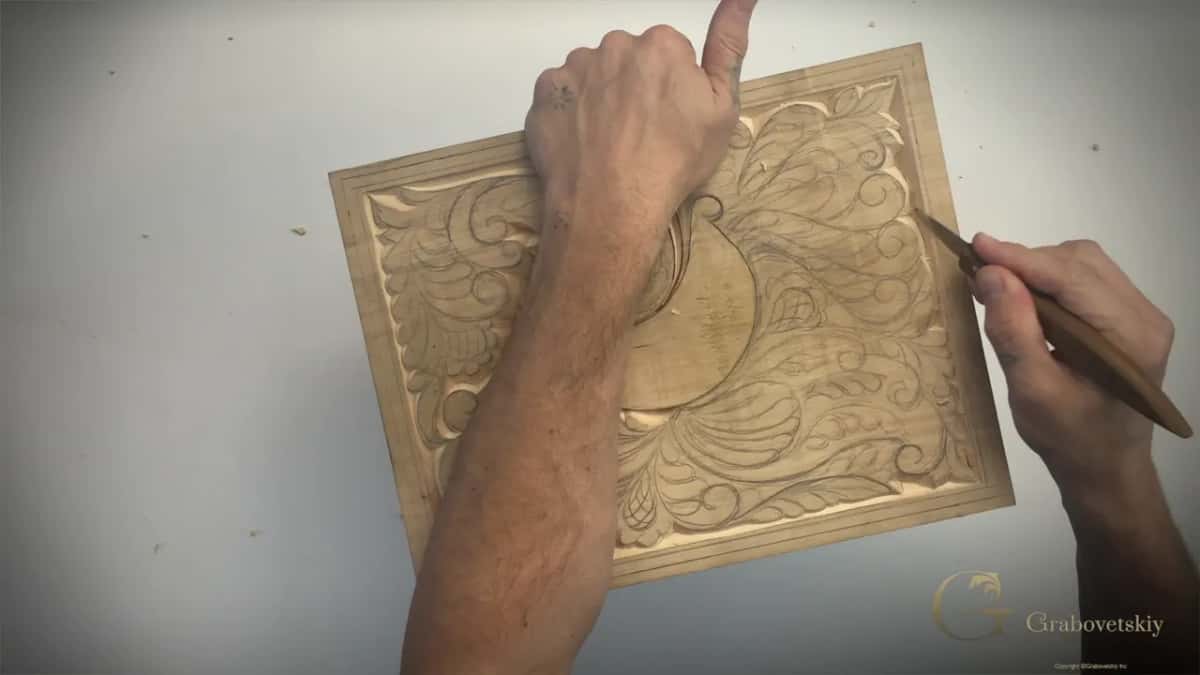
Turning the work always beats reaching around it, and it costs nothing. A cutting board needs no vice at all, and I use one here on purpose so you can see how often I rotate the panel rather than twisting my wrist into a bad position. Every rotation buys a cleaner line.
Any holding method that lets you spin the piece will do the same job. What matters is the habit: when a pass would force your hand into an awkward angle, move the board instead of the hand. That one rule removes most of the waviness beginners fight.
What is on the bench, and what comes next?
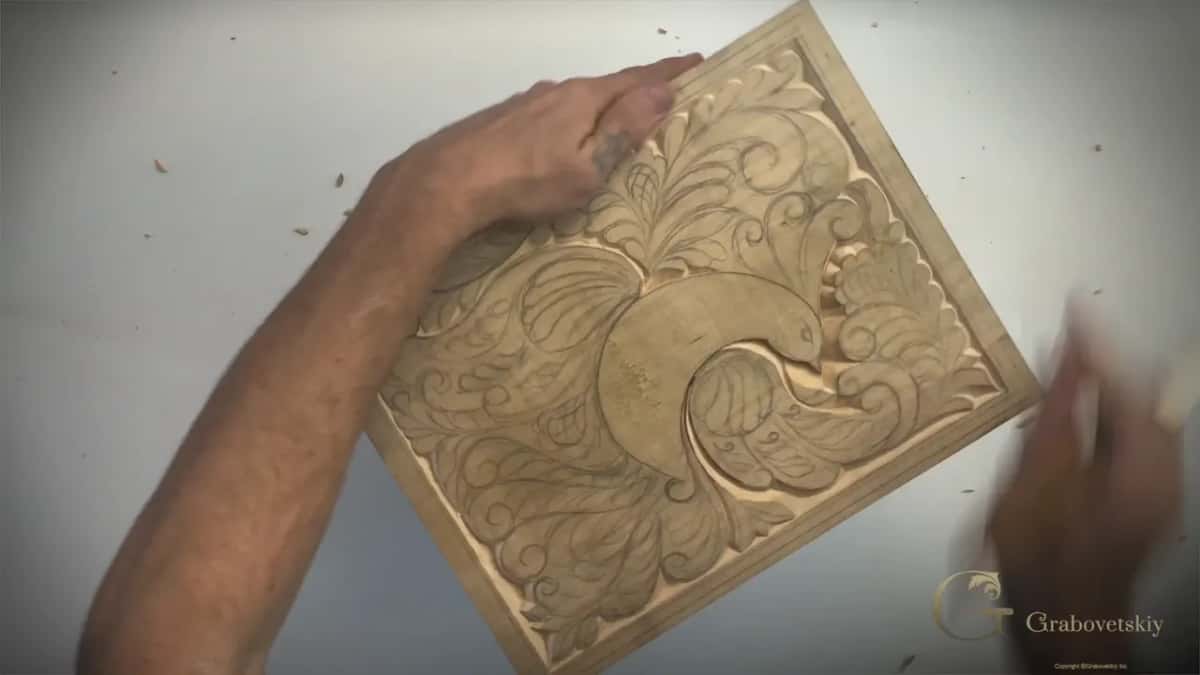
One knife still, plus the board you carried out of Workshop 5. A gouge joins the project soon and the flowers will look better for it, though I would happily leave this panel as pure knife work, because the old pieces in this style are exactly that. If your edge will not take a clean chip, go through the sharpening course first.
Design questions belong in principles of design, where the reasoning behind hierarchy gets taught properly rather than in passing. Tool questions belong in the tools course. Everything else is in this course, and the school keeps the whole run of workshops in order.
Four parts, about twenty four minutes. Part 6.1 carries the bevel onto the last side and compares the two knives, 6.2 outlines the wings, 6.3 raises the wing above its neighbours, and 6.4 finishes the flower. After that comes Workshop 7, which is all about how you hold the knife.
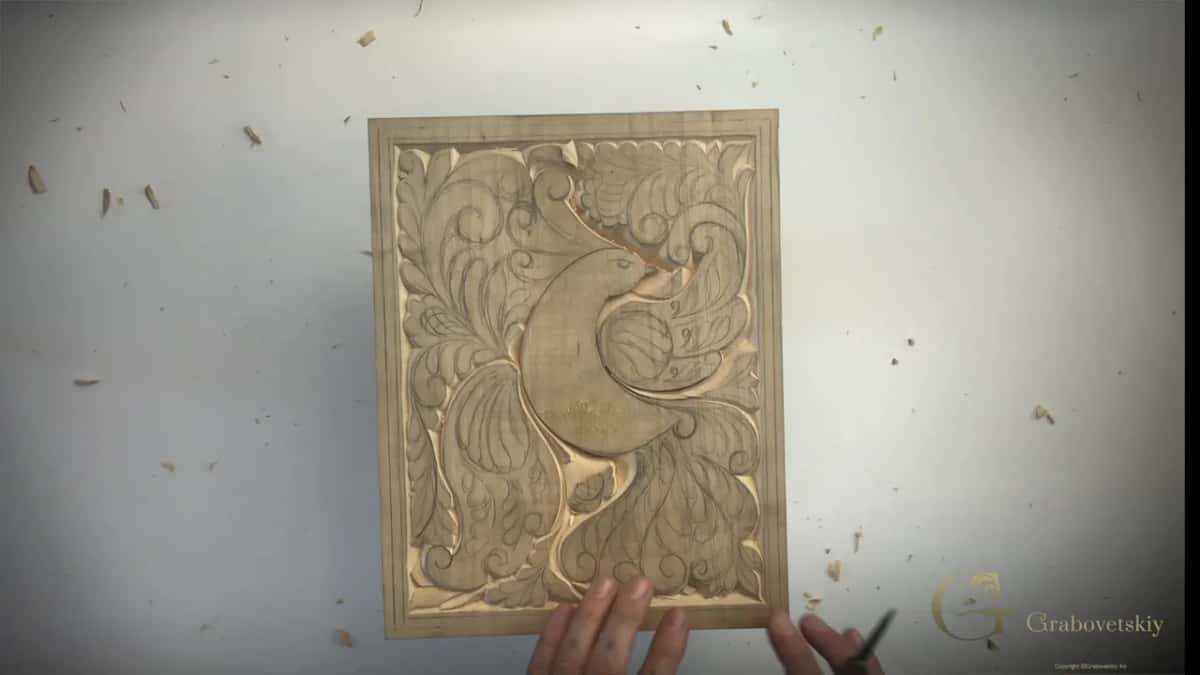
Your board has too many shapes shouting at once. Which one deserves to win? Shall we carve?
How it's done
- Pick the shape that leads. Stand the board up and look at it from across the room. Whichever element the design is built around is the one that has to sit highest, and on this panel that is a wing.
- Drop the bevel around it. Set the knife almost flat against the surface next to that element, far lower than the angle you have been using elsewhere on the board.
- Repeat the shallow angle. Run that same shallow angle three or four times rather than once. Each pass removes very little, and together they lower the neighbouring field without cutting a trench.
- Carry it out to the edge. Carry the lowered field right up to the drawn boundary. A lowered patch that stops halfway looks like a mistake rather than a level.
- Split a line for any stem. Where something should grow out of the surface, bevel from both sides of one drawn line so the two faces meet on a sharp central ridge.
- Check the hierarchy once more. Walk back from the bench and look at the whole board again. Two elements still shouting equally? Lower whichever matters less. Depth on a panel like this is measured in fractions of a millimetre, so very little goes a long way.
Frequently asked questions
Why does my panel look like texture instead of a picture?
Every element is probably sitting at one level. Choose the shape the design is built around, lower the field beside it, and the picture separates itself from the background.
How deep does a lowered area need to be?
Very little. A fraction of a millimetre is enough for shadow to do the rest. Beginners nearly always go too deep, and a pit in shallow work cannot be repaired.
Is a short blade better than a long one?
For fine work, yes. A short blade sits nearer your fingers so you feel what it is doing. Keep a longer one for clearing wide areas quickly.
What to carve next