
Alexander Grabovetskiy, woodcarver, School of Woodcarving · Published 2017
How much wood do you leave before the clean cut to the line?
Quick answer: A gap ahead of the clean pass is the wood you leave on purpose, so one careful last pass can reach the line. The gap differed with the lesson, and on a small rosette my last pass with a flat gouge finished at the line.
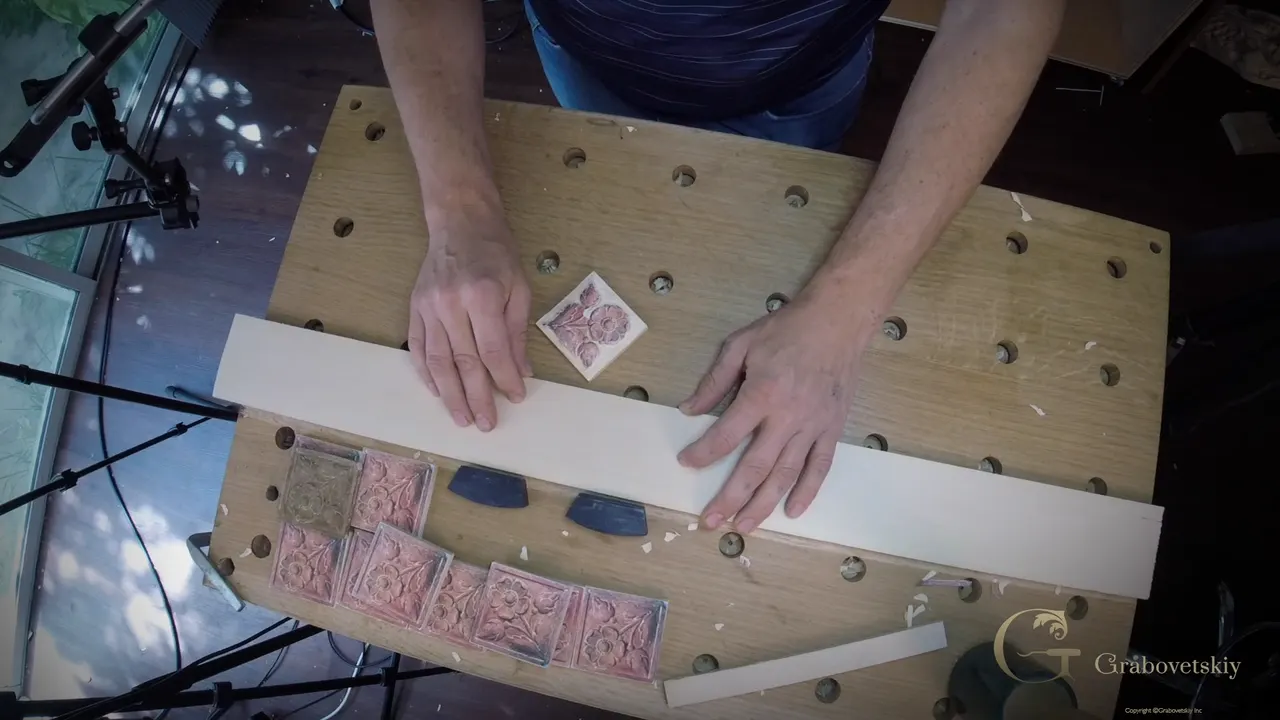
Leaving room before a clean cut means stopping a pass short of your line, so one careful last pass can take you to it. On a small flower rosette in part 2.1 of Carving Flower Rosette, I took a number 3 gouge around the edge up to the line. Then I said, "I call it clean cut."
Have you ever carved right up to a pencil line and watched the line disappear? Does the last pass worry you more than all the ones before it? I leave some wood before that pass, and below I show how much, lesson by lesson.
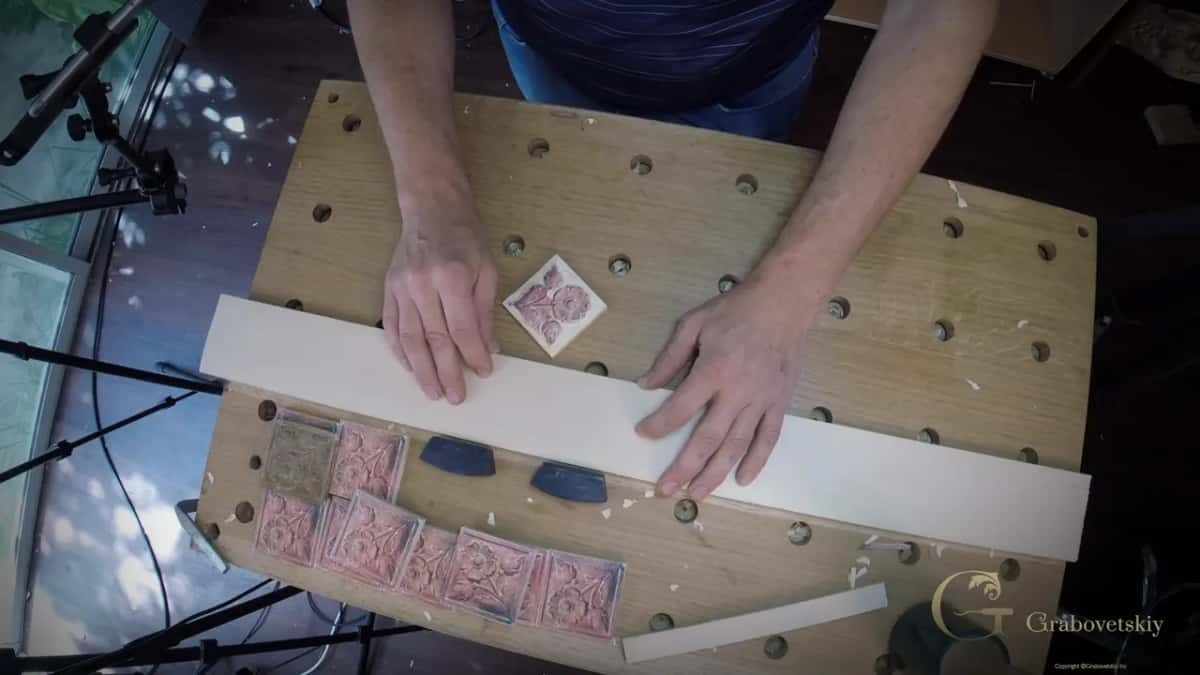
The video behind this page is a short piece of wood carving. It opens lesson 2 and runs about six minutes. I carve the outside of the rosette, and I do not clamp the piece.
Room to leave, in six lines
- A clean cut is the pass I save for the line.
- A number 3 did the rosette rim.
- My first pass began set back from the rim.
- Before that pass I leave a gap, and the gap depends on the work.
- On camera I say when a pass is still only preliminary, and when it is final.
- Sharp tools and a slicing motion give me the result.
What is a clean cut in wood carving?
A clean cut is the careful pass that takes the wood to the line. A Q and A video of mine on the slicing cut says that in the final stage, every cut is going to be clean cut. We're not going to use any sandpaper.
Before one livestream, a question came in about how to get a really clean cut. My first answer was sharp tools, and then, I said, your cut is going to be absolutely smooth. Look at it, I told people, it is shiny, really shiny. My second answer was the slicing cut, or carver's cut, a rotation while you push.
The first-cuts course says it too. If you get clean cuts like that from the first time, I told students, and train your hand to cut clean in that type of carving, you will not have limitations in what you can do later.
How did I carve the edge of the small rosette?
I started with the piece in my hands. Blocks on the bench could have held it tight from one side, and I said that would be really stable. But I'm all the time rotating my piece, and if I just have something to butt against, it's going to work out really good. The clamp setup went away.
The same reason comes back in lesson 4. There I said I'm not fastened to anything because I constantly rotate, and I always just have this block to butt against.

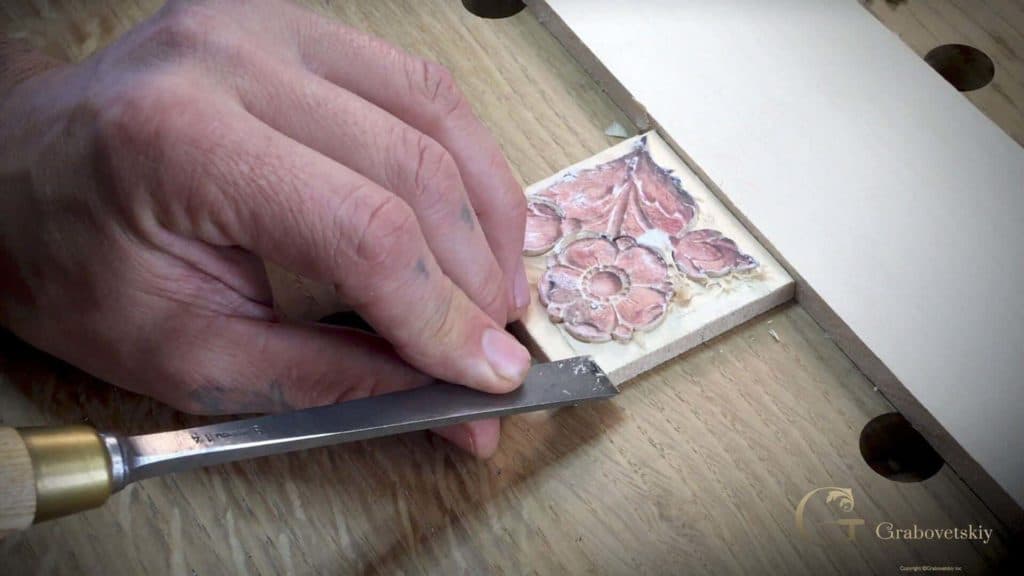
For the edge I picked "maybe just a number three." It is a more flatter gouge, just slightly swept, and I told you, "This is the sweep." I cleaned all the way to the line.
Next came a check. Was I really close to my line? I was there. I rotated and worked from the next side, carefully removing wood to my line.
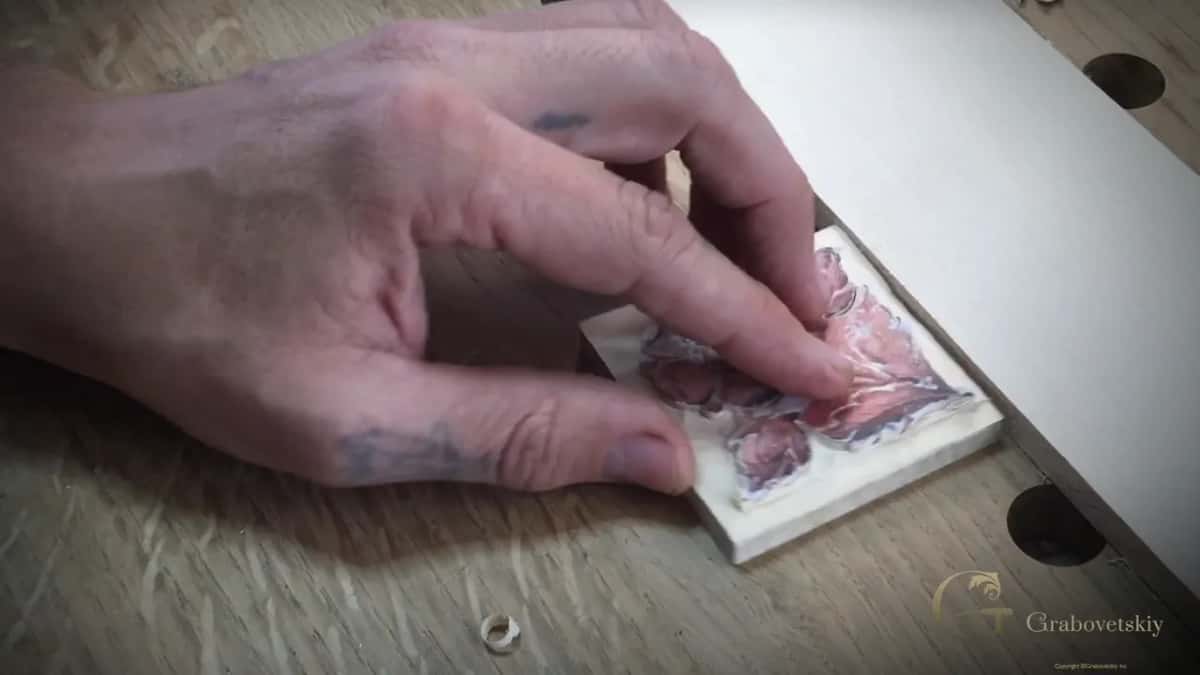
There is a reason I do not start a pass at the edge. I can actually miss there, and I don't know what the grain is going to do. I start somewhere away from the edge instead, take little material at once, and keep checking that I'm not below my line.
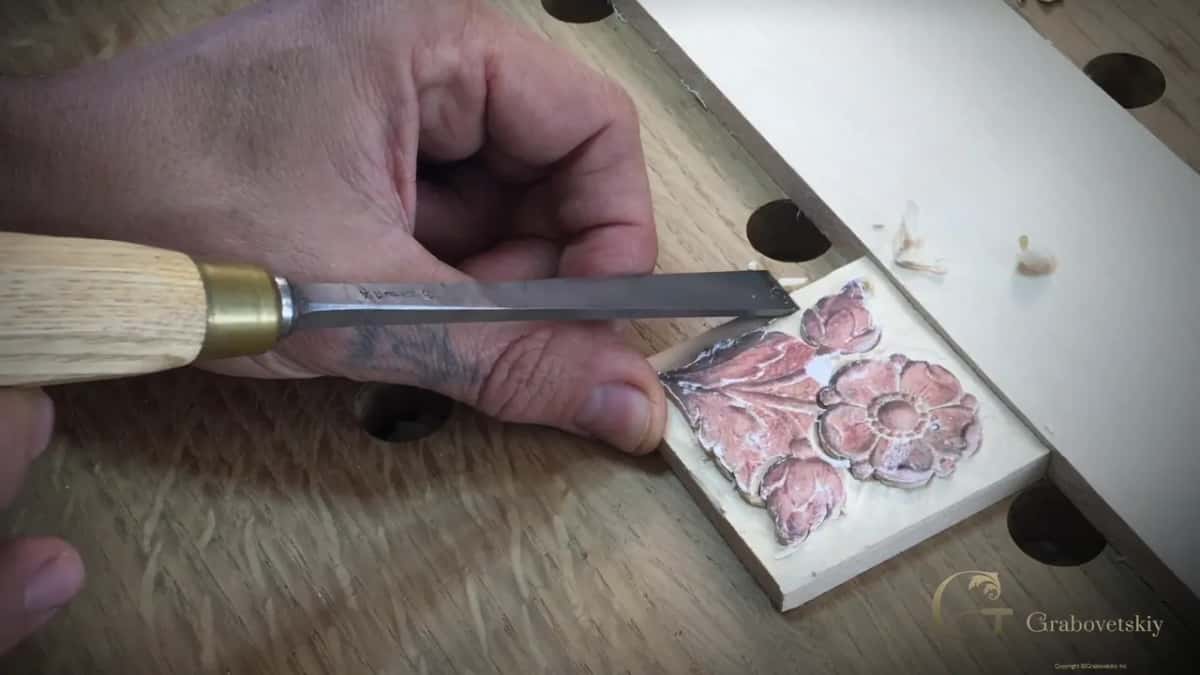
A moment later I said, "And looks like I am right there." I rotated and did the same from the next side. The name came in right there. There I named it. I call it clean cut, and I have to be really careful with it. Take it to the line.
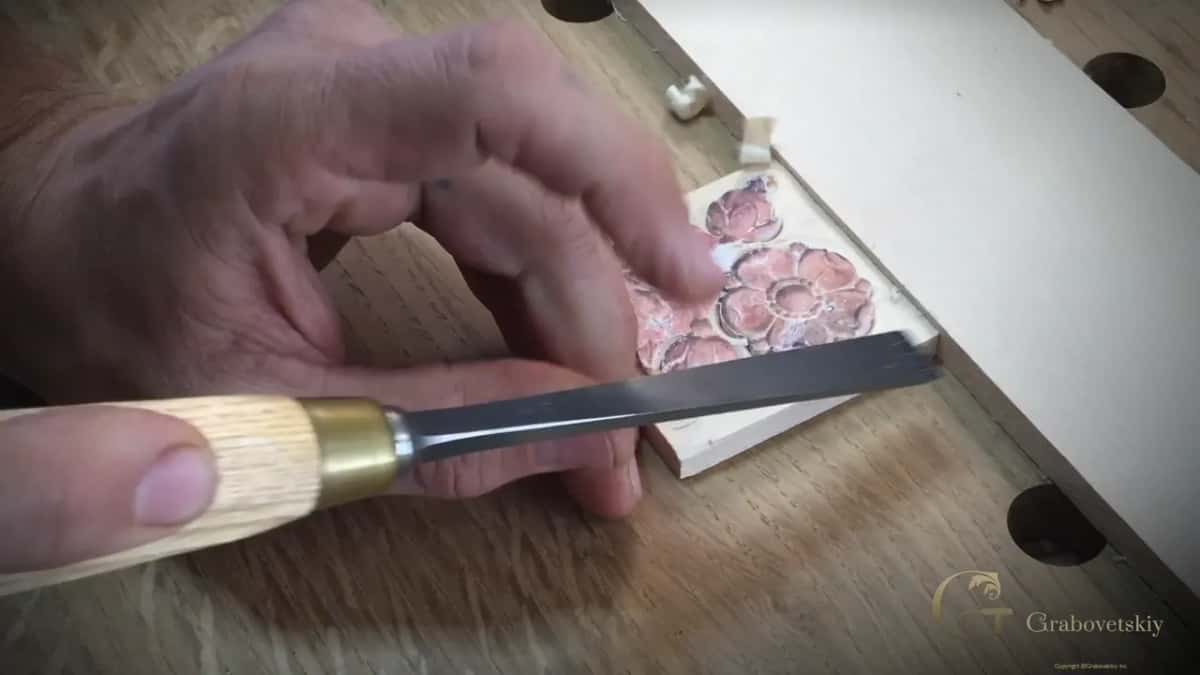
Now the sides, exactly the same, I said, with the grain working against me, so more care was needed. I took each one to my line.
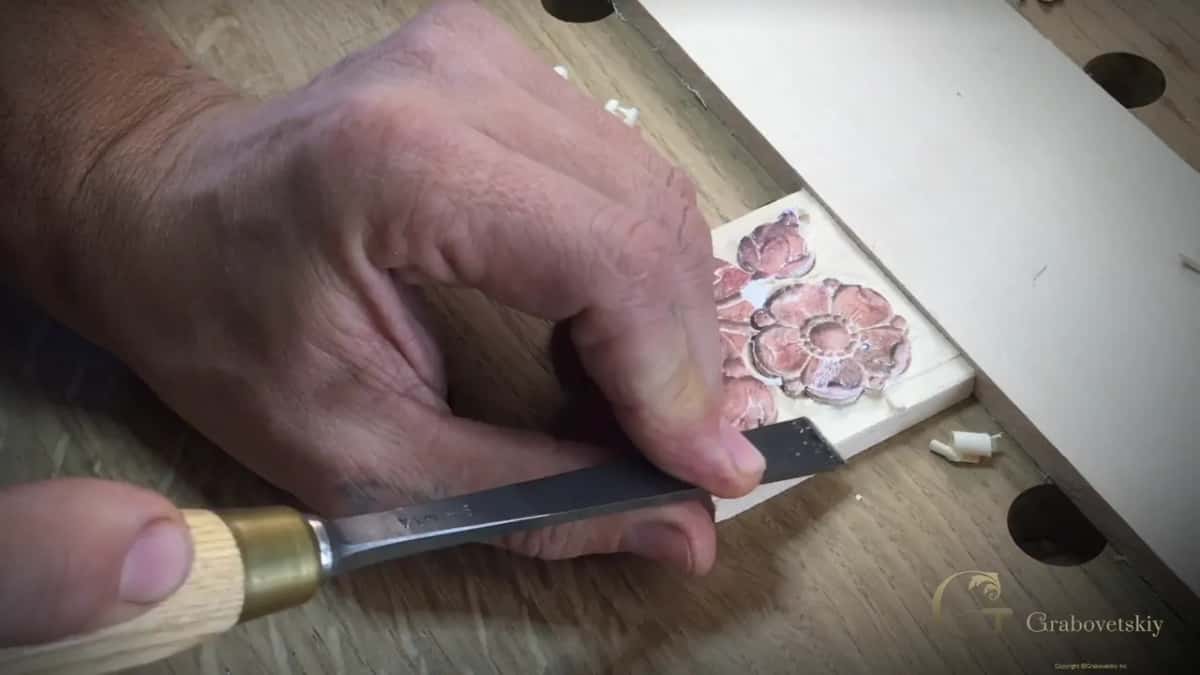
The inside could wait. I was concentrating on the outside perimeter, because the inside would be a little deeper. I read that off the original: a little more than a thirty-second of an inch (0.8 mm), and a little less than a sixteenth (1.6 mm).
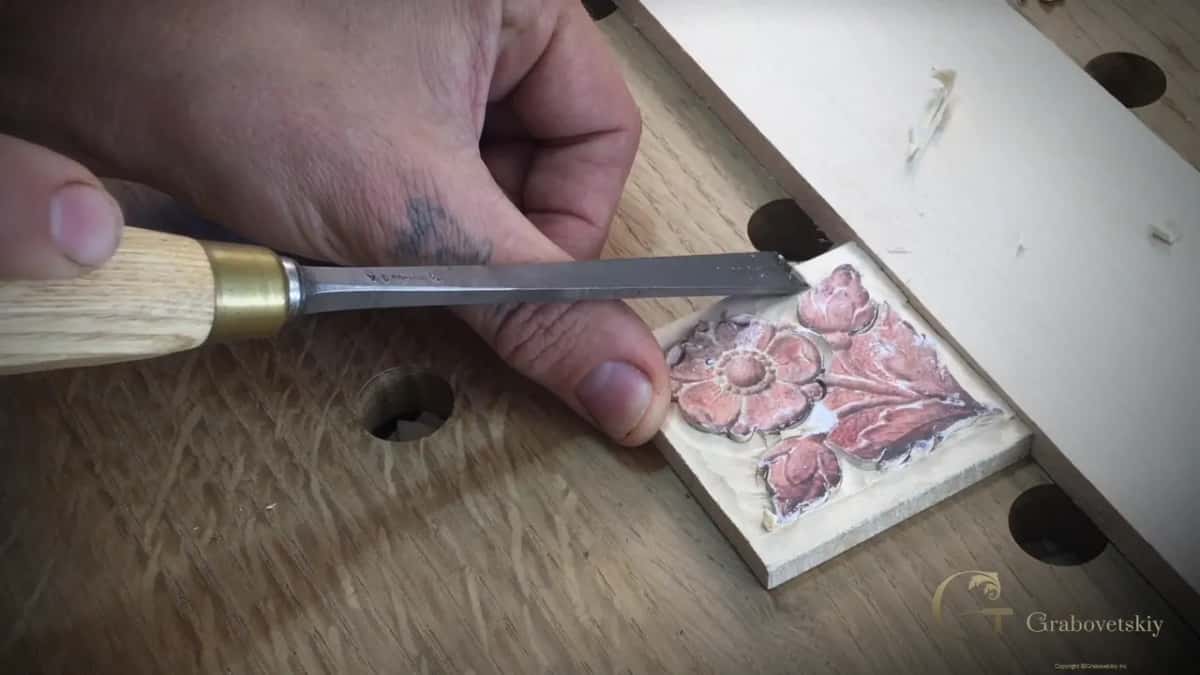
The last side got the same treatment, and the part ends with, "And it does look like I'm there."

How much wood do I leave before the clean cut?
Here are lessons where I gave the number out loud, and the jobs differed each time.
Workshop 85 of the Venice Room had me hold back from the line. About a quarter inch (6 mm) stayed, and I said it would be much safer to get the clean cut later. For the moment, just a quarter inch away felt safer.
Two lines had to hold me in workshop 58, a ridge I had just made and the line itself. Not too close to that line yet, I said, because the clean pass was still to come. I excavate inside first, then pass with a clean pass. My number 8 spoon stayed a couple of millimeters off, maybe 1.5 mm (1/16 in), and in some spots 3 mm, about an eighth of an inch.

I left approximately 10 mm (3/8 in) in lesson 6 of the Roman acanthus leaf, and I repeated it on the opposite side. That was still preliminary. We had two lines, I told you, my clean line and my preliminary line.

The furniture panel gave me one more. One pass in lesson 16 got the words "my final clean cut," followed by a remark that I still left about maybe 1/64 in (0.4 mm) before the final pass. Over in lesson 17 I said I left the room for myself to make a clean cut later on, if I needed to.
The Grape Onlay had only about an eighth of an inch (3.2 mm) on one side, so care was needed. I added, "So that is not the final, final clean cut." I wanted plenty of material to clean up a little later.
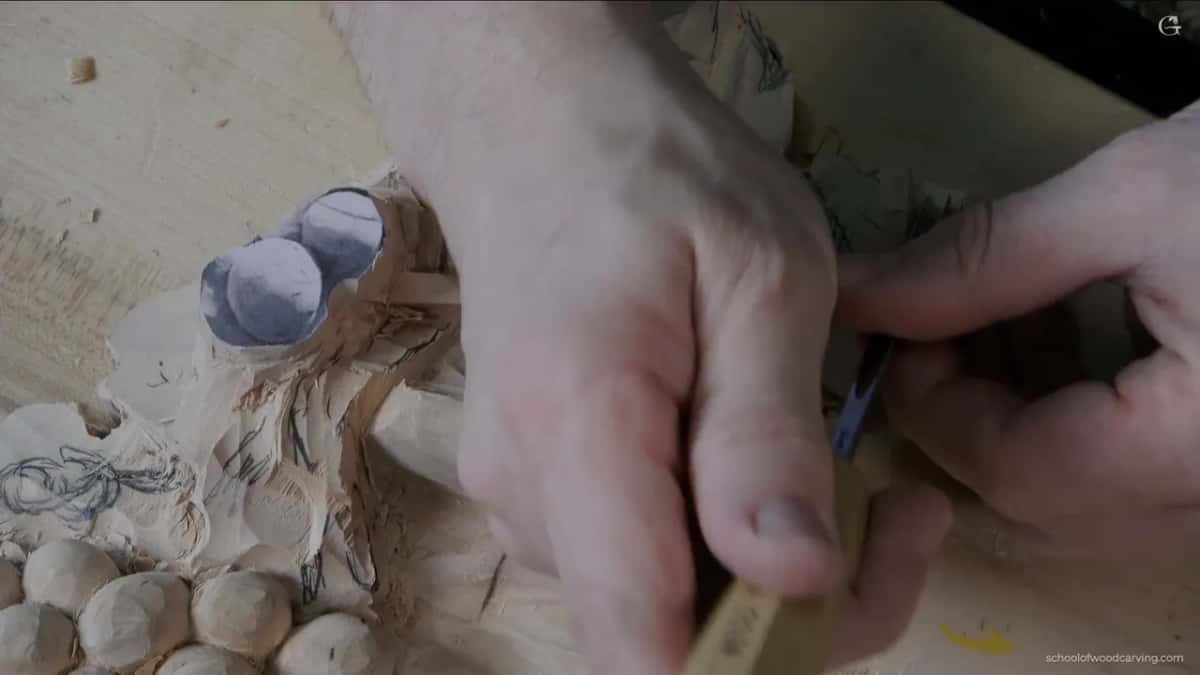
Tiny details need room too. Greek acanthus lesson 2 has me saying to be really careful near a detail that is too small, because you still have to leave some space for clean cut. Finish before you hit the wall.
The table puts the numbers side by side.
| Where | Left | Next |
|---|---|---|
| Venice 85 workshop | A quarter inch (6 mm) shy of the line, for safety | Clean pass afterward |
| Venice 58 workshop | Maybe 1.5 mm (1/16 in) off both lines, 3 mm (1/8 in) in spots | Then a clean pass |
| Roman leaf 6 | Approximately 10 mm (3/8 in), one clean line and one preliminary line | Clean line last |
| Furniture Panel 16 | About maybe 1/64 in (0.4 mm), left before the final pass | Then closer to final line |
| Grape Onlay 5 | About 1/8 in (3.2 mm) on one side, with plenty to clean up later | Not final yet |
| Flower Rosette 2.1 | Number 3 flat gouge, taken to the line itself | Started off the edge |
The numbers differ because the jobs differ, and I gave no single rule.
When is it too early for a clean cut?
It is too early while something else on the carving can still change that spot. Several times I told the camera a pass was not yet the clean one, and I gave a reason each time.
Hashemi flowers lesson 12 had me working against the grain and uphill, which doesn't help at all. The words were, "that is not my clean cut yet, how I call it," because a separation on the inside still had to be made. A V cut came in lesson 17 of that course, and a nearby part was no concern, since it was a stage ahead of the clean cut, how I call it.
One furniture panel pass looked a little too aggressive to me. It was okay, I said, since it was not the clean cut yet, and not the final cut anyway.
In Venice Room workshop 62 I dug toward the main barrel little by little. "It's preliminary," I said, with a clean cut to come later. I held back on purpose to preserve the wall of that element. Otherwise it would be hard to clean.
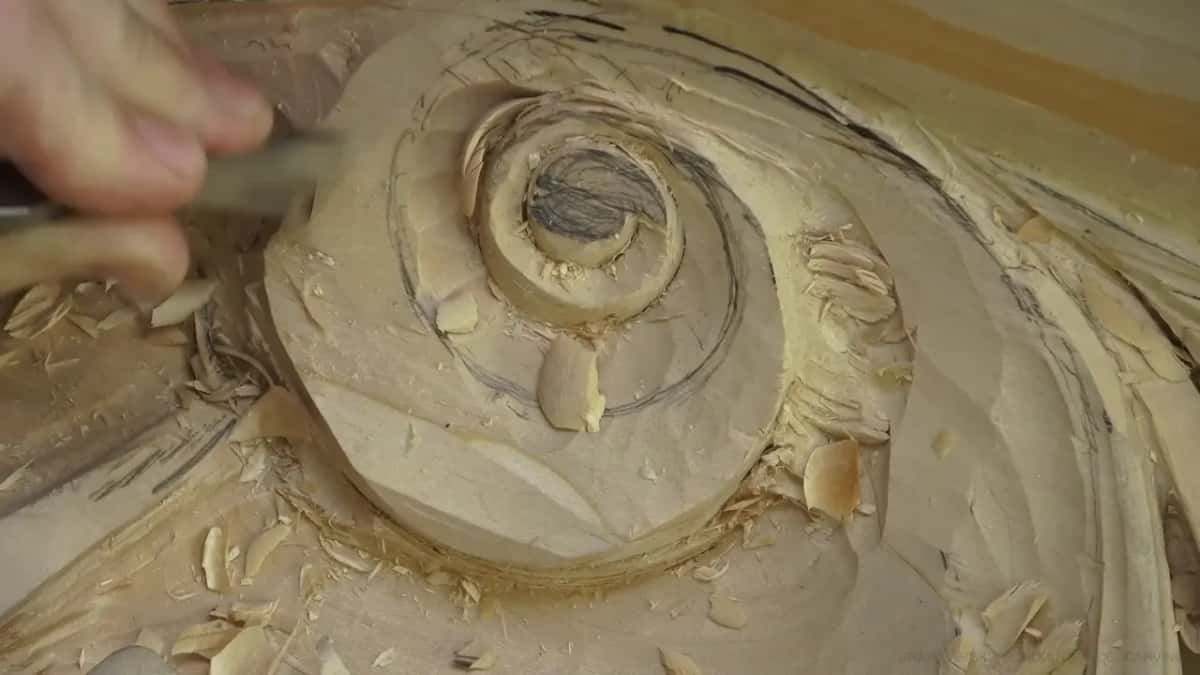
Workshop 140 had no reason for the last clean pass until everything was established. Around a row of beads in workshop 141, a super clean cut was no worry, because most of it would be gone once I made those beads.
The floral and molding panel gave me two more. Lesson 2 did not need the so-called clean cut, because I could reestablish the lines later on. Lesson 10 did not need a very clean cut, as it was unnecessary at that point. Which spot of yours can still change?
Which tool do I pick for a clean cut?
The rosette needed a number 3, and other jobs needed whatever fit the length of the pass and the spot.
For a long run on the furniture panel I said I would probably use a little bigger chisel, because the pass was long and I wanted a clean cut along its whole length.
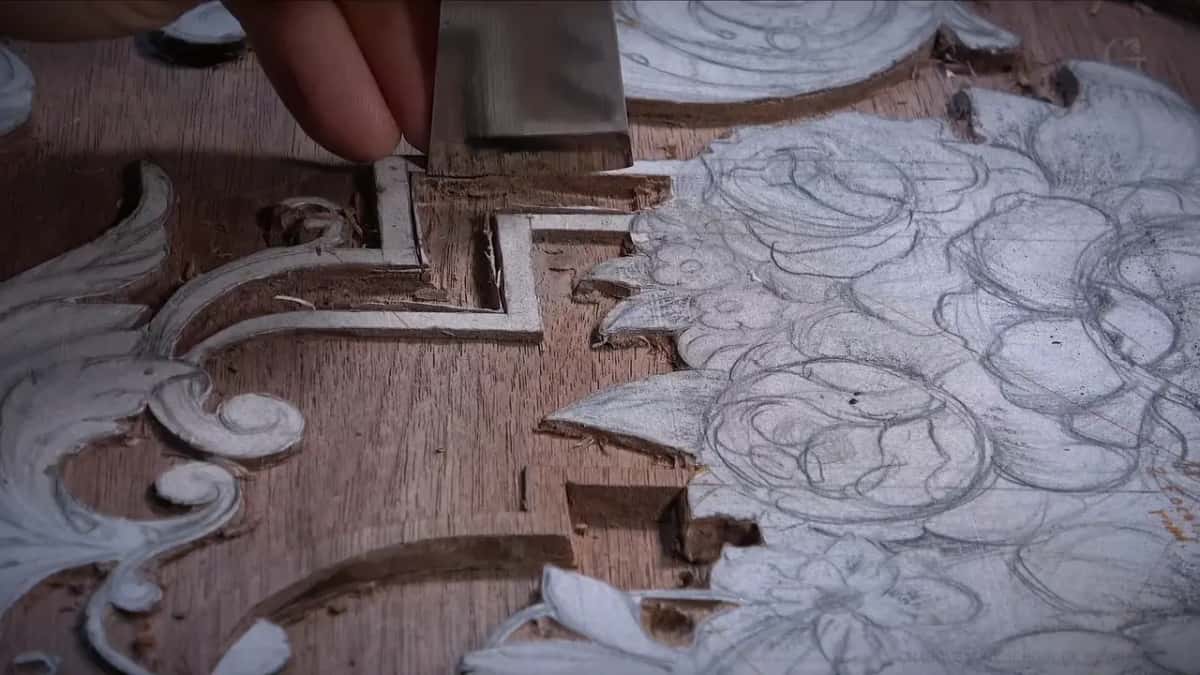
A big number 3 gives me really good clean cut, I said in Venice workshop 40. Workshop 92 had mushy wood and a little hump, no bueno, so I grabbed a number 3 to get rid of it. A number 7 of about 3/4 in (19 mm) did the job in the Lily Box, and I said, "I'll give a nice clean cut."
If you feel safer, a V tool can go first. Part 3.1 of this rosette course says to work a little away from the main cut with it, then make a clean cut. In Greek acanthus lesson 3 a V tool cleaned one spot, and I said a knife would give exactly the same result. Then a number 7 of 14 mm (about 9/16 in) made the clean pass.
Over at the dining table apron, once the V tool had relieved one side, a straight chisel or knife could go in with no more tension, and that side would remain clean cut. Another time, on a furniture panel, I decided I should use a mallet, because it gives a lot more control, and it was going to give me a beautiful, clean cut.
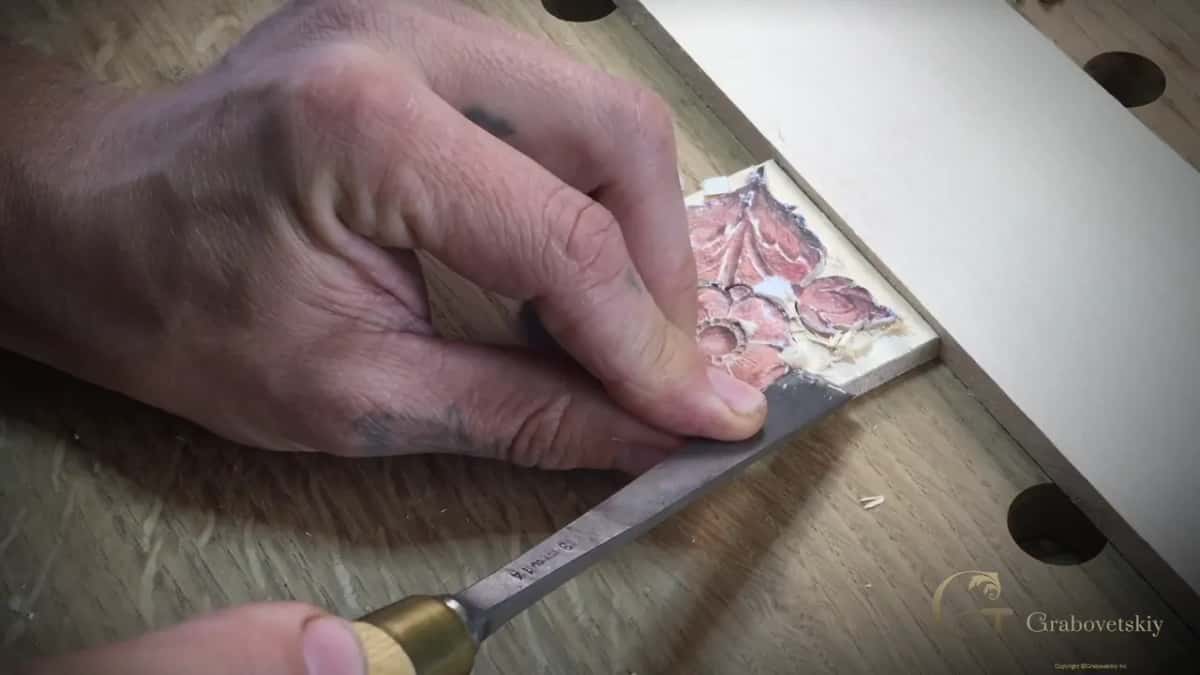
Which side of the gouge leaves the clean wall?
Every pass of a gouge leaves a clean side and a rough side, and the grain decides which. The modern acanthus course puts it as the logic of the grain, one side always clean cut and the other rough. Think about which side needs to be clean.
Lesson 6 of the Roman acanthus course pointed to the left side as clean, since it worked with the grain while the opposite side worked against it. Your tools absolutely must be sharp for that reason. Lesson 11 had me saying I can always attack the rough side from the opposite direction, to make it look clean.
The long sides of the rosette called for even more care, so I did them after the first two.
What does a sharp tool do for a clean cut?
It lets me get a clean cut even where the grain is against me. A line in Roman acanthus lesson 16 says that with really sharp tools you can break the rules and work against the grain, and you still get a really clean cut. The fuzz did not worry me right then, since my undercuts would remove it.
The stropping video shows how easily a tool shaved right after honing. On a real piece, I said, it gives me a beautiful and super clean cut, a shiny finish, and I can break the rules of the grain.
Does a clean cut show me my depth?
At times. In workshop 3 of the Venice Room I made a straight pass down and cleaned it with the same gouge. When I do a clean cut down and clean it like that, I said, it gives me a really good idea of my depth. It works as one way to measure the depth.
Where does this part sit in the course?
The first video of lesson 2 is one of four short ones in Carving Flower Rosette. The next, part 2.2, measures the border with a marking gauge at 5/32 in (4 mm), the same as the original. After that the grounding tools come in. Part 2.3 shows room left on purpose: the ground stayed almost the same height as my border, because I was going to use punches later, and punches push down and compress some fibers. The course page lays out every lesson.

Is there a small piece on your bench that needs its last pass? Would you like to watch me take a rosette to the line, side by side? Then Access to the school puts every part on video for you.
How it's done
- Let the piece rest against a block. I did not clamp the rosette, because I turn it constantly. One block to push against was enough.
- Take a flat gouge. I picked a number 3, a more flatter gouge, just slightly swept.
- Begin inside the edge. The tool can miss at the rim, so I started inside it and watched what the grain did.
- Leave a gap before the line. The gap changed with the work, and I left the finishing pass for later.
- Take the last pass to the line. Go carefully, and check that you are not below it.
- Turn the block for each side. Rotate it, repeat the pass, and give the long sides even more care.
Frequently asked questions
What does clean cut mean to a carver?
To me it is the careful pass that finishes a line. The rosette video gave it that name. In a Q and A video I said the final stage of a carving means clean cuts and no sandpaper, with a tool sharp enough to leave a smooth, shiny cut.
What size gap do you keep at the line?
It changed with the job. On one furniture panel a sixty-fourth of an inch (under half a millimeter) stayed, and about 10 mm, or three-eighths of an inch, on the Roman acanthus leaf. The finishing pass waited each time.
Where do you begin a pass along an edge?
Just inside it. The tool can miss at the rim, I said, and the grain can surprise you. I began a little in from the edge, avoided taking too much at once, and checked now and then that I had not gone below my line.
What to carve next