Alexander Grabovetskiy, woodcarver, School of Woodcarving
How do you carve grapes and grape leaves in wood?
You carve a grape onlay in three stages. First rough out the overall 3D movement with a big number nine gouge. Then shape the bunches on different levels. Aim for triangle-shaped gaps where grapes meet, and use slicing cuts instead of pushing straight down into the wood.
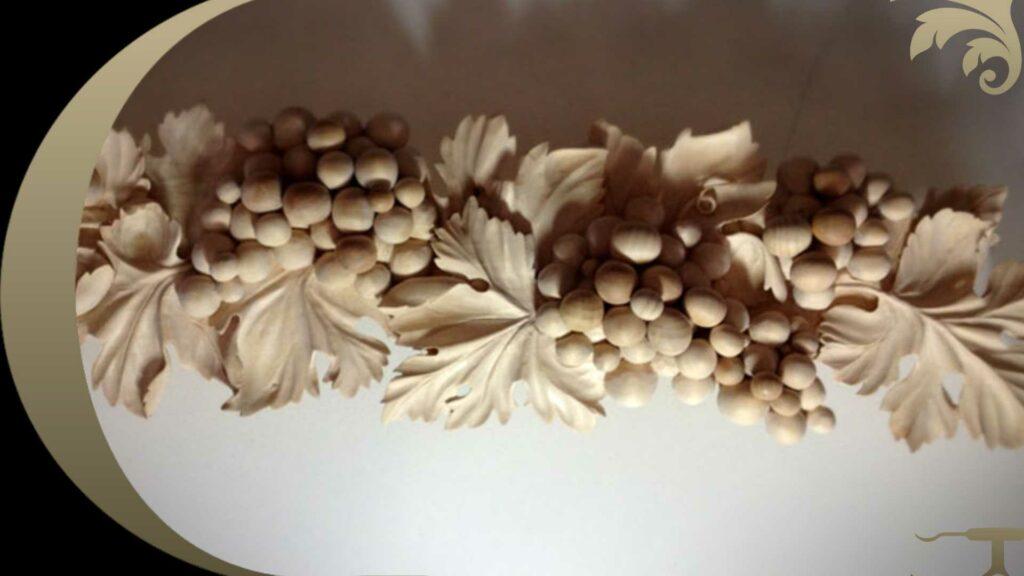
Grapes look simple. Then you try to carve them and the bunch turns into a flat mess of circles. You are not alone. Here you will see how the grapes, leaves, and vines come together on one panel, how to keep them three dimensional, and the common mistakes that trip people up. Let us walk through it.
What size and type of wood do you need to carve a grape panel?
You need a board about 24 inches long, 6 inches wide, and 2 inches thick. That is roughly 61 by 15 by 5 centimeters, or eight-quarter material. Basswood is the wood of choice. In Europe it is called lime wood, and lindon or chile wood are the same thing. The board can be solid or glued up to width.
Why are grapes so hard to carve?
Grapes are hard because the spaces where they overlap have to read as triangles, not as squares or circles. The bunch also has an overall direction, and the grapes get slightly prolonged along it instead of being a pile of spheres. There is a lot of movement and excavation, plus vines that dip under and over the grapes, so it is somewhat advanced work.
What are the stages of carving a relief grape carving?
There are three stages. Stage one is roughing out to establish the 3D movement and high spots, like pouring a foundation. Stage two is framing, where you shape the overall form and set the grapes on different levels. Stage three is the detail. The biggest mistake is jumping to details too early, so keep the piece rough at the start.
What gouges do you use to carve grapes?
A 20mm number nine gouge is the main tool for roughing out shapes. A bigger 25mm or 30mm number nine saves even more time. For shaping the grapes, a number seven at 14mm and a number five at about half an inch do the work. A smaller 10mm number nine helps lower sections and create cavities.
How do you carve the gaps between grapes so they look right?
Aim for triangle-shaped openings, not squares. Place the corner of your gouge inside the triangle and excavate it almost like chip carving. Do not push the whole tool straight down. Work one triangle, then the matching one beside it, and keep the overall direction of the bunch in mind.
Why should you use a slicing cut instead of pushing the gouge straight down?
A slicing cut keeps you from fighting the wood. If you start with the flute pointing up at 12 o'clock and dig straight in, you drive the edge into the fibers with force. Instead, start with the flute at about 11 o'clock and rotate to one o'clock as you finish. This gives a clean cut, which matters most on harder woods.
| Tool | Size | Use |
|---|---|---|
| Number nine gouge | 20mm (or 25-30mm) | Roughing out shapes and movement |
| Number nine gouge | 10mm | Lowering sections, cutting cavities |
| Number seven gouge | 14mm (about half inch) | Shaping the grapes |
| Number five gouge | about 12-13mm | Blocking and shaping the grapes |
Tools for carving a grape onlay
How it's done
- Rough out the movement. Use a big number nine gouge to block in the overall shape. Establish the high spots and the flow of the bunch. Do not touch details yet. The piece should look rough, and that is correct.
- Frame the form. Shape the panel like framing a house. Set the grape bunches on different levels and decide where the high spot falls. Keep some areas high and lower others to make it fully three dimensional.
- Excavate the triangles. Start blocking a single bunch with a number five gouge. Place the corner of the tool inside the triangle gap and chip it away with a slicing motion. Carve one triangle, then the matching one next to it.
- Lower the back sections. Switch to a 10mm number nine and carve across the grain to lower the sections behind the grapes. This creates the cavity that makes the front grapes stand out. Leave material where future grapes will sit.
- Refine with slicing cuts. Keep using slicing motions, starting the flute around 11 o'clock and finishing near one o'clock. Use short, small cuts so you are not forcing the wood. Check both sides and lower as needed to build depth.
Key takeaways
- Carve in three stages: rough movement, framing, then detail.
- Use a 24 by 6 by 2 inch basswood board, eight-quarter thick.
- The gaps between grapes should read as triangles, not squares.
- A 20mm number nine roughs out; number seven and number five shape the grapes.
- Always slice with the corner of the tool, never push the flute straight down.
Frequently asked questions
Can a beginner carve grapes in wood?
This is somewhat advanced work because of all the movement and excavation, so it is not the easiest first project. That said, if you want to challenge yourself, there is no reason not to try it.
What wood is best for carving a grape relief?
Basswood is the go-to choice. It is called lime wood in Europe, and lindon or chile wood are the same thing. It carves cleanly and forgives the deep excavation grapes require.
How thick should the wood be for a deep grape carving?
About 2 inches, or eight-quarter material, roughly 5 centimeters. A little thicker, like 6 centimeters, is even better since the grapes sit on different levels and need depth.
Why do my carved grapes look flat?
Flat grapes usually come from carving them as round circles all on one level. Set the bunches at different heights, lower the sections behind them to make cavities, and keep the gaps as triangles so the grapes overlap and read as three dimensional.
How do you keep from fighting the wood when carving deep?
Use a slicing cut. Do not start with the flute pointing straight up and dig in. Begin with the flute around 11 o'clock and rotate to one o'clock so the edge slices through the fibers instead of forcing into them.