
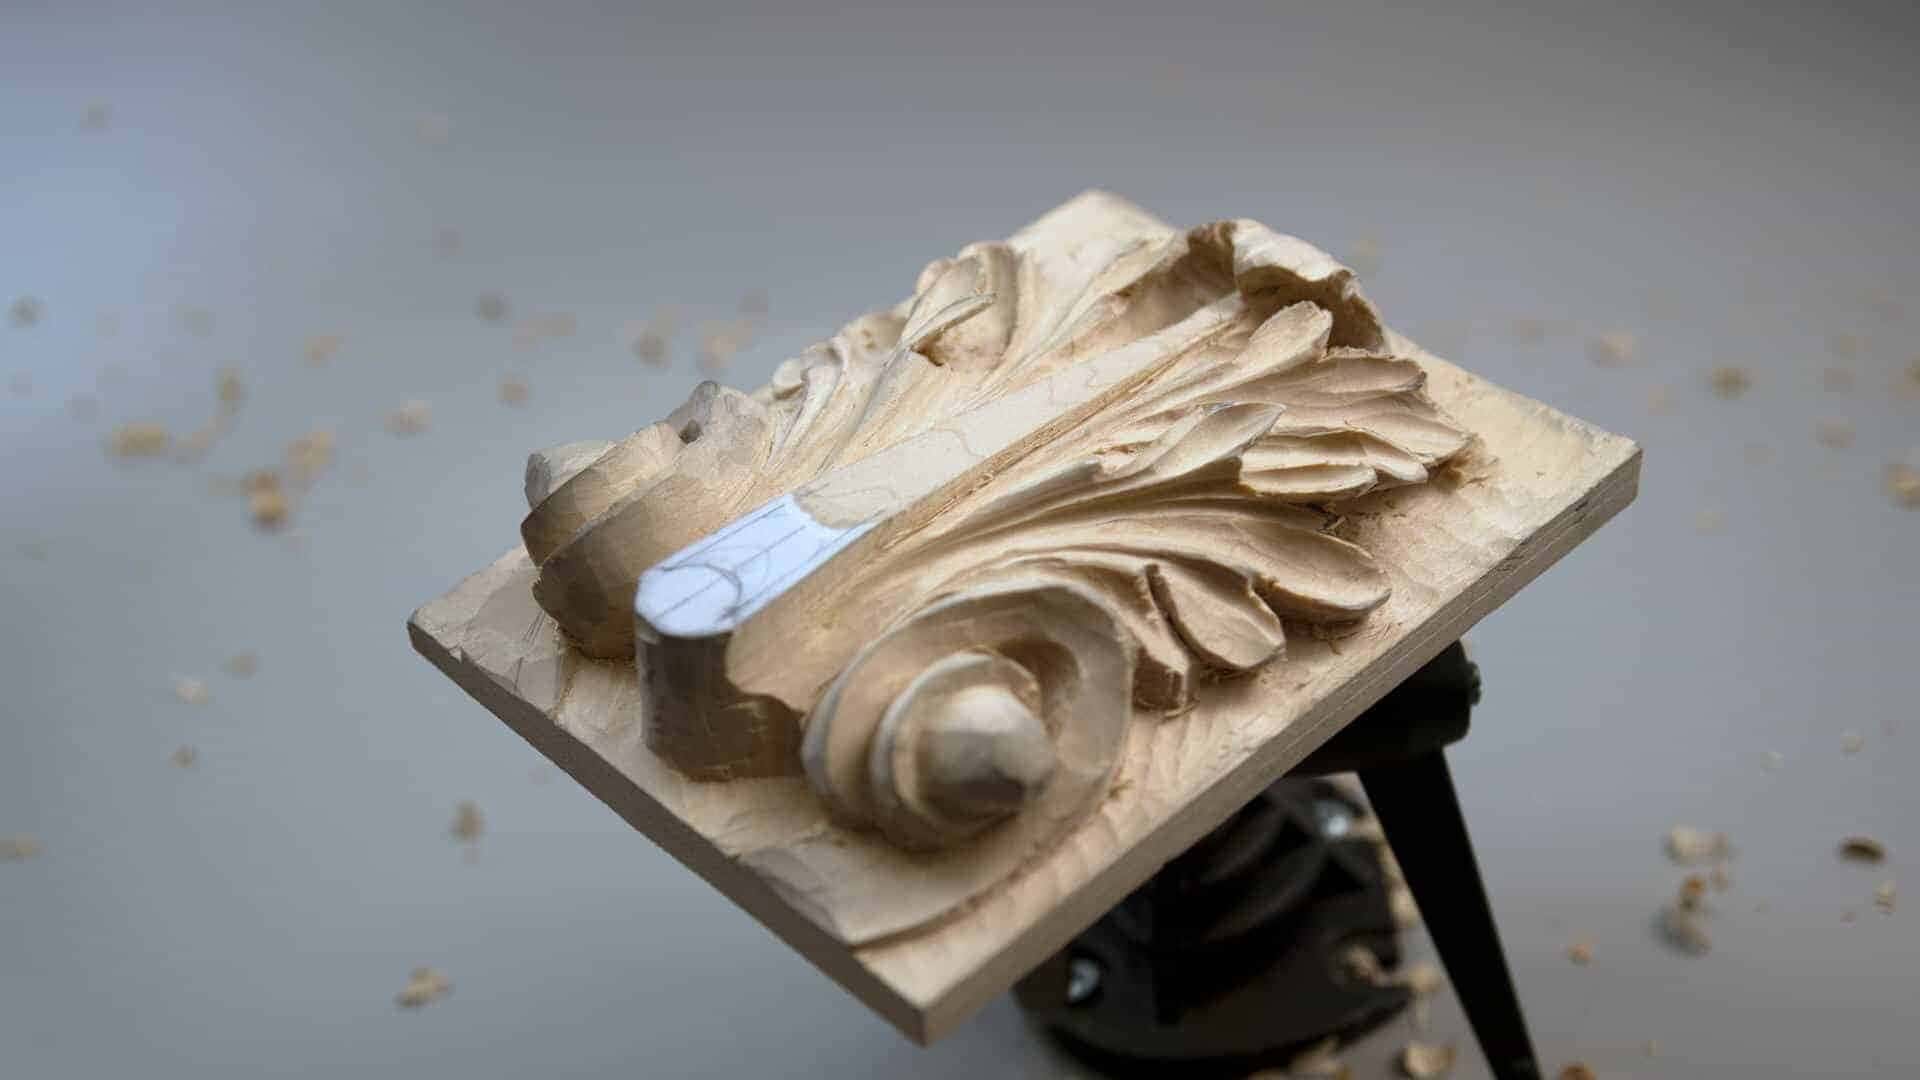
September 4, 2024 · Updated August 21, 2026
By Alexander Grabovetskiy — Master Woodcarver · Founder, School of Wood Carving · 21 min read
Wood Carving Finishes and Sealants
Wood carving finishes split into two families. Penetrating oils soak in and harden inside the fibers. Film finishes such as shellac, lacquer and varnish dry on top as a thin skin. I choose between them by where the piece will live and whose hands will touch it.
Nobody warns you about the first part. Until something goes on the surface, you cannot even see the work you did.
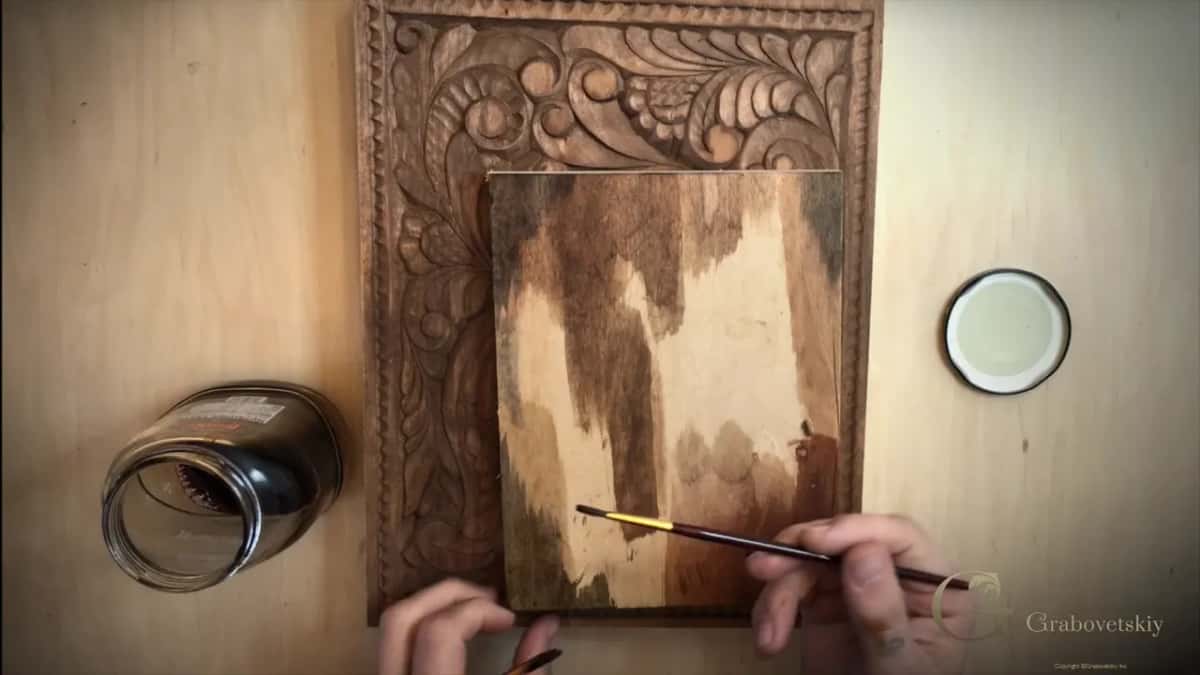
Half brushed and half bare on one single board. Look how much a coat changes.
You spent three weeks on a panel. The leaves are clean, the background is level, and in raw wood the whole thing looks flat and disappointing. Then somebody suggests polyurethane, and a week later your undercuts are full of milky puddles.
I have been finishing carved work for over forty years, and I have wrecked enough surfaces to know which mistakes cost you the most.
So this page gives you my actual choices, the numbers behind them, the finishes I refuse to use indoors, and the one safety rule that has burned real houses down.
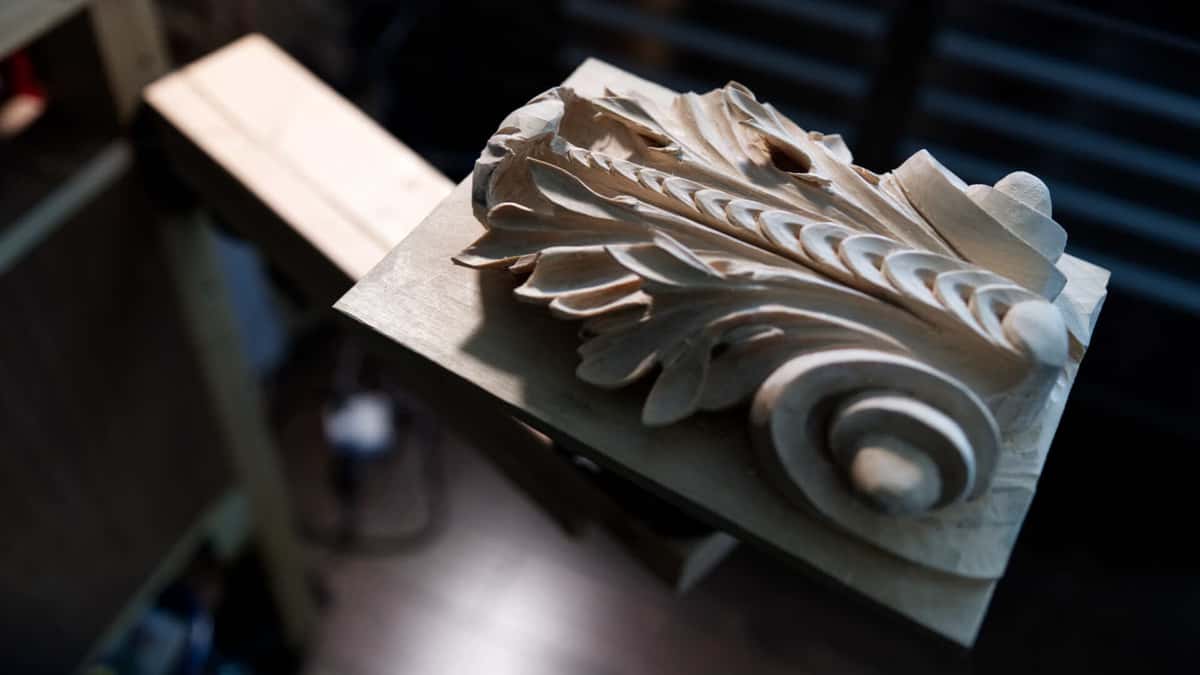
Bare wood, hard side light. Every shadow in that frame was cut, not coated.
- A finish is not decoration. Without it nobody can see the cuts you made.
- Oil goes into the wood. Shellac, lacquer and varnish dry on it as a film, and film is what drowns fine detail.
- For a board or a spoon, use pure mineral oil of food grade. Four coats, then a week before it meets food.
- Linseed oil at three coats blocked 33 percent of moisture on day one, and zero percent by day fourteen.
- Oily rags start roughly 900 house fires every year in this country, and washing them does not make them safe.
What does a finish actually do to a carving?
It turns your tool marks from invisible into the whole point of the piece. Raw carved wood scatters light in every direction at once, so the shapes you spent days cutting simply refuse to read.
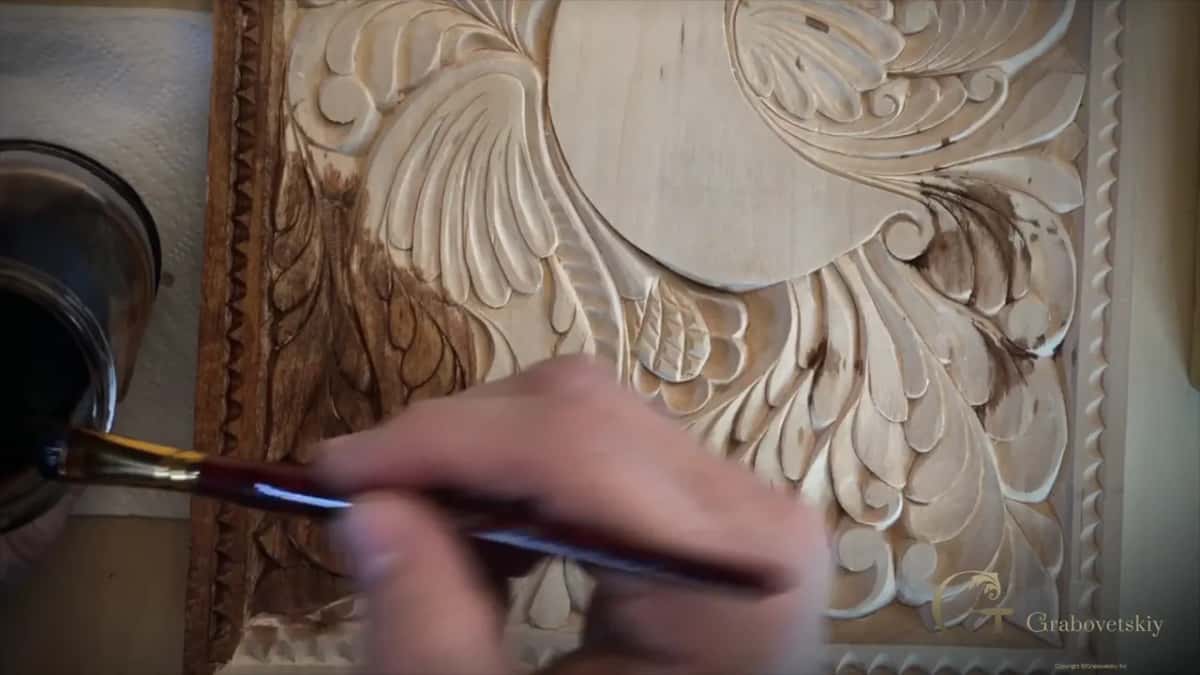
Pale carved wood and a loaded brush coming in. The left edge already went dark.
Here is how I put it while working the background of a furniture panel. Especially if it is not finished, meaning you did not apply any type of finish like shellac or lacquer or wax, it is hard to see. But once you apply the finish you will see every cut. And it makes a huge difference in how it is going to play.
Light is the material you are really carving. The finish is how you aim it.
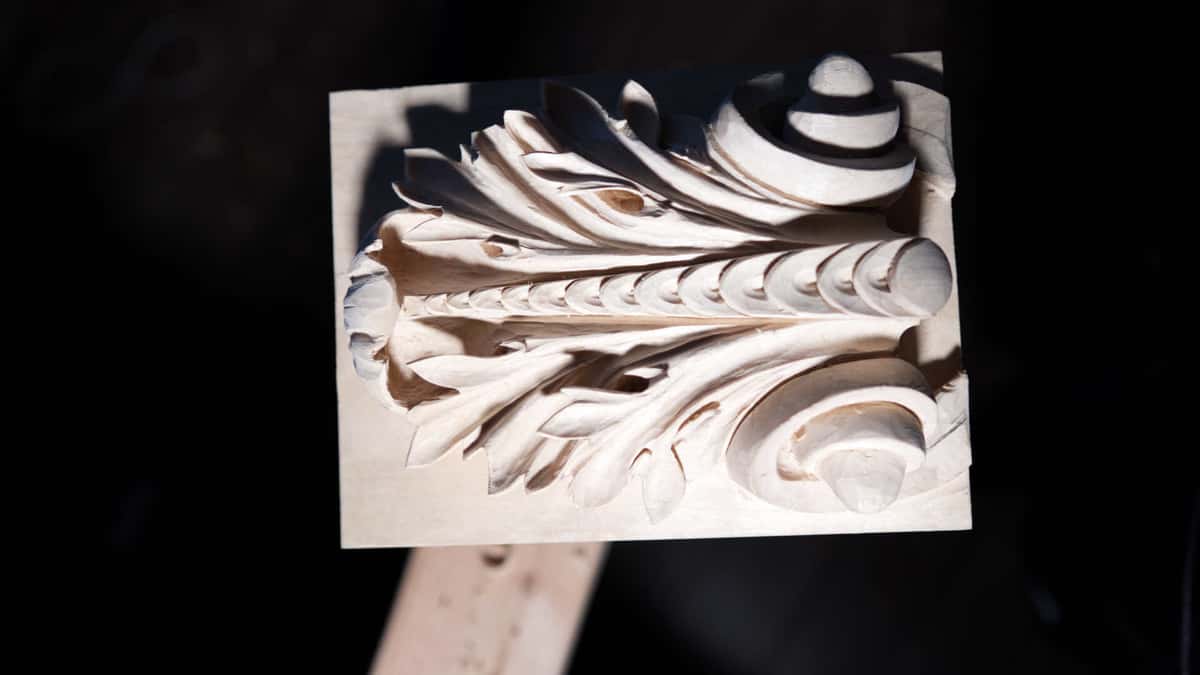
Direct sun on the same panel, and the undercuts read as solid black holes.
That is also why a bad finish hurts so much more on carved work than on a flat tabletop. A film that pools in a deep recess fills the shadow you spent an hour cutting, and once that shadow is gone the leaf goes dead.

Dust already sits in those hollows. A thick coat pools in exactly the same places.
What is the best finish for a wood carving?
My honest answer is that no single best exists, and anyone selling you one is selling you a product. A student asked me straight out once and I would not name one.
It all depends on the finish which is going to be applied, and on the application. Where are you going to place it? If it goes on a mantel, and the mantel itself is painted, then you paint that.
So work down four questions instead.
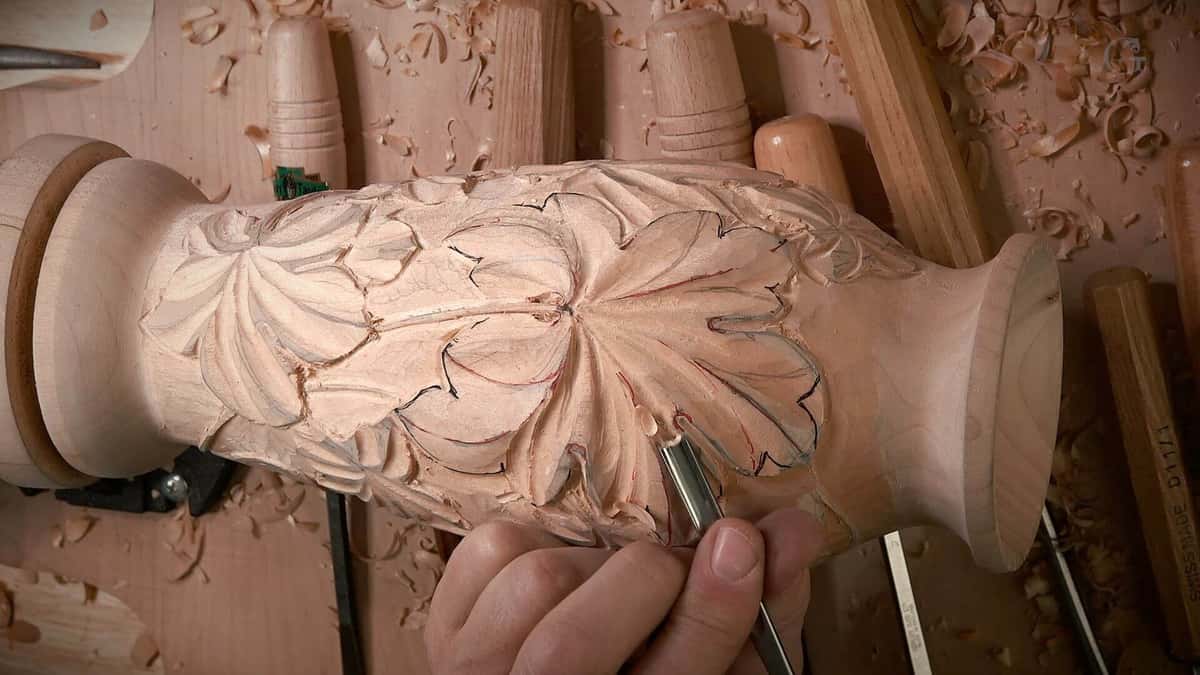
The turned neck came off the lathe smooth and the body is all tool work, and both are still bare.
| The question | If the answer is yes, then lean this way | Skip this | And here is the reason |
|---|---|---|---|
| Will food touch it? | Mineral oil of food grade, or walnut oil | Every film | A film chips, and then it peels off in sheets |
| Heated room indoors? | Oil, then shellac, then matte lacquer | Paste wax | It softens and smudges your books |
| Deep undercut recesses? | Thin wiped coats, built up slowly over days | Brushed varnish, always | It pools down in every single shadow |
| Will rain ever hit it? | A pigmented exterior system, renewed every couple of years | Clear film | Outdoors a clear film can fail inside one single year |
Across a full room of carving I use a stack rather than one product. After the coloring I use oil. There are a few different options, Danish oil or tung oil, which gives a really beautiful amber, really beautiful color and good transition. Then after that I use shellac right on top of the oil, and after shellac a high gloss finish, maybe lacquer.
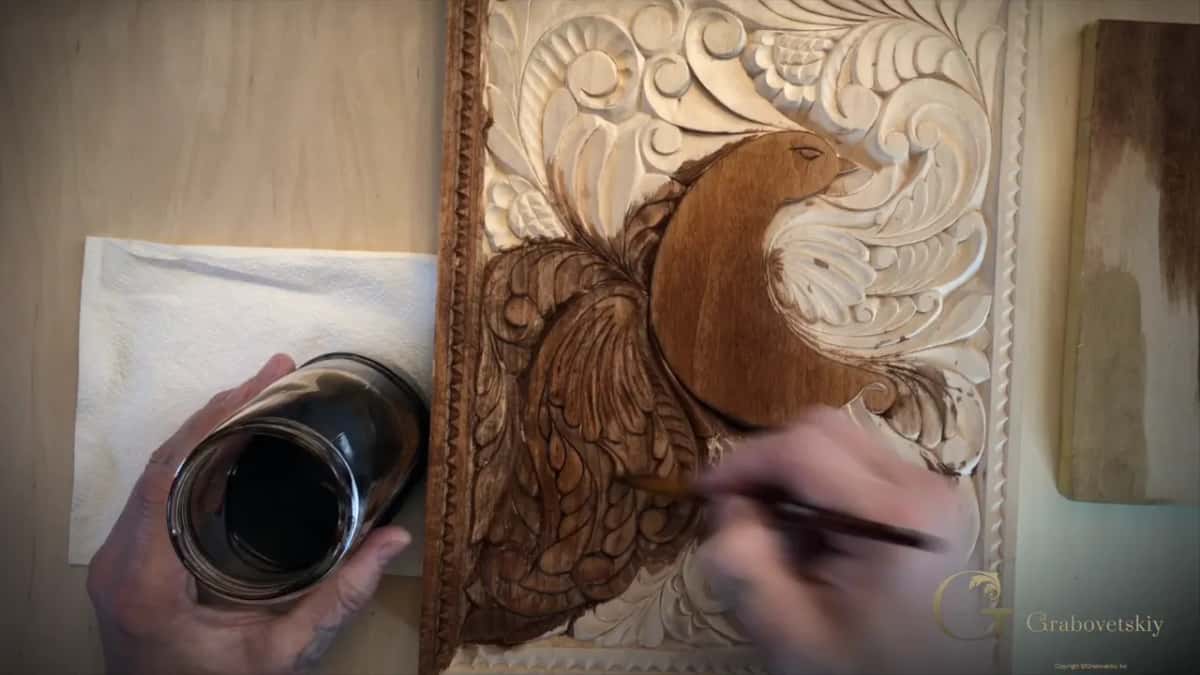
One panel, two states. The stained half reads its shapes and the raw half hides them.
Oil, then shellac, then lacquer. Each layer does one job, and none of them tries to do all three.
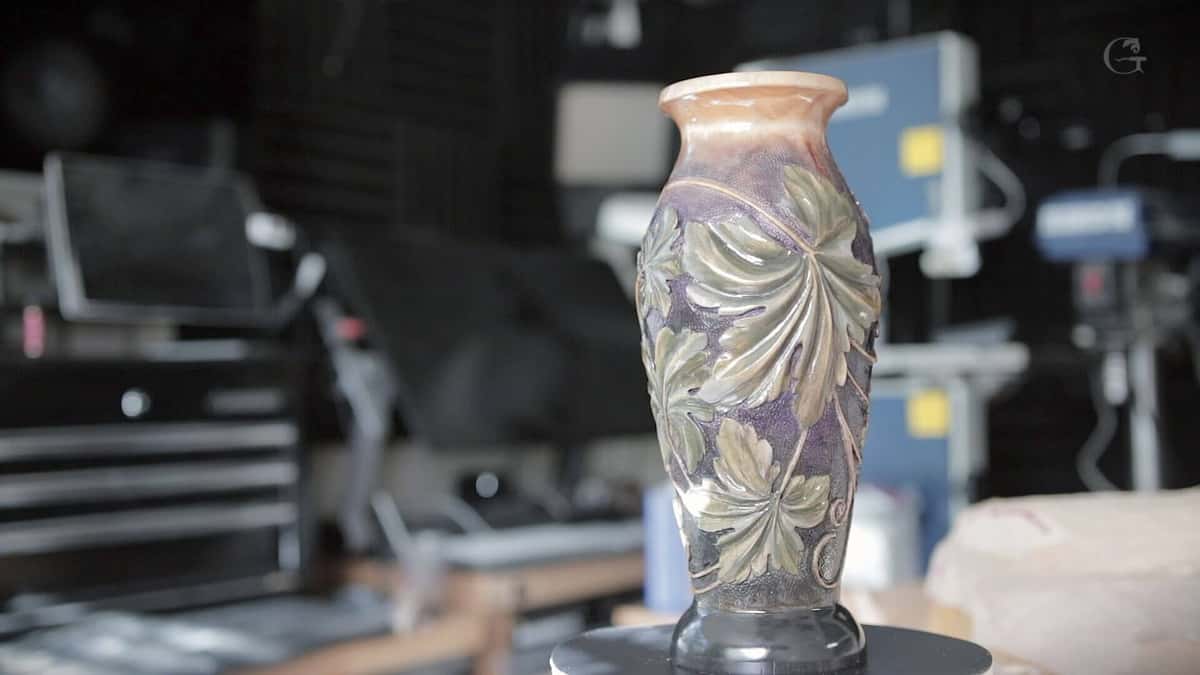
That vase carries color and a gloss coat, and it is the only fully finished piece in this whole set.
Oil, wax, shellac or lacquer, what is the real difference?
They differ in where the material ends up, which decides everything else about them. The USDA Forest Products Laboratory chapter on finishing wood draws the very same line I do, and it has been drawing it since 1985.
| Finish, by name | Where that material actually ends up sitting | Dry time | What it does to carved detail |
|---|---|---|---|
| Plain mineral oil | Soaks in and never hardens at all | Wipe on | Darkens the wood and hides nothing |
| Boiled linseed oil | Soaks in, then hardens inside the fibers | Several days | Ambers over time, and keeps every single facet you cut |
| Danish oil blend | Part penetrating oil and part varnish resin | Six hours | Slight sheen, and no pooling |
| Soft paste wax | A thin soft layer resting on top of everything | Minutes | Clogs undercuts, smudges once a room warms up |
| Dewaxed shellac coat | A very thin hard film | Ten minutes | Sharpens edges, and can read far too shiny |
| Matte spray lacquer | A hard film built from several light passes | Twenty minutes, roughly | Controls sheen, and drowns detail when flooded |
| Wiped polyurethane film | Oil modified film laid on in thin passes | Three hours | Tough, thin enough to stay honest about facets |
Two numbers make that table useful. Zinsser SealCoat is dewaxed shellac at 15.5 percent solids, and it recoats in twenty minutes. Minwax Wipe On Poly lays down a quarter of one thousandth of an inch per coat, so three wiped coats are still thinner than one brushed one. On a carving, thinness is the whole argument.
For lacquer I use Mohawk. In the United States at least, that is the brand, and it runs about seven or eight dollars a can. One can does a project with some left over after four or five coats. You will not find it at the big box stores, so ask a cabinet shop where they buy theirs.
Sheen is a real choice, not a default. I keep a 10 to 15 percent sheen, a 25 percent, and a dead flat that is absolutely matte, and I pick per piece.

The gouge is lifting a surface coat off in one skin. That is what a film really is.
There is a trick worth stealing here. After the matte coat I take a 4,000 grit sponge, the Mirka ones, and buff only the areas I want a little shinier. That creates exactly the same effect as waxing, without any wax in the house.
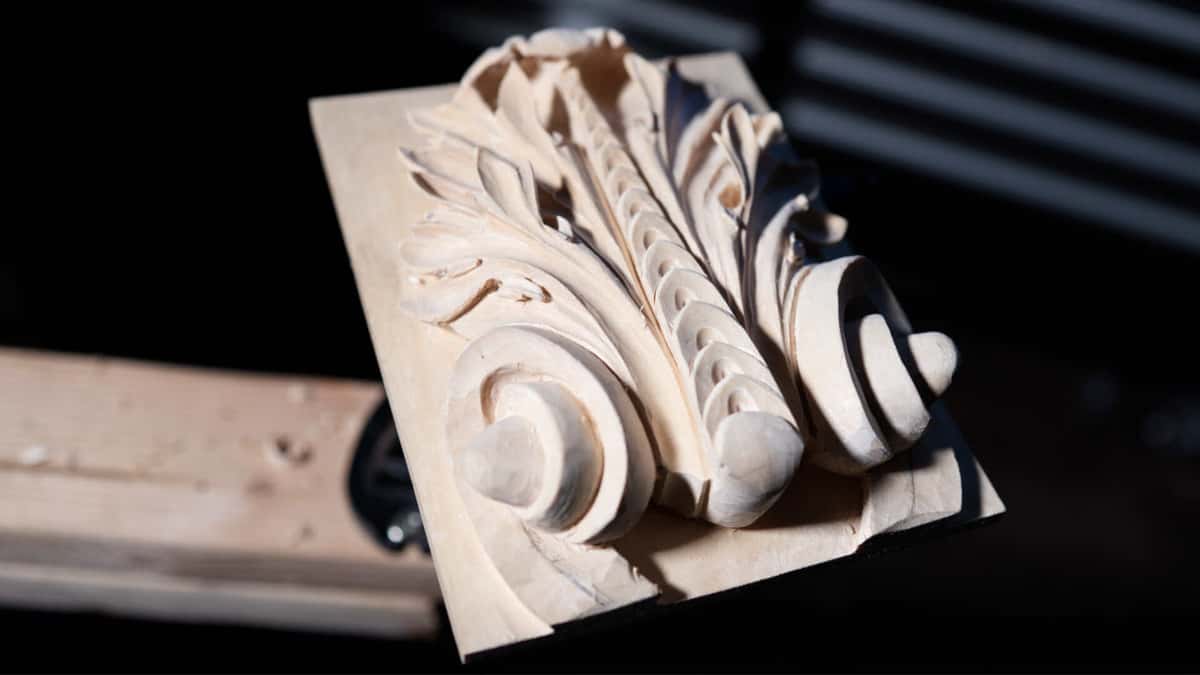
Leaf faces swept smooth, ground left in facets, and no finish on either yet.
Which finish is food safe for a spoon or cutting board?
Food grade mineral oil is the answer, and almost nothing else is worth the argument. On my beginner cutting board course I say it plainly.
We are going to apply butcher block finish, which is actually just mineral oil. Just a pure mineral oil, and it is a food grade mineral oil, so it is absolutely food safe. I spent about eight dollars, but it is going to last me forever. Probably four coats and penetrate that deep, and that is enough.
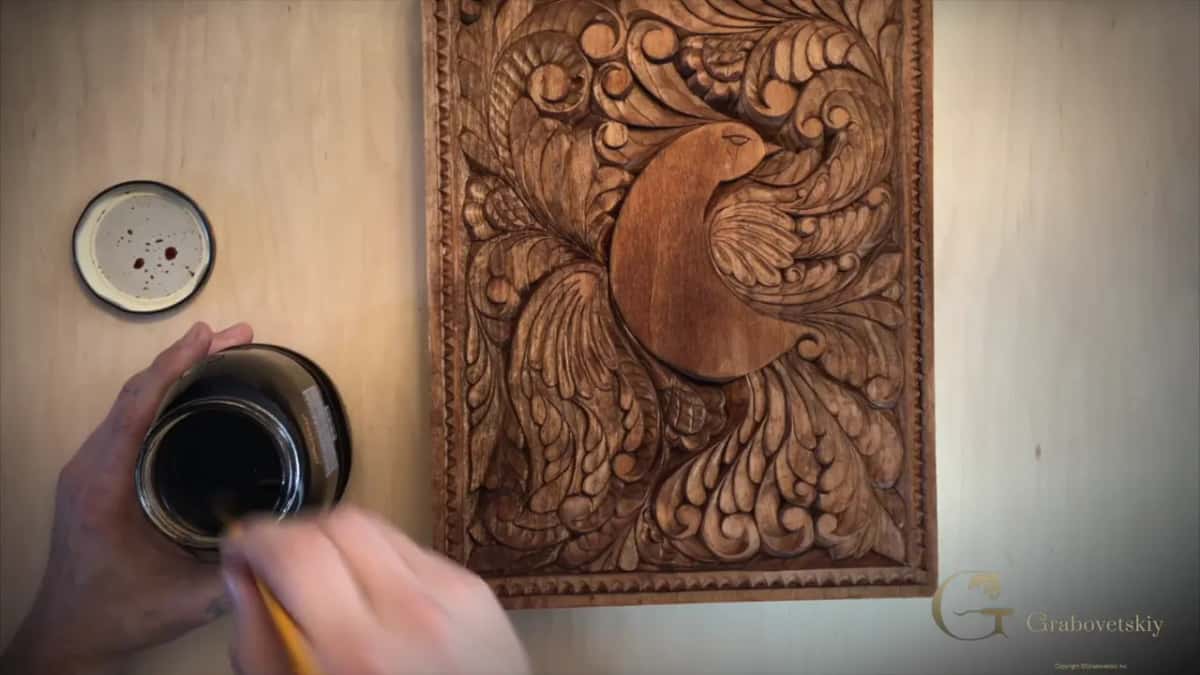
Reloading from the jar, with the coat already sitting even right across the whole panel.
Do not ration it. I know it is not going to penetrate, and I have to feed it three or four times until you really see a nice sheen on it, and then I leave it for about a week until it dries before I can use it.
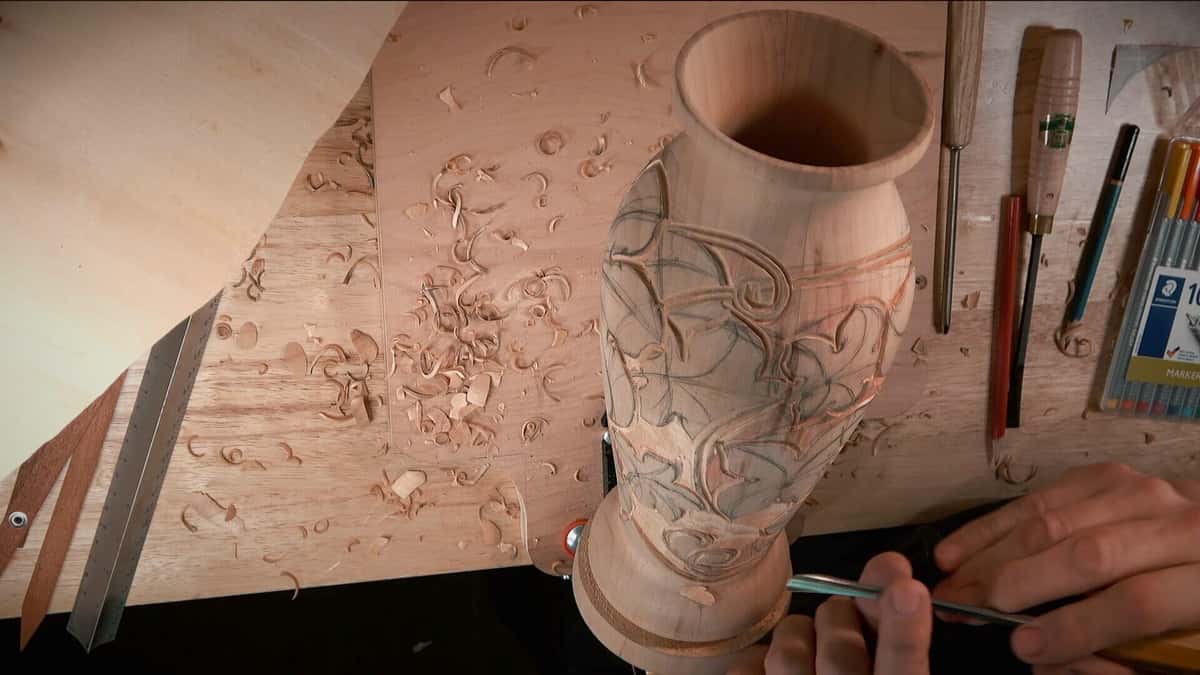
A turned blank with the design drawn on and the gouges lined up beside it.
Even the pharmacy version works. Walk into a pharmacy, save some money, get normal mineral oil, which is still food safe.
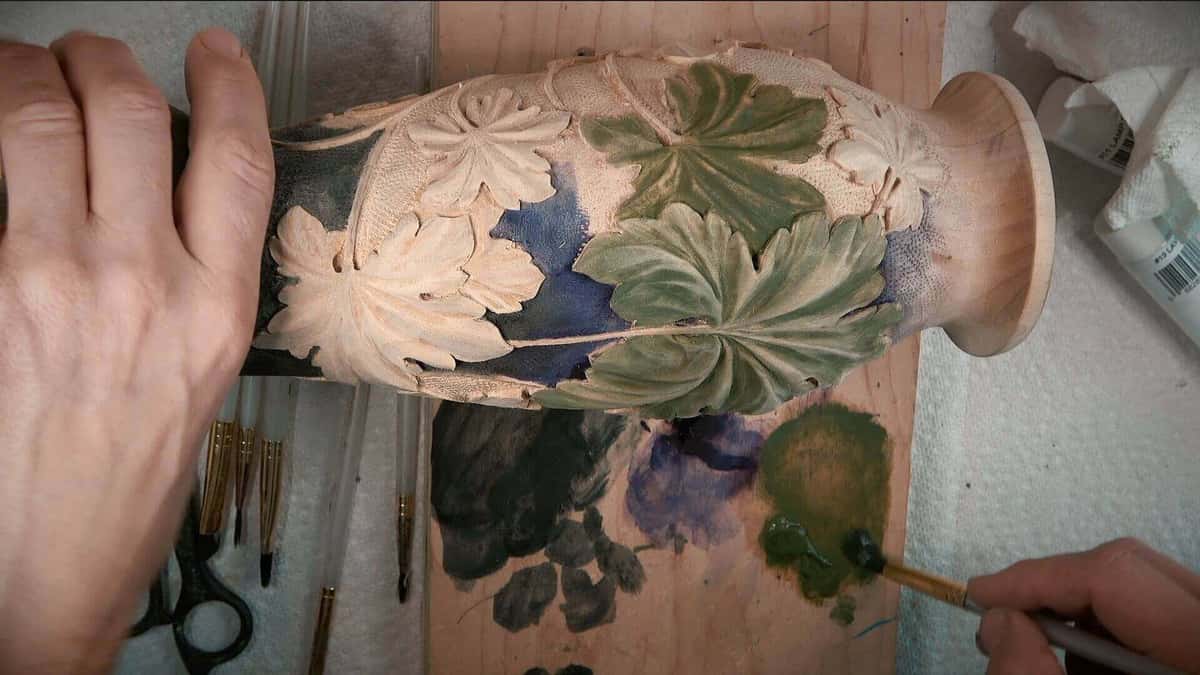
Left half raw, right half colored, and you can see exactly how much the surface changes.
Now the part every website gets wrong. People cite FDA 21 CFR 172.878 on white mineral oil as proof. Read it. That rule permits mineral oil as an additive inside named foods at named percentages, such as 0.15 percent in bakery products. Finishing a spoon is not on the list. The oil is safe. The regulation is simply not the reason it is safe.
The same trap sits under 21 CFR 175.300, which Tried and True cites on its label. That section governs a cured continuous film acting as a barrier, proven by extraction testing. A penetrating oil forms no film at all.
What the government lab actually recommends is narrower than the internet thinks. The the government sheet on finishes for items used with food calls walnut oil particularly suitable, warns that vegetable oils such as olive and corn eventually go rancid, and says treated utensils should dry thoroughly for several weeks before use. It also says plainly that baby oil should not be used, because it contains ingredients that should not touch food.
Wax is food safe too, but it is not water resistant. Wax it and it cannot go under water. For a board that lives beside a sink, that settles it.
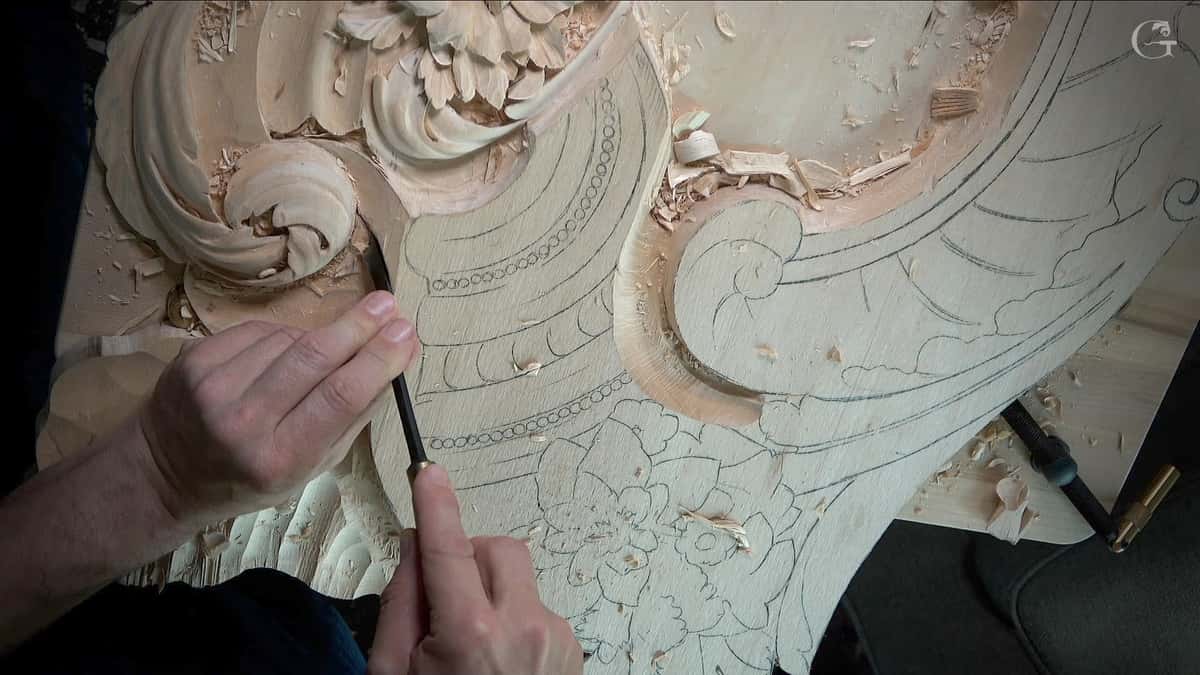
Drawing on one half, carved volutes on the other, and nothing on the wood yet.
My whole board build, coloring and oiling included, runs through the kitchen cutting board course, and there is a shorter written answer in how to seal wood after carving.
Most of an hour on shadow, which is the thing your finish either saves or ruins.
Should you sand a wood carving before finishing?
Yes, sanding is allowed, and the reason it gets a bad name is what happens next. A student asked me this directly and my answer was not the romantic one.
To answer your question, yes, it is okay. It is absolutely okay to sand a thing. What I like to do before I sand is get a light coat of sanding sealer on first.
That sealer is doing real work. Sanding bare wood pushes broken fibers down into the surface, and then the first wet coat lifts them all back up. As I put it in another lesson, you are actually pushing those fibers in to finish it later, and the grain pops out after the first coat of stain or shellac, and you have to sand it again. In some cases that is fine. When you have a really complicated area it is almost impossible.

Facets straight off the gouge in a scooped hollow. Sandpaper flattens them.
So the rule is simple. Seal, then sand, then finish, and never sand bare wood you plan to stain.
On Gibbons style work I do not sand at all. Sanding that, for me, does not make any sense, and I think it is going to look better without it.
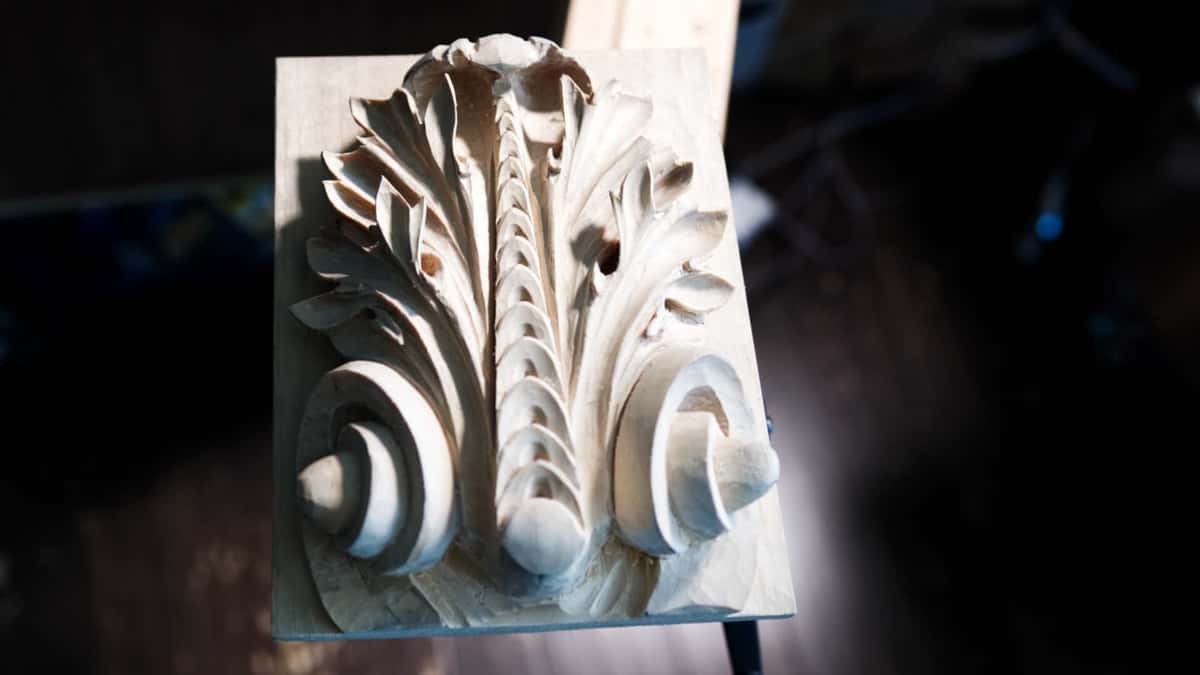
Side light, with shadow pooling under every curled tip and volute. Your finish saves that, or it kills it.
This is a national argument, not a personal preference. Go to northern countries like England and they never use any sandpaper or any other sanding technique, they use a chisel finish. Down in south Europe, in Italy, they just smooth everything, because they treat wood the same as marble.
Before sandpaper existed, carvers used reed rush, and it is equal to 400 grit. In England even the famous Grinling Gibbons used that reed rush. You can still buy it at a musical instrument store, because clarinet players use it on reeds.
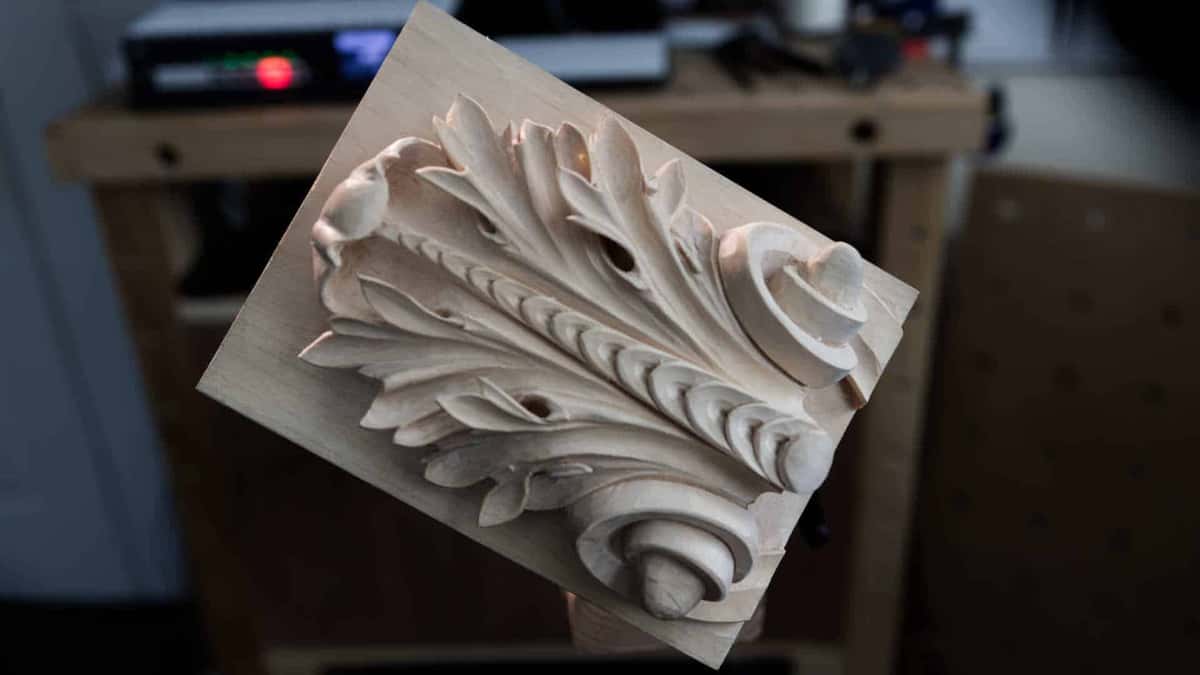
Finished carving, still bare wood, tilted to catch the shop light.
David Esterly, who carved the replacement for the Gibbons work lost at Hampton Court, found the same plant in the German masters:
Michel Erhart and Veit Stoss and Tilman Riemenschneider knew all about Dutch rush.
Esterly also had no patience for treating a tooled surface as proof of virtue. He wrote that Ruskin's nostalgia for a chisel finish was ahistorical, and that Gibbons did not need to leave rough surfaces to prove he was not a machine.
After scraping you can burnish with the same species of wood, and that gives you a shiny surface, a really shiny surface. Why would you do that? For gold leaf. It has to be shiny before you apply the gold leaf.
How do you oil a carving without drowning the detail?
Thin coats, a real wait, and every drop of excess wiped back off. Almost every ruined carving I have seen was drowned rather than starved.

A low even sheen rather than a gloss, and right there is where I stop working.
Step 1, seal the fragile spots first
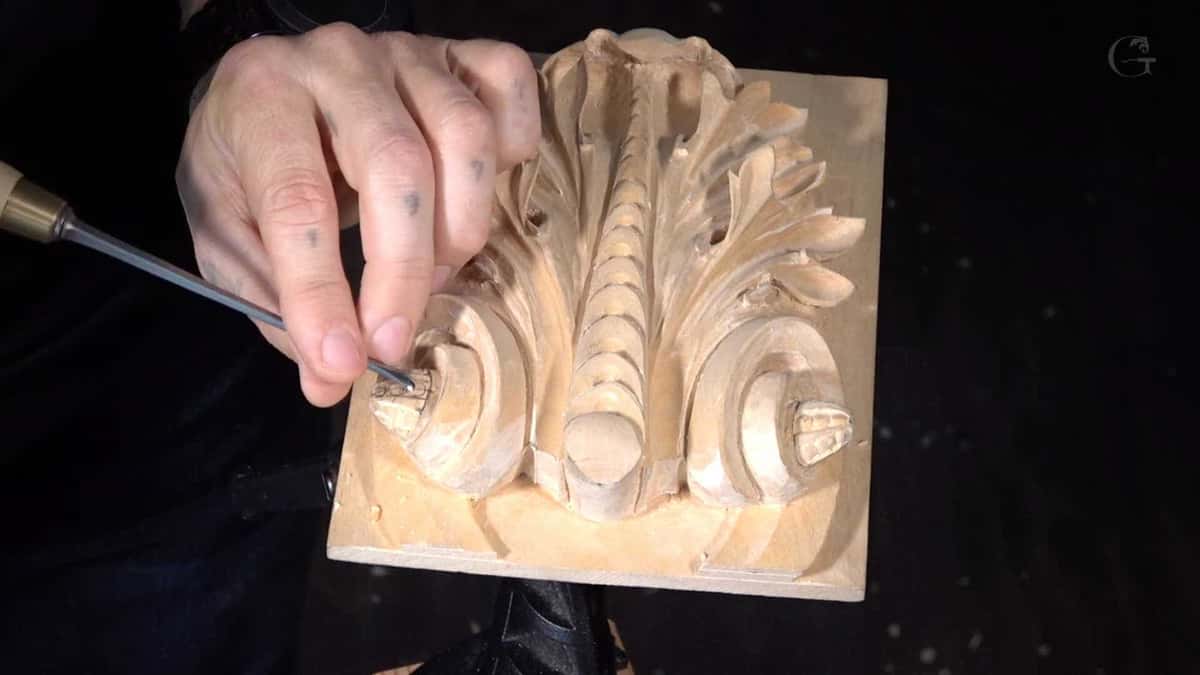
A thin V tool cutting veins into a volute, and those lines are the first thing a heavy coat fills in.
Short grain and thin tips drink finish unevenly. A light coat of dewaxed shellac evens the thirst out before any color or oil goes near them. It also stops glue from soaking in, which matters if anything gets assembled later. Really, really important.
Step 2, put color on before oil, never after
All of it is going to become more amber because we are going to use oil. Plan your color for how it looks after that shift, not before, and pick the right board before any of it. My own stains are boiled from walnut shells or onion husk with a spoon of baking soda, about four hours on the stove, and that stain is one hundred percent safe for food.
Step 3, flood, wait, then wipe everything back
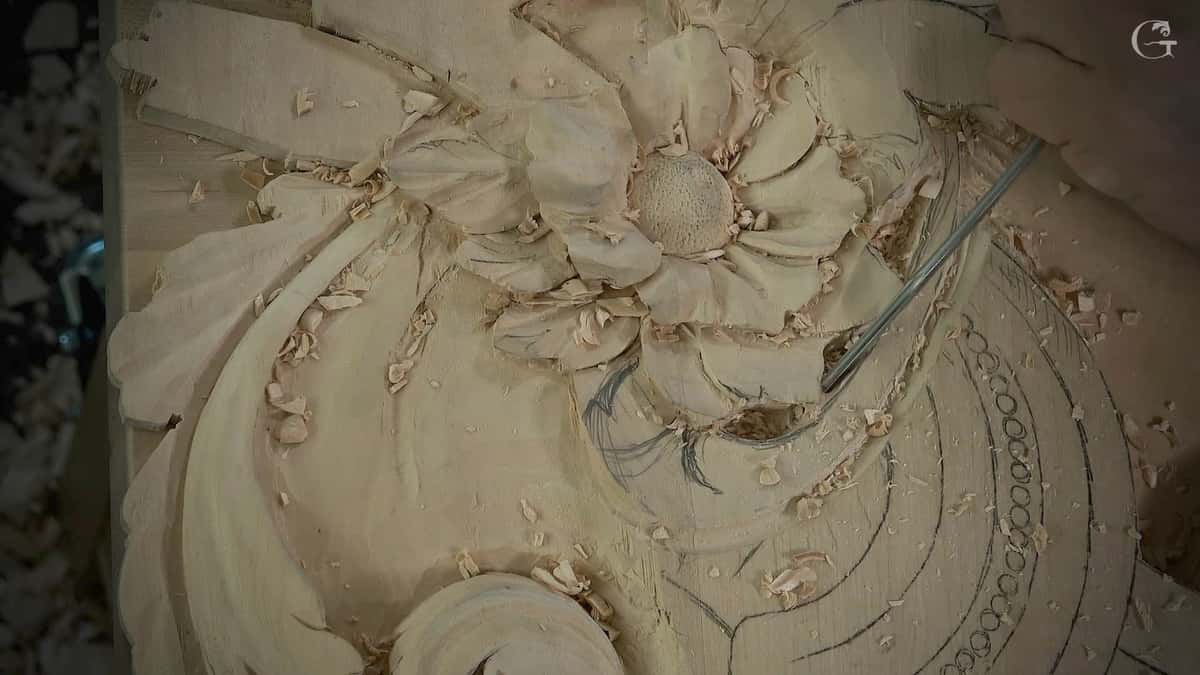
A punched center on a carved flower, with chips still lying between the petals.
Watco Danish Oil asks for five to ten minutes of soak, then warns that every trace of excess has to come off or the coat will never dry right. Wipe the recesses out with a folded rag corner. Anything left in a shadow will still be sticky next week.
Step 4, respect the recoat clock
Watco wants 72 hours before a polyurethane topcoat. Osmo Polyx Oil dries in 8 to 10 hours and is fully cured after two or three weeks. Dry and cured are not the same word, and the second one is the one that matters.
Step 5, build sheen by buffing, not by pouring
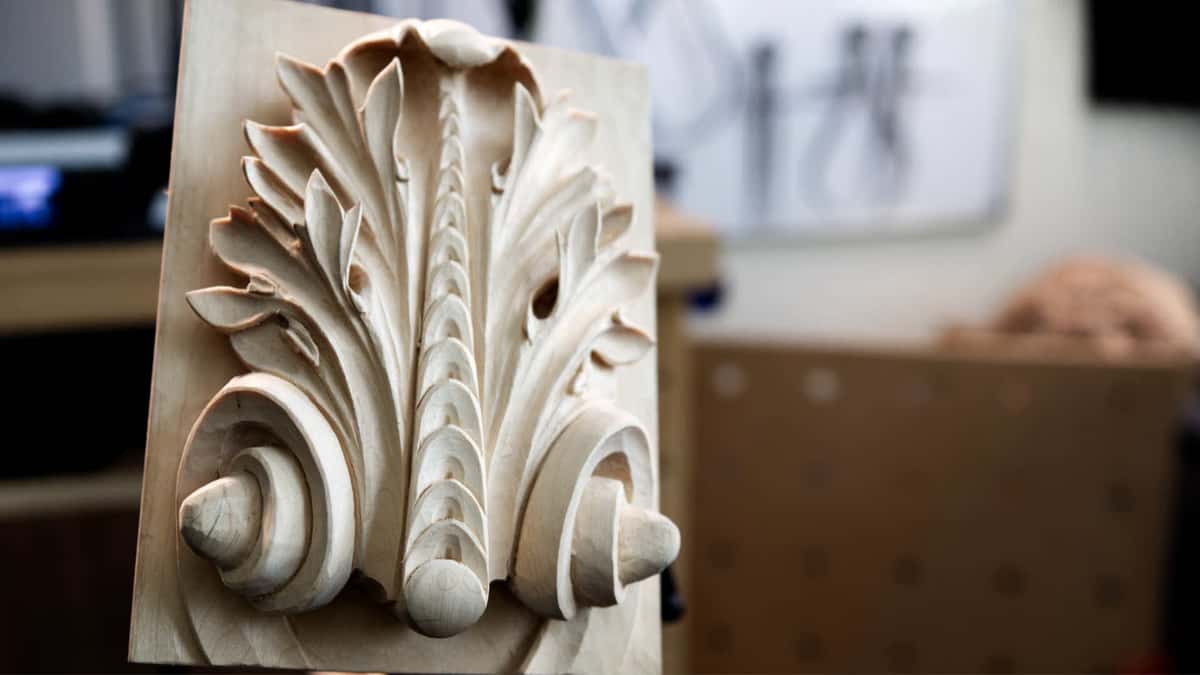
Soft even light rolling over the finished shapes.
Matte in the recesses and shine on the high spots is what a carved surface should look like. Buff the raised parts with 4,000 grit and leave the shadows alone.
Do finishes really seal wood against moisture?
Almost none of them do, and the numbers here are worse than most carvers expect. Federal wood researchers have been measuring exactly this since 1985.
Their test conditions boards at 30 percent humidity, then exposes them to 90 percent and weighs what came in. They call the result moisture excluding effectiveness.
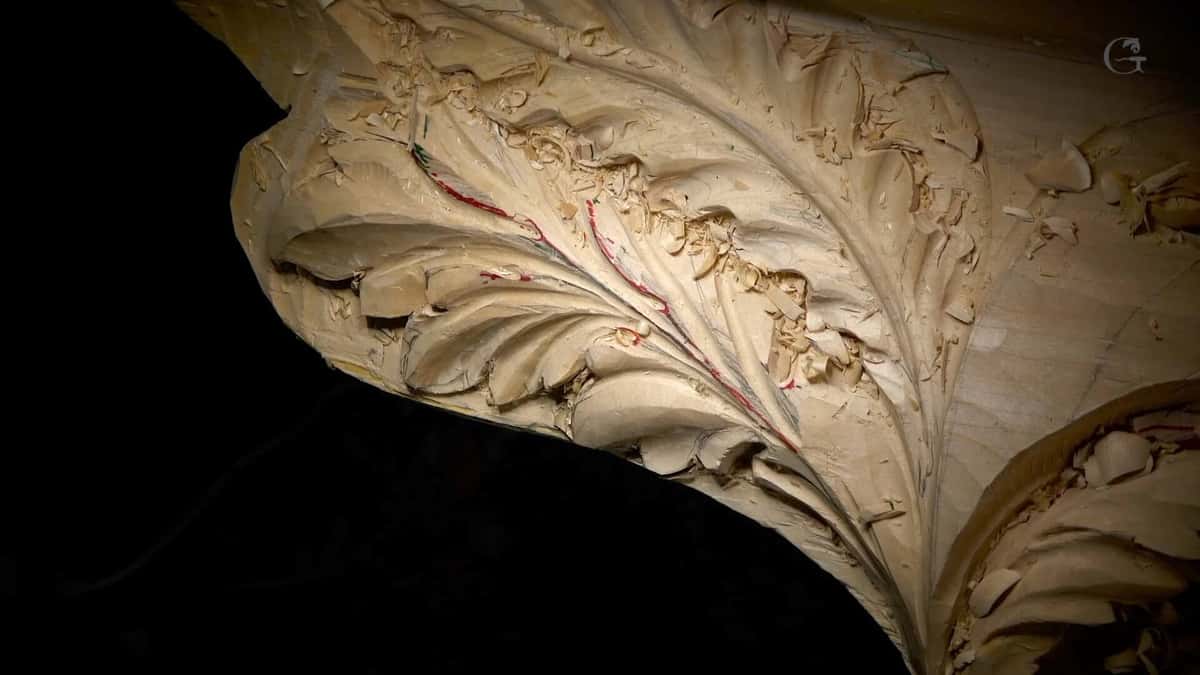
One deep leaf on a curved cornice, and the chips are still caught down in the veining where the finish would sit.
| Finish and coats | How much moisture blocked on day one | Day seven | Where it stood after fourteen days |
|---|---|---|---|
| Linseed oil, three | Thirty three percent, and falling away fast | Two percent | Zero, no measurable blocking at all |
| Paste wax | Nothing you could write down | Still zero | Zero again, exactly where it began |
| Water repellent, three coats | Seventy eight percent, which sounds good on day one | Twenty seven | Eleven percent, nearly gone by then |
| Orange shellac | Ninety one percent, brushed onto bare ponderosa pine sapwood boards | Sixty seven | Forty six percent, still doing real work |
| Urethane varnish, three coats | Ninety percent on day one | Sixty four | Forty four percent, and still holding on |
| Paraffin wax, dipped once | One hundred percent, straight out of the melt | Ninety seven | Ninety five percent, and the clear winner here |
Numbers from Research Paper FPL 462, which tested 91 finishes, and from the laboratory Techline sheet on humidity. Only 11 of 87 commercial finishes retarded moisture with any success over 14 days, and only with two or three coats.
The sentence that ends the whole argument is theirs. Finishes cannot change the equilibrium moisture content of wood, and all they do is slow the rate of water entering and leaving it.
Two practical rules fall straight out of that. Coat every face, not the show face, because unequal coating means unequal shrinking and warping is almost sure to result. And a clear film outdoors is a losing game. Purdue extension puts clear film finishes at barely one year in a severe exposure, against 4 to 5 years for a proper two coat paint system.

White coat on the face, and bare brown wood behind it.
If a piece is moving on you, the problem is upstream of the finish. Read drying wood before carving and what shrinkage actually means before you blame a can.
What finishes should you never use on a carving?
Wax indoors is my hardest no, and it costs people their books. I refused it on a lily box for a specific reason.
The reason I did not use wax, any type of wax, is because it is going to be inside of the house. It does not matter how much you paid for the wax. Wax is wax. It melts inside the house, and once you touch it with your hands and then take a book from inside, it is going to leave smudges on the pages.
Four more I avoid, each for a measured reason:

Pale ornament standing above a brown ground on the same board.
- Shellac where wine or spirits can land. Spill some kind of spirit on it, or wine, and it is going to destroy the finish. The look is also almost too shiny for some work.
- Exposed epoxy. The epoxy is a plastic look, so you cannot really achieve the good look. I still use penetrating epoxy to stabilize short grain, then bury it under lacquer where it vanishes.
- Hard wax down in deep relief. If you must wax an undercut Gibbons style piece, it has to be liquid wax.
- Any wet stain straight onto bare wood. It works like a dye, so if you stop and leave it without applying a coat right away, it becomes a line which is hard to eliminate.
One more that surprises people. Your own hands darken the wood while you work. That darkening is oxidation, what happens with the wood when you are touching it. You can have absolutely clean hands, like I clean my hands all the time, but when you touch it a reaction happens inside the wood and it becomes darker. I lay a paper towel over finished sections for exactly that reason.

One brush, one leaf. The one beside it is still bare, which is the whole comparison.
How do you keep oily rags from starting a fire?
Spread them flat outside to dry, then drown them in a sealed metal can of soapy water. Of everything on this page, this is the part that can save a building.
Oils used in oil based stains release heat as they dry. Trap that heat and it builds until something catches. The National Fire Protection Association counts an average of 900 home fires a year started when oily rags catch fire, inside an average of 1,700 fires a year from spontaneous combustion overall.
Government researchers say the same thing in the finishing chapter. Immerse such materials in water and seal in a water filled airtight metal container immediately after use.
Washing them is not a fix. A National Park Service fire alert logged seven incidents in two years. A crate of oil soaked rags read 300 to 400 degrees Fahrenheit on a thermal camera and ignited in a firefighter's hands once it hit open air. In two of those incidents the towels caught fire after being washed, dried and folded.
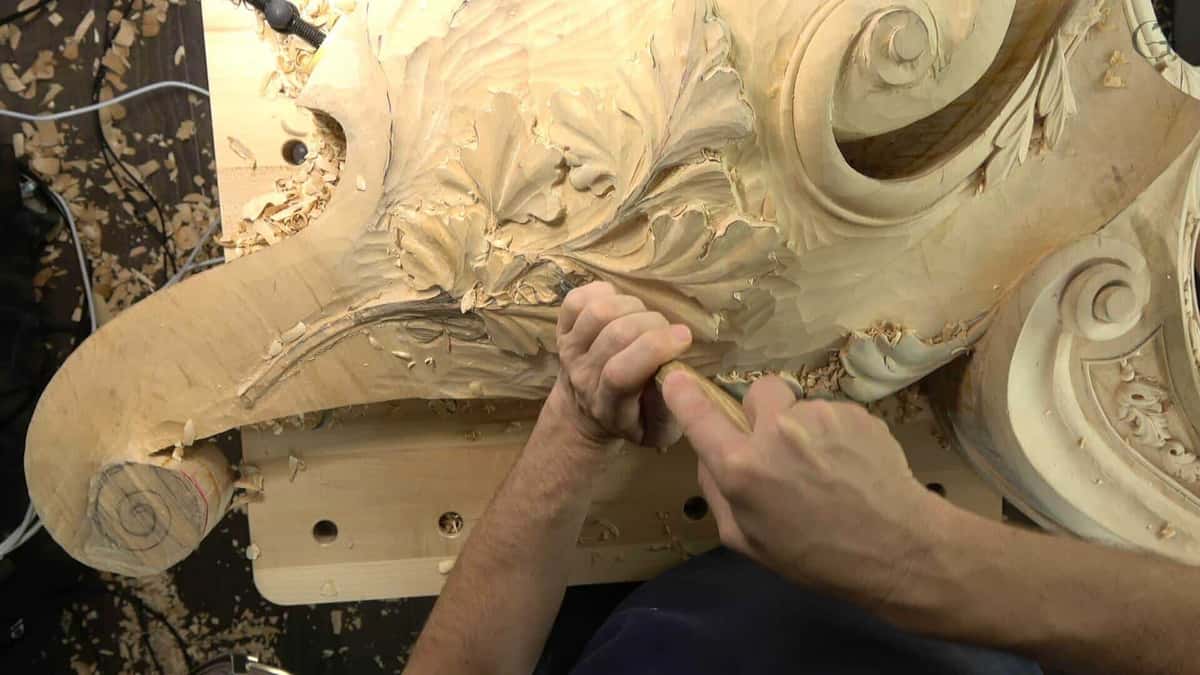
A pediment roughed out on the bench, with weeks of work sitting under that pile of chips.
Water based finishes do not do this. Everything with linseed, tung or Danish oil on it does.
How is gold leaf laid onto carved wood?
Over burnished red clay, not over gesso, if you want the old Byzantine look. Almost nobody covers this. Here is the sequence I was taught.
They would apply red clay, and then they burnish the clay itself. Then oil goes on, and the gold leaf onto the oil. Then they burnish that gold leaf again, and that creates small cracks in the gold leaf, and you can see the red color coming through in those cracks.
Those cracks are the point. A flat unbroken gold surface reads as paint, and the red glow under a cracked one reads as age.
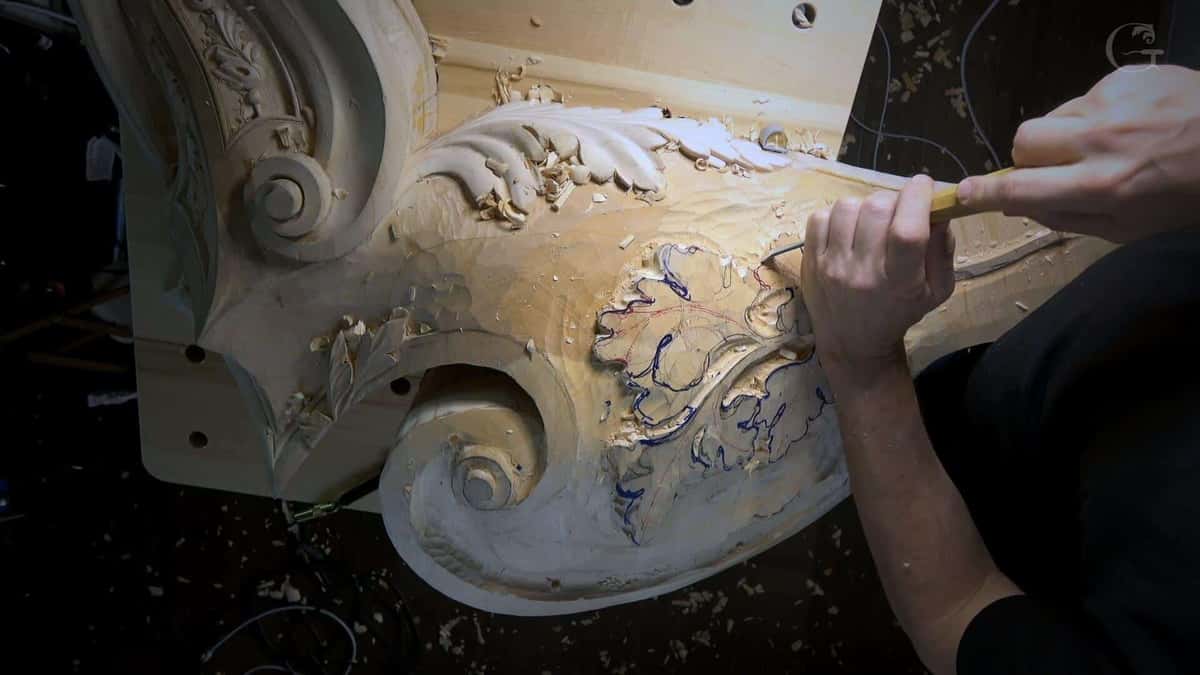
A large scroll bolted to a stand, half carved, chalk layout still on the other half.
Do not over smooth the wood underneath either. For gold leaf it is a good idea to get rid of some of the facets, but I would not do too much, because the facets create the veins and they look more natural. It looks like it is hand done.
The whole gilding sequence sits inside the Byzantine acanthus course, and the layered oil to shellac to lacquer stack is worked through in the grape leaf vase.
How long does a finished carving actually last?
Indoors, with the right oil, several hundred years is not a stretch. I grew up around the proof of it.

Hung up and done. Every leaf reads because the finish let the shadows stay.
In my old city there are window jambs, sashes and doors around 300 years old, finished with linseed oil, the boiled kind, and the wood looks really really fresh even today. Three hundred years later, nothing rotten, no wormholes. It is still really nice, and that is how you preserve your work.
History only ever knew two final coats. What we know is they used beeswax for the finishing, and they also used just the oil, which could be linseed oil or boiled linseed oil.
Everything I have described since is refinement on those two.
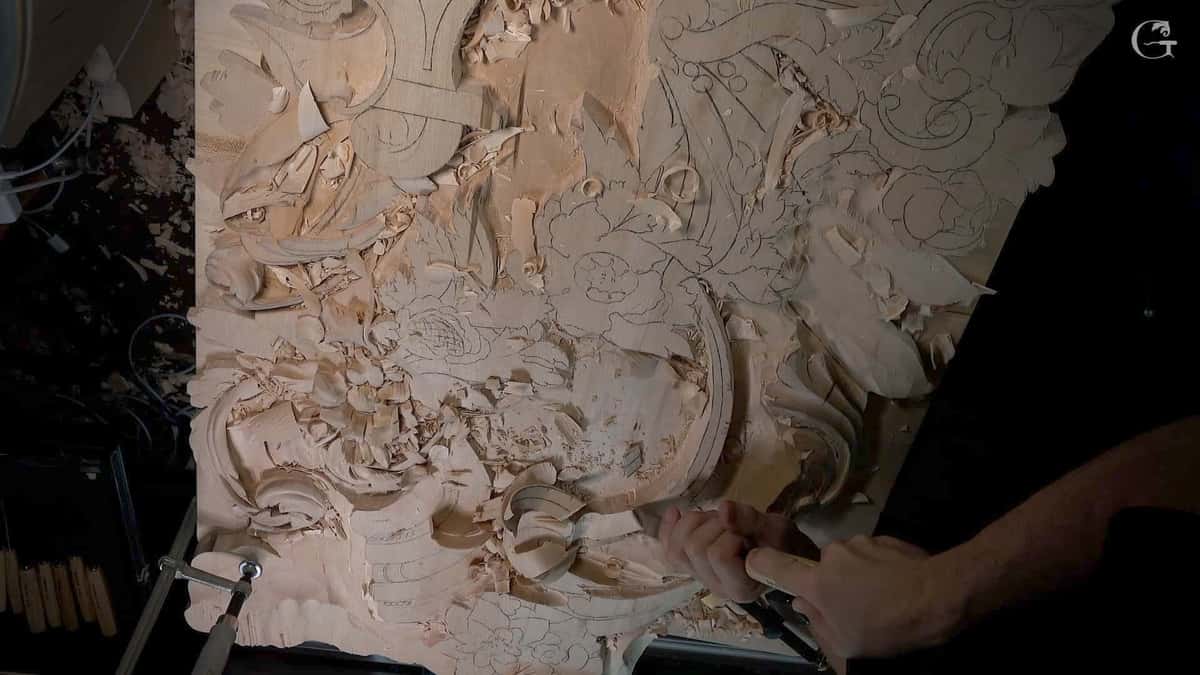
One tall panel, half of it buried in chips and half of it still flat pencil.
Have you ever pulled a carving out of the vise and felt let down by how flat it looked? Do you want to see every cut you made instead of guessing? Would you rather learn the layers from somebody who has ruined a few panels already? Then take the free lessons and work through the course library, where the finishing steps are filmed alongside the carving. Tuition keeps this school and its charity work going.
Frequently asked questions
How long should I wait before sealing a newly finished carving?
Wait until the wood itself has stopped moving, then seal it the same day you put the gouge down. Bare wood picks up hand oil and dirt fast. Was the stock cool or damp in your hand when you bought it? Then give it two weeks indoors first.
Can I put polyurethane over an oil finish?
Yes, once the oil has properly cured, and Watco asks 72 hours before you put a polyurethane topcoat on it. If you are unsure what is already on a piece, brush a coat of dewaxed shellac between the two, since it sticks to almost anything and almost anything sticks to it.
Is linseed or pure tung oil better for carvings?
Linseed ambers more and hardens faster, tung stays paler and takes longer. Neither seals anything. Three coats of linseed oil measured zero moisture blocking at fourteen days in the Forest Products Laboratory test, so pick on color, not on protection.
Can I use olive oil or another cooking oil on a spoon?
No. Vegetable oils feed mildew and bacteria and eventually turn rancid, which puts an odd smell and taste into the wood. Mineral oil is not a natural product, so nothing eats it. Walnut oil is the one plant oil the government lab actually recommends.
How many coats of finish does a carving need?
Three is where measured protection starts. Below three coats, the moisture numbers barely register at all. On a board I feed the oil back in until a sheen finally holds, then leave it a week before it touches food.
Will a finish stop my carving from cracking?
Not really. A finish slows how fast moisture moves in and out, and it cannot change where the wood ends up. Coat every face, back included. A piece sealed on one side only will shrink unevenly and warp on you.
Filed under
- achieving shine on wood carvings
- advantages of shellac finish
- beginner wood carving finishing guide
- best finishes for wood carvings
- best sealants for wood sculptures
- clear finish for wood carvings
- comparing finishes for wood carving
- enhancing wood carvings with stain
- finishing techniques for wood carving
- finish types for different wood
- lacquer for wood carving
- oil finishes for wood carvings
- polyurethane finish wood carving
- protecting wood carvings from moisture
- tips for applying finishes on wood carvings
- treating wood carvings with sealants
- types of wood carving finishes
- varnish finish wood carvings
- wax finishes benefits
- Wood Carving finish
- wood carving maintenance tips