
August 28, 2024 · Updated August 26, 2026
By Alexander Grabovetskiy — Master Woodcarver · Founder, School of Wood Carving · 19 min read
What does wood shrinkage mean?
Wood shrinkage is the size a board gives up as it dries below about 30 percent moisture content. Around the growth rings the loss is biggest, across them it runs about half as much, and end to end you get maybe 0.2 percent. I have a gouge on my bench whose metal ring went loose on its own.

Plain against Quarter, drawn.
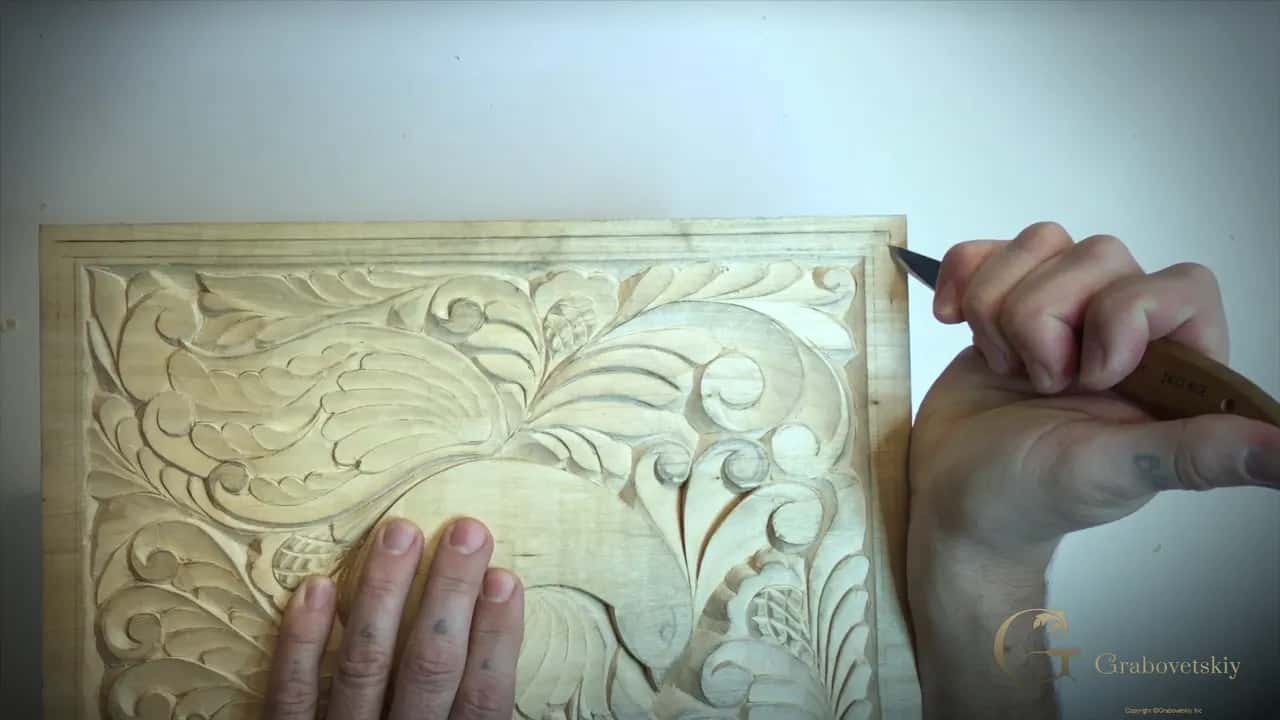
You finished a panel. Months later a crack ran across it, and nothing you did that day put it there.
I know that crack. Every other figure on a wood chart decides what happens while you carve. Hardness decides how fast your edge dies. The load that snaps a slender tendril decides whether the leaf survives your thumb, and there is a separate page on breaking strength. Shrinkage sits apart from those. Shrinkage goes on working after the tools are back in the rack, and it will still be working when your grandchildren own the piece.
My great-grandfather was what the family called a redwooder, a cabinetmaker who worked mahogany in the Chippendale style. Wood is in my blood. So is this problem, and over forty years at the bench I have watched it take finished work from people who did everything else right.
Below you get the measured figures, the reason a round log has to split, and the one habit of mine that sounds backwards and is not.
- Once a board passes under roughly 30 percent water, it starts to lose size for good.
- Movement runs biggest around the rings and almost nothing along the length.
- Circumference measures pi times the diameter, and that mismatch alone forces a round blank to split while it dries.
- Cupping tracks the tangential to radial ratio, so a low volume figure lies.
- Undercut deeply and you shorten the tubes inside the wood, which lowers how hard they can pull on each other.
What is going on inside a board that shrinks?
Wood works like a sponge, and it trades water with the air for as long as the piece exists.
If there is moisture in the air, the board pulls that water in, and once it does it expands. It puffs out. A really humid summer with a lot of rain and it will puff, and you cannot prevent that. A dry winter and it comes back down. Every number below measures one board's version of that same engine.
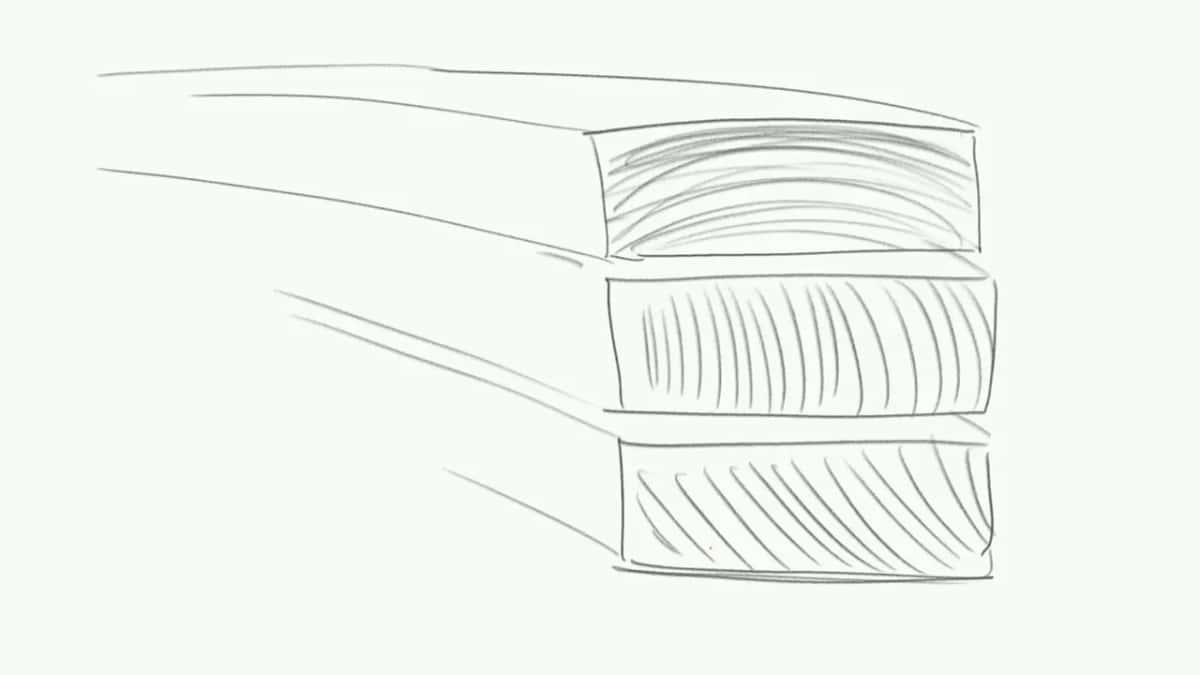
I sketched one board in three sections, ring lines drawn on each end.
One threshold matters more than anything else on this page. The USDA Forest Products Laboratory puts the fiber saturation point near 30 percent moisture content. Above that line the extra water sits loose inside hollow cells, and losing it changes nothing you could measure. Below the line, water starts leaving the cell walls themselves, the walls get thinner, and the board gets smaller. Ohio State says the same thing in a single sentence, calling shrinkage the contraction of wood fibers caused by drying under that point.
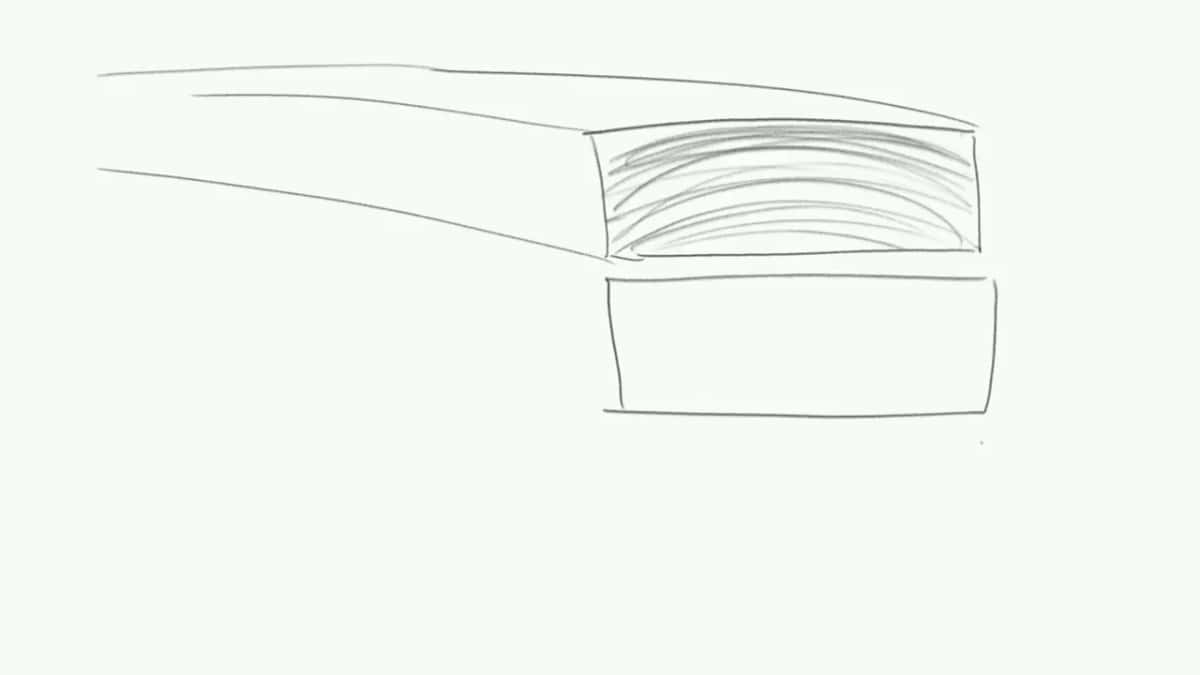
I drew this one.
So a green blank losing its first ten percent does nothing at all, which is half the reason carvers argue about working wood wet. The trouble starts later, quietly, at the far end of a shelf.
Why does one board shrink three different amounts at once?
Three directions run through one board, and each direction has its own rate.
The Forest Products Laboratory writes the anisotropy out plainly. Wood shrinks most in the direction of the annual growth rings, about half as much across those rings, and only slightly along the grain. Carvers know the first two as tangential and radial, and the third is the quiet one that causes half the disasters. Lengthwise a normal board moves 0.1 to 0.2 percent, which is nothing.
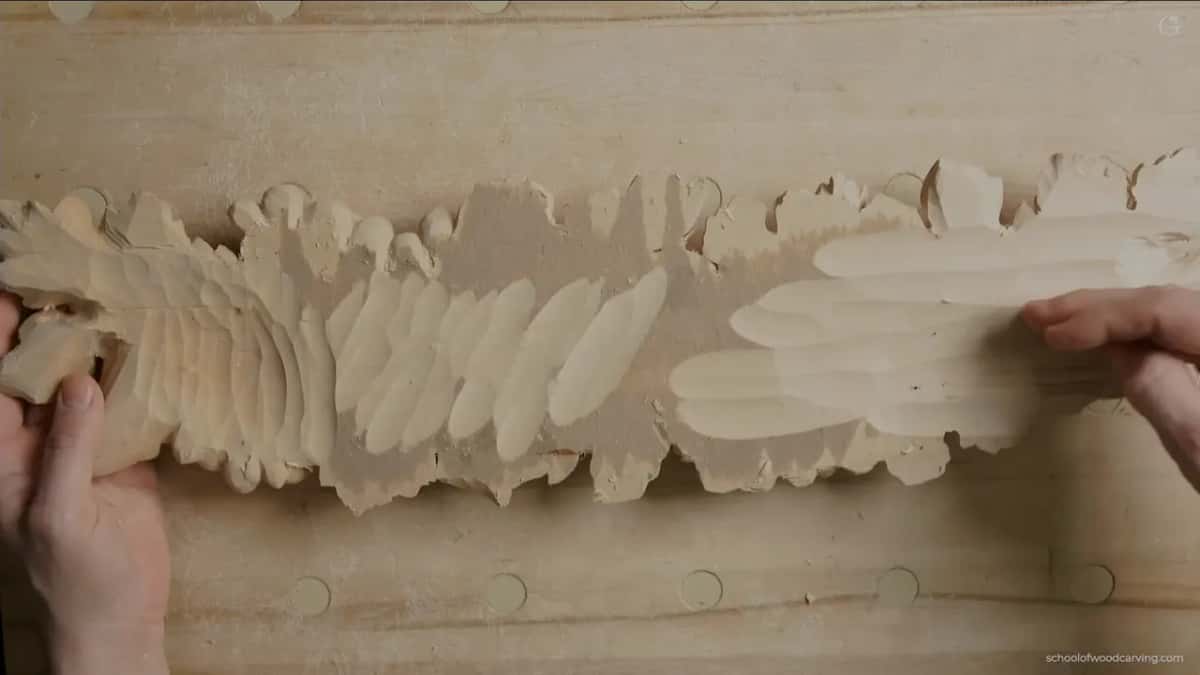
A long molding, held at both ends.
Now glue a rail straight across the width of a wide panel and wait for August. The panel wants to move eight or ten percent through the seasons. That rail, running the other way, wants to move a fifth of one percent and refuses to budge. One has to lose, and the wood decides that, not you. Cross-grain construction fails for that reason alone, and it is worth reading how grain direction governs the work before you design wide.
An exception hides in the same chapter and nobody warns you about it. Reaction wood and juvenile wood can shrink 2 percent lengthwise going all the way to oven dry. Ten to twenty times the normal figure. If a piece twisted on you for no reason you could name, it probably met juvenile wood near the pith.
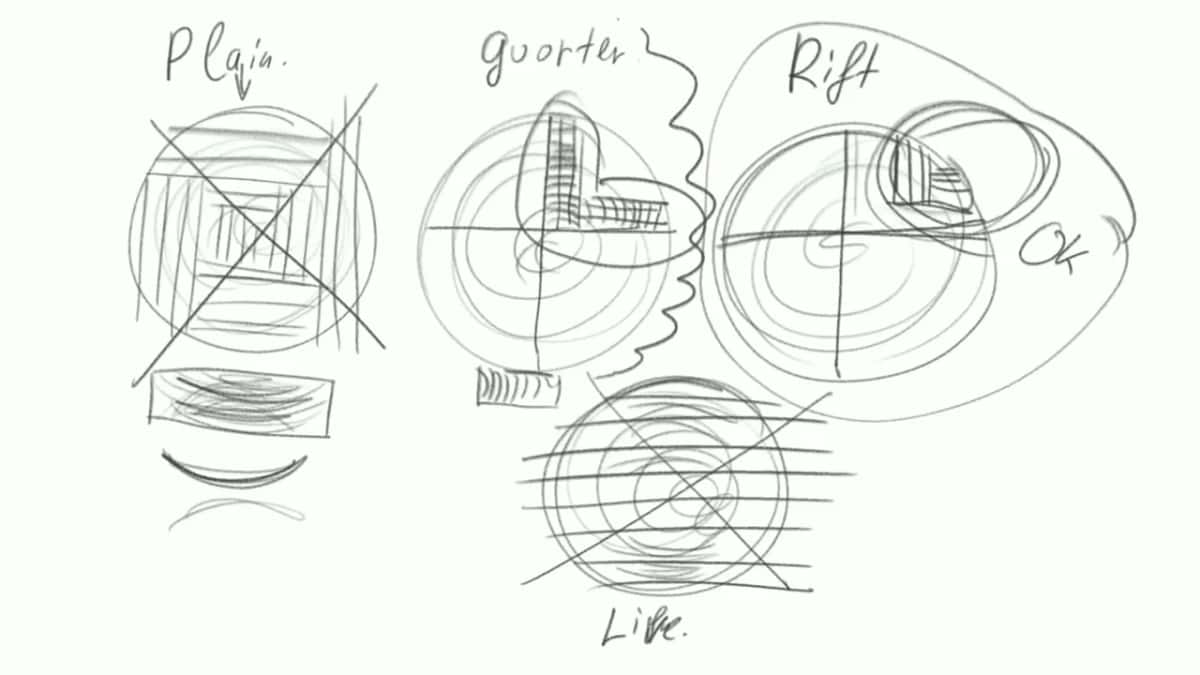
Sawing patterns side by side, four circles I drew.
The spread across species is wide. The Wood Database records radial shrinkage running under 2 percent up to around 8, with tangential between roughly 3 percent and 12.
Why do drying logs always split down a ray?
Arithmetic forces it. A circle cannot pull its rim in faster than its middle allows and stay whole.
Purdue Extension published the mechanism decades ago and nobody repeats it. Carl Eckelman writes that a drying log shrinks more in circumference than the shrinkage in diameter will allow, and to compensate for that a split develops, usually along a ray.
Sit with the numbers for a second, because this is a really, really important point. The distance around a circle is 3.14 times the distance across it. Tangential shrinkage acts along that long way around. Radial shrinkage acts across the short way through the middle, and it runs at roughly half the tangential rate. So the rim wants to get much shorter than the middle will let it. Both cannot be satisfied. Something gives, and what gives is a ray, because rays are the weak lines running from the center like spokes.
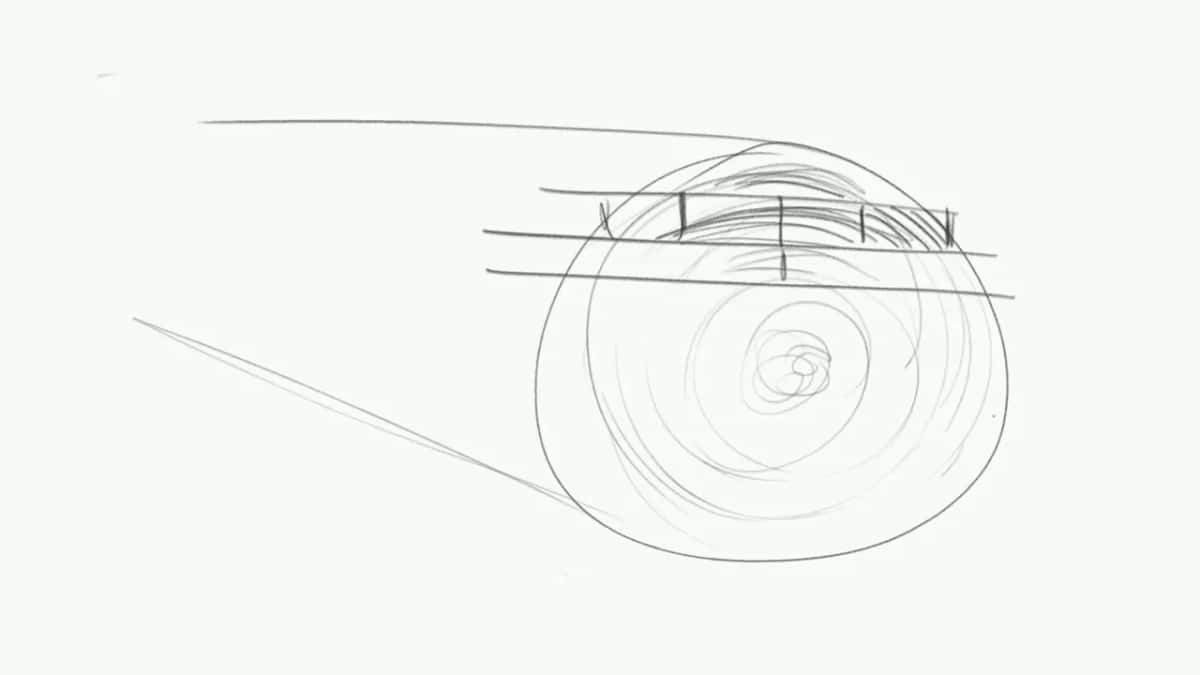
Here is the log end I draw for students.
A carver working a round blank is fighting arithmetic. Not bad luck. Not a bad tree, and not a mistake you made with your gouge.
Which is why people who dry green stock at home saw the pith out, or split the log, or hollow the back. Each trick does the same job, giving the arithmetic somewhere to go before it chooses for you. Eckelman spends twenty-six pages on furniture built against this, and the time a blank needs to dry is a separate question with its own page.
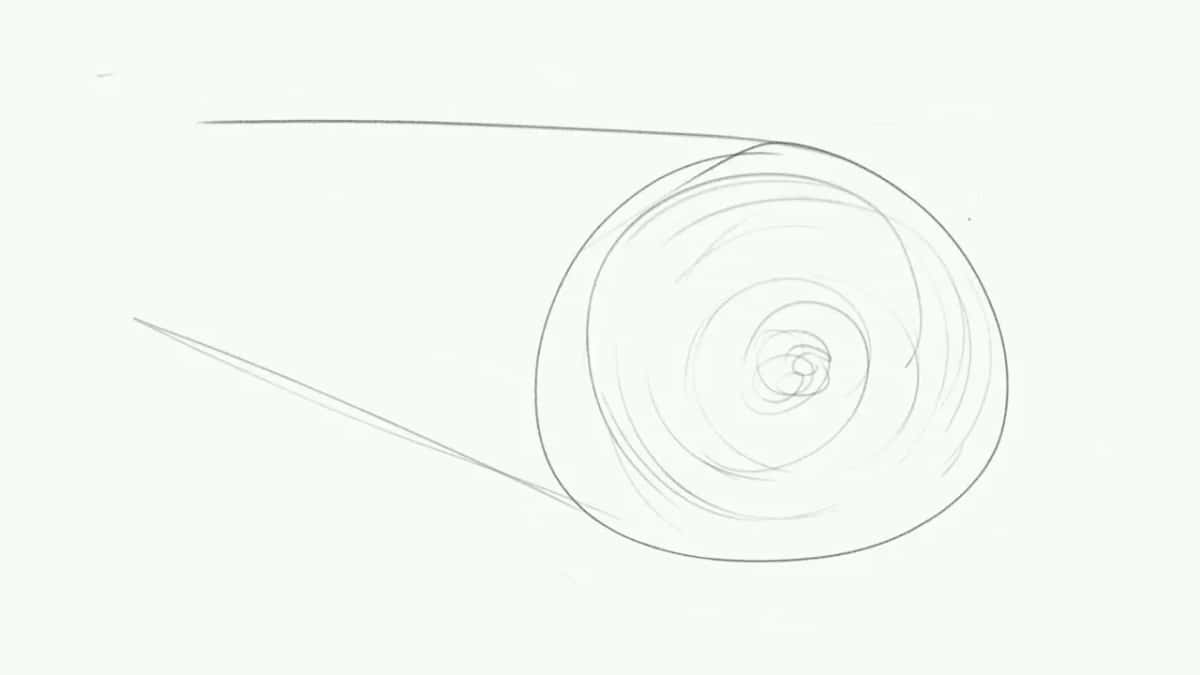
The log end again, just pencil.
Which number warns you that a panel will cup?
The ratio between the two crosswise rates decides cupping, and it can rank woods backwards from the volume figure.
Divide tangential by radial and you get the T over R ratio. A high ratio means the two faces of a flatsawn board argue with each other, and the board curls. A low ratio means they mostly agree.
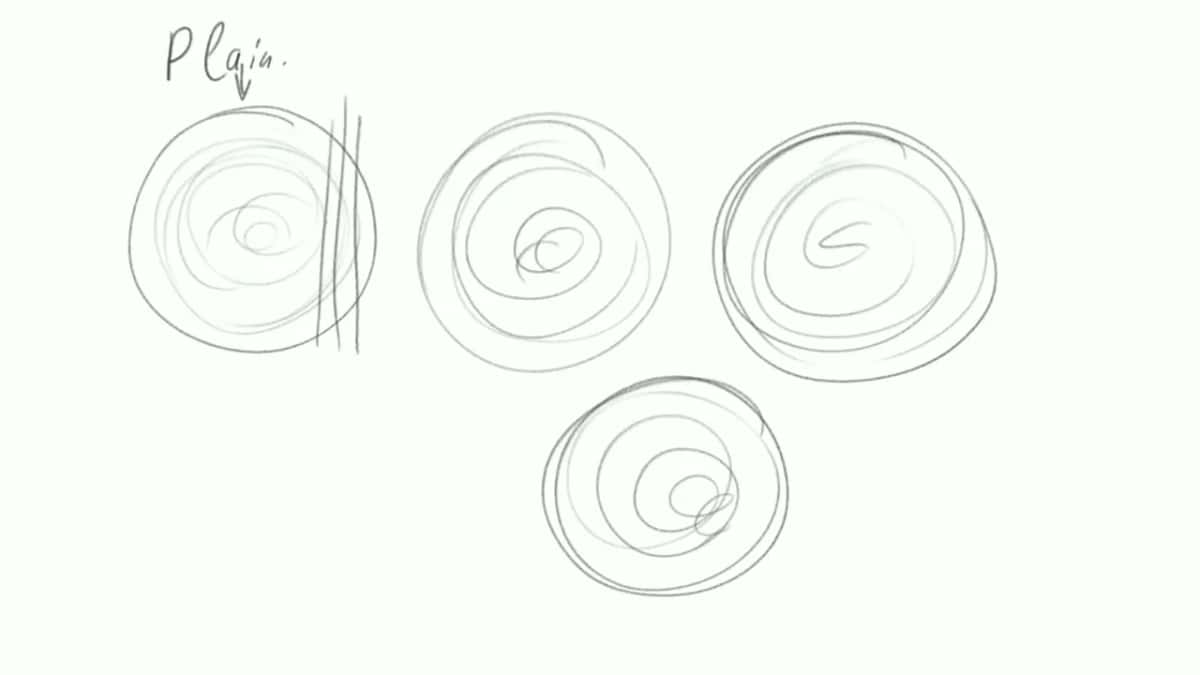
Four drawn log ends.
Here is where a chart misleads people. American basswood loses 15.8 percent of its volume going green to oven dry, and black cherry loses 11.5. By that reading cherry is the calmer wood. Now take the ratio. Basswood comes out at 1.4 and cherry at 1.9, so basswood is the one that stays flat and cherry is the one that cups. The ranking flips. For overall size change you read the volume, and for cupping you read the ratio.

Rings drawn as spirals, one marked Plain.
A second surprise sits in the same table. Basswood radial shrinkage is 6.6 percent, higher than white oak at 5.6 and among the highest radial figures in the whole federal list. Every carving school in the world recommends basswood, and it is not the stable wood people assume. Basswood is a low ratio wood, which is a different virtue entirely. If you want the fuller picture on basswood as a carving stock, we keep a page on it.
What do the real shrinkage numbers look like?
Six woods cover most of a carving bench, and their volume loss runs from 8 percent to over 16. Every figure below is the Wood Database's, cross-checked against Table 4-3 of the 2010 Wood Handbook. Six of my eight test species matched exactly.
| The board in question | Radial shrinkage, green to oven dry, as a percent | Tangential, the big one | Volume lost in all directions | Tangential over radial, and the warning it carries |
|---|---|---|---|---|
| Eastern white pine, a softwood | Radial only 2.1 percent | Tangential 6.1, nearly three times the radial | Volume 8.2 percent | Ratio 2.9, the worst cupper on this list |
| Black cherry, furniture wood | Radial 3.7 percent | Tangential 7.1 percent, just under twice | Volume 11.5 percent | A ratio of 1.9, and it still cups when flatsawn wide |
| American basswood, the carving standard | Radial 6.6 percent, higher than white oak | Tangential 9.3 percent | Volume 15.8 percent, among the biggest here | Down at 1.4, the reason my panels stay flat for years |
| American black walnut | Radial 5.5 percent, high for a wood this calm | Tangential 7.8 percent | Volume 12.8 percent | Another 1.4, and the boards behave |
| Hard maple, sugar maple | Radial 4.8 percent, moderate enough on its own | Tangential 9.9 percent | Volume 14.7 percent, close to basswood | Back up to 1.9, so a wide flatsawn top moves |
| White oak, Quercus alba | Radial 5.6 percent | Tangential 10.5 percent, the biggest single number here | Volume 16.3 percent | 1.9 again, and a flatsawn oak panel will cup on you |
Two footnotes on that table, and both are honest ones. Honduran mahogany is often quoted at 2.9 radial, 4.3 tangential and 7.5 by volume, which is where the Wood Database puts it. Table 4-4 of the federal handbook prints 3.0, 4.1 and 7.8 instead. Small gap, same story, and you pick one source and name it rather than averaging two.
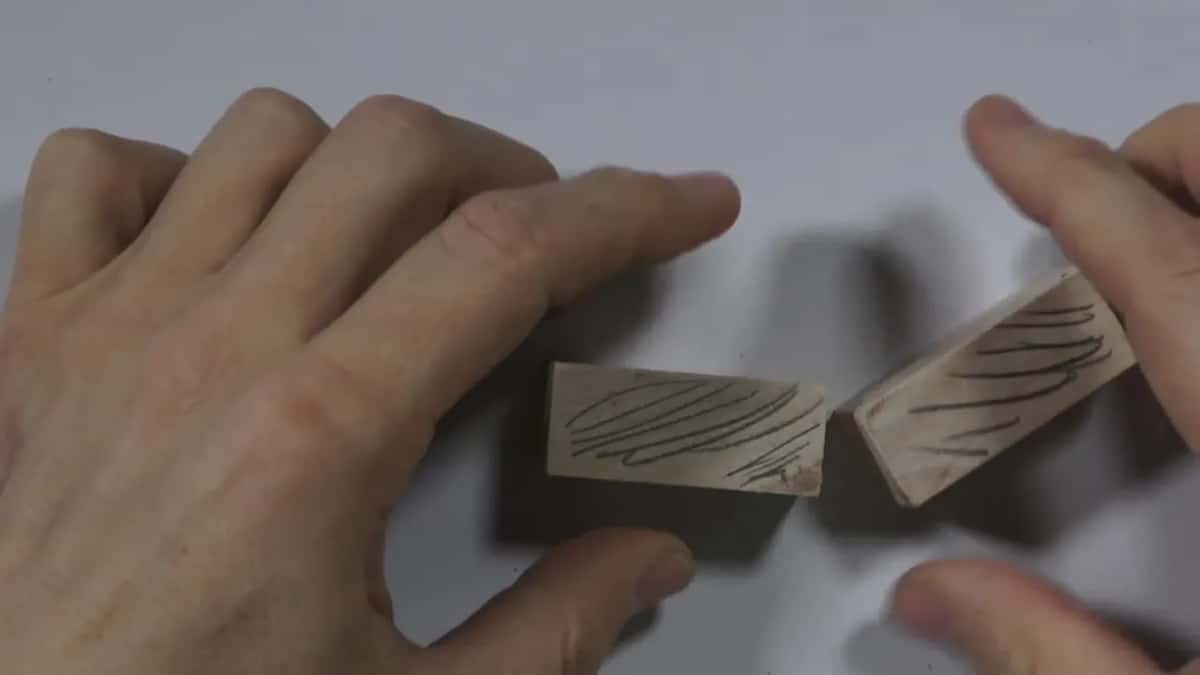
Two blocks, grain drawn by hand.
The second footnote is stranger. Gaboon ebony, at 8.3 radial and 11.2 tangential for 19.6 by volume, is one of the most restless woods anybody carves, while African blackwood at 2.9, 4.8 and 7.7 sits at nearly the same density and barely moves. Density predicts plenty about a board, and it does not predict this, so the density number gets its own article. Every row above was measured on small clear sticks under the ASTM D143 test method. Your plank is not a small clear stick.
How can more undercutting mean fewer cracks?
Deep undercutting breaks the long tubes into short ones, and short tubes pull with less force than long ones.
Look at the direction of the grain and imagine small, small pipes, like drinking straws carrying all the juice up the tree. Wood really is close to that, a bunch of straws compacted together. That straw runs the whole length of your blank. Once you break that force, you take some of the movement out of the piece.

Acanthus and shell, one end still in pencil.
So I advocate more undercutting rather than less. When you excavate those openings and undercut down to paper thin, you are moving those fibers out of the way. No continuous pipe runs through it any more. You are relieving the stress, and there is less chance of a crack later on.
Let me be honest about what that claim rests on. It is my reading of my own bench over decades, not a laboratory result, and I have never seen a study that measures it. What I own is the work. One piece I point at is ten years old with zero cracks, and a few of mine are twenty-five years old and still show no movement. That is not proof. A run that long is enough for me, and you are free to weigh it however you like.
My own lesson on this subject, expansion and contraction, in my own words.
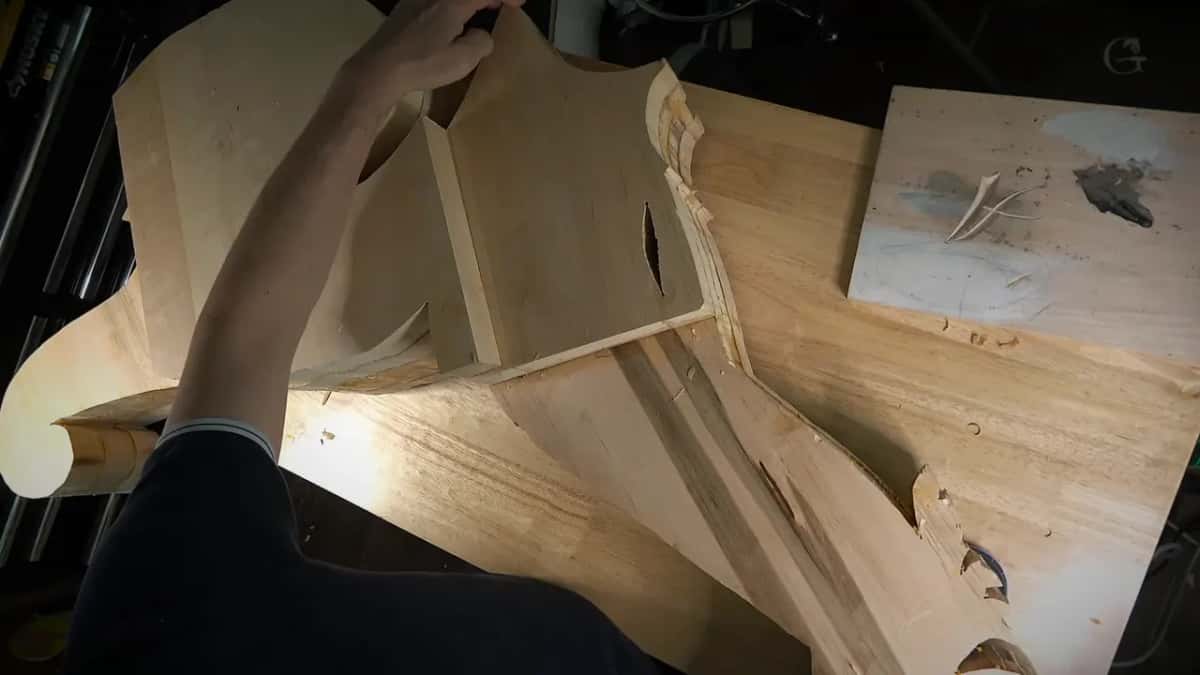
An open section through the middle.
The same reasoning runs through my grape onlay workshops, where the stems come free of the ground early and stay free. If a part is already too thin to survive, that is a different repair, and we keep a page on holding fragile parts together.
How does the room decide what your carving does?
Air sets how much water a board holds, and the wood follows the air for the rest of its life.
Foresters call this equilibrium moisture content, the point at which wood is neither gaining nor losing moisture. The federal laboratory has been publishing those tables since before 1920. A hundred years of data.

Me by the window with no wood in the frame.
At 70 degrees, the pairs run like this. Thirty percent relative humidity holds a board at 6.2 percent moisture. Forty gives you 7.7. Fifty gives 9.2, sixty gives 11.0, seventy gives 13.1, and at eighty percent humidity your stock sits at 16 percent and has become a completely different board. Nearly ten points of swing inside one ordinary year.
In my own shop I keep the humidity really low. I run a dehumidifier and hold it around 35 percent, and I live in Florida, which tells you how hard that machine works.
That rack holds most of my tools.
Ohio State puts a plainer wording of the same idea in front of anybody who wants a second version of it. A hygrometer costs almost nothing and it turns a guess into a reading.
Which board should you carry home from the yard?
Quartersawn, every single time I can get it, and rift cut when I cannot.
The best of the best is quartersawn material. The closer to the center you get, the tighter the rings sit, and there is a lot less movement in the finished piece. So when I buy wood I get one of two things, quartersawn or rift cut, and I have bought that way for a long time.
Drying method is the other half. Two exist. One is kiln dried, which is what the lumber yards use, and they have a big stove and they fry the boards. Fast, cheap, ready to sell. The other is air dried, which was always my preferred method.

Same log ends, hatched now.
Nowadays you mostly cannot buy air dried wood. Most likely it will be kiln dried, and the trouble with a quick process is that the board leaves the stove dry yet still pretty fresh, so it goes on adapting to wherever you put it. Fell a tree and those fibers are still alive, still sucking water fast. The longer ago the harvest, the more they have stopped taking water in. Some of my boards have been sitting in my shop over ten years, a few of them twenty-five.
Living in Russia, what we did, we would carry the boards outside and leave them there.
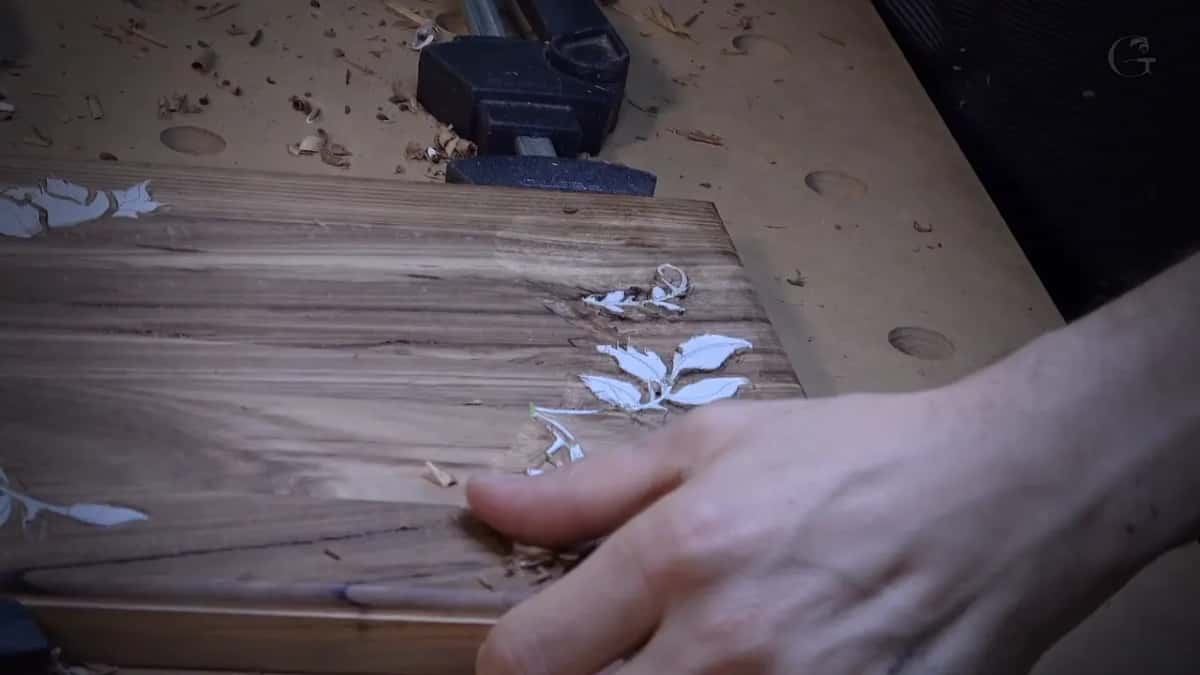
Straight grain, pattern taped on top.
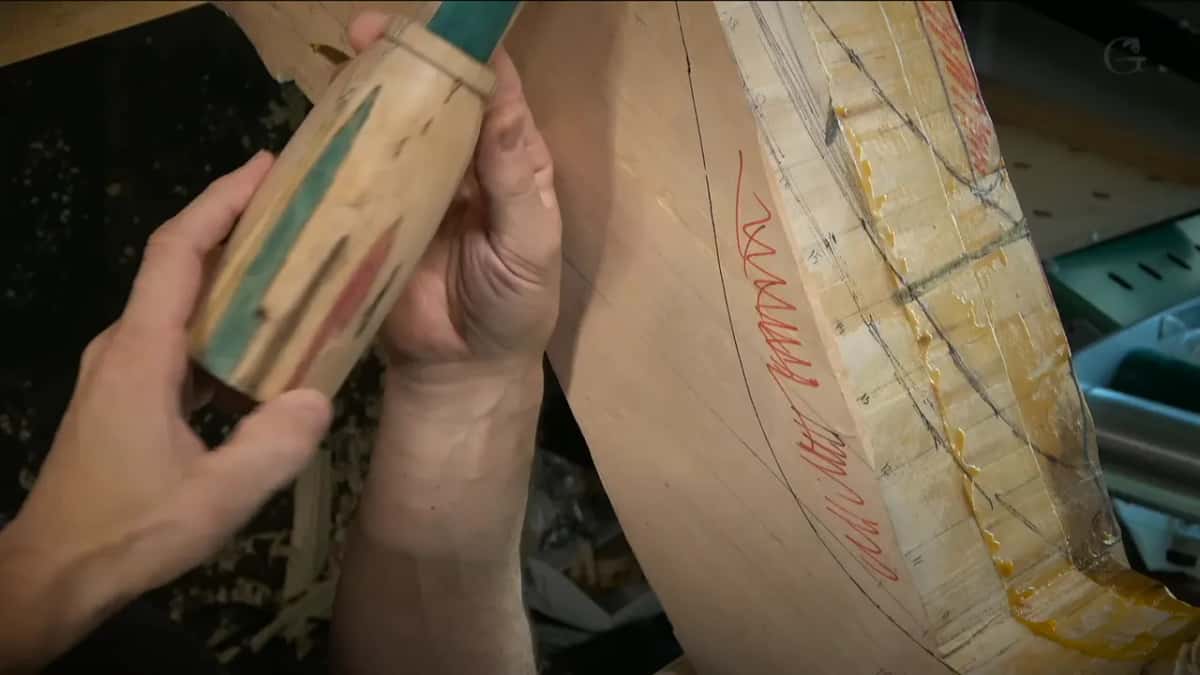
Several boards glued into one panel, seams still wet.
One rule on glue-ups, and it is short because it is simple. It all depends how you put the boards together. Glue two with the rings running the same direction and it gets worse. Alternate instead. The furniture panel in my furniture panel workshops is built that way, and so is everything in the furniture carving series. More on this sits in the piece about warping and cupping.
How do you acclimate a board before you glue it up?
Read the room first, set a target from where the carving will live, then meter the wood and wait. None of this needs a laboratory. It wants a cheap hygrometer, a pin meter and patience, and the procedure comes out of chapter 13 of the Wood Handbook.
Step 1, measure the room and not the wood
Hang a hygrometer where the stock will sit and read it for a week. At 70 degrees, 30 percent humidity parks your stock at 6.2, 50 percent parks it at 9.2, and 70 percent takes it to 13.1. The room is the instruction. Your stock only obeys.

Black marker on top, the chisel working the edge.
Step 2, set the target from where the piece will live
Chapter 13 says to install wood at the levels it will experience in service. Interior work across most of the United States averages 8 percent, with individual pieces anywhere between 6 and 10. The dry southwest wants 6. Damp coastal regions want 11. Your carving room is not the target unless the carving is staying in it.
Step 3, sticker the boards in that space and leave them alone
Stack with spacers so air reaches every face. Then walk away for weeks, not days. One warning from that chapter catches a lot of people. Wood stored in a basement or over a crawl space can sit well above the range those tables give you.
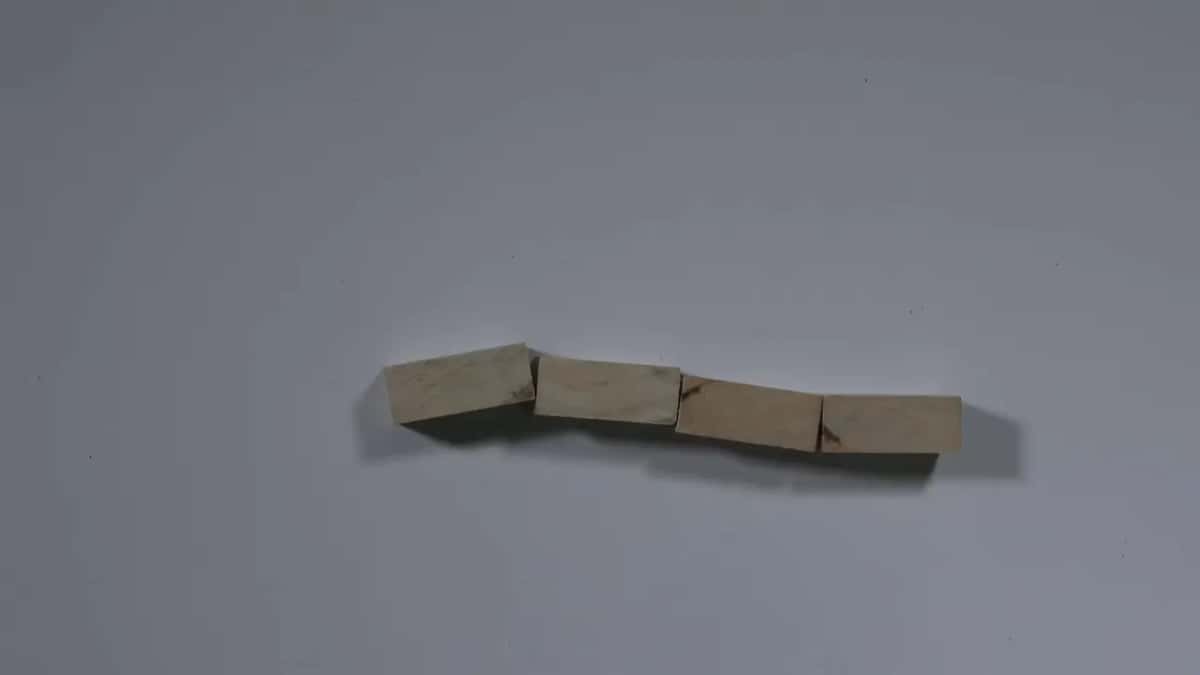
Four blocks, one mark each.
Step 4, meter enough boards to mean something
A single reading tells you about a single board. The handbook says that for a realistic average you should test at least 10 percent of each item. Push the pins in on the face and again near an end, since ends dry first and lie to you.
Step 5, apply the one percent rule before you commit
If the average lands within 1 percent of what you targeted, and every piece falls inside the individual limits, the lot is probably satisfactory. Those are the handbook's own words. For glued laminated stock the same source says the spread between pieces should not exceed 5 percentage points, which is a glulam guideline rather than a carving rule, and fine carved work wants far tighter.
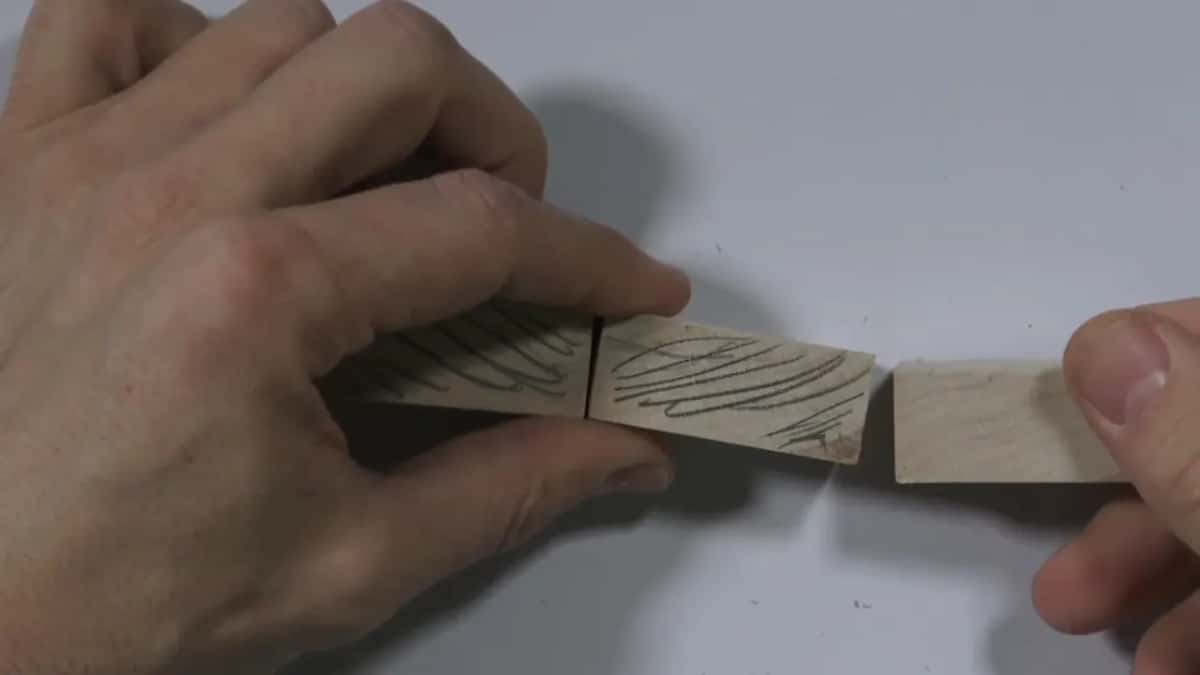
Edge to edge, the drawn grain carries on across the joint.
Step 6, predict the movement before you carve anything
Those dimensional change coefficients are published for the band between 6 and 14 percent moisture. Take a 10 inch wide flatsawn white oak panel, tangential coefficient 0.00365, and walk it from 10 percent down to 6. Ten times 0.00365 times four gives 0.146 inch. Nearly five thirty-seconds of width, gone, in one winter. Quartersaw the same oak and the coefficient is 0.00180, roughly half the trouble.

A straightedge across a wide board, dark cathedral grain.
Why does a finished carving crack months later?
Wood keeps trading water with the room long after the last chip comes off, and a carved blank is not the flat panel a table assumes.
Read that second half again, because it is the part nobody prints. Every published shrinkage figure describes a piece of even thickness with no moisture gradient inside it. The federal chapter says as much, limiting the linear relationship to a sufficiently small piece of wood without moisture gradients. A high relief blank is thick in one place, paper thin in another, sealed on the face and open at the back. It dries at four different speeds at once, and no table anywhere covers that.

Half finished, half still pencil.
Once, mid project, I watched a piece move on camera. That olive wood was not really dry, and it was moving. It shrank, it went out of flat, and it was not the same board it had been days earlier. I could see it had play in it. Already warping, mid job, design still half carved.
So I build for it now instead of arguing with it. On a Venice Room installation I said the plain thing out loud while I was fitting the piece. Wood is wood. It expands and it shrinks, depending on the moisture in the air. If I do not connect that carving solidly to the crown molding, the movement has somewhere to go, so I leave it unconnected and I am fine if it shifts slightly.
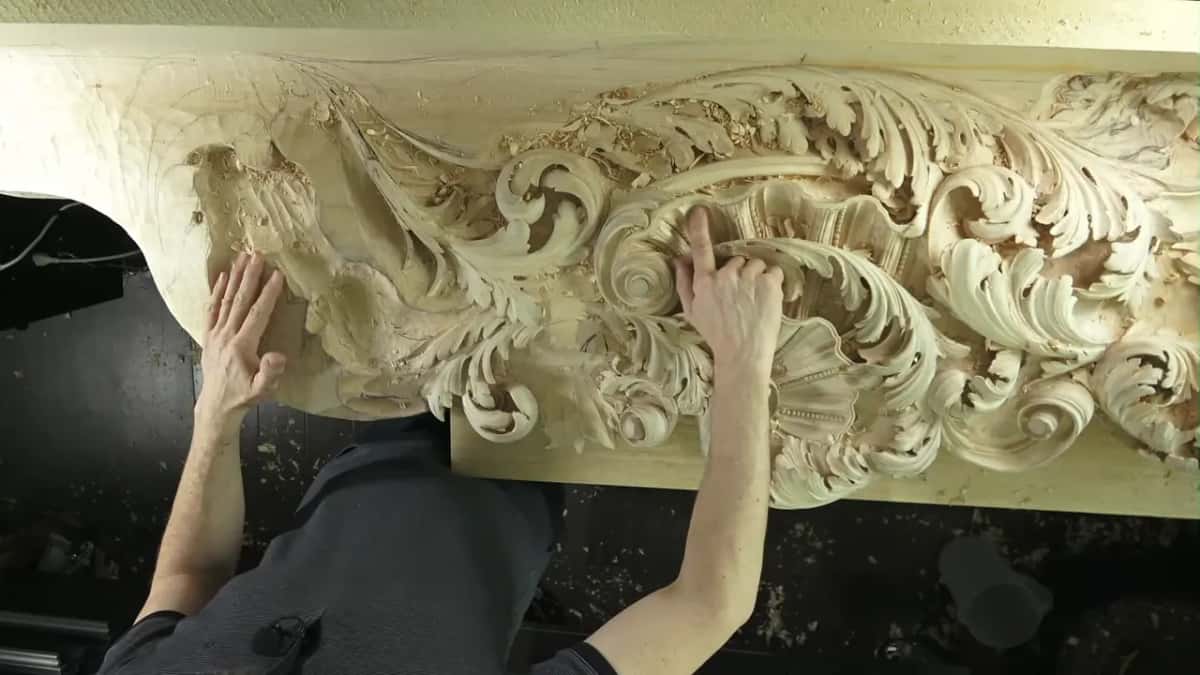
Reaching up into a panel overhead.
There is the whole trade. You cannot stop the movement, and you can decide where it is allowed to happen. A finish slows the exchange down and never halts it, which is covered under sealing a carving after it is done, and the same logic explains how long carvings actually last. Wood that resists rot is a separate property, handled on the rot resistance page, and choosing the species itself belongs with picking carving stock.
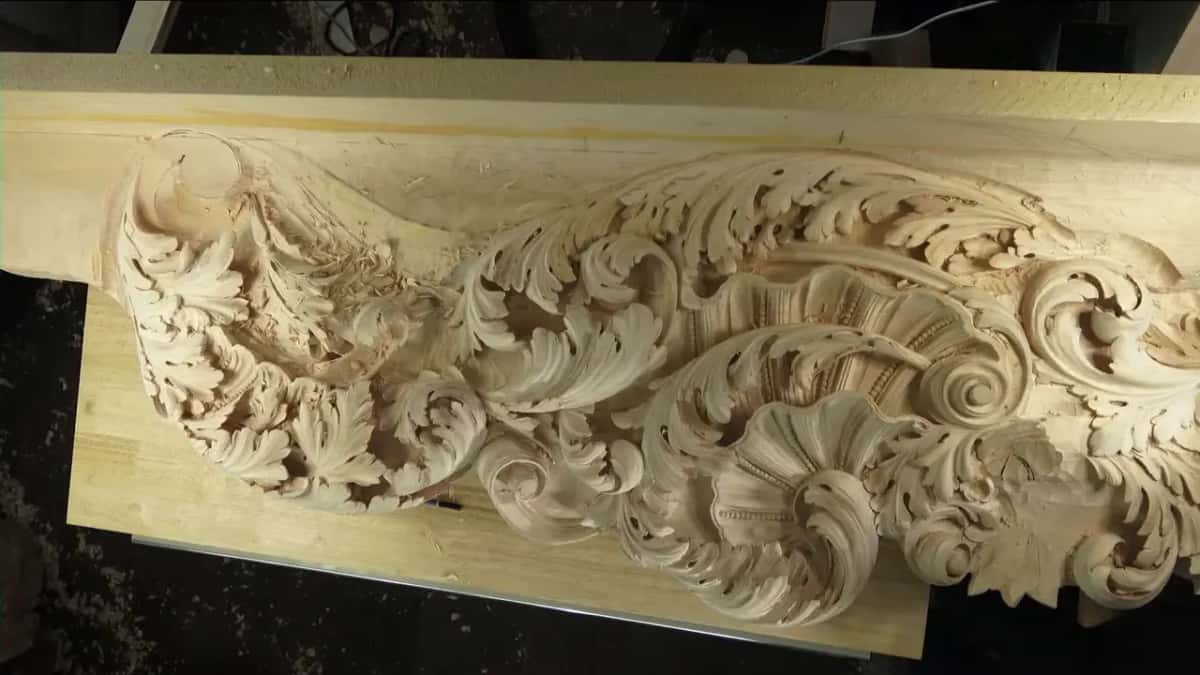
Stepped back. The whole relief, quiet.
Have you ever lost a piece you were proud of? Do you want to know why it happened before you start the next one? Would you rather buy the right board than repair the wrong one? Then get someone to show you how the old work was built, and walk the whole path, rough plank through to finished panel, inside the course library. Beginners can start with preparing raw stock, and everybody should read whether wood must be dry first.
Frequently asked questions
What moisture content should carving wood be at?
Aim for 8 percent if the finished piece stays indoors in most of the United States, with 6 to 10 acceptable on individual boards. The dry southwest runs nearer 6, and damp coastal areas sit around 11. Match the room the carving will live in, never the room you carve in.
Does quartersawn wood really move less?
Across the width, yes, and by roughly half. White oak has a radial coefficient of 0.00180 against a tangential one of 0.00365, so a quartersawn oak panel changes width at half the rate of a flatsawn one. It resists cupping too, since both faces move at one rate.
How long should a board sit in my shop before I carve it?
Longer than feels reasonable. Kiln dried stock leaves the stove dry but still fresh, and it keeps adapting to wherever you store it. My own boards have waited more than ten years, a few of them twenty-five. Air dried stock has already done most of its moving.
Can I stop a carving from cracking forever?
Honestly, no. You can undercut deeply, orient the grain sensibly, acclimate the stock and mount the piece so it has room to shift. On one commissioned installation I deliberately left a carving unconnected to the crown molding. Managing movement works. Halting it does not.
Which carving wood holds its shape best?
Among the woods on my table, black walnut pairs a modest volume figure of 12.8 percent with a low 1.4 ratio, and that is a calm pairing. Honduran mahogany moves less again at around 7.5 percent by volume. African blackwood is the quiet surprise, barely moving at 7.7 percent despite its weight.
Why did my carving crack even though the wood was dry?
Dry is a moment, not a state. Stock at 6 percent in February reaches 11 percent in a humid August, and that swing repeats every year for as long as the piece exists. Reaction wood near the pith can also shrink lengthwise ten times more than normal.
Filed under
- Basswood carving tips
- best hardwood for carving
- best wood for carving projects
- causes of wood shrinkage
- choosing carving wood types
- effects of humidity on wood shrinkage
- effects of temperature on wood
- factors influencing wood shrinkage
- how humidity affects wood
- how to prevent wood deformation
- moisture content and wood quality
- seasonal changes in wood properties
- Understanding Wood for Carving
- understanding wood moisture loss
- what is wood shrinkage
- wood blanks for carving
- wood carving techniques
- wood carving tips and tricks
- wood shrinkage in different seasons
- wood treatment to prevent shrinkage
- wood types for carving