
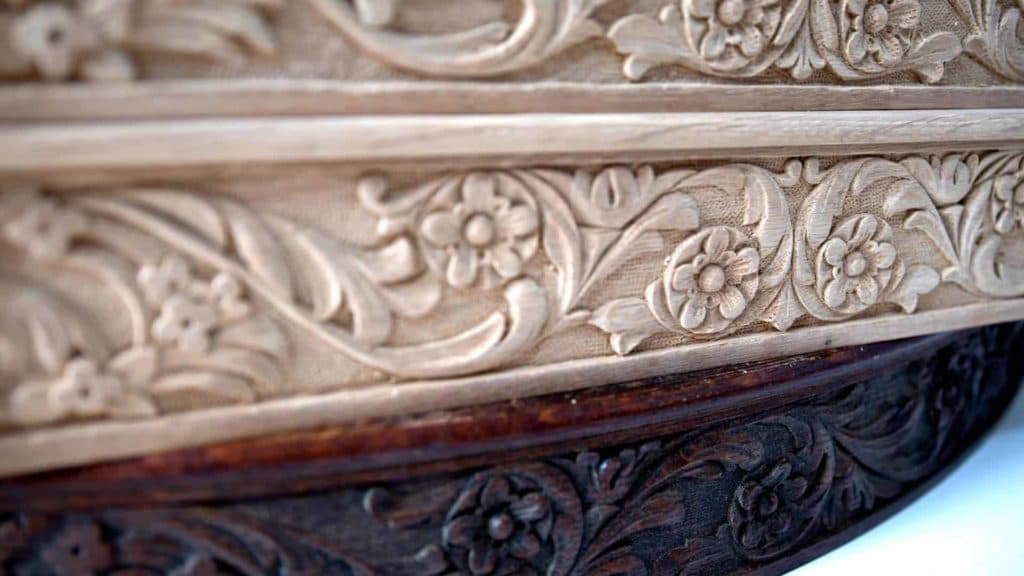
Alexander Grabovetskiy, woodcarver, School of Woodcarving · Published 2017
Can you make a background punch for wood carving from a nail?
Quick answer: A background punch for wood carving can be made from the thickest nail you can find. Grind the end flat, file a pattern into it with a small triangle file, and tap it with a plastic or rubber faced mallet. I have done it many times, especially for a pattern nobody sells.
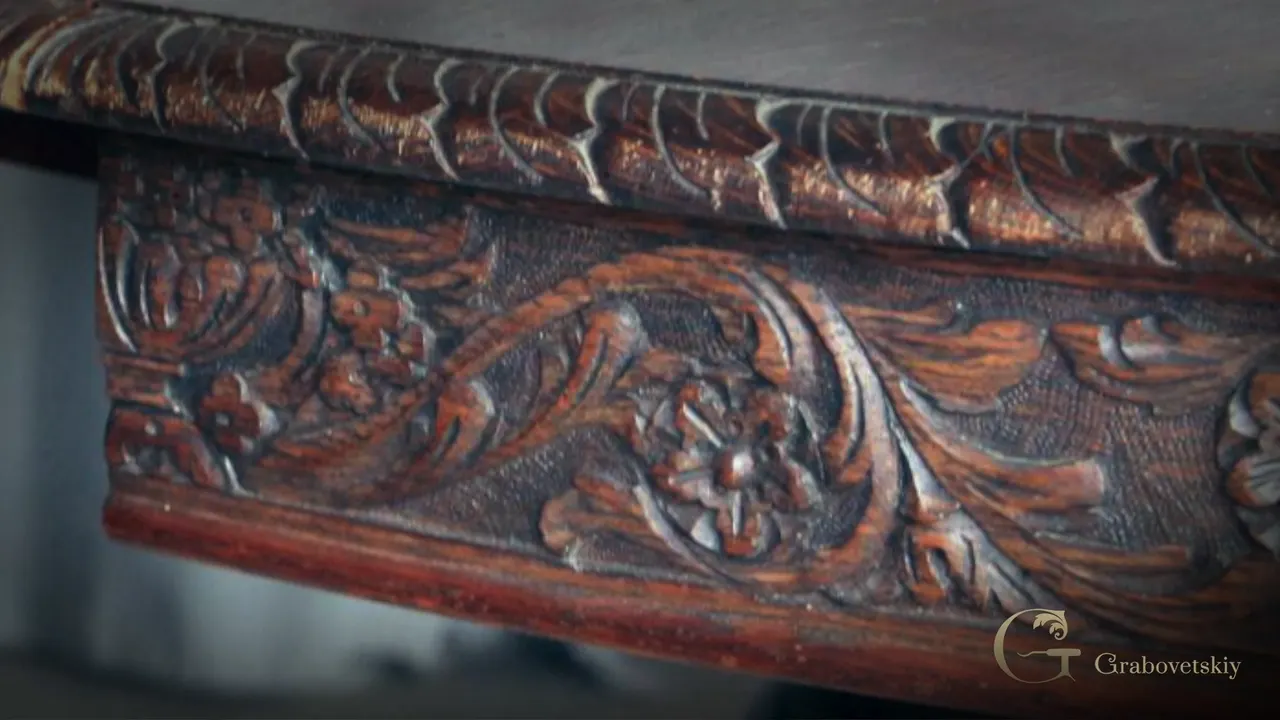
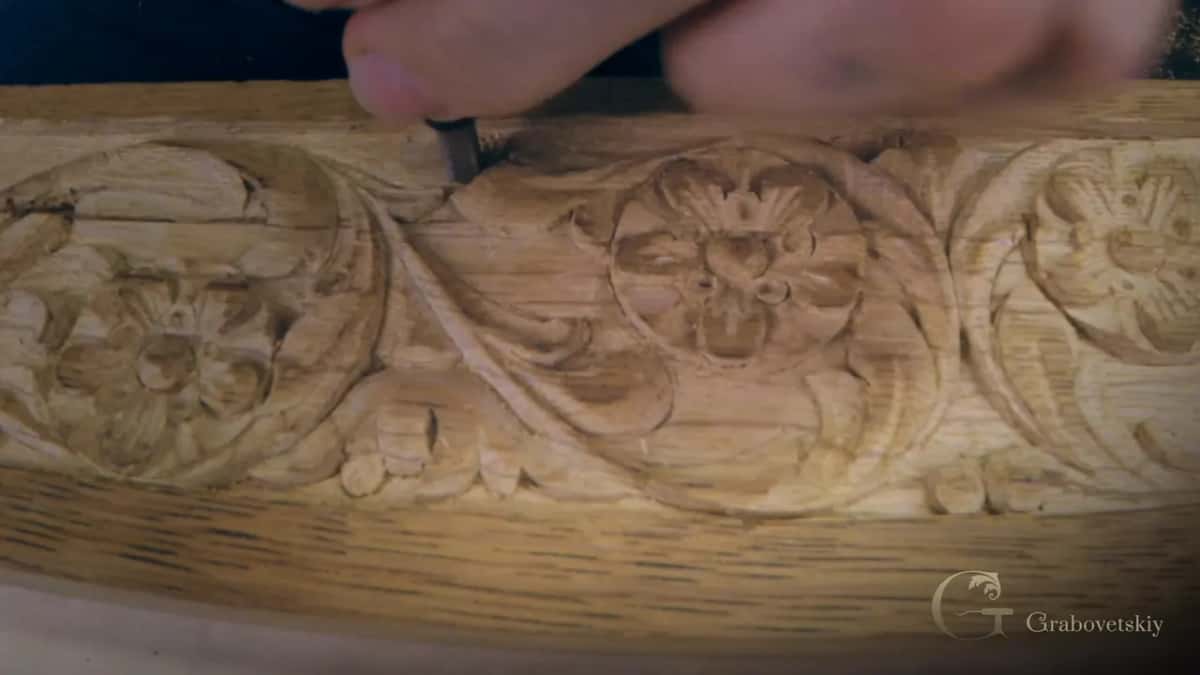
A punched background is the small dotted texture behind a low relief carving, and the punches can be bought or filed out of a nail. On these four furniture pieces I matched an original with a set from Woodcarvers Supply. Punching the whole background took ten minutes, fifteen at the most.
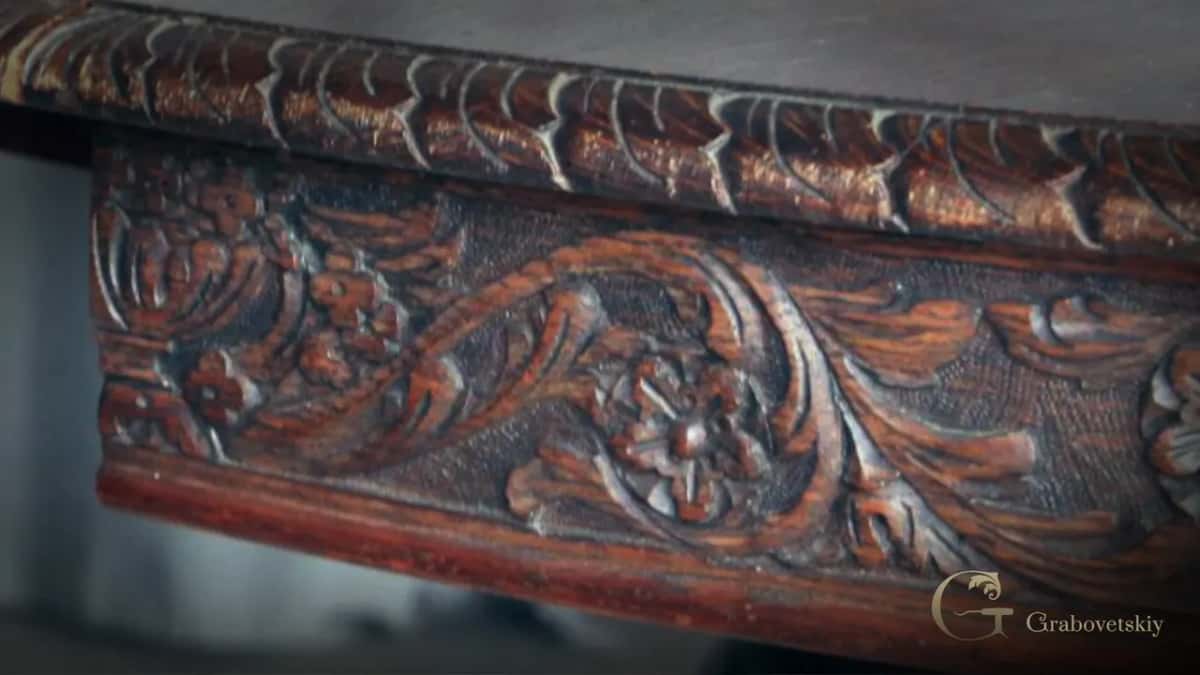
Does your low relief look a little flat once the carving is done? Would you like the design to stand up off its ground without carving one millimeter deeper? Then this is a quick lesson, and a cheap one.
What you need for a dotted background
- A punch set, or the thickest nail you own.
- Set of five from Woodcarvers Supply in America, roughly forty dollars and up.
- Punches by Henry Taylor on the English side.
- A soft faced mallet.
- One round punch does nearly all of it, and a little rectangle gets the corners.
- A needle fine V tool at the end.
Why punch the background of a carving at all?
Matching the original. That old piece has a texture on its background, and I had already done the same texture on all my previous pieces.
Punched grounds are common in furniture carving. You see them much less in architectural carving, but in furniture style carving they are used a lot.
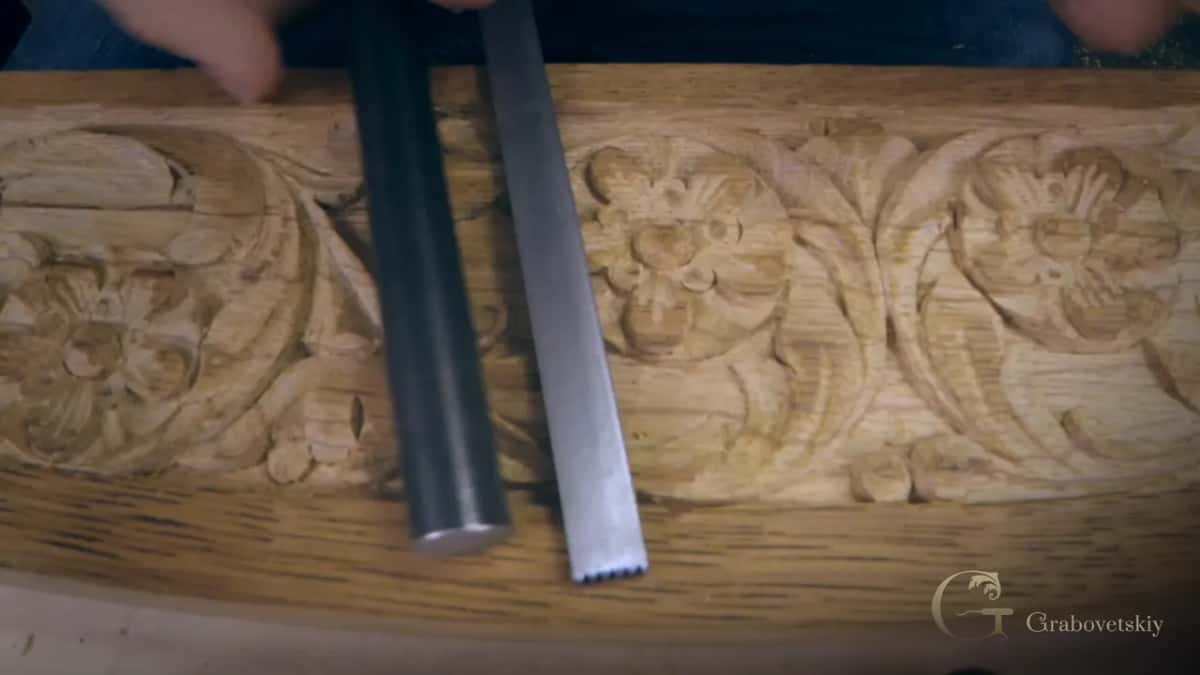
What the dots do is separate the main design from the background. The carving pops, it looks much better and more finished, and on a really low relief it looks a lot deeper than it is.
You can use it on any type of wood carving, architectural too. It just takes ten or fifteen minutes of your time, and it makes the carving much nicer.
Where do you buy wood carving background punches?
I was blessed enough to find punches I am still able to buy, and so are you. If you are in the United States, Woodcarvers Supply sells punches that actually match the backgrounds of old pieces like my original.
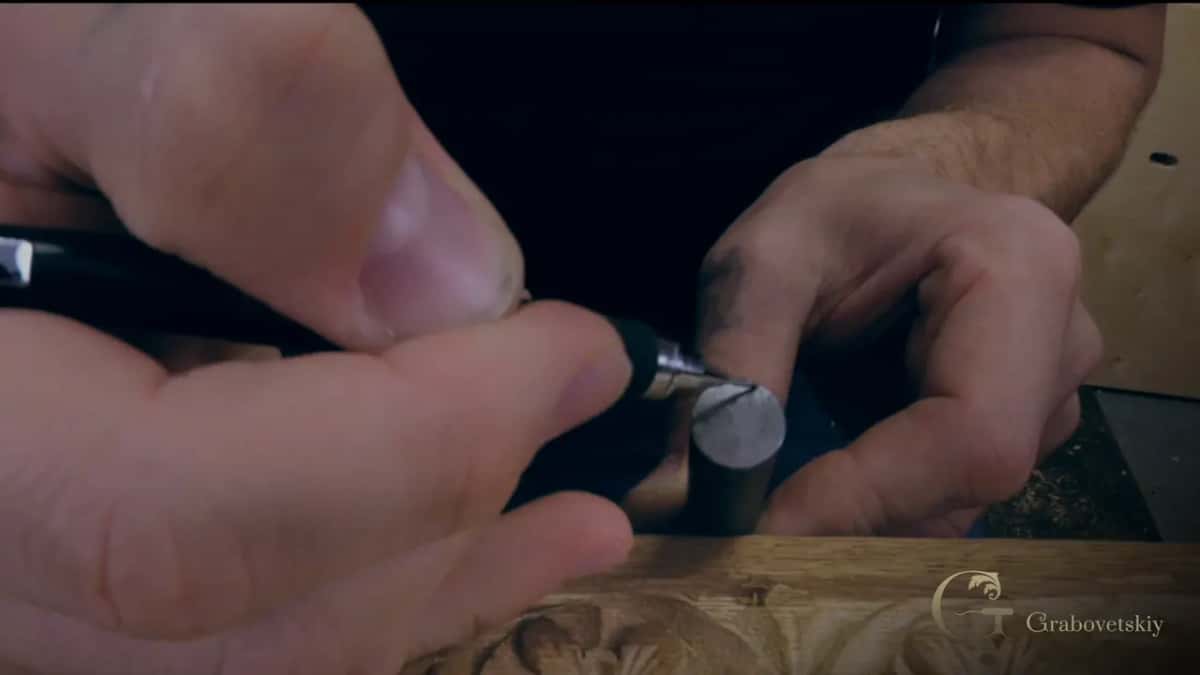
I believe it was about $40 to $45. The exact price slips my mind. Five punches come in the set, three round ones, one square and one small rectangle.
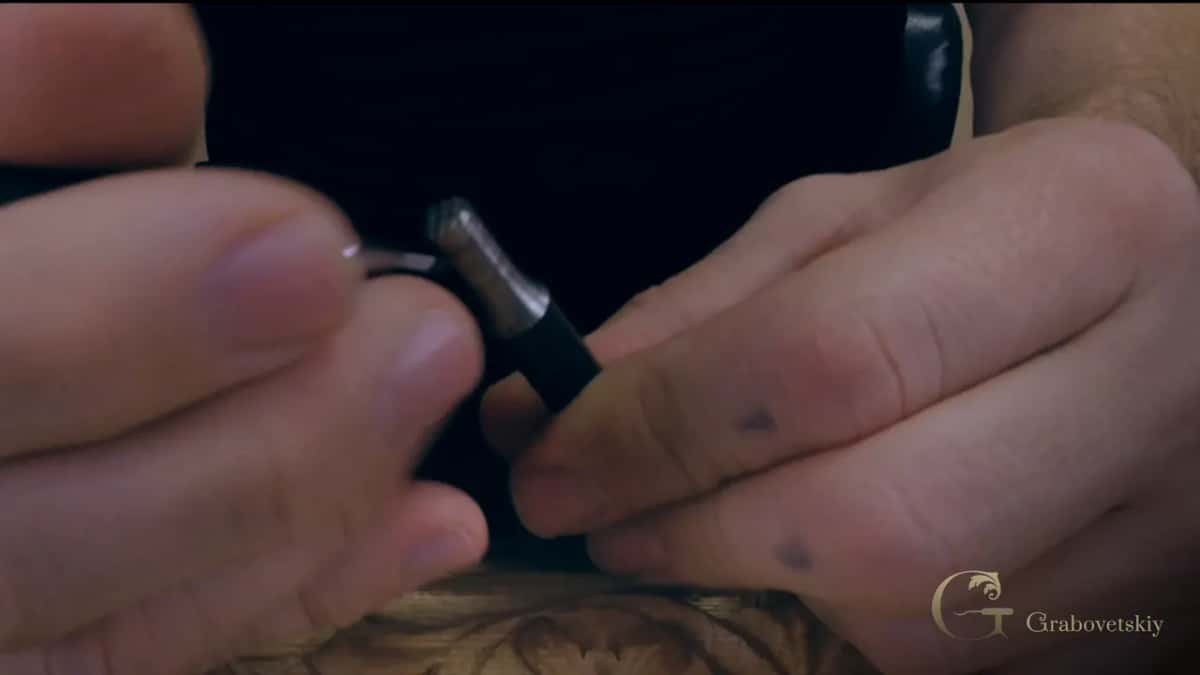
Over in England or elsewhere in Europe, I believe Henry Taylor makes some punches too, and as far as I know you can't buy those in America.
How do you make a background punch from a nail?
Take a piece of thick nail, grind the end flat, and take a file. With a triangle file you make a series of cuts across that flat end to create the pattern, and you can use it as a punch.
I have done that a lot, actually. A framer's nail, the thickest you can find, works fine.
A nail gives you more freedom than a bought set, too. When I wanted to create some kind of different pattern, I made it with my small files and a nail, so the background is not limited to what somebody sells. If my set had not matched this original exactly, I would have filed my own as well.
Old carvers worked the same way. On the antique rosette I told you that an online search for background tools for wood carving finds nothing, because on antique pieces those tools were never only wood tools. Whatever they could find, they used. I took my leather punches, found the ones with little bubbles, tried them on a scrap, and they worked fine, and I have used them on carvings ever since. In America or Europe you can order them by searching for background punches for leather.
Maybe you are not in the United States and can't find those punches in your country, or maybe you just don't want to spend money on them. Nothing wrong with that.
Which mallet do you use with a punch?
For punching I put my regular carving mallet away and pick up a carpenter's mallet. Mine came from Home Depot, and they still sell them.
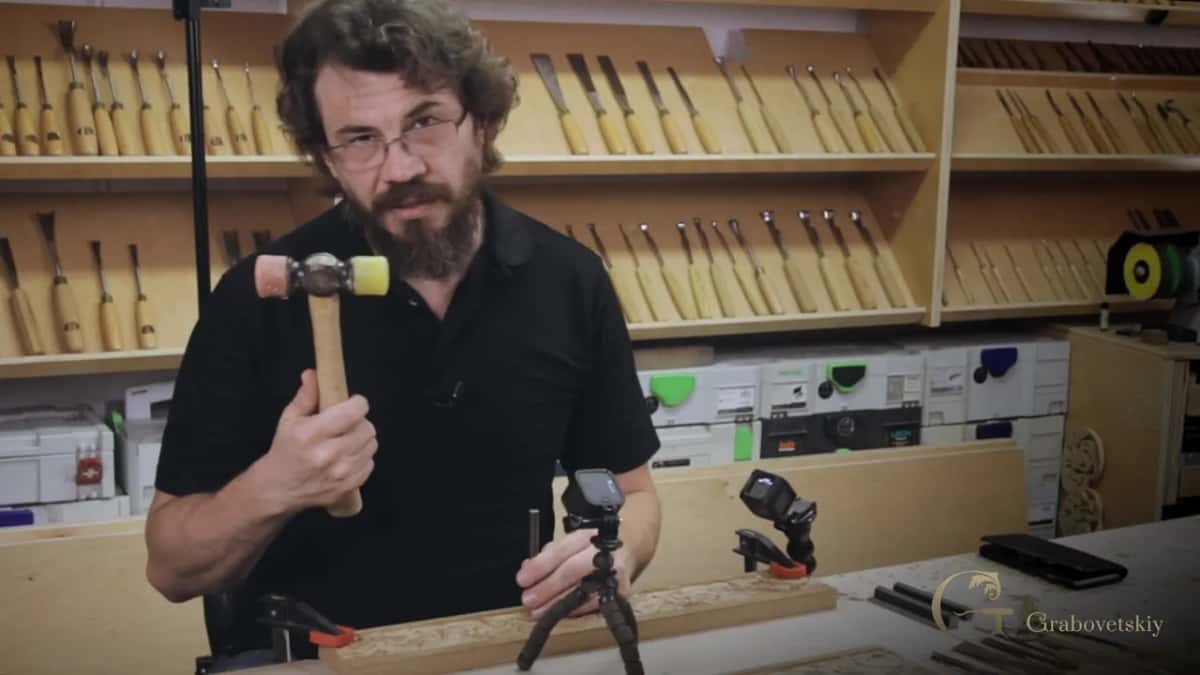
Plastic and rubber faces are what matter, though a regular one works too. I wouldn't use a mallet made of wood, because wood against the metal of a punch gets damaged. On the rosette, where the ground had to be free of any leftovers from the carving first, I said the same about metal, I wouldn't use a metal mallet, some plastic will do.
How is the ground prepared for punching?
Clean first, then lower the ground to one depth, working across the grain. Cleaning on the apron started with a really tiny V tool, a number 16 of only 1 mm, which needs micro sharpening, getting really close to the carving to take out the chips. Somewhat like undercutting, although what I am doing is only cleaning.
The background there goes about an eighth of an inch deep, the same everywhere. A small Dockyard gouge lowers it, the V tool goes first, and a gouge cleans up afterward to create a wall. In the tight spots I used a number 3 detailing gouge made by Ashley Iles for Peter Benson, about 3 mm, 3.18 to be exact. I could be a little off on that name.
Wood carving is an art of deduction, and it is easy to deduct too much, so on a copy I keep making sure I am not going deeper than the original did. Ashley Iles tools have one downside. They never mark how wide the tool is, only the sweep, so you kind of have to guess. Pfeil is really good about marking. Then again, when you carve every day you don't really look at the marking, you just grab the right tool. Keep in mind the old masters did not mark their tools either. They made the tools for themselves, which is exactly what the nail punch is.
How do you punch a dotted background?
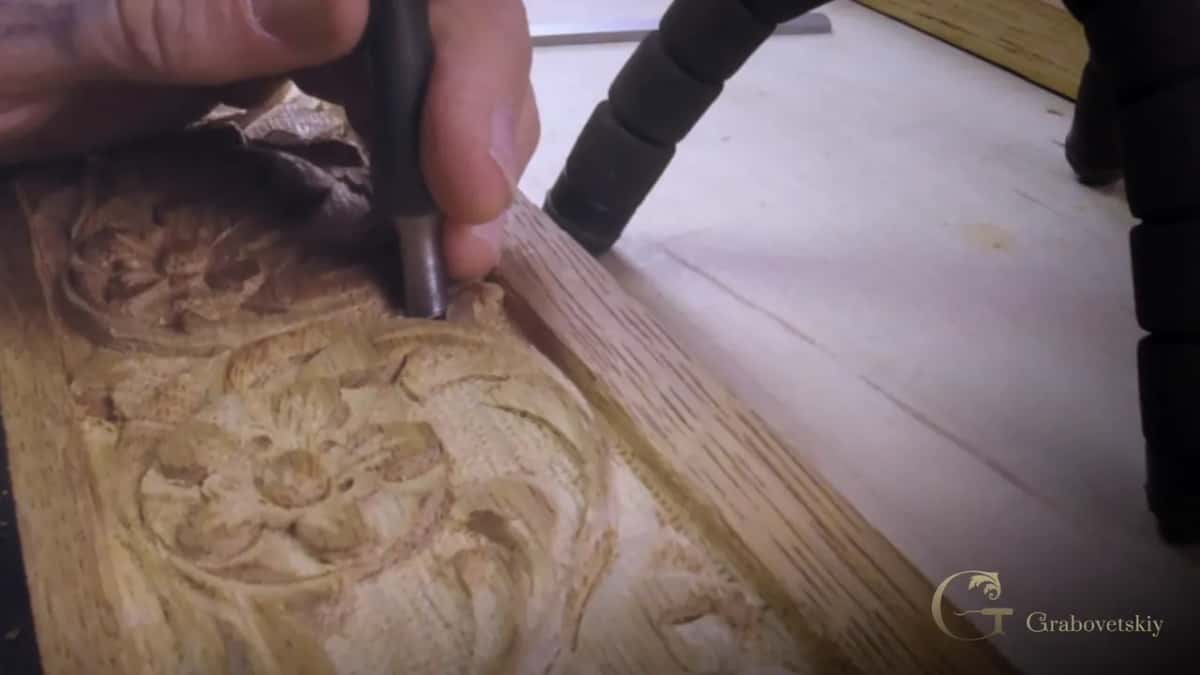
Place the punch and tap it with the mallet, just like that. That's it. Move it and tap again, and the texture appears.
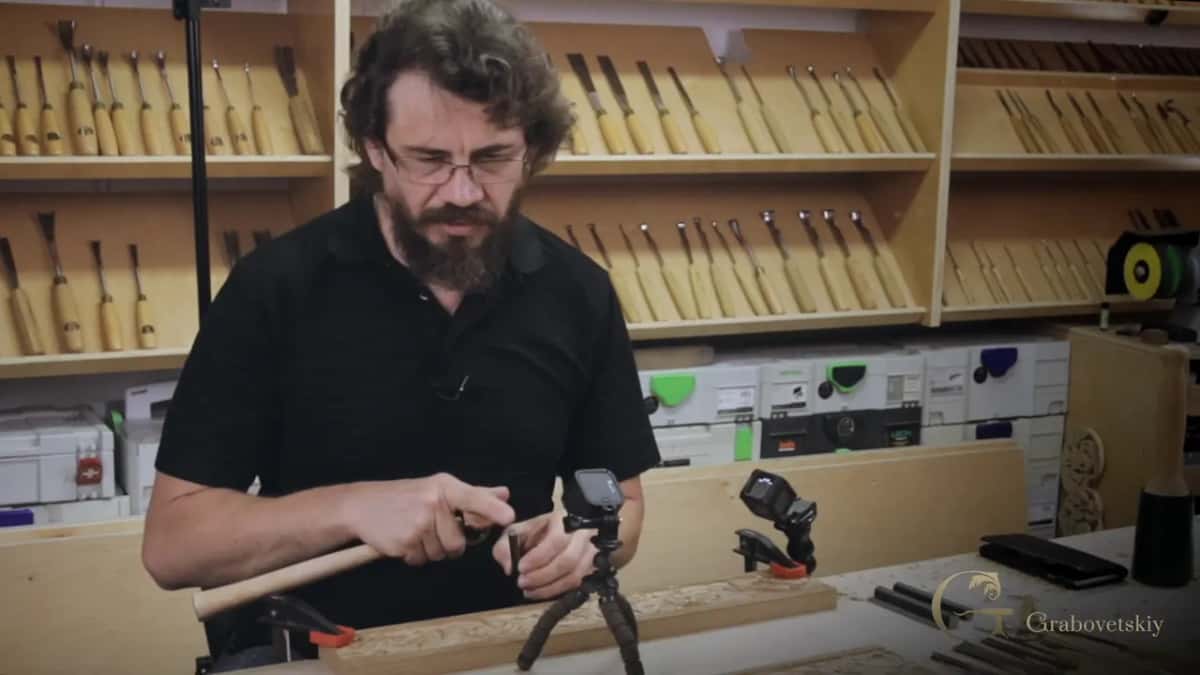
Just go all the way around. My main punch is about 5 mm, 3/16 of an inch. The next one is a small rectangle, only 1/8 of an inch by about 3/8, which is 3 mm by 10 mm, for the spots the round one can't reach.
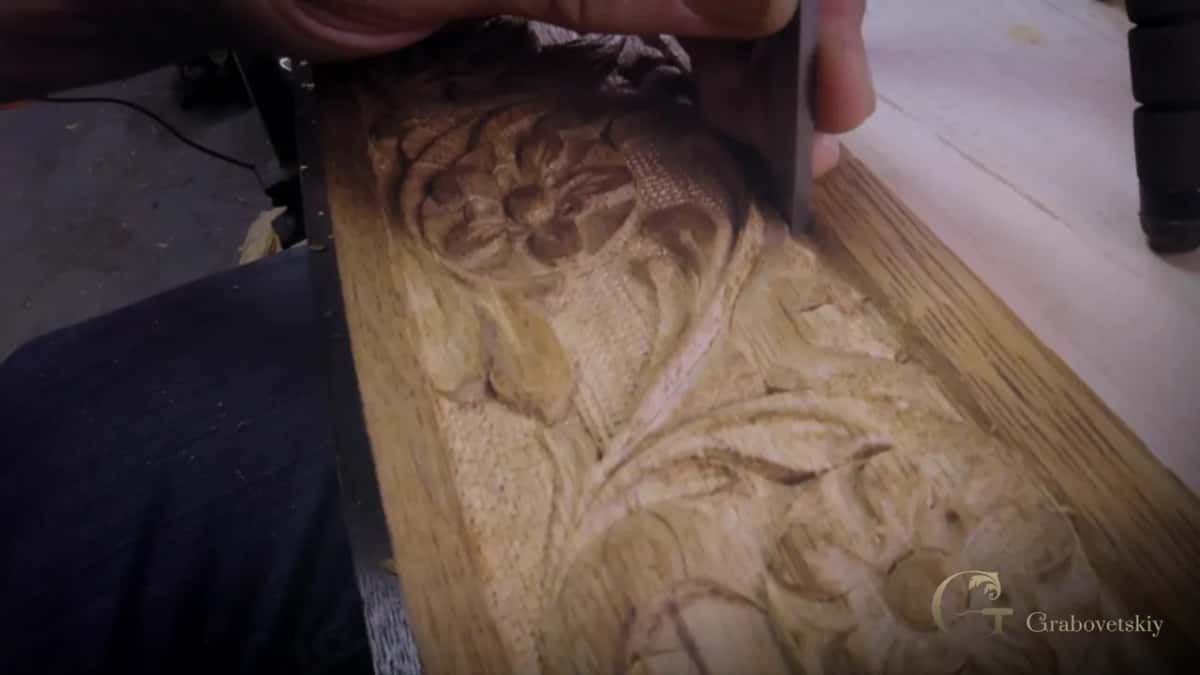
Not fitting everywhere is not really critical, and I don't worry about getting inside the really tiny spots. You could, of course. Buy two identical sets and grind one down to a sixteenth, about 1.5 mm, leaving a single row, and then you can reach those spots.
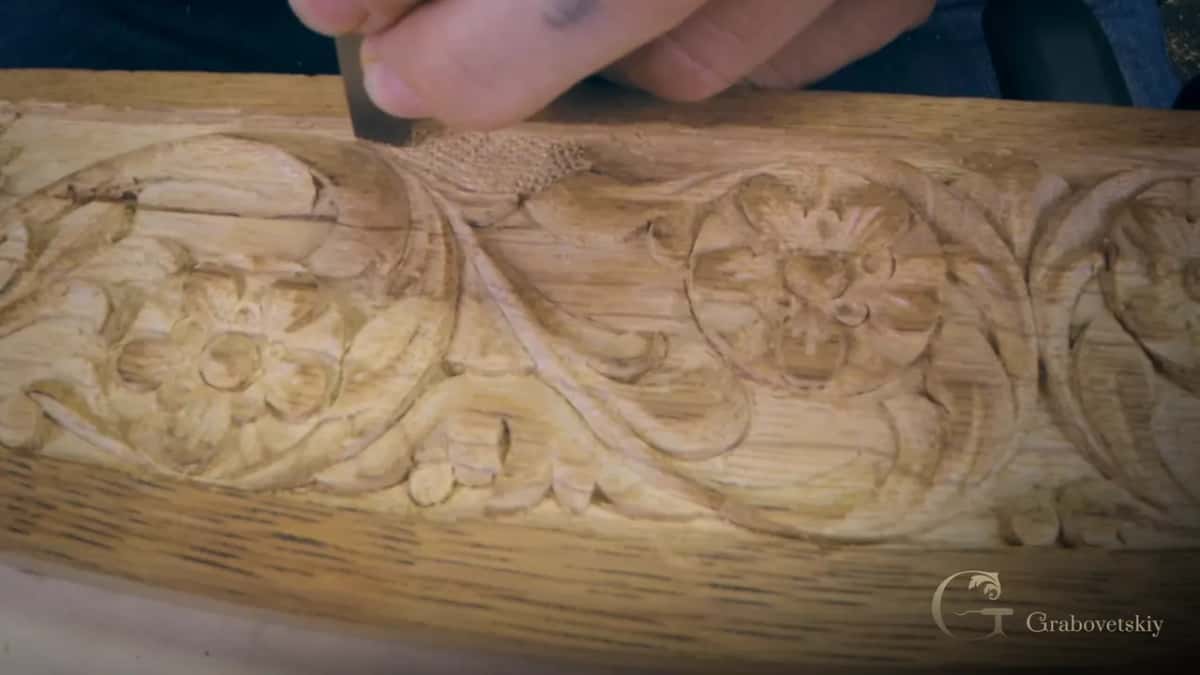
Visually nobody is going to catch it, so it is not necessary. He didn't really do it on the original either, and if he didn't, I'm not going to do it.
| Punch | Size | Where it goes |
|---|---|---|
| The round one from the set | 5 mm, 3/16 inch | Nearly all of the background, spot after spot |
| Small rectangle | 3 by 10 mm | Corners, and the narrow places between leaves |
| A second set, ground down to one row | About 1.5 mm, a sixteenth | Tiniest spots |
| A framer's nail you filed yourself | Whatever you file | A pattern of your own that no set sells |
What do you do after the punching?
Clean it again with the smallest V tool you have. Because the carving was cleaned before the punch came out, you already don't see any leftovers or chips, and the carving stays really clean.
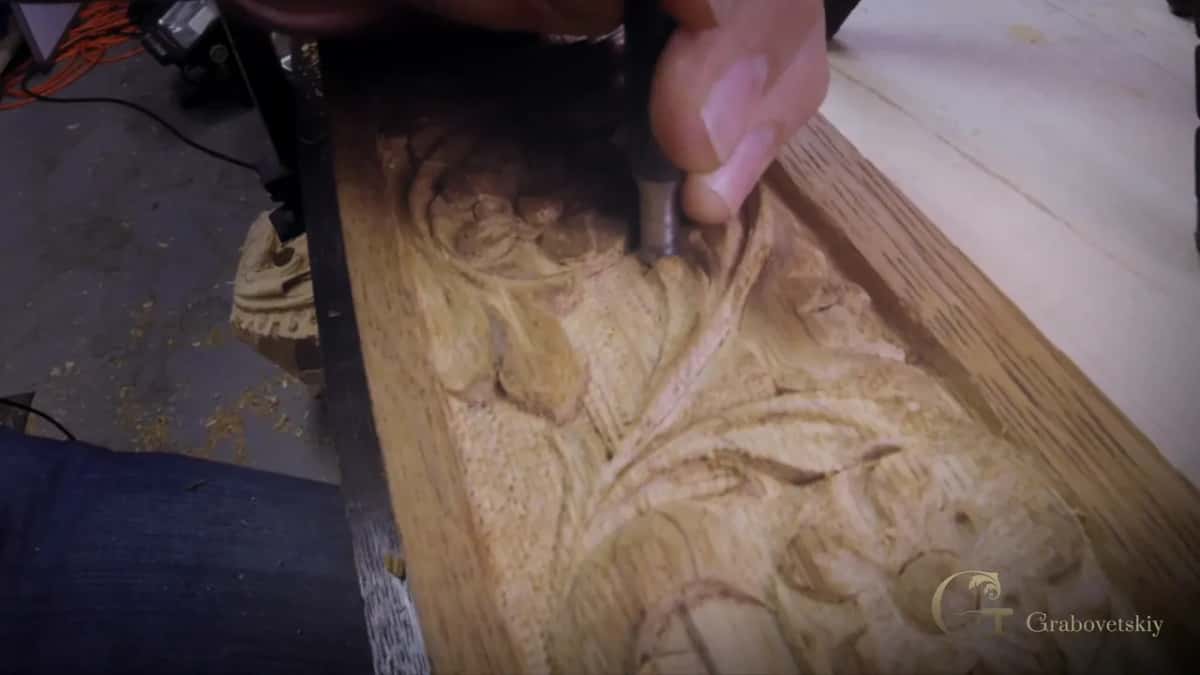
Punching also shows you spots to clean that you might have missed before. You find them as you go around. Near the end I took the clamp off, finished the last areas, and still found a couple more spots I had missed. Then I held up all four pieces, one of them upside down, I guess.
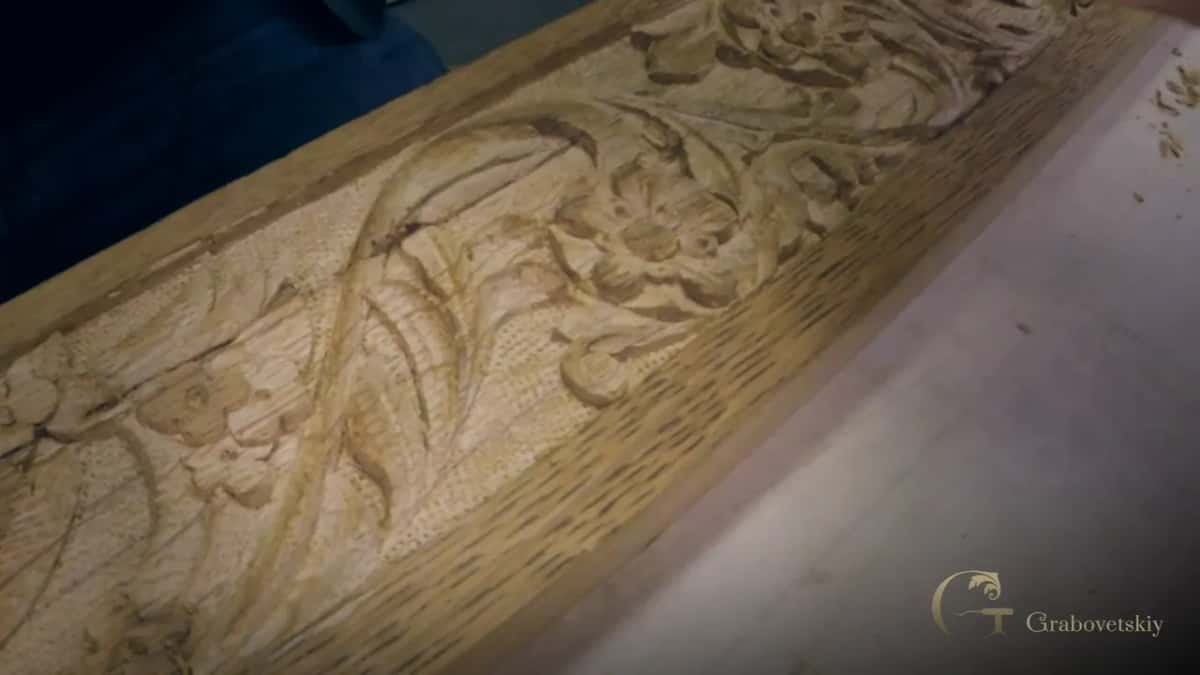
Can anyone see the spots you skipped?
Not a guest in the house. Anyone who knows about a skipped corner will see it, of course. Somebody who just visits and looks at the piece is not going to catch it, even up close.
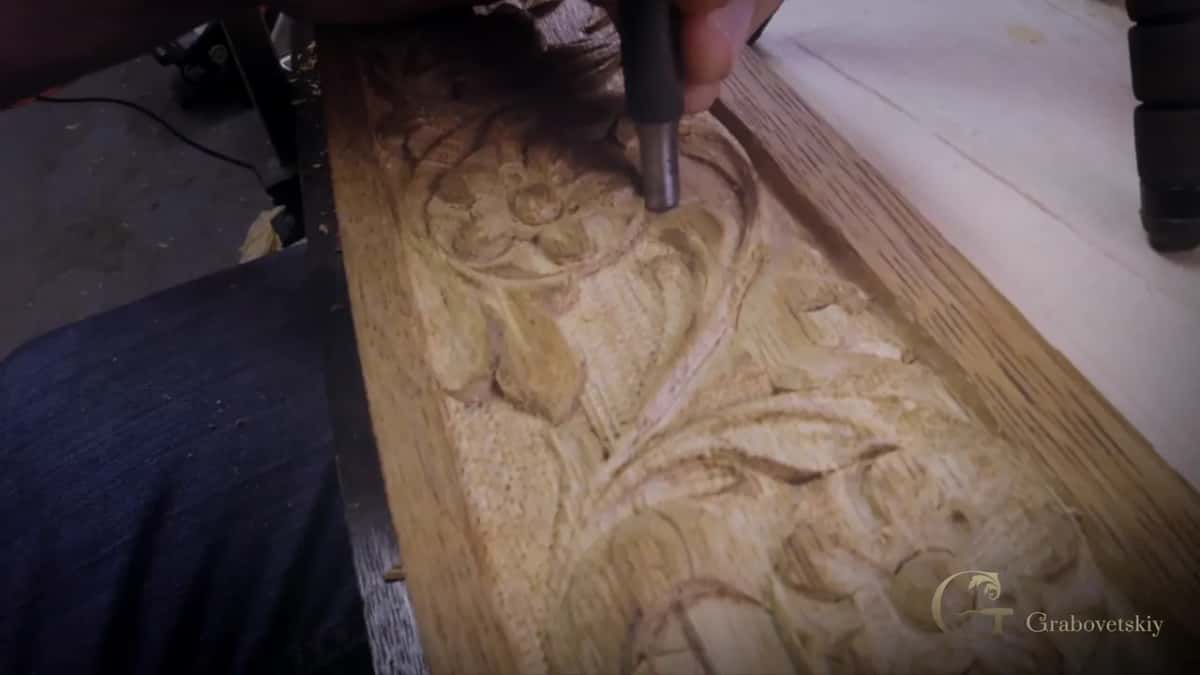
The difference between the punched and the unpunched background, though, anybody can see. You can see how different the carving looks.
Does a punched background take stain differently?
Yes, and that is part of why it looks good. When you stain the piece, or finish it with some kind of lacquer or shellac, the background takes it a little differently. It goes darker, and that looks much nicer.
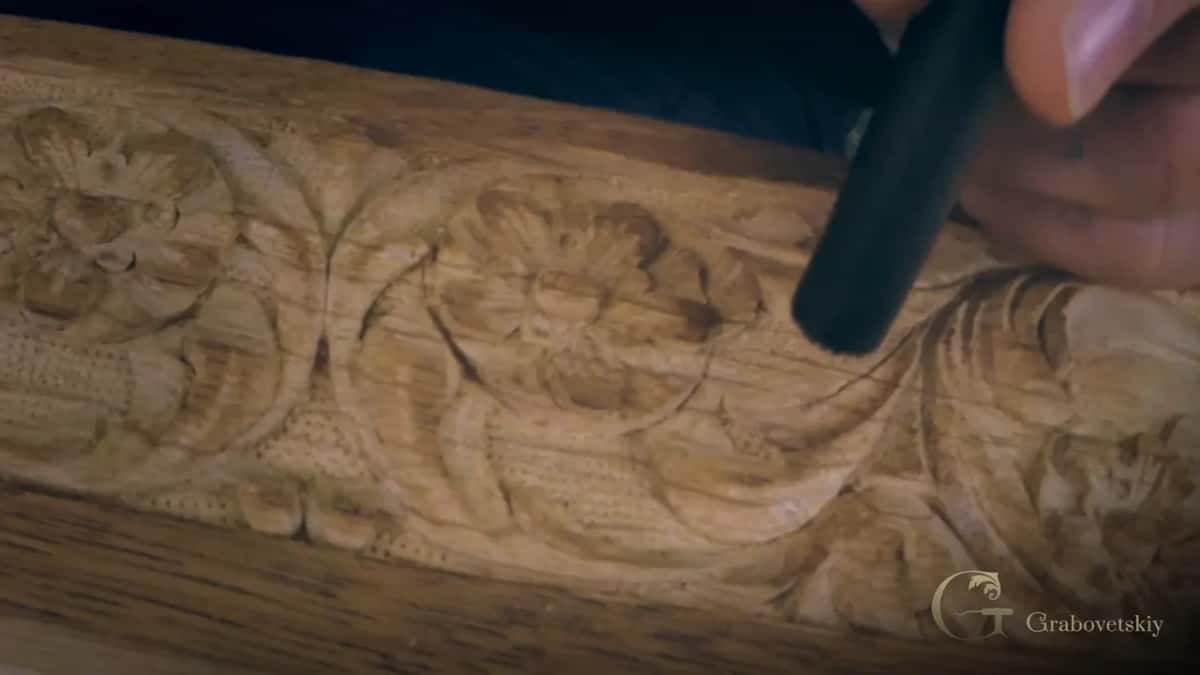
Nothing complicated at all. A really good technique, too, for separating the background on shallow carving, how I call low relief. There it pops, and the carving looks deeper.
Is it all right to copy an old piece?
Start with copying, I would say. You are still original even when you copy somebody else's work, because nobody can replicate your tool marks. Only you can make them.
I don't copy anybody else's work myself. On my school site, though, that is exactly what people do, they copy my work, and a certificate shows me whether the person is able. Copying teaches you the wisdom behind a piece, why the carver did what he did and the way he did it, and after that you can start developing your own. I said all this in the questions and answers of this course.
A copy is never pure tracing anyway. With the Gibbons copy the shapes stay his, while depth, tool marks and shadow end up yours. Designing from nothing is a different road, the design course.
What does it mean to match an original carving?
It means the original carver decides, even about the things he did not do. The idea on that job was to make every piece exactly like the original piece.
To transfer the old carving, I put paper over it and used a pencil to find the main picture, and there was my flower. I learned that trick as a child. We would take some coin money, put a piece of paper on it, and trace it with a pencil.
The original had a V groove on one leaf, so mine got one. No undercutting shows anywhere on the original, and I left mine the same way, only separating the shapes a little. I made sure never to go deeper than he did.
Normally I tell you to spend your time and clean a carving to perfection. On this job I checked the original first, and its carver did not really do that cleaning. He left some spots, and I left them too, since the idea is to do exactly what the original carver did. Our original carver had bad luck with some little swirls, and he snapped a few of them. A few are still there. We tried to keep every one of ours without snapping any.
Where do these four pieces come from?
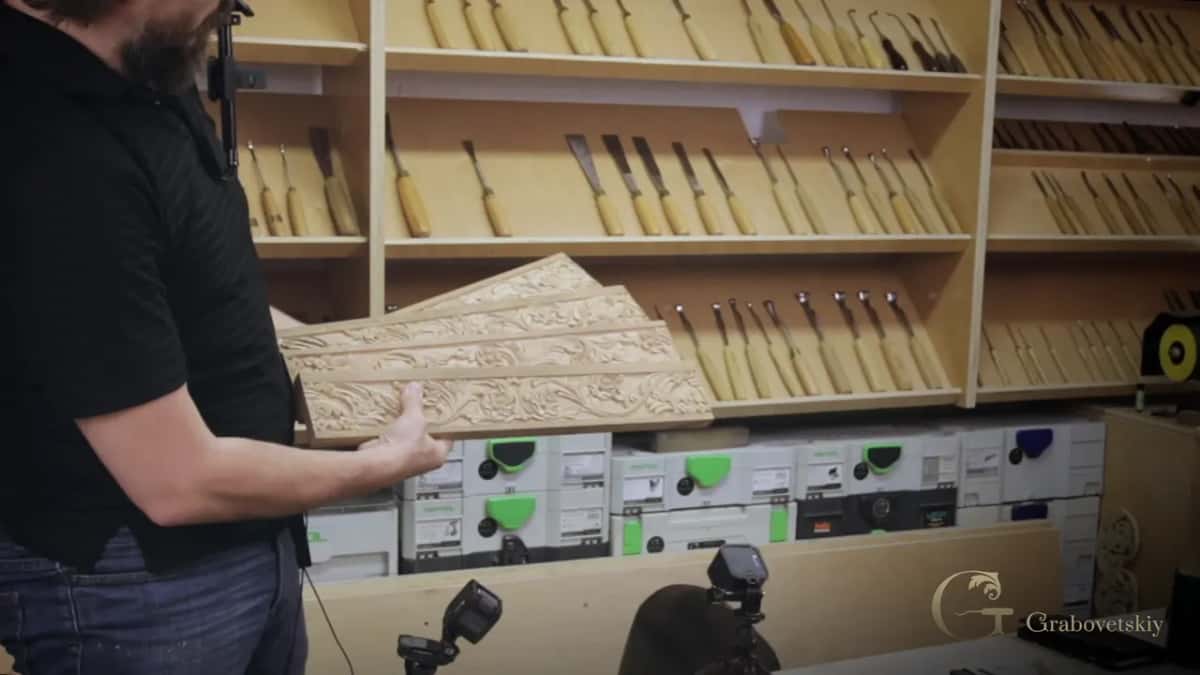
They are the four pieces of the dining table apron, all matching the original. That project is carved in shallow relief, no deeper than about 3 mm, an eighth of an inch, and the punched ground is its last step. The four pieces are 21 inches long and 3 7/16 inches wide, about 533 by 87 mm, cut from a board 13/16 of an inch thick, and one board was enough for all four, I think. On that project the design gets outlined with a V tool just outside the line, the background is taken down crossways to the grain, and the flowers and acanthus are modeled before any punching.
For a rosette I once used punches made for leather, the ones with little bubbles on the face. I just placed them at random and hit them with the same kind of carpenter's mallet, plastic on the end. The biggest punch went first, about half an inch round, then a smaller one, 3/8 of an inch or a little less, and smaller still for the tight areas. Mine came as a set of three sizes, and they are not limited to bubbles, since other profiles and patterns exist too, and they make a carving a lot more interesting. That bubbly texture is in the antique rosette course. How the flat ground under a texture like this gets carved in the first place is in furniture panel 15, straight down on the line, the waste taken across the grain, then a router plane for one depth. A ground can also sit at more than one depth, three on one of my panels, which is furniture panel 17, and getting it flat is its own lesson on the floral panel.
The other tips of this kind, small ones that change how a piece looks, are in the techniques course inside the school.
Is there a low relief on your bench that still looks flat? Got a thick nail somewhere in your garage?
How it's done
- Clean the carving first. Take out every chip with a fine V tool first.
- Pick the main punch. A round 5 mm punch, 3/16 inch, covers most of the ground.
- Pick up the right mallet. Choose one with plastic faces and give each spot a single tap.
- Work all the way around. Move the punch after every tap until the open ground is covered.
- Switch for corners. A small rectangular punch reaches the corners.
- Clean again. Go over the edges again the same way.
Frequently asked questions
What is a punched background in wood carving?
A punched background is a dotted texture tapped into the ground around a low relief design. It separates the carving from its ground, makes shallow work look deeper, and comes out darker than the carving under stain.
Where can you buy wood carving background punches?
Woodcarvers Supply has a set of five matching old furniture backgrounds, a little over $40 when I got mine. English carvers can look at Henry Taylor.
What mallet should you use with a metal punch?
One with plastic or rubber faces, like the carpenter's mallets at Home Depot. Wood meeting steel on every blow ruins a mallet made of wood.
What to carve next