
Alexander Grabovetskiy, woodcarver, School of Woodcarving · Published 2018
What is a second focal point in ornament design?
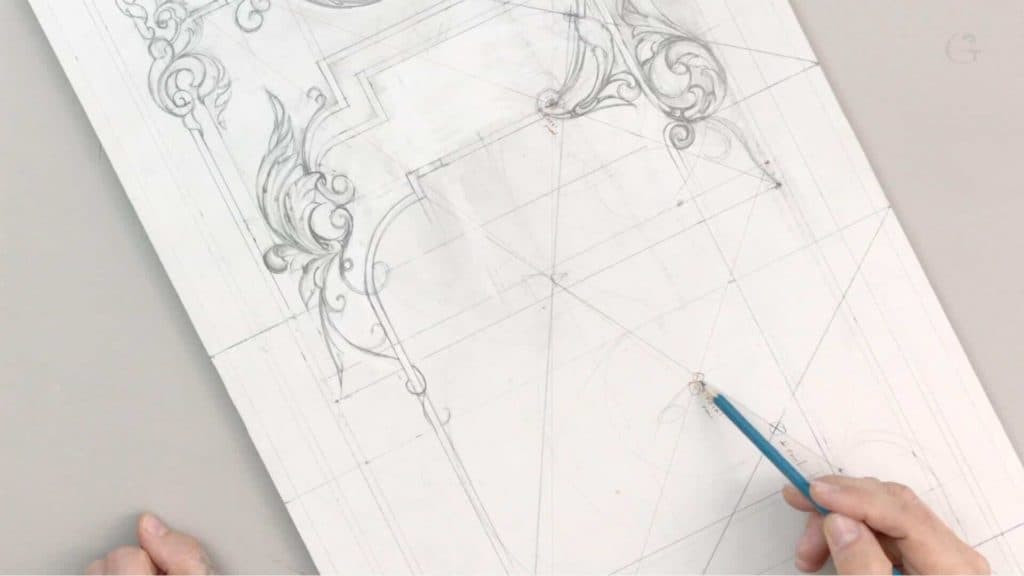
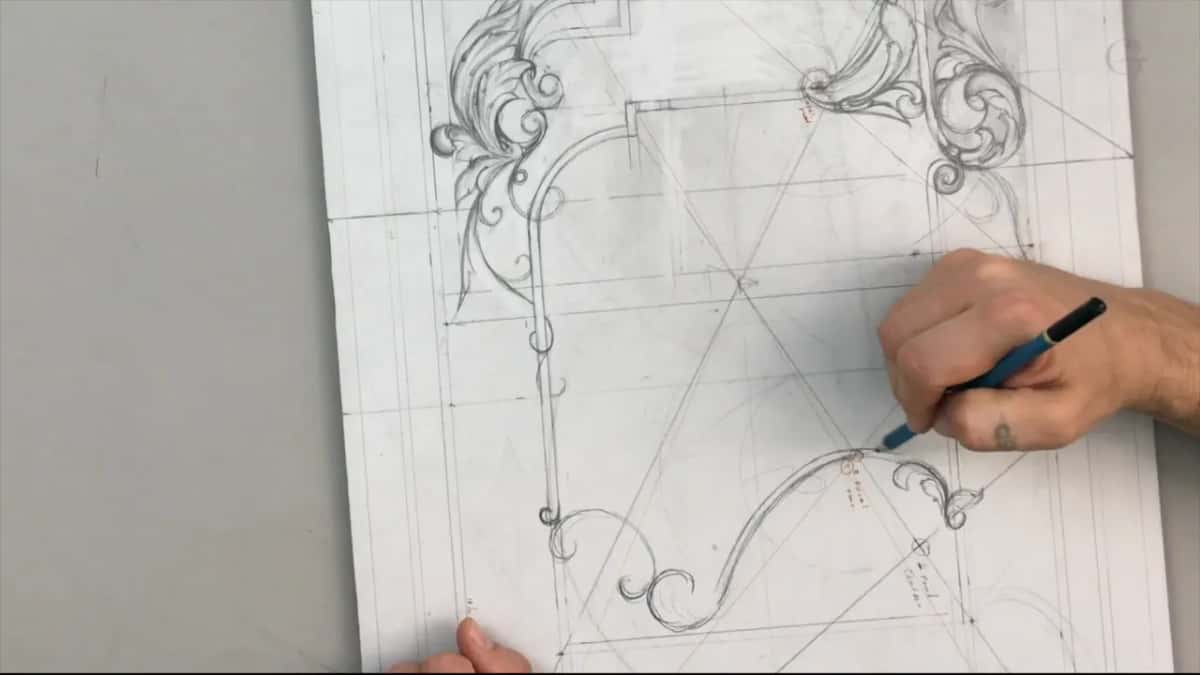
Quick answer: A second focal point is the anti-hero of a design, the antagonist that every main hero needs. On my walnut furniture panel the hero sits at the top and the anti-hero takes the bottom. I wanted attention on the negative space down there, with a new movement that still runs counter to the rest.
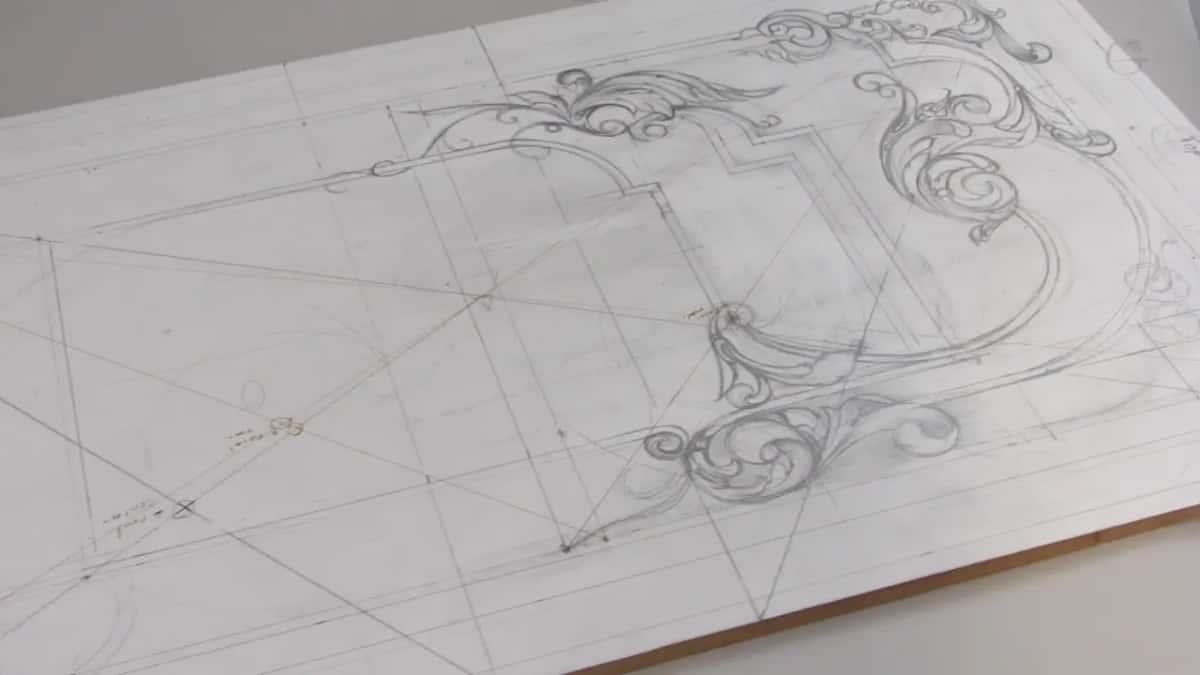
The anti-hero is the counter to the main idea in a design, and on my walnut furniture panel it lives at the bottom. The hero, my main focal point, is at the top, where I put it in lesson 1. In lesson 11 I start working on the lower end. I looked at it for a couple of seconds to get the overall feel. This is my bottom. Right there is my top.
Have you ever looked at an old carved door and felt your eye land on one spot first? Did it then move on and find a second place to rest? That second place is what I draw in this lesson, in pencil, with a lot of erasing. You will see the moves I made down there, the ones I kept and the ones I took back out.
What happened at the foot of the board
- The bottom became the anti-hero.
- Attention goes to the negative space down there.
- A new movement repeats the others on the board and still runs counter to them.
- One return moved until it hit a compass circle I called invisible.
- Paper carried a detail down, and it landed about 2.4 mm off the line.
- A leaf may hide where the moldings end.
- All of it stays preliminary, and a big area stays empty for flowers.
Why does every hero need an anti-hero?
Every hero has an antagonist. I teach that rule in my course Principles of Design in Wood Carving, and I explain it with the movies, where there is one good guy and there should be one bad guy. After the movies I go to nature. In art we call it the law of war, the law of conflict. Everything in nature has a conflict. There's a fight going on all the time.
Let me tell you a story about a piece of wood. Look at spalted wood and you can see a border between the fungus, a black or dark brown line, almost like a border between countries. One of them always conquers the most territory. He becomes the hero of that piece, surrounded by the others, greenish, sometimes pinkish, sometimes bluish. Wikipedia's page on spalting calls it any coloring of wood caused by fungi.
So on a carving the main idea gets its antagonist, too. In every design there are several golden points, and you really have to hit the antagonist. If there's no fight, there's no interest.
How strong should the anti-hero be?
Strong. In that same design course I point at the antagonist in a picture where my peony is the main hero. It is a secondary hero, I say, and he's also powerful. He's got emptiness around him. That spot is developed too, a really important element.
I asked for something like it on the panel. Before I drew a single line down there, I said I would like to get attention to the negative space there. Wikipedia defines negative space as the empty space around and between the subjects of an image, and down at the foot of my board that is where I wanted the attention.
Wood gives the anti-hero a shape, too. On the Venice Room, in workshop 102, I wanted an extra shadow spot while I carved. If this part is convex, I said, I could create the anti-hero with some concave on this side, and it will cast some shadow.
Where do you begin the lower half of a panel?
With the big idea. I said I wanted the big idea first, and then we move to the smallest details and all the flowers I want to add. So the first thing on the empty end was one movement.
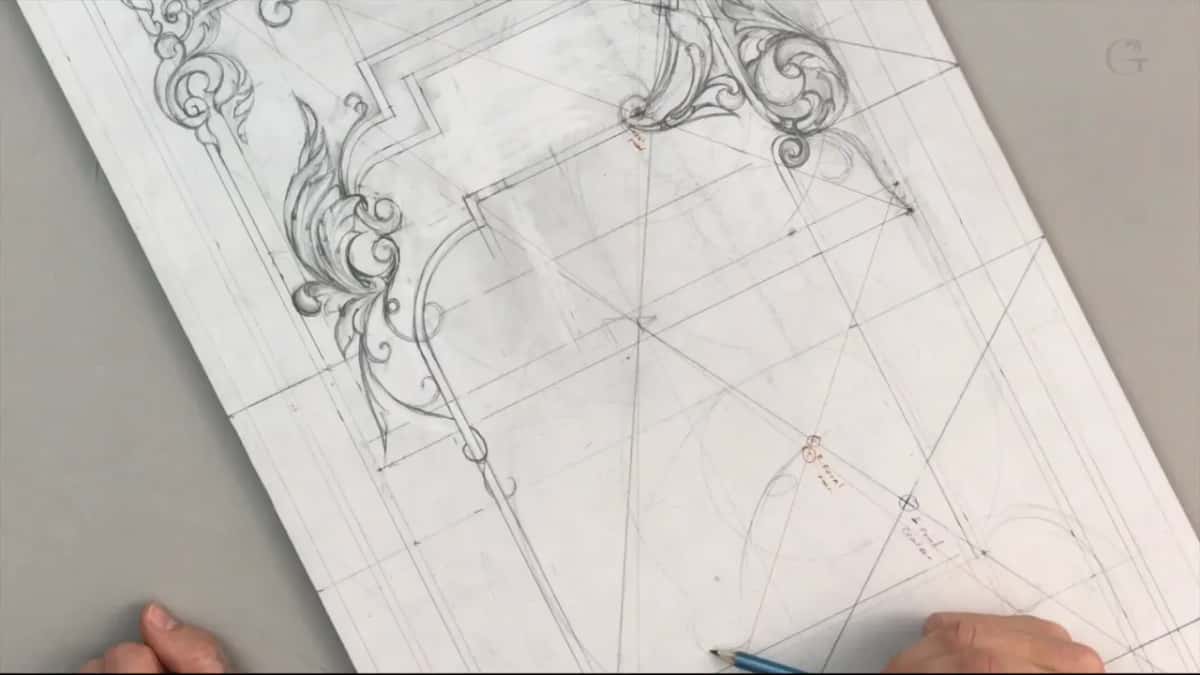
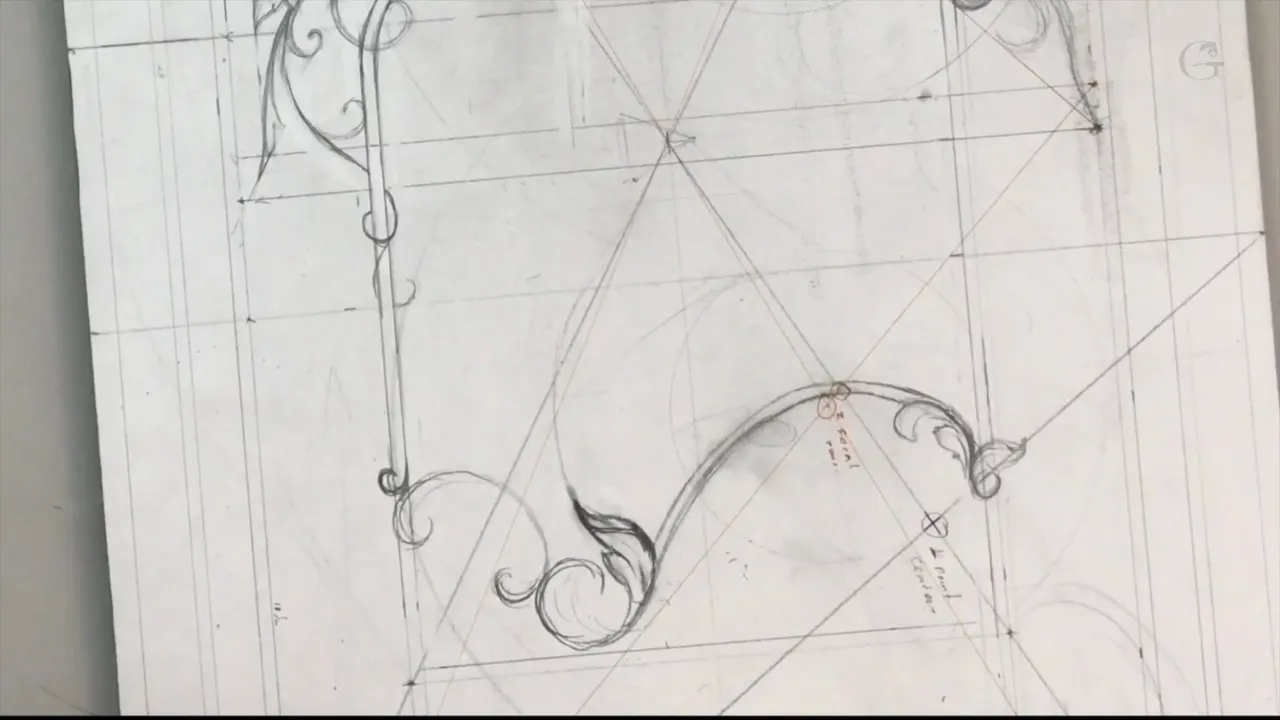
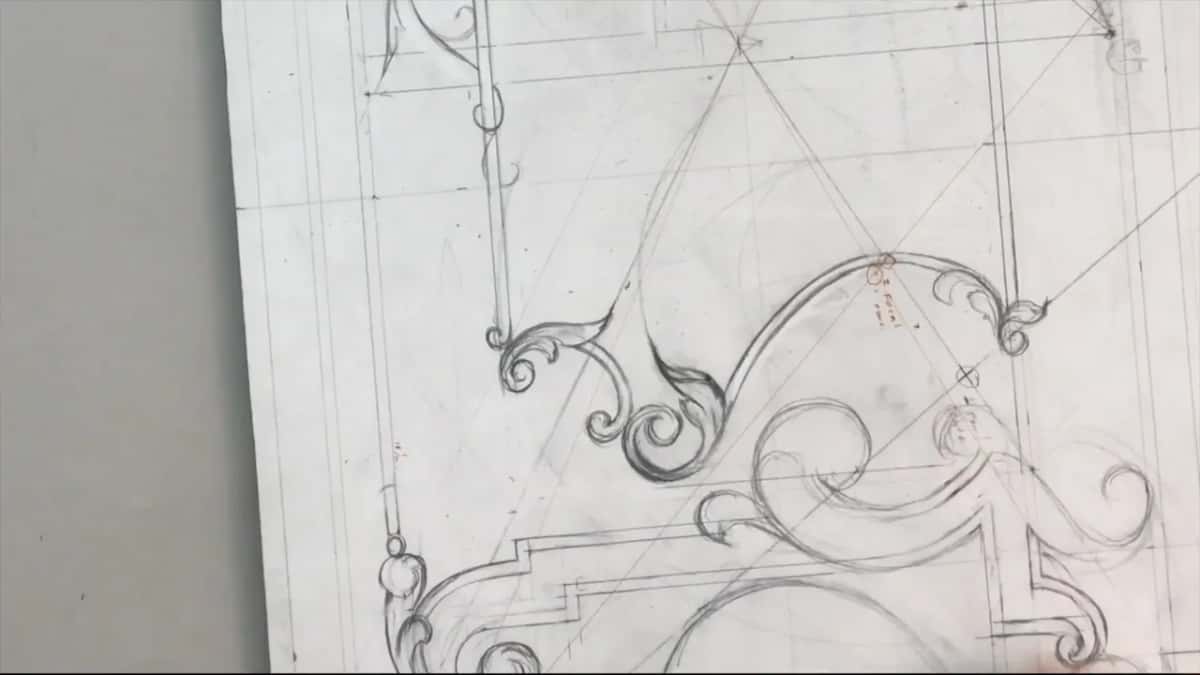
Next came the line this whole page is built on. I like that movement that repeats everywhere, and still it's going to be counter. It's the anti-hero, or the second hero of the story. Some movement went in right there, and I returned that one just like that, and after it came a small acanthus and another one on the other side.
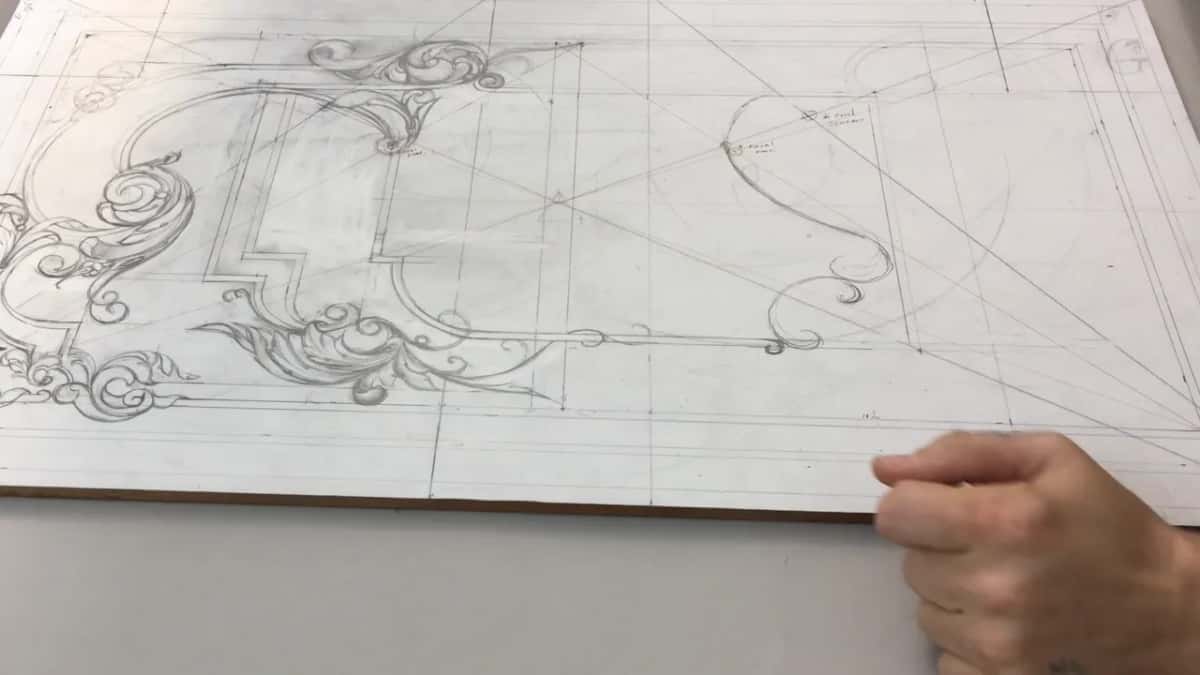
I love acanthus design, and I said on camera that it was really common to work a lot of movements in with acanthus. I come back to the leaf again and again in this lesson.
What happens to the side moldings?
They have to meet the new work somewhere. I have to match those side moldings, I said, so I brought that line here. Then maybe an acanthus leaf hides that spot, and the end of the molding sits underneath the leaf.
Molding bands went on this board back in lesson 2, each one 5 mm (3/16 in) wide and drawn to look like applied molding, even though it will be carved. Later I say this molding will start somewhere right there, and I repeat a small detail I had already used in a few spots.
Why aim at an invisible circle?
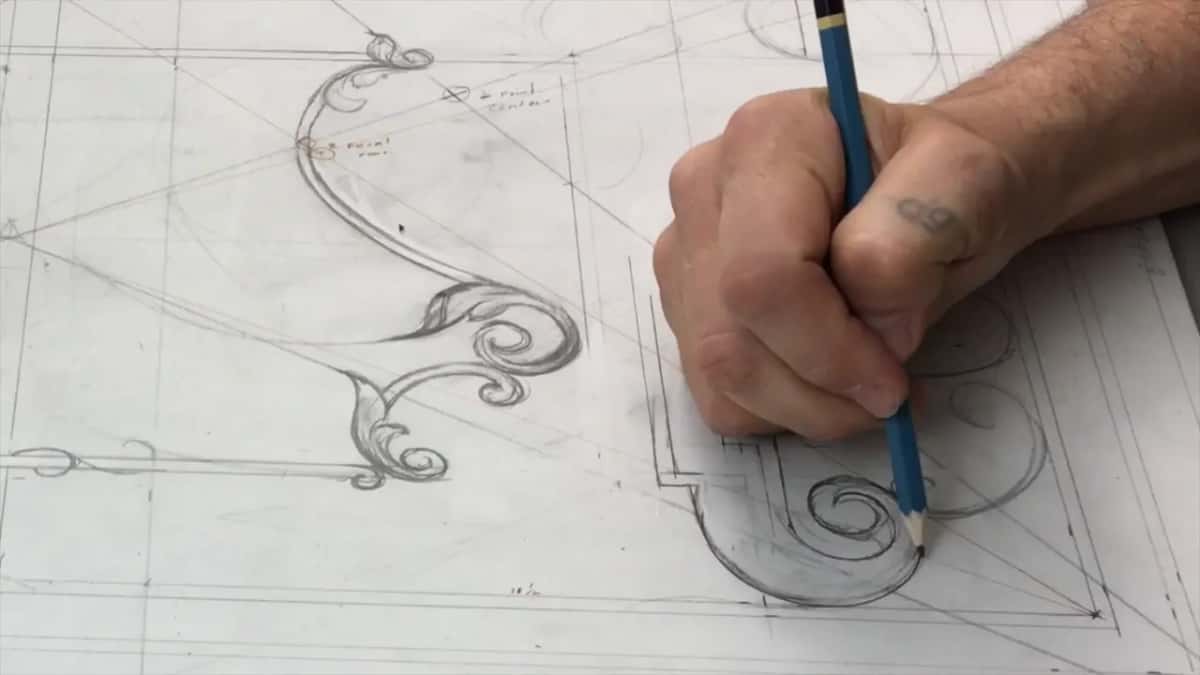
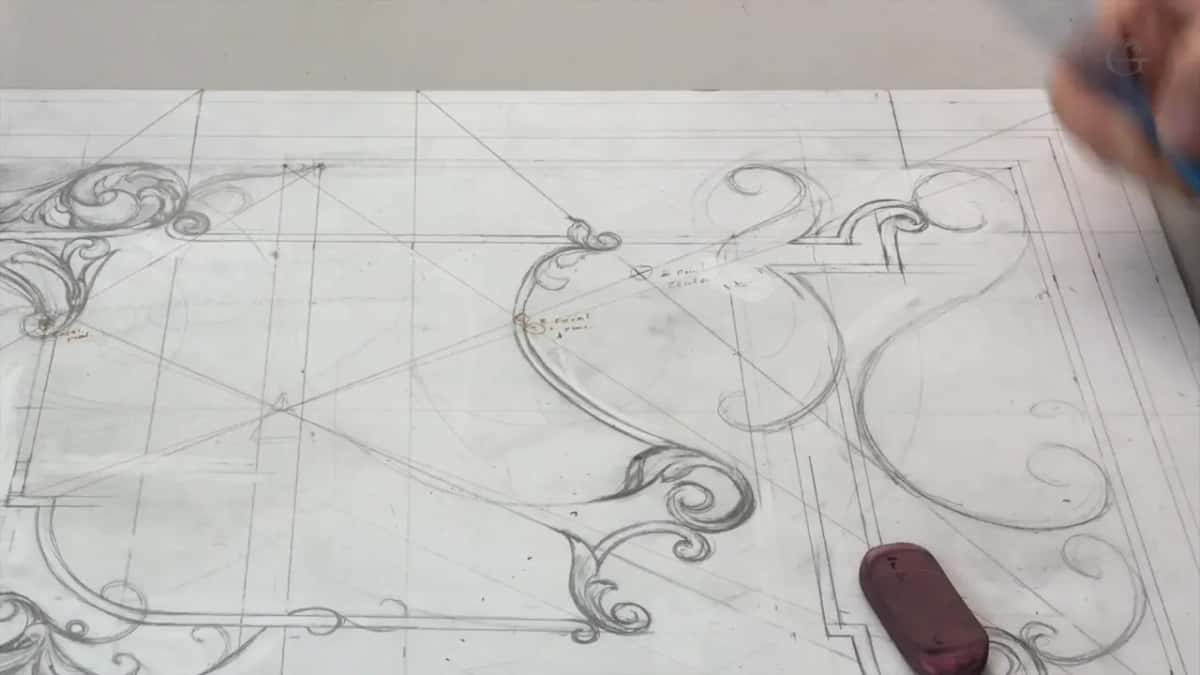
I was not too happy with the movement. Originally you can see those circles right here, I said, and I want to hit that circle. So I fixed it and made the return come back like this.
And I know it's invisible. But like I said, there is a circle we drew off that point, and it went all the way around, and I want to hit that line right here. Compass circles went on this board in lesson 7, with the compass set right on the focal point.
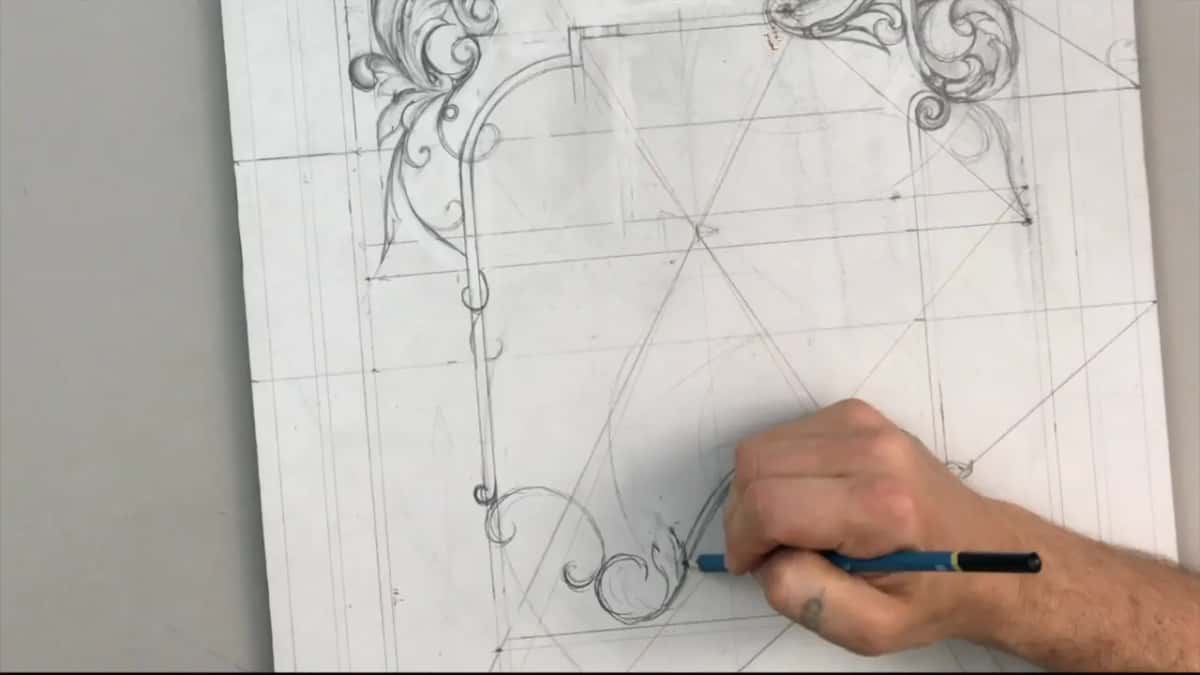
Same thing a minute later. Another line had to be hit, I said, so that will be my baroque line. The baroque and the sinister diagonals are named in lesson 7 as well. My baroque line came back in the fourth video, and the way to repeat it was to make it smaller.
Here is every change I made on the lower end, with what I said while I made it.
| The move I made | What I said on camera while I drew it | When |
|---|---|---|
| A counter movement | I like that movement that repeats everywhere, and still it's going to be counter | Early in the lesson |
| One return moved onto an old circle | I know it's invisible, but there is a circle we drew off that point | A few minutes later |
| An S shape | Coming from the center through this intersection, then I get this point and return it this way, like an S shape | During the second video |
| A detail carried down on paper | Maybe 3/32 difference, a little wider than the original one, and I'm okay with that | Third video, about two minutes in |
| One element I called too big | It's not good. This one is a little too big, I think | First minute of the last video |
| A mark in the wrong place | Oh, I'm wrong. Wrong spot. I need to measure that from this point | Later in the last video |
How careful should a sketch line be?
Careful. The first line I placed was just a sketch line, I said in the second video, but I do have to be really careful and be as close as possible. Although it's still a sketch, once I carve it, I will pay a lot more attention to the details.
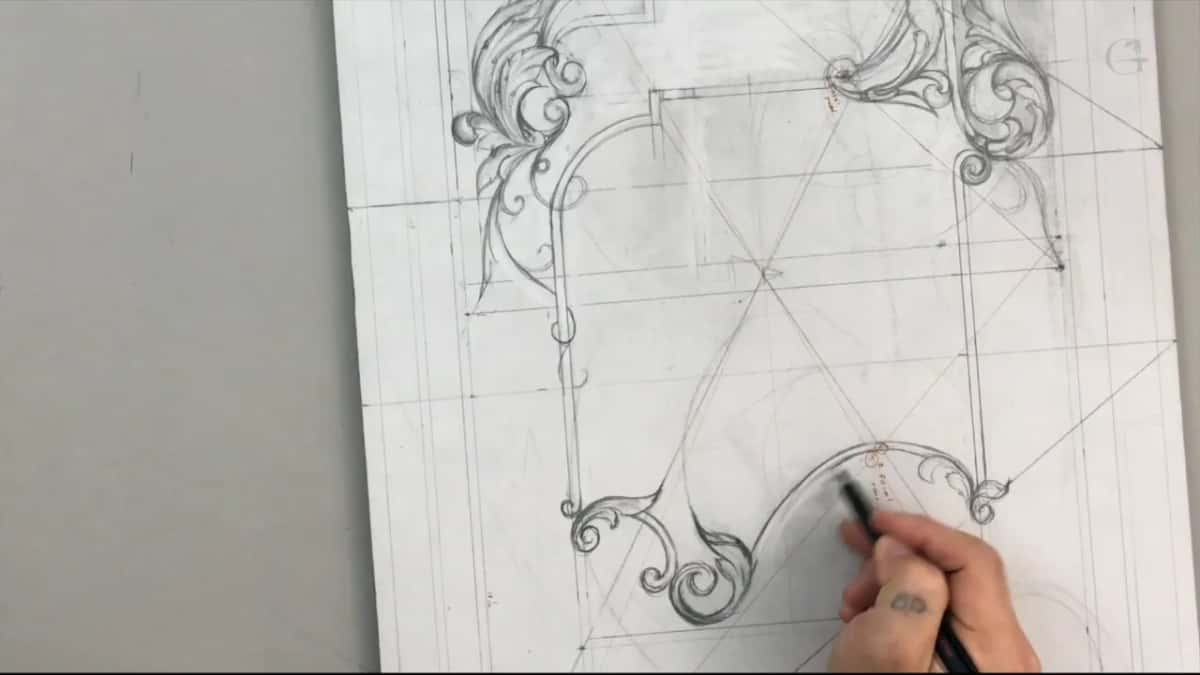
I can always come back and refine my movements. Those lines can get a little thicker, too. The Wikipedia article on the sketch describes it as a quick freehand drawing that is not usually meant as a finished work. My first line here was one of those.
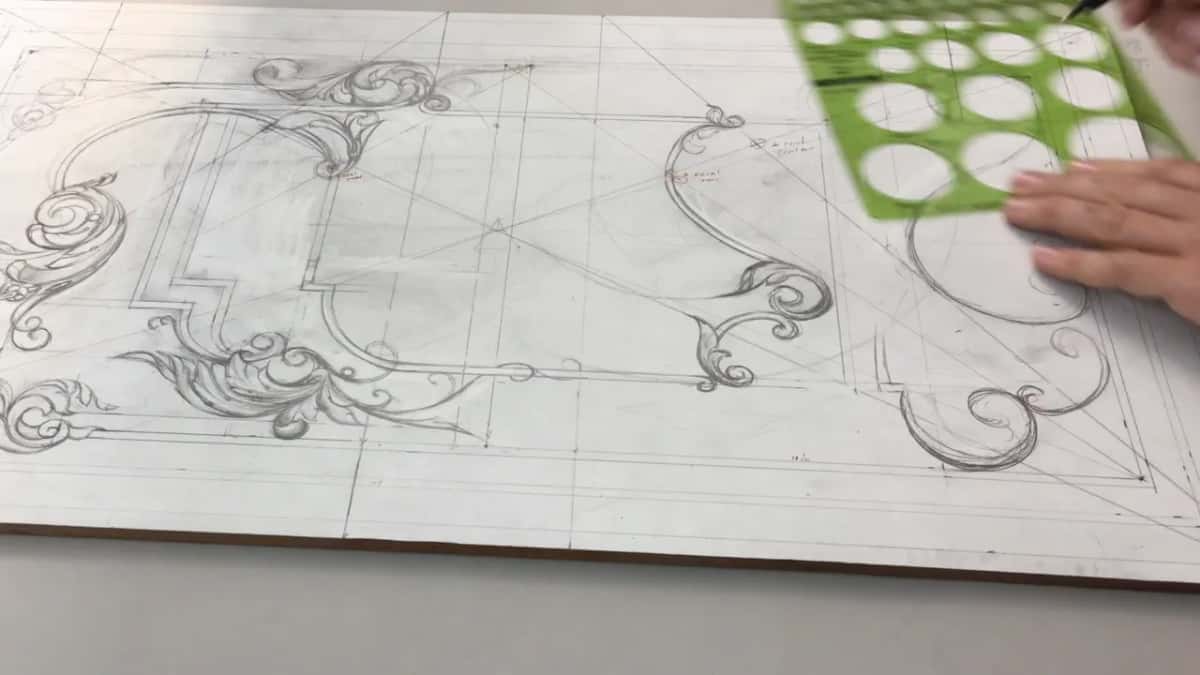
When a movement is close and not perfect, I take this tool again, the green circle template, and find my closest circle. I place my more perfect line. And I get rid of the rest of it.
Where does the S shape come in?
At an intersection. Maybe I could fill that space first, preliminary, with a line coming from the center and through the intersection. Then I changed my mind. It will be better, I said, if I get this point and return this way, like an S shape. I do like it.
Wikipedia traces that S-shaped line, the line of beauty, to William Hogarth and his 1753 book The Analysis of Beauty.
Let me think, I said, how I can draw my eye toward this line. Maybe repeat this movement. Good, I think, but I'm not completely sold on it yet.
How do you carry a detail down a panel without a ruler?
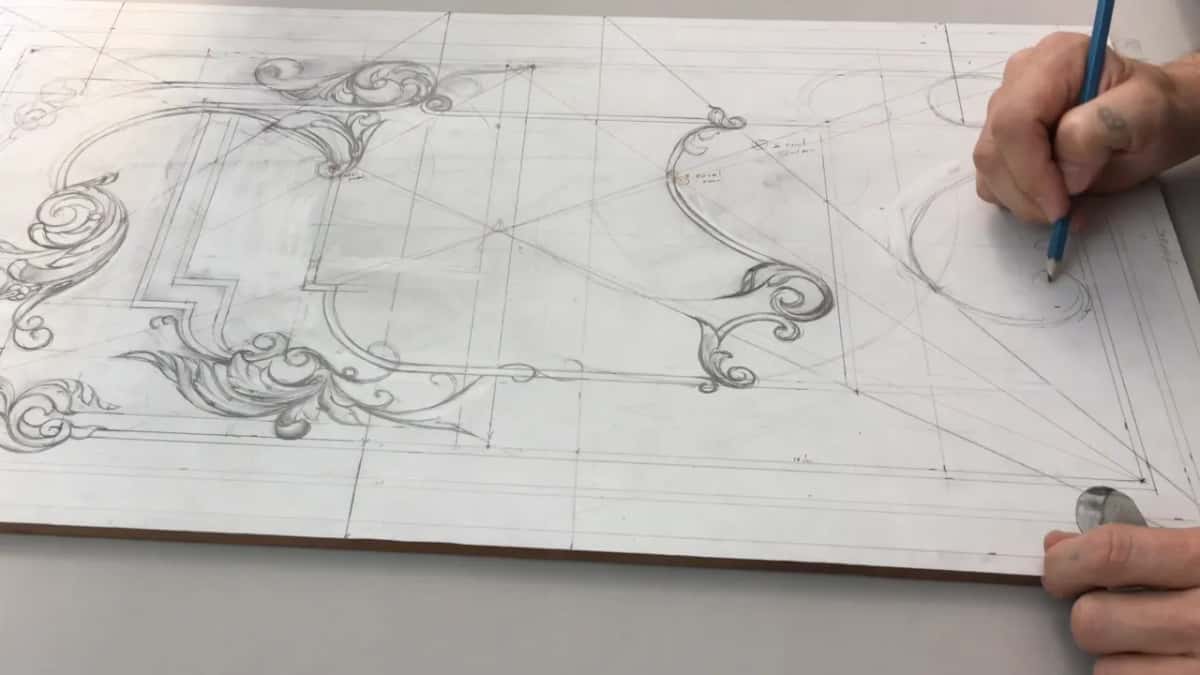
With a piece of paper. I liked an idea in the top section of the panel, and I wanted to bring it down. So I took a piece of paper, just to measure, and brought it down.
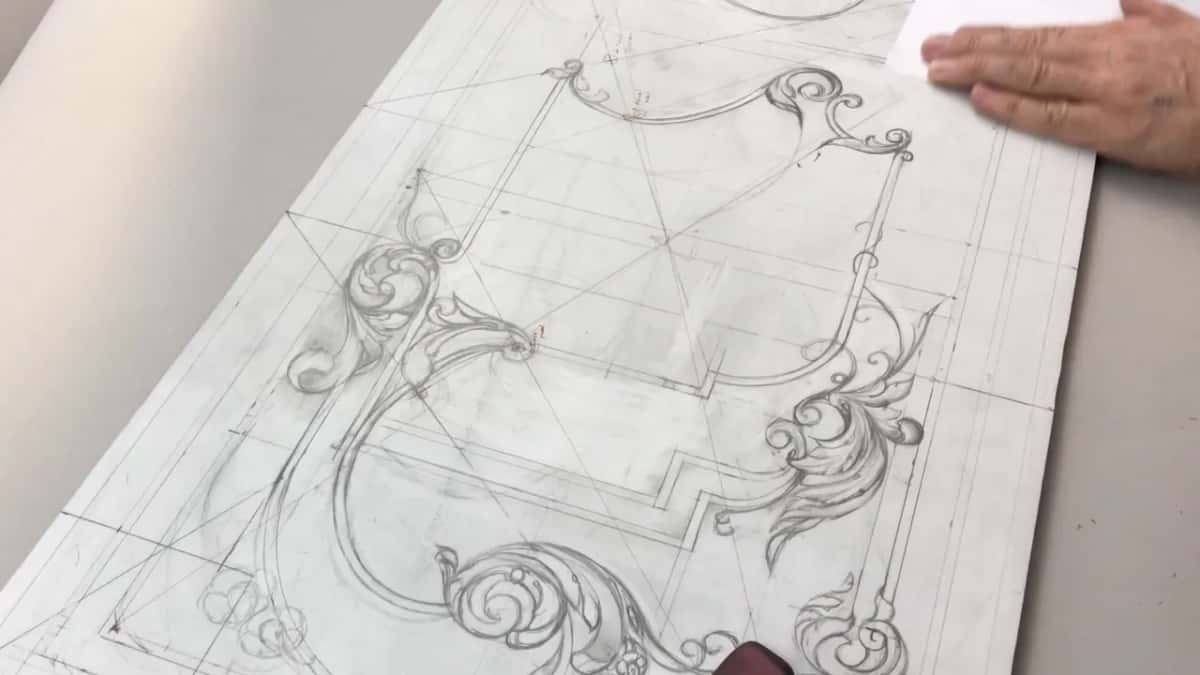
And I'm pretty close, actually, to the line. Why don't I just go off that line? The difference is maybe 3/32 of an inch, I think, about 2.4 mm. The space between gets a little thicker, but I don't think that's a problem. So the detail repeats down here a little wider than the original one, and I'm okay with that.
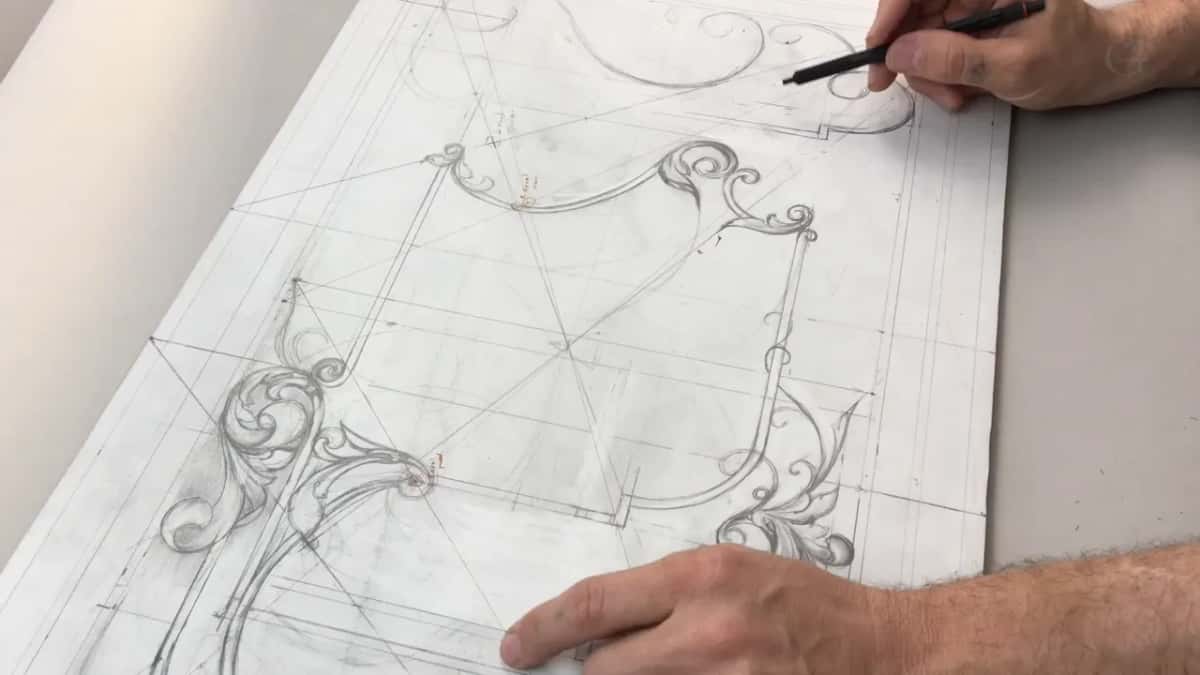
The only problem I had was how to return it and make it look nice. I tried one way, then I said it looks like I got this a little wider. I do like it, and it also repeats the movement on the other side, so that is actually good.
Paper does the same job in lesson 5, where I carry a mark across the board so I don't have to use any ruler or measurements. Near the end of this lesson I took paper again and put the marks. Oh, I'm wrong. Wrong spot. I need to measure that from this point. After that it was better.
Is a panel like this too hard for a beginner?
More complicated than one leaf, and you can do it. I know this panel looks already a little complicated for some of you. But believe me, it will be a lot of fun to carve something like that. A simple flower or a simple leaf is a different job, and this is a more complicated design.
My goal is to show you that you are actually able to do something nice, something more complicated, the kind of work they did in history. I'm always on the side of challenge, to do something that wasn't done before. It's really nice to challenge yourself, and you're going to feel good about it.
That goal for the style goes back to lesson 3, something that wasn't carved and wasn't designed before, still in the style of the late 18th century. And in the vase with grape leaves course I put it plainly. I would encourage you to try the design process yourself, because it's fun. You should try it.
Why change the design so many times?
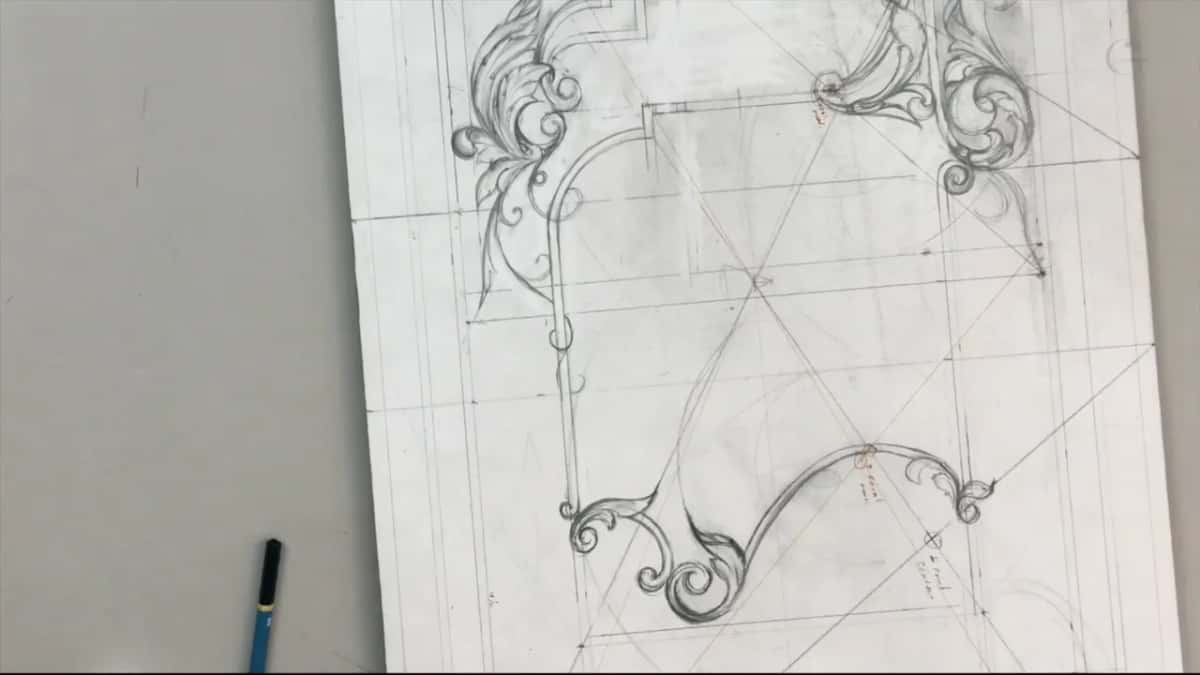
I want to make as many changes at the beginning as I can, I said, to think through the whole process, how it will look, and redefine everything. Right before that I looked at one element and said it's not good. This one is a little too big, I think.
In this course I did it on purpose, and I'm showing you all the drawing process. I don't want to just show how I carve. I also want to show you how I think, the process of everyday thinking, if I can say that. It doesn't sound too appealing, I know. Right now I said I like it, but I'm looking again at the same spot, and I'm not 100% happy with it.
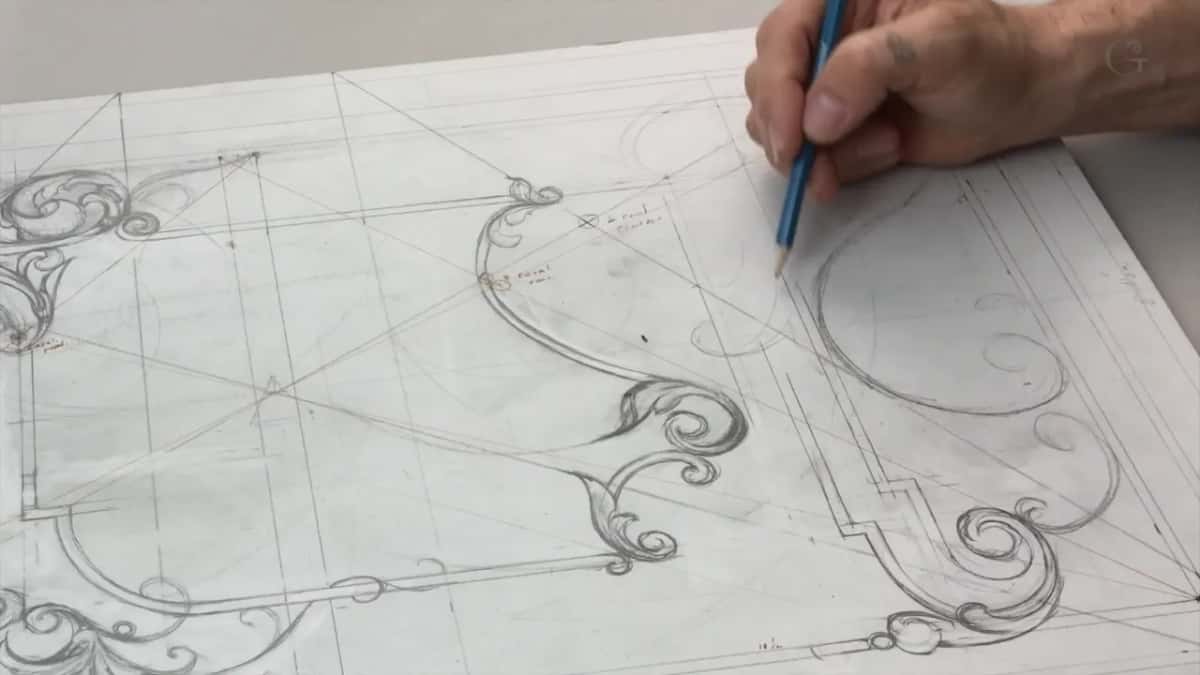
And it's my opinion. I think it's good, and some of you maybe won't agree with me. But it's okay. I'll survive. In the last video I said it again, it's just my opinion, and I took one line a little farther, and it was better.
Why leave part of the panel empty?
This space right now serves me as a negative, because I'm still going to fill it with the flowers and the movements, all that space. Already in the first video I said I don't want to do so much right here.
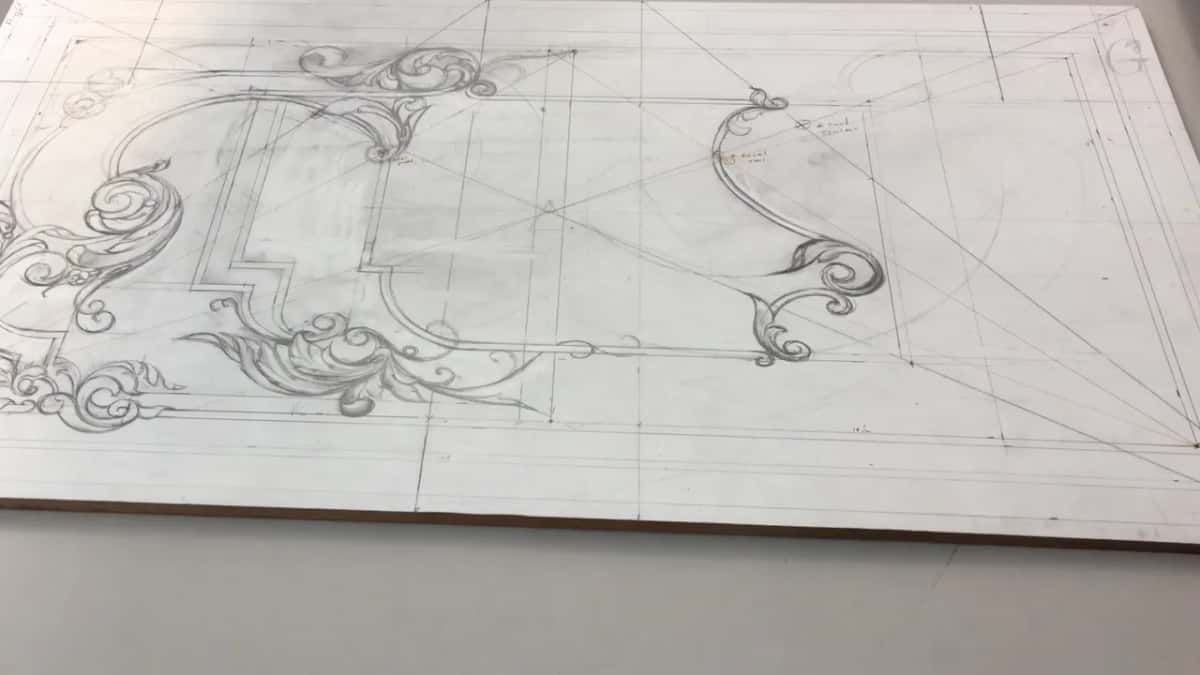
The middle of the panel waited, too. Right in the middle there is some development higher up, and I wanted some kind of movement right in the middle also. I just wasn't sure what yet. Definitely I can put my swirl here, I said, to repeat that movement on the bottom. I don't know yet how it will develop, but I kind of like the idea of repeating the details everywhere.
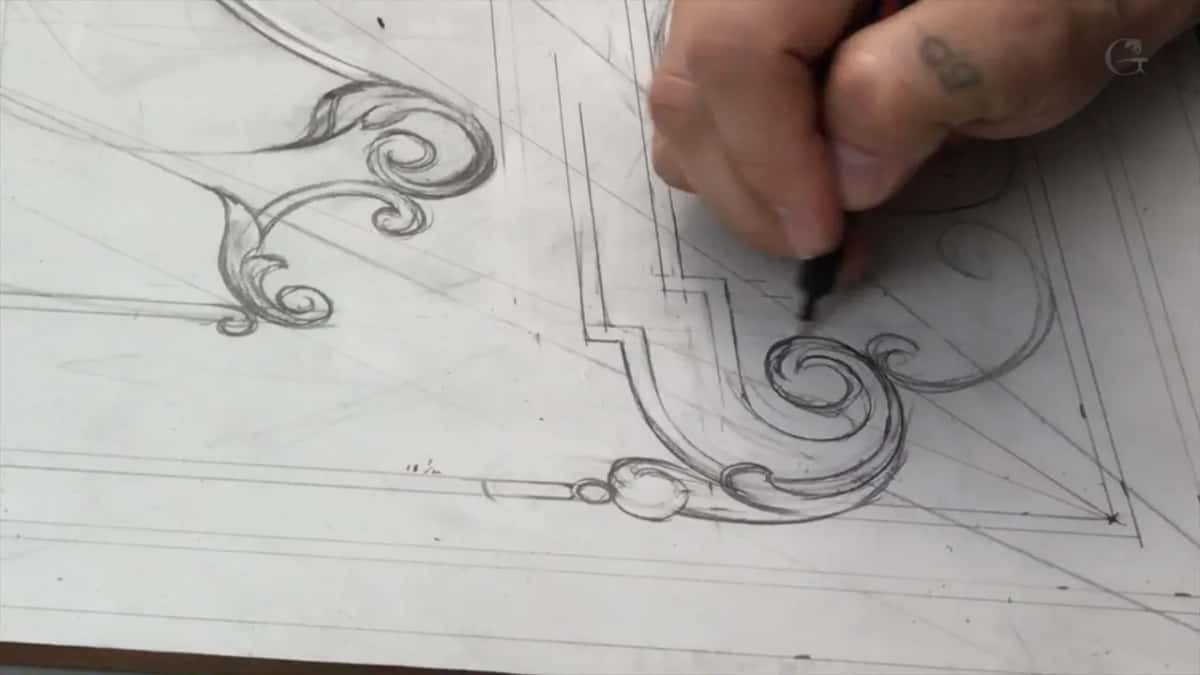
Design process for me is a big deal, I said in a livestream in April 2020. I really am big about the spaces, the negative space, the positive space, the golden ratio, all the mathematics. On the vase I left spaces open, too. I've got some negative spaces, I said, spaces I could fill with grapes if I wanted to. Maybe yes, maybe no, and maybe just some movements on the inside, but not now yet.
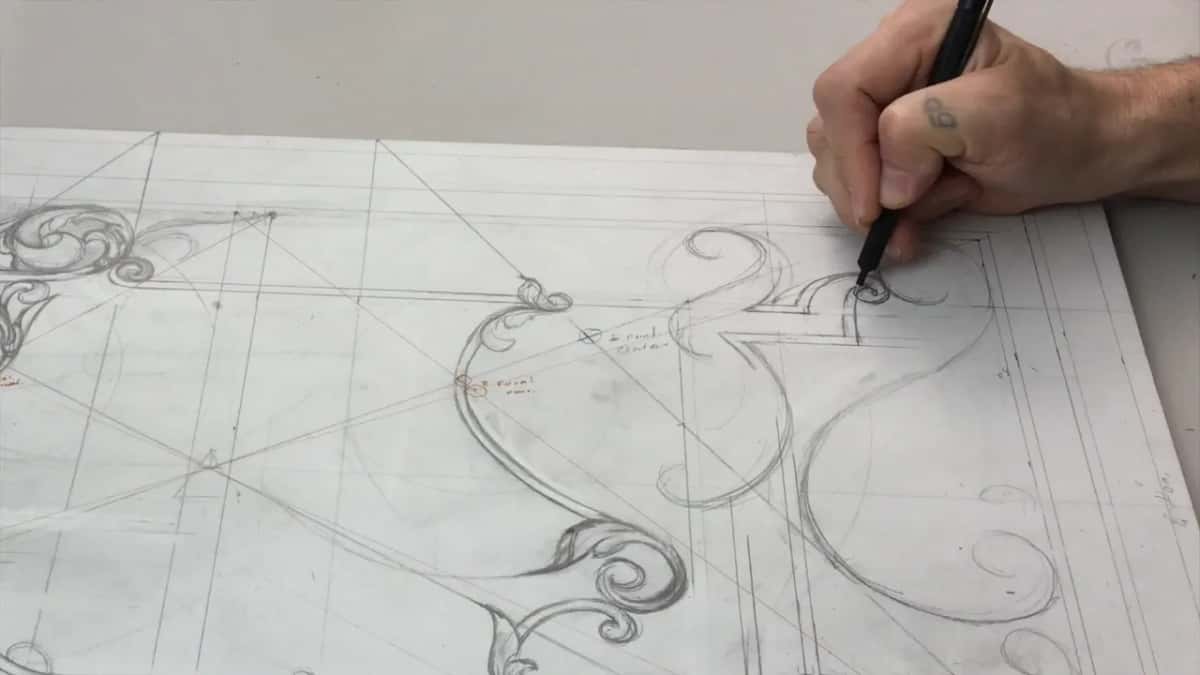
Where the lower end stands after lesson 11
Overall it looks good, I said near the end, and it's all still preliminary, with the details coming up. Back in the fourth video I had also wanted to unite two details, this one and that one, and I said I was still not too happy. Every volute and every ornament in this pencil composition can still move. Designing Furniture Panel 12 picks up from here, and the whole design course leads into the carving stage.
Do you have a board you want to carve? A pencil and an eraser? Then you can draw your own anti-hero with me, and every lesson of this course is open to students of the school.
How it's done
- Look before you draw. Give the board a couple of seconds and get the overall feel. Decide which end is the top and which is the bottom.
- Big idea first. Lay in the main movement of the lower end. Small details and flowers wait.
- Send the new movement counter. Repeat a movement the panel already has and let it run counter. That is how this one became the anti-hero.
- Aim at the old lines. Move a return until it hits a compass circle or your baroque line, even where the line is invisible now.
- Measure with paper. Mark the detail on a scrap of paper, bring it down the board and mark again. Check which point you measure from, because I got that wrong once and had to measure again.
- True a curve with the template. If a line is close and still not perfect, find the nearest circle on the template, draw the better line, and erase the rest.
- Leave room for flowers. Keep the flower area as negative space for now.
Frequently asked questions
What does anti-hero mean in carving design?
In my design course I teach that every hero has an antagonist, like the good guy and the bad guy in a movie. On this walnut panel the hero sits high and the bottom is the anti-hero, which I also call the second hero of the story.
Does the anti-hero have to be weak?
Secondary, and still powerful. Pointing at the antagonist in a peony picture, I called him a secondary hero with emptiness around him, a developed and really important element. On my panel I wanted attention drawn to the negative space at the lower end.
Should you keep construction lines you cannot see?
On this panel I was not happy with the movement until a return landed on a compass circle from an earlier lesson, a circle I know is invisible. Circles like that went on in lesson 7, with the compass set on the focal point.
What to carve next
- Carving Furniture Panel, Design, Part 1, the whole course
- Designing Furniture Panel 10, the lesson before this one
- Designing Furniture Panel 12, the lesson after this one
- Designing Furniture Panel 1, the hero and the anti-hero
- Principles of Design in Wood Carving, lesson 2
- Carving Furniture Panel, Part 2, the carving stage