
Alexander Grabovetskiy, woodcarver, School of Woodcarving · Published 2018
What is an invisible T-stop in carving design?
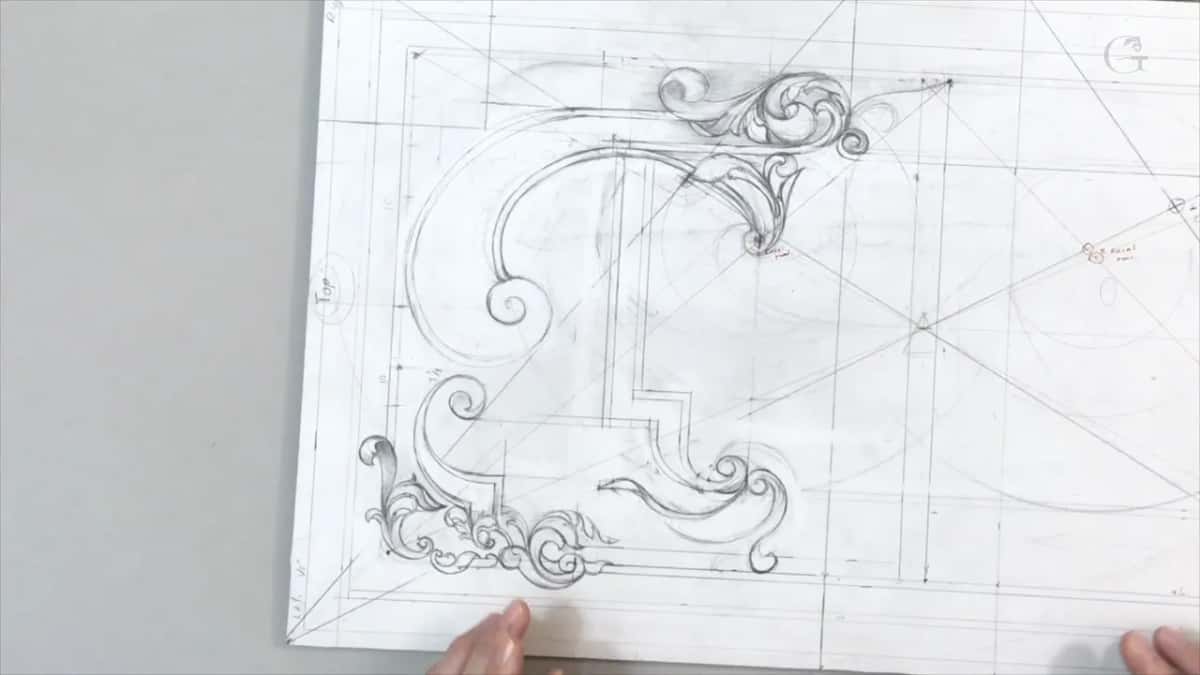
Quick answer: An invisible T-stop is a stop you can't see as two lines meeting. In lesson 8 of my furniture panel, a leaf I had not finished would have run on into a point. That still counts as a T-stop, and it won't look good, so I let the edge of the leaf carry on the flow instead.
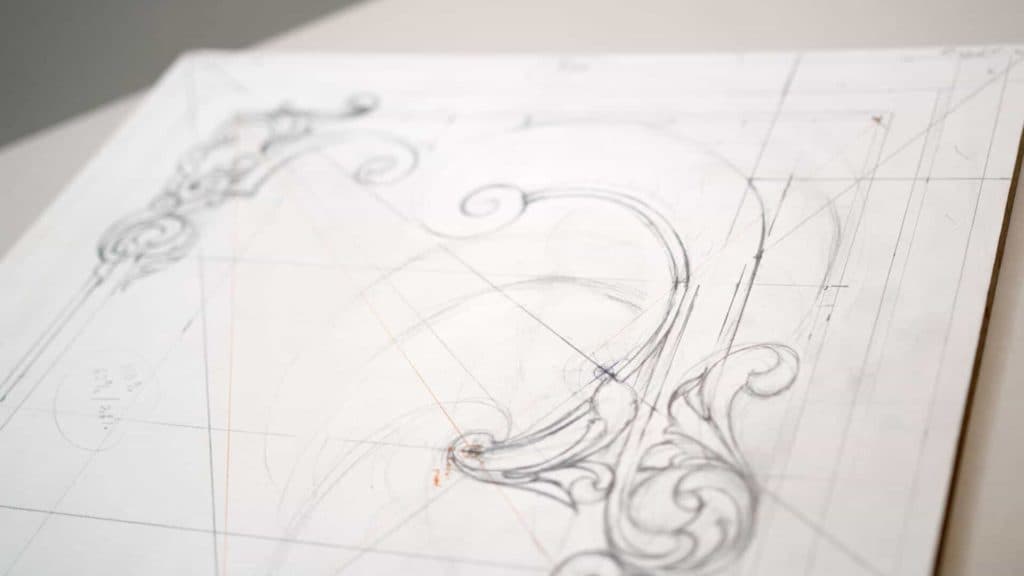
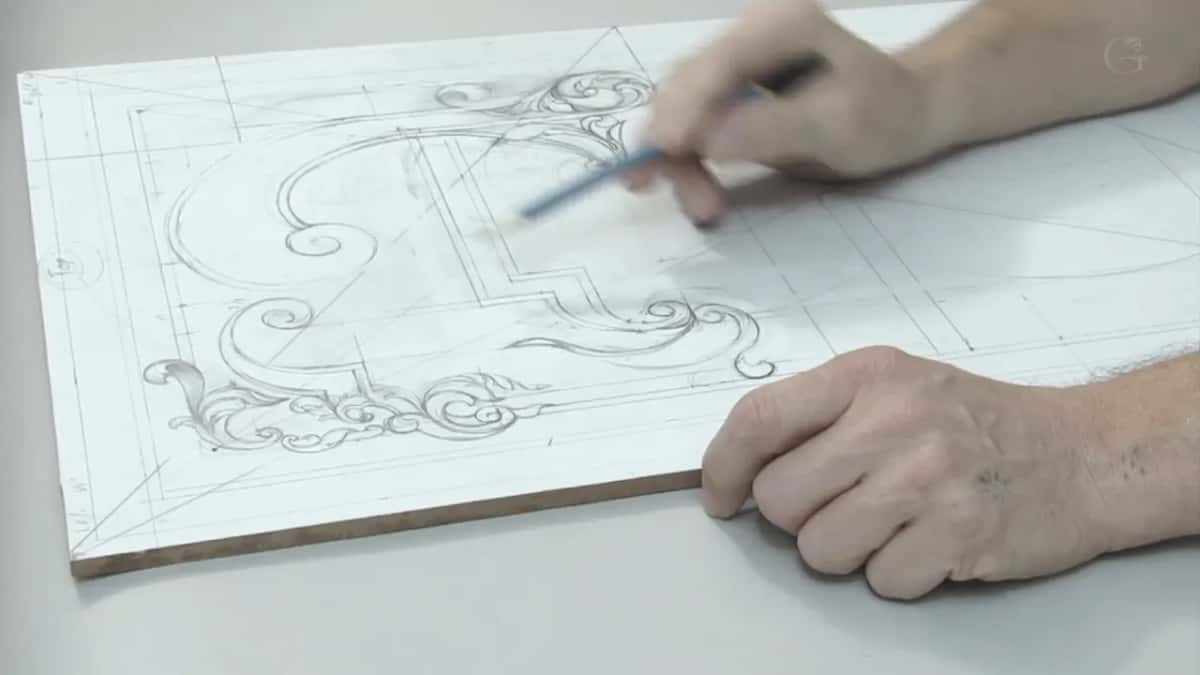
The invisible kind of T-stop is one you won't see as two lines meeting on the drawing. It's still there. Part 1 of lesson 8 brings back the T-stops from lesson 6, and I put it like this. A T-stop is not necessarily just a hard stop, when you see two lines together, because it's also like an invisible line. If I did one movement and finished my leaf, it would still be considered a T-stop, since it goes all the way and hits a point.
Have you drawn a leaf that looked fine on its own? Did its edge aim right at another line? Then the T-stop may already be there, even with a gap between the two, and this lesson is about that gap.
Below is how I handled it on this walnut panel. You'll also find the hidden lines I aimed for, some empty space that needed a rule, and how I plan shadow while the pencil is still in my hand.
Six notes on the invisible kind of T-stop
- Two lines don't have to touch to make a T-stop.
- A leaf edge that would run on and hit a point counts as one too.
- Let that edge carry on the flow instead.
- Empty space obeys the law of repetition as well, narrow first and wider after.
- Nature gives you dots and curves, and art adds three straight lines.
- I plan shadow while I draw, since a carving works with lights and shadow more than with colors.
What does a T-stop you can't see look like?
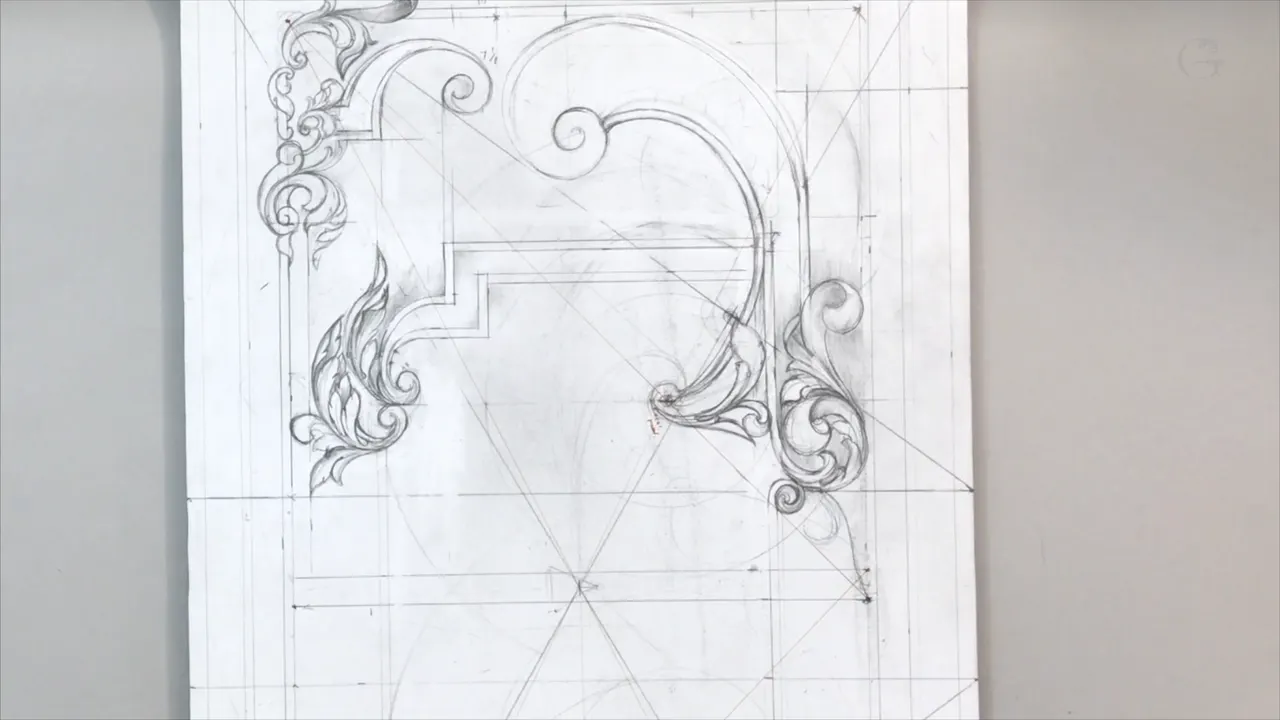
It isn't obvious, and that's the trouble. Two lines put together make a hard stop you can see. This kind hides in a leaf you haven't finished yet.
In part 1 I had a leaf to finish, and if I did that movement and closed the leaf, its edge would carry on until it hit a point, which makes it a T-stop. It's not going to look pleasant. Not going to look good, I should say, and I said that last part twice.
How do you fix a T-stop nobody can see?
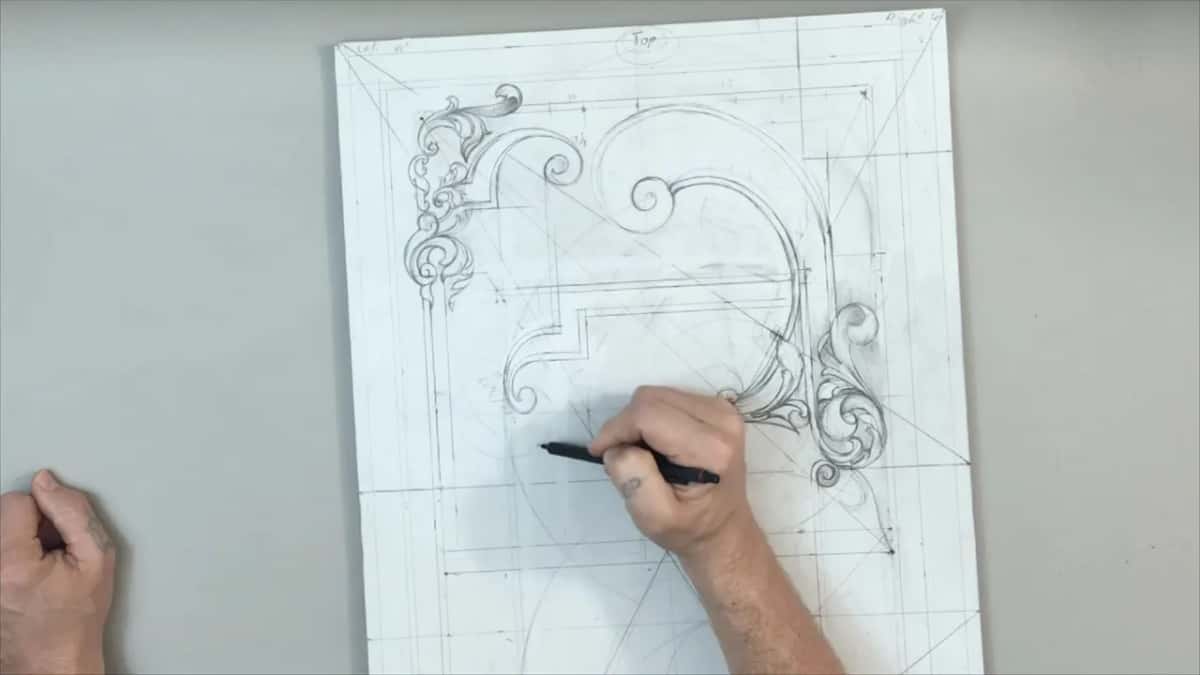
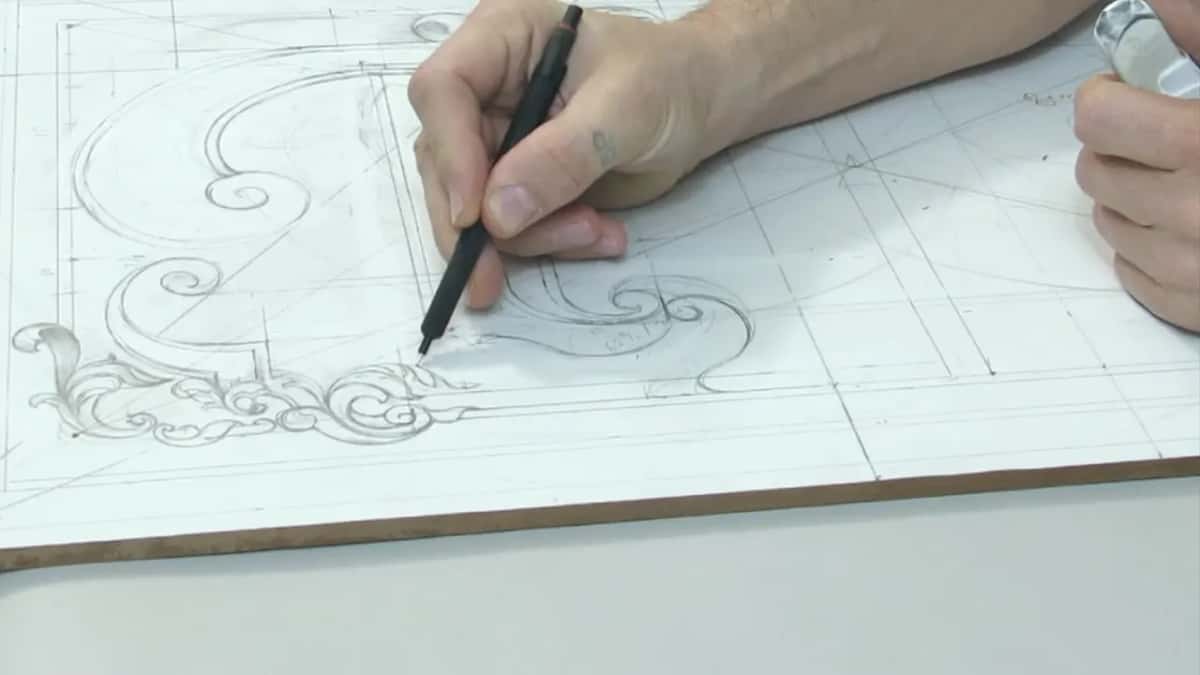
You keep the flow going. There was a movement I could feel there, and that doesn't mean I have to connect those lines. Invisibly, though, I still had to do something, so I raised one line. Now the edge of my leaf carries on the movement, and the whole thing stays in the same flow.
That looks more organic, I would say. Or, on the other hand, I could even carry that line all the way over and make another type of movement, and right after that came my curling move.
Why does a line you can't see still matter?
The brain still reads it. I put it this way in lesson 4 of Principles of Design. Even when you don't see it, if you continue the movement and they will cross somewhere, even in space where you don't see them, the brain will read it differently. Do you understand? So I have to understand my overall movement.
That lesson calls the overall movement an arabesque, a law of swirls around, if you wish. Wikipedia describes the arabesque as decoration built on rhythmic lines of scrolling and interlacing foliage.
Why aim for a line that will disappear?
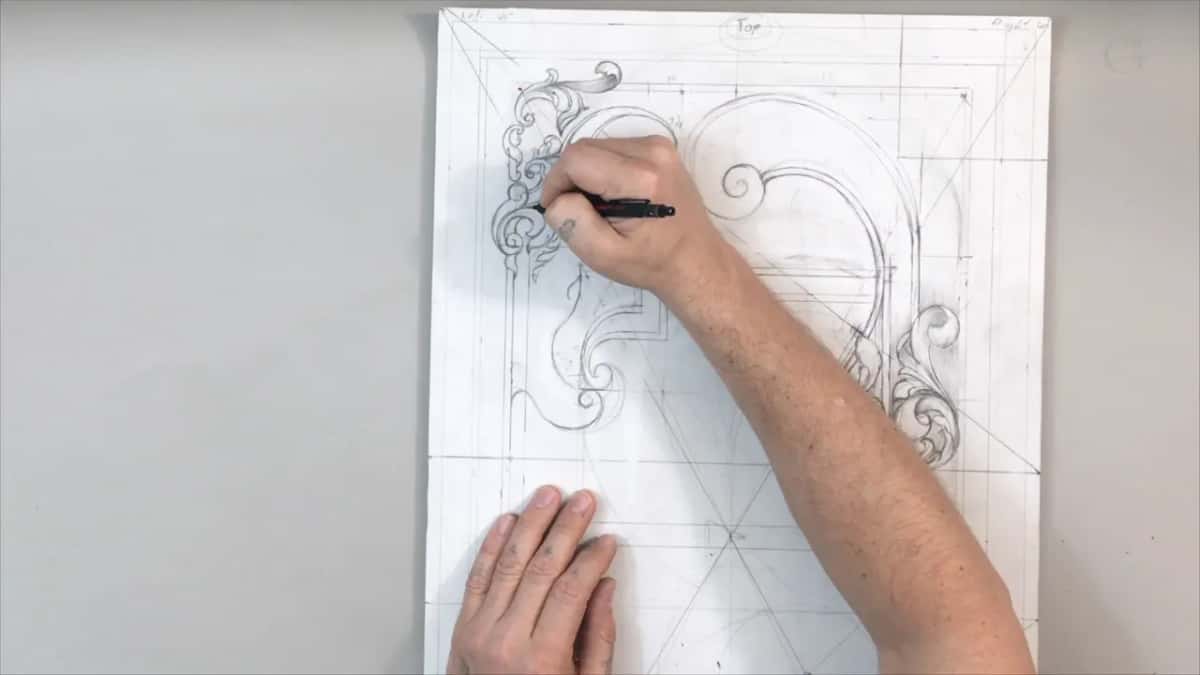
The movement still shows. Near the close of part 1 I made my return one way, and that united the space and the movement. Visually, you're still going to see that movement. I also hit a hidden line that won't be visible, because it will disappear. That line was the corner of the inner panel, drawn back in lesson 7. I liked what I saw. Now I needed to unite those two, and part 1 ends on that question.
Another one came in part 2. Even then I didn't like it, by the way. But if I hit a line that will be invisible, it still makes the curl, the edge hits that line, and it carries right down, where my molding of this panel will be. Or maybe I'll develop something else, I said.
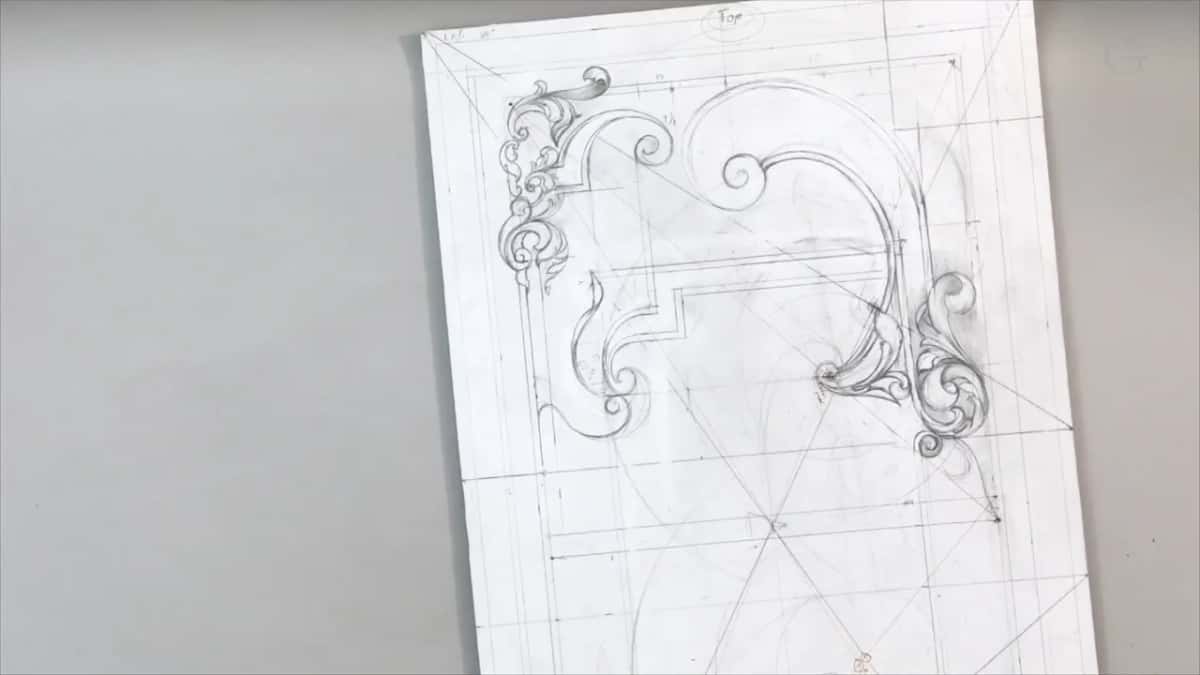
Lesson 14 of this same course does it on purpose with a tiny leaf. I wanted another small, really small, tiny acanthus there to hit a line, an invisible line, and from there it goes downhill and wraps around a volute.
What is negative space in a carving design?
Negative space is the empty part next to your ornament, and it needs a plan too. Wikipedia defines negative space as the empty space around and between the subjects of an image.
Part 1 made me consider mine, and how it would be filled. It didn't feel really good, because everything else just goes to the narrow, and in my case that space didn't. So I had to fix it and make the law of repetition run narrow to wider, even on negative space. I thought it would look much better. Then I made my return.
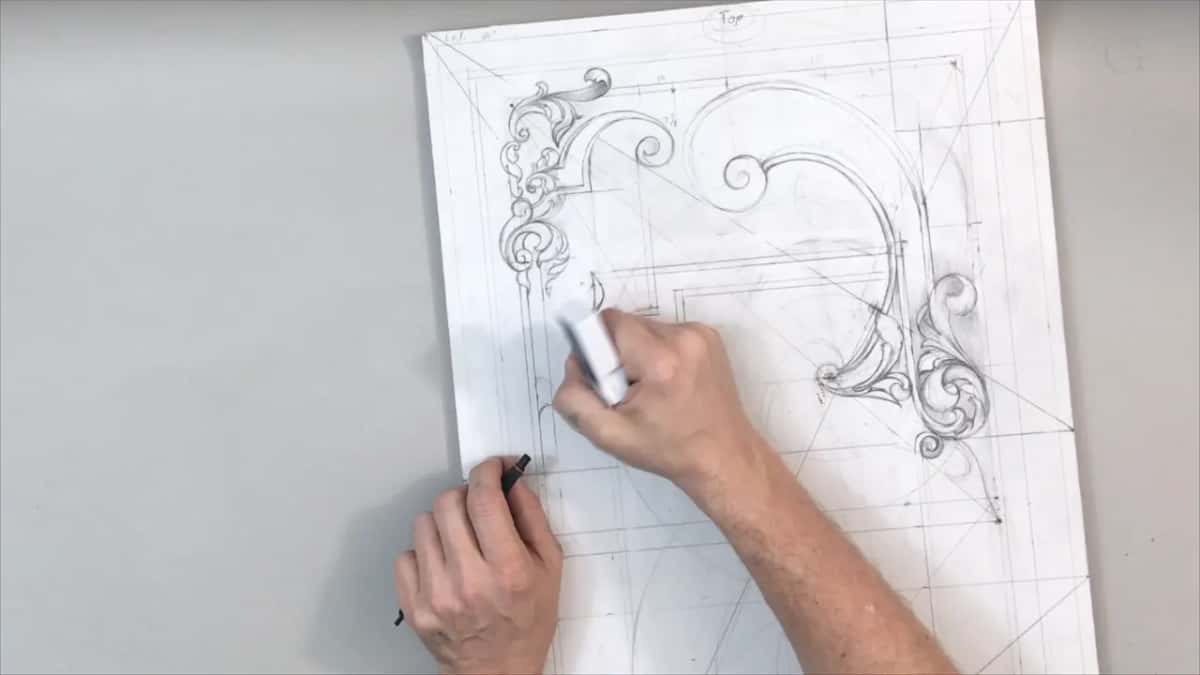
Lesson 5 already sized a movement that starts narrow and gets wider as it goes. Here the empty space has to obey it as well.
Other classes show the same care. On my plate with butterflies, I still needed some wide open spots, because some wider spots are important too. Call it negative space, if you wish. That's a good term. One area there I really didn't like, so I tried a leaf grown one way, and the space could still repeat the movement. And in lesson 11, I wanted some attention on the negative space itself, if that was going to be my second focal point.
| Spot in lesson 8 | What I saw there on camera | My fix |
|---|---|---|
| The unfinished leaf | Its edge would run on into a point | Let the edge carry on |
| Negative space beside it | Everything else goes to the narrow, and this space didn't | Narrow to wider, then a return |
| A shape in part two | Still didn't like it, it just doesn't feel natural | Erased it and thought again |
| Two points in part three | This point and that one sit on the same line | Kept them, I like it |
| The end of part four | Not 100% how I want to see it yet | Come back later, fresh |
Why do I call this panel human and divine?
Two kinds of lines meet on it, the ones in nature and the ones people add. I said it in part 2, while I was still unhappy with a leaf. This type of carving, when you try to unite divine and human, is a divine and human unity. I know it doesn't make sense to some of you.
In nature, in creation, you can't find any straight lines, because everything has an arc or a sweep or a curl. Only two elements are there. You find lots of dots and lots of different curls, curves or arcs, going this way or that way, but never a straight line.
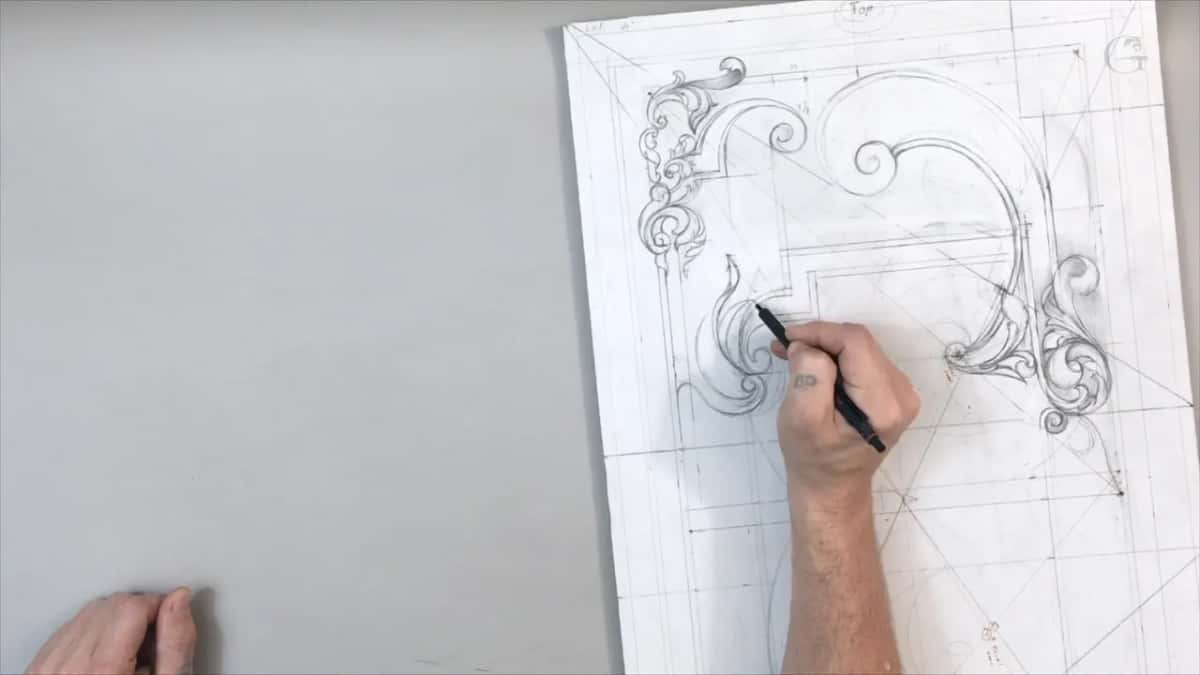
Art adds three more. You still have the dot and the arch, plus vertical, horizontal and diagonal lines. Those three are the human part, and the dots and arcs are the divine part.
This panel has lots of straight lines and a lot of arches and dots, so together they stand for a unity of human and divine. Still, the divine will be dominant, because I'm still going to add flowers, leaves and foliage. At least that's how I see it. The word comes back once in part 3, about a movement I could repeat another way, and that one would be more divine, I said.
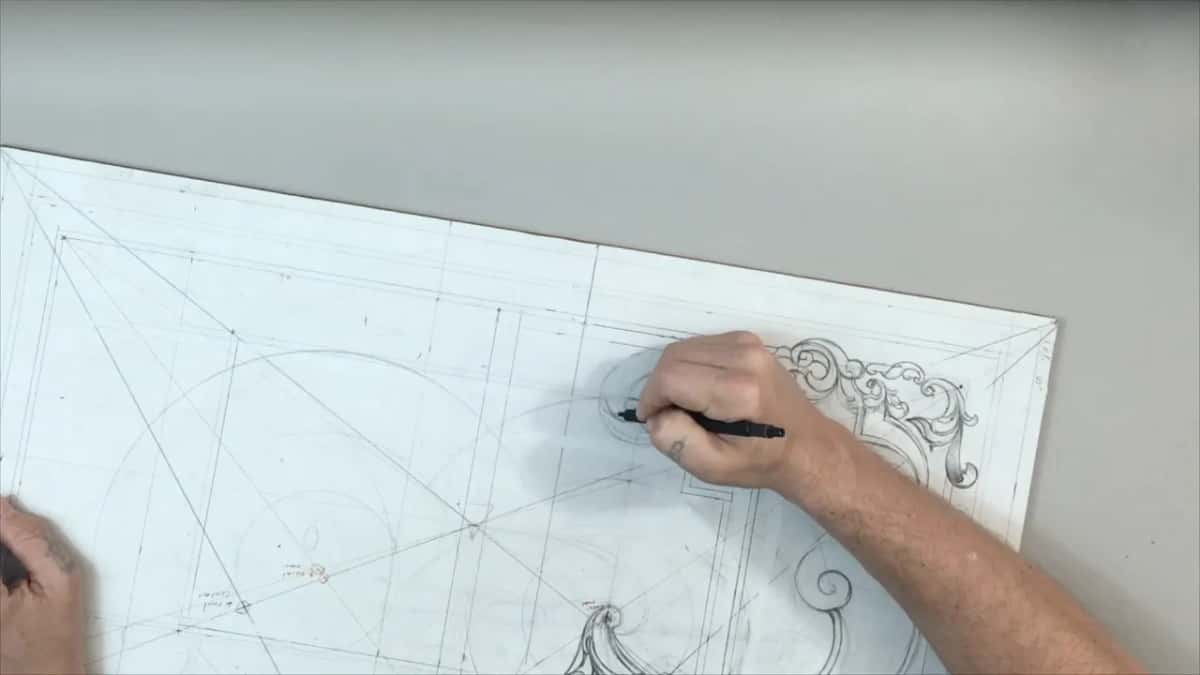
The first lesson of Principles of Design puts it shorter. Nowadays everything in furniture is straight and plain. Nothing in nature is straight. Everything is a curve. Carving Modern Acanthus lesson 5, I was excavating beside a curve and told you not to make a straight line, because nothing is straight in nature and everything curves.
Why plan shadows before you carve?
Light and shadow are what a carving works with. While I cleaned and refined my lines in part 3, I knew the inside would be lower and the next part raised, so a shadow will sit there. And you always have to consider shadows when you do the design. Well, at least I do.
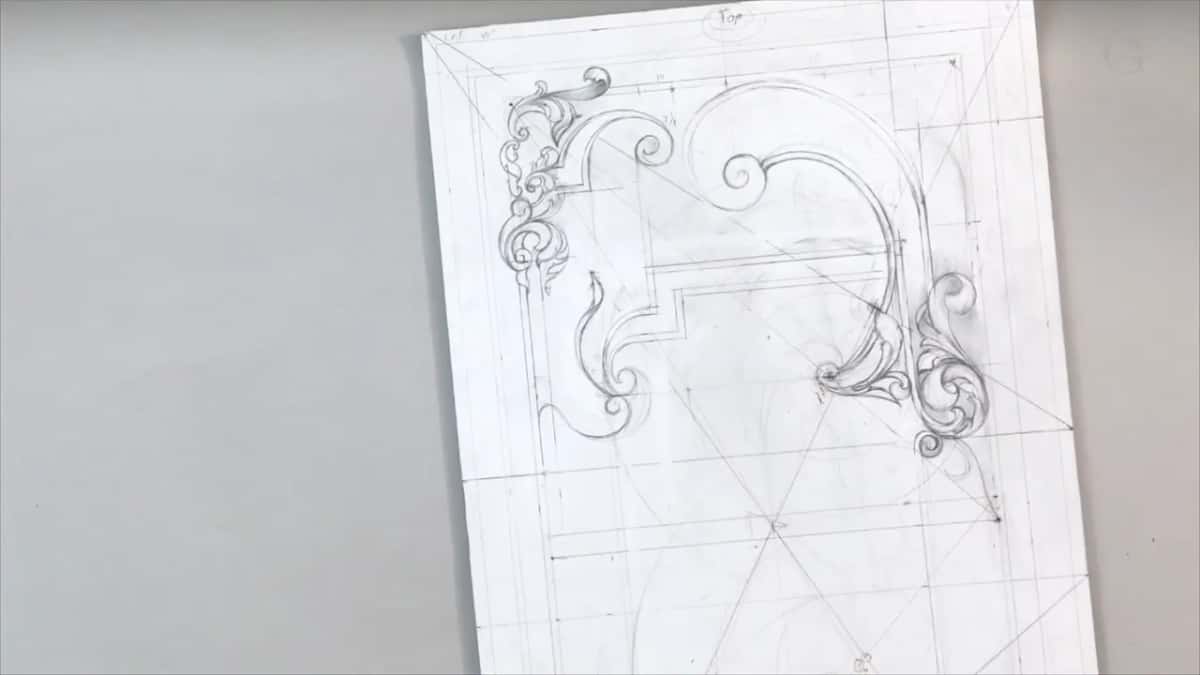
I shouldn't say you have to consider it, because that probably sounds arrogant. But in wood carving you don't use too many colors. You're using just the lights and shadow, and you have to think how the light will hit.
Artists have a word for it, chiaroscuro, which Wikipedia describes as strong contrast between light and dark used to give a sense of volume. The Wikipedia page on relief makes my part 3 point from the other side, since on a flat surface the field is lowered and the parts you leave seem higher.
On the Tray of Blessing, I said we are painting with the shadows and the light, and it depends how the light hits. That tray won't hang on a wall. The light comes from a window, maybe in your dining room, from the side, so I had to excavate somewhat deeper there to get the shadow. With a piece on the wall and the light above, you can get by shallower.
This same panel shows it in lesson 23 of the carving stage, where I carved the flowers. With the right light condition, I said, it creates a lot of movement with the light and shadow, and it already did.
Could a drawing use another plane?
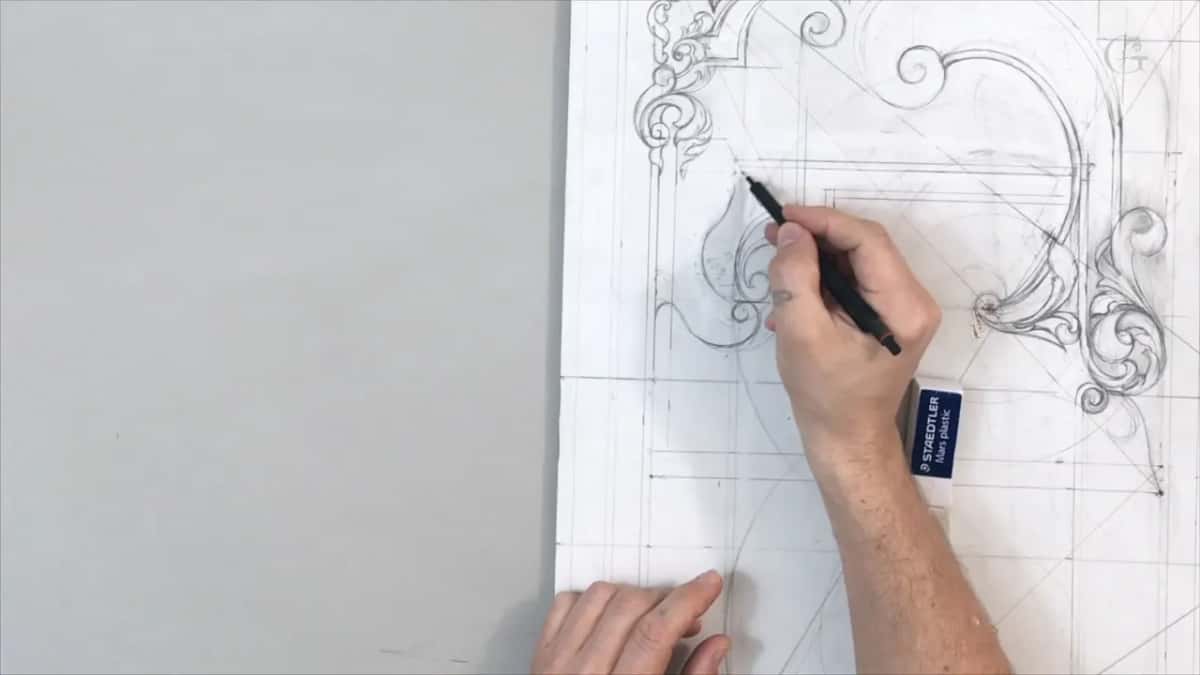
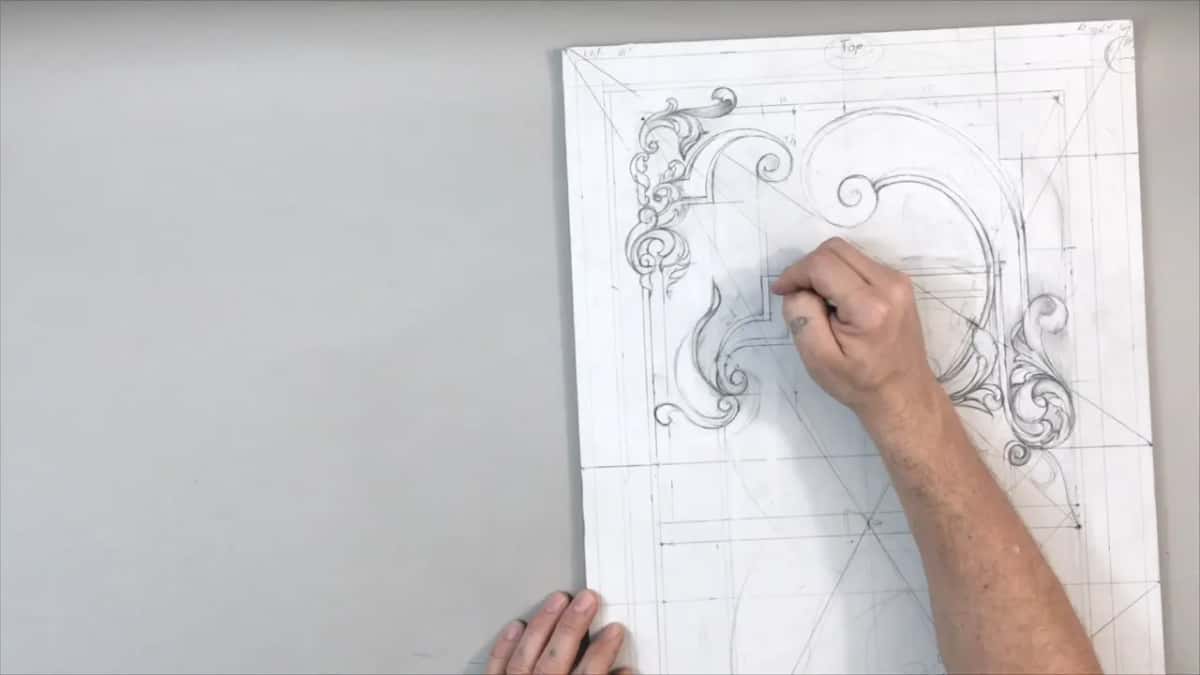
It could, if you lower one section and keep its line. Early in that stretch of part 3, I noticed this point and that point sat on the same line, and I liked it. Then I thought, maybe I'll create another plane right there, lower that section and keep that line. I kind of liked it.
Something nearby had to go, and I got rid of it. After that I said, I think I like what I see now, not quite, but still the overall feel.
Is there more than one kind of acanthus?
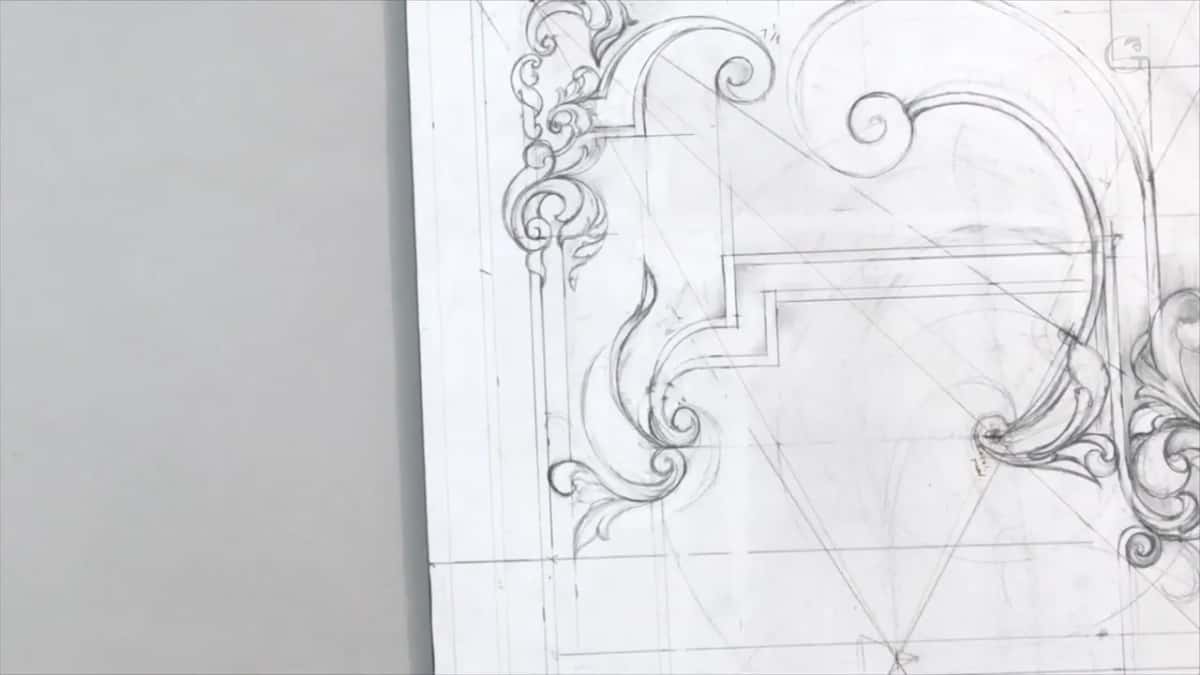
There are different types of acanthus leaves, and this panel got a more French-looking one, the way I put it in part 3. In this area I could develop what's called the Louis XVI acanthus leaf, and it was a really good place for something like that. Main subdivisions came next, then a curl. That became my main movement, and another one followed, nicer and smoother.
Wikipedia's Louis XVI style page says the style grew up in France in the reign of Louis XVI, 1774 to 1792, just before the French Revolution. Back in lesson 4 I called this design authentic to the late 18th century. The acanthus itself, it says, is one of the most common plant forms in foliage ornament from Greece and Rome. The school has whole courses on the Roman acanthus and the Modern Acanthus.
Which leaf goes under which?
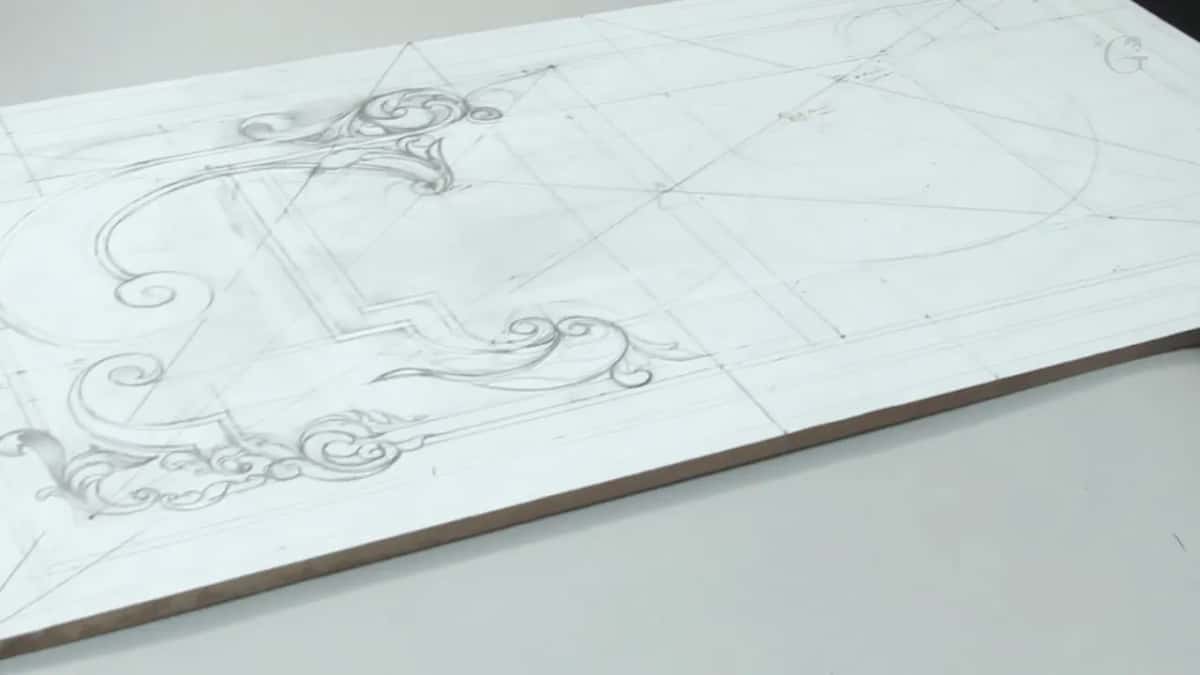
One goes on top, and the next one goes under it. When part 3 closes, one leaf goes underneath another, and an overlapping one follows. Another from underneath opens part 4.
I know it's not carved yet, and you probably don't see what I see. But this leaf curls, and it goes in one direction. Once I put my eyes and the pipes in, it will make all the sense.
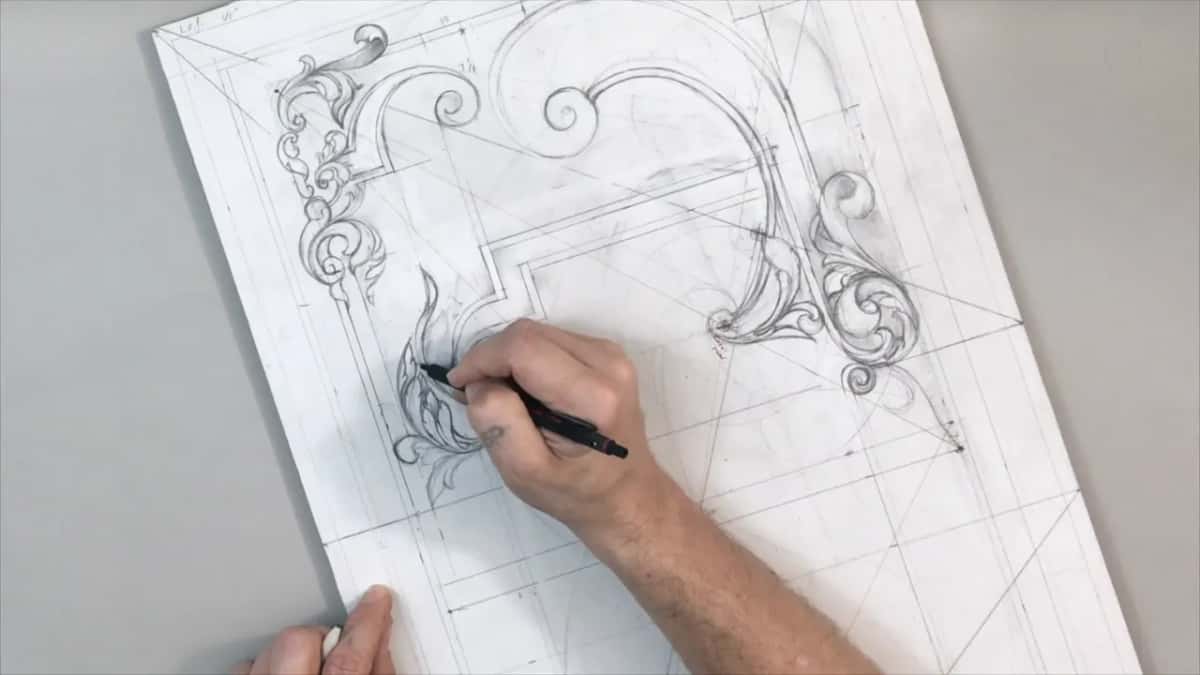
To show my point, one leaf will be from underneath, and the next one even lower, from underneath again. That is my shadow too. In the next space I did exactly the same, though I don't have the same curl there. The idea is still the same, so I curled that part a different way. That will be my shadow, and also my shadow line.
Where does the eye of an acanthus go?
More to the center of the pipe, after the micro subdivisions are in, which is how I placed mine in part 4. The next leaf got the same idea. Maybe one could slightly overlap the other and repeat the movement, I thought. I didn't really feel it should be like that. And that part became my background.
In Hashemi Flowers lesson 11, about a background leaf that is more or less like acanthus, I said every acanthus leaf has to have an eye and has to have a pipe.
Did 18th century carvers use measuring tools?
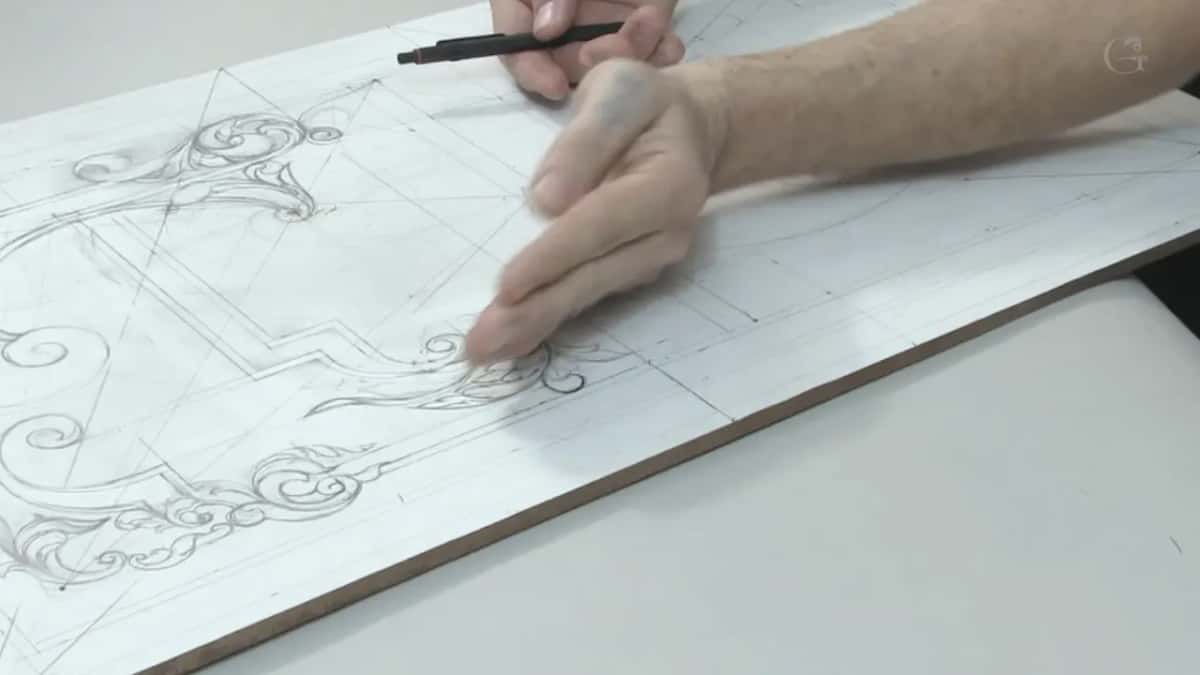
They did, and lesson 8 opens with it. If you think 17th, 18th and 19th century artists and furniture makers didn't use any devices, you would be wrong. They had a lot of different tools you don't even know, and some were lost in history. But they had them, different devices, calipers and so on.
Wikipedia's calipers page says they measure length, width, thickness, diameter or depth. Here it is, I said then, and that's going to give me a really good start, and let me think how to fill this space and still make it look good.
Where do I start, the movement or the leaf?
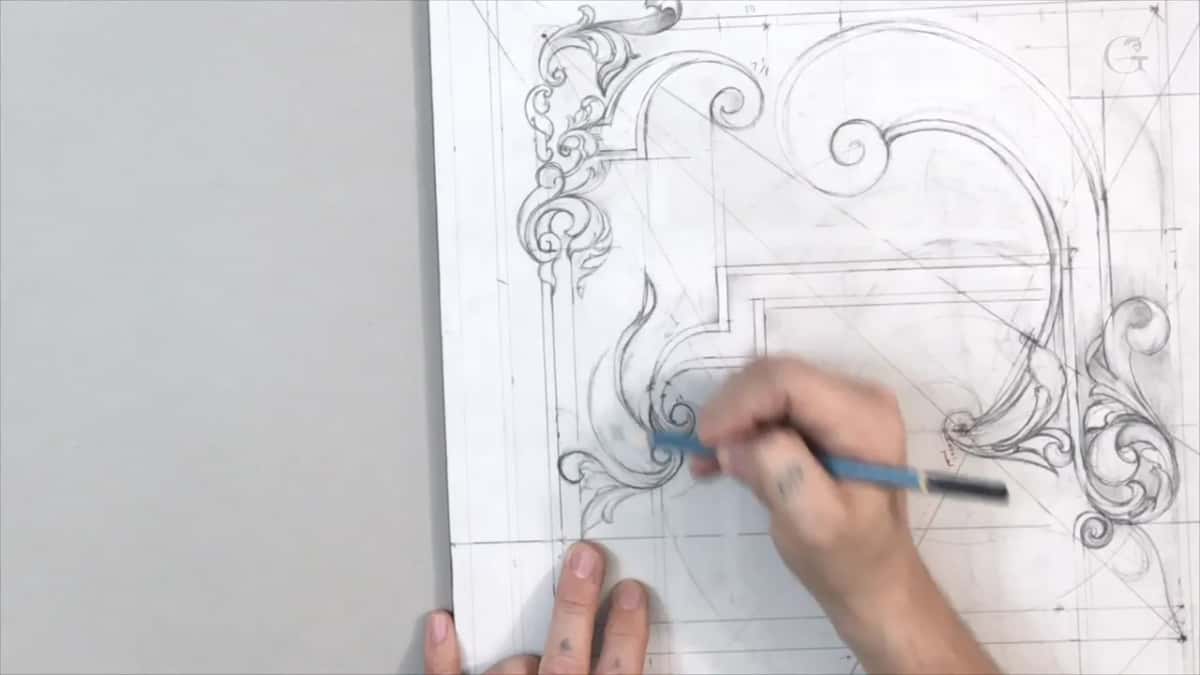
The movement. I figure it out first, with the pencil. Early in lesson 8 I was trying to figure out my movement, my energy, how it moves and how it works. Maybe I could do the second volute right there and move it one direction. That gave me a really nice division line, and then a return. I still wasn't happy about it.
Will the drawing look the same once it's carved?
A little different. When you draw and when you carve, it isn't the same, because once you carve you see all the chisel marks and all the true movements. They create different ridges, and those ridges actually create the main movement.
In Modern Acanthus lesson 3, I told you why I don't take one detail to the final stage first. I work on the overall project, because when you look at it with the fresh eye you want to change something. Carving in real life, you see the piece from all points of view, from different angles, and you realize it's better to change a little bit.
This lesson says it too. It doesn't mean it's 100% how I want to see it. Later on I'll look at it with a fresh eye and see if I really like it or not, and maybe I'll add something. Overall, I do like it. From a little distance it's not bad at all, and the last thing I said was, I think it looks good.
Right before this one comes lesson 7, with root rectangles and the inner panel lines. After it, lesson 9 has me step back from the area I developed here, stare at it, and find it too crowded. The whole furniture panel design course has every drawing lesson, and the carving stage turns the panel into walnut ornament.
Do you have a pencil? Is there a leaf on your paper that you haven't finished yet? Then you already have a spot to check for a hidden T-stop, and Access to the school opens every lesson of this panel.
How it's done
- Find the movement first. Before the new leaf, I worked out my movement and my energy, how it moves and works. A second volute gave me a division line, and after it a return.
- Check where a leaf edge would end. Mine would have traveled on until it reached a point. That still counts as a T-stop.
- Carry the movement on. I left those lines apart and raised one, so my leaf's edge carried the movement in the same flow.
- Give the empty space the same rule. The negative space there didn't narrow like everything else, so I made it widen and then drew my return.
- Mark the low and the high parts. Inside the line goes lower and the part beside it stays raised. A shadow forms between them.
- Overlap the leaves. One leaf goes underneath, the next sits lower still, and that gives me my shadow and my shadow line.
- Step back and look. From a little distance it looked not bad at all. I still plan a fresh look later, and maybe I'll add something.
Frequently asked questions
Can a T-stop form if the lines never touch?
According to lesson 8, it can. A hard stop where a pair of lines meet is only one kind. A leaf that, once finished, would travel on and stop at a point still counts, and I said that kind won't look good either.
Do I have to connect the lines to keep the flow?
Not in every case. On my walnut panel I raised a single line, and the leaf's edge carried the movement along in one smooth flow. To me that looked more organic. That came in part 1, right after I explained the hidden T-stop.
Is negative space part of the design?
For my panel it was. One empty spot in the drawing did not feel right, since the shapes around it all narrowed and it did not. I gave that spot the same rule, so now it widens as it goes.
What to carve next
- Carving Furniture Panel, Design, Part 1, the whole course
- Designing Furniture Panel 7, the lesson before this one
- Designing Furniture Panel 9, the lesson after this one
- Designing Furniture Panel 6, where the T-stop rule comes in
- Principles of Design in Wood Carving 4, the law of arabesque
- Carving Furniture Panel, Part 2, the carving stage