
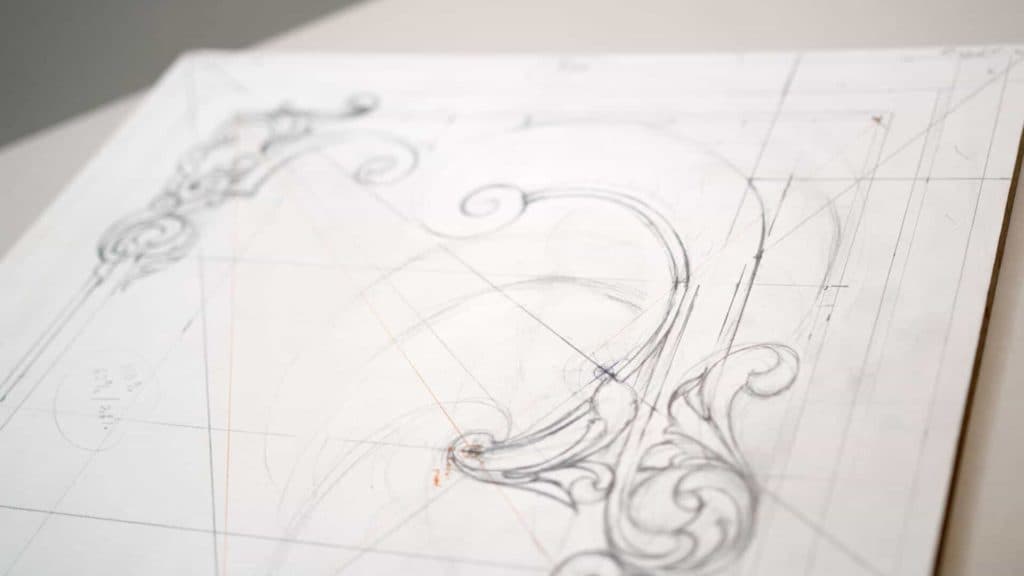
Alexander Grabovetskiy, woodcarver, School of Woodcarving · Published 2018
What is a T-stop in ornament design?
Quick answer: A T-stop is a line in a carved ornament that runs into another line and quits right there, so the two make a letter T. In lesson 6 of my furniture panel design course I say it breaks the rule of the flow. My fix is a tie, a curved line that unites them.
A T-stop is what you get when one line in your design runs up to another one and stops dead against it. Draw it and you'll see a letter T. Lesson 6 of my furniture panel puts it straight, there is no such thing as a T-stop. If you've got a line like this, there should not be any line hitting it like that. It breaks the rule of the flow. It's not going to look nice, and it won't look organic.
Have you drawn a leaf or a curl on paper yet? Carve for a while and you will. Sooner or later one of those lines meets another and quits. I caught two spots like that in one lesson on this panel, and both times a curve tied them. You'll find both below, the T-stops I fixed in my other classes, and a circle you can draw with no compass at all.
Six things this lesson says about T-stops
- One line hitting another and stopping there makes a T-stop, like the letter T.
- It doesn't need a perfect right angle to count.
- The fix is a tie, one curve that unites the two lines.
- Either direction of the curl can work, and I pick one.
- I set the eyes of an acanthus leaf on one of my subdivision lines.
- A square with two diagonals, plus a few more ruled lines, gives you a circle.
What does a T-stop look like on a drawing?
Say you've got one line running across the paper, and then a second line comes in from the side, hits it, and stops right there. That's the T-stop. My Byzantine acanthus class puts it like this. If you would take a line like this, that becomes a T-stop, like letter T. It's no bueno.
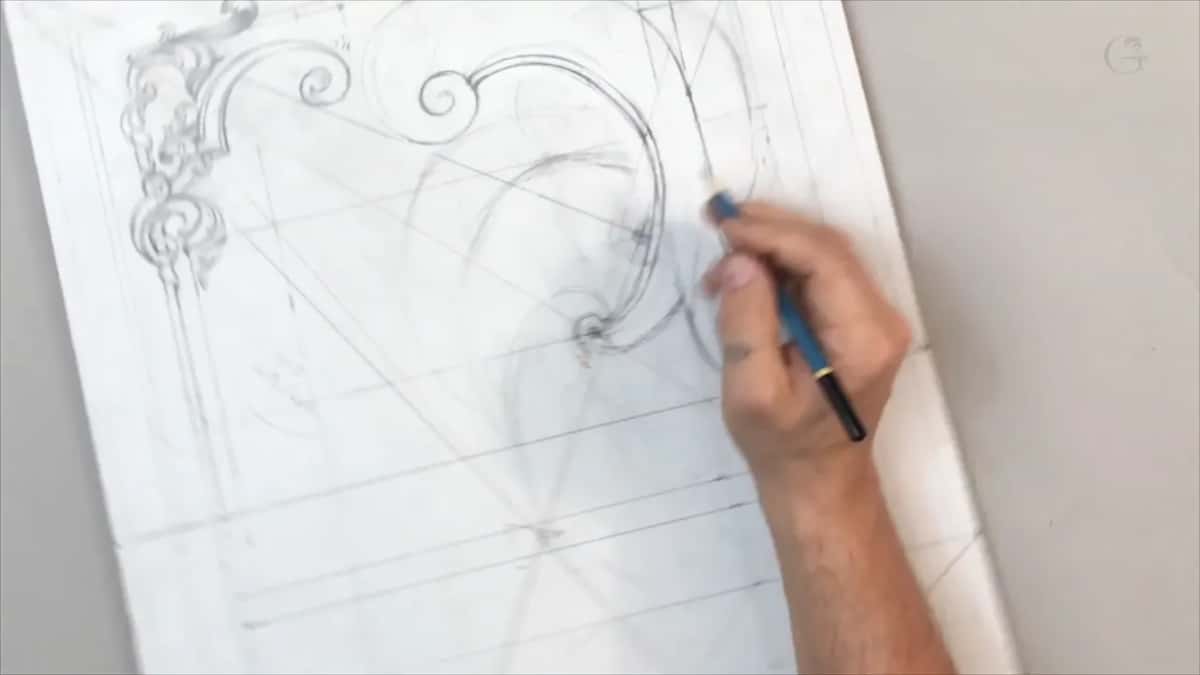
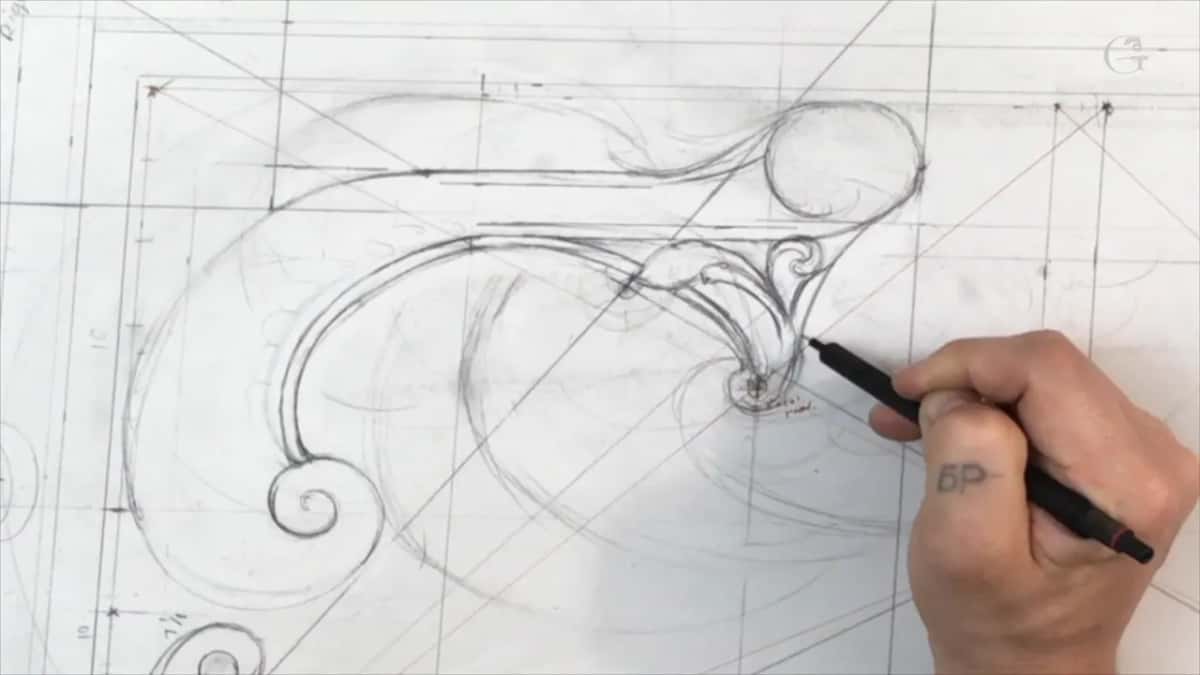
The first one came in part 2. I was working on an acanthus leaf next to one of my lines, and I could not put the leaf in like that. It would hit that point and make a T-stop, so the leaf did not go in that way.
What fixes a T-stop on a carving drawing?
You tie the lines. I still had to make a tie between those lines and that one line, so I made a curved line instead of a dead end. Then it looked more organic. One curve did the whole repair.
Right after the tie I said it plainly, it's just a representation.
Does a T-stop have to be a right angle?
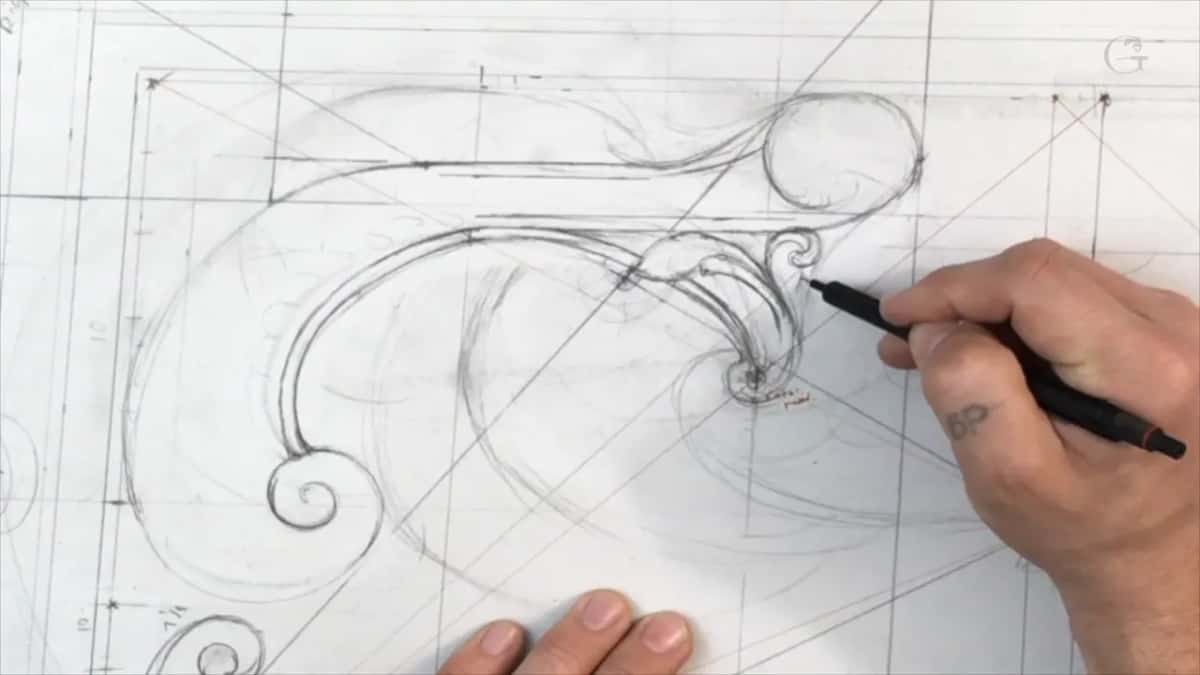
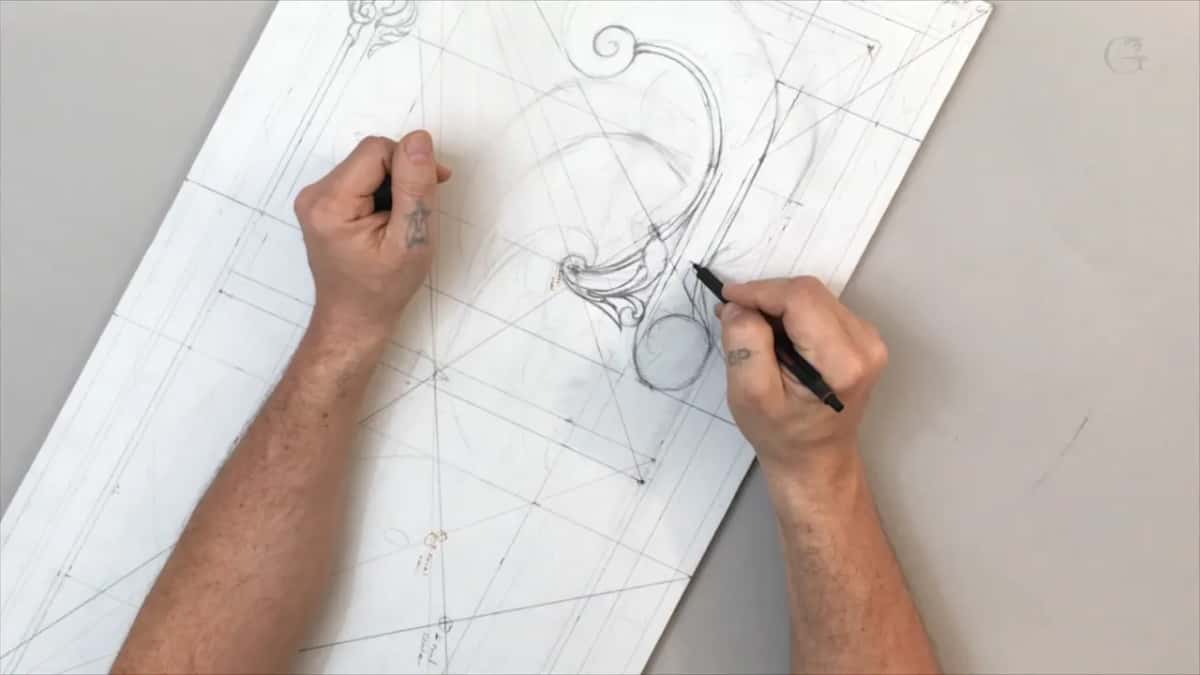
It doesn't. Part 3 had a line I would love to fill, and I set the center for it. Another T-stop was coming. It was not a true 90 degrees T-stop, but it still stopped straight right there, and the movement cannot do that.
So I had to unite my vertical line and my diagonal line. My movement could go one direction. Or it could go the other one, and that would work too. In my case I wanted the curl going one particular way, so that is how I drew it.
There is an exception, later in this same course, and lesson 9 shows it with a leaf ending that keeps the overall movement going. In lesson 57 of the Venice Room I had a T-stop almost. It wasn't really one. You can follow it, and it still goes somewhere underneath. And lesson 8 comes back to T-stops with one that is not obvious.
Here are T-stops from five lessons, and what I did about each one.
| Lesson | T-stop | What I did about it |
|---|---|---|
| Part 2 of this lesson | An acanthus leaf that would have hit an existing line and stopped there | Tied the lines with one curved line |
| Part 3, same lesson | Not quite a right angle, but the movement ended there anyway | United the vertical and diagonal lines with one curl |
| Venice Room 53 | One curl intersecting another line, like a letter T | Moved it to an approximate parallel and shifted my middle line |
| Carving stage, lesson 19 | A spot on the background that came out almost like a T-stop | Made it look like it goes in, number 8, 3 mm |
| Upper part, lesson 21 | A detail in the upper acanthus movements | Turned it inward a little |
Where does the no T-stop rule come from?
On my lily box I said the rule is always the same. All the lines are supposed to go to the same direction, which means there's not supposed to be any T-stops. Your movement has to have a flow, and it has to flow to the same line. Then it looks organic and nice.
The Corinthian acanthus class makes it a law. The law is for the acanthus leaf, and for most of the foliage carving as well. You would never see a T-stop like that. Start from one point and it goes all the way down. From another point it still runs down the same way. I should say it's a law. You have to do that.
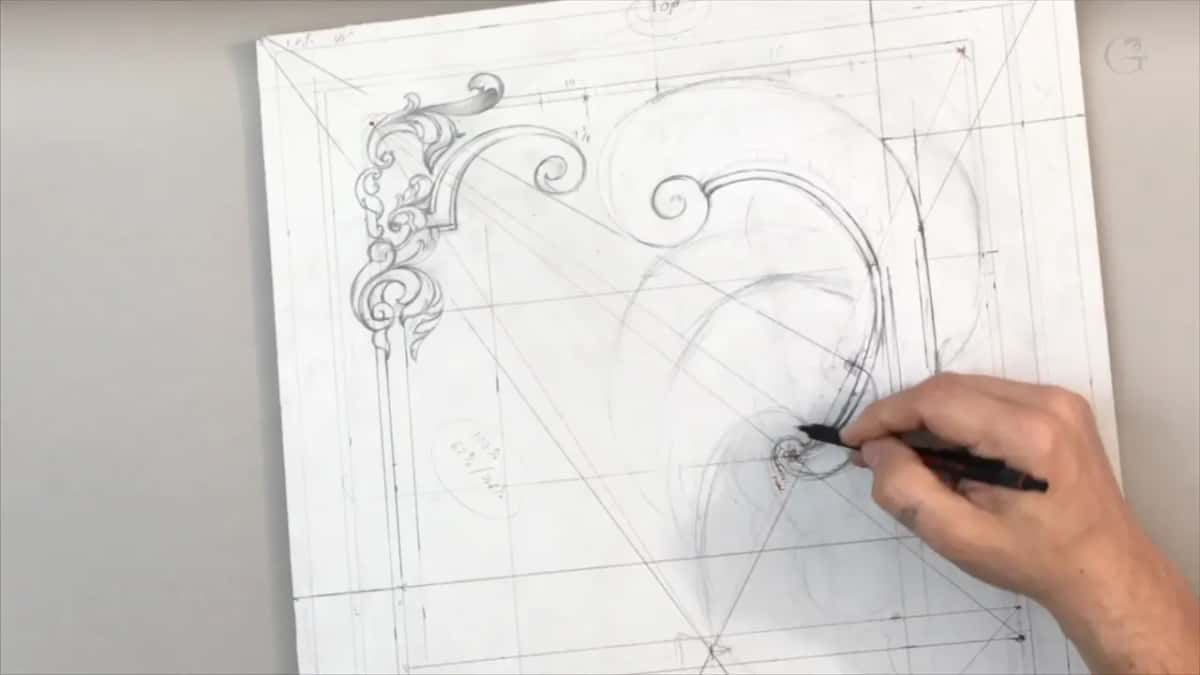
The Byzantine leaf follows the same idea with a center line. The points of the leaves have to connect to that central line, just a continuation. Everything is supposed to flow to the same center line.
In Principles of Design I list it right after the S movement of the arabesque. There's another rule. There's no T stops. Nothing is straight, and if something doesn't make sense, you have to fix it. Even the curly kitchen cutting board in my beginner course came with one condition while I filled the space, still no T-stops.
Does the rule still matter once you start carving?
It matters in the wood too. The same panel gave me one once I was carving it. My movement had to run to the center, and in lesson 19 my carving there came out almost like a T-stop. Not good. I made it look like it was going all the way in, with the same number 8, 3 mm (about 1/8 in). Up in the acanthus movements of lesson 21 I turned a detail inward a little, because I really don't want to see a T-stop.
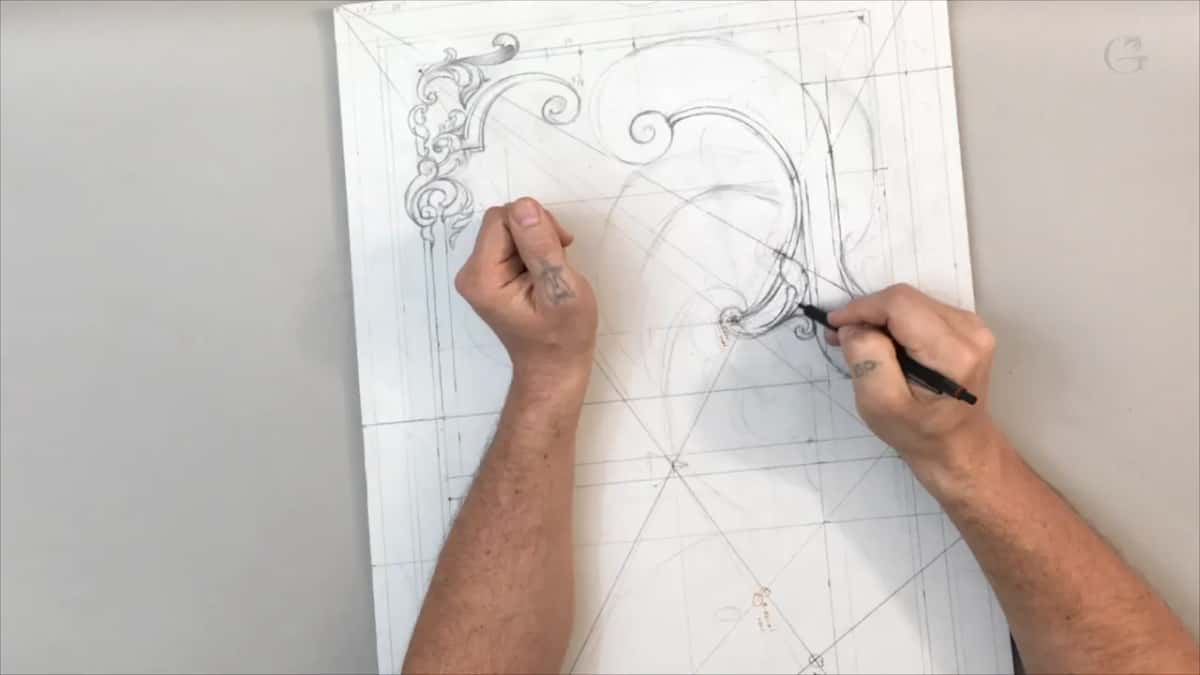
Lesson 53 of the Venice Room had one where a curl intersected another line. That's called a T-stop, like a letter T right there. So I moved it. I made an approximate parallel between those two lines and shifted my middle line, and the point moved with it. Now it curved more fluent.
Another time, in lesson 56, I weighed the directions around a shell and ended up going right in the middle between those two movements. It came out like the front of a fisher boat.
Why step back from your drawing?
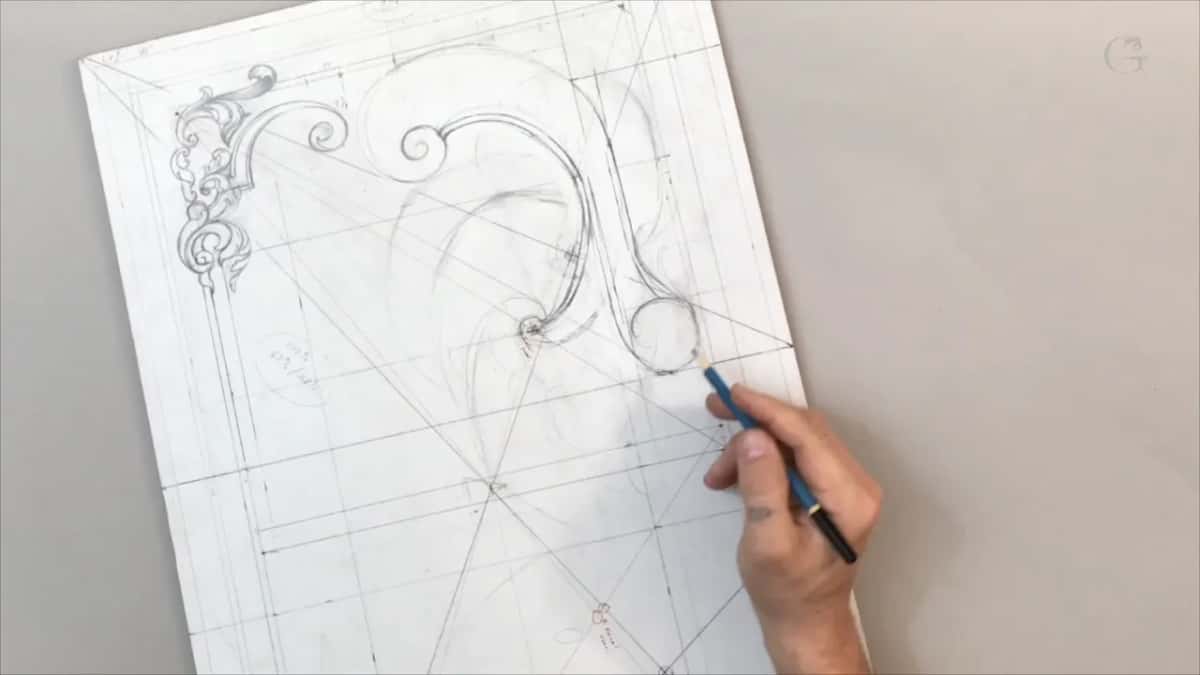
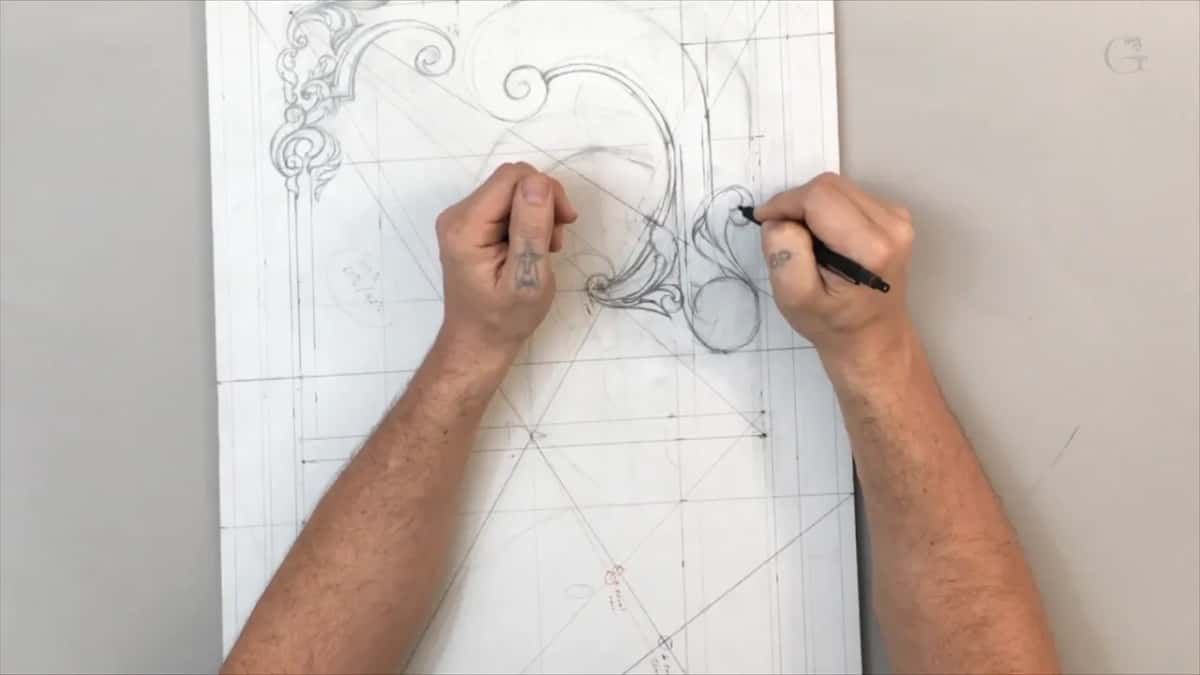
I open this lesson with it. It is a good practice once in a while to step away and look at your composition from a little distance, and see how the overall development develops. The overall picture. When I did, I liked the arch I had drawn. It looked organic to me. It felt organic.
I said the same with a number 3 in my hand in lesson 69 of the Venice Room. Step away for a couple of seconds and look at it. Sometimes it looks good from one point of view, and from another angle it doesn't. If it makes sense, it's good. Change it if it doesn't.
Is it fine to use round objects for curves?
Sometimes you could actually use some help if you have round objects. I had some tape left over in part 1. I didn't need it, but you could use something like that to make the curvatures more accurate.
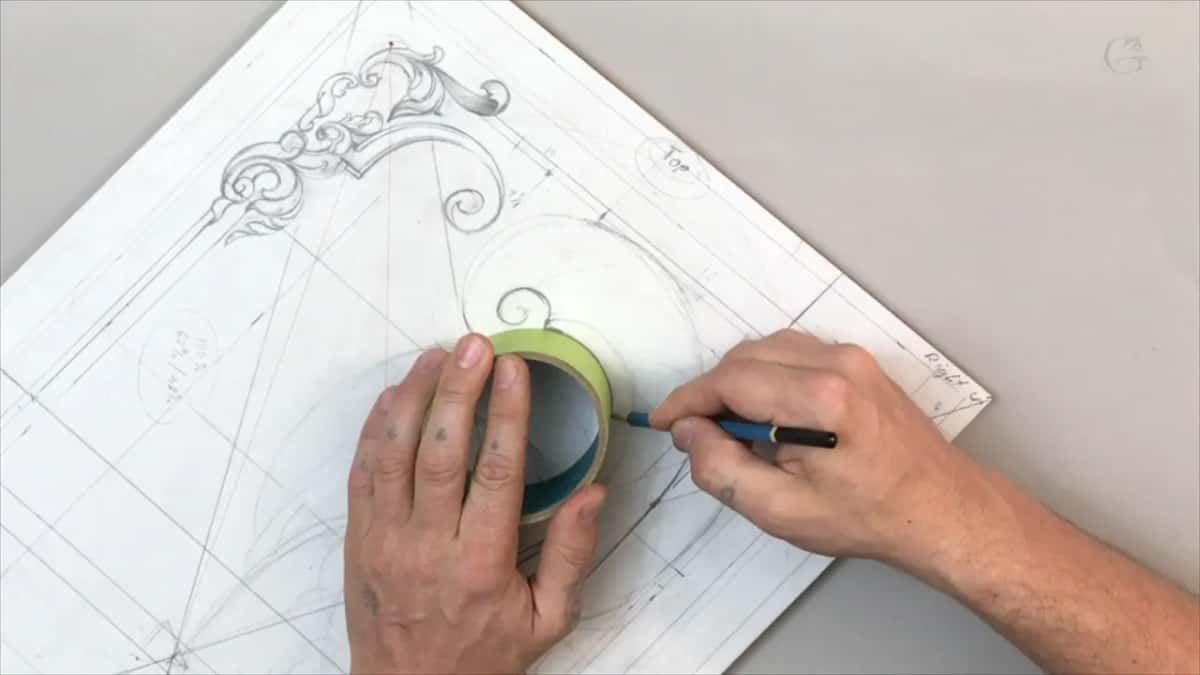
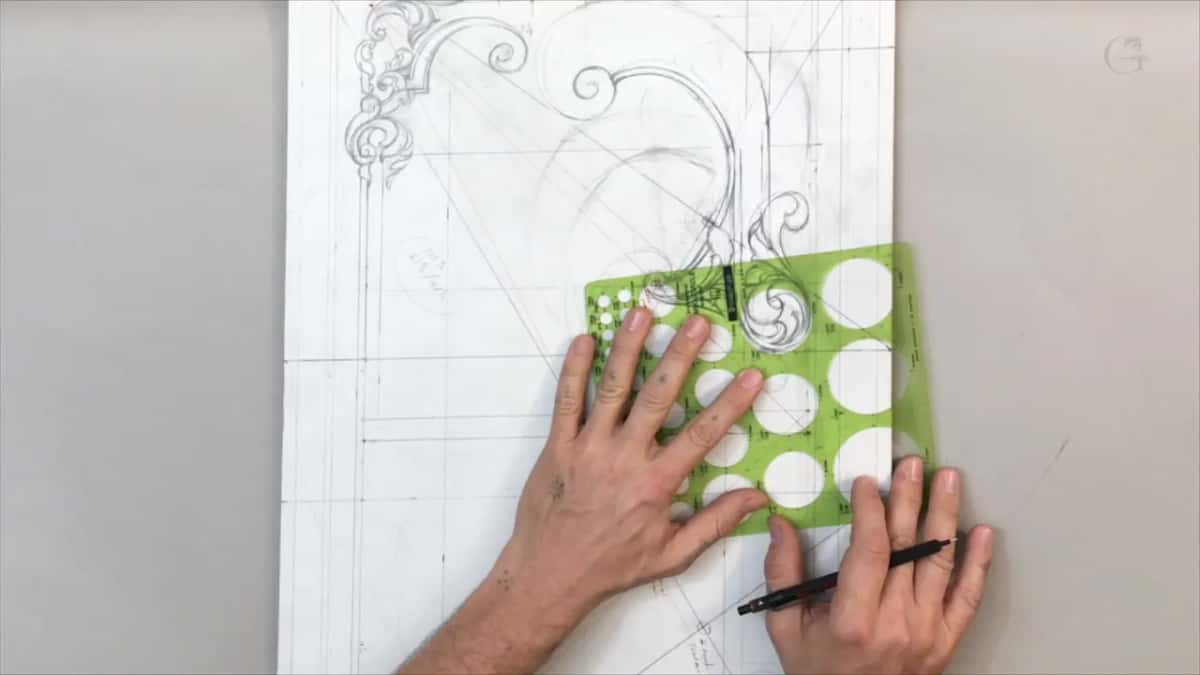
Part 4 brought a tool for true circles without a compass, a green template full of round holes. You find the closest one, the one that looks more circly, if you wish to say that, and use it to draw the outside boundary. Mine was really close, actually.
How do you place the eyes of an acanthus leaf?
On a line you choose. First I drew the center line of an acanthus leaf in part 2, then its side, then the main move. I put another line, an arch, on the inside, and carried it to a line I already had. The two spaces next to it will be lower, the background space. Then I drew a couple more arches, just moving up. Those became my subdivision points. They still repeat the movement, the flow, but now the leaf is subdivided. And I put my eyes on the second line.
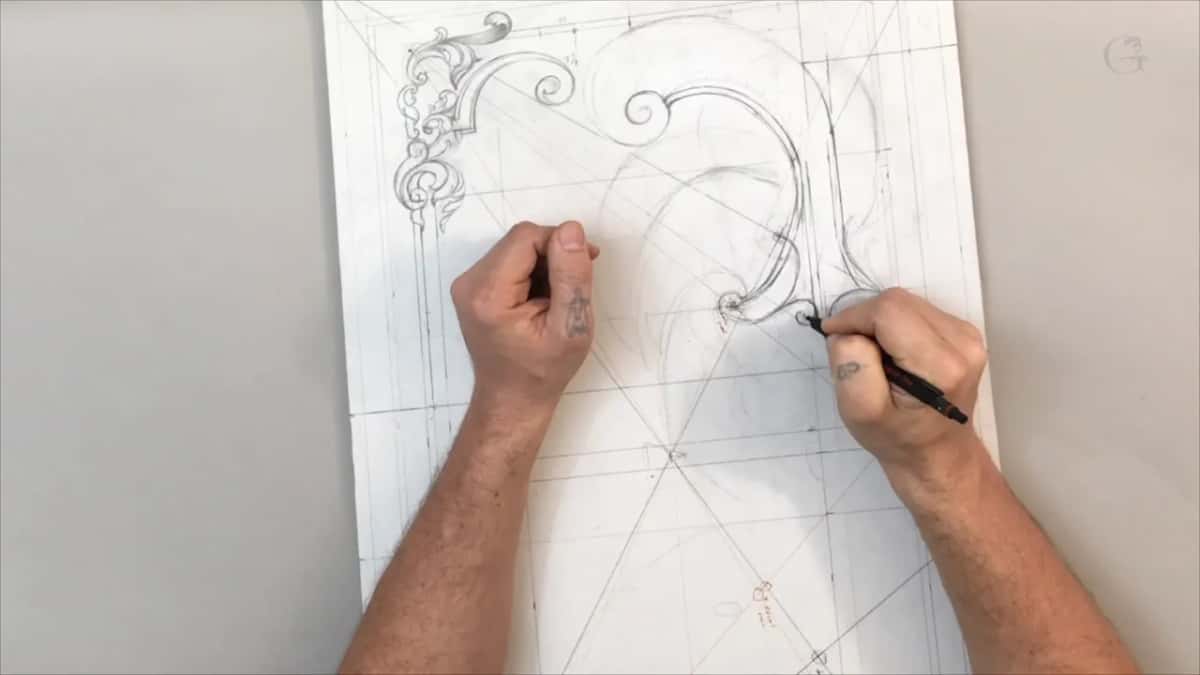
When I say the eyes, please look at my course about the acanthus leaf. Every acanthus leaf has an eye, or many eyes. Byzantine acanthus lesson 9 says it another way, that each eye is always a separation point between the leaves. In Venice Room lesson 49, every division has an eye. A pipe goes from that eye.
On the small acanthus in part 3 the eye sat about parallel to a line I had drawn. Those were my subdivisions of that small acanthus, and I added one more on the inside to make it look more detailed. The claw of the acanthus is my name for the movement on the inside, and I drew it in part 2. It's all about the details.
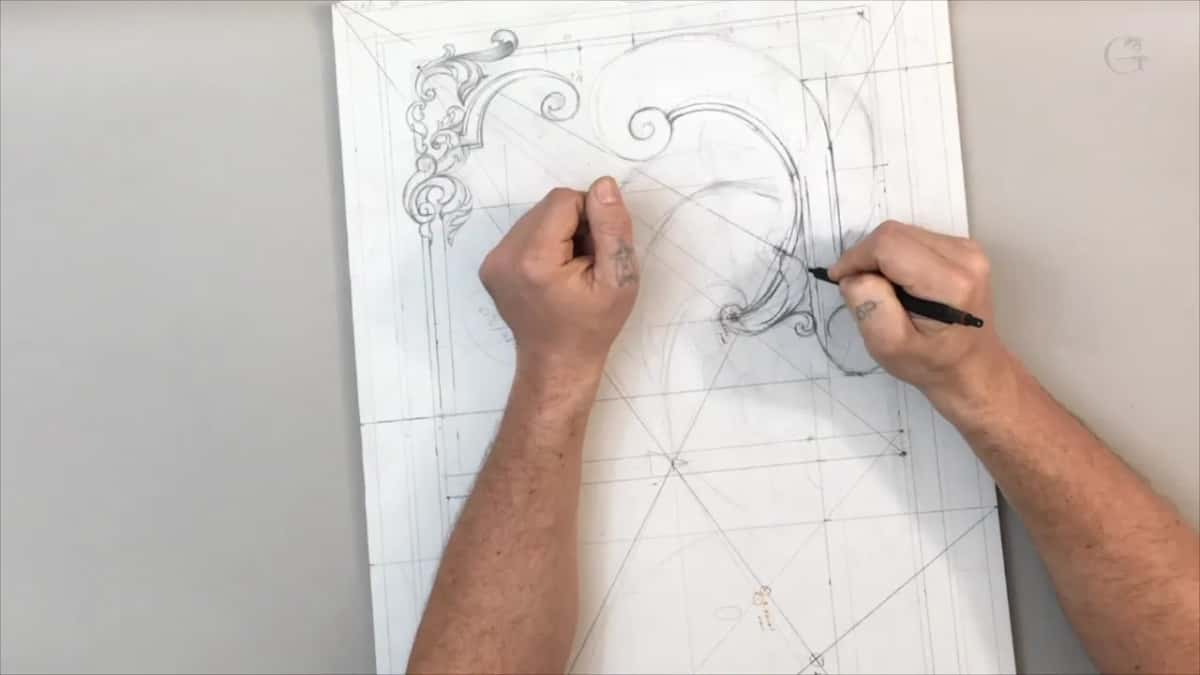
Why repeat the same 5 mm on a furniture panel?
A furniture style shows a lot of details that repeat. Outside is a 3/16 in band, and I've got the same 3/16 in on the inside. That's about 5 mm, and I'm talking about line-to-line measurement. I set those bands in lesson 2, and lesson 3 has more on the rule of repetition.
Next came a straight line. I took a piece of paper again, measured from the inside line, carried it over, and drew the line with a ruler. That one is really important, because it repeats the vertical lines. That's pure geometry, if you wish.
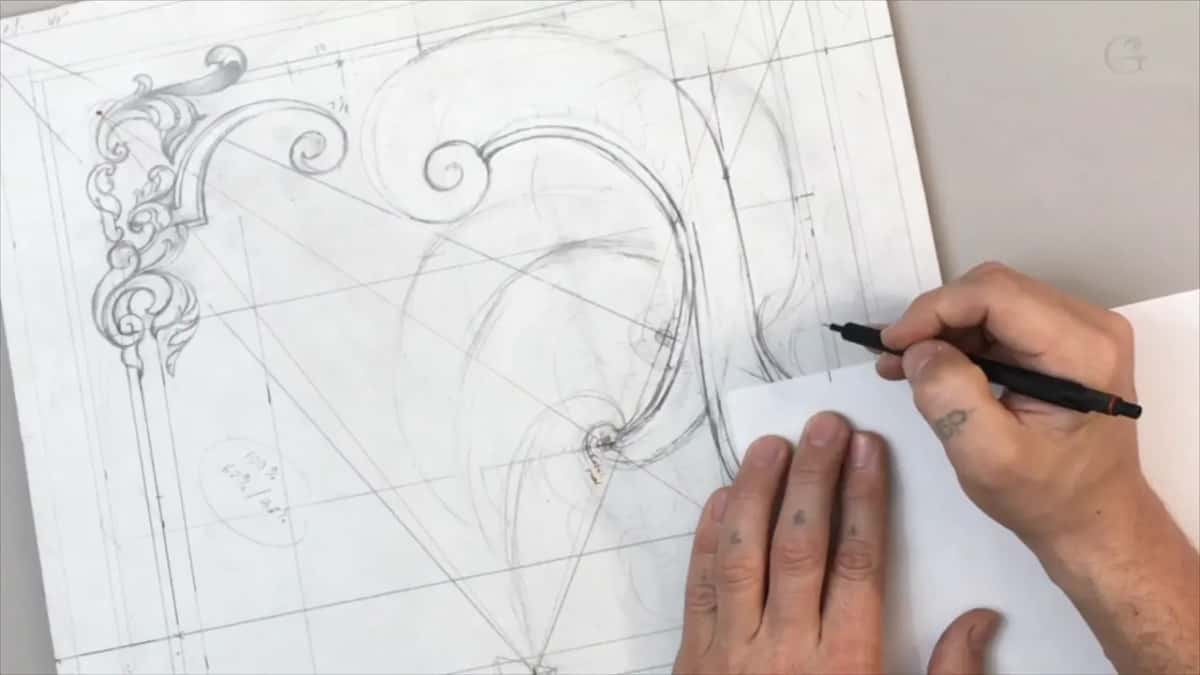
A bit later I did the same 5 mm again by eye. I'm just eyeballing. You don't have to really measure that, but if you have to, please do.
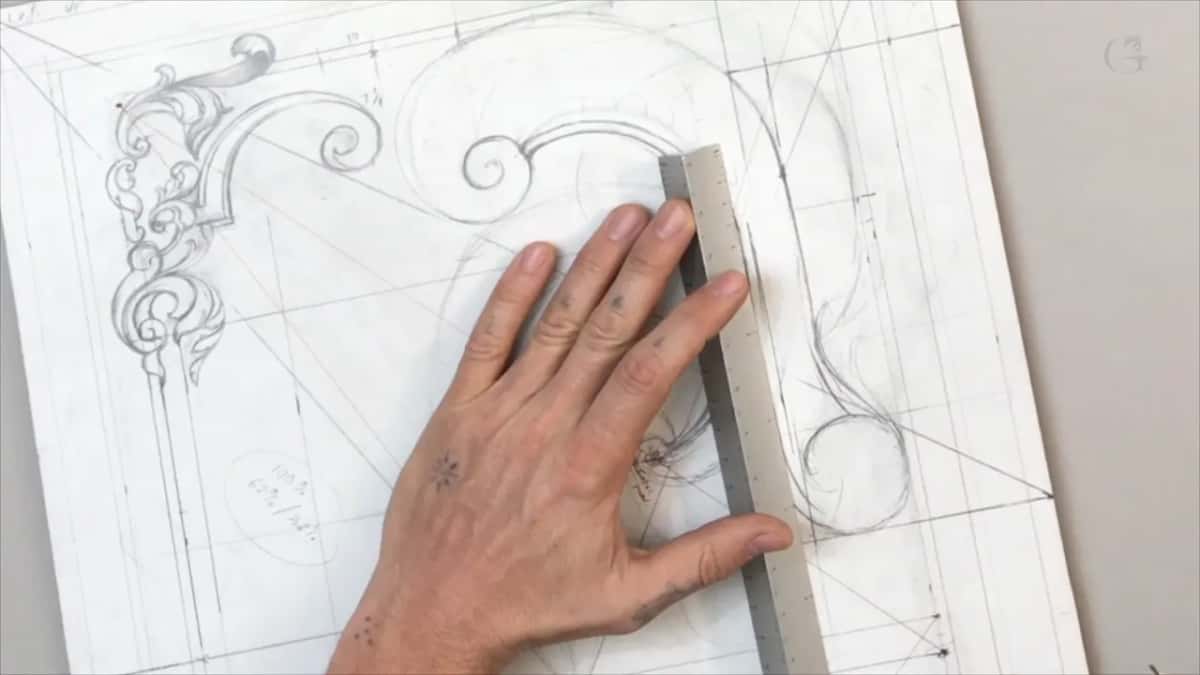
Which way does a perspective line run?
From a point on your drawing out to the corner of the panel. Part 1 needed a tie somehow, to make it look nice. I took the down point and ran a line out to the corner, and that perspective line gave me a really good idea of what I could develop there. Another swirl, I thought. Or maybe a small acanthus. Yep, a good area for the small acanthus. Actually, I could fill the whole space and make my move toward the major, the main point.
Why should a swirl grow as it travels?
Part 2 opens with it. Please, just try to understand what I'm doing. Those are the main points. When I'm doing swirls, I move like this, an energy move that's bigger and bigger, and even more bigger. Those small movements are really important for me.
What if a 0.62 mark looks wrong?
Try the same mark from the other side of the space, and look again. Part 3 had a movement I had to stop somewhere. If you divide that space in 10 parts, it hits approximately 0.62 coming from one side. That is the six parts out of 10 from lesson 1. I wasn't too happy with how it looked, so I went the opposite way, 0.62 from the other side.
Maybe I could repeat that movement, I thought, and make my leaf return. No, I didn't like it. I tried another shape instead, and I thought it would look better. I told you then, I'm not sure if you see what I see.
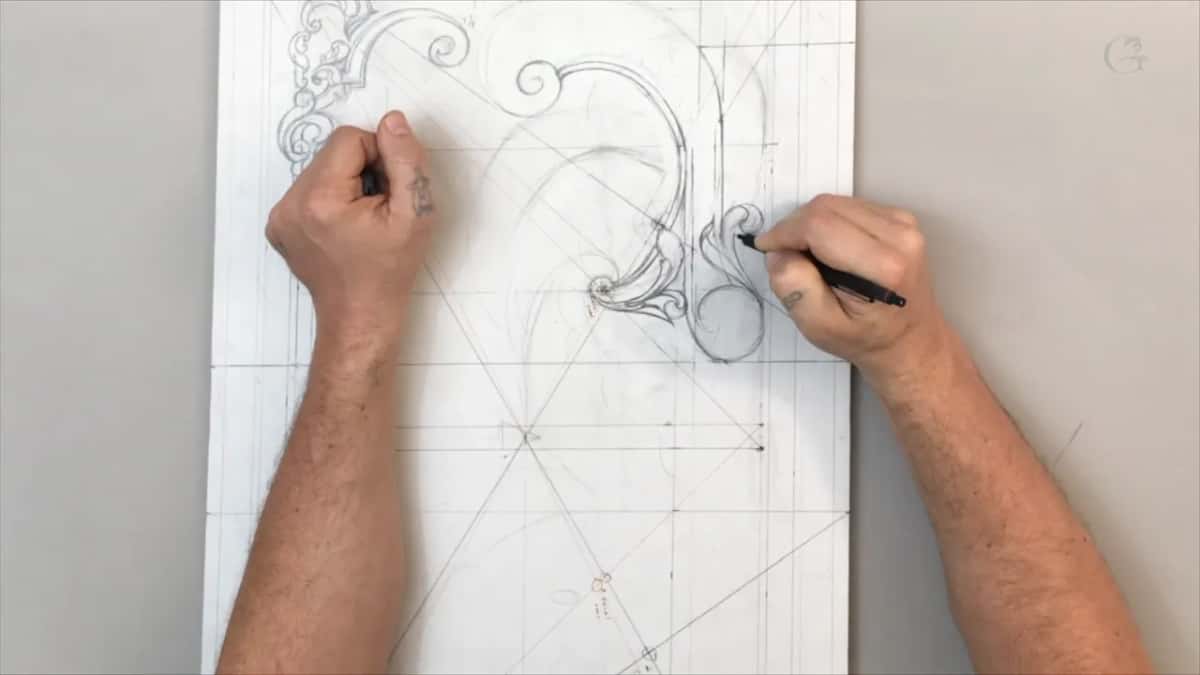
Do you have to fill every empty space?
I asked myself that in part 3. I carried a line over to another one and made my return of the acanthus that way. Then we still had to make one more move to repeat it, if you remember the law of repetition. That move also fills the space. I'm not sure if I have to fill the whole thing, I said.
One spot still bothered me. I had to get my boundary line fixed, and I made it a bigger one. Okay, I think it's better. Well, in my opinion it's better.
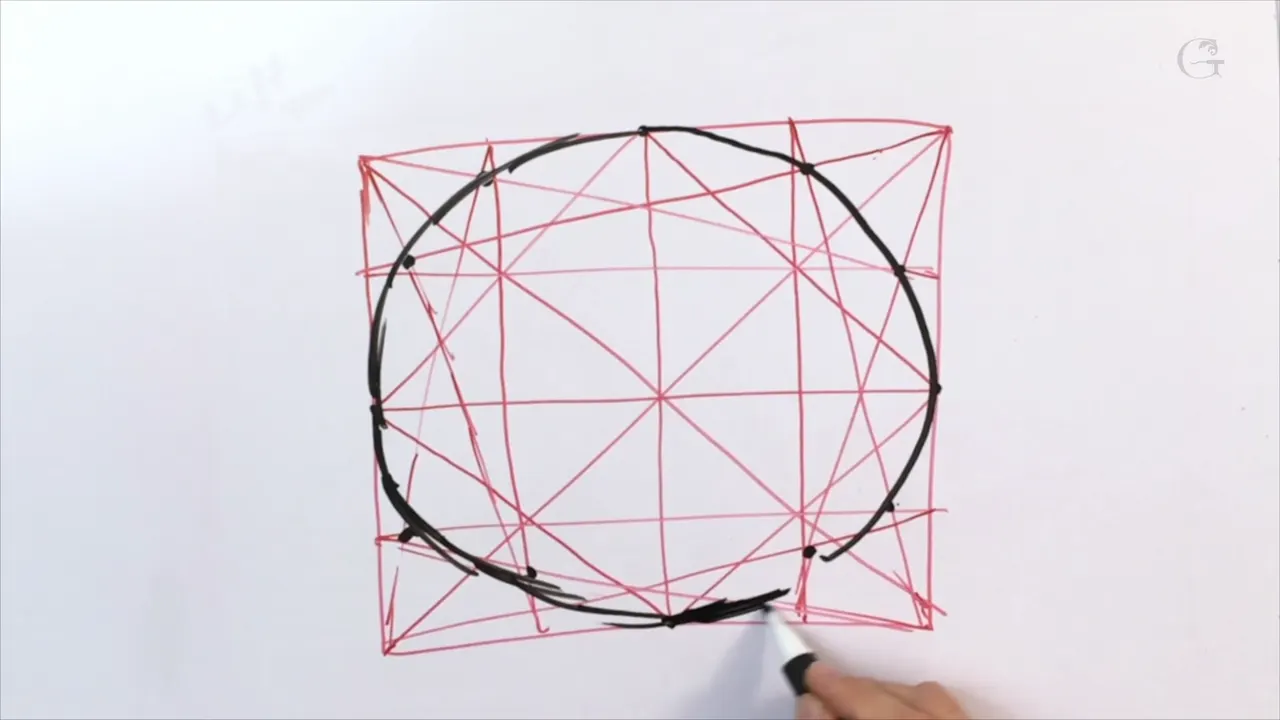
How can you draw a circle without a compass?
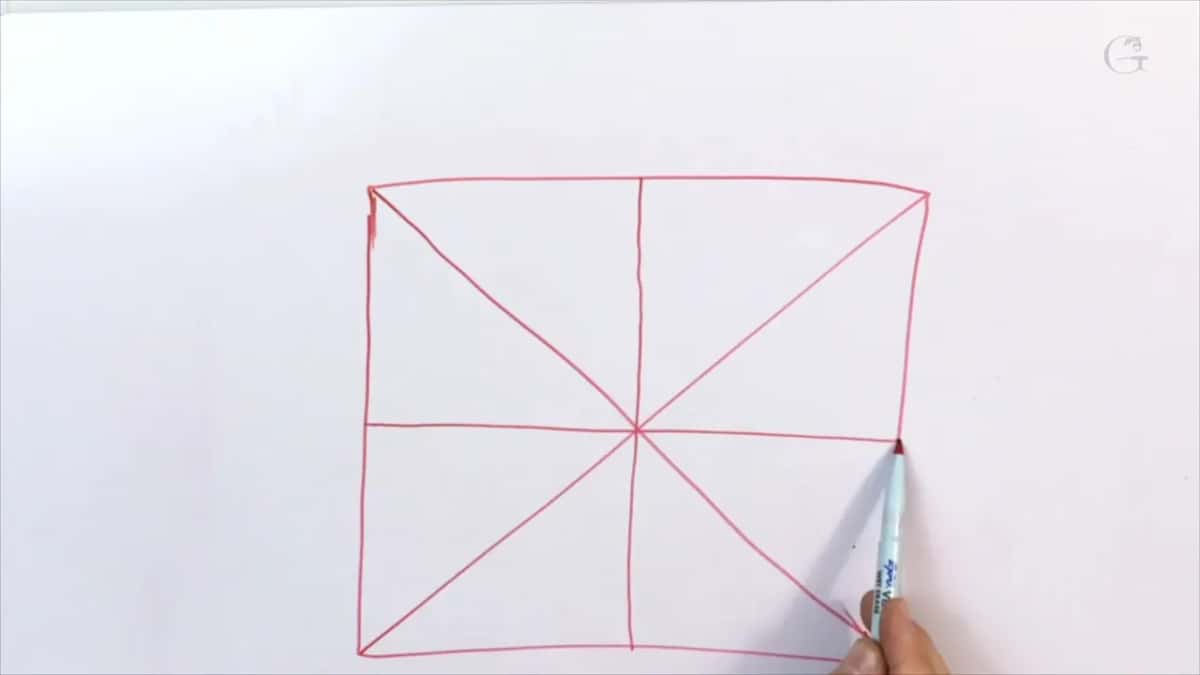
Start with a square. There is an easy way to do this even in a three-dimensional world, but here I only showed a perfect circle, or a semi-perfect one, without any ruler. I didn't measure my square, because it was there just to show the idea.
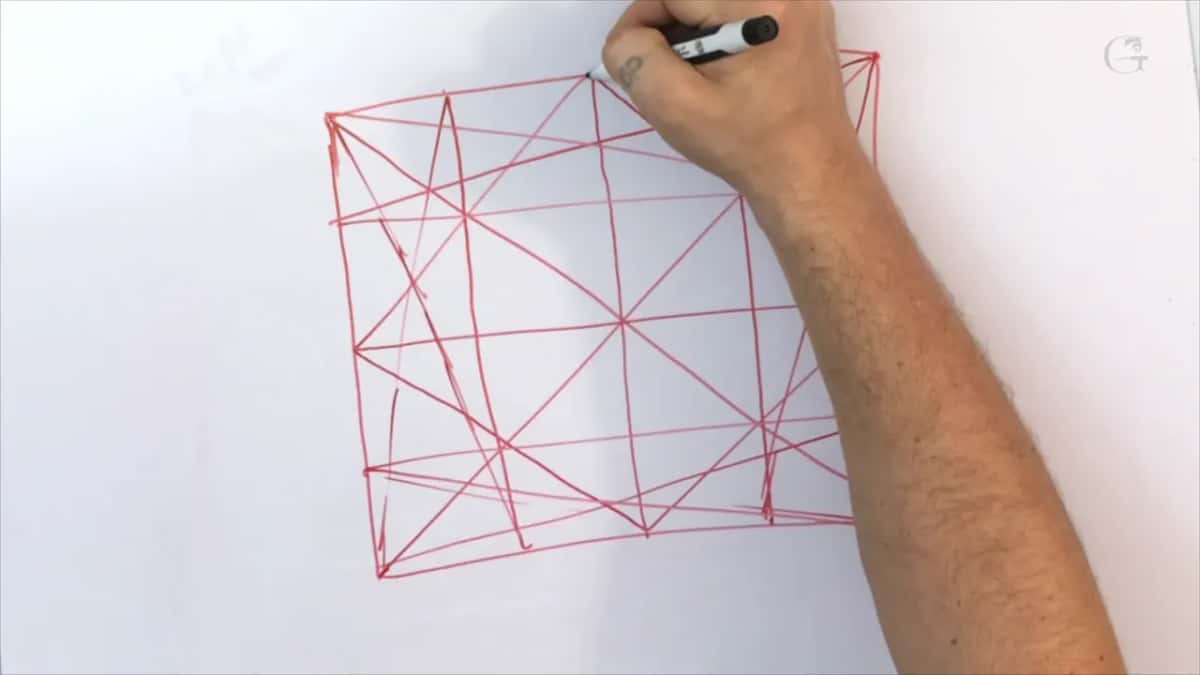
Draw one diagonal line, then the other, and that gives you the center. Then the center line. Connect those points, and draw a vertical line through them. Now the really important part. Take this point and that point and draw another line, then the next pair. Exactly the same on the other corners. For more accuracy, spend more time and even use a ruler. It's still going to be accurate, believe me. Corner to corner lines like this, and it's a pure geometry.
What you get is a set of dots, intersections, and that is your circle. Mine was not really accurate, the way I did it. But you can see you can get a really pretty accurate circle.
This lesson is all drawing. The carving of this panel has its own course, the carving stage. Want to draw every line of the whole panel with me? Here is how Access works, and the full course sits on the course page. And keep that tape close, because it makes your curves more accurate.
How it's done
- Step away from the drawing. Once in a while I step away and look at the composition from a little distance. I want the overall picture, and I ask whether it feels organic.
- Find a line that ends against another. Look for any spot where one line hits another and stops straight. It counts even when the angle is off a little.
- Tie them with a curve. Curve one line into the other with a tie between them, and the drawing looks more organic than a dead end.
- Choose the curl's direction. The curl can go either direction and still work, and on this drawing I wanted it going one particular way.
- Repeat the move somewhere else. The law of repetition meant a second move here to repeat the first. It also filled space.
- Fix the boundary if it still bothers you. Where I was not happy, I redrew the boundary bigger. It looked better to me.
Frequently asked questions
Why is a T-stop wrong in a carving?
A line that runs into another and ends there breaks the flow, and the result won't look nice or organic. The lily box class gives the rule behind it, that all the lines are supposed to go to the same direction.
Is a T-stop always a right angle?
Not always. One I found later in this lesson was not a true 90 degrees, yet the line still ended straight against another. I united my vertical line and my diagonal line with a curl, and the movement carried on.
Can you draw a true circle with no compass?
Draw a square with its two diagonals and then a center line, connect the points and run lines through them. More lines taken from each corner give you dots where they cross, and those dots make the circle. More time and a ruler make it more accurate.
What to carve next