
Alexander Grabovetskiy, woodcarver, School of Woodcarving · Published 2018
How do you shade a flower drawing before you carve it?
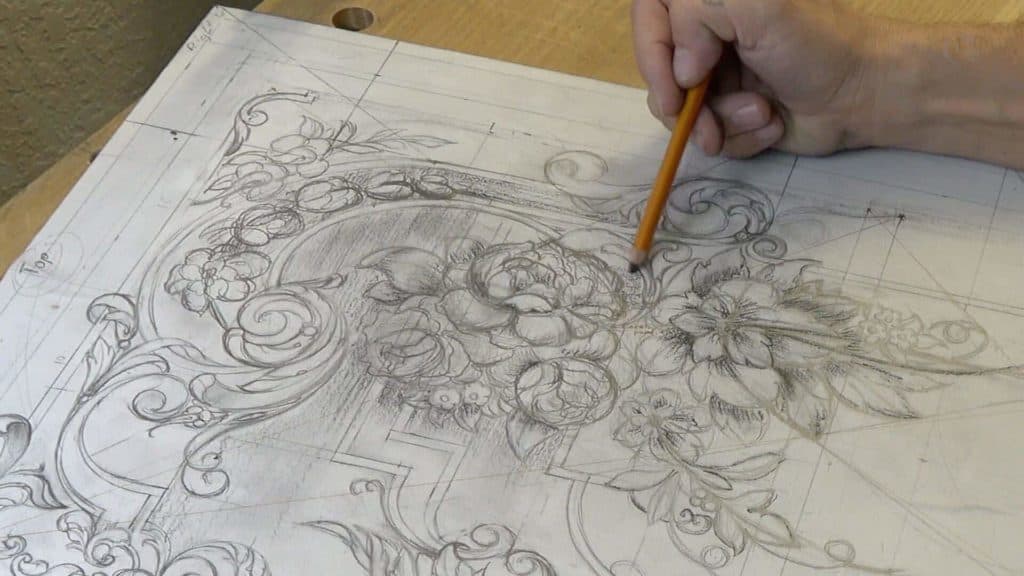
Quick answer: Shading a flower drawing before carving is, on my walnut furniture panel, charcoal put into the shadows so I can see how the flower will look once it's carved. I used a hard charcoal and then a softer one, kept it light, and touched white chalk on a couple of spots for the higher points.
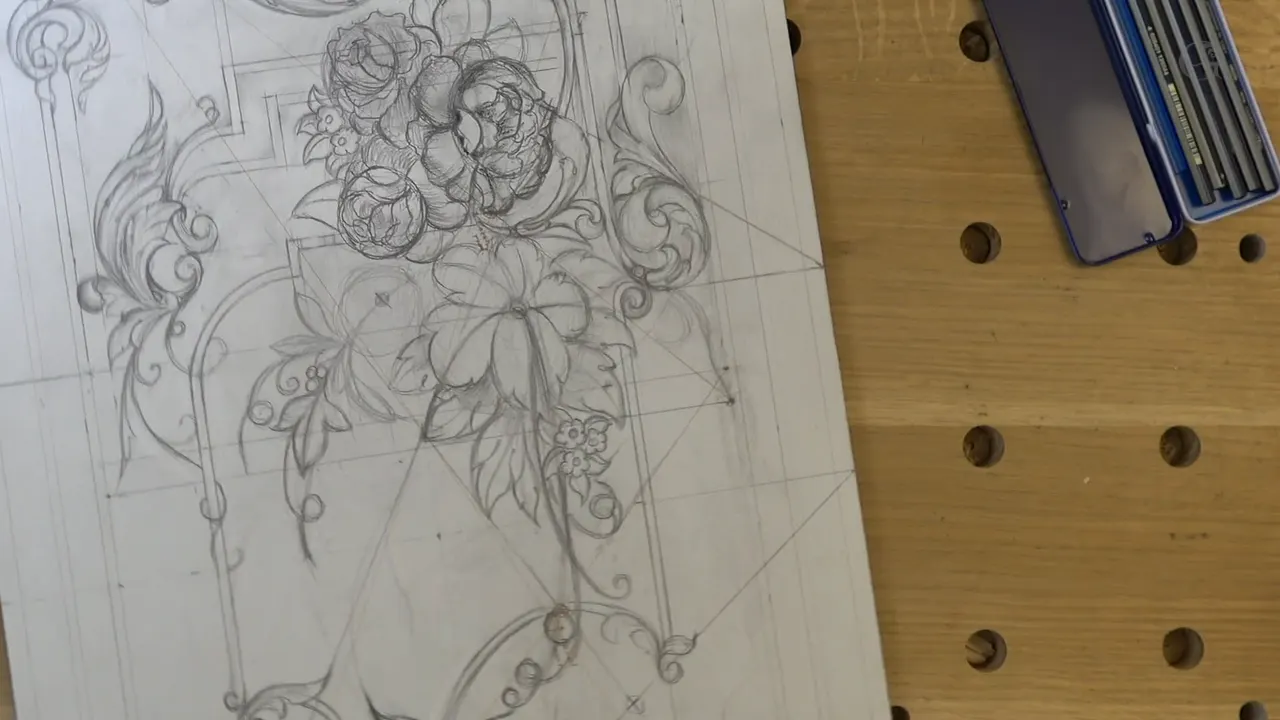
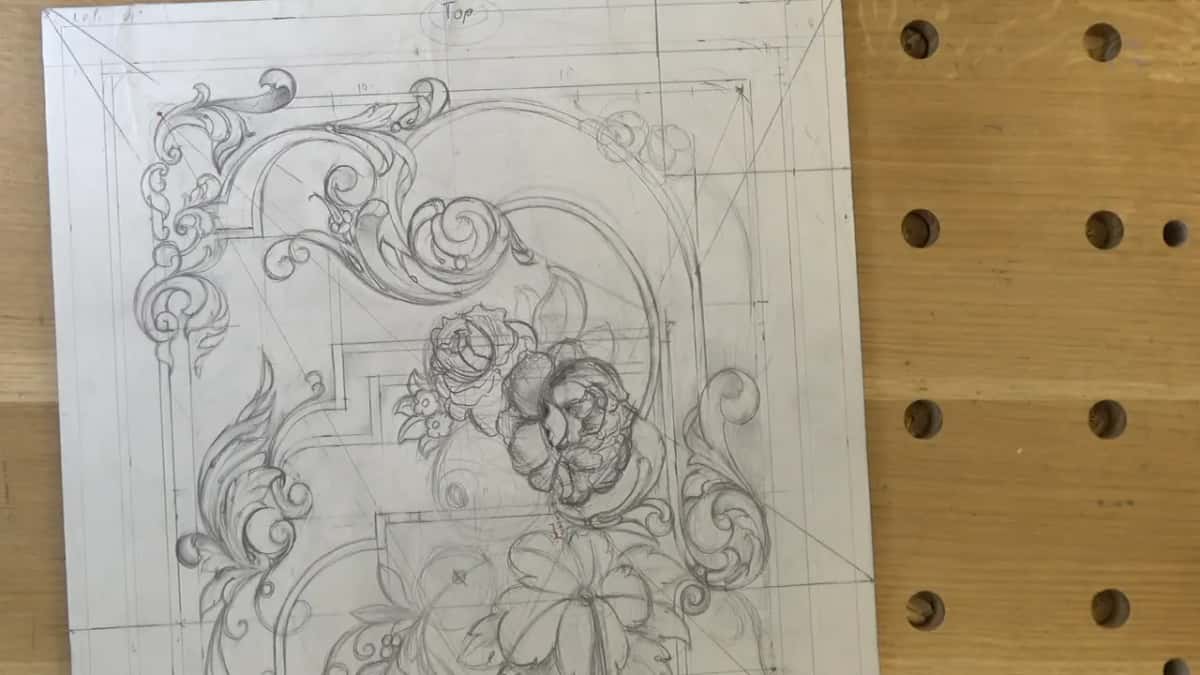
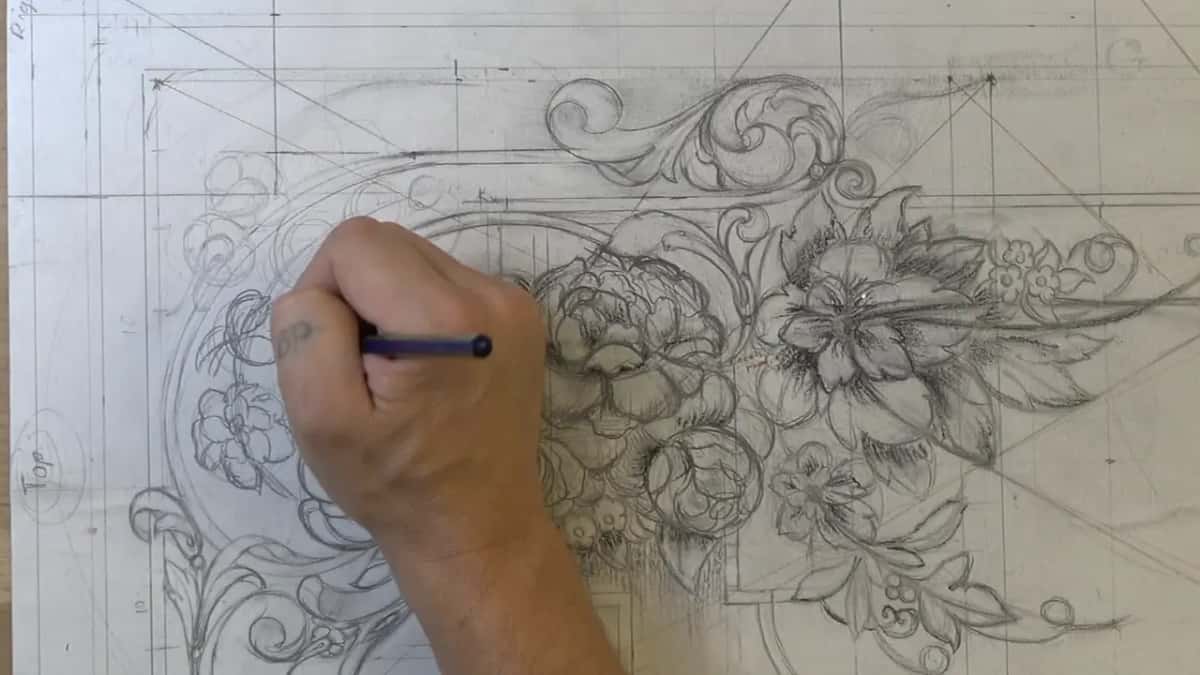
Shading a flower drawing for carving is putting charcoal into the shadows on the paper, to see how the flower will look once it gets close to the final stage. That's how I did it on my purple walnut panel. In lesson 13 of my furniture panel design course I said it plain. Right now, I know, it's kind of hard to picture what I have in my head. So I put some shadows in with a charcoal. That way they're a lot easier to see.
Would you like to see your flower in the wood before the first gouge goes in? And which petal sits high, and which one falls away? Then shade a flower drawing the way I did here, before you carve a thing.
Everything below runs in the order I did it, with my own words from the video. Pencil and charcoal carry nearly all of it. White chalk gets a very small part.
Six things I did to the flowers in lesson 13
- Gave the petals their directions first.
- Drew one more petal underneath, kept everything a little wavy, and hid part of what was below.
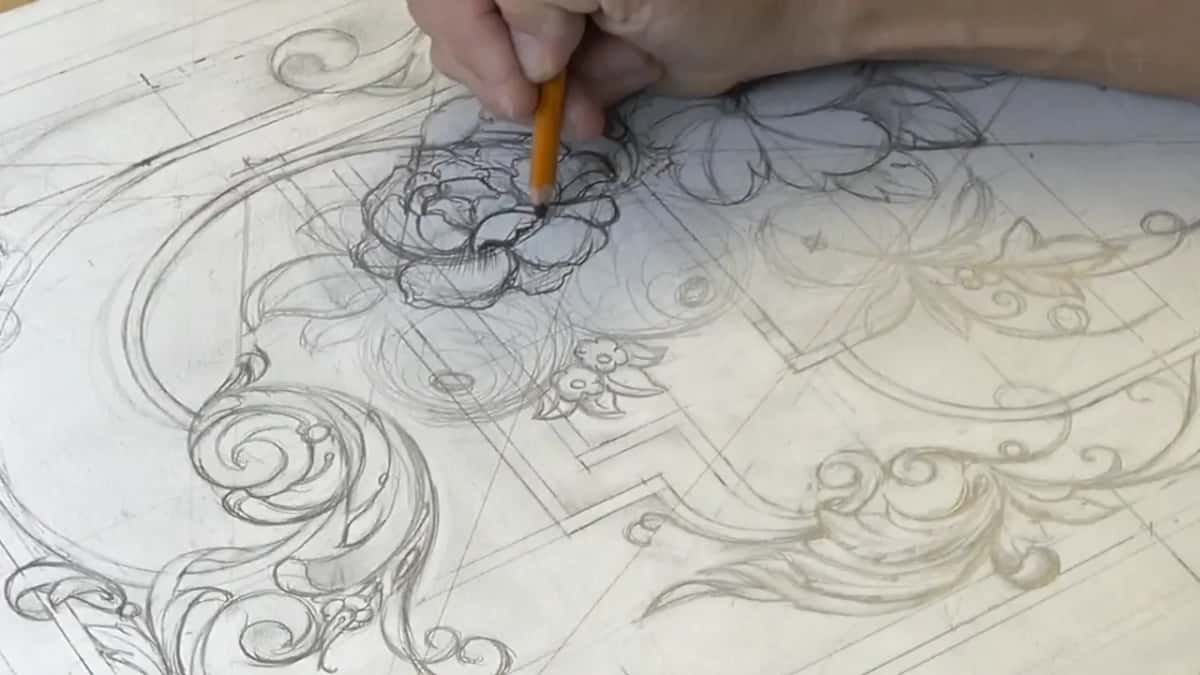
- Shadows in charcoal, hard and softer, not overdone.
- A little white chalk for the higher points.
- Smaller flowers to fill another area, and one space left as background and smudged.
- Four flowers made bigger to hide one detail.
Why put shadows on a drawing that will be carved?
To see it the way it will look when it gets closer to the final stage. I opened part one with that plan, to put some more details on those flowers from lesson 12 and get a better understanding of how they'd look.
Part two had me say it again, right before the charcoal came out. Let me put some shadows so you can understand exactly how it's going to look. Less than two minutes later I shaded inside one flower, where I can just see visually myself the movement of the flower.
Same thing in part three. Some shade went inside, where I'll see it much better when I carve it.
When we carve it, I told you, it'll make a lot more sense, and right now it just doesn't look like it's supposed to be.
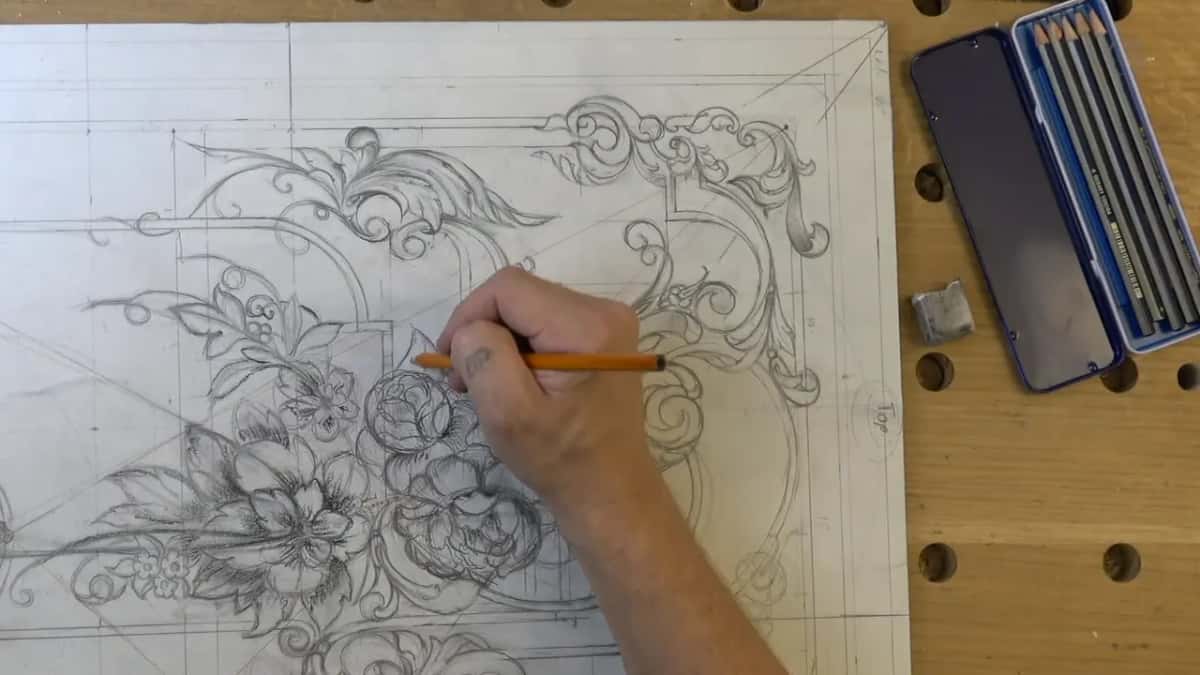
Painters have a name for using light and dark like this. Chiaroscuro, as Wikipedia puts it, is the use of contrasts of light to get a sense of volume in three-dimensional objects. The shading article there says it more simply, that depth shows when you change how dark a thing is.
In my Principles of Design class, lesson 4, I made a small spot of shadow inside a simple flower and told the class there are five levels of shadows. I didn't go into them that day. My Roman acanthus drawing got a black and a white charcoal pencil, and that page says why I call it an extra step.
Which way do the petals go before any shading?
Every flower has what I call the outer ring, or outside ring. That bottom ring, the lower layer, runs downhill most of the time, even if the rest of the flower grows uphill. So on the first flower, this part would grow up and that part would grow down.
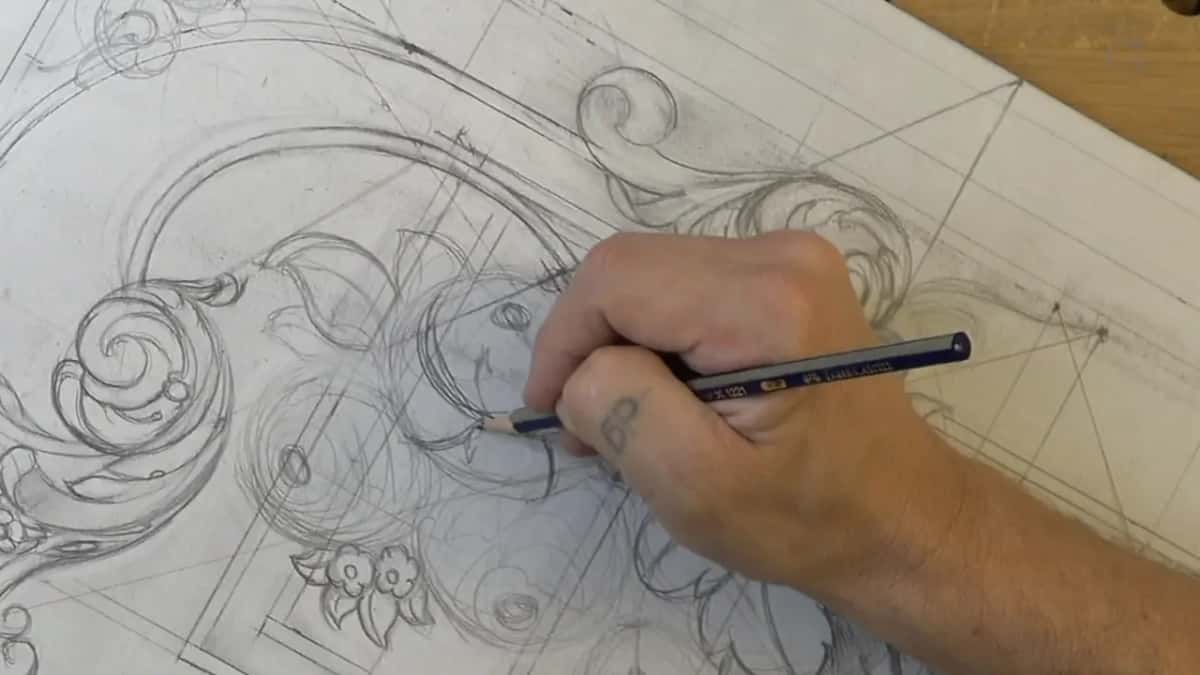
Next I got the softer pencil and made another petal underneath. Everything is supposed to be kind of wavy, I said. But on the other hand, I still wanted to cover some of the detail below.
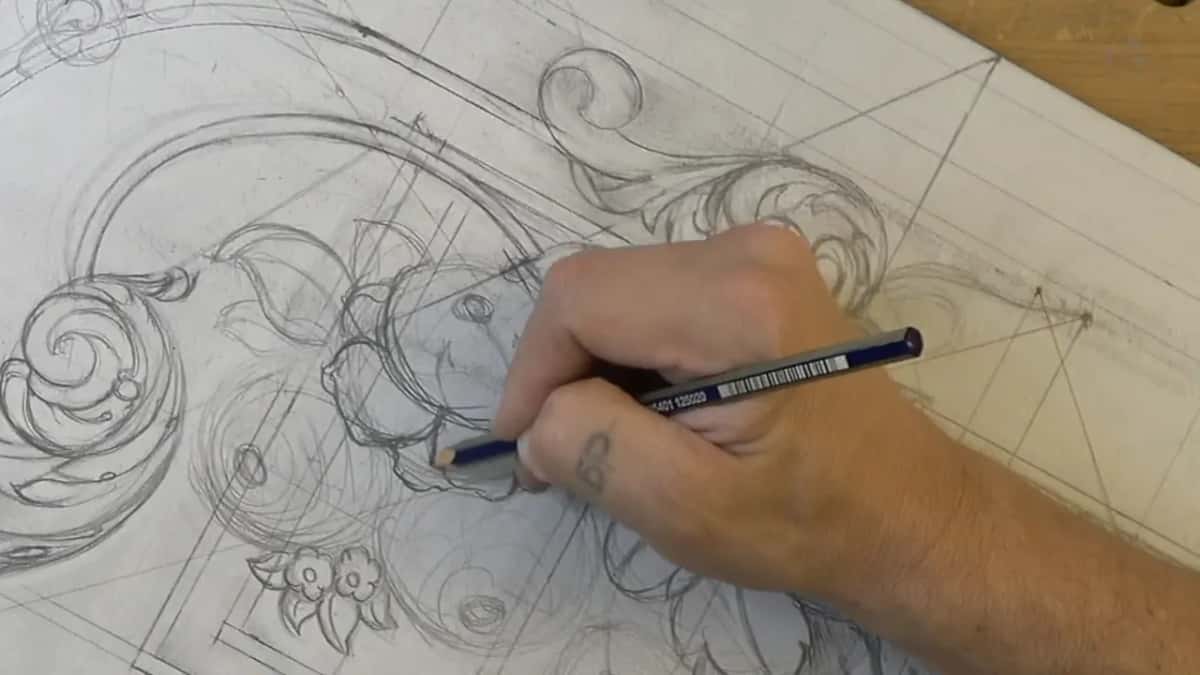
Petal by petal it went on. This one can also go downhill, and the next one can go uphill. About three minutes later I said I completely cover this detail. Near the close of part one some more ran downhill, and one turned inward, inside.
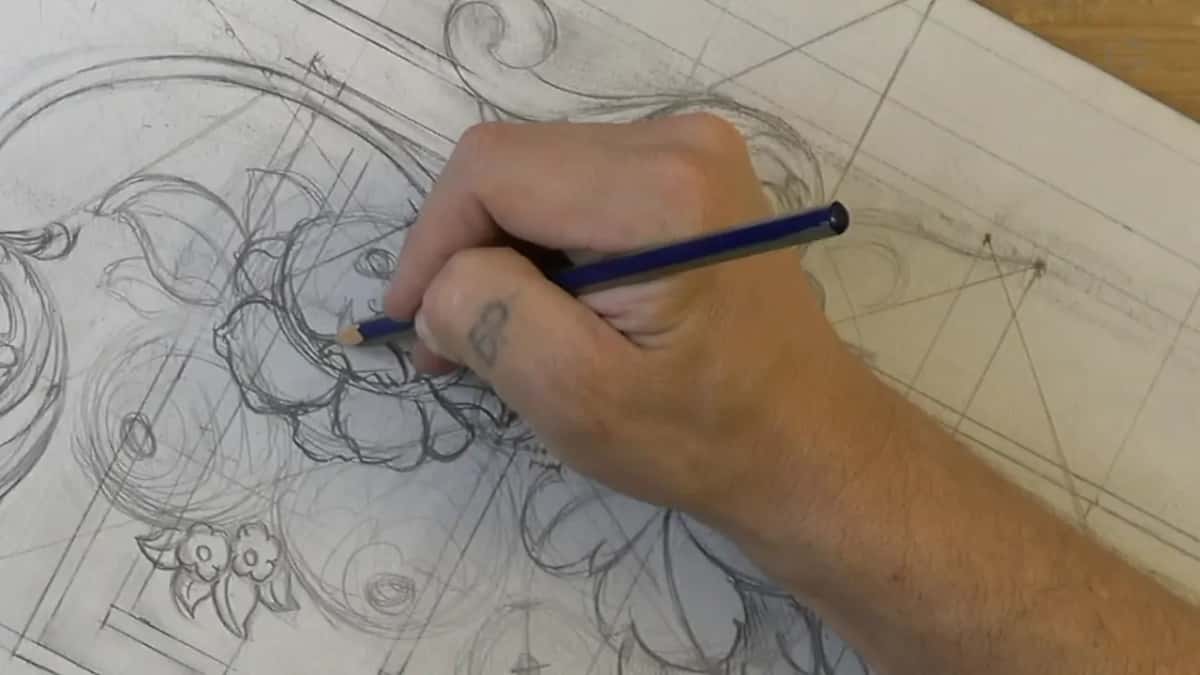
In part two I named them out loud, my upward petals and my downward petals. Wikipedia has a word for all of a flower's petals together. Its petal article calls them the corolla.
In my Hashemi flowers course I said the first ring of a flower goes downward most of the time, and the rest go upward. Then, in lesson 23 of the carving stage, the bouquet from this drawing got carved. I wanted to give one part even more dimension and move it downhill a little bit, so it feels like it's curling down. I do not want to overdo it, I said a little later.
Should you use hard or soft charcoal?
Both, on this panel. Part two is where I picked up a hard charcoal first, with a softer charcoal right after it. Then in part three I went to a harder charcoal again to make those movements stand out.
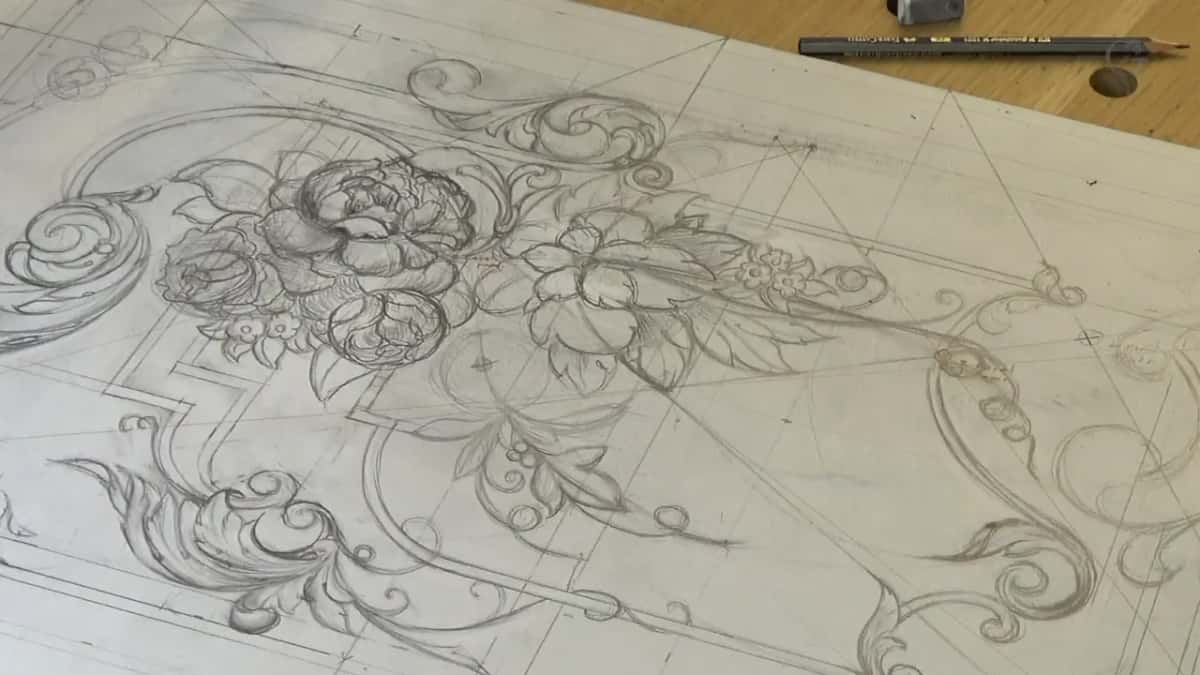
Some charcoal went in just to separate leaves. Then one spot got marked as my shadow line. The first time I picked up charcoal, in part one, I said I don't want to overdo it, just enough to get the general idea of the movement.
Wikipedia's article on artists' charcoal says both compressed charcoal and charcoal sticks are used, and that charcoal can make lines very light or intensely black. Some of my shadows went in as short strokes, side by side, under the bouquet. That's what the hatching article calls closely spaced parallel lines.
Right on the wood, I've talked myself out of charcoal more than once. In lesson 5 of the Venice Room I was having trouble seeing one part and said maybe I'll just use a charcoal. Though it's really not that good idea, it's going to be hard to clean. Maybe I'll just use a marker. How hard charcoal is to get off paper comes up again in lesson 14.
Where does white chalk go on a flower drawing?
On the higher points, and only a little of it. Near the close of the second part I said let me put some highlights, where I can visually see where my higher points will be.
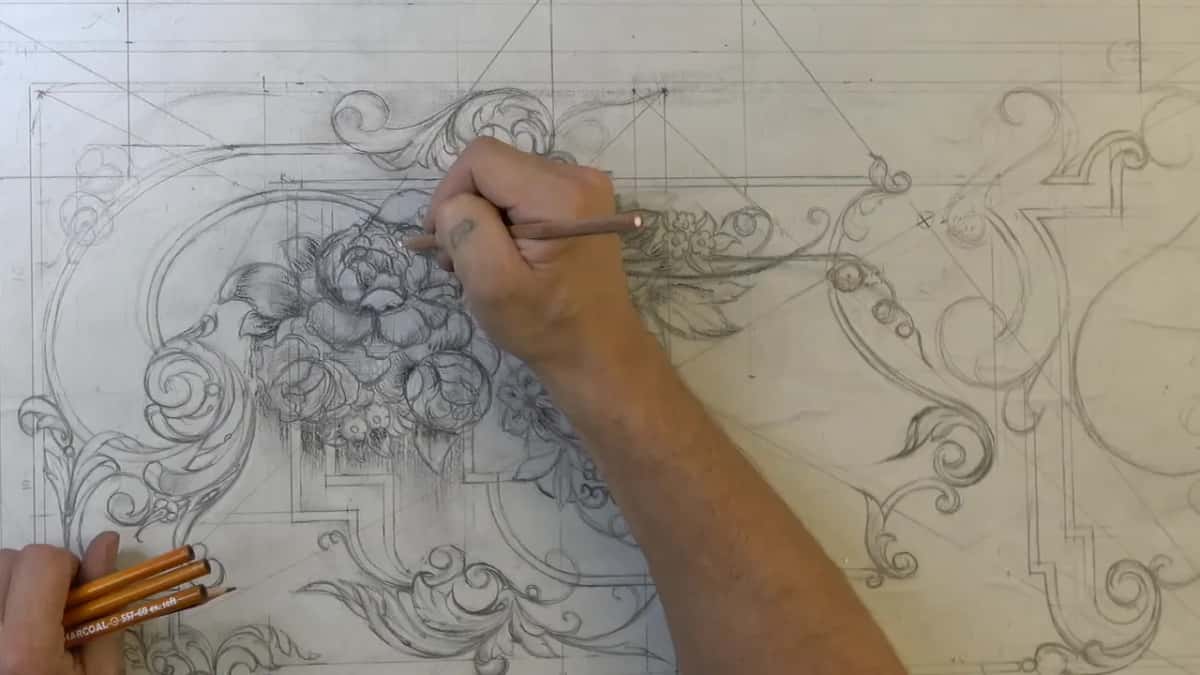
Part three is where I named it. That is just the white chalk, by the way. I just want to put some couple spots, just a little bit. Look at the frame above and you'll see three orange pencils in my left hand, and the stamp on one reads charcoal.
Chalk itself, says Wikipedia's chalk article, is a soft, white, porous rock, a form of limestone. Its article on relief describes what happens in the wood. When a relief is carved into a flat surface of wood or stone, the field is lowered, and the parts left alone seem higher.
How exact does the drawing need to be?
Less than you'd think. During part two I stopped and said this to you directly. When you're doing some drawings like that yourself, don't be afraid if it's not as accurate, not to the exact line. You'll get it there when you carve it, and you'll get more perfect movements.
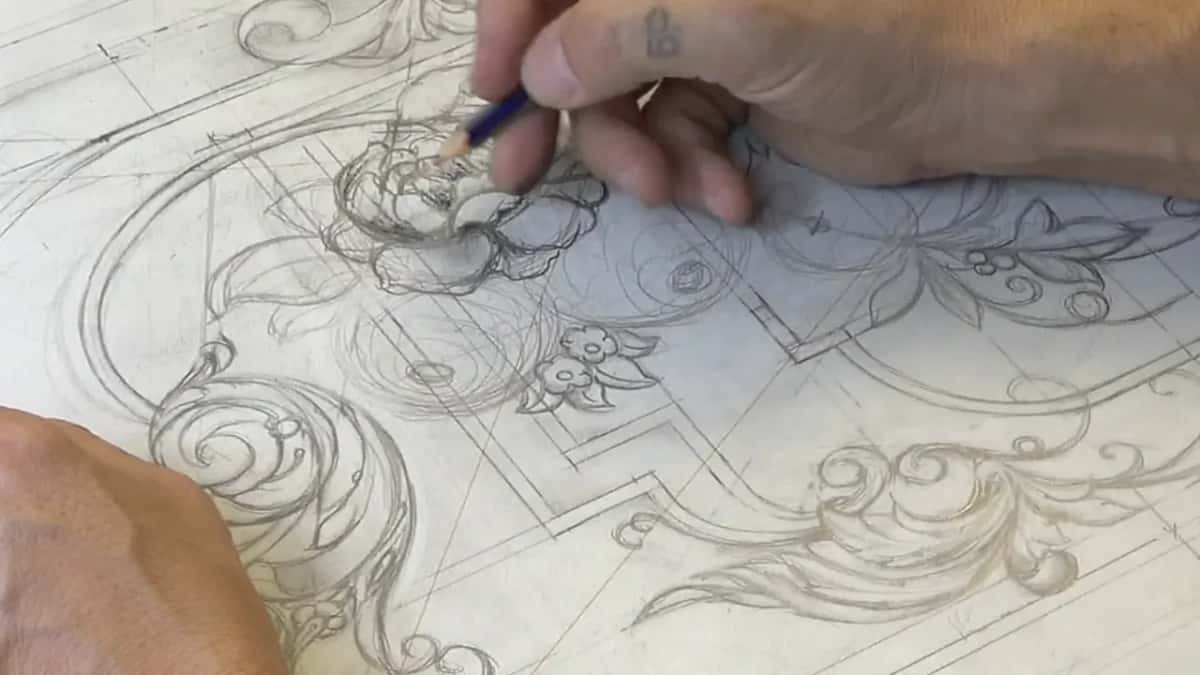
Part one has me saying I'd rather not spend too much time rendering it, or put too many details in at the beginning of the stage. I'm just doing the drawings. A sketch, in the words of Wikipedia, is a quick freehand drawing that is usually not meant as a finished work.
One line still had to be fixed. I wanted to see that line parallel to the other one, and that fix came before the shadows.
What do you do with a flower that looks too plain?
I grew more petals from inside it. I liked the first flower of part two, but it looked like it needed one more leaf just sticking out, growing like this. One distance bothered me too, so I made it even smaller. A small detail I kept going from underneath.
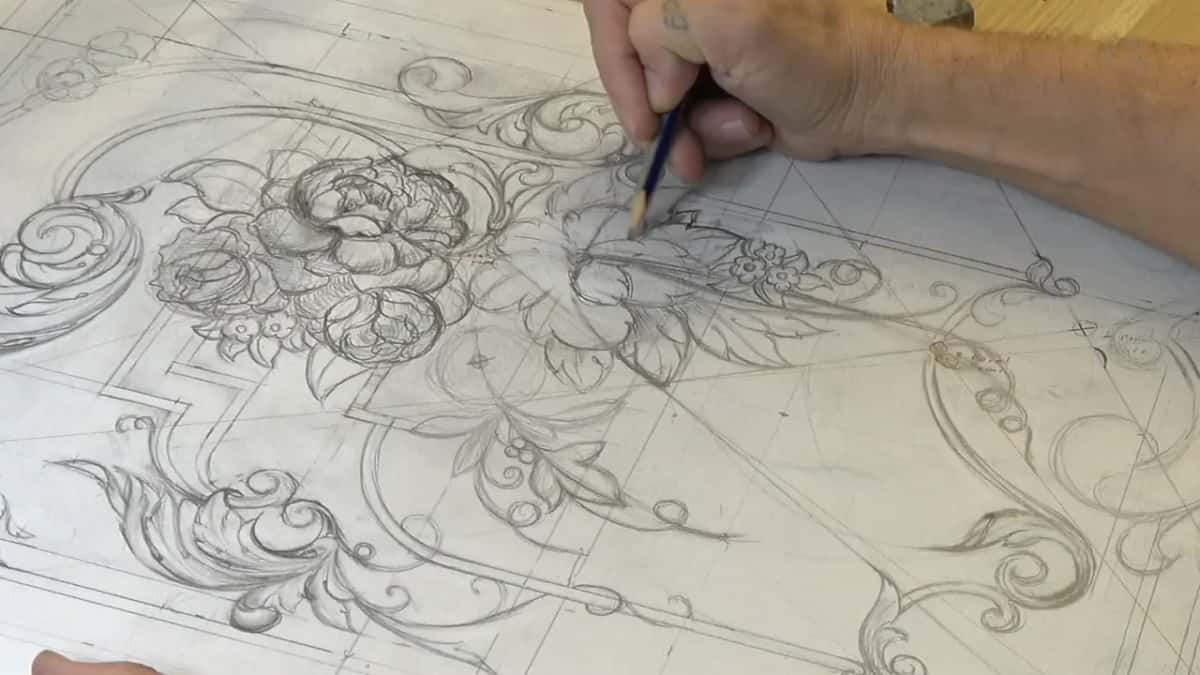
Then the plain one. I don't like how this flower looks, I said, it's just too plain compared to those. Let me think what I can do. And I can actually develop some other petals from inside.
Later in part two came a smaller flower on this side, the same idea, just a much smaller version of it. It grows from inside, and I made the subdivisions. Since we'd done the inner parts, that was a really good idea here too. A small flower carved petal by petal in relief is in my Floral and Molding course, lesson 7, and the order of work on a tiny one is in lesson 13 of that course.
How do you fill an area when you don't know the flower?
Smaller flowers do it. Partway through part three I jumped to another area I wanted to fill. I also want to put flowers there, but I don't know what type, I said. What I wanted was to fill that space with smaller flowers.
Some type of flowers. I don't know what type it is, but I try to fill this space and make little different movements. Then came some shade, so I can easily see them and tell them apart. In the lesson before I called really small, tiny flowers filler flowers.
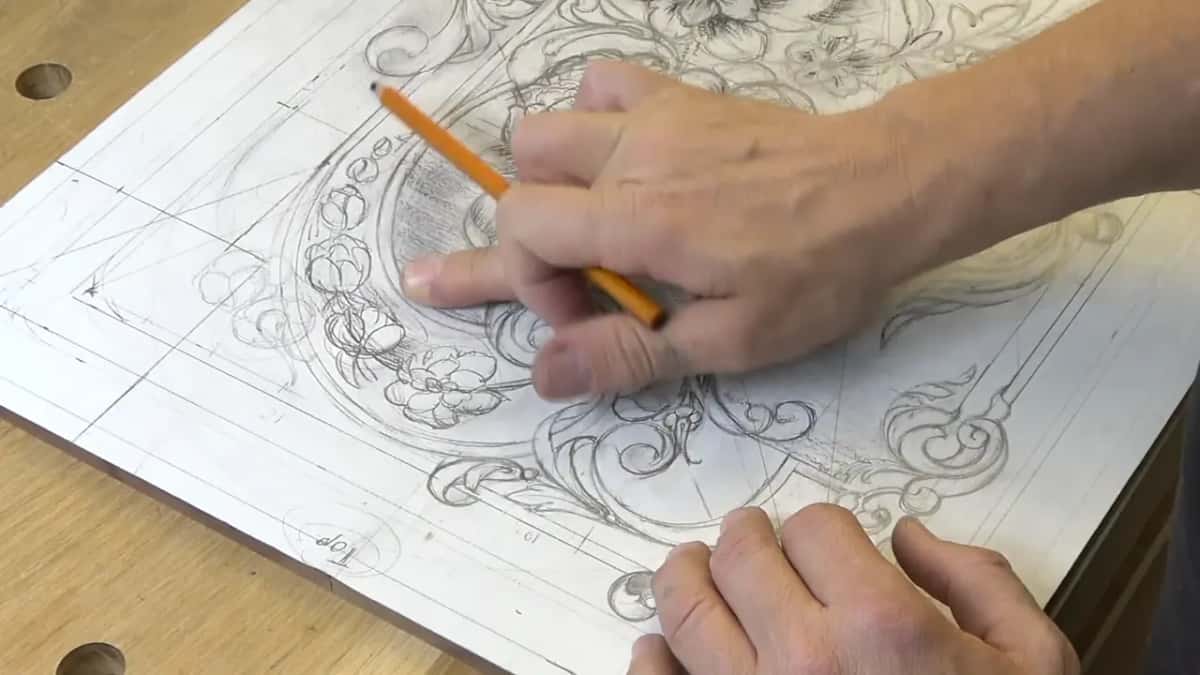
I liked it. This space stays as a background, I said, and that other spot is going to be background too. Smudge it a little bit. No tool gets named for that in this lesson. Wikipedia's article on the blending stump describes a paper tool shaped like a pencil that artists use to smudge charcoal and pencil marks. Then I said I'm happy, I'm happy with this side.
What if a corner of the panel looks too square?
Part four started with a doubt. I kind of don't like this being square, and I want to soften it somehow, but let me think first. Maybe I can just leave this outside border without even touching it. I think it looks good just like it is.
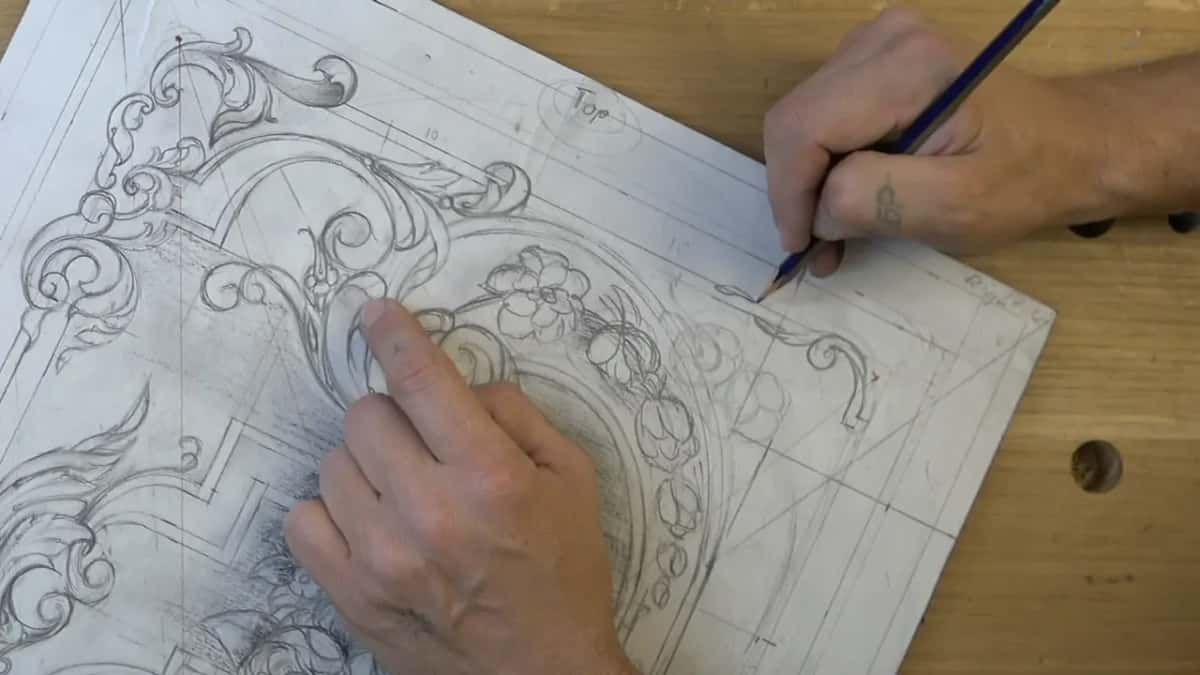
Still, I wanted a small movement there. Just a small one. It softened the edge, but I didn't quite like it. So I went in and did that, and yes, that looks much better. Then came some acanthus, flipped from inside out, just like that. Maybe it's too much. That should be enough.
The acanthus is, in Wikipedia's words, one of the most common plant forms used for foliage ornament in the building tradition that came from Greece and Rome.
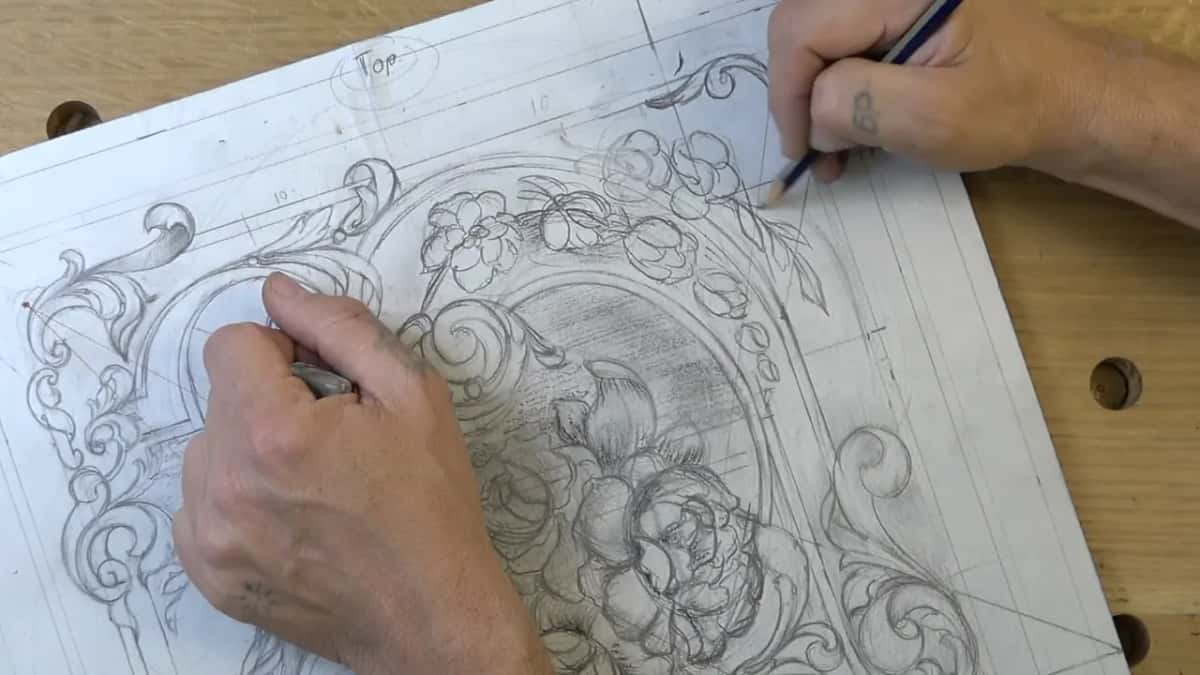
After that I went back to the flowers. I needed some kind of leafage going downhill, to repeat what was there and unite it. I followed one line first and did small ones, one direction and then the other. Really interesting flowers, I said.
Can you hide a detail you no longer want?
Under a bigger flower, on this panel. Late in part four I found something I needed to hide. I made this flower a little bigger to hide that part, then two more, and that one also got kind of bigger. Four flowers in all. That way I can hide this detail underneath.
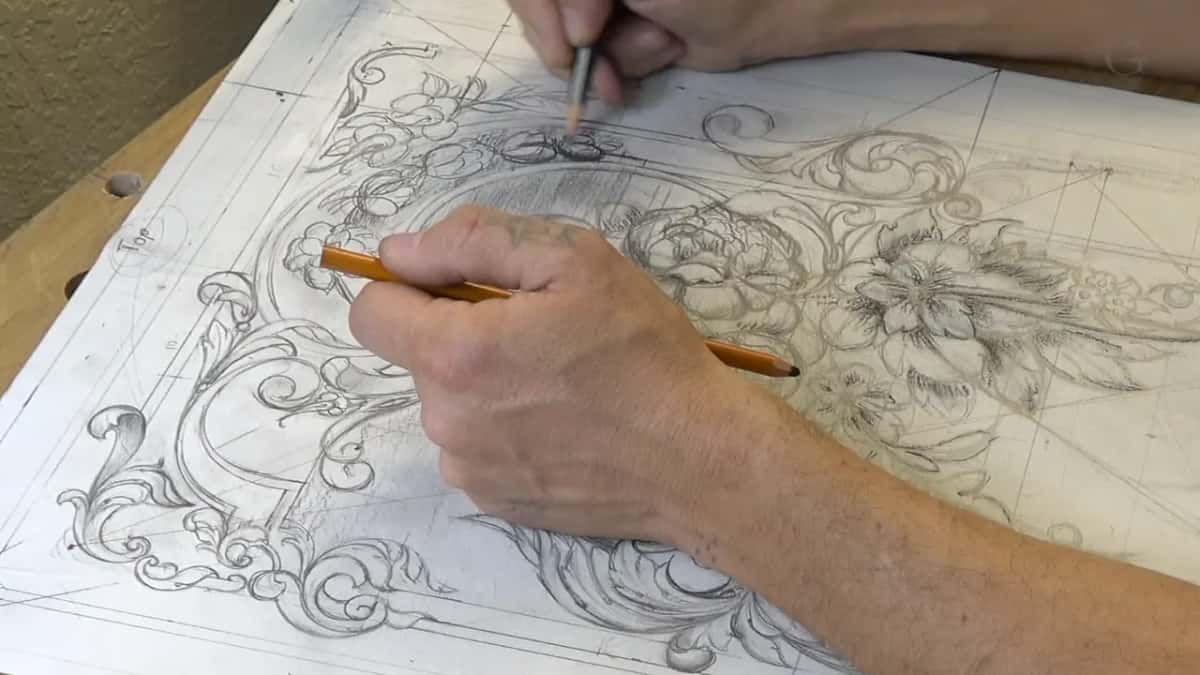
It does look good to me. If you don't agree with me, I'm okay with that, but that is my design, my approach. Some shades went in after it.
Once the carving started, in lesson 15, I said if you dig too deep, you have to hide that somehow. Although, if you look at some antique furniture, you can find all those mistakes the original furniture maker made. He was also just a human, and he made his mistakes also.
What each tool did in lesson 13
Below are five things I named in this lesson, each next to what it did and what I said on camera.
| On the paper | What it did on these flowers in lesson 13 | My words that day |
|---|---|---|
| A softer pencil | Drew another petal under the first one | Make another petal underneath |
| Hard charcoal | First in part two, then in part three to make the movements stand out | This is a hard charcoal |
| Softer charcoal | Followed the hard one in part two | Again, just a charcoal |
| White chalk | A couple spots, the high points | Just little bit |
| A smudge, no tool named | The space I left as background in part three | Smudge it a little bit |
When is a shaded drawing enough?
When I'm happy with that side, and I said so three times in this lesson. I guess 100%, I said in part four. Of course, I can add more if I wish to, but I think that's plenty of details. And soon, very soon, we're going to start carving it.
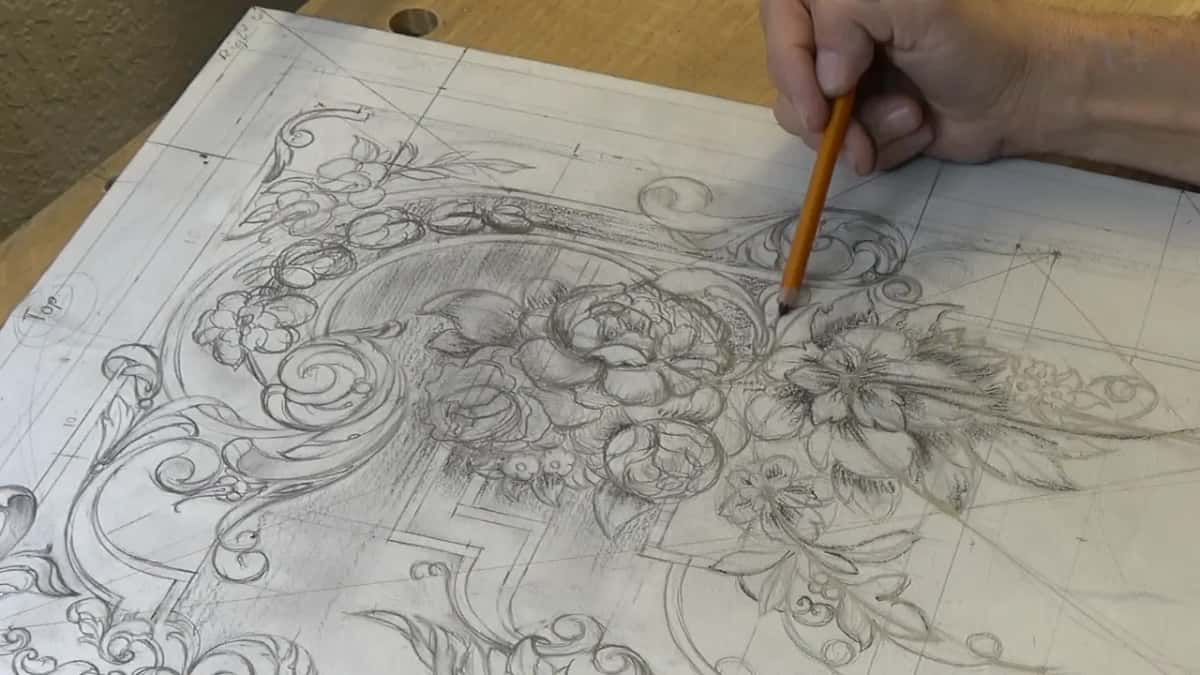
When I did carve the bouquet, in lesson 23, I said I don't want to lose the main movements, but I can always look at the picture and restore whatever movements I lost. I love the color of this wood. It's just so nice.
A part later I went underneath one shape, and it gives a really nice shadow. We don't have deep excavation, but it feels like it's really deep. That's what we're after. Every bit of it sits on purple walnut, and Wikipedia's Juglans article says walnut trees are any species of tree in that genus. It stands like a panel for a door, as I said in lesson 1, and Wikipedia calls that kind of construction frame and panel, or rail and stile.
All fourteen design lessons, and the carving stage that comes after them, are open with Access to the school. If you want to watch the charcoal go on and then see the same flowers come out of the wood, that's where it is.
How it's done
- Give each petal a direction. Decide which part of the flower grows up and which part grows down. The bottom ring usually runs downhill.
- Add a petal underneath. Softer pencil, one more petal under the first, a little wavy, so it hides some of what is below.
- Shade lightly with charcoal. Only the general idea of the movement. Don't overdo it.
- Hard charcoal, then softer. Start with the hard one and follow with the softer charcoal. Use them to separate leaves or mark a shadow line, anywhere you need to see better before carving starts.
- Touch in the high spots. A couple spots of white chalk where the high points will be.
- Leave some background. Pick the space that stays as background and smudge that area a little, the way I did in part three.
Frequently asked questions
Can I shade with a regular pencil instead of charcoal?
In this lesson a softer pencil drew one petal under another, and the shadows went in with charcoal, which makes them a lot easier to see. On a Venice Room panel, right on the wood, I once called charcoal not that good idea, since it's hard to clean.
Should the whole panel get shaded at once?
I worked one side at a time, and every part of the video had some shading in it. At the very close of the lesson I said next time we'll jump to the next section, and I wasn't even sure we would finish that side, only that we'd work on it.
Which petals point downhill on a drawn flower?
The bottom ring, the lower layer, usually goes downhill, even when the rest of the flower climbs. On my panel one part was drawn to grow up and the part under it to grow down, and another petal went underneath, all of it a bit wavy.
What to carve next
- Carving Furniture Panel, Design, Part 1, the whole course
- Designing Furniture Panel 12, the lesson before this one
- Designing Furniture Panel 14, the lesson after this one
- Carving Furniture Panel 23, the bouquet carved
- Carving Roman Acanthus 1, black and white charcoal
- Carving Furniture Panel, Part 2, the carving stage