
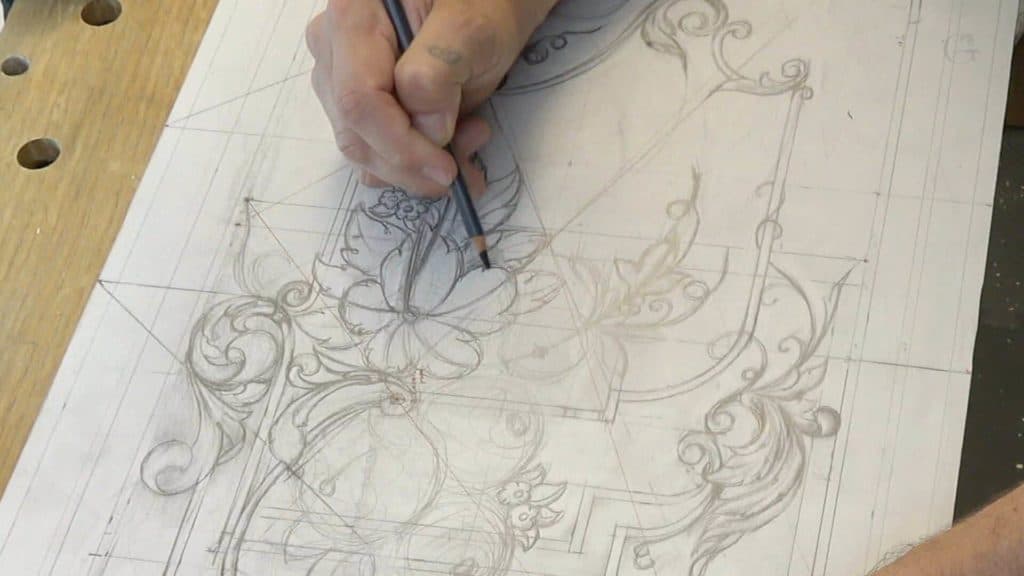
Alexander Grabovetskiy, woodcarver, School of Woodcarving · Published 2018
How do you draw flowers for a low relief carving?
Quick answer: Drawing flowers for a low relief carving is, on my walnut panel, drawing the main movements and not the details of each flower. The carving stays shallow, so I decide the final movements while my chisel is in the wood. The pencil settles where the cluster goes, how big each flower is and where its center point sits.
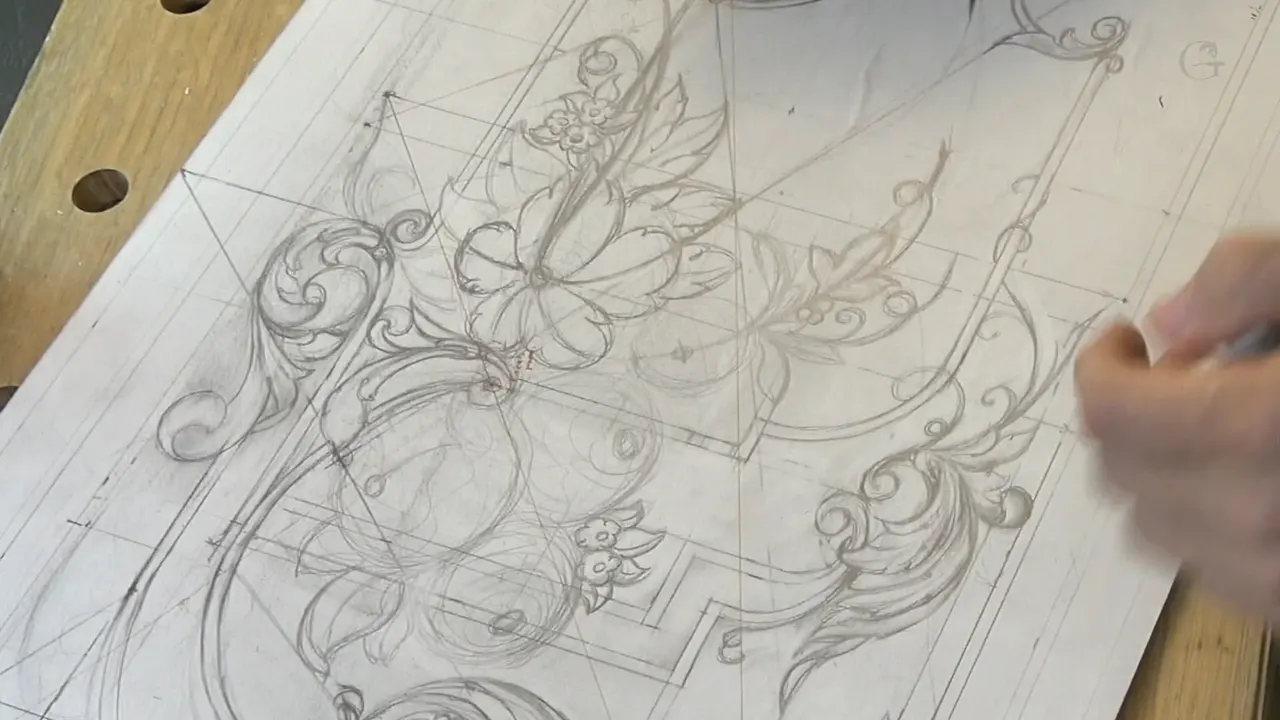
Drawing flowers on a low relief panel is, on my walnut furniture panel in lesson 12, a job for the main movements. I leave out the details of the flowers, and I said why right at the start. This carving is not going to be as deep, so I determine the final movements while I'm working on them, with my chisel in the wood.
Would you like your flowers to look like they belong on the panel? Would you like to know where each one goes before a gouge ever touches it? Then start where I started, with the main movements.
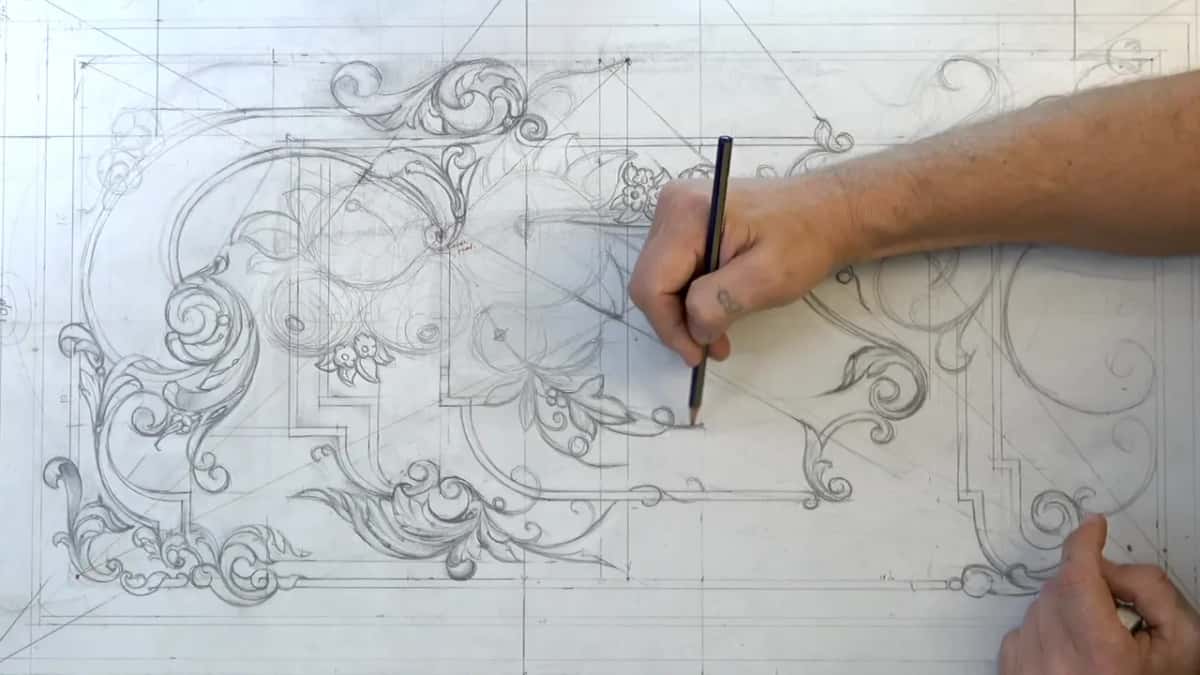
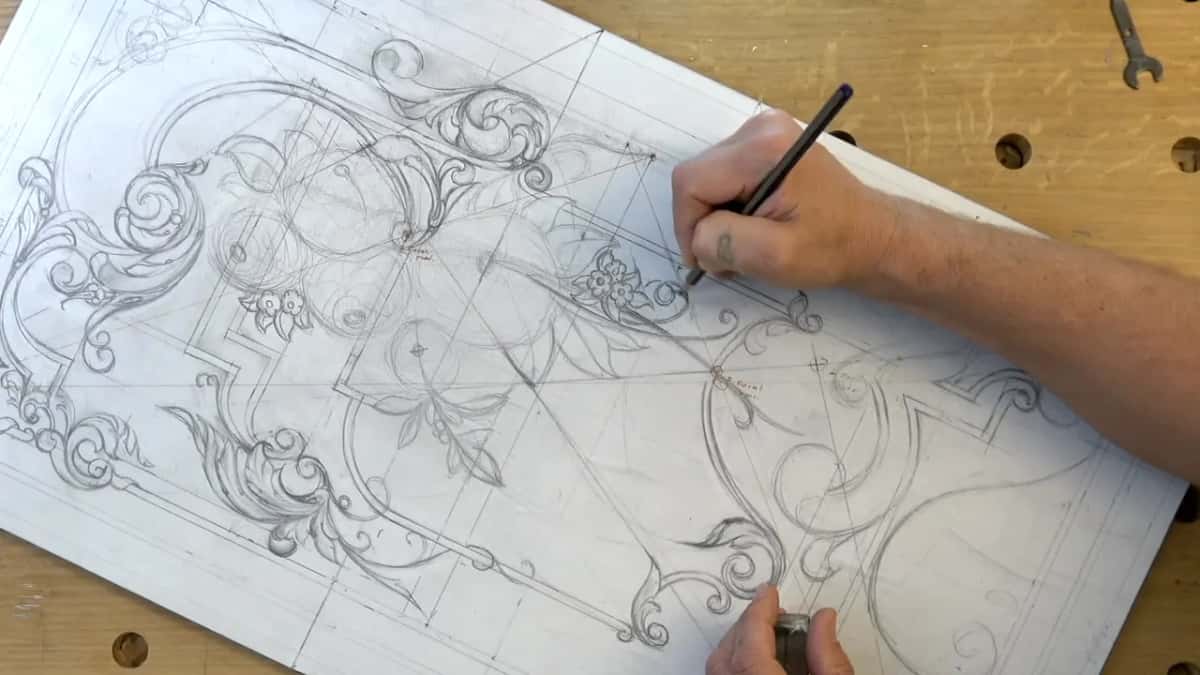
Below is what I drew, in the same order I drew it. Three main flowers come first, then leaves and berries, then small filler flowers, and at the end one flower turns into something close to an acanthus flower.
What lesson 12 puts on the paper
- Only the main movements of the flowers went down, and their details wait for the chisel.
- A cluster of three flowers that follows an invisible line and makes almost a reversed S.
- Three sizes, so no two flowers close together match.
- A center point for every flower, just off center.
- Leaves that mostly follow one main flow, a few berries and two small groups of filler flowers.
- Shade under the shapes, so the main idea reads.
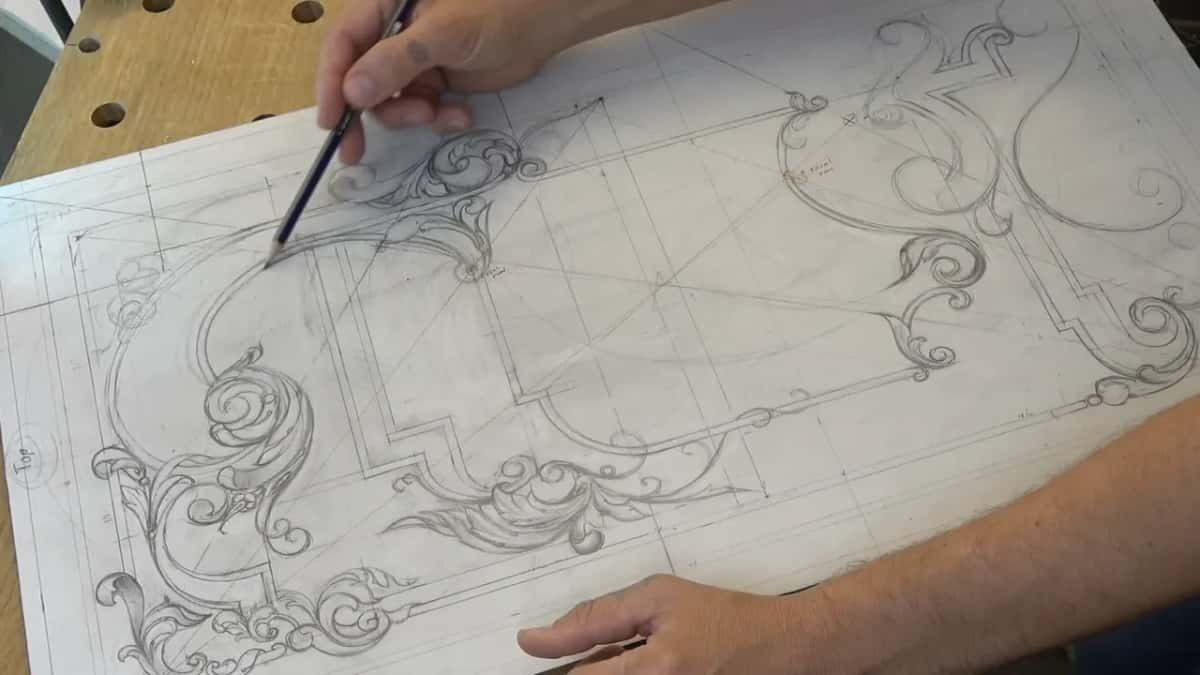
Why leave the details of each flower for the chisel?
Depth decides it. My carving here will not be deep, which makes it shallow work in the furniture style that Chippendale and the other makers used. On camera I called it shallow, or low relief, or furniture style.
Back in lesson 1 I planned not to go deeper than 3/16 of an inch, 5 mm, on a board that stands vertical, like a panel for the door. So the flowers get their final movements in the wood, with the chisel. Here I only develop the main idea.
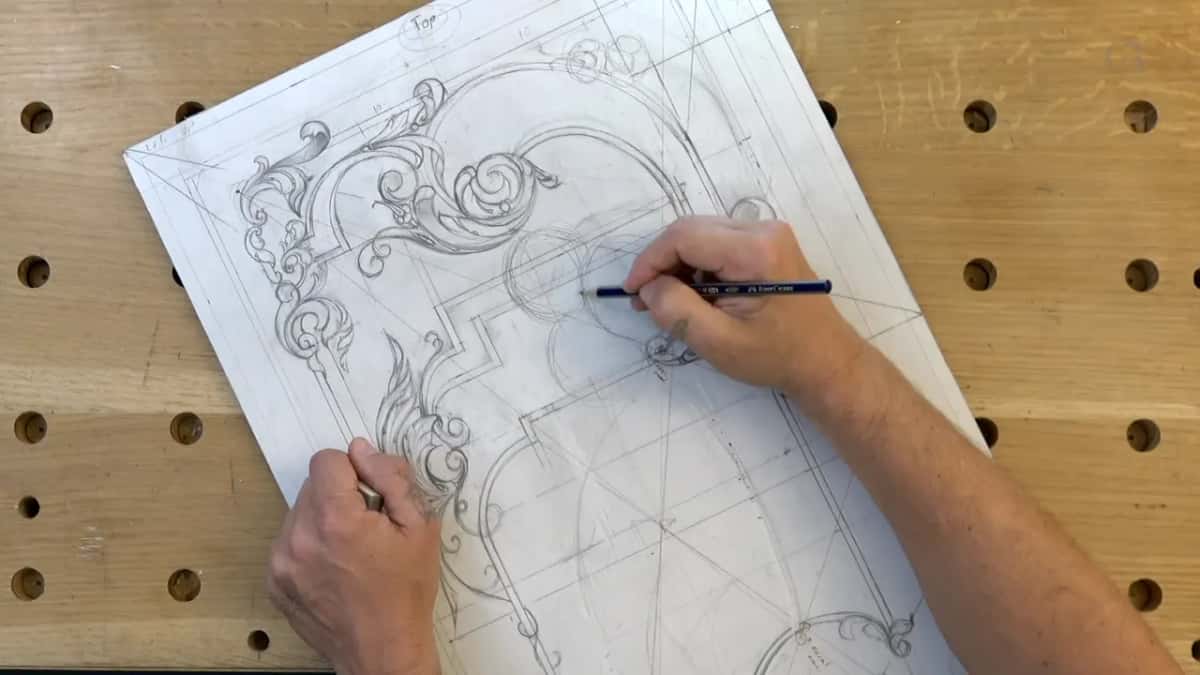
I said it twice more in the last part of the lesson. Once I carve it, I'm probably going to fix some of the movements, and I think I'm going to change some stuff. But as of now, I kind of like it.
How do you lay out a cluster of flowers?
I start with the one spot on the board that I want to fill with flowers. The area from lesson 11 I left like it is. This time I jumped to the spot where the future flowers go, and that is going to be my main focal point.
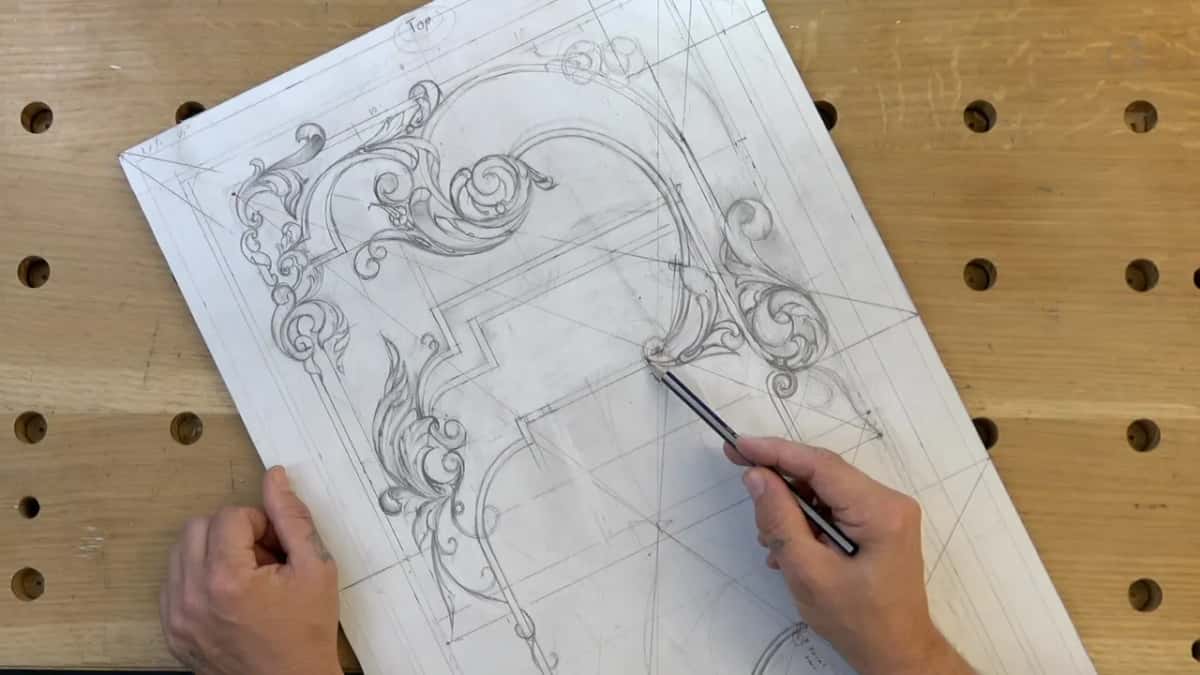
First I create a cluster. I connect this line, which is an invisible line, and the flowers move along it. That creates the overall reversed S, almost like a reversed S.
Next I thought about where to stop, not too far, and I put my stopping point somewhere right there. Two points got connected with a slight movement, and I kept about the same distance from the center.
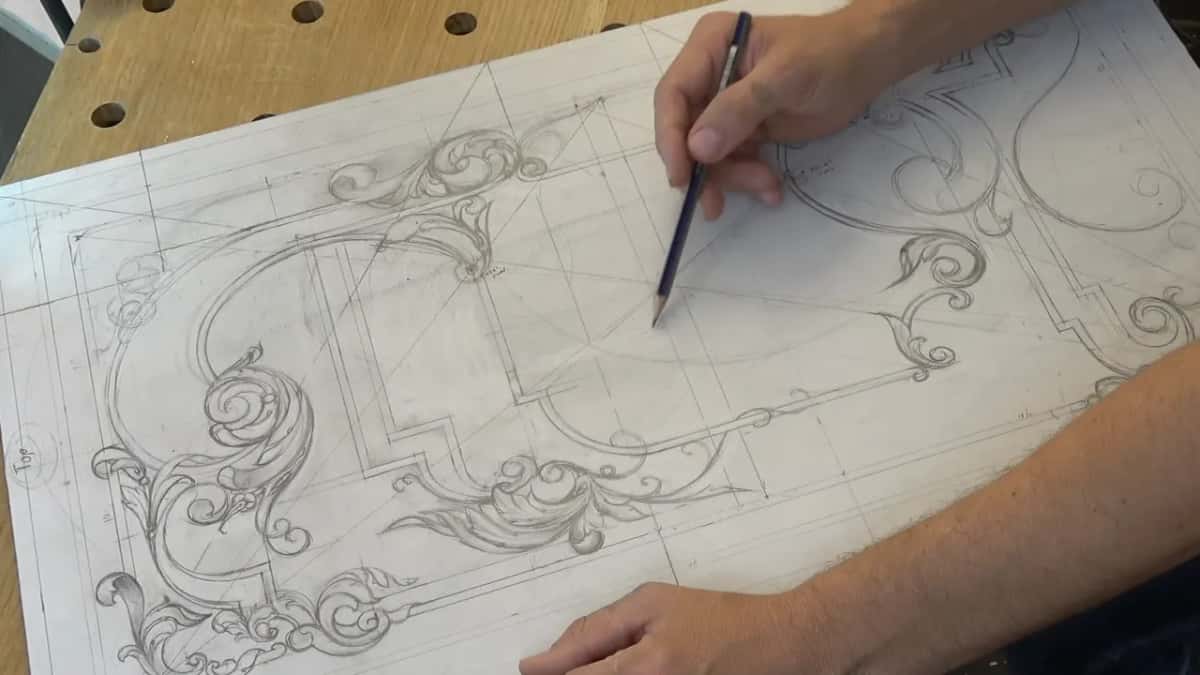
After that came triple flowers, three flowers altogether. I moved one of them a little bit toward the center, and those three are my main ones.
Should flowers in one cluster be the same size?
No. It's a really important rule, again. When I put three blooms close together I make the first the biggest, the second a little smaller, and the third smaller again, so no two of them repeat the same size.
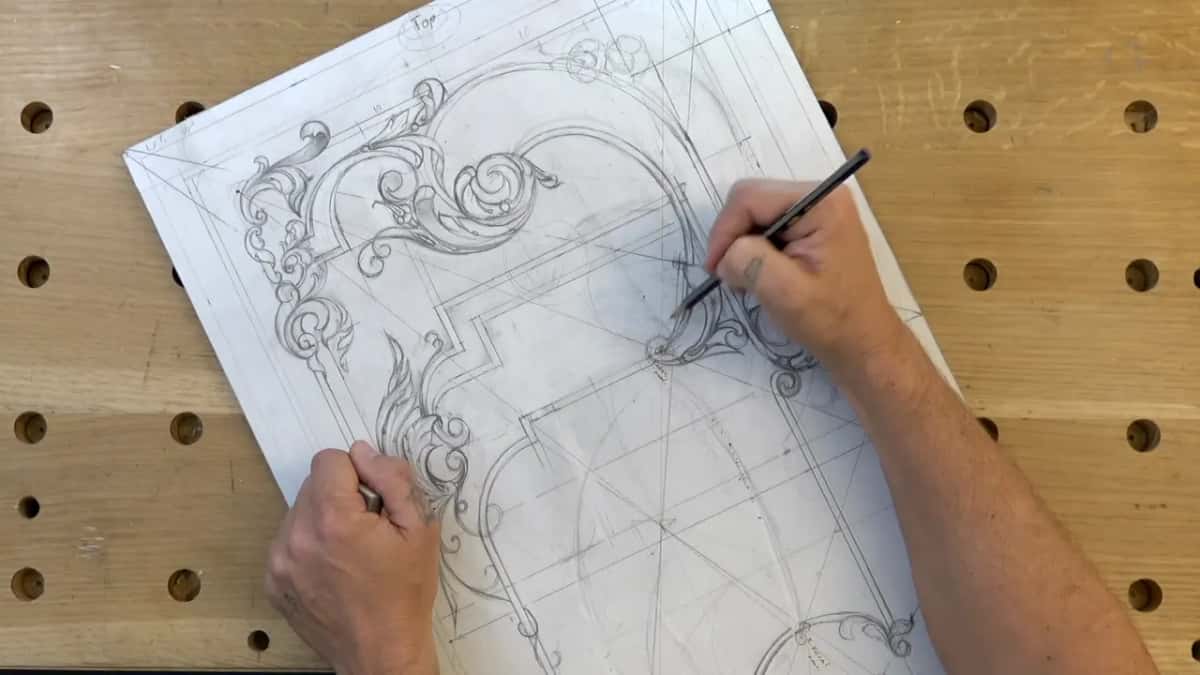
I wanted some more flowers after that. Beside the cluster I put a completely different type of flower, then repeated the original type smaller in another gap. By different I mean an absolutely different kind of flower.
Sizes came up again in part three, on a few shapes at the second filler spot. This one needs to be a little bigger than that one, I said, and this one a little bigger again.
Each part of the drawing and what I said about it
Six things went onto the paper in this lesson. Here is each one next to what I did with it and my own words about it.
| Shape on the drawing | What I did with it in lesson 12 | My words on camera that day |
|---|---|---|
| The main cluster | Three flowers on an invisible line, almost a reversed S | I don't want to go too far |
| Every center point | Off center, about six parts out of 10 | Not really critical, just approximately |
| Leaves near the flowers | Most follow my main flow, and one gets a flip | Although not all of them |
| A few berries | Added in part two among the leaves | I do kind of like those berries |
| Small filler flowers | Simple flowers with tiny leaves in two empty spots | They always look beautiful |
| One of the flowers | Five main divisions, then every petal and leaf subdivided | Close to acanthus flower |
Where does the center of each flower go?
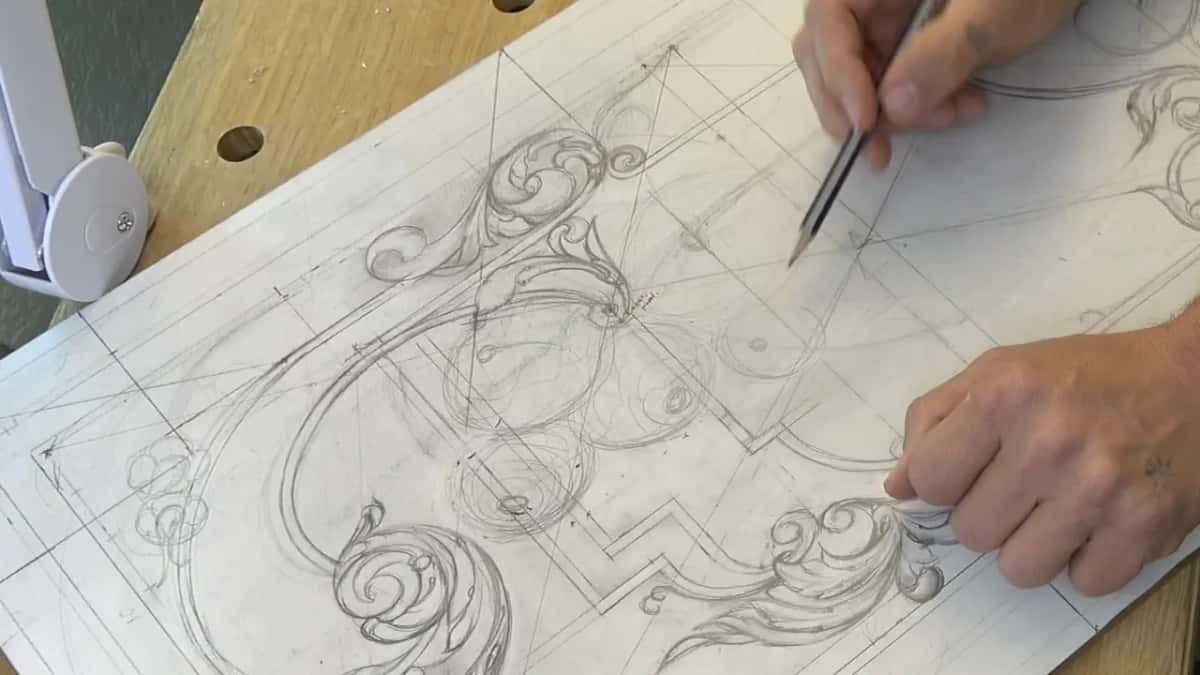
It goes where the movement of that flower tells it to. If my movement goes this direction, I create my center point somewhere right here. One flower goes downhill, or looks downhill, but I still intersect this line. Its center point goes right there.
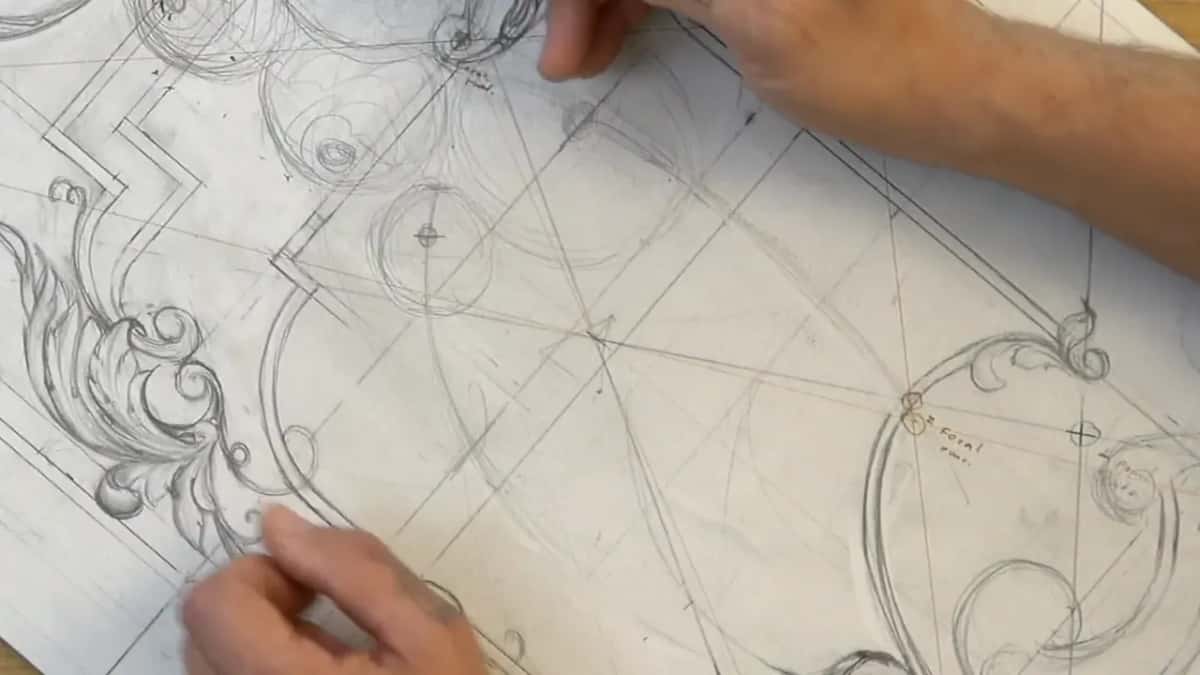
And I put every one just off center. Same rule. If you divide this line in approximately 10 parts, then the golden point is six out of 10. I eyeball it. It's not really critical, just approximately.
The same proportion gave me the golden points of the whole board in lesson 3. Here it works on one flower at a time.
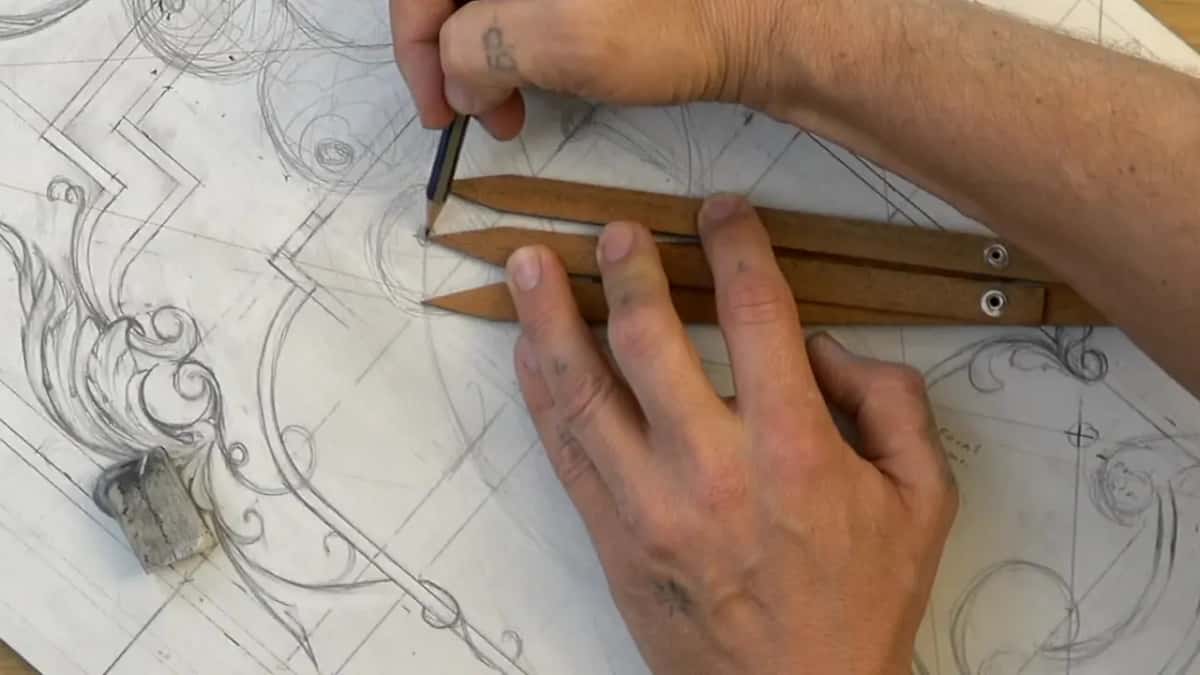
I double checked one with my golden ratio tool, and it just gets to that point exactly. The tool automatically divides 10 in six parts, so I can always check, like a caliper, where my golden point is. So that is actually a really handy tool to have.
Which way do the leaves go?
Mostly along one main flow. After the flowers I need leaves, or leafage, and I have to follow the logic of movement and see my main flow. So my leaves follow that direction too, although not all of them. It still makes sense to do that.
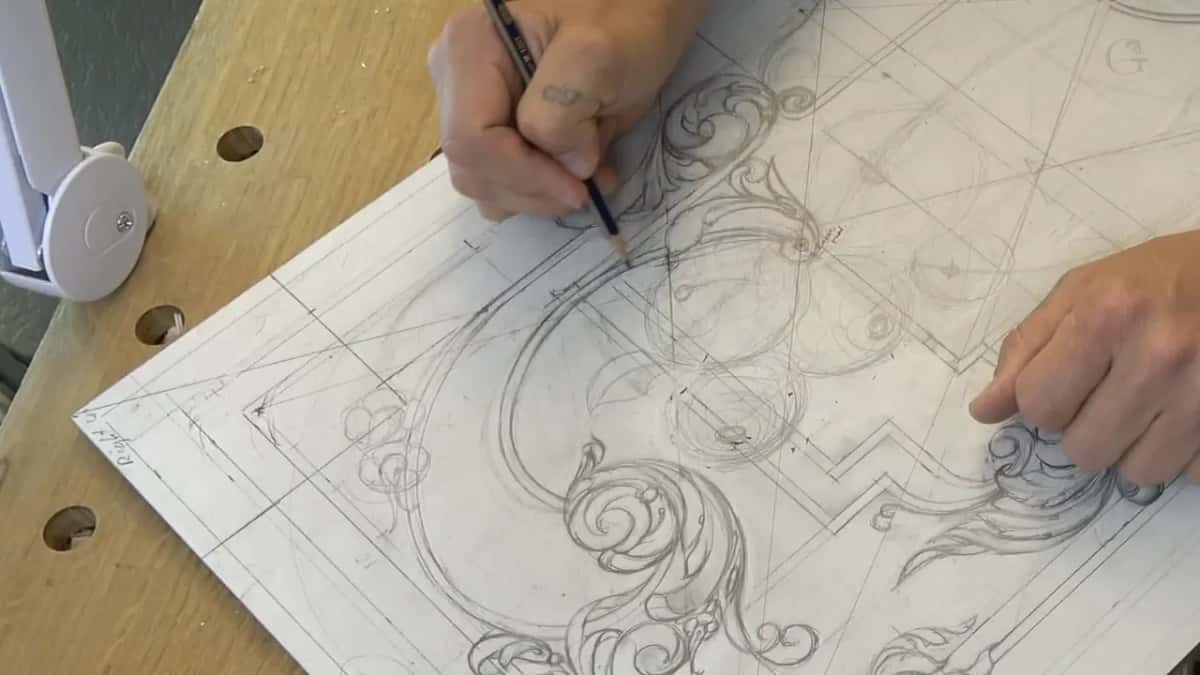
There is an almost invisible line there, and I thought it was a good idea to hit it. One leaf got a flip. Then I worked my way across and created an absolutely different type of leafage, like triple leaves. I can always change it. But I want to keep my center line, because it repeats my center movement.
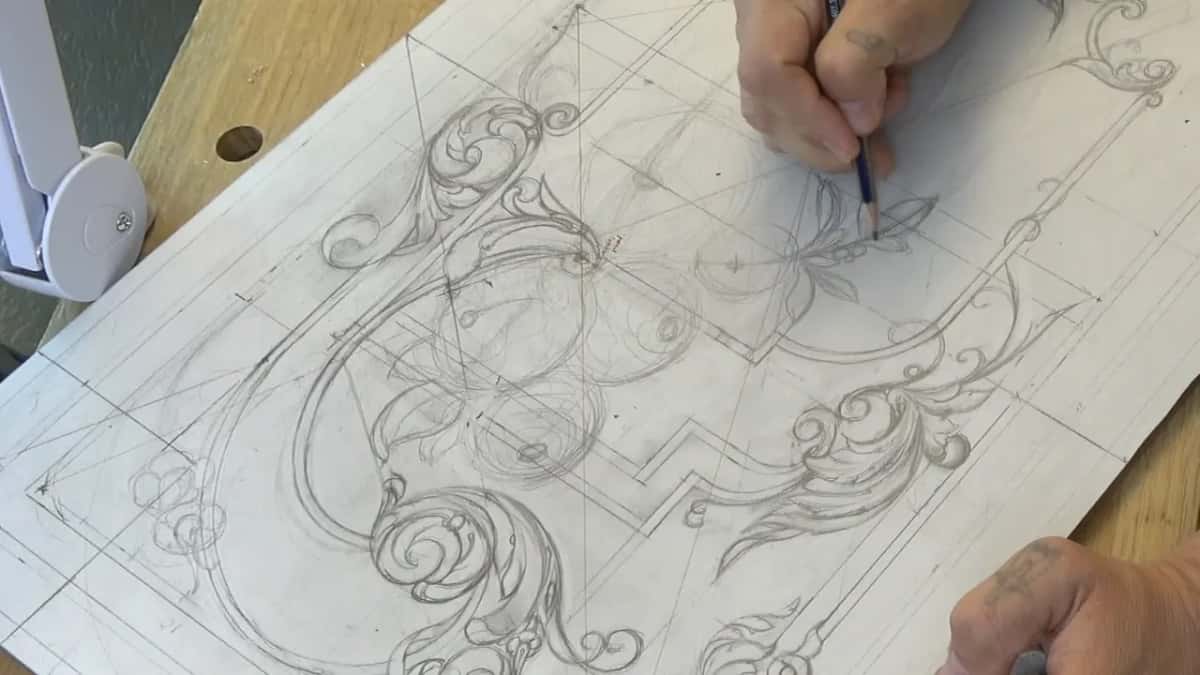
Next came some kind of weird stuff, as I called it. One movement repeats one line and another repeats a second one, and one goes toward the other, like an invisible connection. A long movement hangs down. Its leaves start with this line and finish with that line, and underneath I put another one, so it's just like a double leaf.
Another leaf goes toward the center and hits the center line, or sinister line, and the center point. I repeat that movement somewhere else, maybe a small one, and just kind of go over this molding. I think it's a good idea to do that.
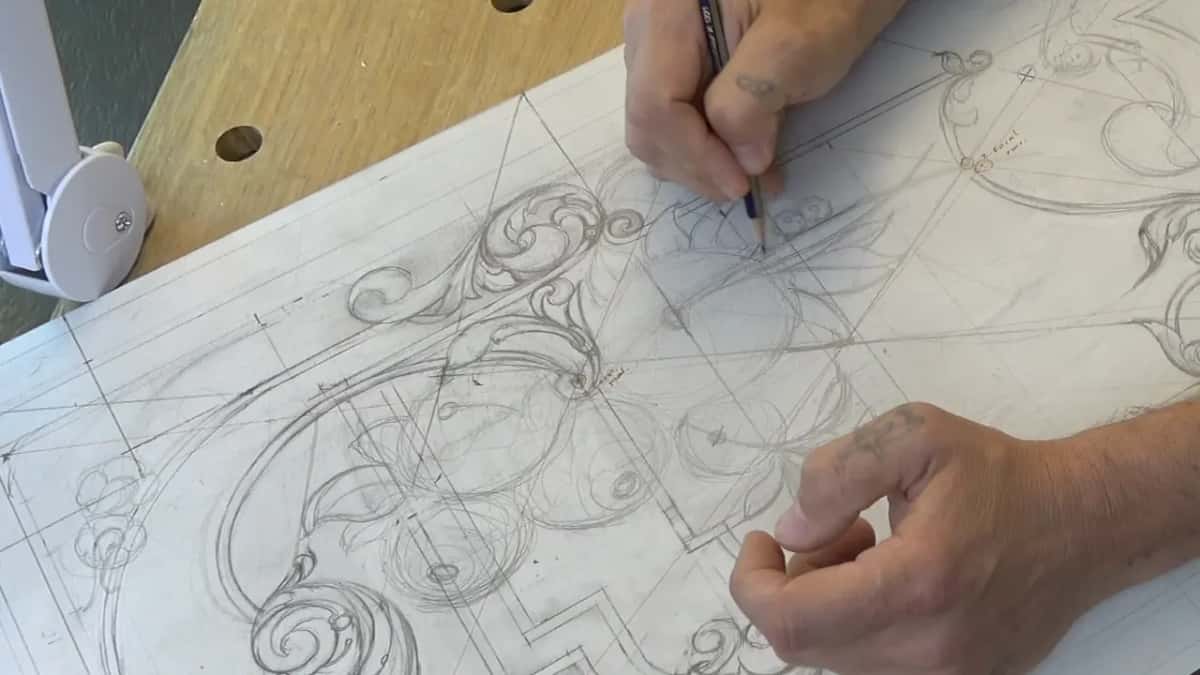
Partway through part two I wasn't sure if I should or not, but it is possible, so I put some berries right there. That is not the final, I said. In the last part I still kind of liked those berries, but not the design of those leaves.
Where do the filler flowers go?
Into the empty spots. After the big leaves I said that's too much empty spots and too much empty space right there. I need smaller leaves there, and maybe filler. I call it filler flowers, which is really small, tiny flowers.
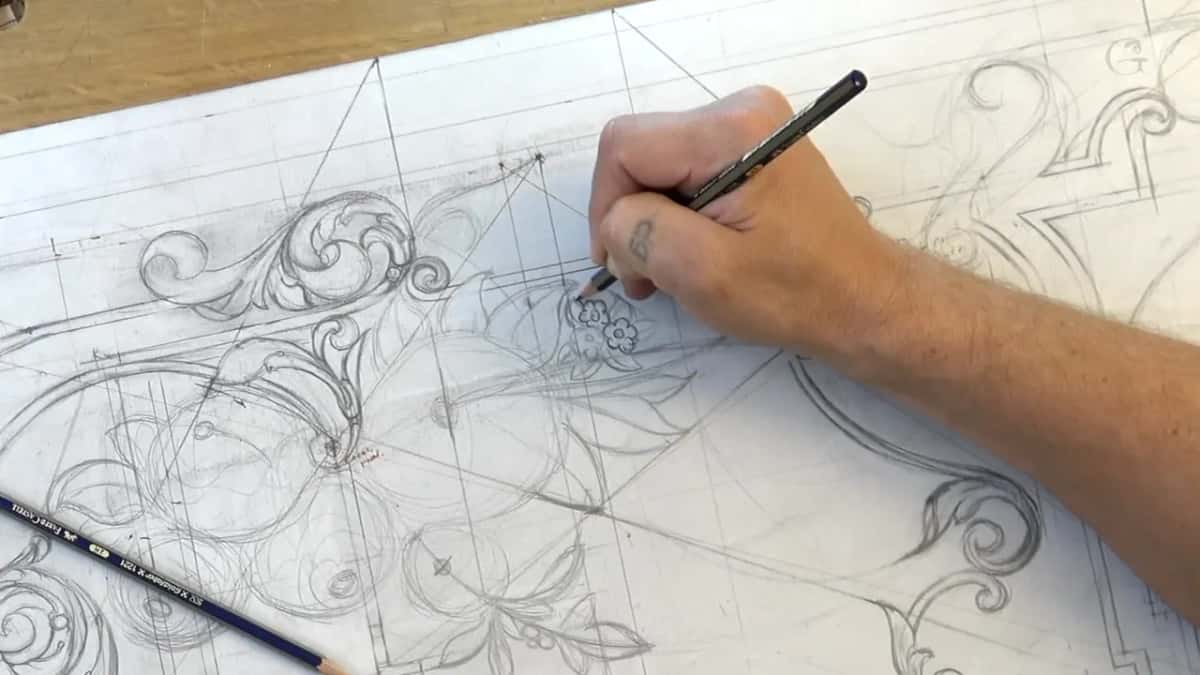
Mine are simple flowers, a cluster of simple flowers with small leaves, really small, tiny leaves. One repeats a line. A small leaf repeats a movement, and some go uphill too, which is possible on that section. A softer pencil came next, a 4B, to bring out those filler flowers. Wikipedia's page on pencils says most makers mark grades with H, commonly read as hardness, and B, commonly read as blackness.
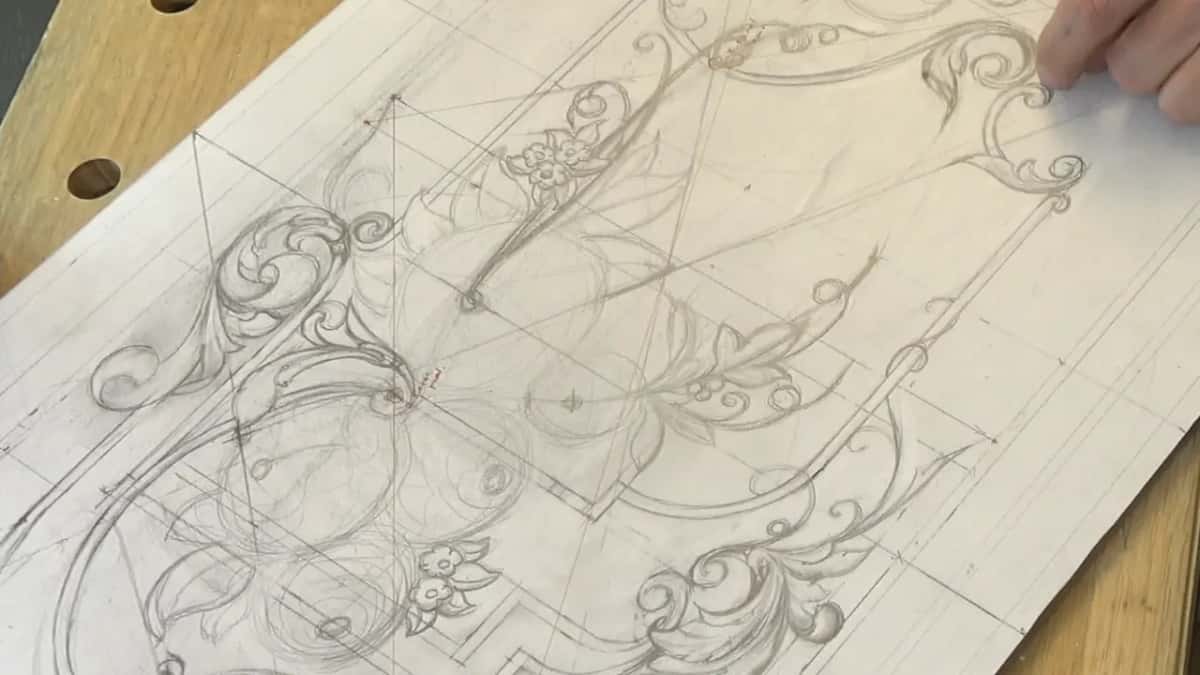
Because I'd done them right there, I had to find another spot for exactly the same type of flowers. I took the 2H again, a little harder pencil, and put in just a couple, because I don't have too much space there. Then the softer one came out again.
Those flowers are called filler flowers. You fill empty spaces with them, but they always look beautiful, and you can find them a lot of times on period furniture.
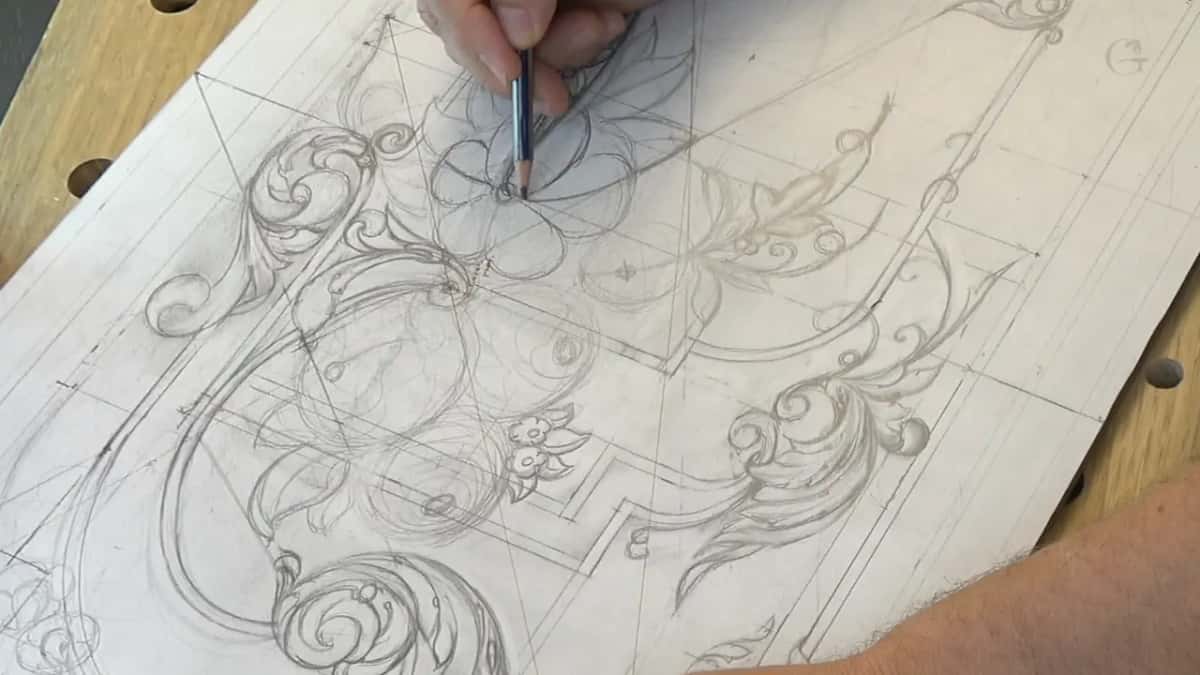
My Principles of Design class gives one more reason for them, in lesson 4. Sometimes I put really tiny small flowers so the big one stands out. We call them filler flowers, just to fill the space.
Those tiny details make the whole world of a difference.
Can one leaf tie two movements together?
That second spot was a really, really good place to unite those movements. The trick I use for uniting two areas is to start a leaf on one line and finish it on another. When I start my leaf, it repeats this line, and when I finish it, it repeats that one.
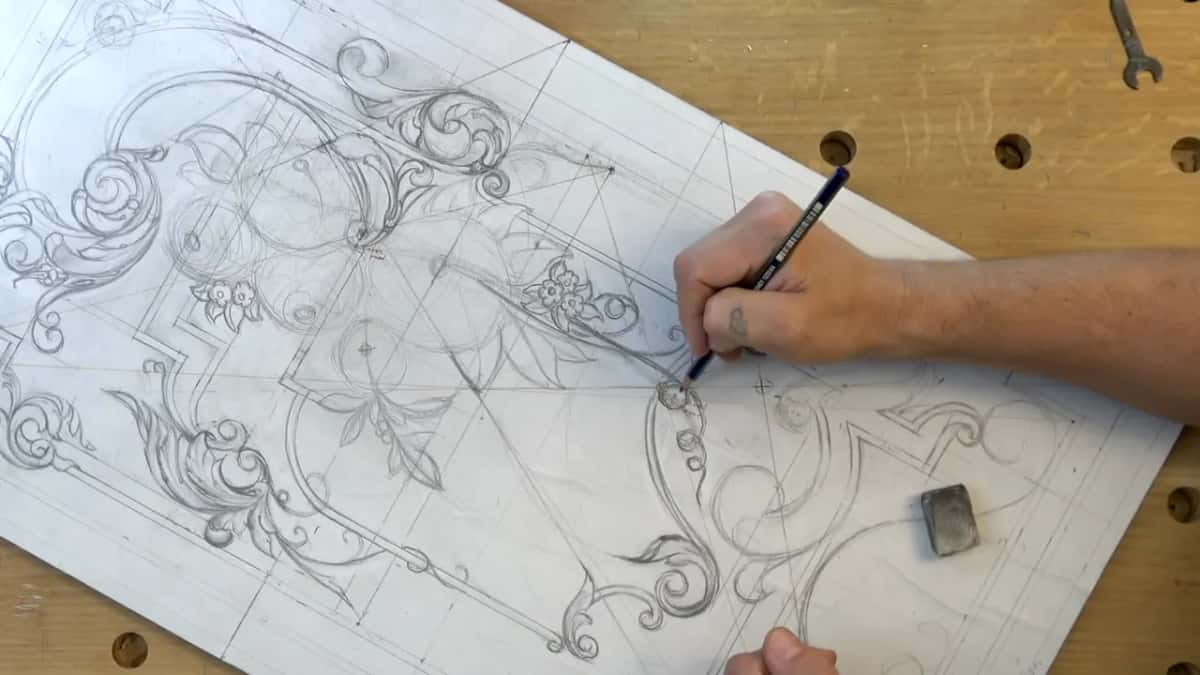
Then I saw I could make a really nice twist, go underneath and go back to the flower. That twist had to be repeated somewhere. Then one shape bothered me. Just looks like a tail, I said, and it doesn't talk to me.
I liked its end, but I didn't like the overall movement. So I brought it closer to the line and did the same twist, going underneath. Now it looks more unified.
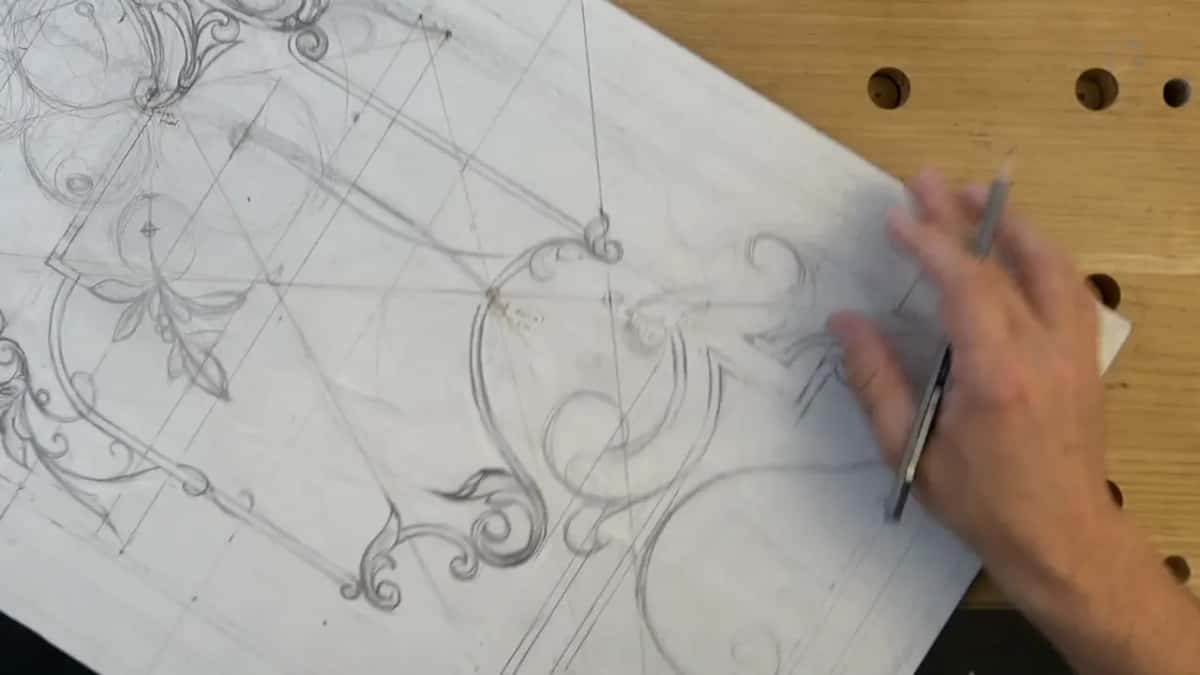
Since I have something like that, I have to repeat it somewhere else, and the only spot I could see was right there. Maybe a smaller one went right there too. It looked good, but not quite, so I measured it approximately and moved it, just eyeballing it.
In part four I knew what I could do. One more small movement, and that way this distance is equal to that distance. Now it's more unified. Well, in my opinion.
What turns a flower into an acanthus flower?
Subdivision. For one flower I grew long details right from its center. I divided it in five parts. That's the main division of this flower, and it looks like it's grown from inside.
Inside I'll carve a shallow bowl. The only flower I know that looks good with this is close to an acanthus flower. To do the acanthus flower, I need to subdivide those petals, so I made the movements of the petals and followed the lines.
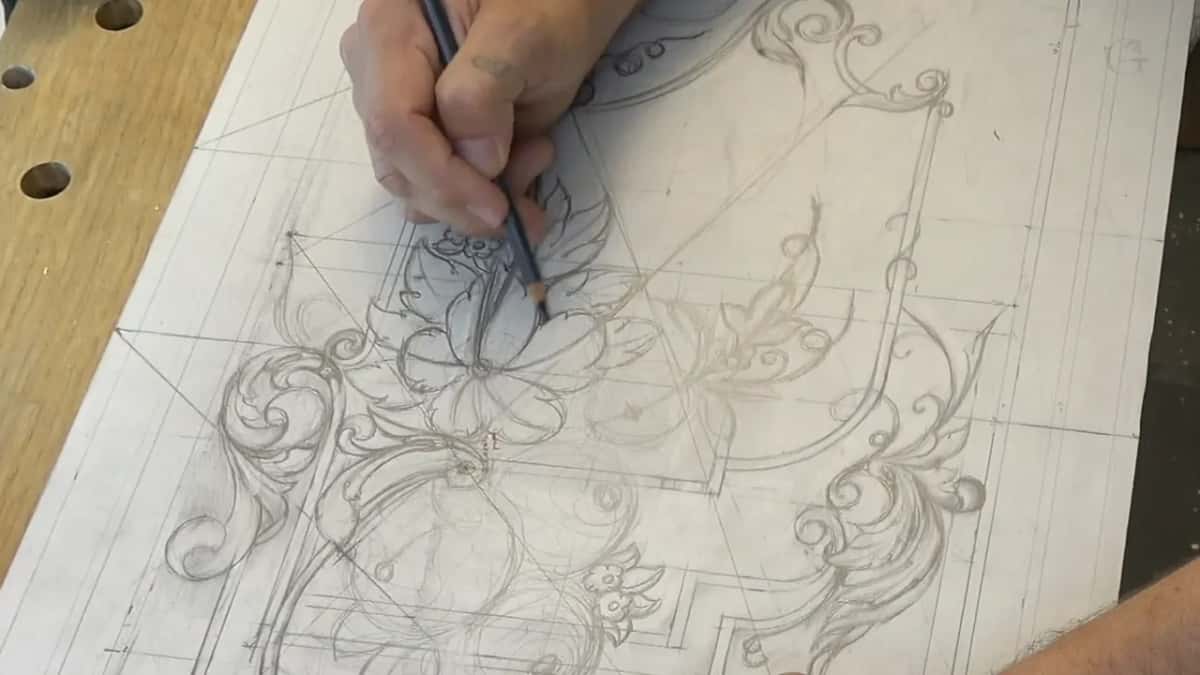
The center lines are just for me, for now, to see the overall movement. You won't see them, actually. Then every petal gets subdivided, and so does every leaf around it, right down to the smallest. Then it looks like acanthus leafage, and I put some eyes in it.
A small flower I carved in relief in lesson 7 of my Floral and Molding course had five separations too.
Why shade the drawing from underneath?
To see my main idea clearly. Let me make some shades, I said, and I shaded it from underneath. Hopefully you can see the overall picture. At least it makes sense to me, and I like the development of it.
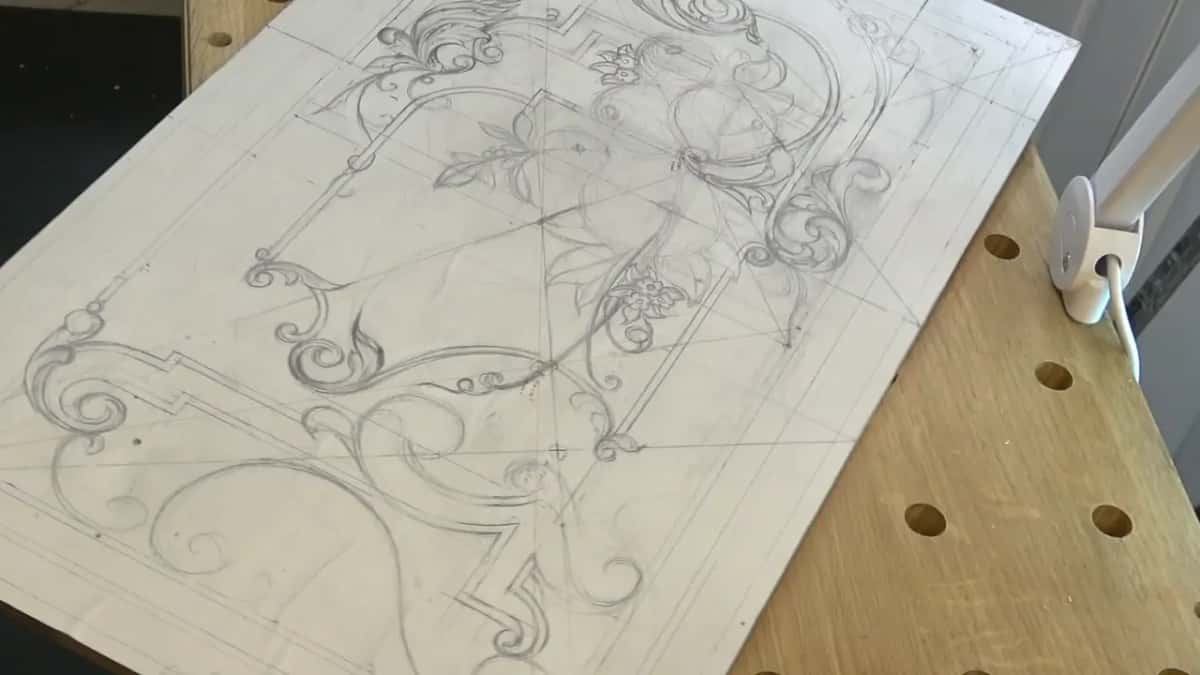
Not too much of the details, I said in part three. Lesson 13 is where I put more details on those flowers and used charcoal for the shadows.
What happens to drawn flowers in the carving stage?
On this panel I kept the overall design and stayed ready to redraw. During lesson 16 of the carving stage I worked around the filler flowers and indicated my separations, because I don't want to lose the overall design. The flowers were already pretty close, so I had to be really careful.
Later, in lesson 23, Main Flowers bouquet, I wanted to double-check where my main movements were on one flower, and I didn't remember how that was supposed to go. But I can see it in my mind, and I can redraw it, I said. It's no big deal, even if I'm going to change the design a little bit.
In the same lesson I took one small filler with a number 7 at 4 mm, a little smaller than 3/16 of an inch. If you have 3/16, it's going to do exactly the same. Wood carvers, I said, call them filler flowers because they fill the space.
And in lesson 24, I said I know those petals are not perfect, which is what I'm after. If you're going to do those petals just too perfect, it's going to look artificial. It's not going to look natural.
There was a time gap between lesson 11 and this one, and a lot happened in my life. I moved to another location and had to set up a new shop. At the end of lesson 12 I asked you to be patient with me. I promised to show you the process, how I work and what I do in my shop every day, and sometimes I have to jump project to project.
This design course and the carving stage after it are open with Access to the school. In this lesson that meant a few pencils, a 2H and a 4B among them.
How it's done
- Pick the main focal point. I jumped to the spot I wanted to fill with future flowers and left the last area as it was.
- Hang the cluster on an invisible line. Connect the flowers to an invisible line, so the group bends into nearly a reversed S. Decide where it stops before it goes too far.
- Make close flowers three sizes. Biggest, a little smaller, smaller again. Add a different type beside them and a small one of the first type.
- Set each center. Divide the line across a flower in about 10 parts and put its center near six. Eyeball it, then check one with a tool that divides 10 in six parts, if you have one.
- Let the leaves follow the flow. Most leaves go the way the main flow goes, though a few break away. Flip one.
- Fill the empty spots. Draw small, simple filler flowers with tiny leaves where a spot looks empty, and go over them with a softer pencil such as a 4B.
- Shade from underneath. Put some shade under the shapes so the main idea reads, and stop before too many details go in.
Frequently asked questions
Why not draw every petal on a shallow carving?
On my walnut panel the carving is shallow, low relief in a furniture style. My final movements get decided while my chisel works on them. The pencil in lesson 12 carried the main movements, plus the main idea, and the rest of each flower waited.
How far off center should a flower's center sit?
About six parts in ten. Divide the line across the flower in approximately 10 parts and the golden point lands on six. I eyeballed mine, and when I double checked one with my golden ratio tool, it got to that point exactly.
Can filler flowers go anywhere on a panel?
Pretty much. My words in lesson 24 of the carving stage were that you can stick those flowers in pretty much any design. My drawing has them where a space was left empty, once as a small cluster and once as just a couple.
What to carve next
- Carving Furniture Panel, Design, Part 1, the whole course
- Designing Furniture Panel 11, the lesson before this one
- Designing Furniture Panel 13, the lesson after this one
- Designing Furniture Panel 3, six parts out of ten
- Principles of Design in Wood Carving, lesson 4
- Carving Furniture Panel, Part 2, the carving stage